 order online
 weekly specials
Anyone that knows Andrew and I know how much we love dogs. We have a Chihuahua/Terrier mix named Bear that is the love of our lives, but it doesn’t stop there. Andrew’s mom, Lauri, has three Old English Sheepdogs that are a big part of our lives too, DeNiro, Bagheera, and Merida.


I understand the ease and convenience of buying dog treats at the store but there is something satisfying about making homemade treats. You know the ingredients, they are fresh, and your pup will paw-sitively love them! I made 3 different types of dog treats, Frozen Dog Treats, Peanut Butter Pumpkin Dog Treats, and Candy Cane Dog Treats.
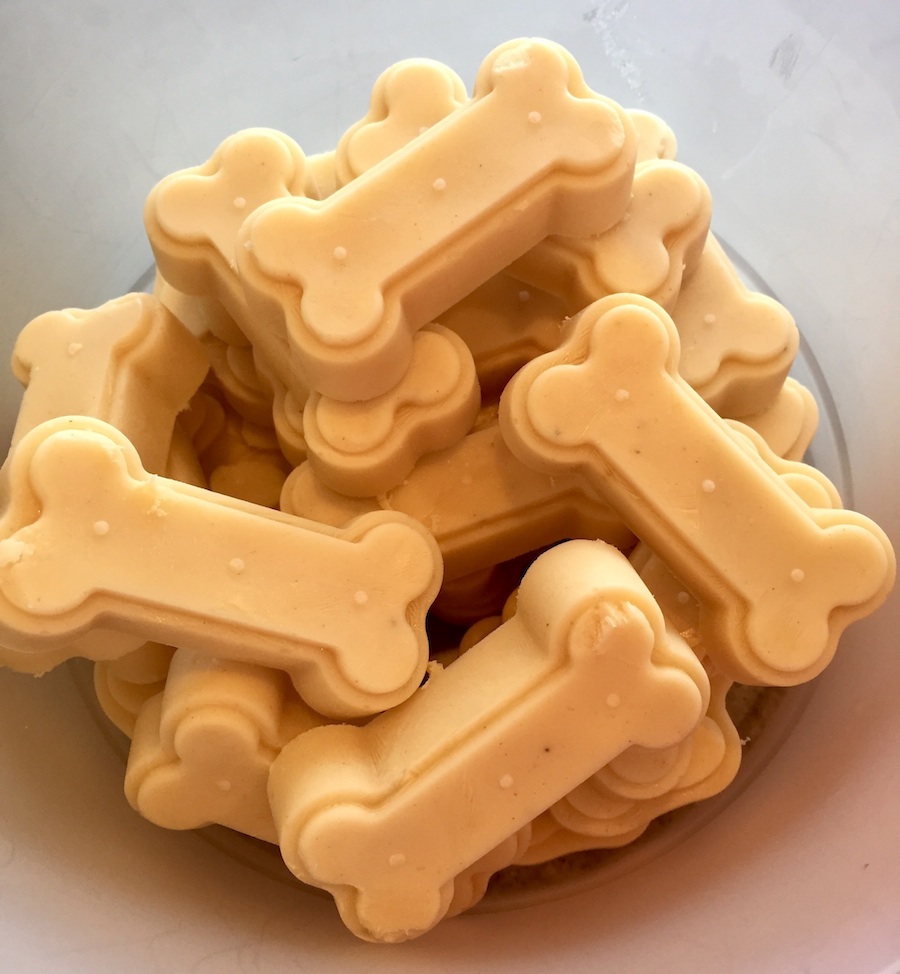
The Frozen Dog Treats were the most simple to make and let me tell you, the dogs LOVED them! I think DeNiro even swallowed his whole! Bear was a bit daintier with his and had to lick the treat instead of just chewing it. I think it was too cold and probably too big for his mouth. The nice part about these treats is they are frozen so you don’t have to worry about them expiring anytime soon. And they are a perfect way to help your dog cool down on a hot summer day.

I have a set of cute “dog bone” and “paw print” silicone molds. If you don’t have shaped molds you can easily use an ice cube tray. Here’s how you make them:
Ingredients
- 32 oz Plain Yogurt
- 3 Tbsp Peanut Butter
- 1 Large Banana, sliced
- 1 Tbsp Honey, optional
Directions
- Put all ingredients in a blender and blend until creamy. Fill the silicone molds and freeze for at least 2 hours. Store in an airtight container.
***Place the silicone molds on a baking sheet before adding the mixture as they are flexible or you will end up with a mess! Then you can easily slide them into the freezer.


The Peanut Butter Pumpkin Dog Treats were also fairly easy to make. These have a great texture because they are soft treats so they are easy to chew. I made these when only Bear was around and he gave them his pup-proval! I’ll have to get Bagheera’s opinion the next time I see her 🙂
For these you don’t need a special mold but do need a cookie cutter(s). I have a bone shaped cookie cutter (what dog owner doesn’t) at home that I used. You don’t have to make these bone shaped either, that’s just the option I chose. Here’s how you make them:
Ingredients
- 2/3 Cup Pumpkin Puree
- ¼ Cup Peanut Butter
- 2 Large Eggs
- 2 ½ Cups Whole Wheat Flour
Directions
- Preheat oven to 350 degrees.
- Use a stand mixer to beat the pumpkin, peanut butter, and eggs on medium-high until combined. Gradually add 2 ½ cups of flour at low speed until mixed.
- Knead the dough for a few minutes to make it easier to work with. Using a rolling pin, roll the dough to about ¼ inch thick.
- Use a cookie cutter to cut out the desired shape and place on a baking sheet.
- Bake for about 15 minutes and let cool completely.
***These only keep for about 3-5 days in an airtight container on the counter. Store in the fridge to increase the shelf life.


The Candy Cane Dog Treats are a little out of season, I know I’m getting ahead of myself, but they are just so dog-gone fun to make! I had never made these before so mine turned out quite a bit larger than I would have liked but now I know for next time. Even though I made mine Christmas themed, you could change the color and make them for any season. Instead of red, use orange for Halloween or fall, or use green for St. Patrick’s Day, etc. The options are endless and then your pup can have as much fun celebrating holidays as you do. Merida told me she can’t wait for Christmas so I made these treats red just for her.
Here’s how you make them:
Ingredients
- 3 Cups All Purpose Flour
- ½ Cup Nonfat Powdered Milk
- ½ Tsp Baking Powder
- 1 Cup Warm Water
- 1 Chicken Bouillon Cube
- 2 Large Eggs
- 2 Tsp Red Food Coloring
- 1 Large Egg, for egg wash
- Additional flour for kneading
Directions
- Whisk together the flour, powdered milk, and baking powder in a large bowl. In a small bowl pour the warm water over the chicken bouillon and stir until dissolve. Whisk the eggs into the chicken water.
- Form a well in the dry ingredients and pour in the wet ingredients. Stir until combined.
- Knead the dough until no longer sticky.
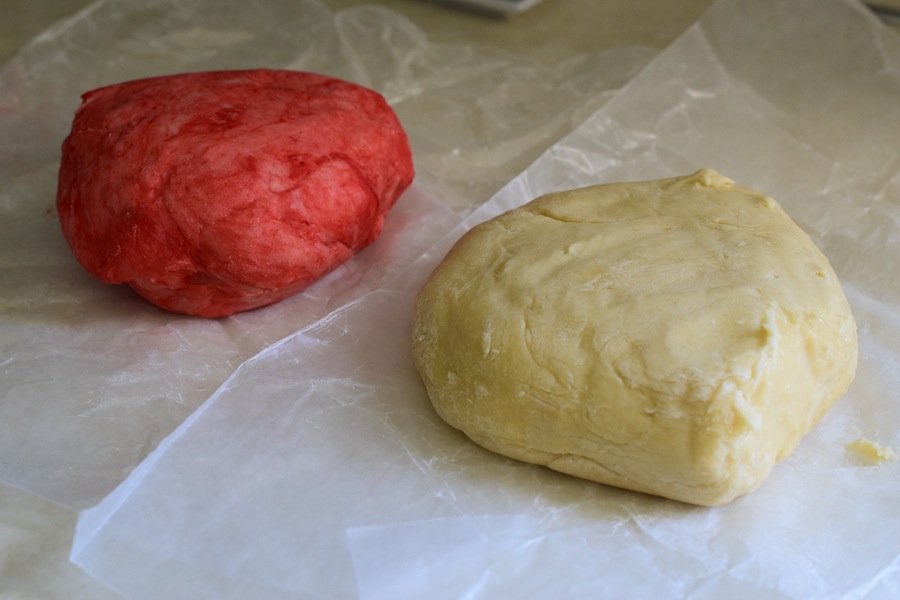
- Separate the dough in half. Wrap one half in wax paper and place in the fridge.
- Add red food coloring to the other half and continue to knead until it has changed color. Recommended to knead on a piece of wax paper or baking sheet so you don’t get food coloring all over the counter. Also recommended to wear rubber gloves to not stain your hands. Once the dough has turned red, wrap it in wax paper and place in the fridge. Allow to chill for 2 hours.
- Preheat oven to 350 and spray a baking sheet with cooking spray.
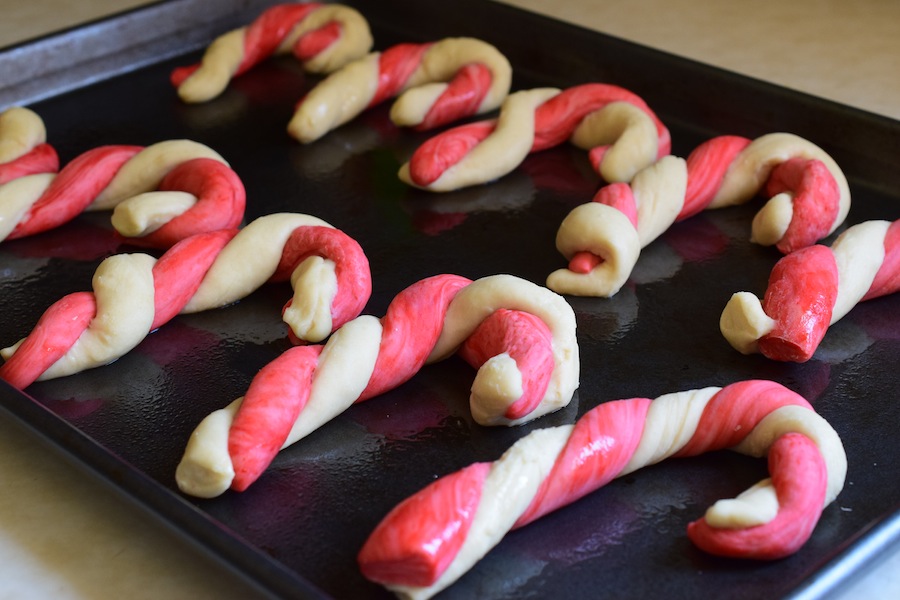
- Divide each ball of dough into Tbsp sized balls, equal number of balls per dough. Gently rollout each ball into strips, about 5 inches long and fairly thin.
- Twist one of each colored strips together and curl the top as you place on the baking sheet, in a candy cane shape.
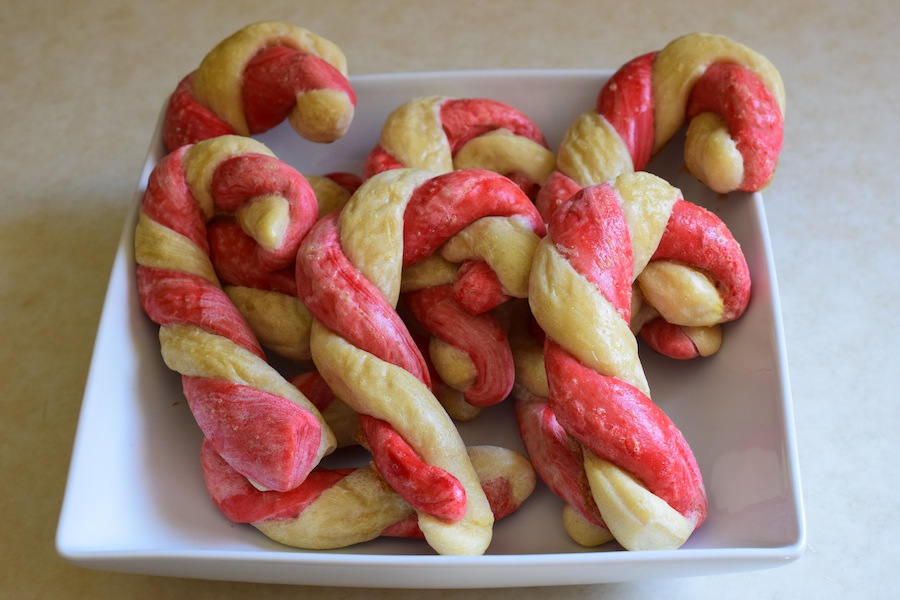
- Whisk the extra egg and coat each candy cane with the egg wash.
- Bake for 10 minutes and cool completely.
***If you make the strips too thick when rolling out the treats will be very large and doughy. Try to keep the strips thin if possible.
***Treats need to be kept in the fridge. Will keep for 2-3 weeks if kept cold in fridge but can also be frozen for up to 6 months.

Needless to say, we have some happy dogs with all these treats! I had a pup-tastic time making them and paws-down the dogs all enjoyed sampling 🙂 I have to give a special shout-out to my Sous Chef, Bear, for all his help in the kitchen.

Happy Cooking!


Recent Comments