 order online
 weekly specials
Sunday, July 19, 2020 is National Ice Cream day, and what better way to celebrate than with some homemade ice cream!
There really is no better time to enjoy ice cream than a hot summer day! You can obviously eat ice cream year-round but it’s such a cool and refreshing treat during the warm months. With so many flavors to choose from, you’ll be sure to find your favorite. I wanted to do something different for National Ice Cream day so I’m celebrating by making homemade ice cream.
I have 5 flavors to share with you today; 3 require an ice cream maker and 2 require a high-speed blender, so you don’t necessarily need all the fancy equipment to make homemade ice cream. It can be super simple and require few ingredients or it can be a more complex recipe with a variety of ingredients. Basically, you can put as much or as little effort into making ice cream and still have a delicious result!
The 5 flavors are:
- Coffee Ice Cream Infused with Whiskey
- Peanut Butter Cup Ice Cream
- Raspberry Chocolate Chunk Ice Cream
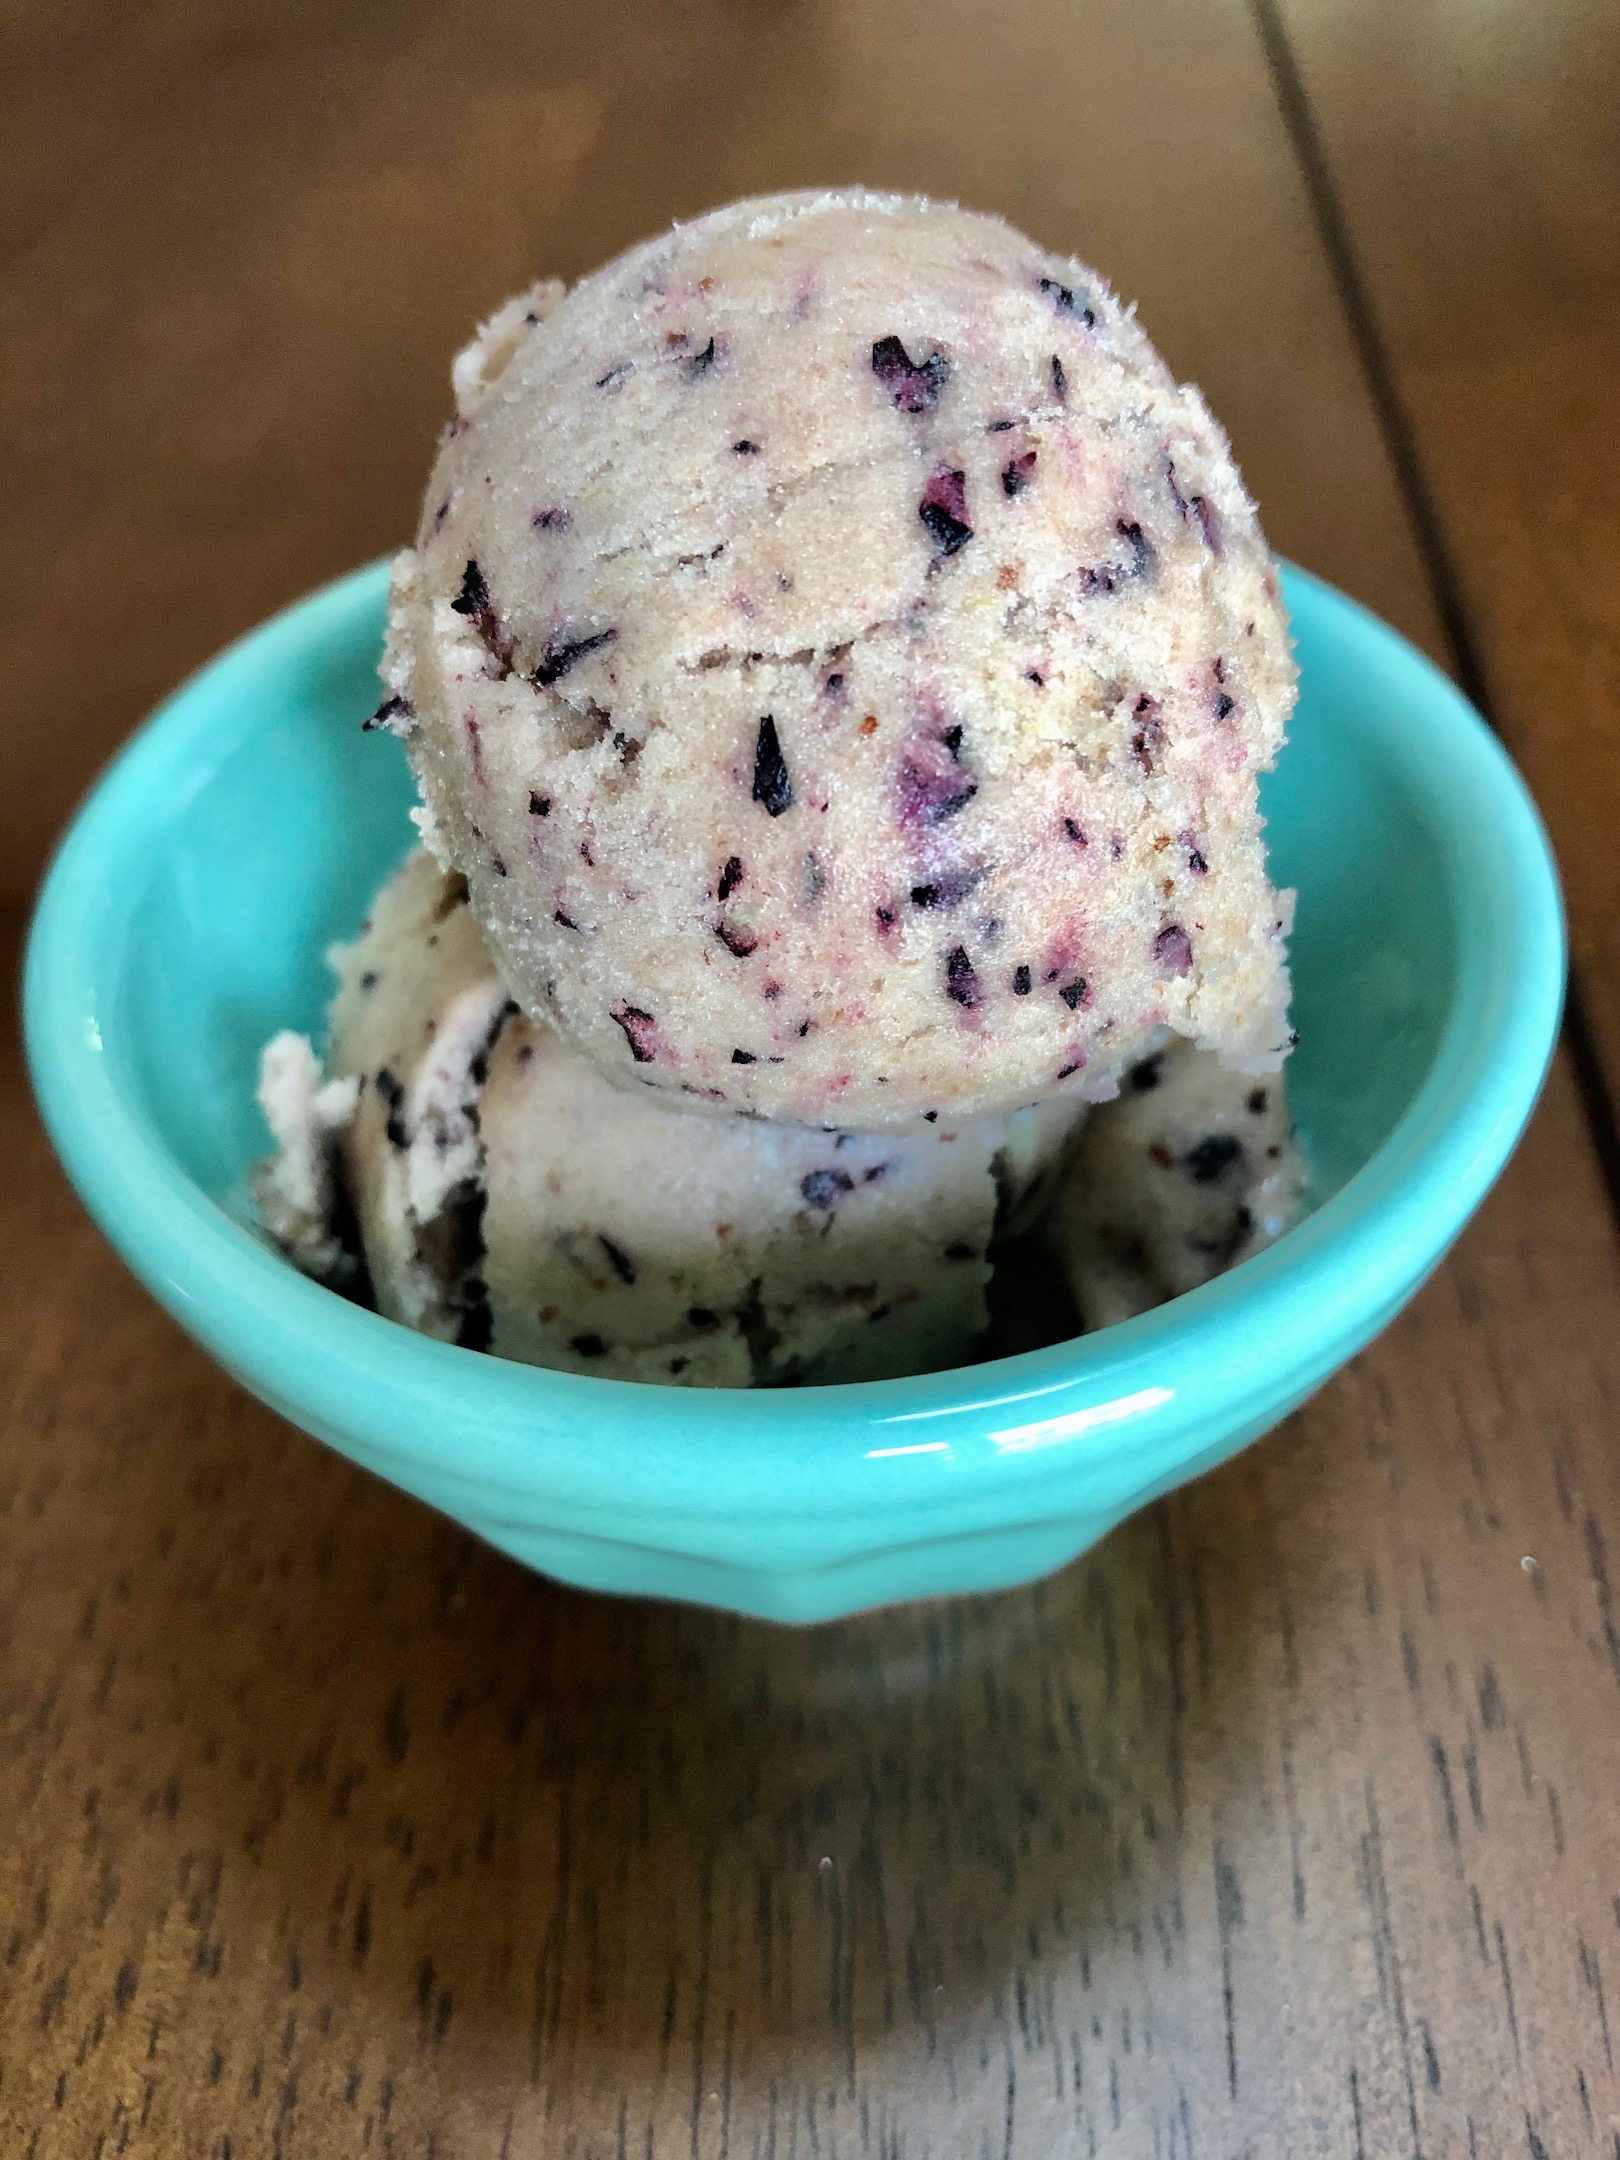
- Blueberry Banana Sorbet (Dairy-Free and Vegan)
- Chocolate Banana Sorbet (Dairy-Free and Vegan)
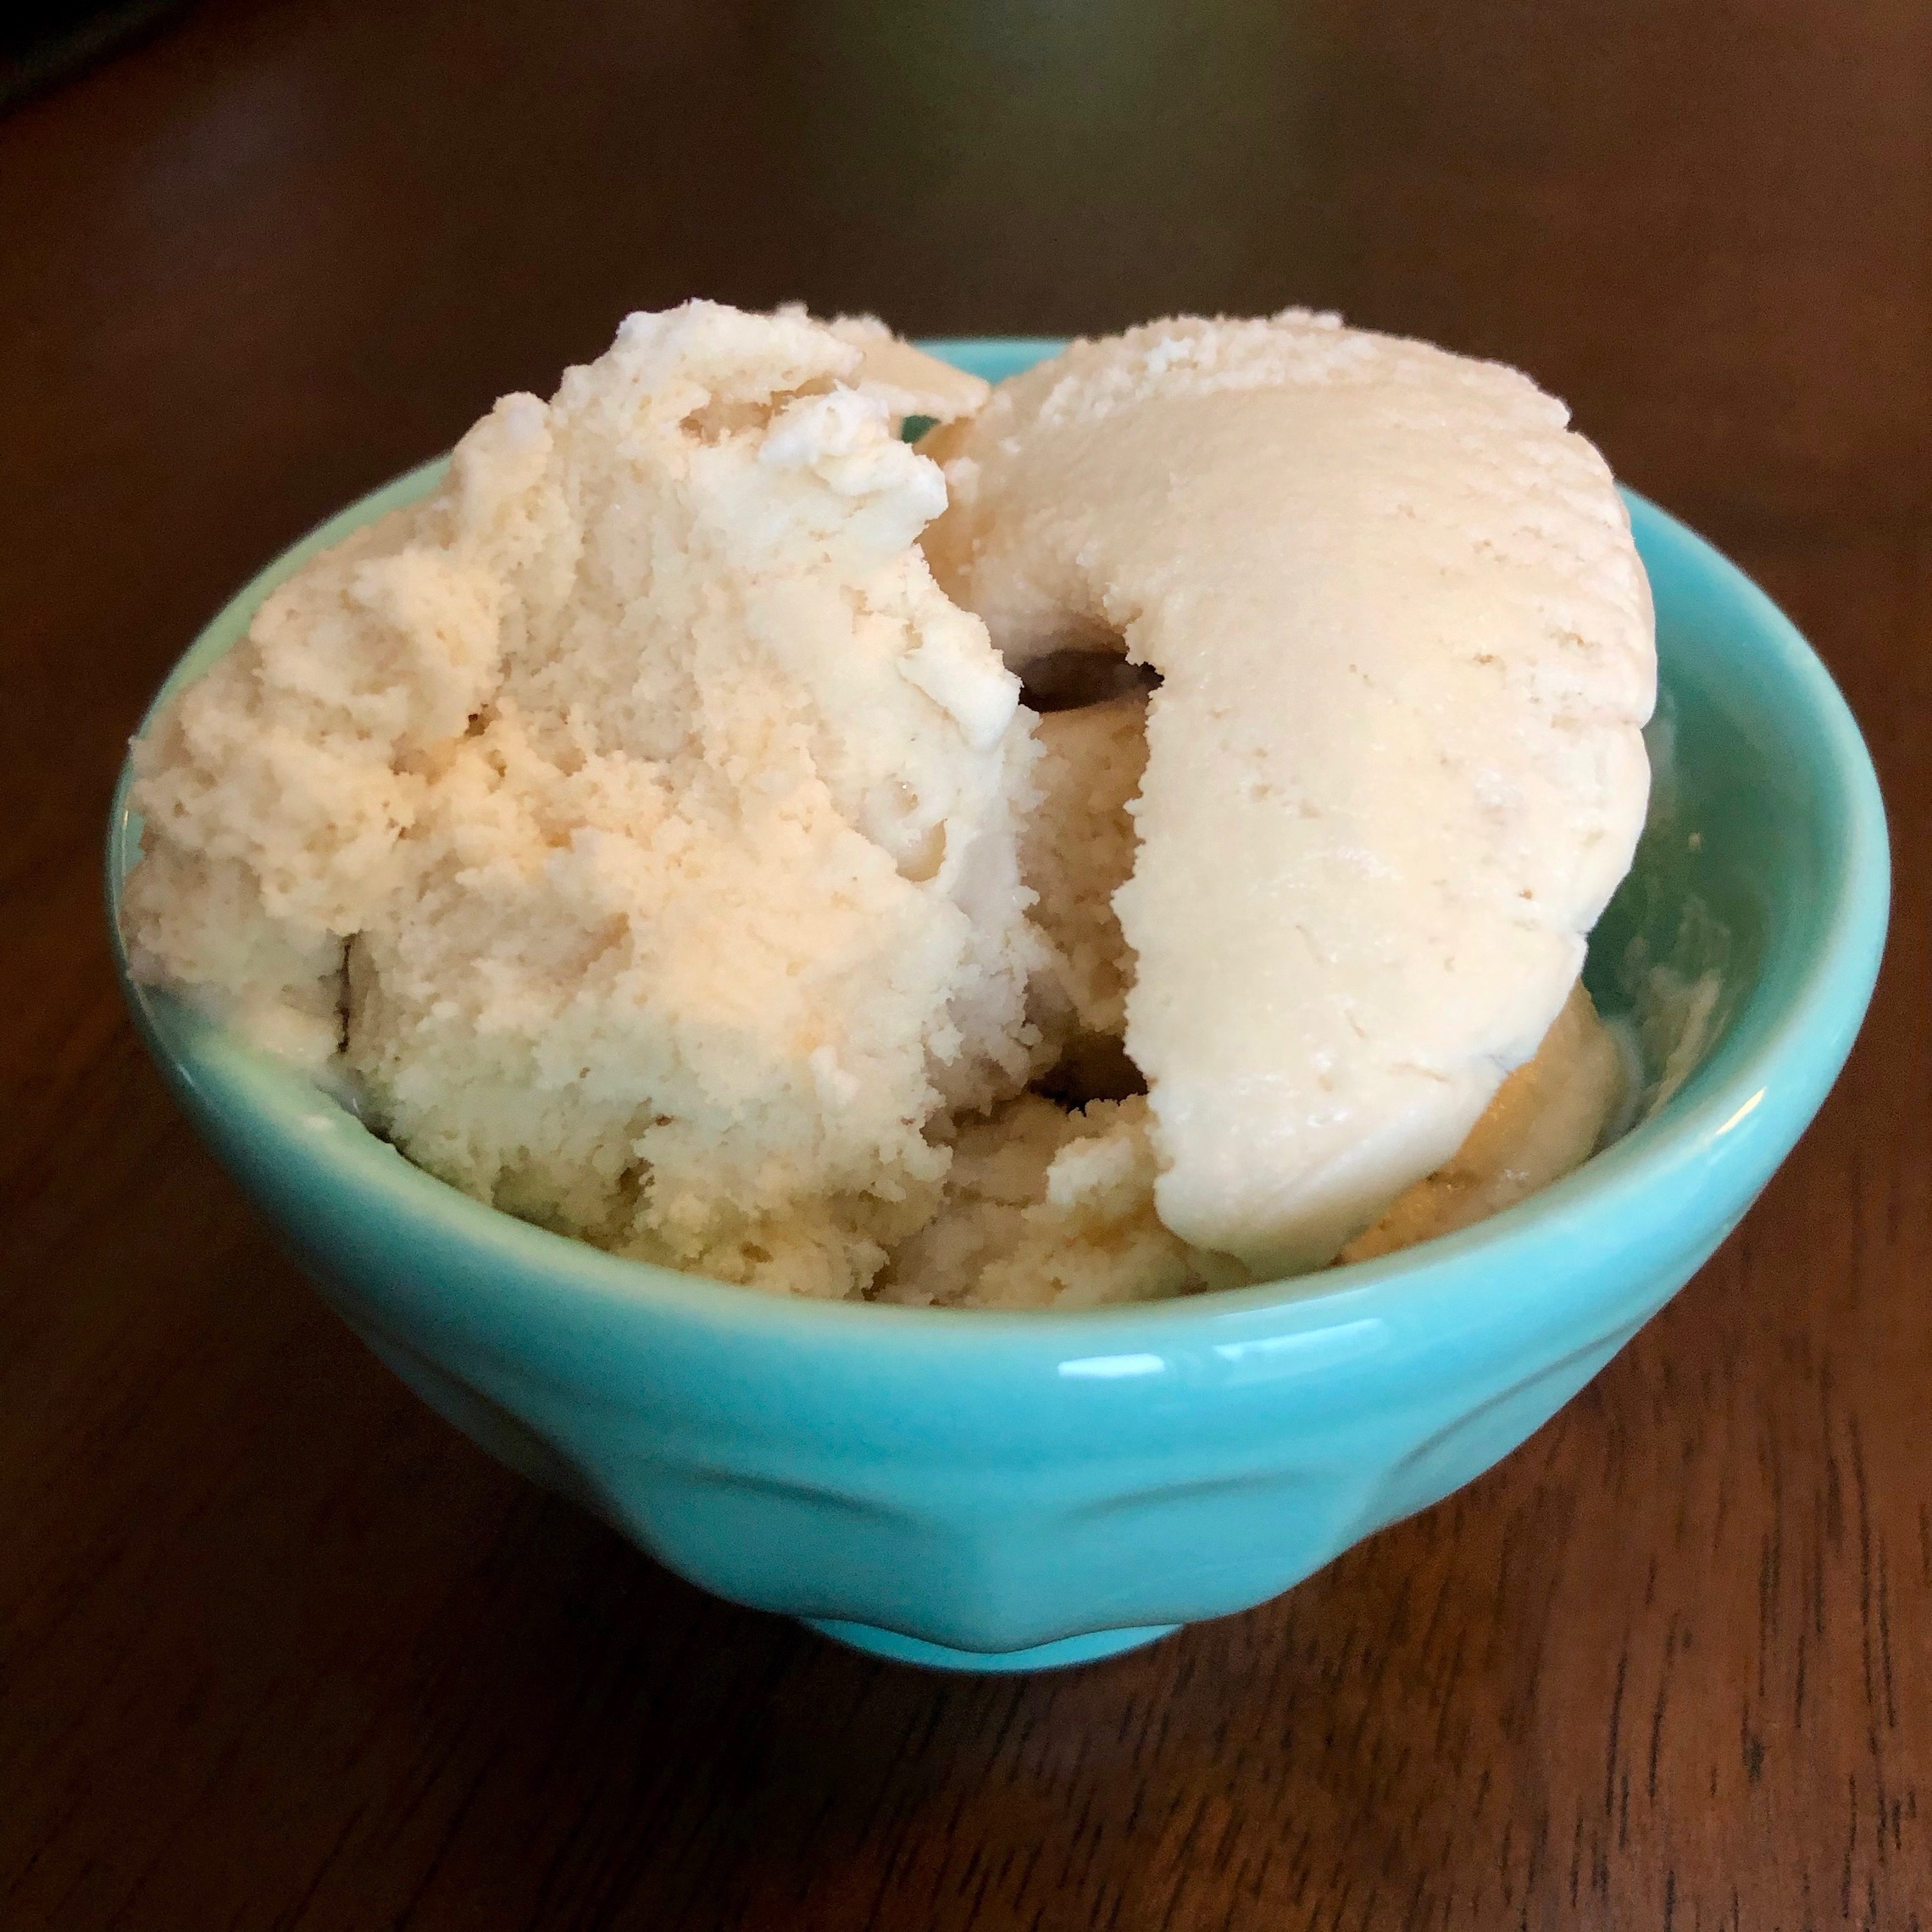
Coffee Ice Cream Infused with Whiskey is a yummy concoction of coffee flavored ice cream with a hint of whiskey. Yes, there is whiskey in this ice cream. It admittedly took me a few tries to get the consistency right with this ice cream…first I added too much whiskey and the ice cream didn’t set, next I added too little whiskey and you couldn’t taste it, but third time’s the charm and it turned out perfect!

The recipe can be found here.
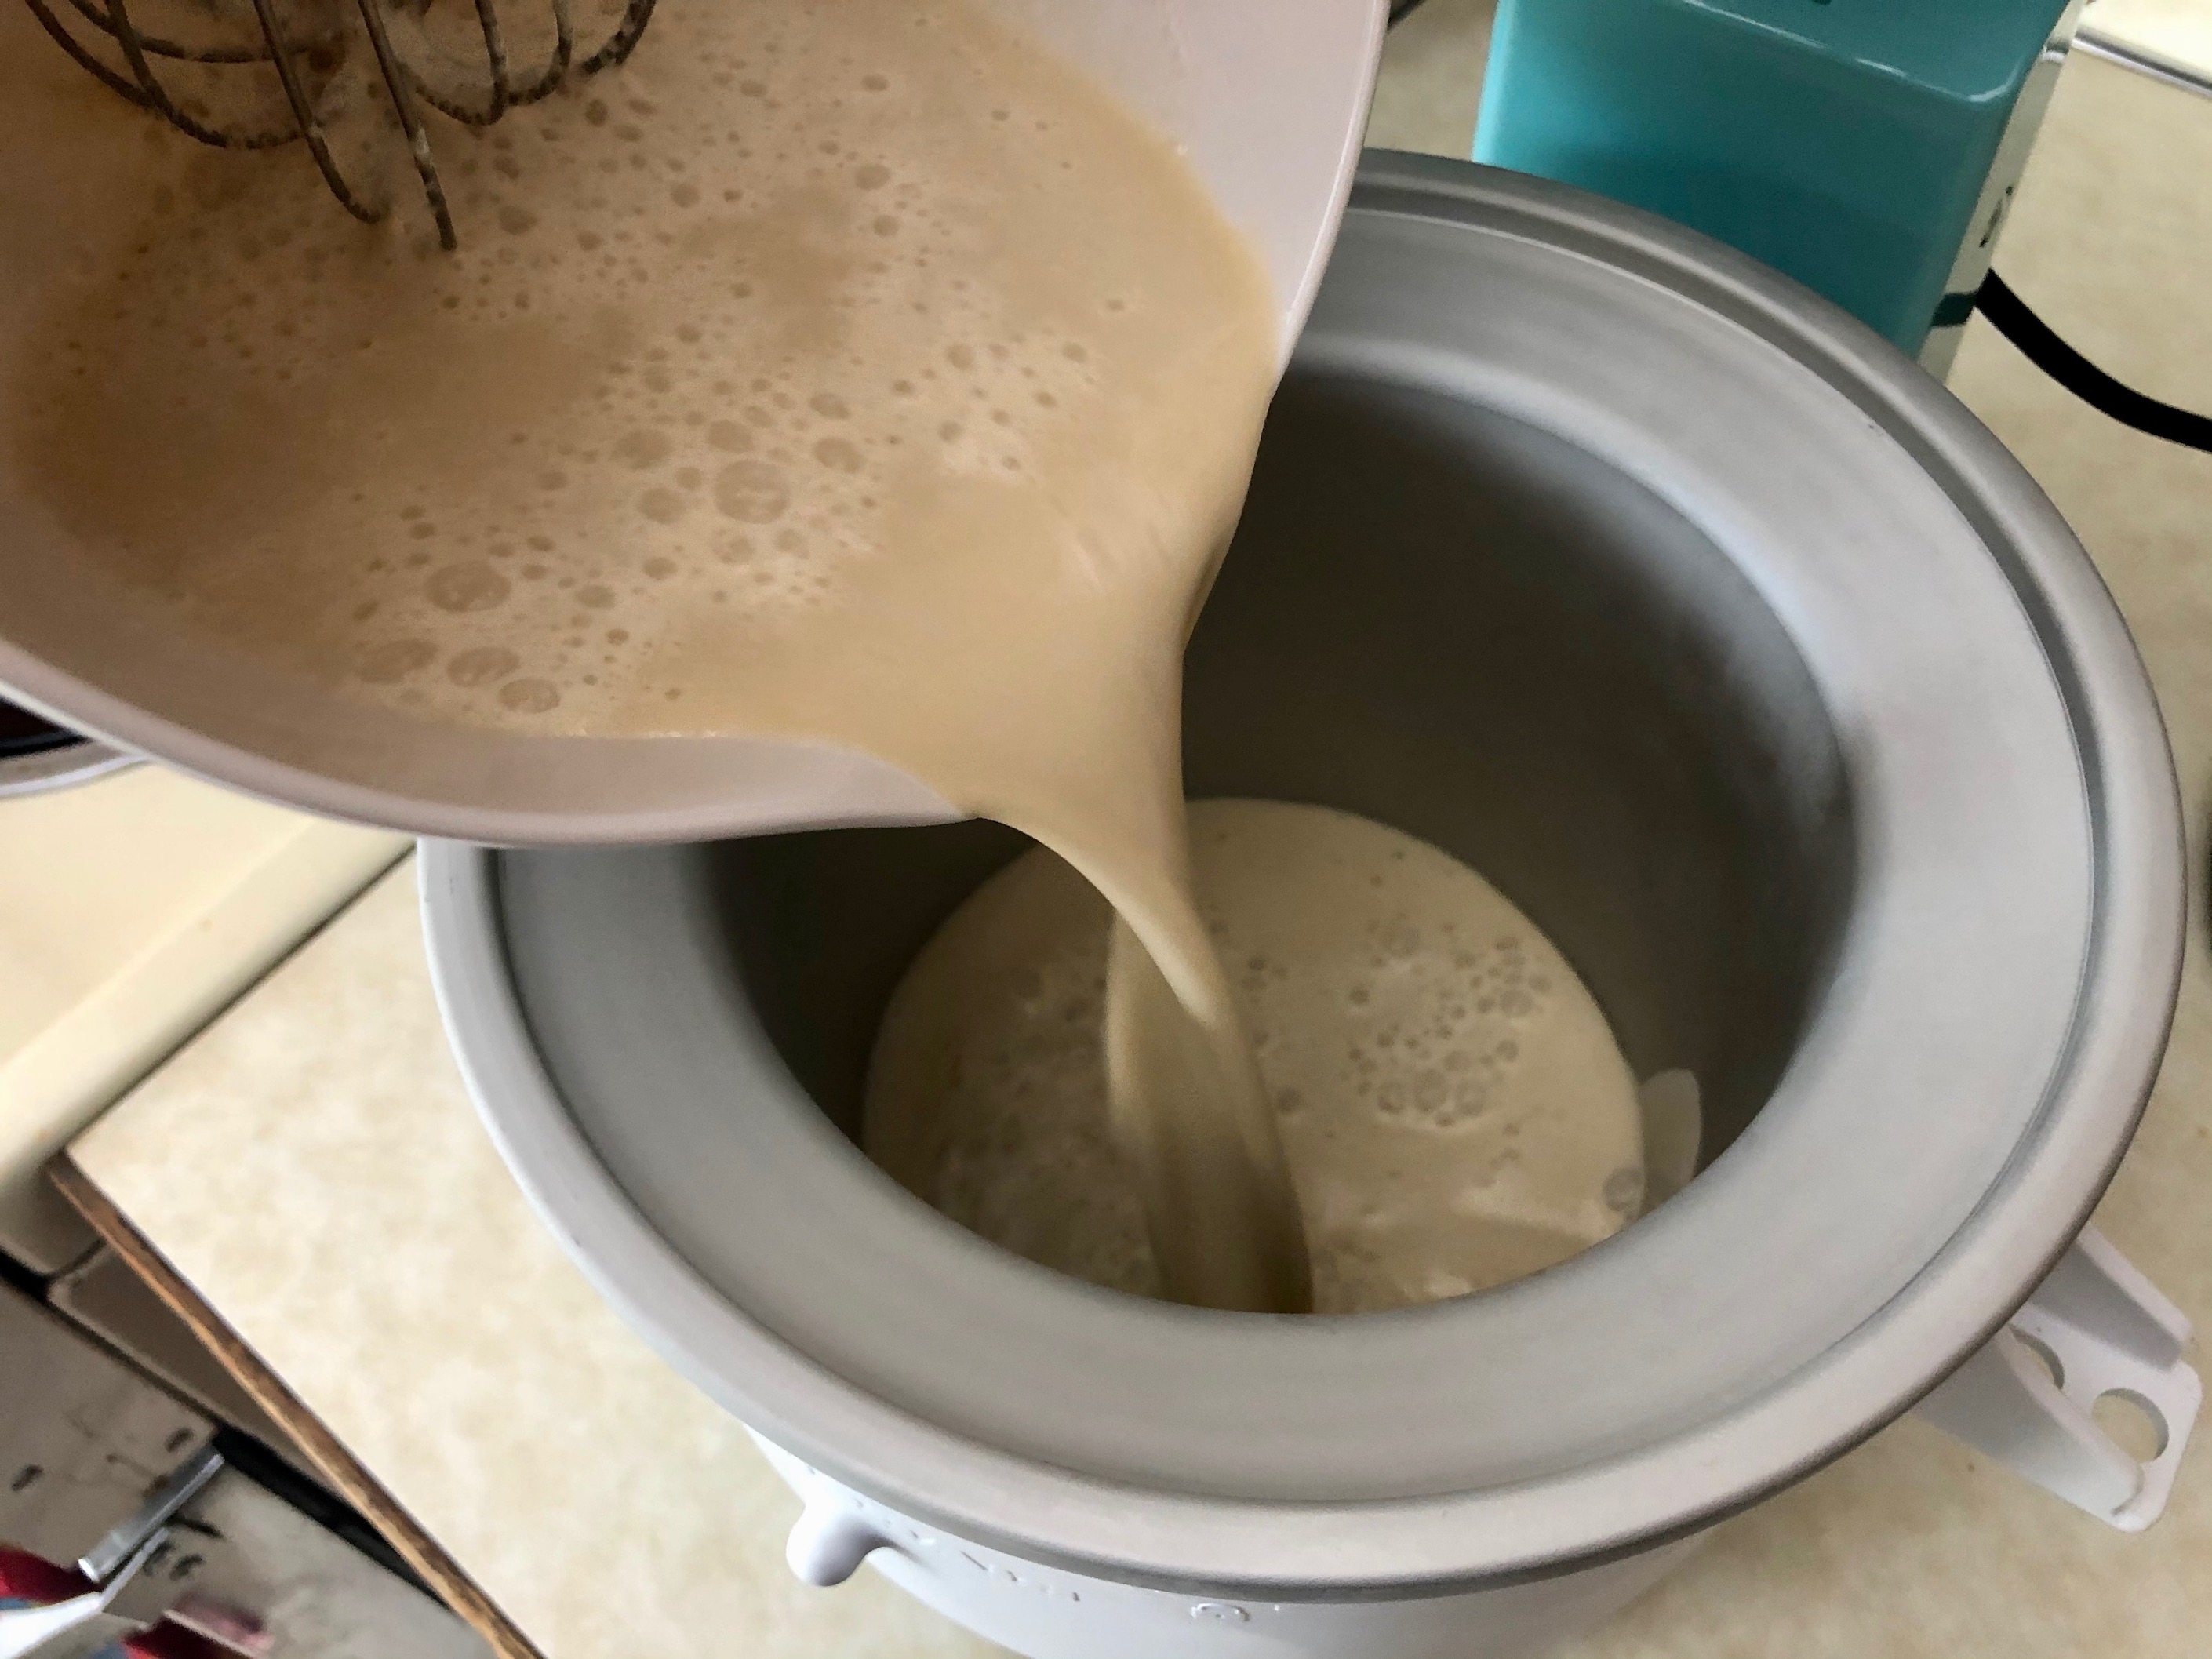
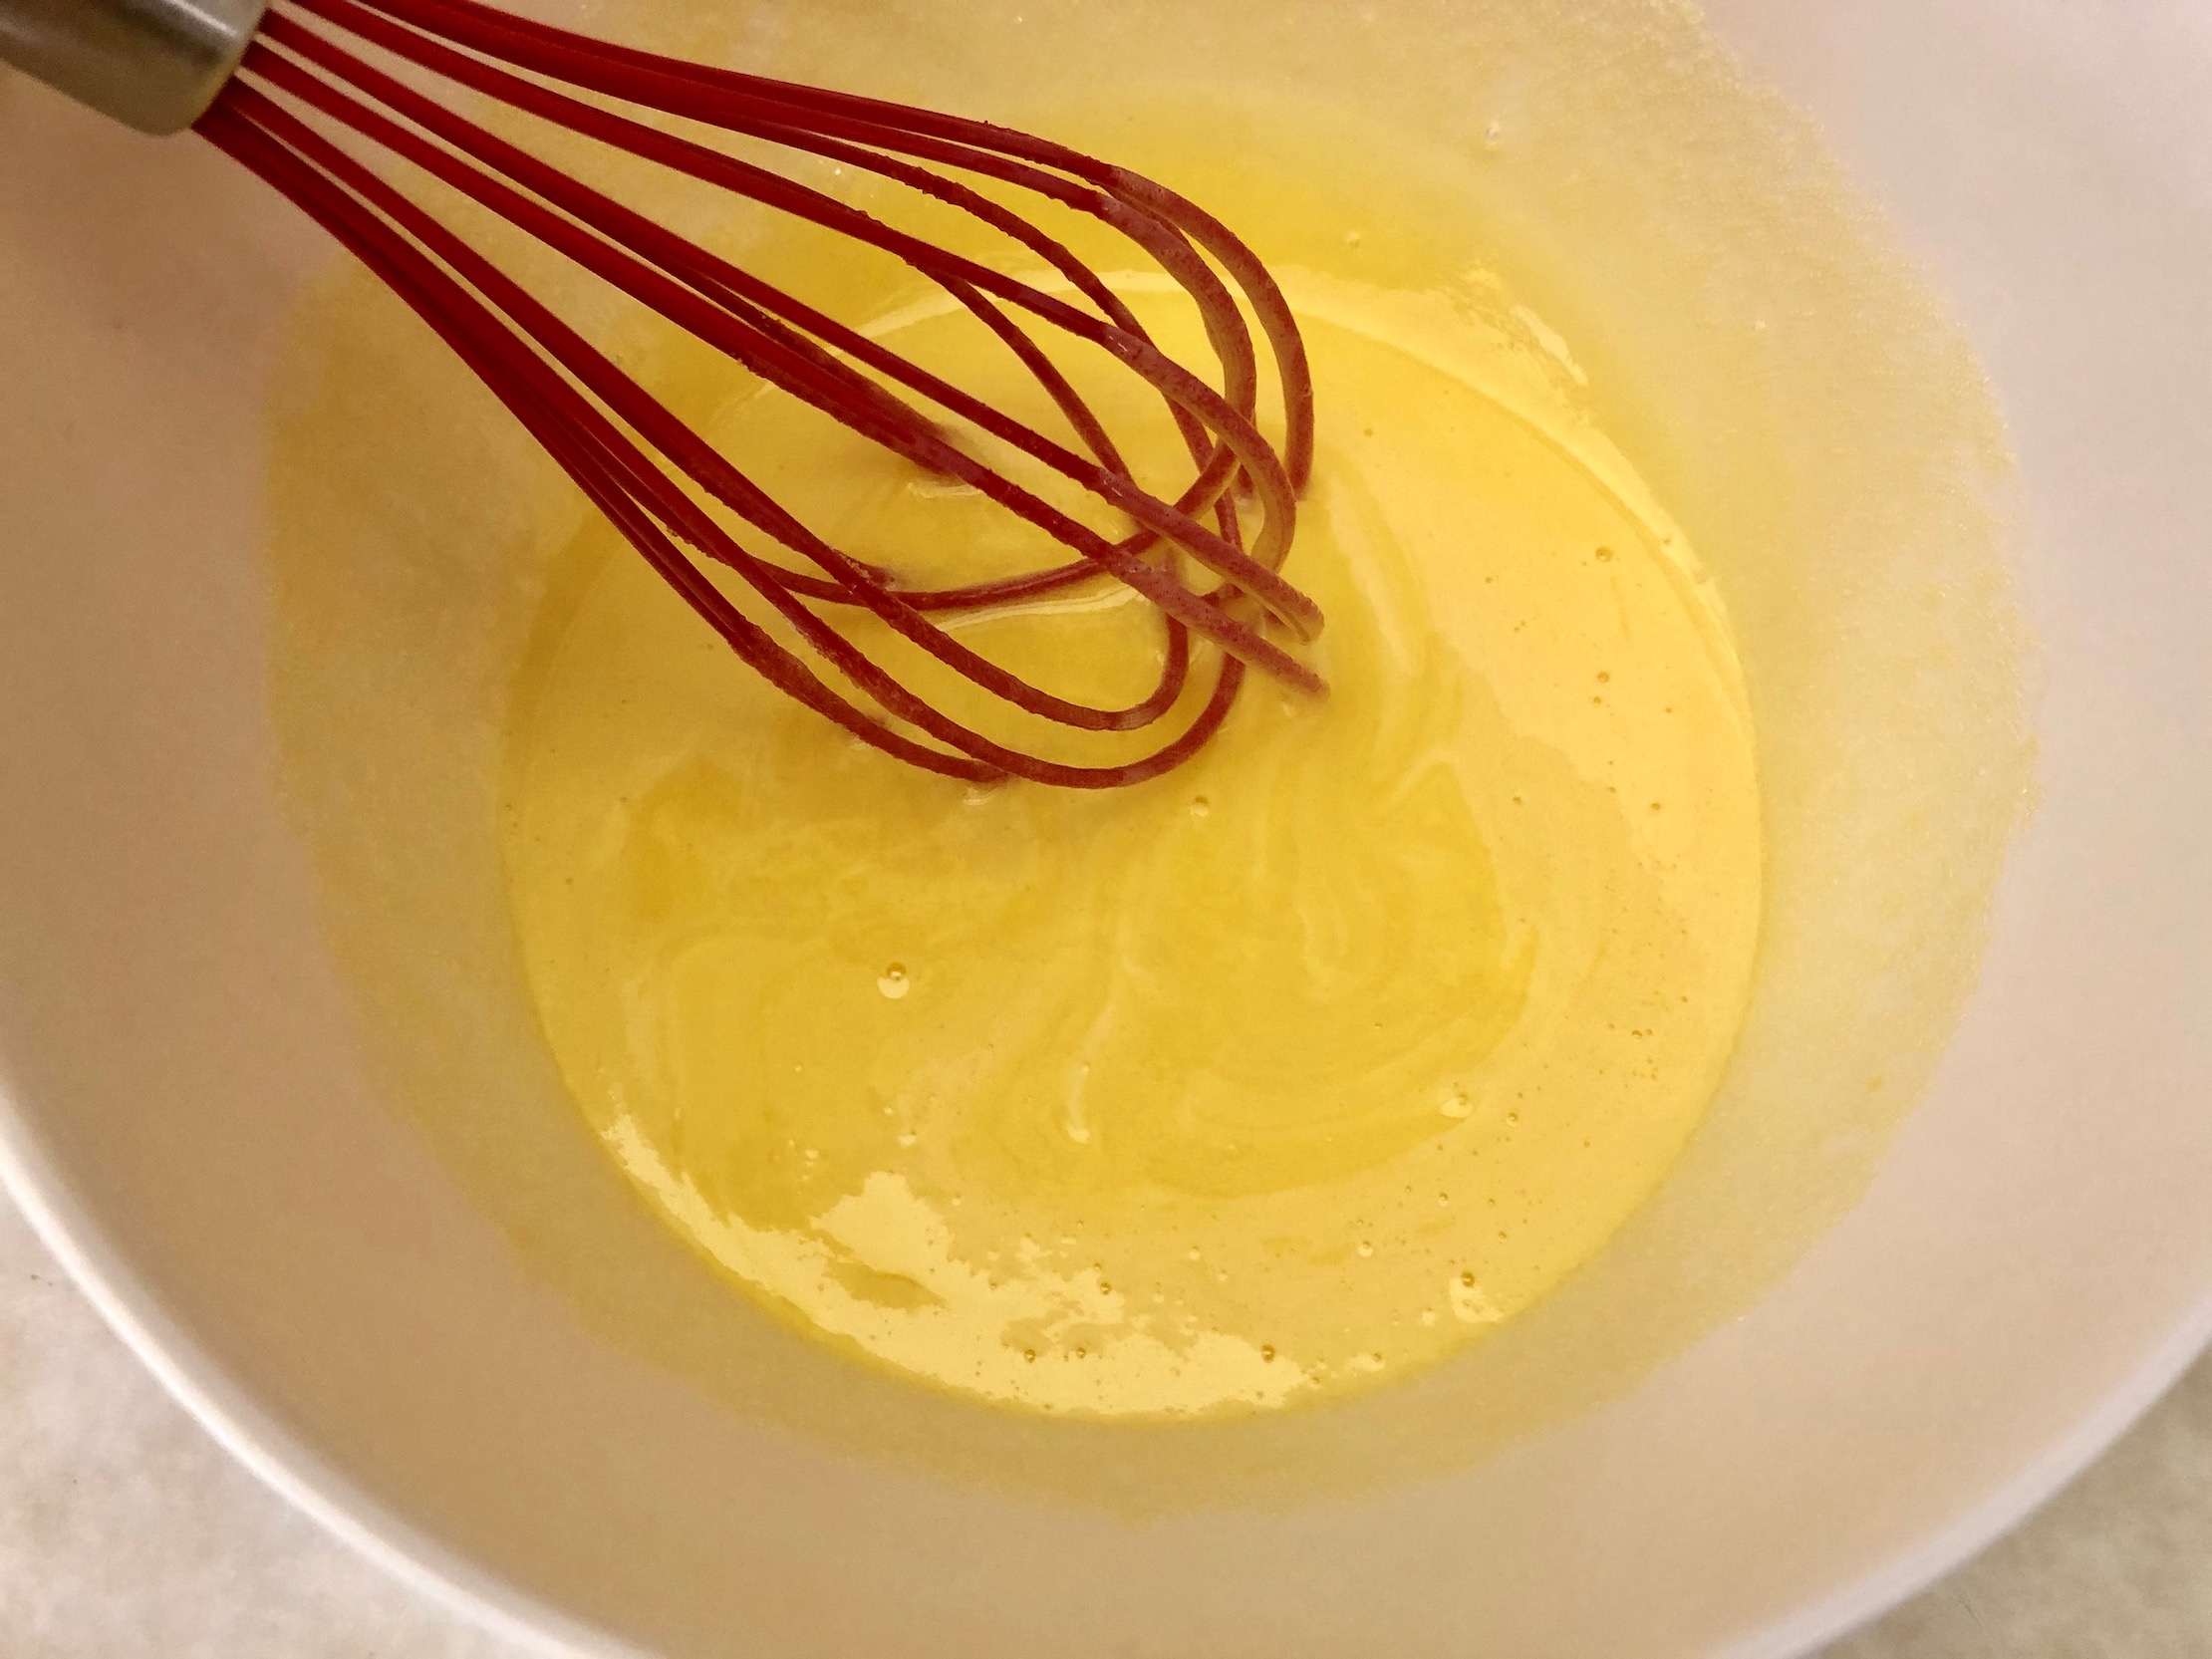
Start by whisking the milk and sugar in a medium sized bowl until the sugar is dissolved. Then, add the heavy cream, vanilla, coffee (make sure it has cooled), and whiskey. Whisk to combine.


Place the frozen ice cream bowl on the stand mixer. Pour the mixture into the ice cream bowl and turn the mixer on. Let the ice cream churn for 30-40 minutes or until thickened.


Once thickened, pour the ice cream into a freezer safe container, cover, and freezer for at least 4 hours to harden and set before eating. Enjoy!

The recipe can be found here.
I recommend making a single batch at a time. If you try to double the batch, it will have a hard time thickening and freezing due to the amount of alcohol in the batter. I also use the ice cream attachment for a stand mixer, but you can use any ice cream maker, just churn according to manufacturer instructions.
Peanut Butter Cup Ice Cream is incredibly rich and heavenly. It’s packed with peanut butter flavor, chocolate drizzle, and peanut butter cups throughout each bite. If you love peanut butter and chocolate, this ice cream is for you! This is an ice cream I say I want one scoop of but actually end up have 2 or 3 scoops of because it’s just that good. Maybe hide it from your family if you don’t want to share 🙂


The recipe can be found here.
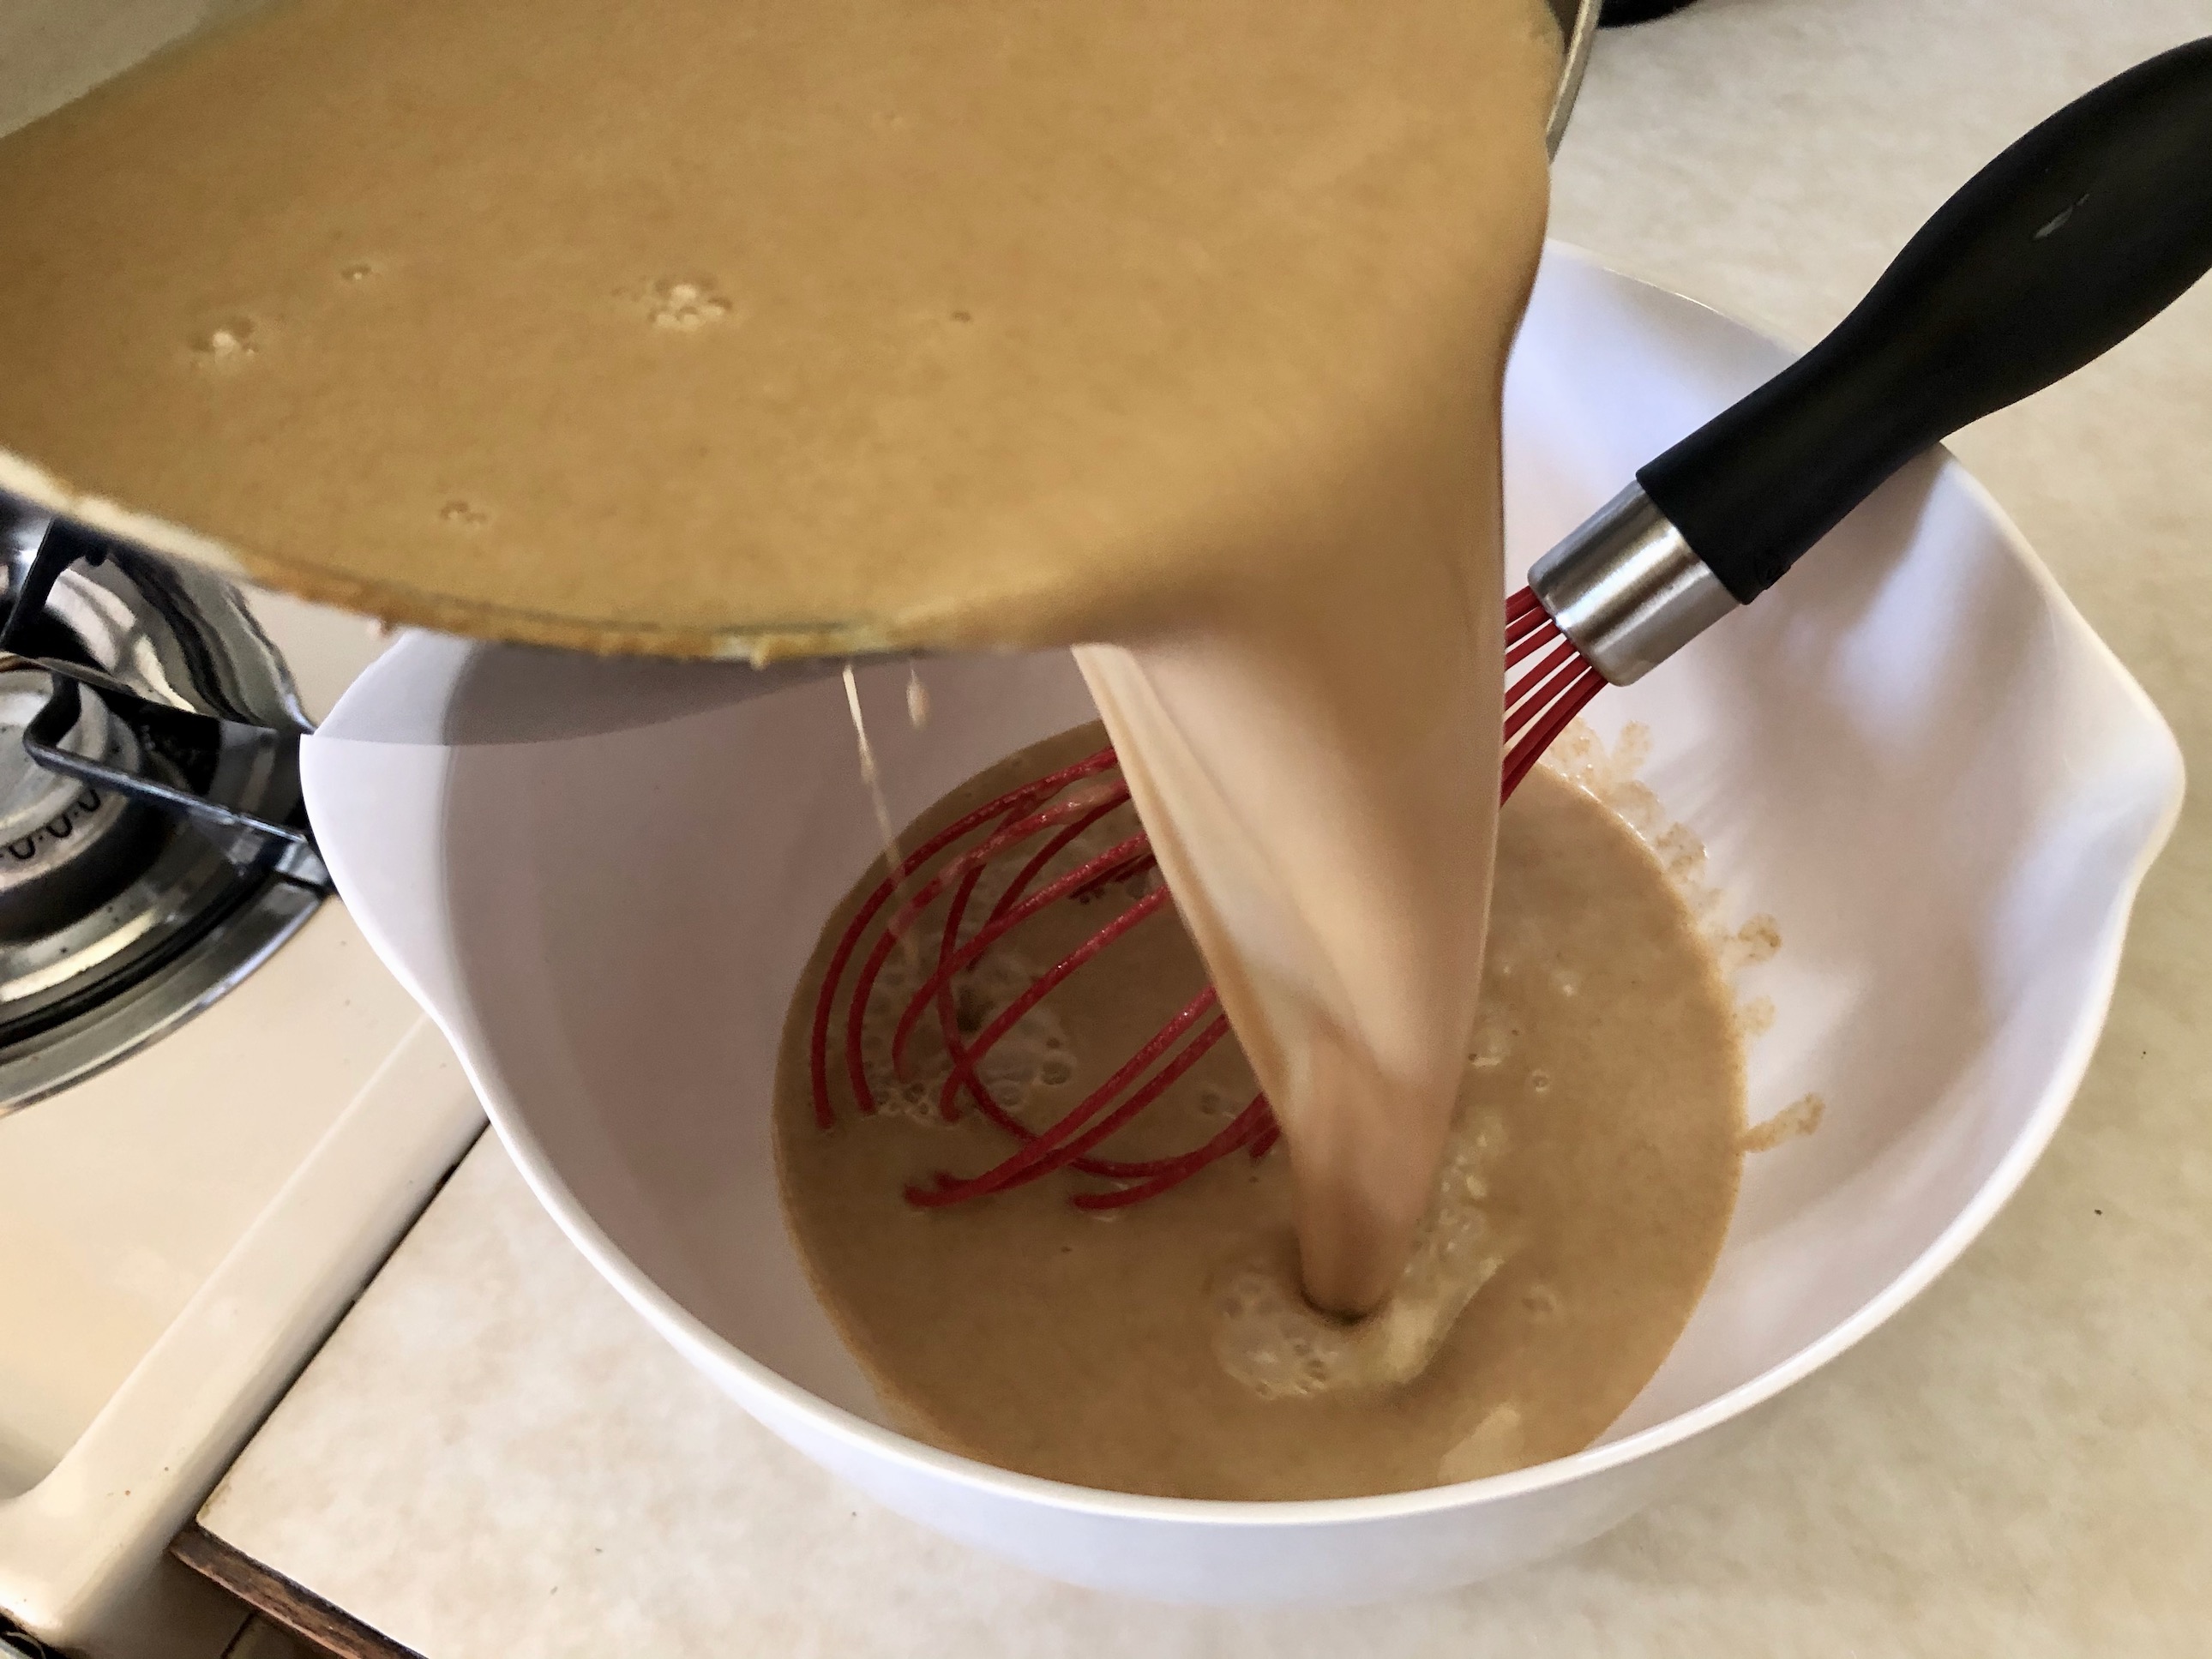
In a medium saucepan, combine the cream, milk, peanut butter, brown sugar and baker’s sugar. Heat over medium heat and whisk until combined. You want to warm the mixture through and melt the peanut butter. This won’t take too much time, just make sure to not boil the mixture. Once the mixture is warm, remove it from the heat, and stir in the vanilla extract.


Pour the mixture into a bowl, cover, and place in the fridge until chilled. This will take about 1 hour. You can try putting the bowl in the freezer to chill over a shorter period of time.
Once chilled, place the frozen ice cream bowl on the stand mixer. Pour the mixture into the ice cream bowl and turn the mixer on. Let the ice cream churn for 35-40 minutes or until thickened. Again, I use the ice cream attachment for a stand mixer, but you can use any ice cream maker, just churn according to manufacturer instructions.


Once the ice cream is done, stir in the peanut butter cups by hand. In my haste to assemble the ice cream layers I almost forgot this part! It’s OK if you do too because you can always add them throughout the layers or sprinkle on top. Novice mistake in my excitement for ice cream (insert eyeroll) but at least I didn’t forget them all together!
Add 1/3 of the ice cream to the bottom of a freezer safe container. Place 1/3 cup of peanut butter in a microwave safe bowl and microwave for 30 seconds. You want to slightly melt the peanut butter. Drizzle this over the ice cream. You can add more than 1/3 cup if you want even more peanut butter flavor.


Add another 1/3 of the ice cream on top of the peanut butter drizzle. Heat the hot fudge in the microwave for 30 seconds. Drizzle the fudge over the ice cream, adding as much or as little as you like.

Add the last 1/3 of the ice cream on top of the fudge.

Cover and place in the freezer for at least 2 hours but up to 4 hours to harden and set before eating. Then…. devour! This ice cream IS. THE. BEST.
The recipe can be found here.
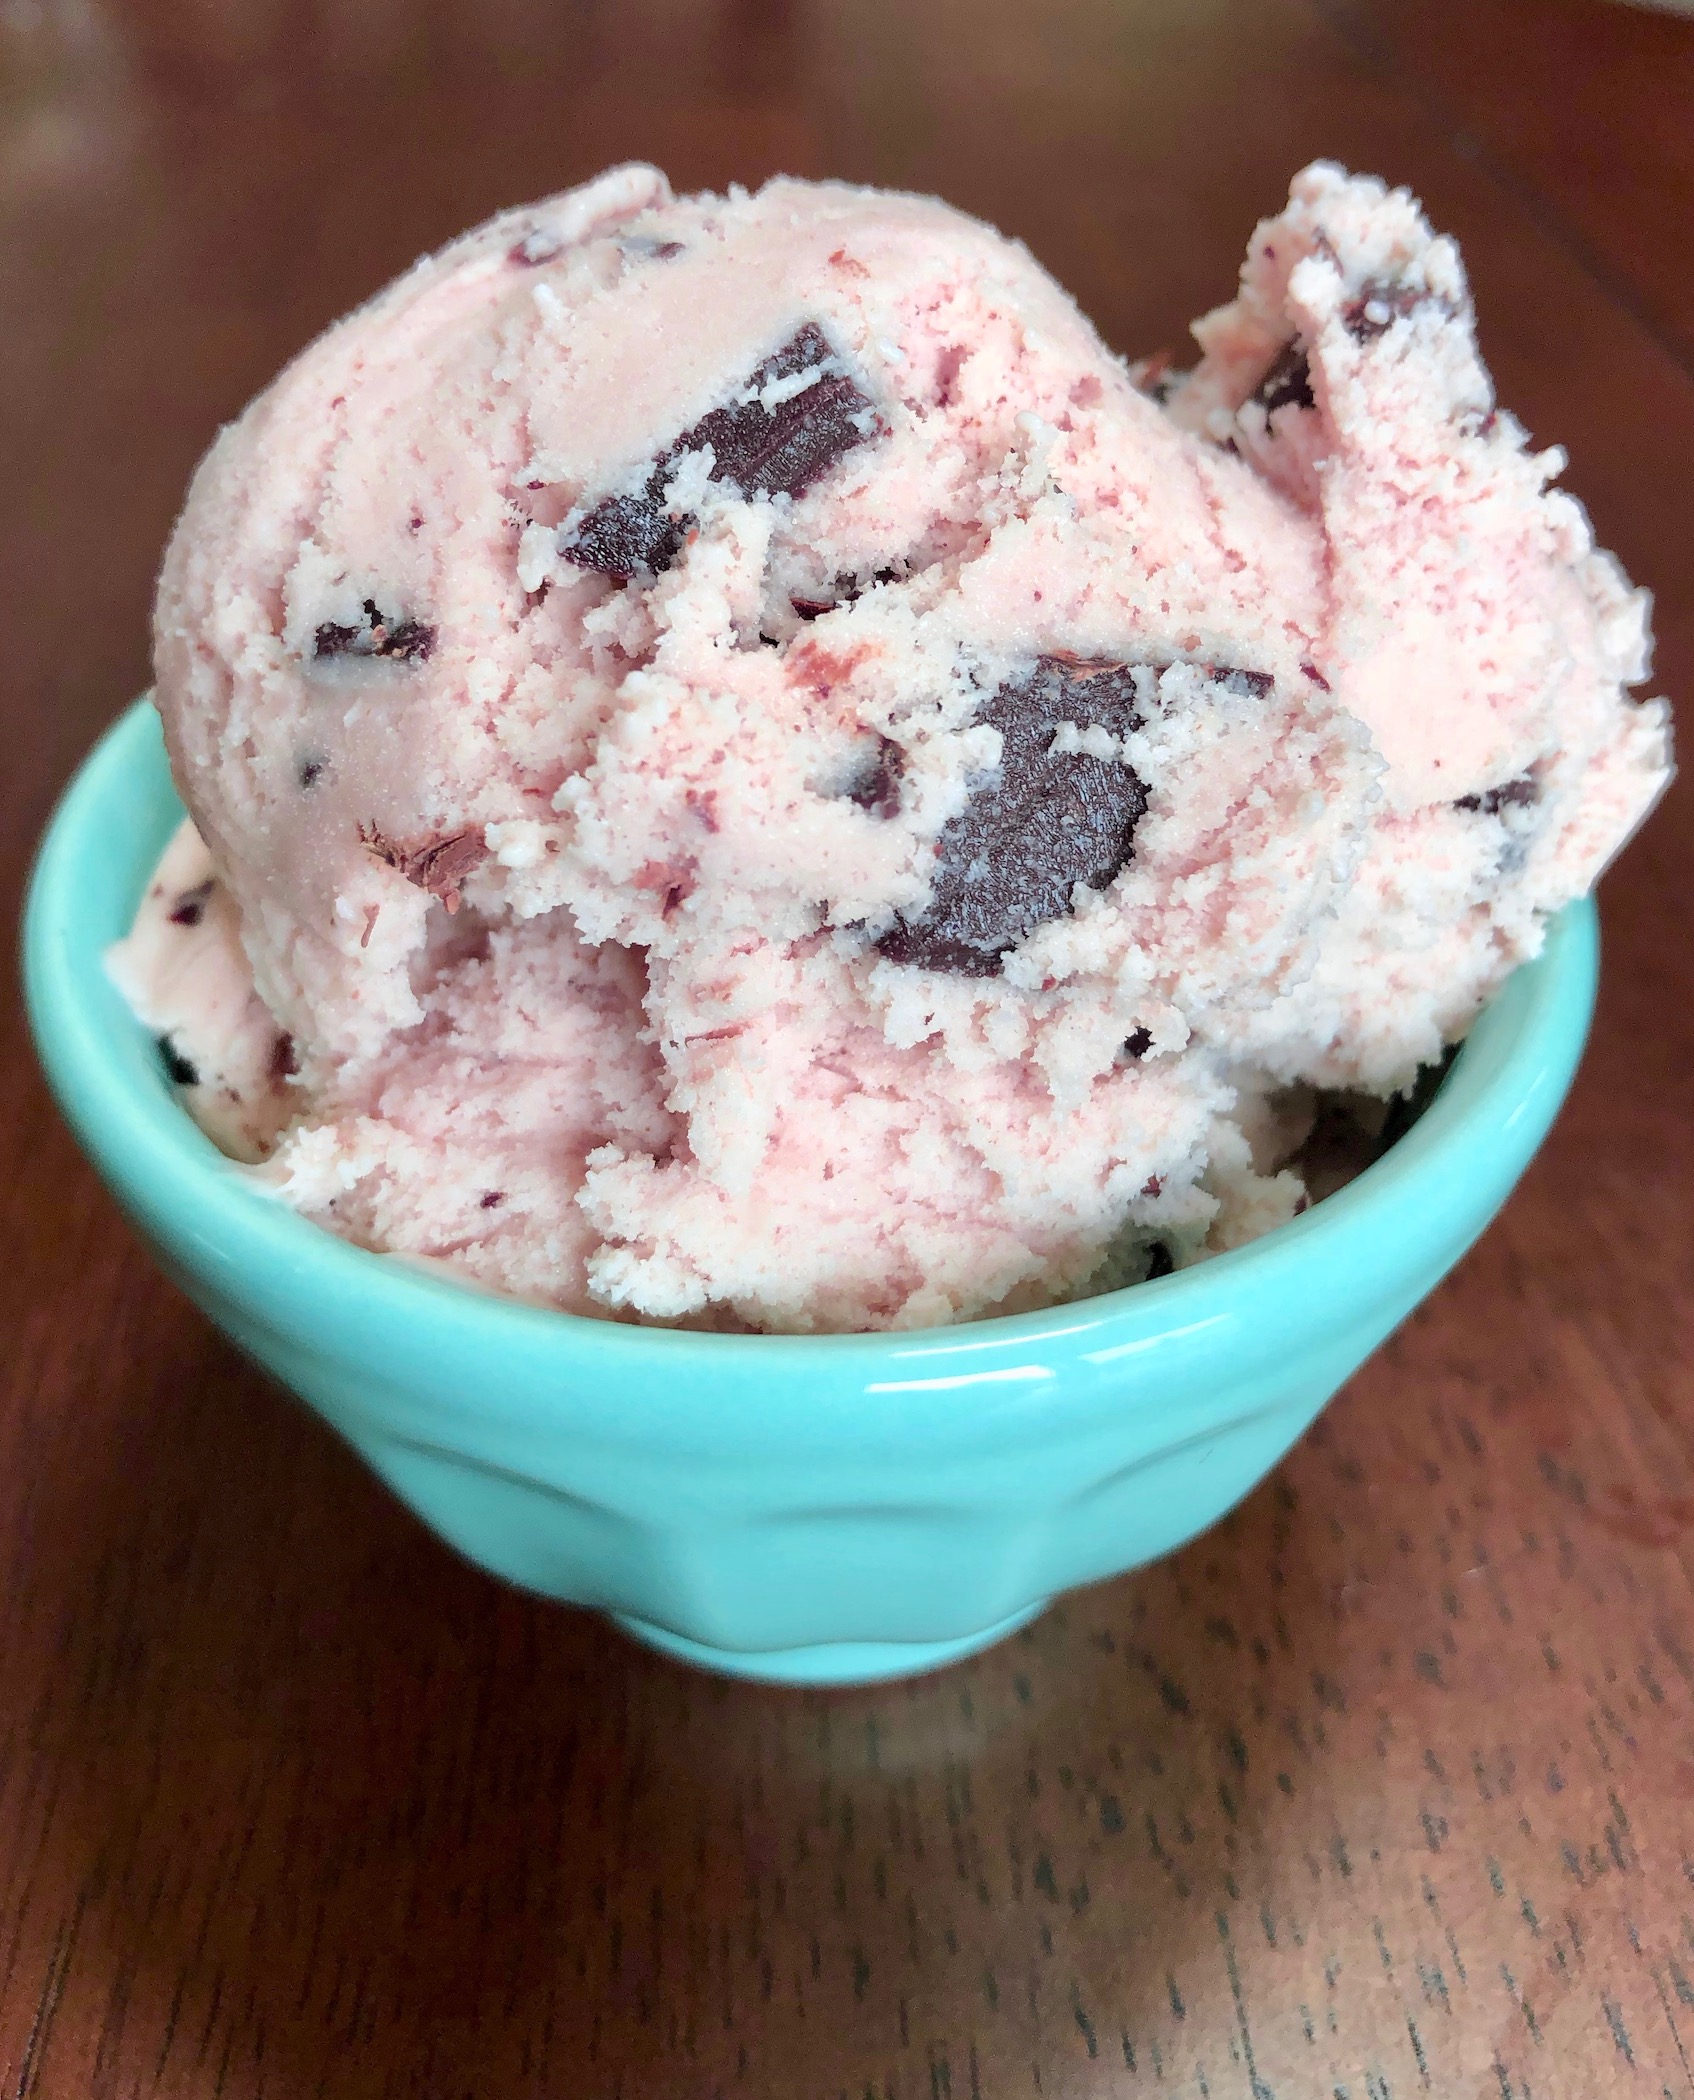
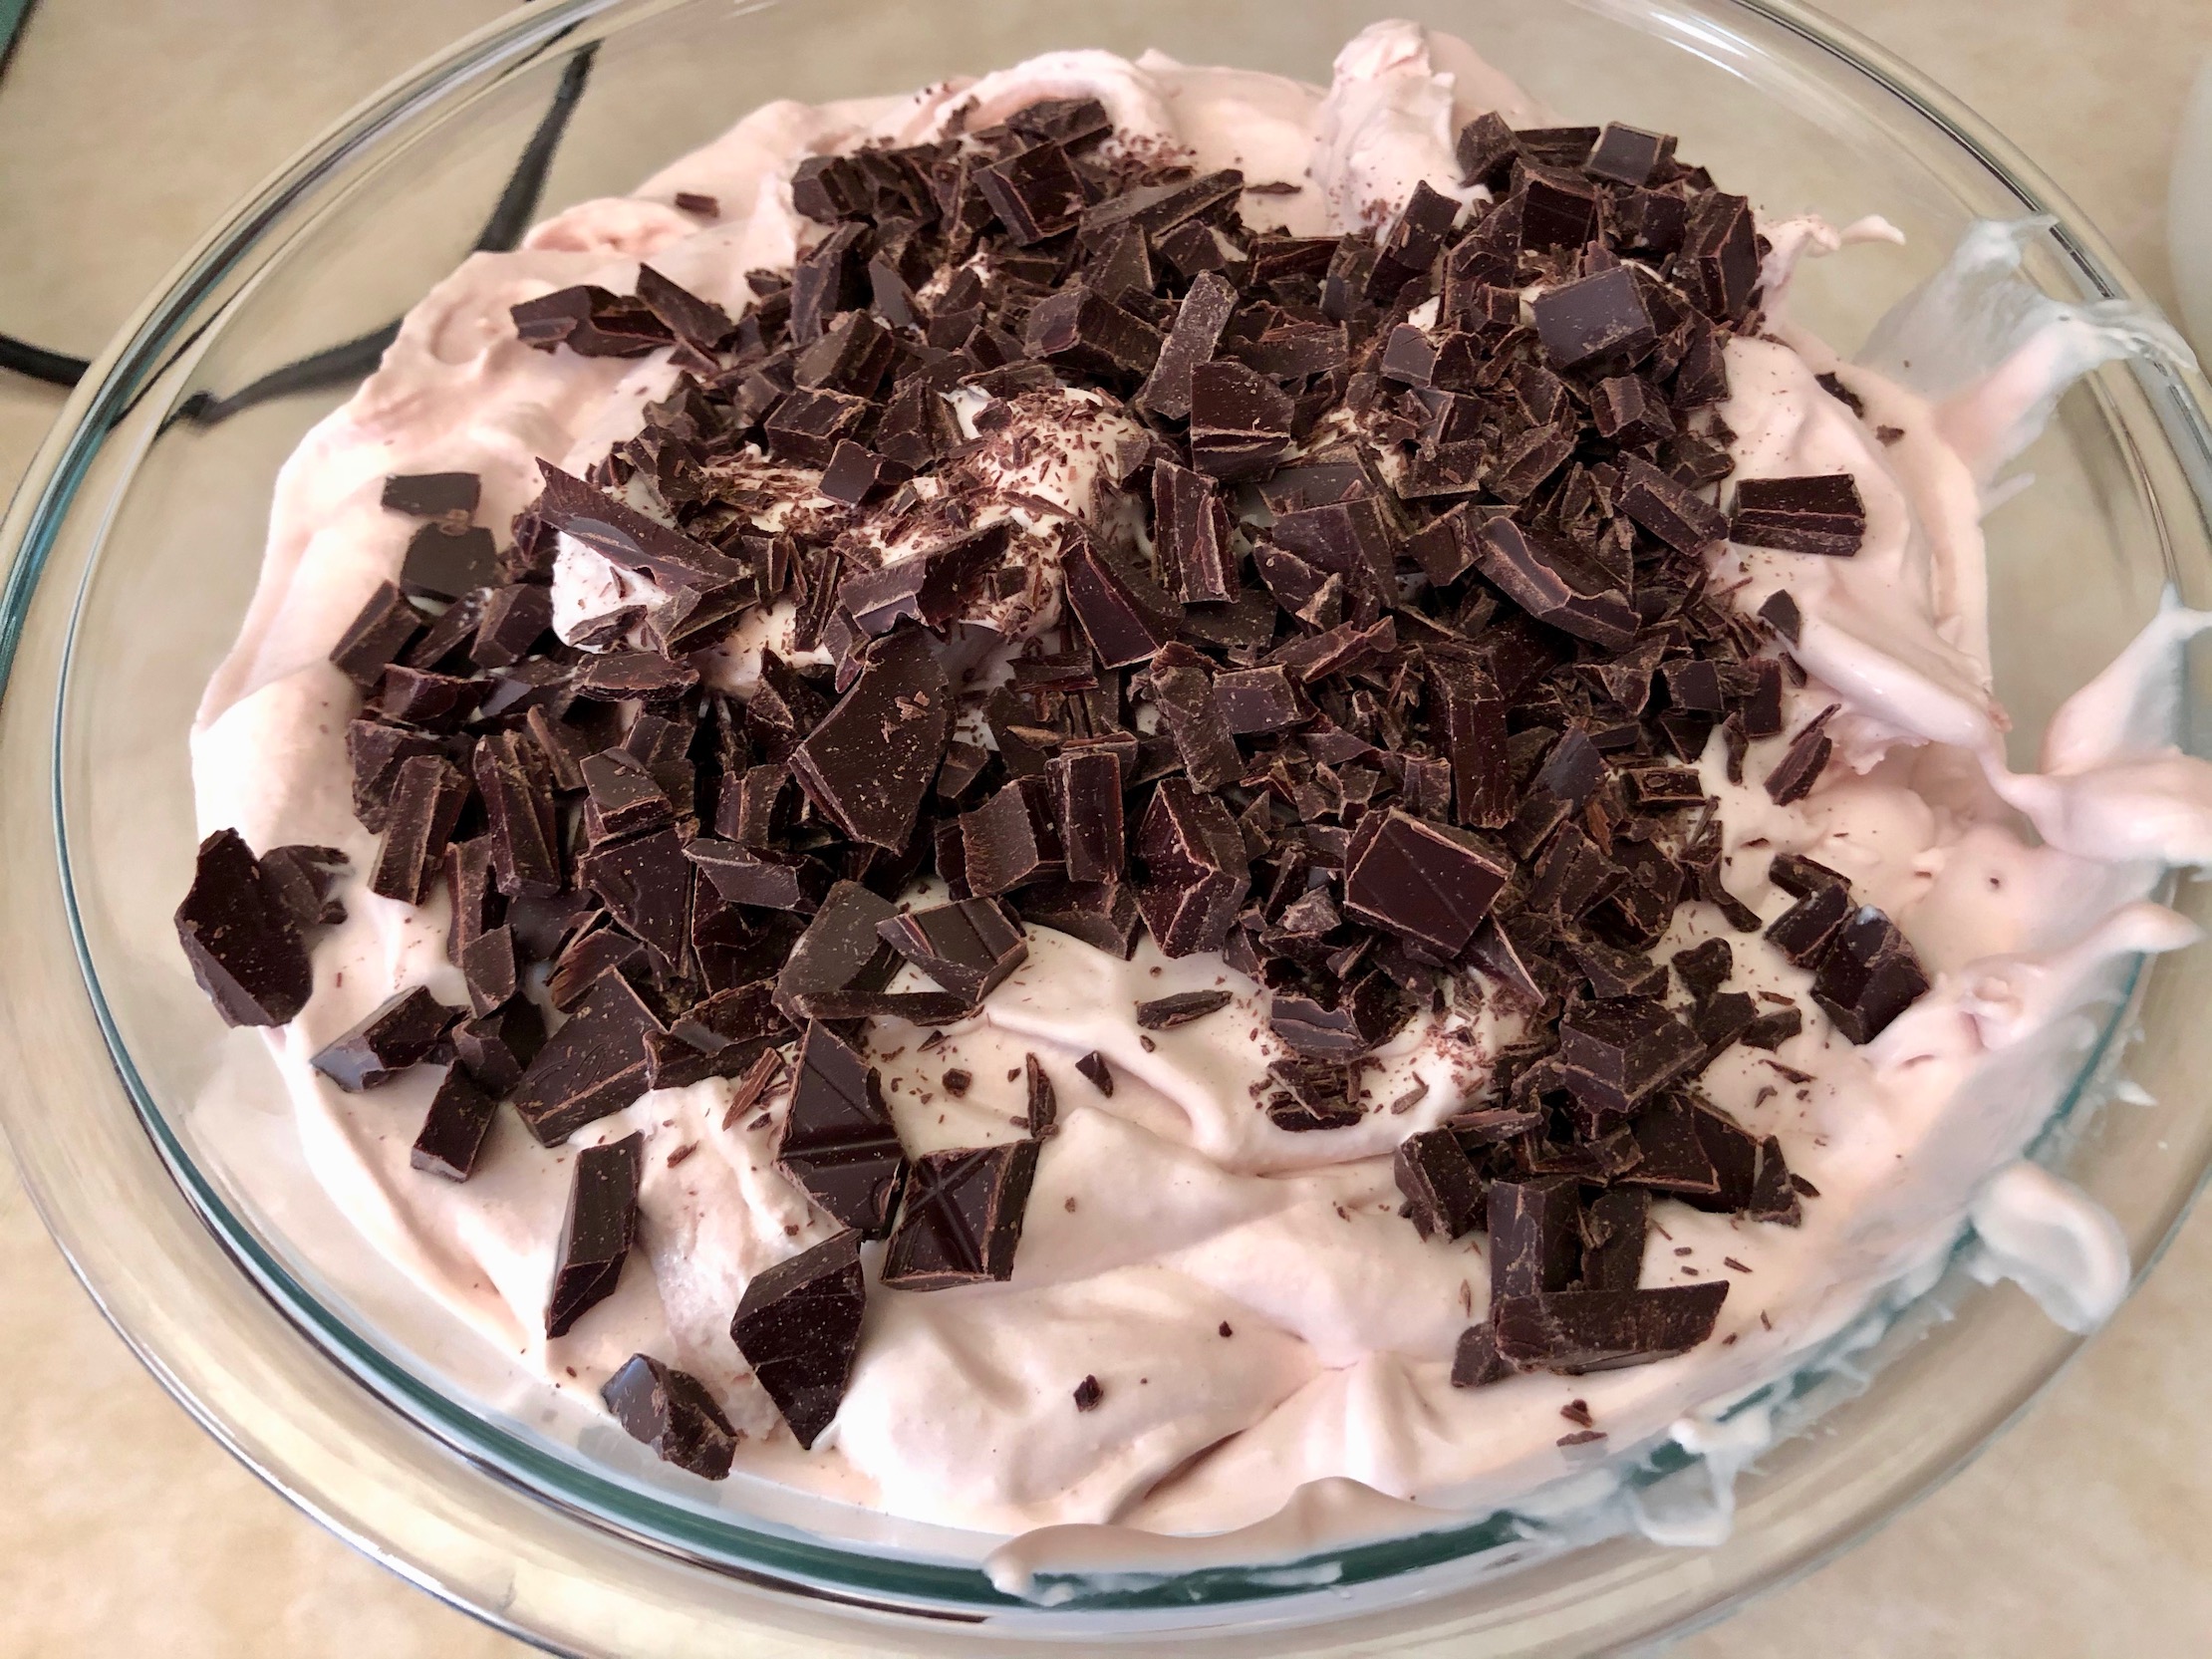
Raspberry Chocolate Chunk Ice Cream is rich and creamy with the perfect raspberry flavor and little bits of chocolate in every bite. This is a nod to one of my favorite ice cream flavors from a local ice cream shop and is something I knew I wanted to recreate! This batch makes quite a bit (my ice cream maker was almost overflowing when done churning) so it’s great to make as dessert for a crowd or it’ll just last you a little while if you don’t want to share 🙂

The recipe can be found here.
Start by making the raspberry puree. Add the raspberries, ¼ cup sugar, and lemon juice to a saucepan and heat over medium heat. Stir to coat the raspberries. Use a spoon to mash the raspberries as they cook. You want the raspberries to be soft, juicy, and release a lot of flavor. This will take about 7-8 minutes.


Remove from the heat and add to a food processor or blender. Puree the raspberries. Then, place a fine mesh strainer over a large bowl. You are going to use this to catch all the juices. Pour the mixture into the strainer. You might need to swirl it around (over the bowl) or use a spoon to push some of the liquid through the strainer. You want to remove any pulp or seeds found in the liquid. These can be discarded. Then, set the puree aside to cool.


Add the half and half, and heavy cream to a medium sized saucepan. Heat over medium heat until simmering. Remove from the heat and set aside.


In a large mixing bowl, add the yolks from 8 eggs. Whisk until smooth. I had no use for the egg whites so they were discarded but you can easily save them for another recipe if you choose. Add 1 cup of sugar to the egg yolks and whisk to combine.


Temper the eggs by slowly adding 1 cup of the warm cream mixture to the egg yolk mixture. Make sure to whisk the yolks while pouring the warm cream – it’s very important to do this! You want to incorporate the warm cream into the yolks without cooking the yolks. If you do not whisk while pouring you might end up with a curdled mess! Then, add another 1 cup of the warm cream mixture while whisking. There should be enough of the cream mixture added to the yolks at this point and the yolks should be heated through. You can slowly pour the rest of the cream into the yolks, while whisking, until completely combined.


Add the mixture back into the saucepan and heat over low heat. Constantly stir the mixture until it has thickened and reaches 175 degrees. This should take about 5-7 minutes. I attached a candy thermometer to the saucepan for this part. If you don’t have a candy thermometer, the mixture should coat the back of a spoon and this will be your gauge as to when it’s ready.


Remove from the heat and pour into a storage container. Let it cool on the counter for about 30 minutes. Then, stir in the vanilla extract and raspberry puree. Cover and place in the fridge to chill for at least 12 hours but ideally overnight.
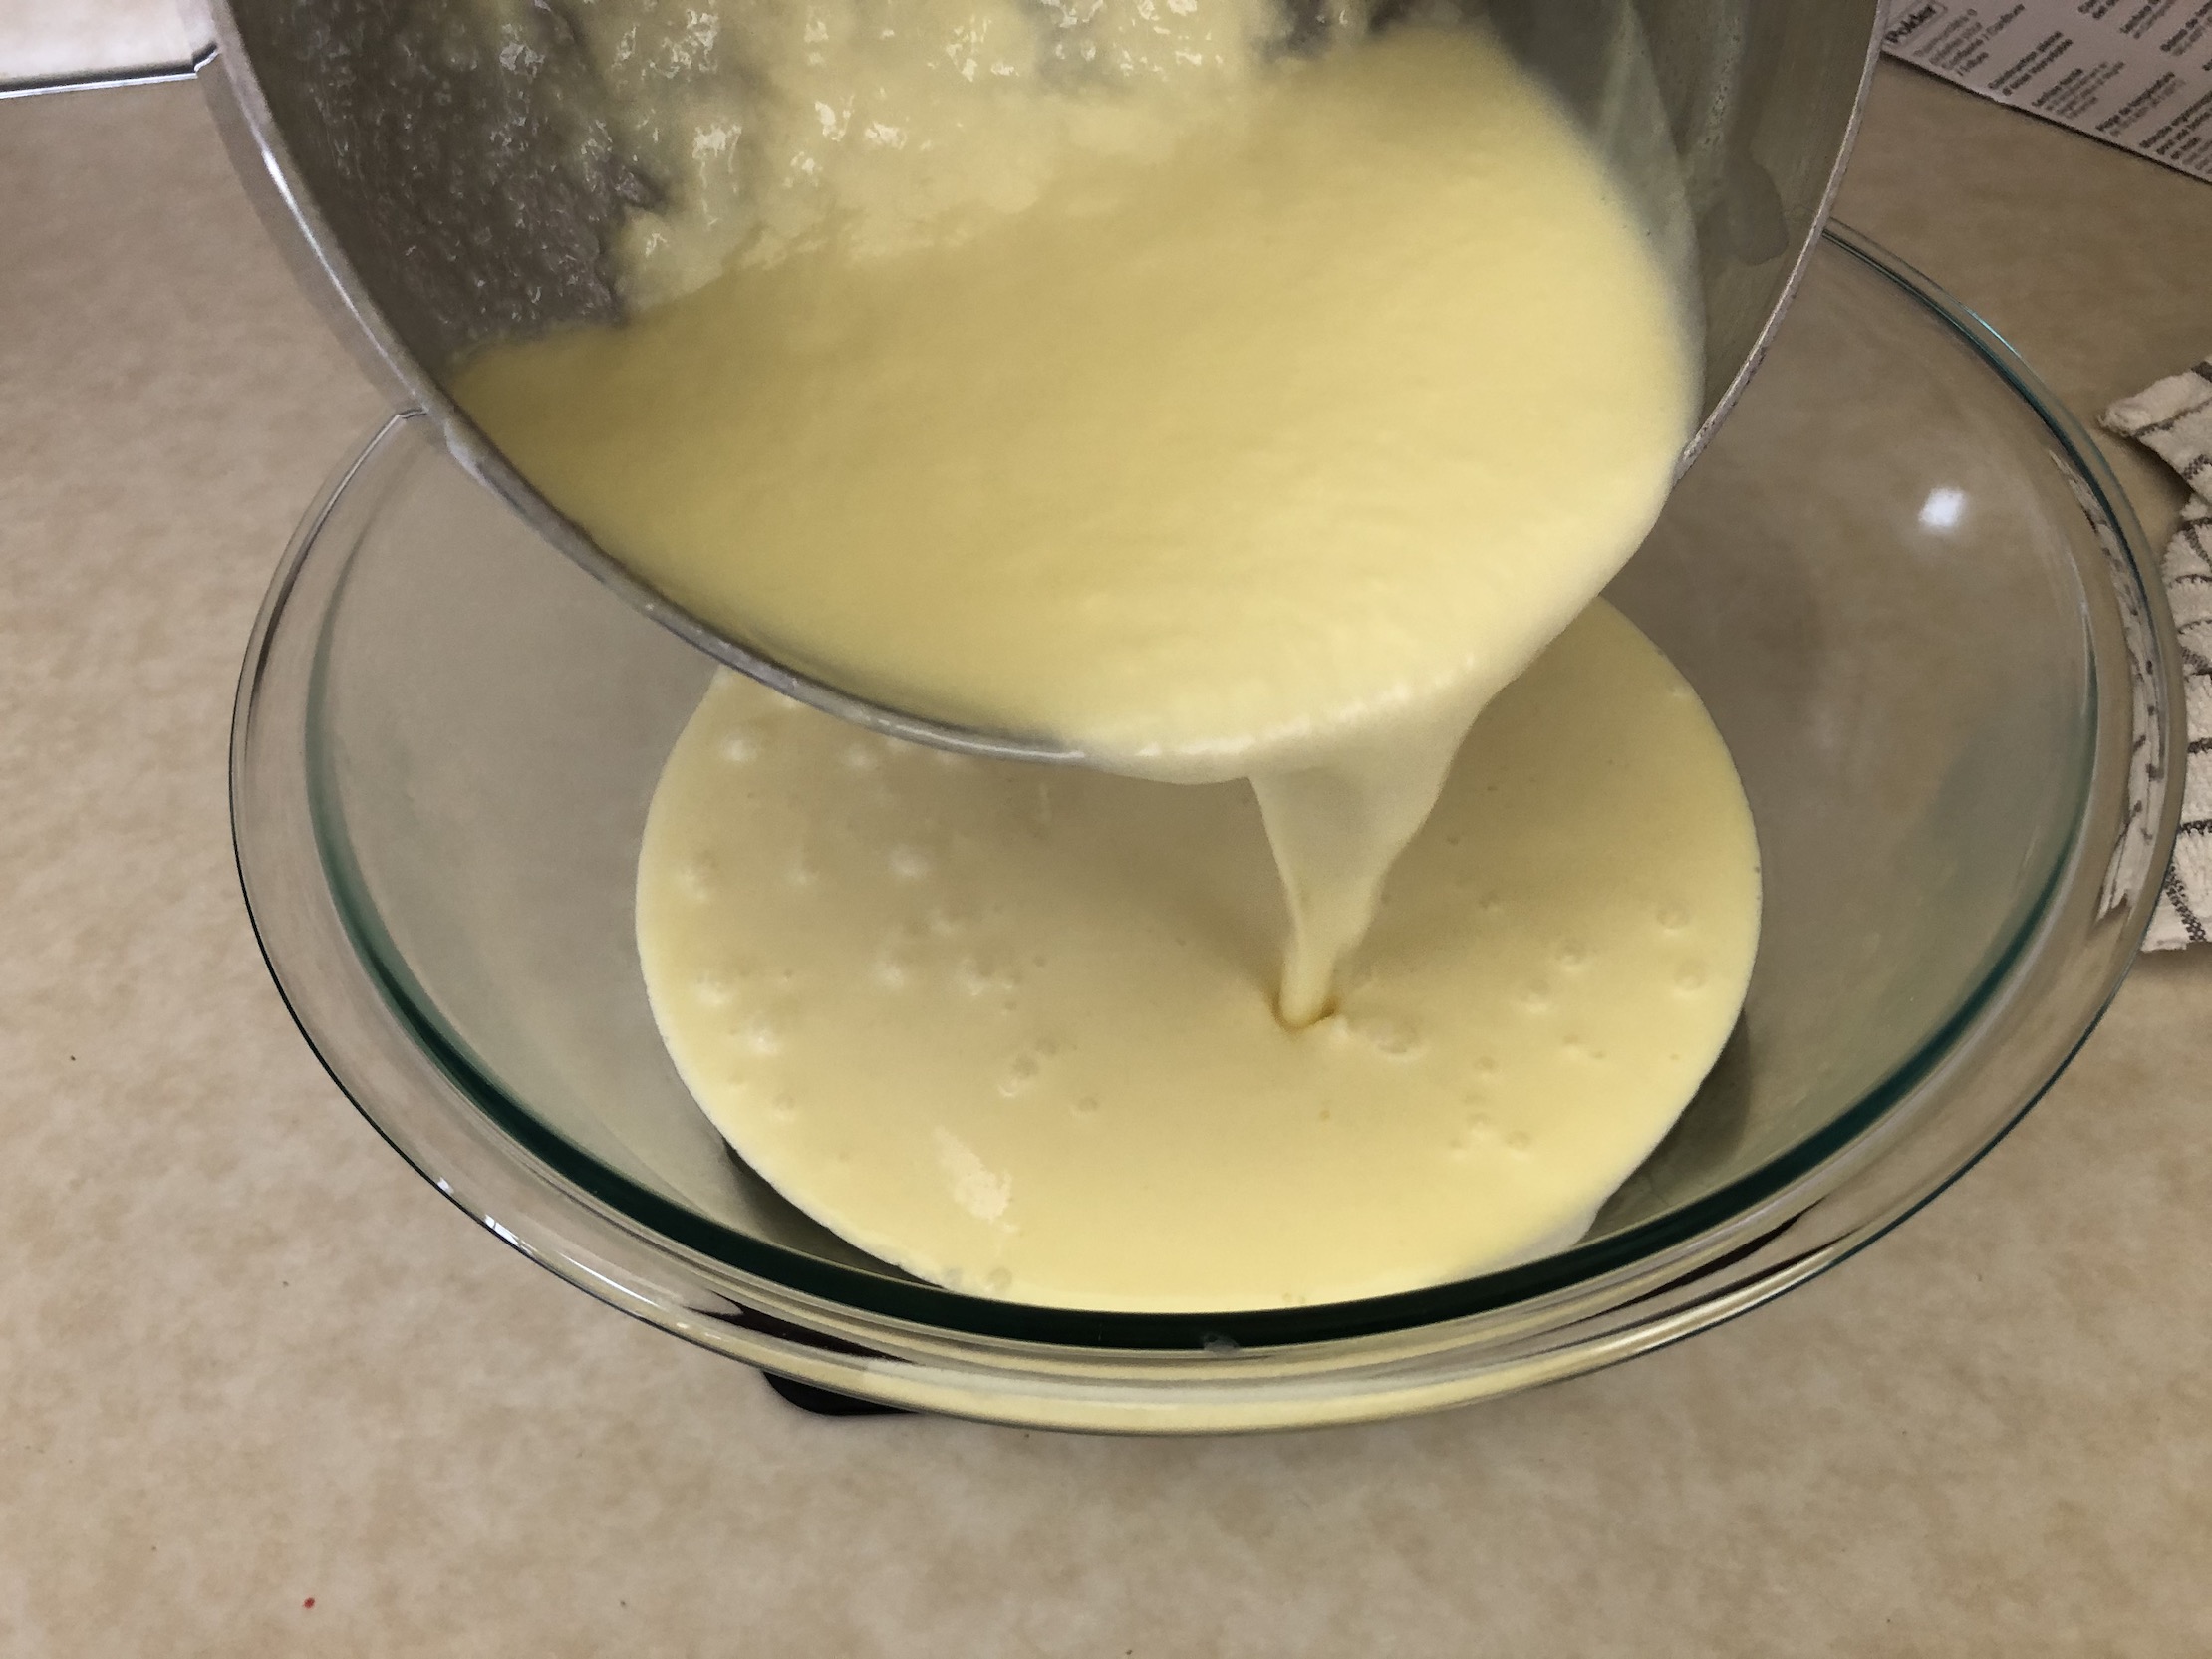


Once the mixture has chilled in the fridge for at least 12 hours or overnight, place the frozen ice cream bowl on the stand mixer. Pour the mixture into the ice cream bowl and turn the mixer on. Let the ice cream churn for 25-30 minutes or until thickened. Again, I use the ice cream attachment for a stand mixer, but you can use any ice cream maker, just churn according to manufacturer instructions.

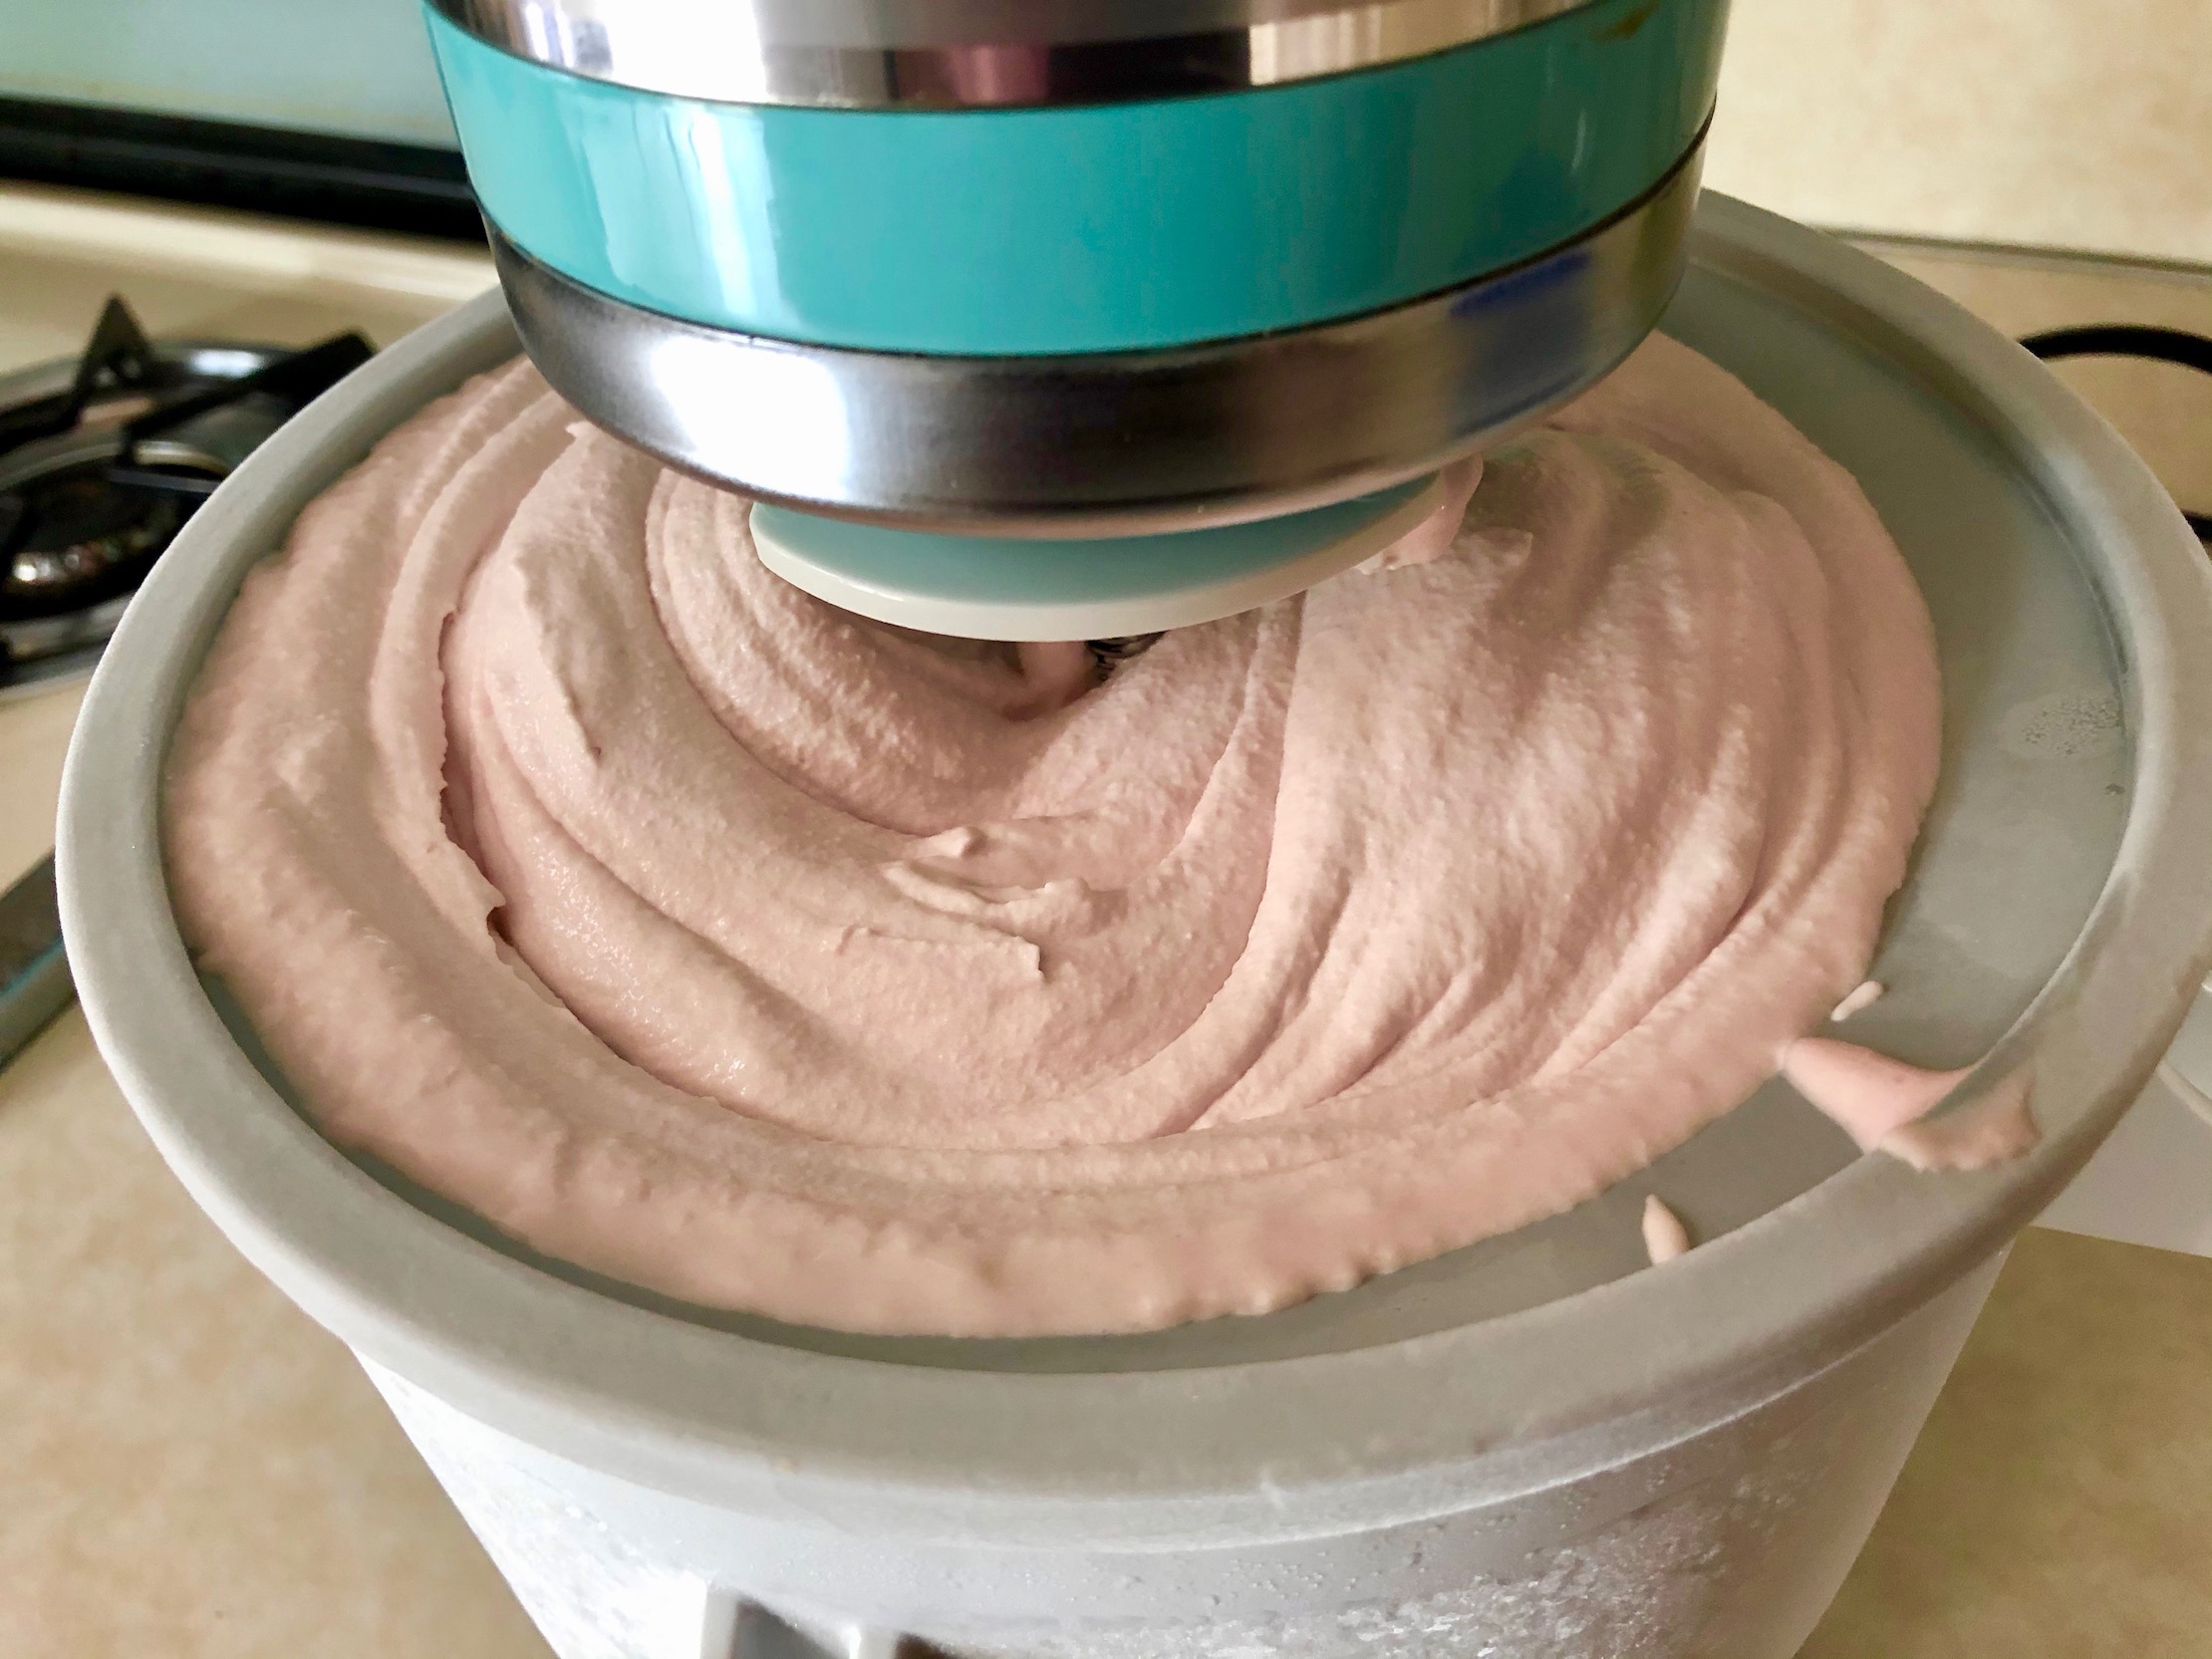

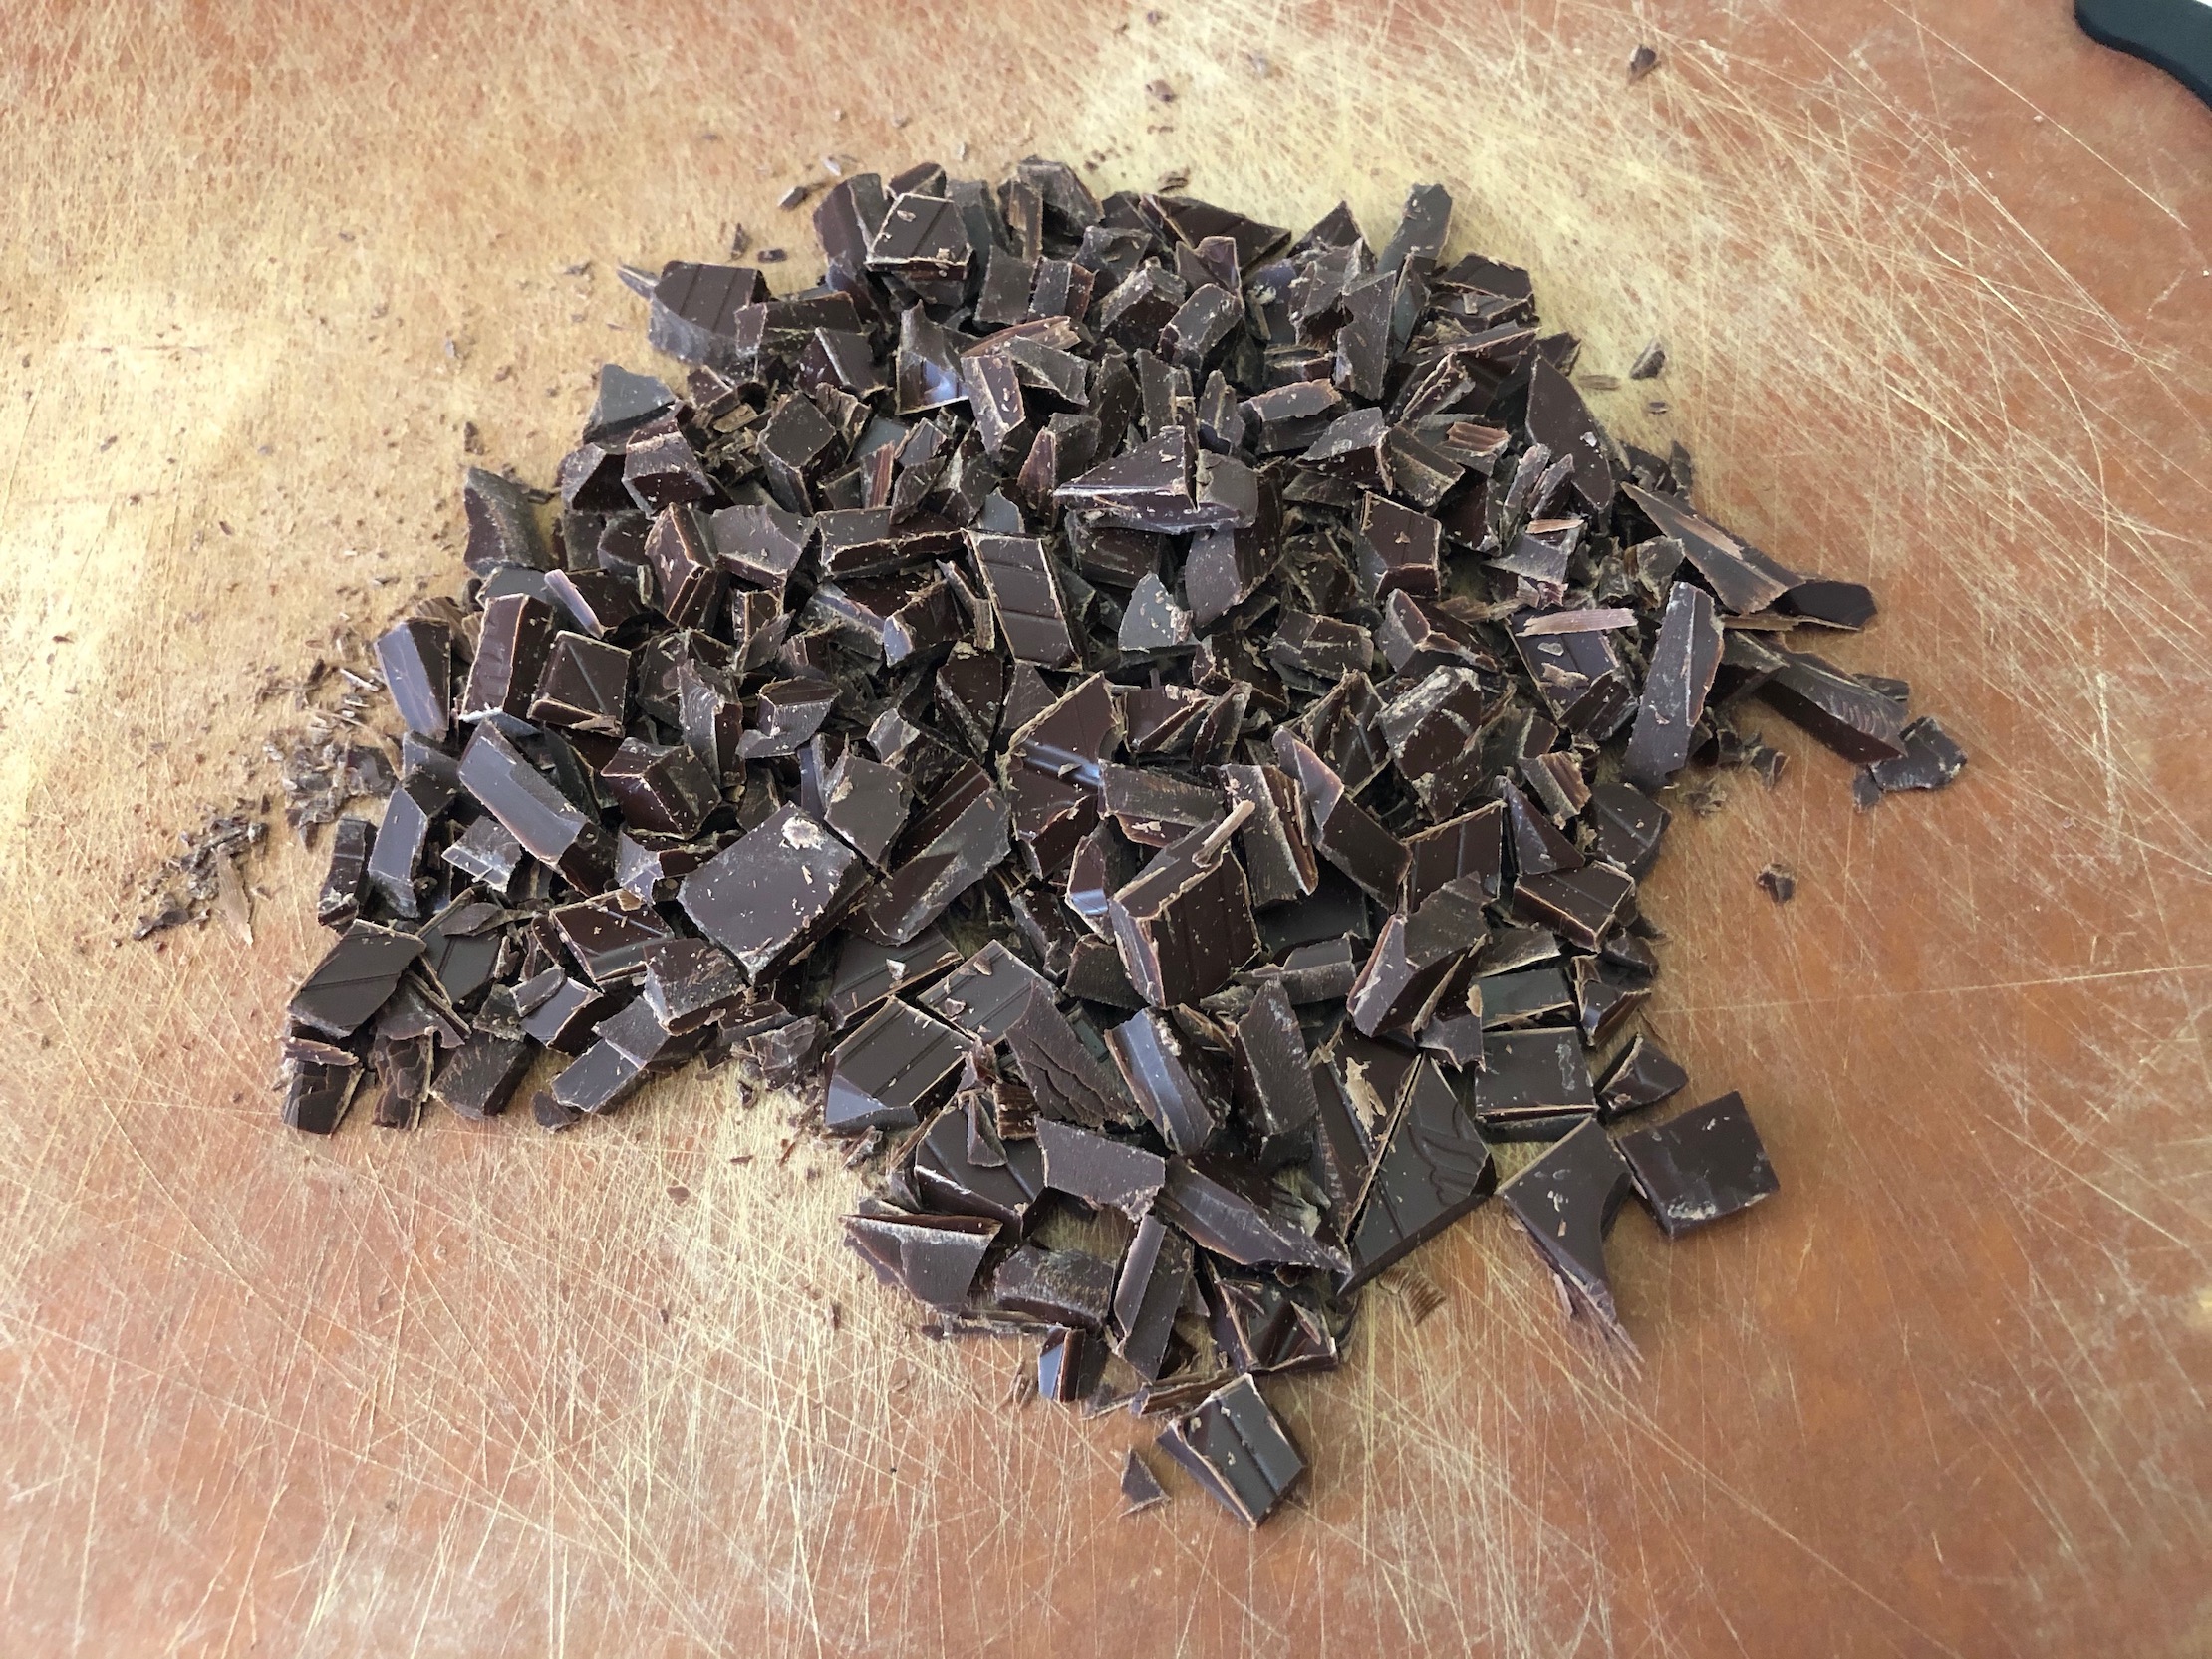
Once thickened, pour the ice cream into a freezer safe container and stir in the chocolate pieces. I used 2 bars of dark chocolate and chopped them into small pieces. Chocolate chips would also work just as well. Cover the container and place in the freezer for at least 4 hours to harden and set before eating. Super yummy!

The recipe can be found here.
Blueberry Banana Sorbet is both dairy-free and vegan. It’s made from frozen fruit and is very flavorful. It doesn’t have the same texture as ice cream, it’s not as creamy, but has more of an “icy” texture. It’s a wonderful option if you have dietary restrictions but still want a cold treat on a hot day!
The recipe can be found here.
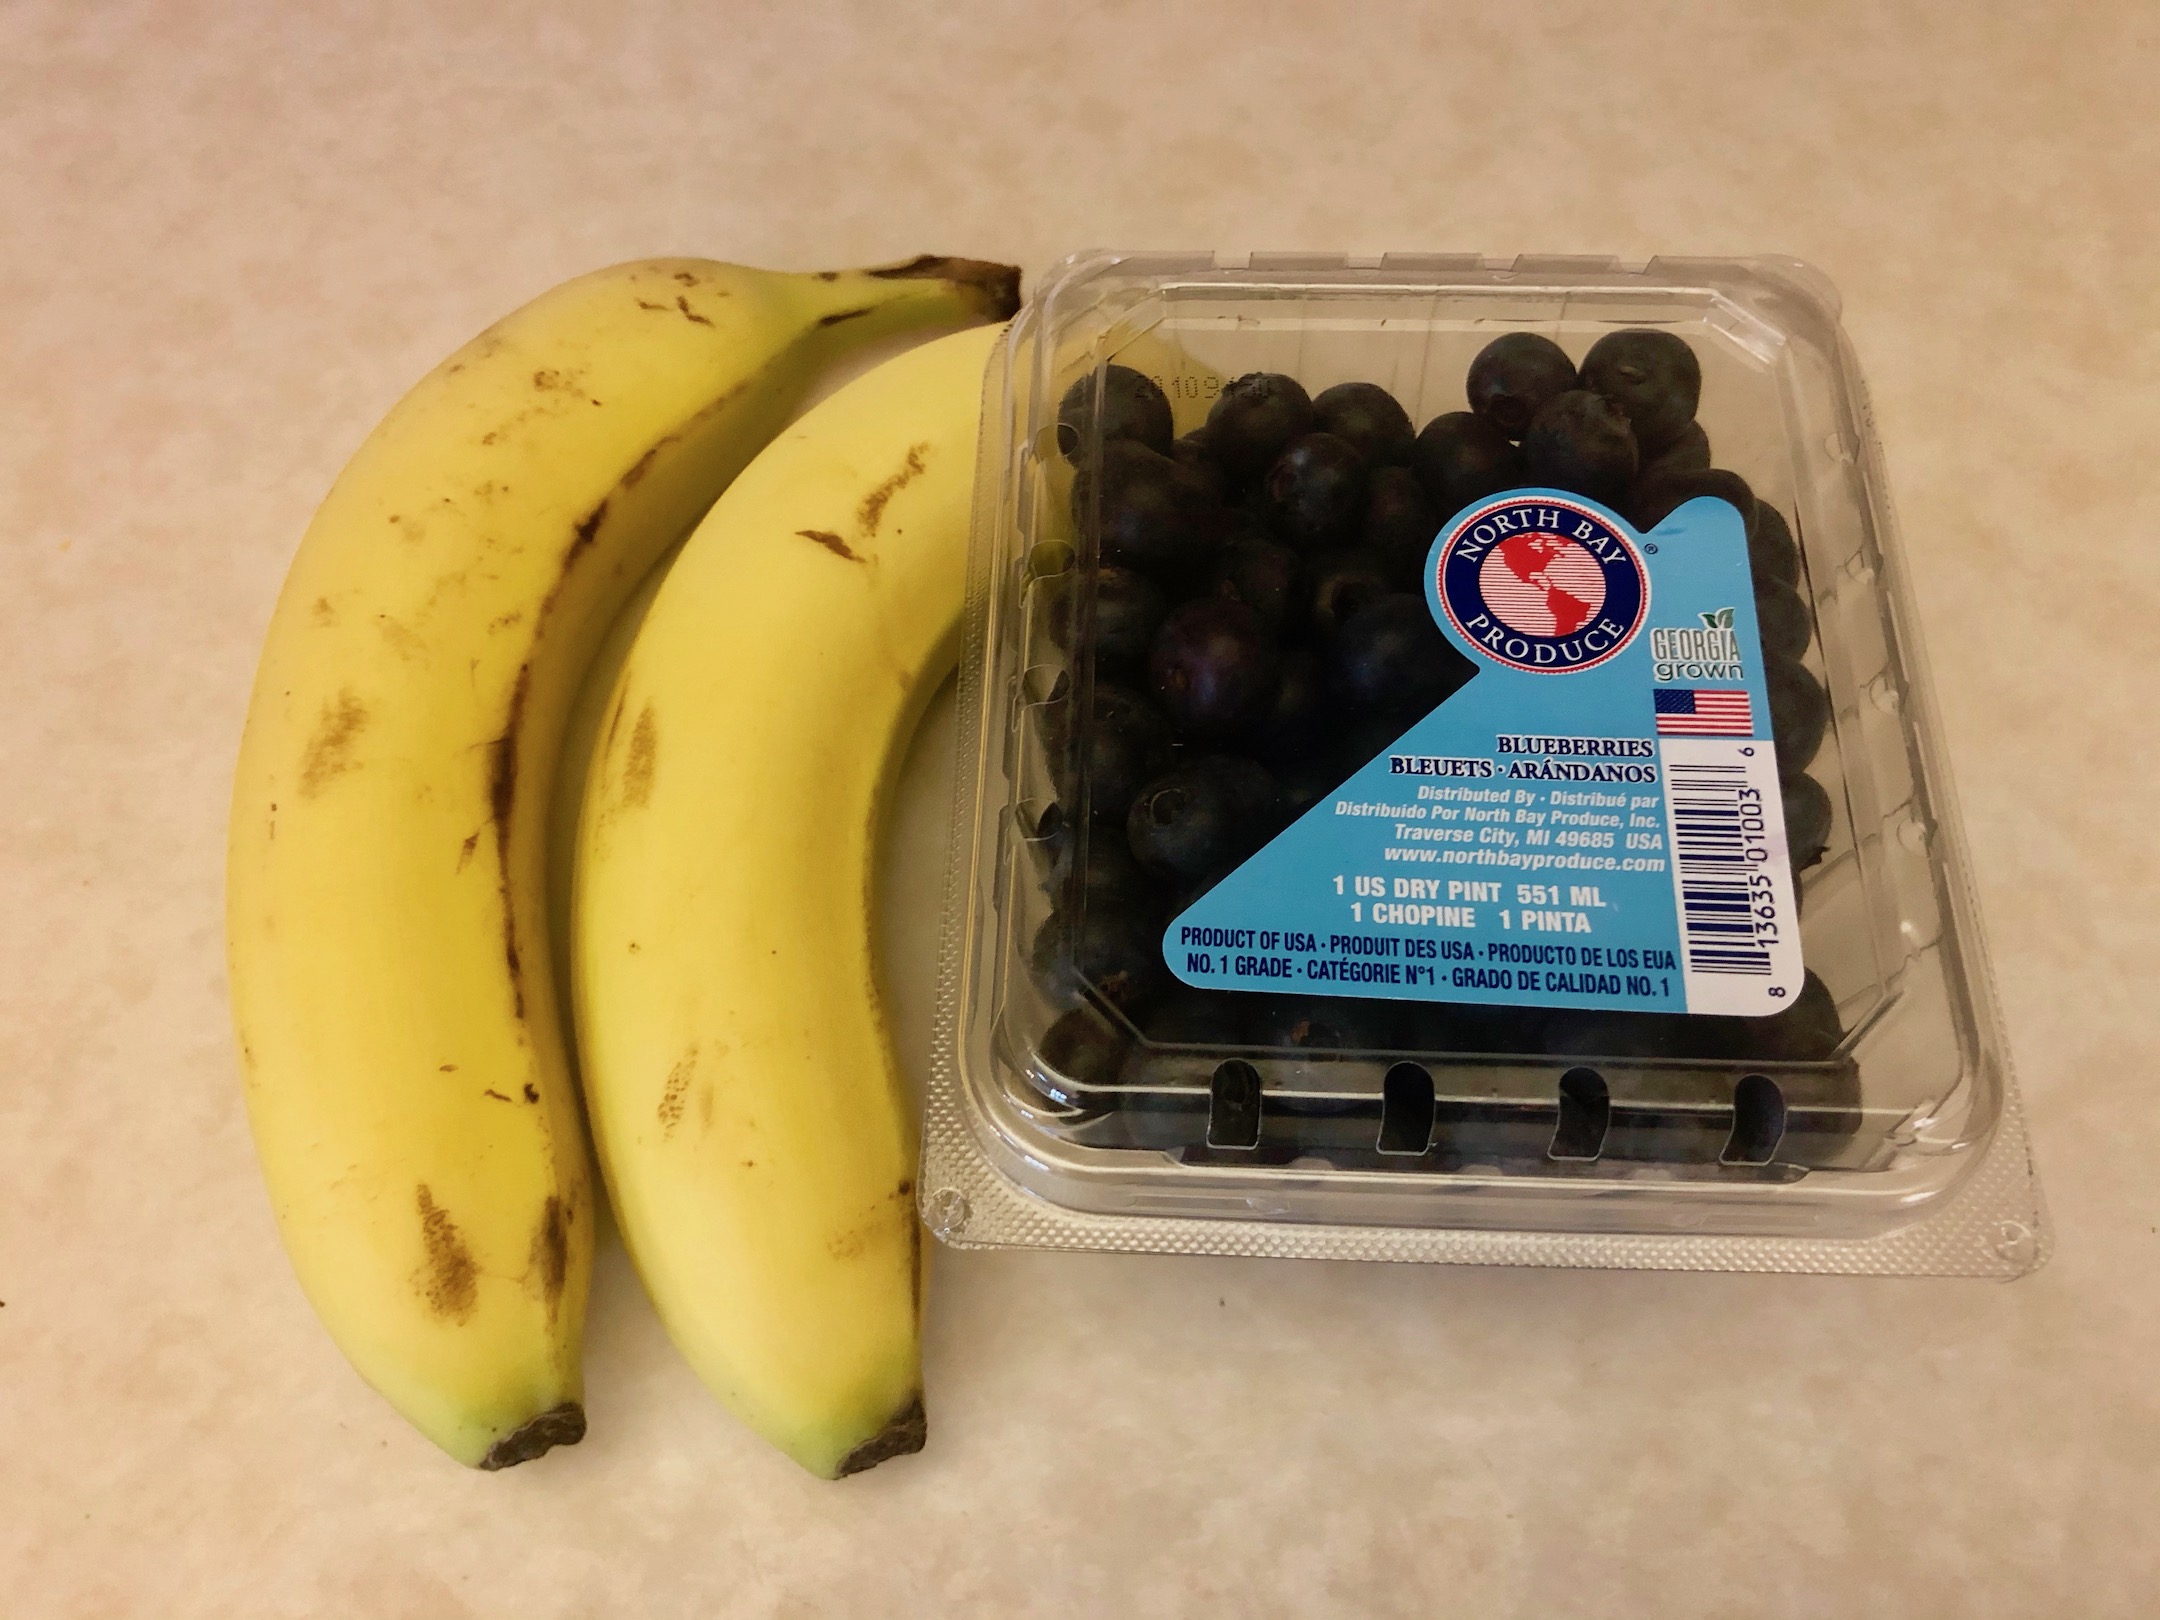
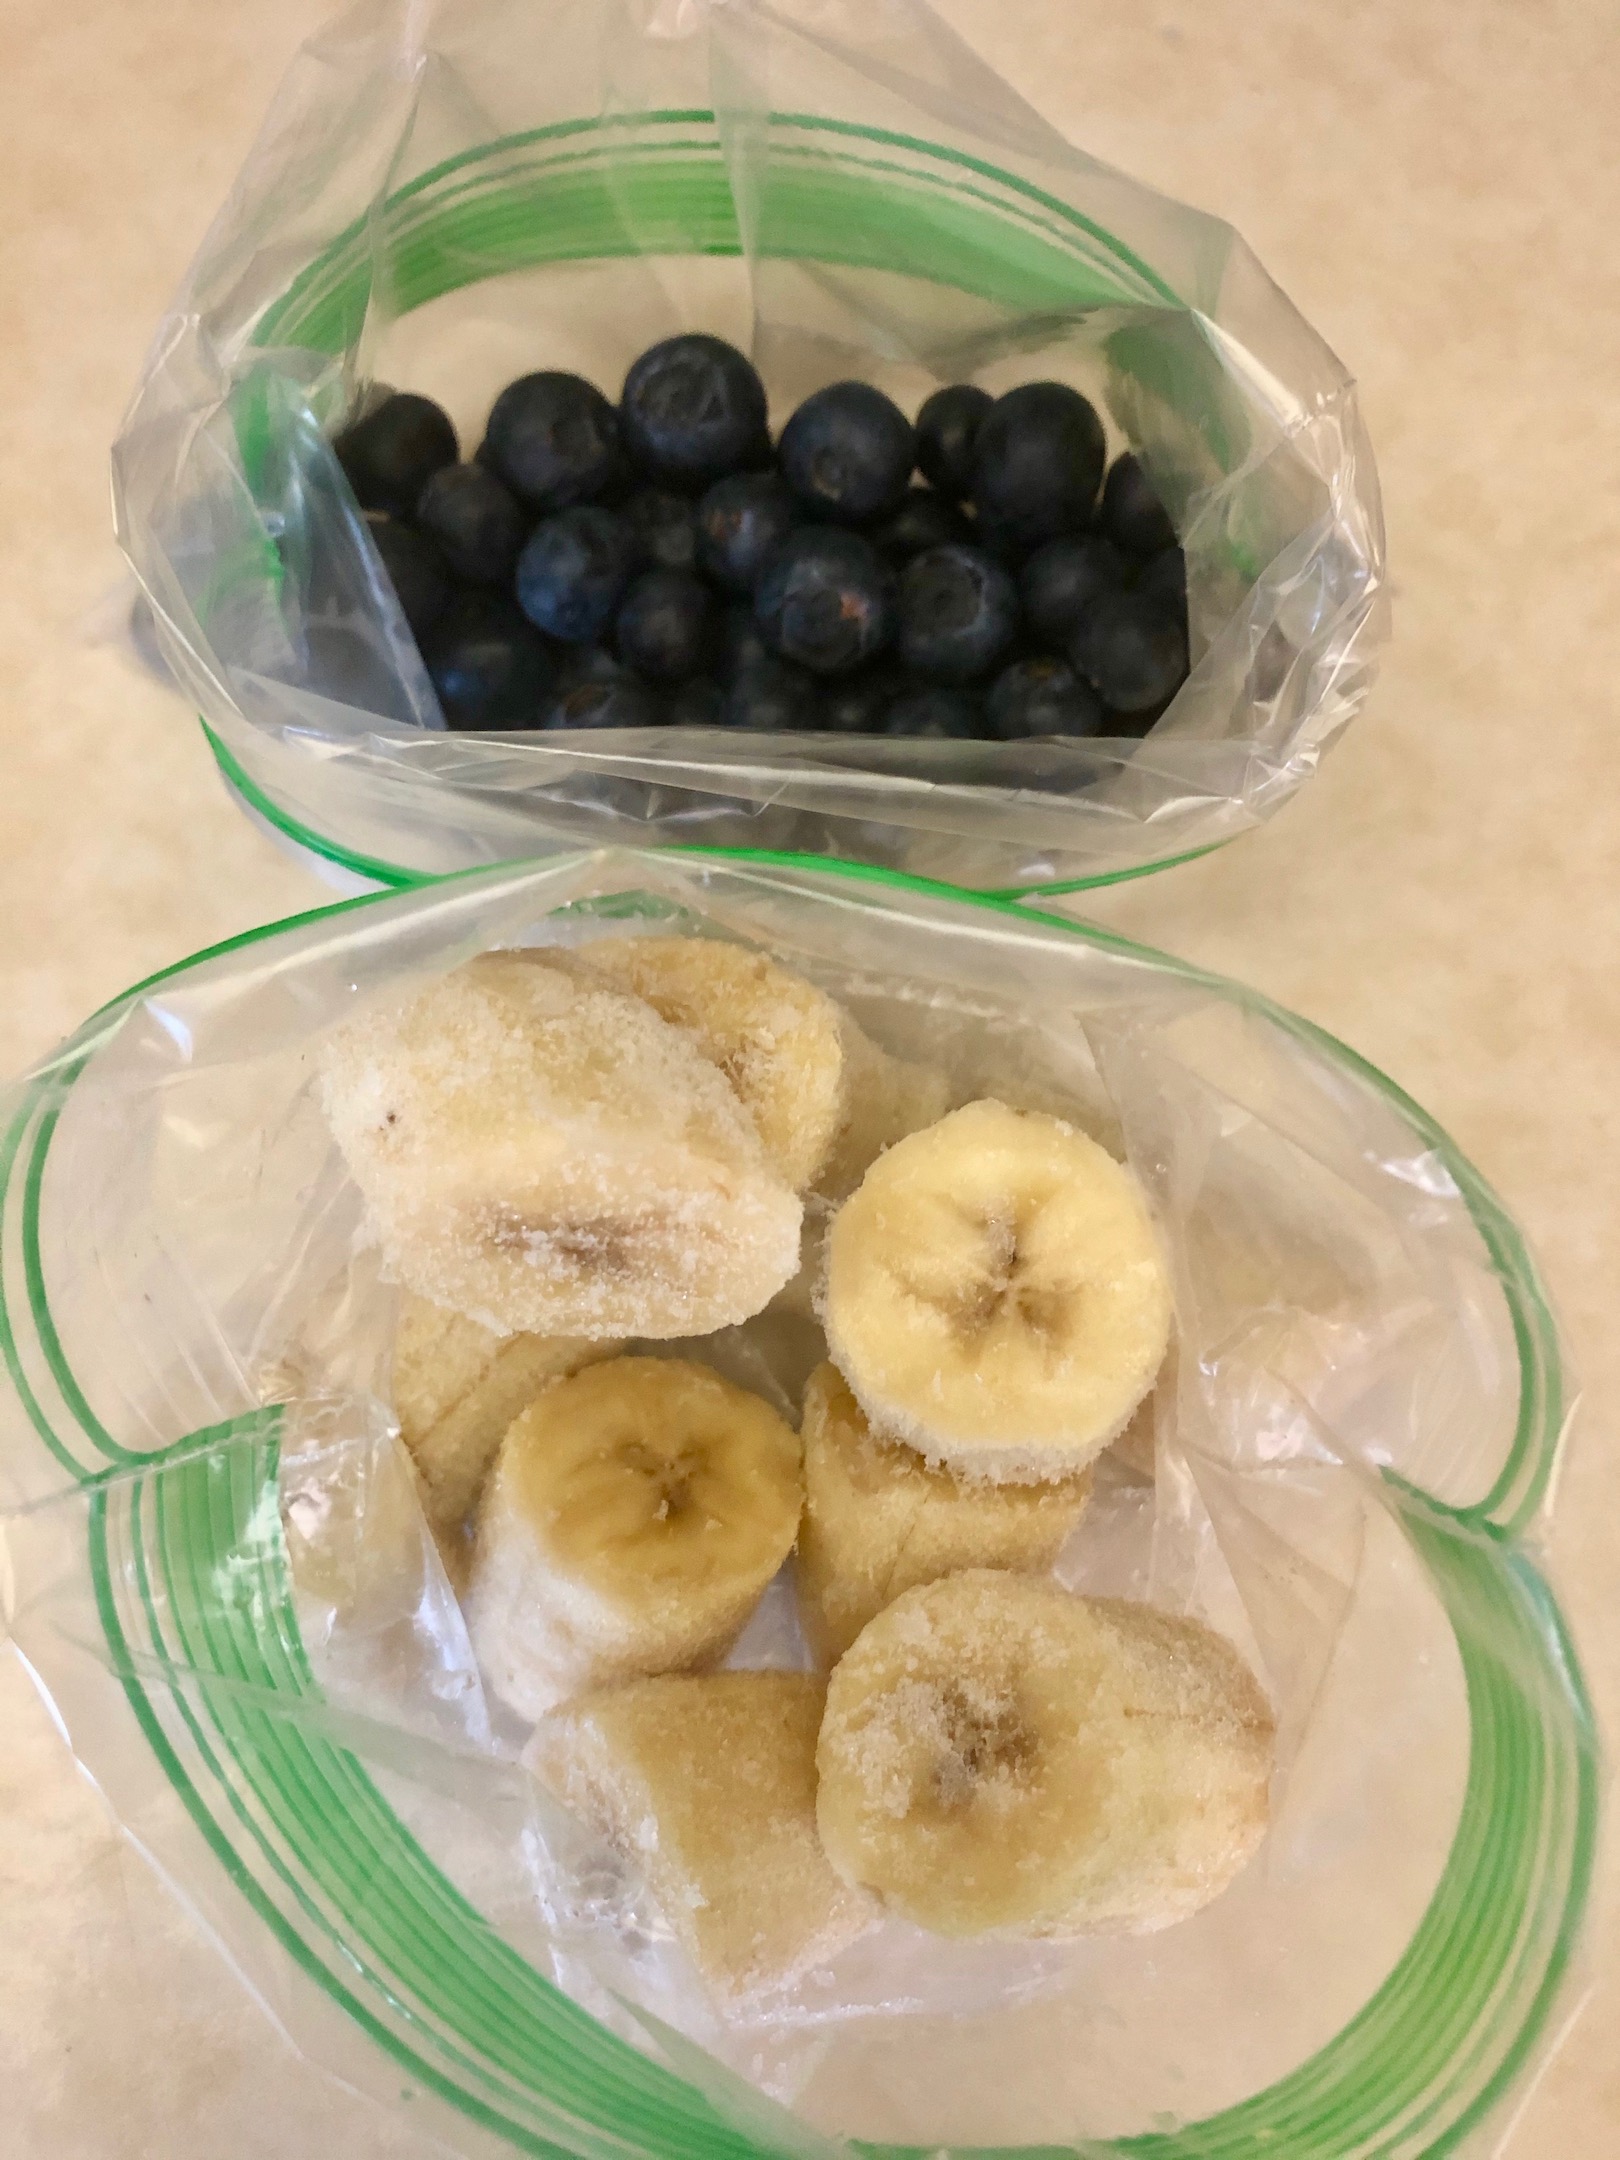
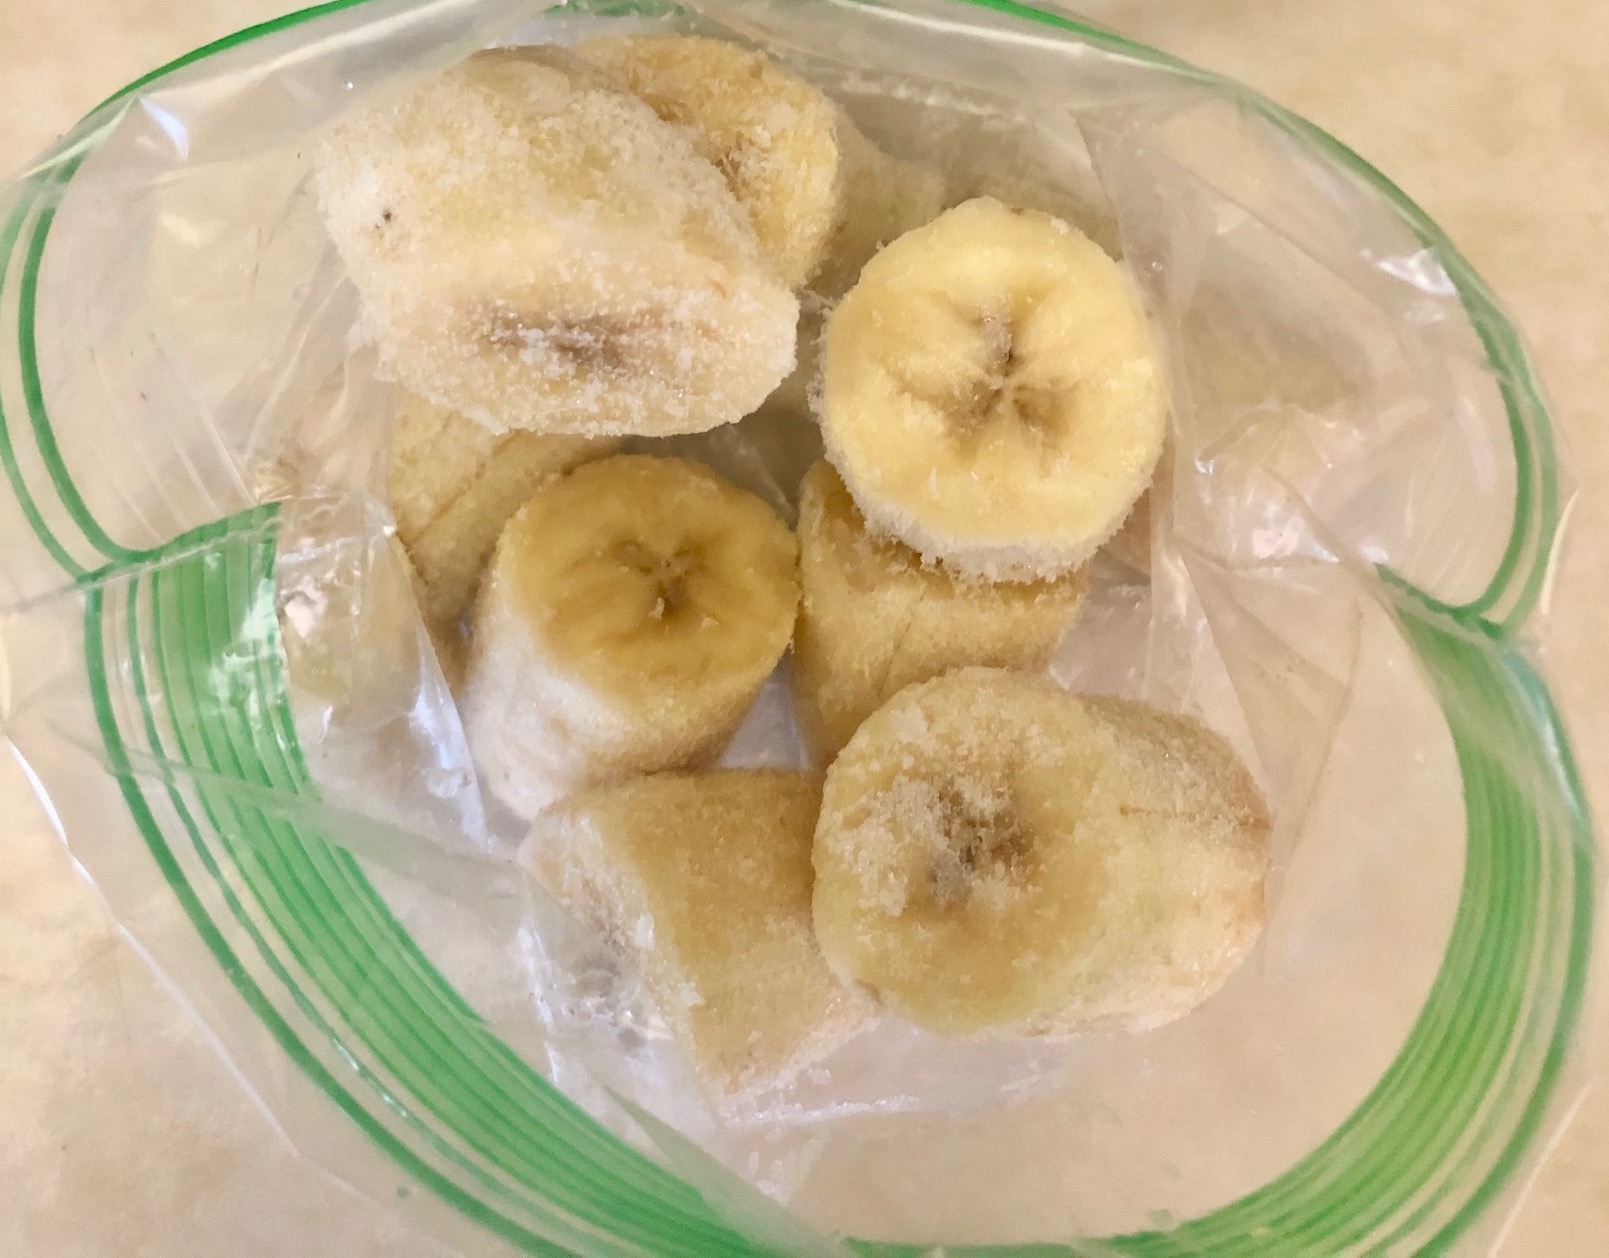
Peel and slice the bananas. Place the banana slices and blueberries in a Ziploc bag or storage container and place in the freezer for at least 4 hours or overnight.
Once frozen, pour the frozen fruit into a high-speed blender or food processor (I think the blender works well but use whichever appliance you have on hand). Blend until smooth, making sure to scrape down the sides to incorporate all the fruit.


Scoop into bowl and enjoy immediately or store in an airtight container in the freezer. That’s one big difference between this sorbet and ice cream…. immediate gratification! You don’t need to wait for the sorbet to harden and set in the freezer and can consume it immediately after blending!
The recipe can be found here.
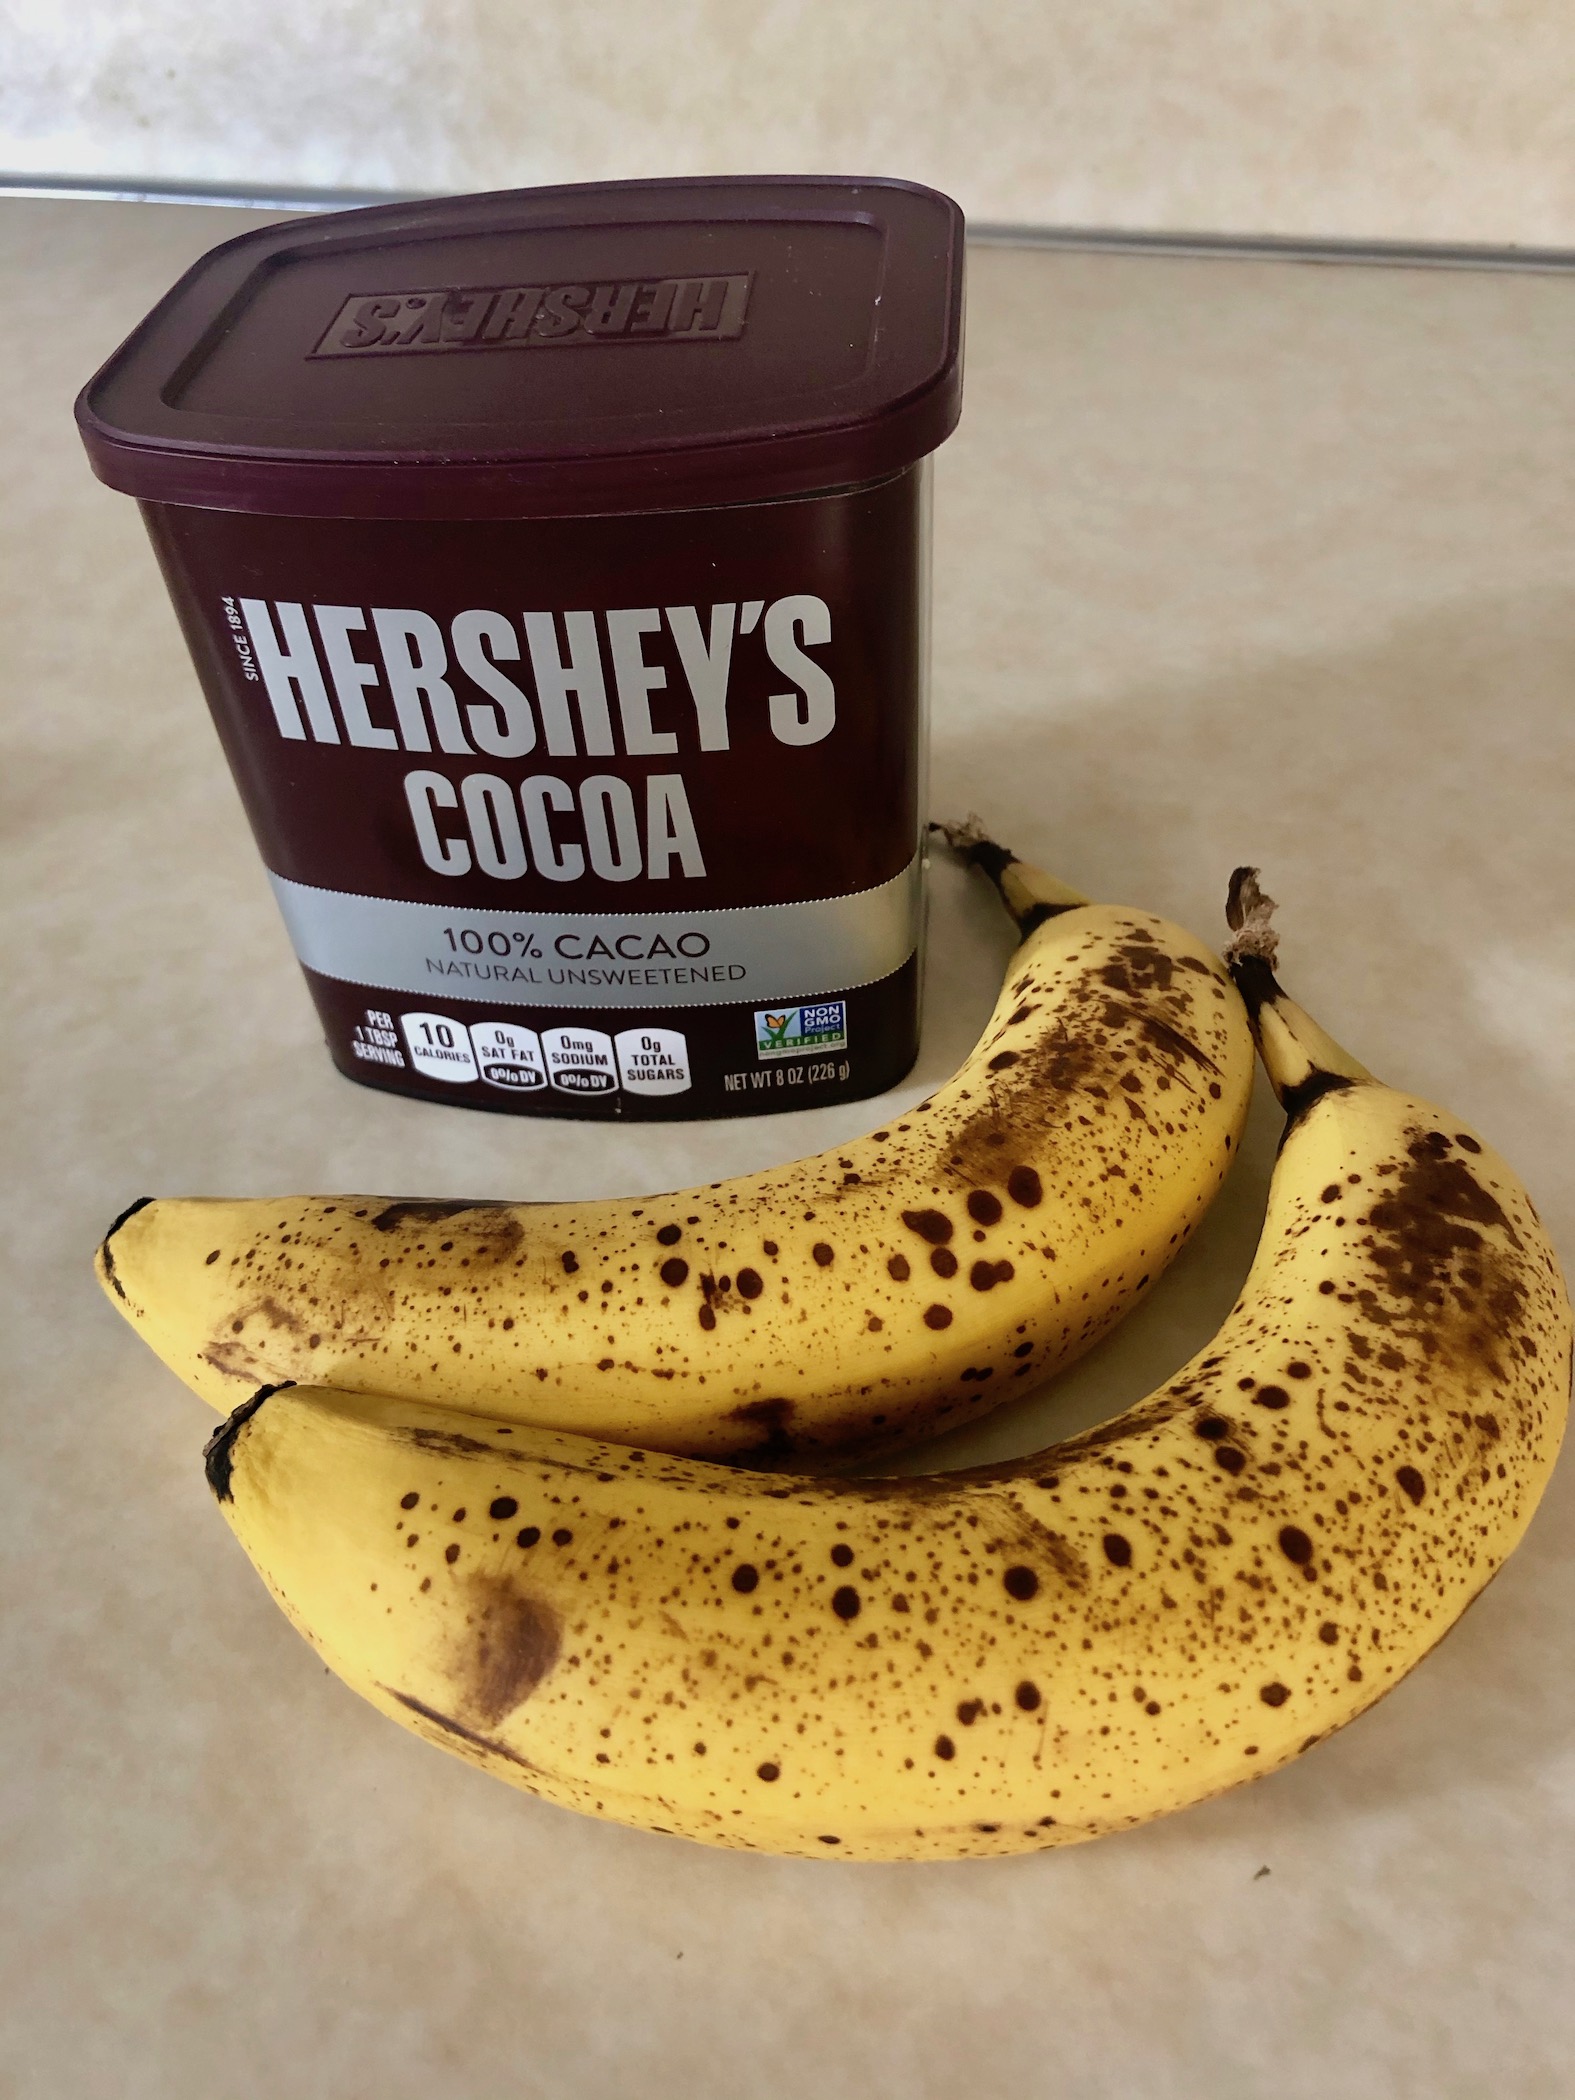
Chocolate Banana Sorbet is also dairy-free and vegan. It’s made from frozen fruit and cocoa powder and is like eating a chocolate covered frozen banana. This also doesn’t have the same texture as ice cream, it’s not as creamy, but has an “icy” texture. It’s a wonderful option if you have dietary restrictions.

The recipe can be found here.
Peel and slice the bananas. Place the banana slices in a Ziploc bag or storage container and place in the freezer for at least 4 hours or overnight.
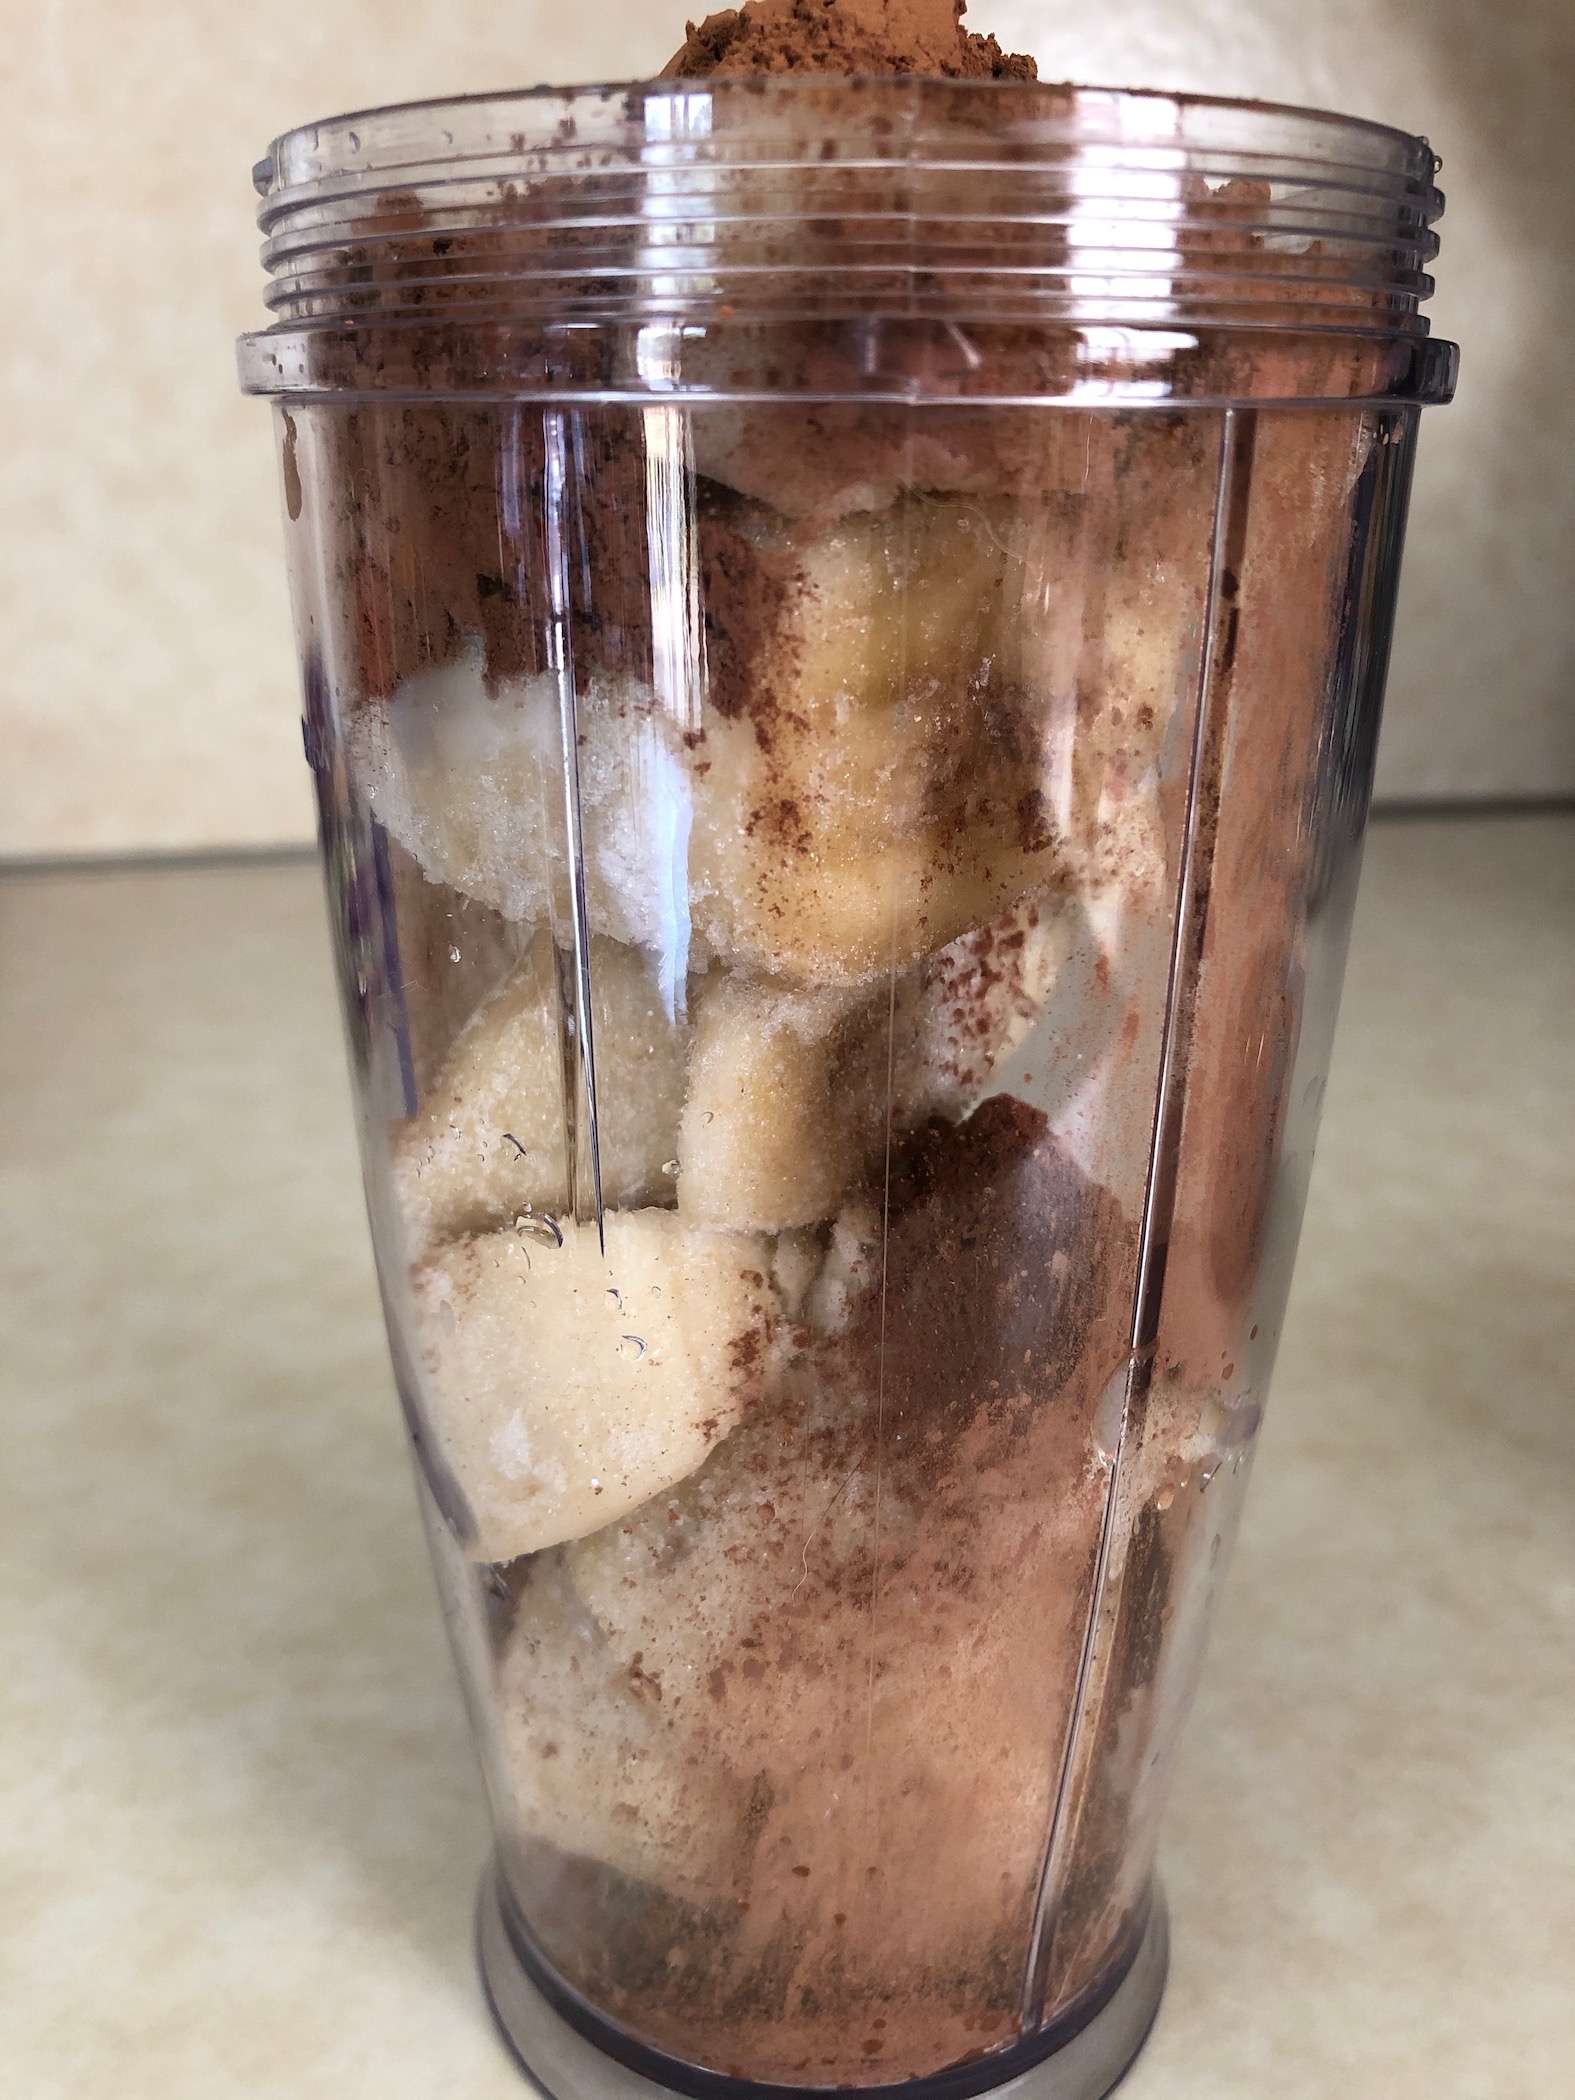
Once frozen, pour the frozen bananas into a high-speed blender or food processor (I think the blender works well but use whichever appliance you have on hand). Add the cocoa powder. Blend until smooth, making sure to scrape down the sides to incorporate all the fruit. If the mixture is too thick and isn’t blending well, you can add 1-2 Tbsp of plant-based milk and continue to blend. Keep working at it and don’t give up!


Scoop into bowl and enjoy immediately or store in an airtight container in the freezer. Again, you have immediate gratification and don’t have to wait for the sorbet to harden and set before eating!
The recipe can be found here.
I hope you find these recipes helpful on your quest to celebrate National Ice Cream day. Whatever flavor you make (or buy), it’ll be worth every bite!
Happy cooking and Happy National Ice Cream Day!


Recent Comments