 order online
 weekly specials
Christmas is a time for baking, enjoying good food, and spending time with family and friends. The holidays may look a little different this year but that doesn’t mean you can’t participate it some of your usual traditions. Take a cookie exchange party for example, you can still bake the cookies but instead of getting together with friends to exchange, you can deliver to their doorstep or ship them. It’s a nice way to say you’re thinking about them and still want to be connected this holiday season. Plus, you can’t have a happy holiday without desserts and plenty of sweets 🙂
Whether you are making breads, cookies, pies, candy, or other goodies, I suggest you still follow through with your traditions. It will get you in the holiday spirit and bring some comfort to these trying times. I personally like to eat Christmas cookies all month long and even into the new year. My freezer is typically stocked to the brim with cookies. Need ice? Sorry…I needed to make room for cookies 🙂
Today I want to share with you some of my favorite recipes for Christmas treats. All 4 recipes are actually new creations this year. I do have a handful of cookies I make every year (and have to make every year because the family requests them) but I also like to add a few new cookies each year. It’s fun to experiment with different flavors and put a new spin on some traditional items.
Here are the recipes:
- Easy Christmas Sugar Cookies
- Gingerbread Spritz
- Peppermint Macarons
- Chocolate Christmas Tree Cupcakes
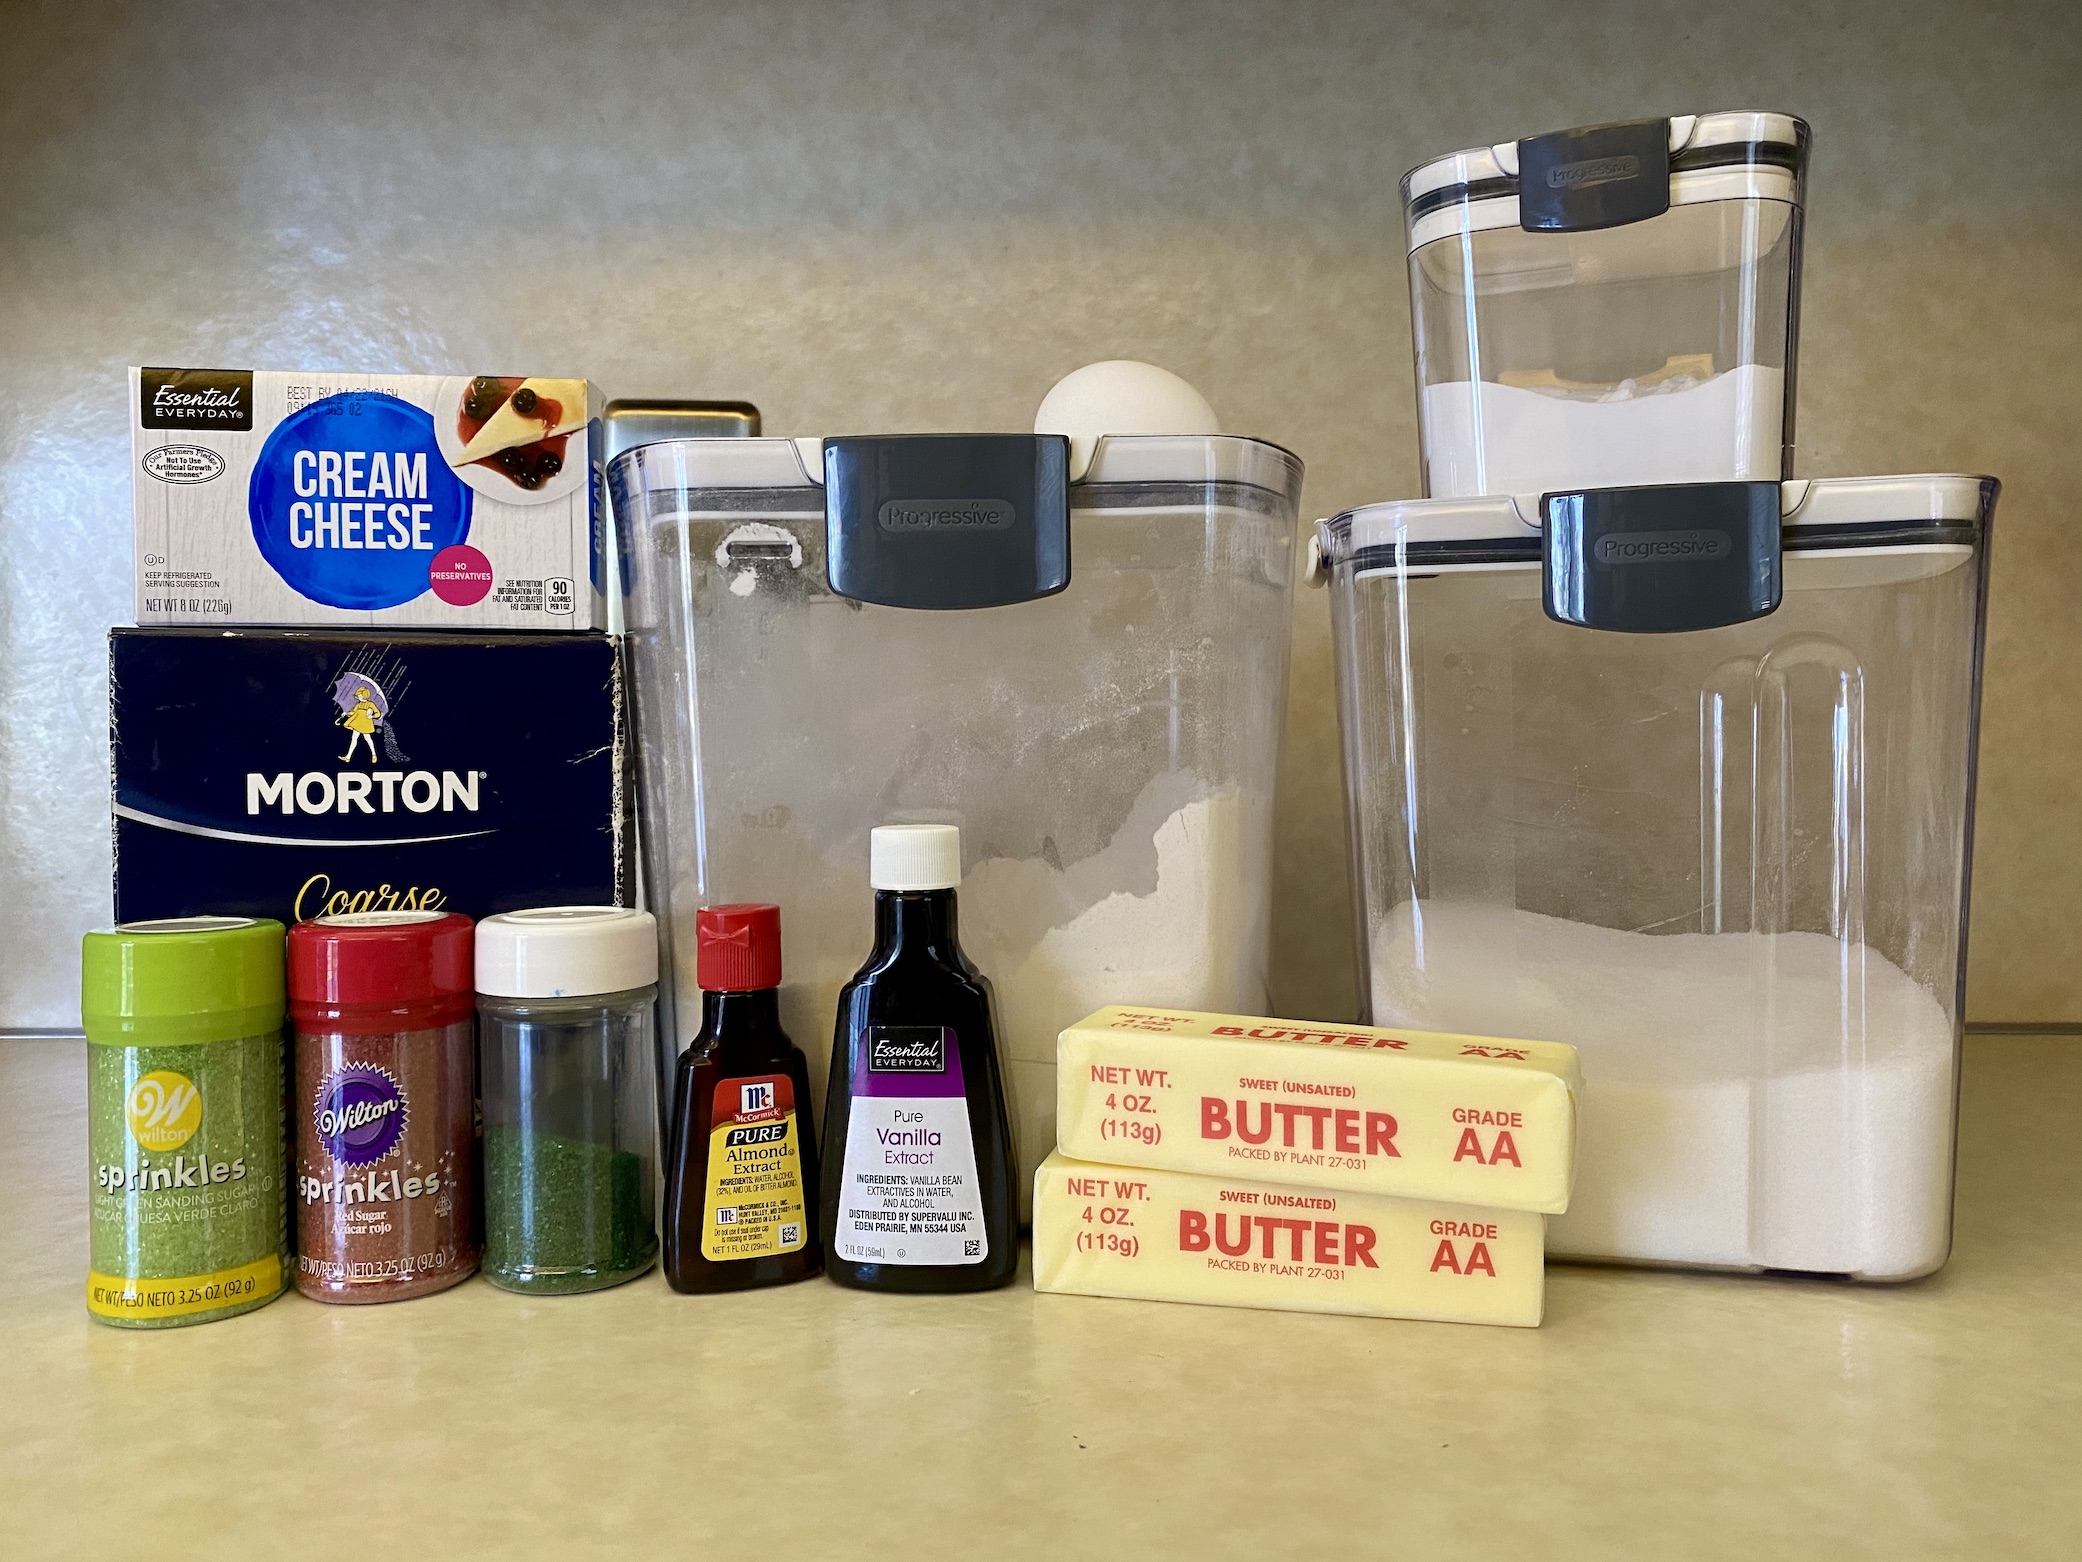
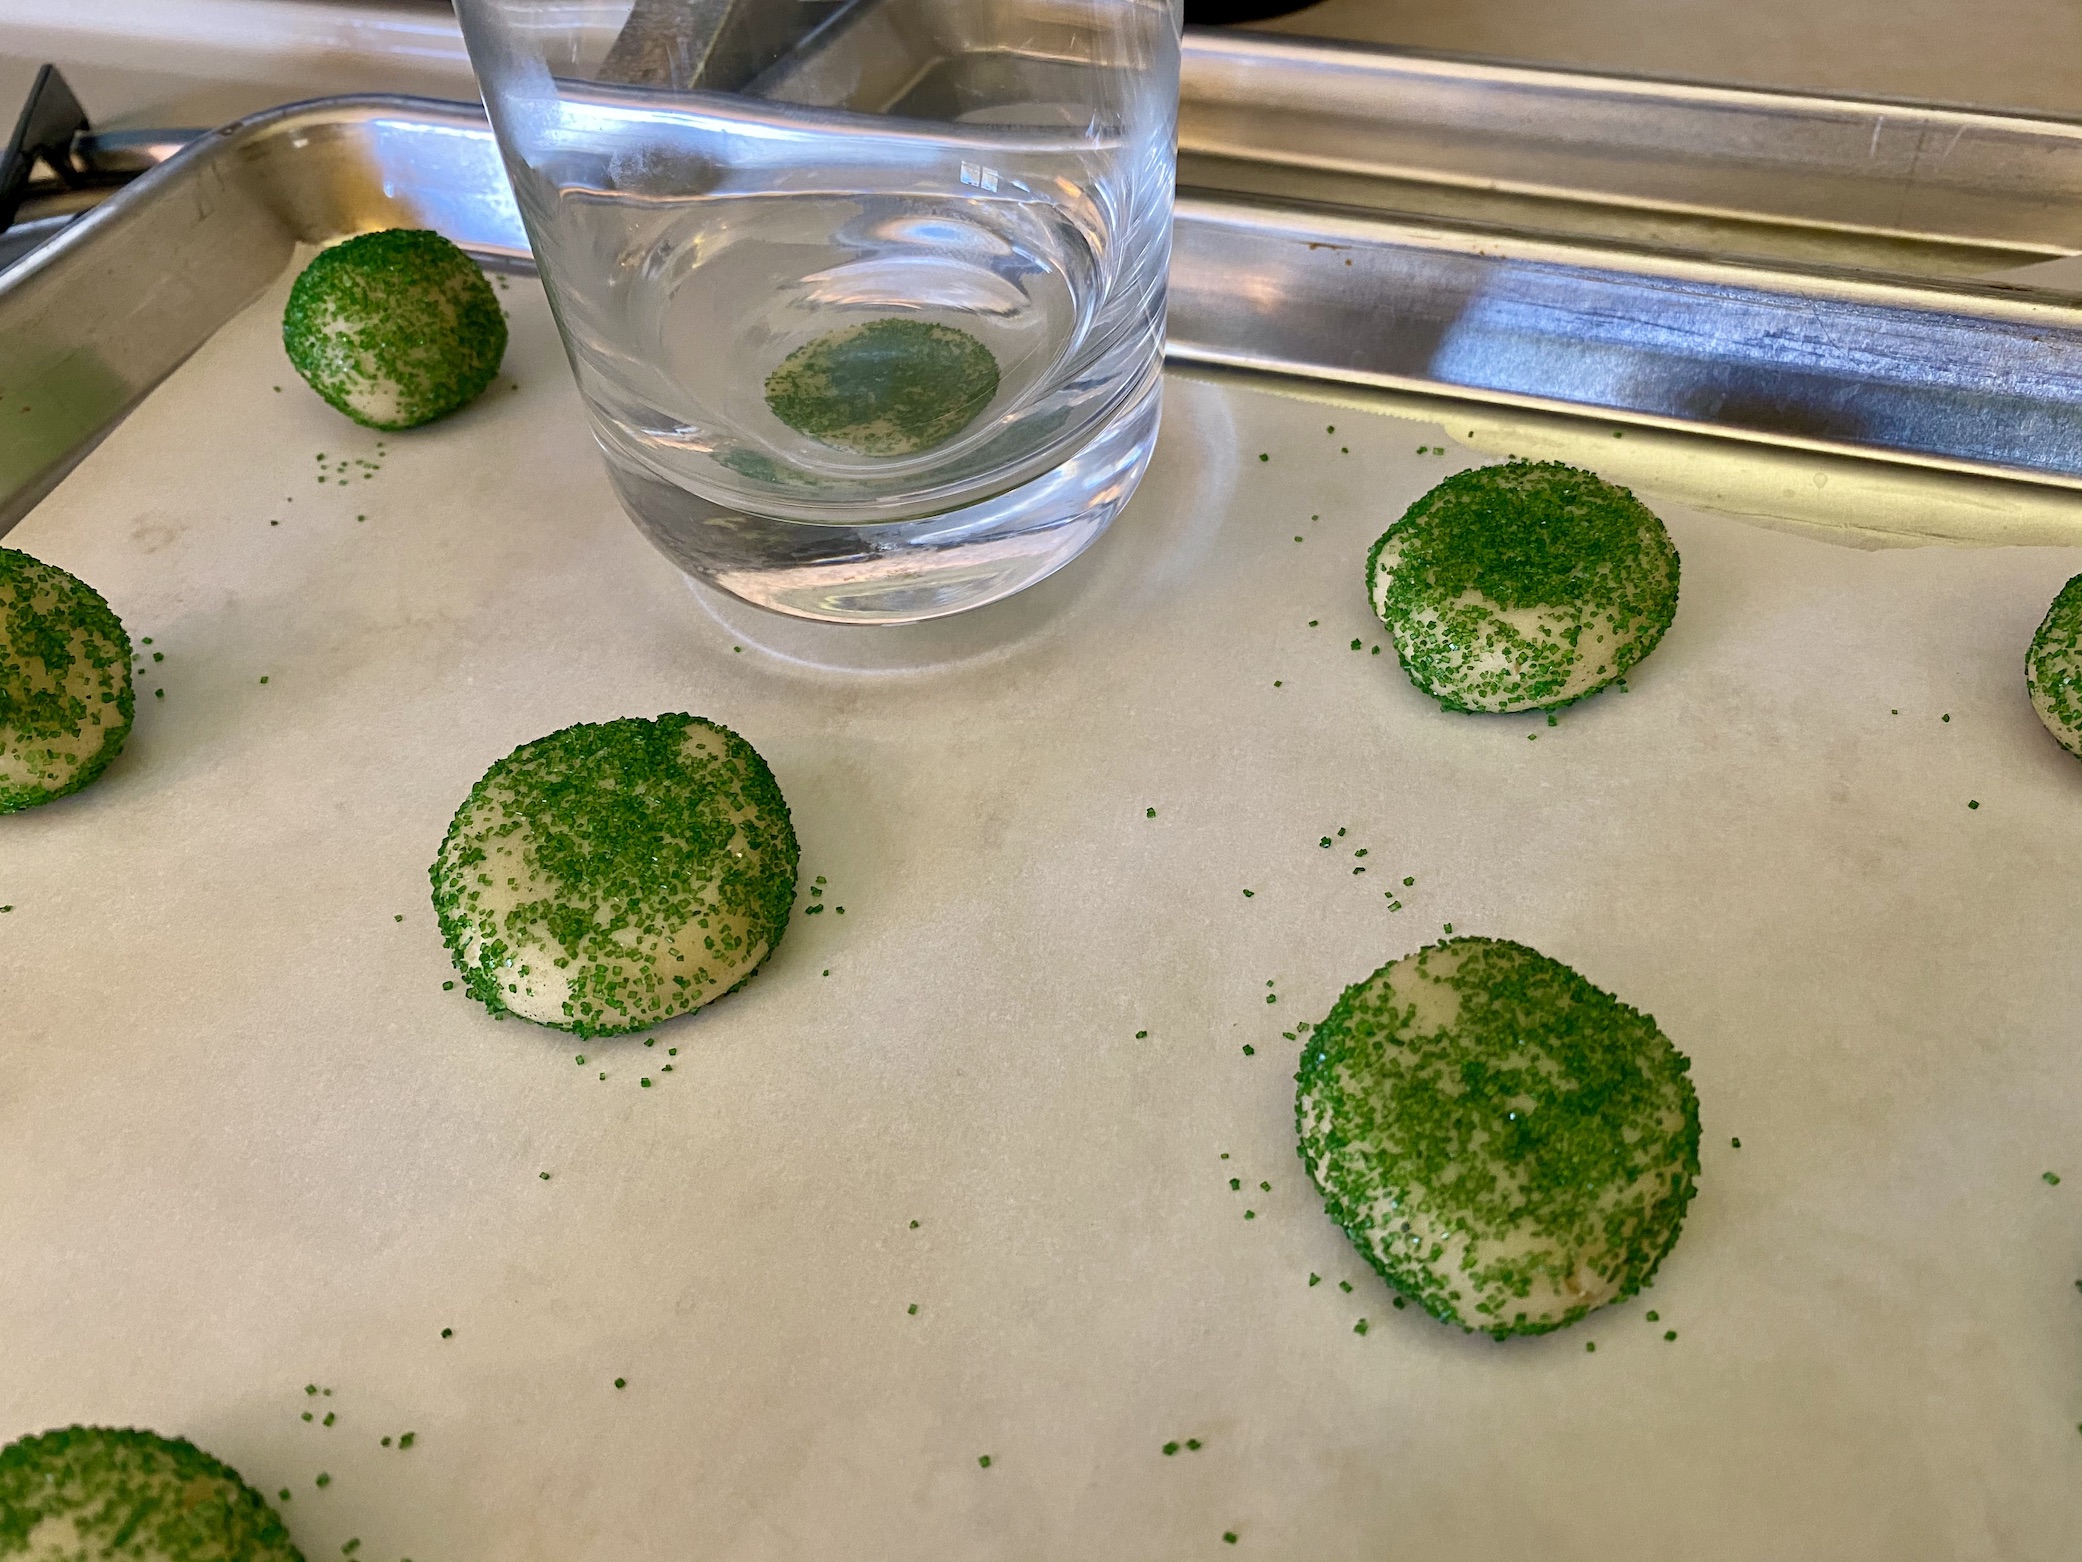
First up is Easy Christmas Sugar Cookies. These are your classic sugar cookie recipe rolled in different colored sanding sugar. They are a little crunchy on the outside and perfectly soft on the inside. The flavor has a hint of almond and they are oh so good!

The recipe can be found here.
In a large mixing bowl, whisk together the flour, baking powder, and salt. Set the bowl aside.


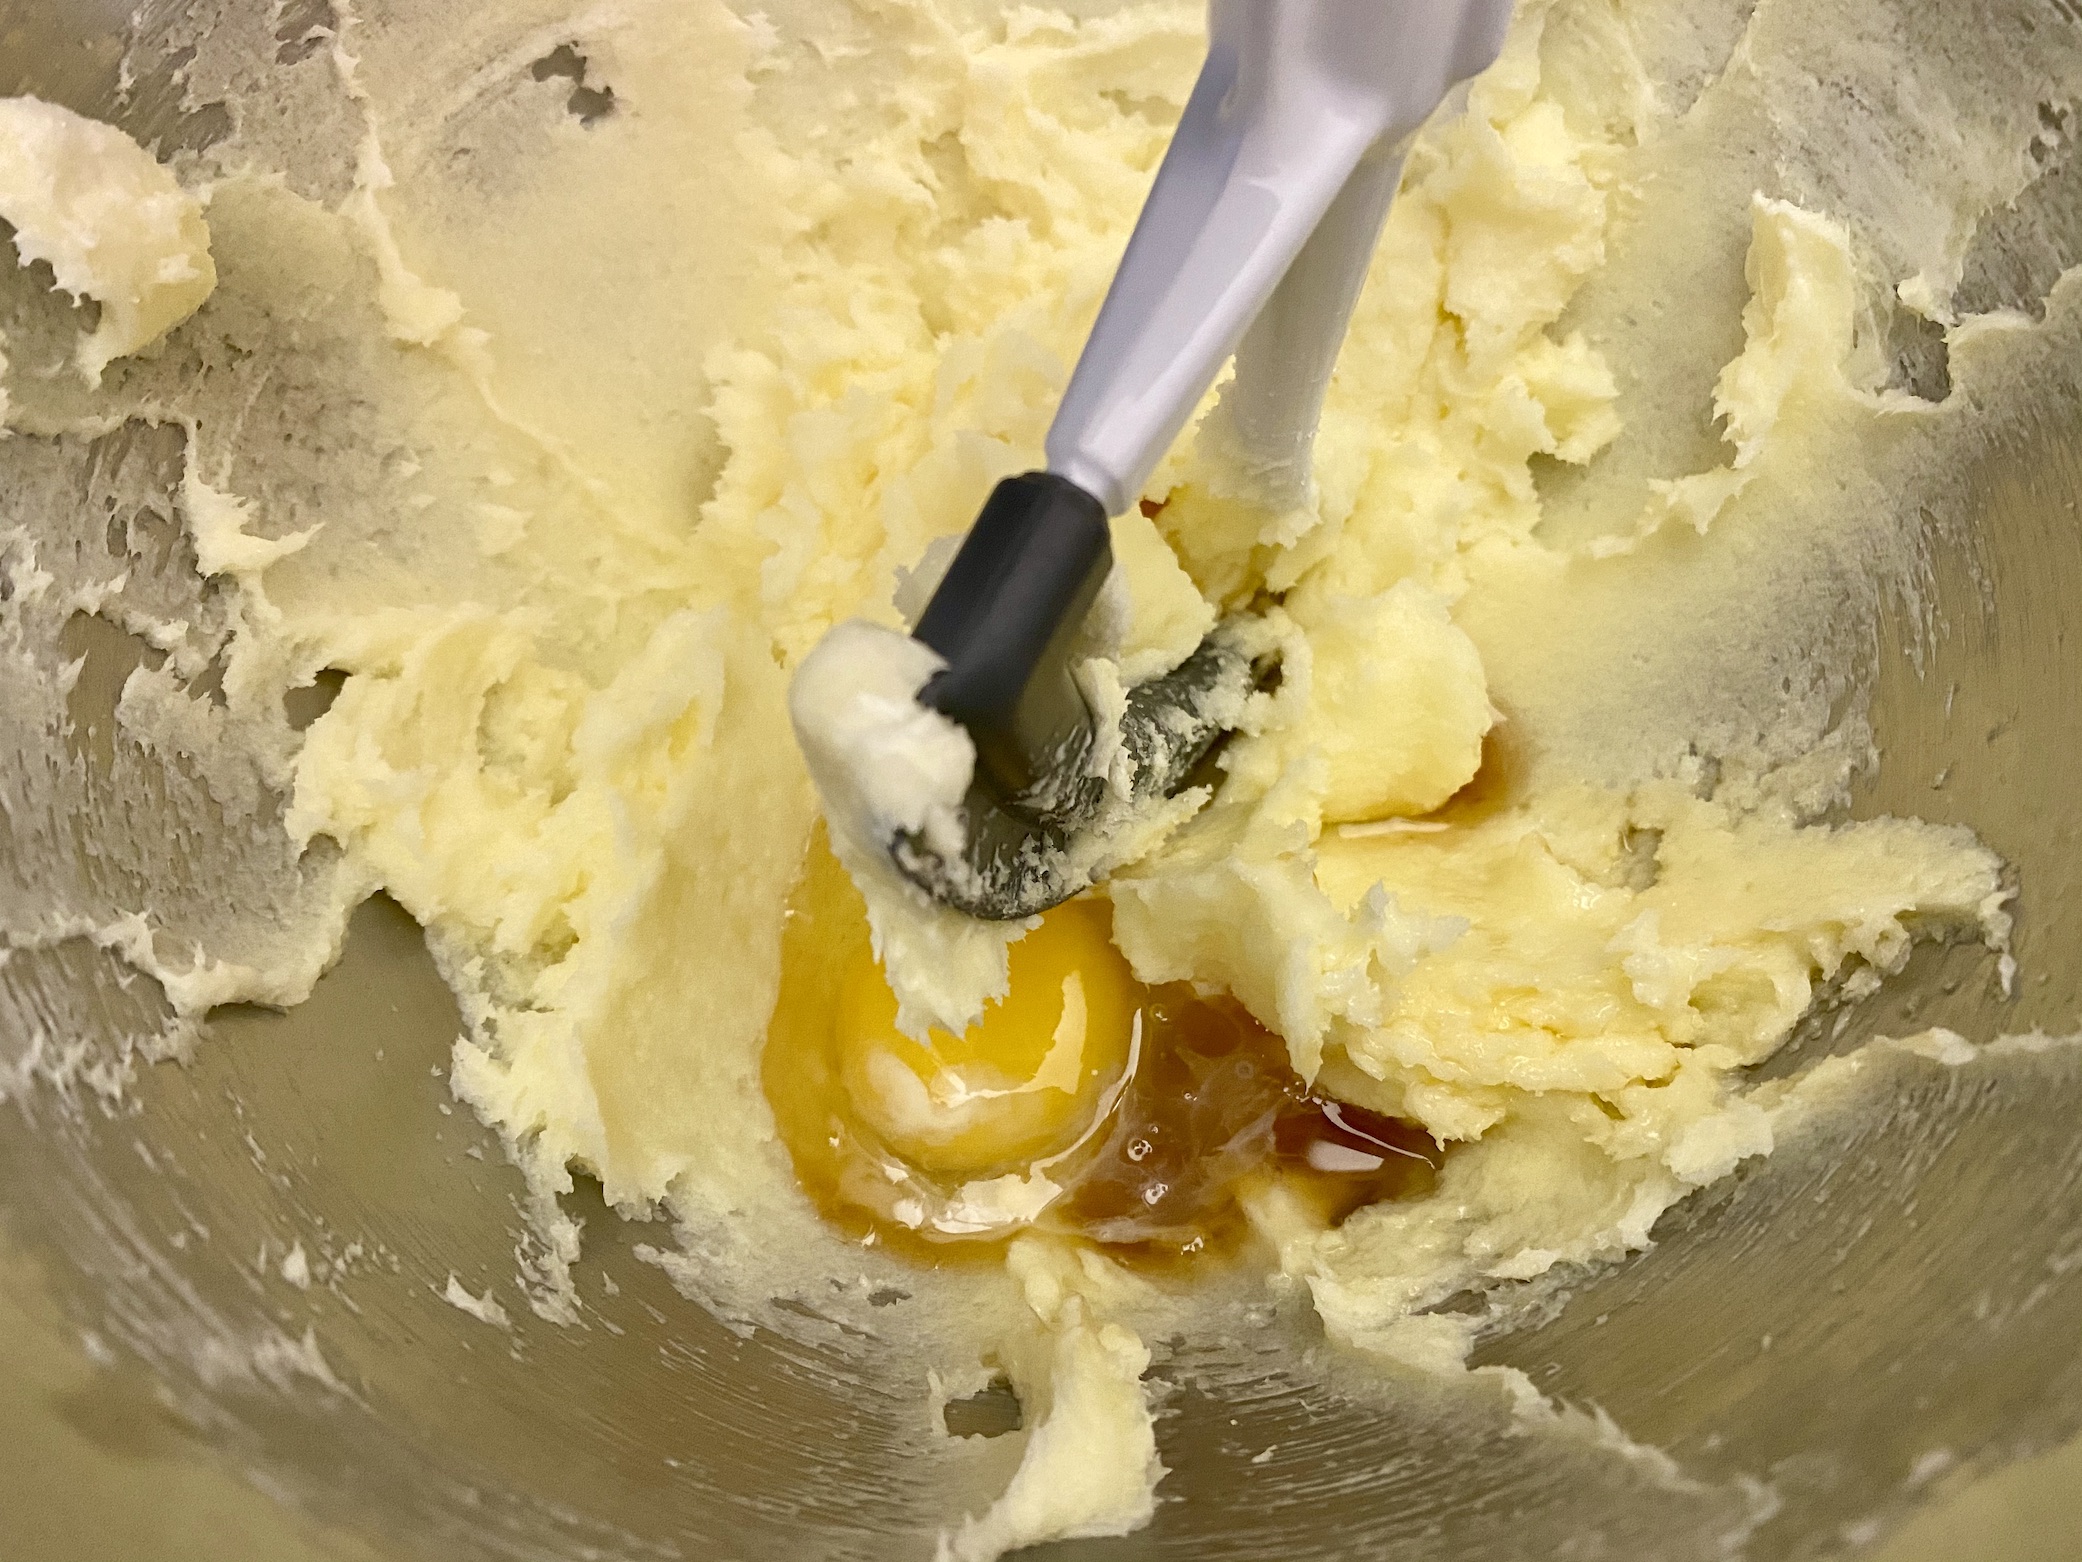
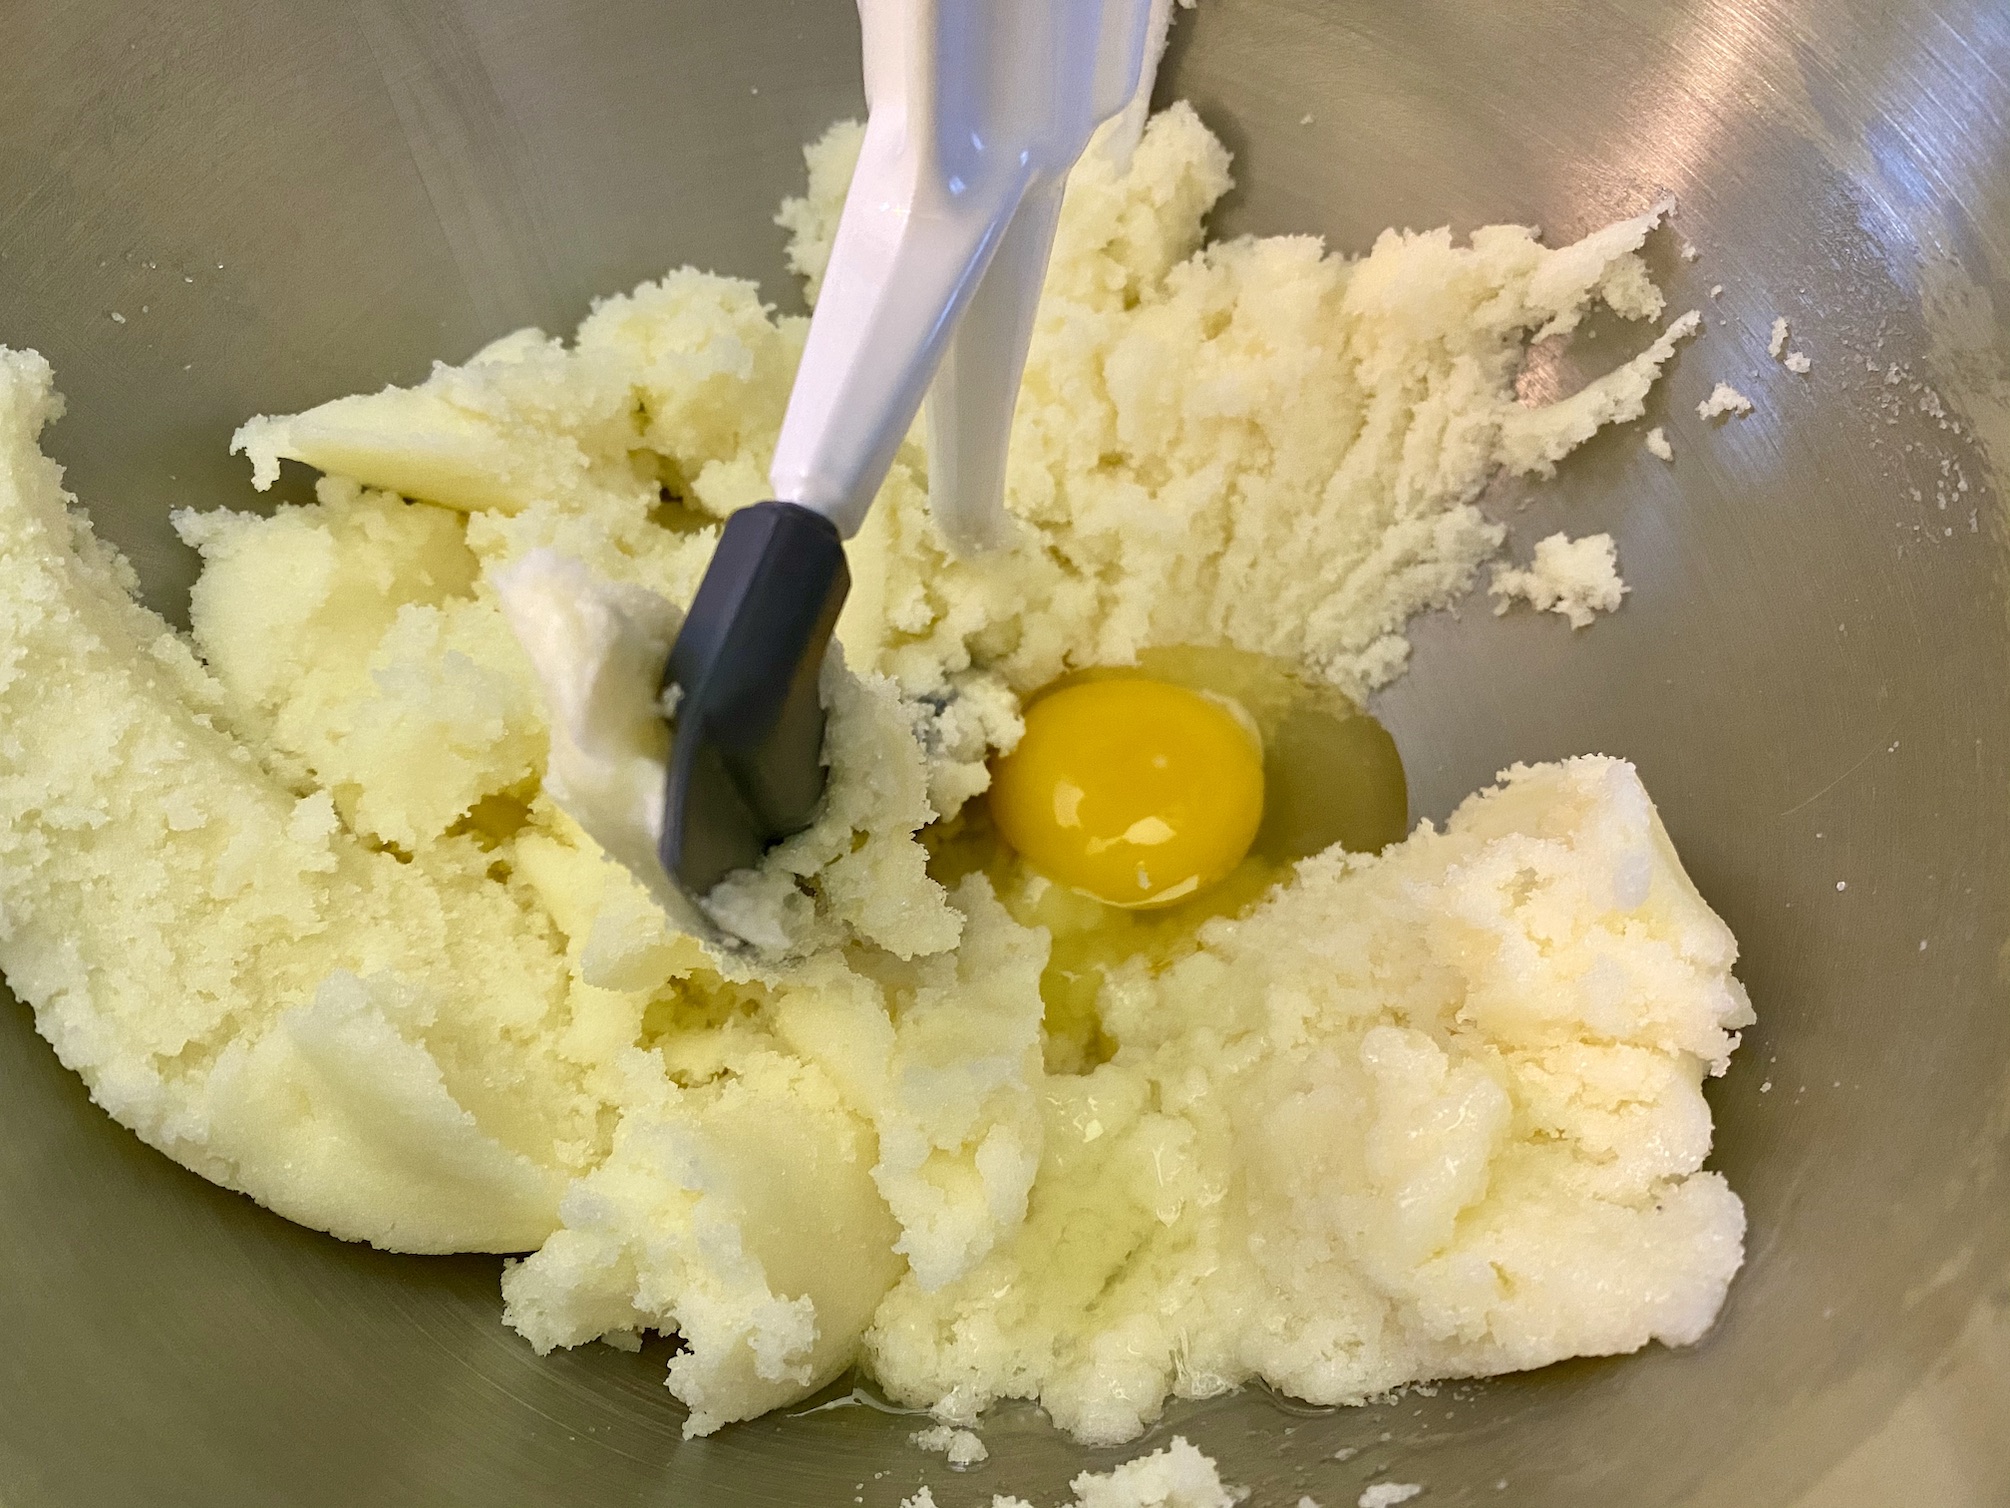
In the bowl of a stand mixer, beat the butter and cream cheese on high speed until smooth. Add the sugar and beat until combined. Add the egg, vanilla extract, and almond extract and continue to mix together. Scrape down the sides as needed to make sure all ingredients are mixed well.


Pour the dry ingredients into the wet ingredients and mix on low until combined. You can either add the entire bowl of dry ingredients at one time or slow pour the dry ingredients in as the motor runs. If the stand mixer is struggling to mix the ingredients you might need to increase the speed a notch or 2 to help it out a bit! The dough is going to be quite thick.

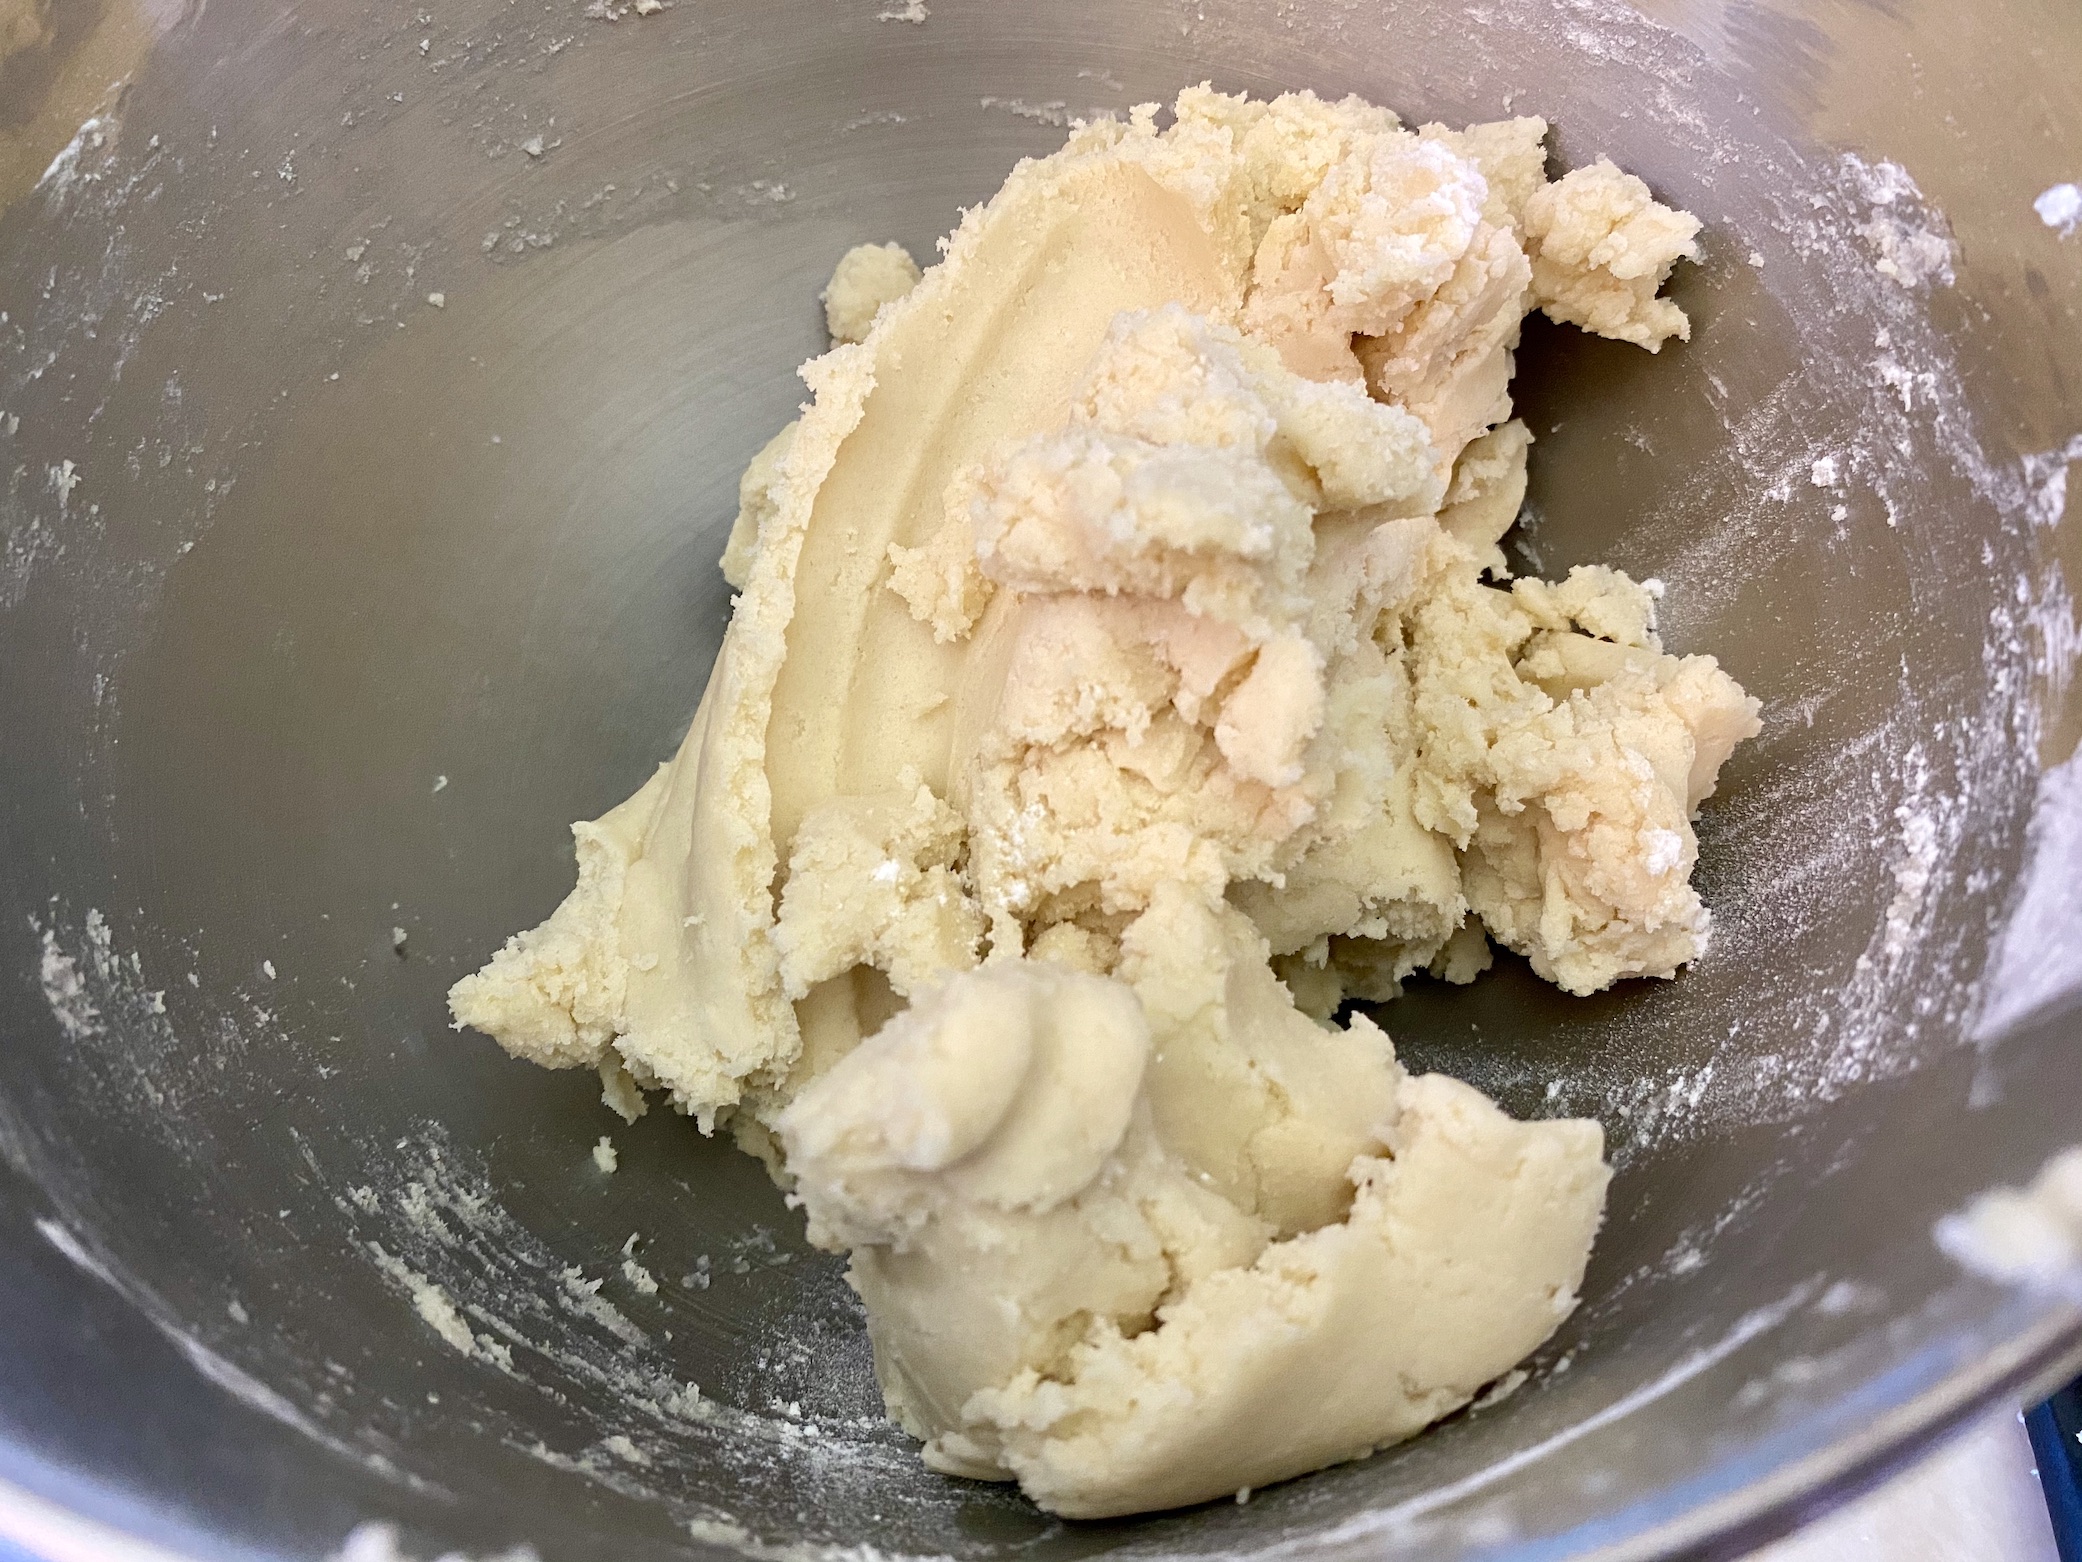
Pour the dough onto a piece of wax paper or plastic wrap. Wrap the dough tightly and place in the fridge for one hour to chill. If you want to make the dough ahead of time (1-2 days, for example) or need to let the dough chill for longer than 1 hour, let the dough sit on the counter for 20-30 minutes before using. The dough will be quite hard to work with so this will help loosen it up a bit.

Once the dough has chilled, preheat the oven to 350 degrees F. Line 2-3 baking sheets with parchment paper. Pour the sanding sugar into separate bowls, if using more than one color, and set aside. I like to use a combination of red and green for Christmas, but you can use any color(s) of your choosing.

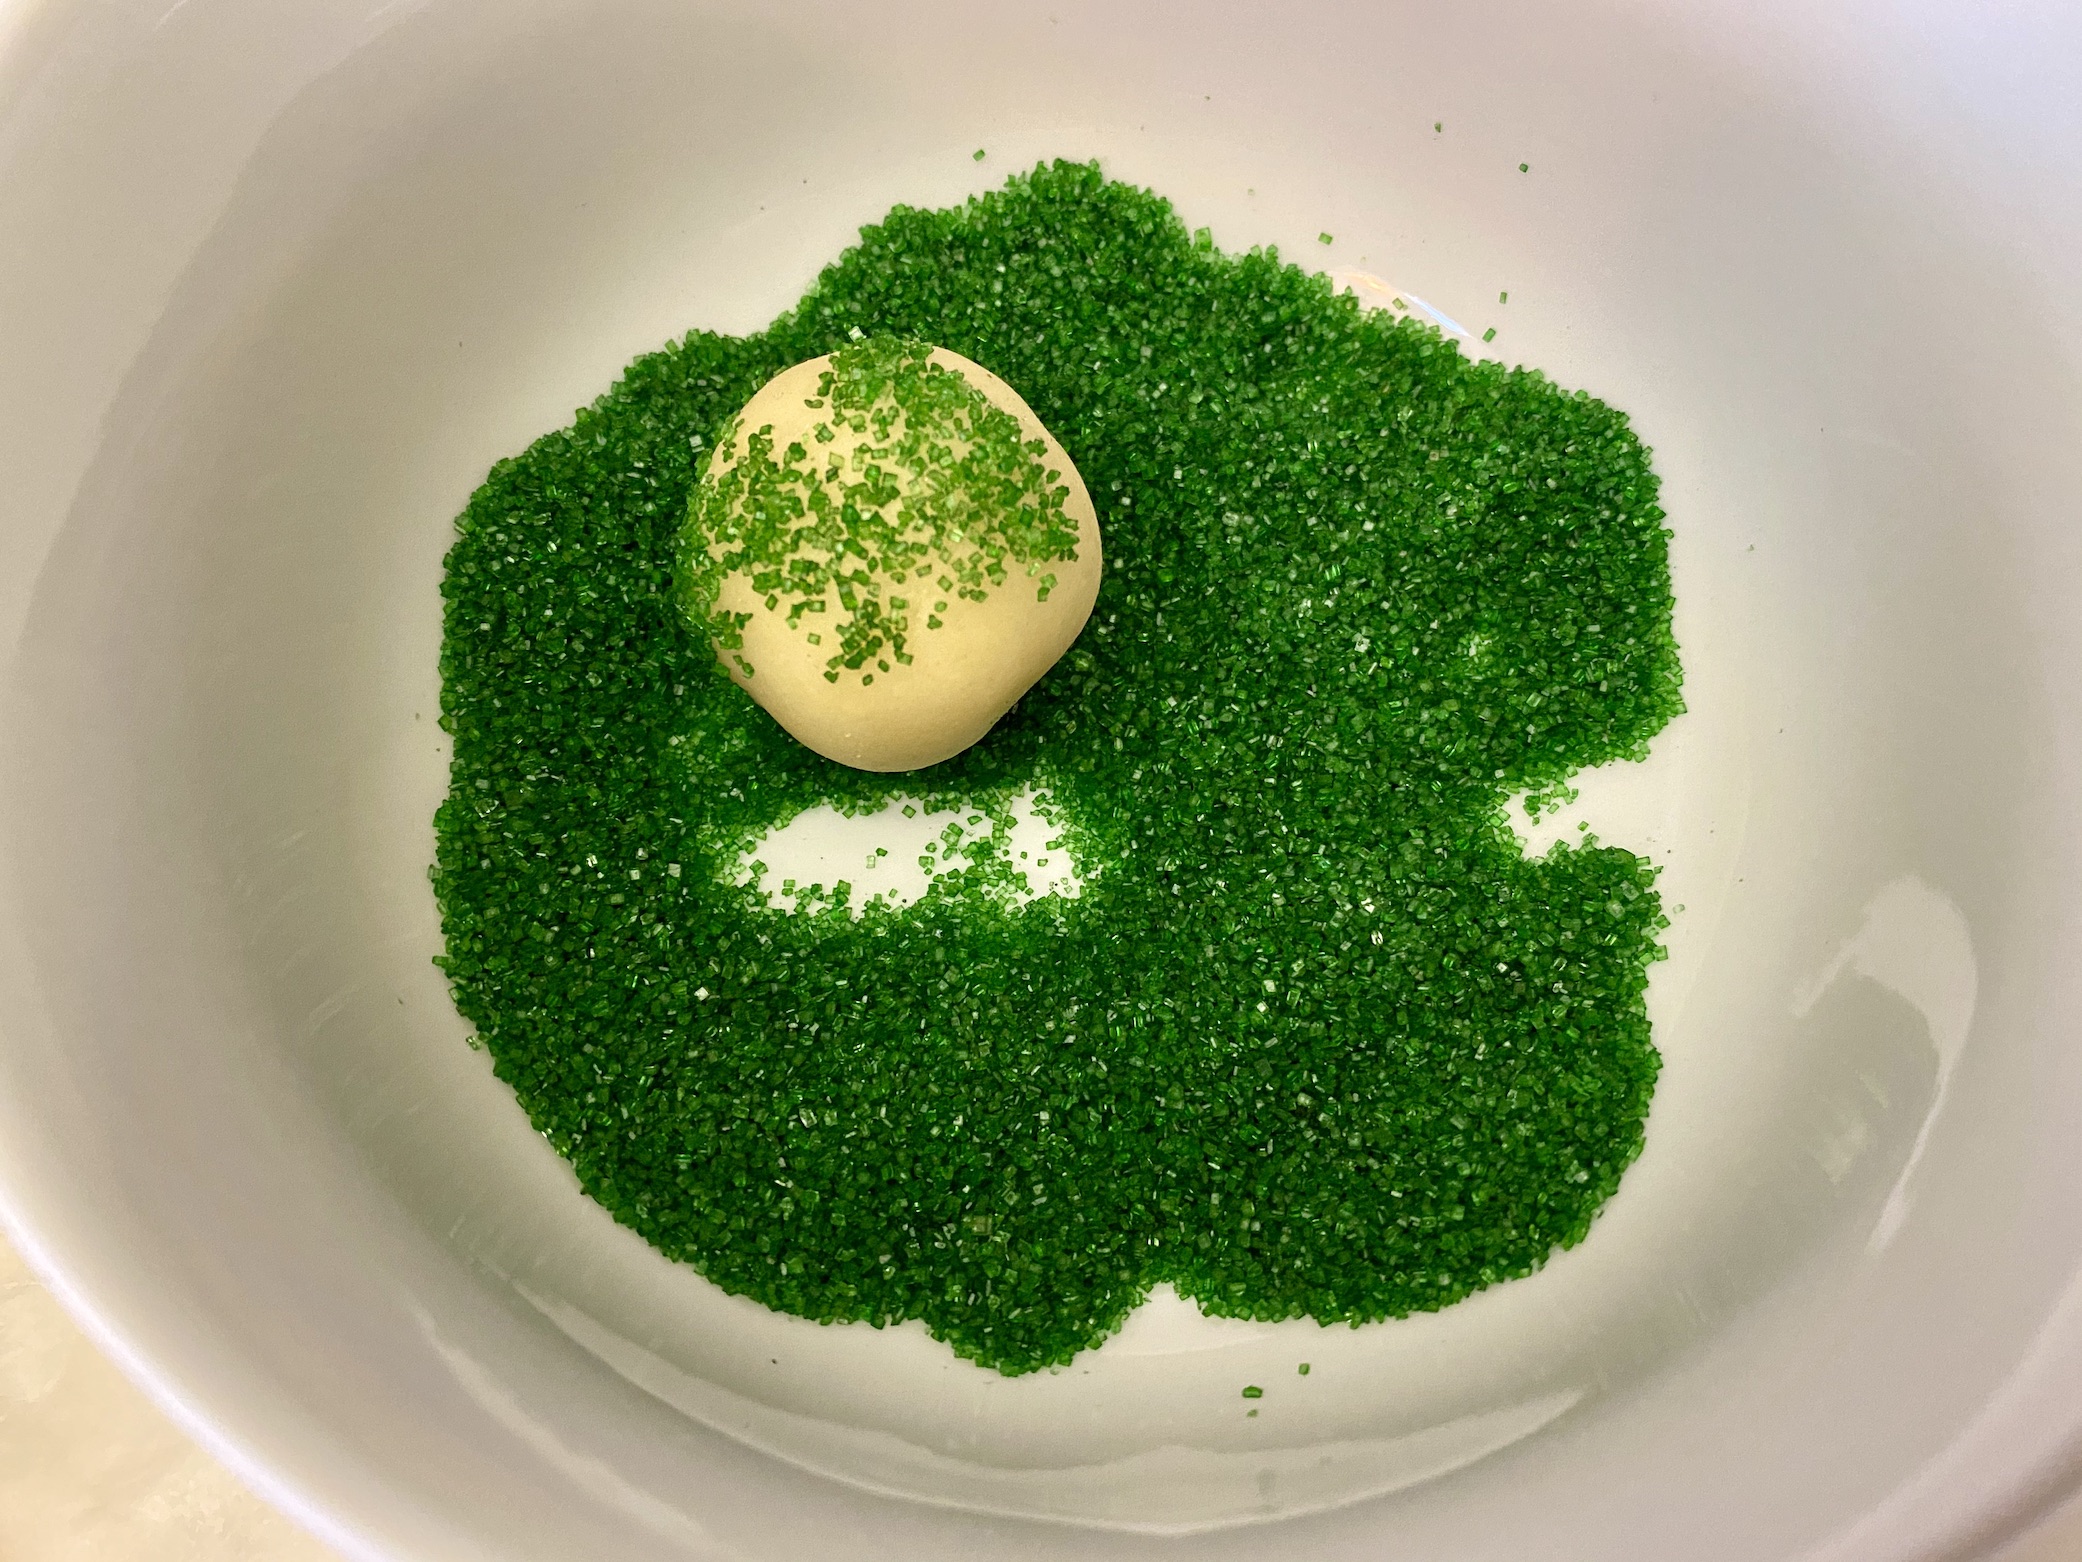
Using your fingers or a spoon, pull approximately 1 Tbsp worth of dough off the chilled ball of dough. Use your hands to form it into a smooth ball. Set aside and repeat this step until the entire ball of dough has been used up.

Roll each piece of dough in the sanding sugar and place on a baking sheet, about 1-2 inches apart. Alternate the colors (if using more than 1) so you have cookies in each color.


Use the back of a drinking glass (with a flat bottom / no indents) to gently press down on each cookie. You don’t want to completely flatten the cookie, just slightly flatten it so it’s still pretty thick, but no longer in ball form.


Bake for 10-12 minutes or until the edges start to turn a very light brown. Our oven runs super-hot, so I bake one cookie sheet at a time on the middle rack. They turn out perfect every time if I do this!


Let the cookies cool slightly, for about 2-3 minutes. Then, transfer to a cooling rack to finish cooling. Store in an airtight container on the fridge for up to 1 week or enjoy immediately. The cookies also freeze well.

The recipe can be found here.
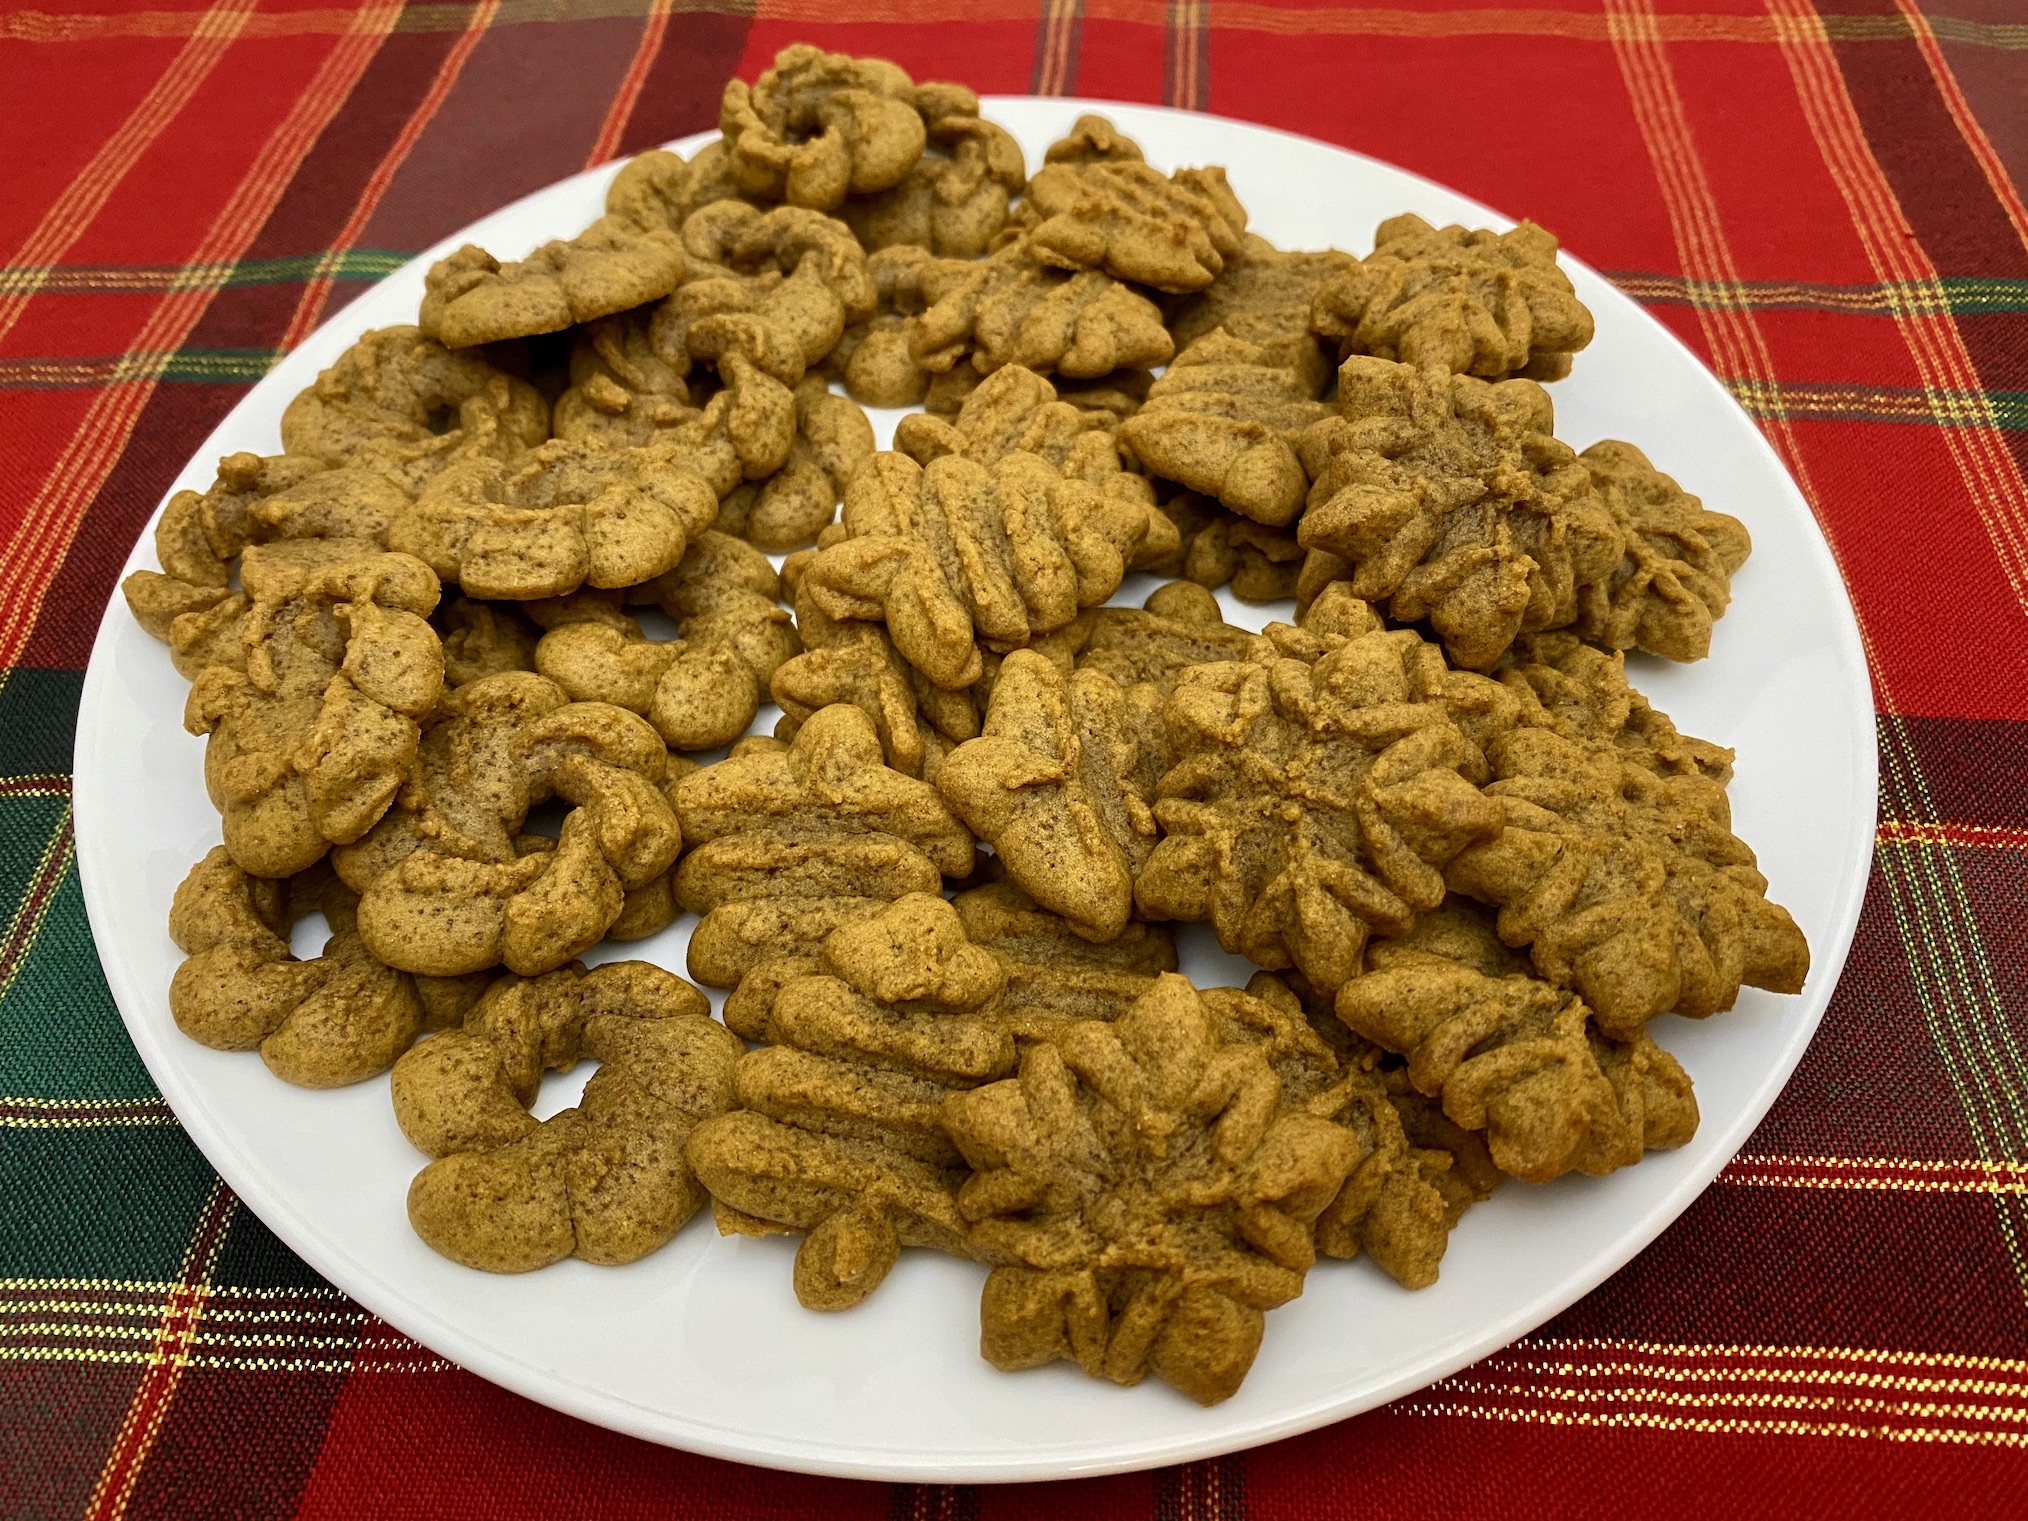
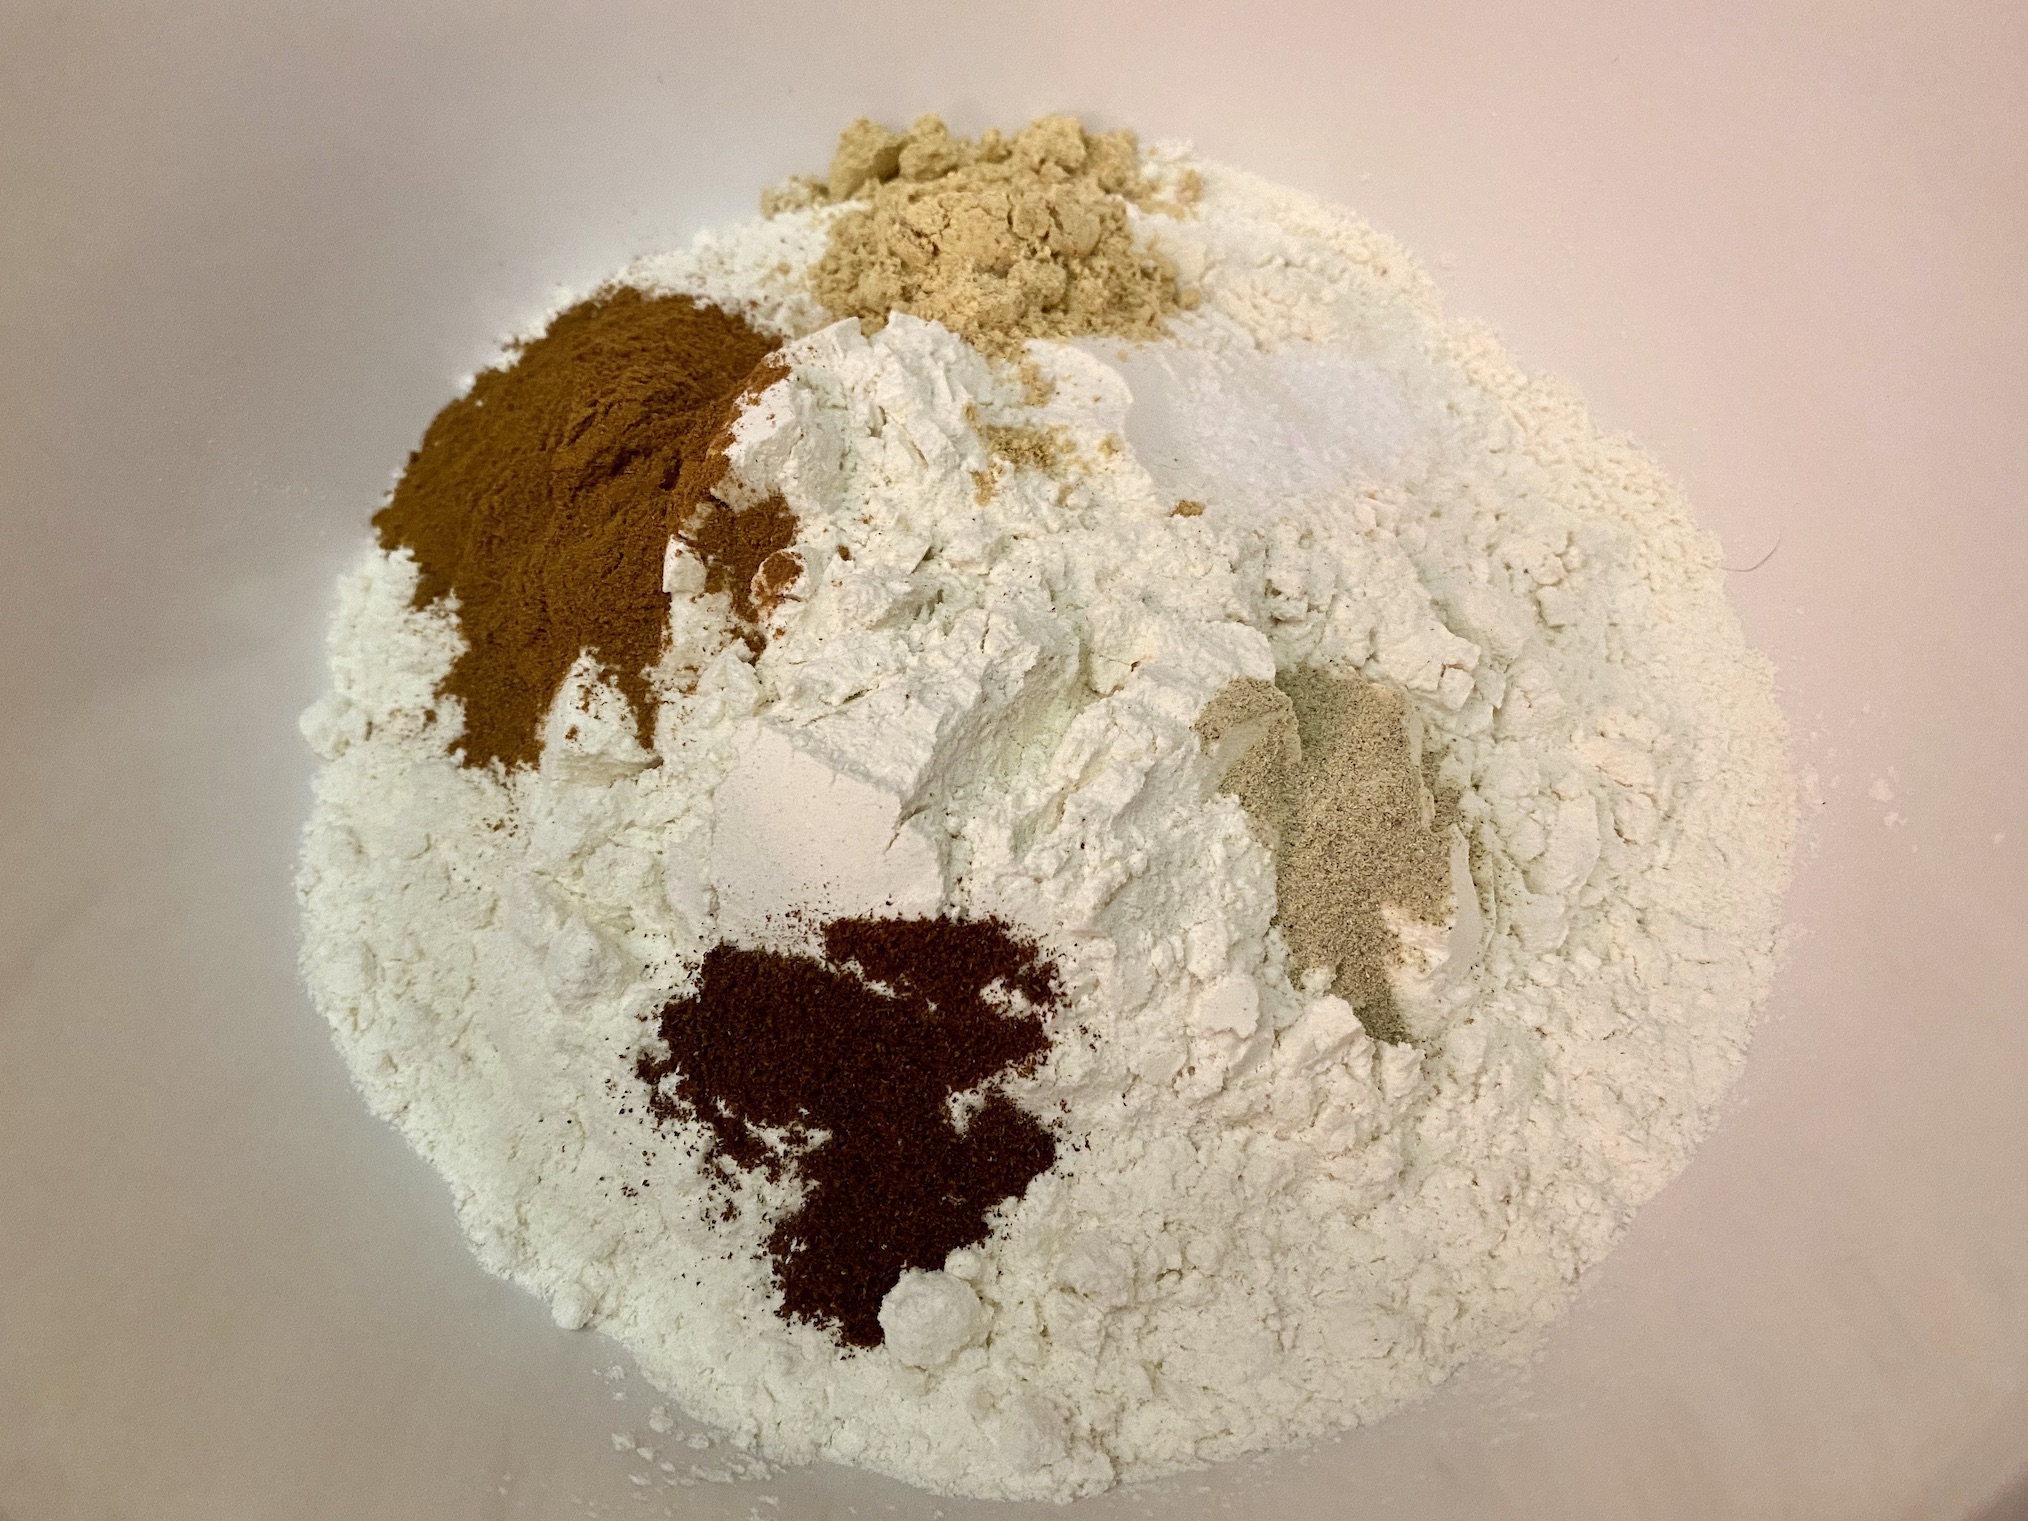
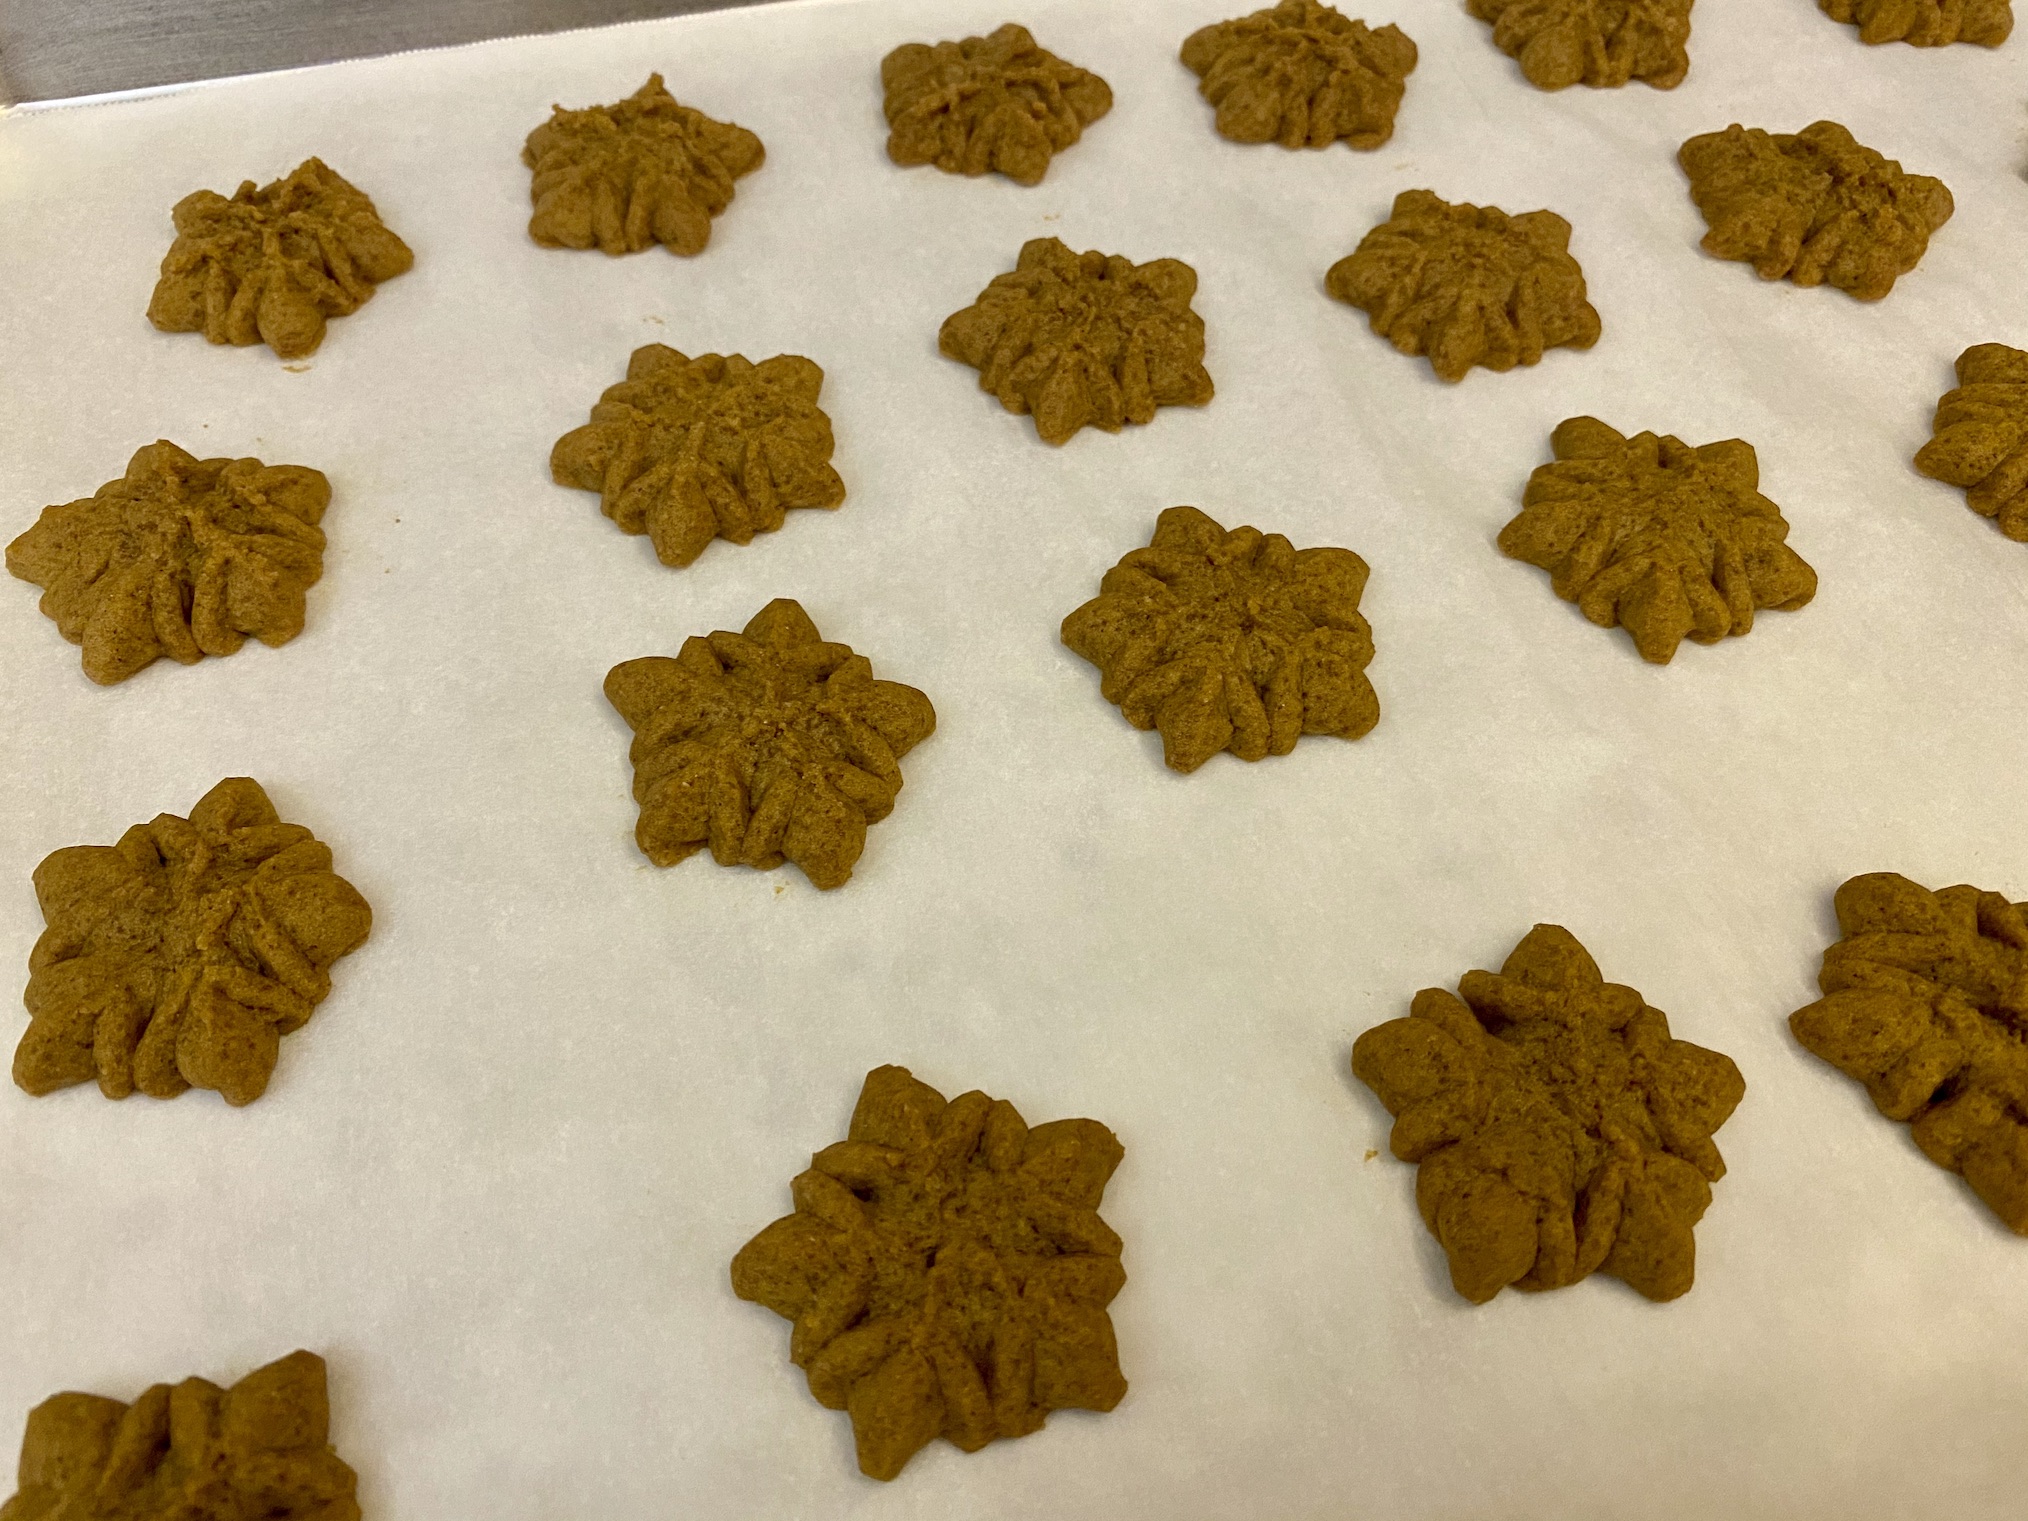
Next up is Gingerbread Spritz. These are a classic Christmas cookie…a buttery cookie with a gingerbread flavor. I remember my grandma making them every year in a variety of shapes and passing her cookie press down to my mom. That’s when I was taught how to make them, and the tradition continues.

The recipe can be found here.
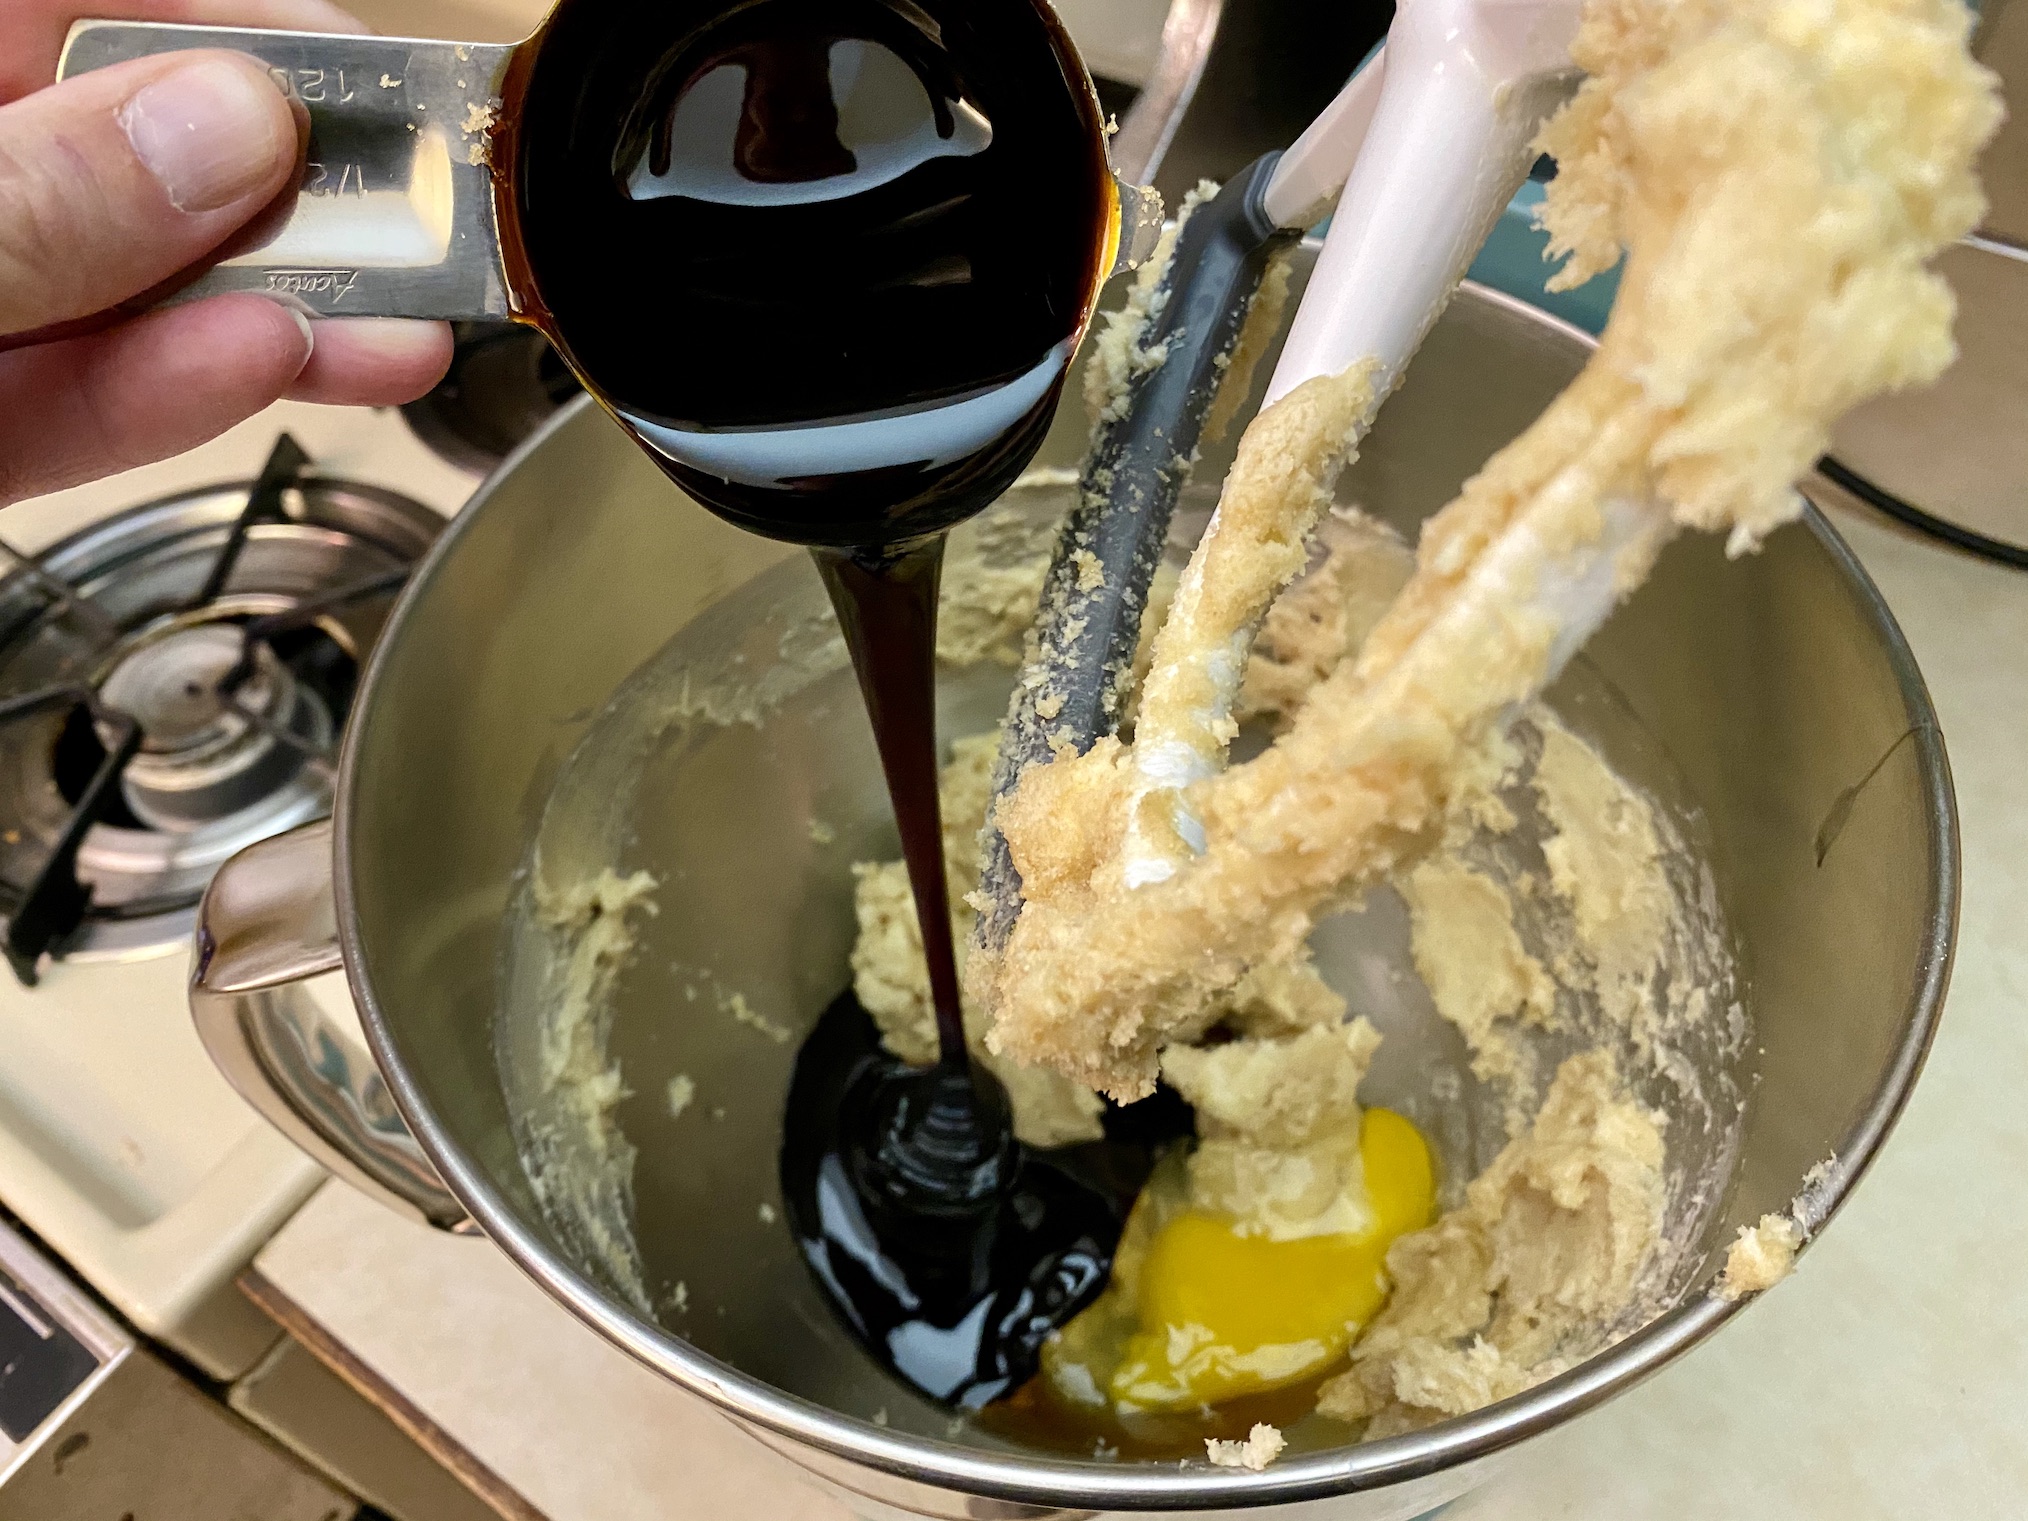
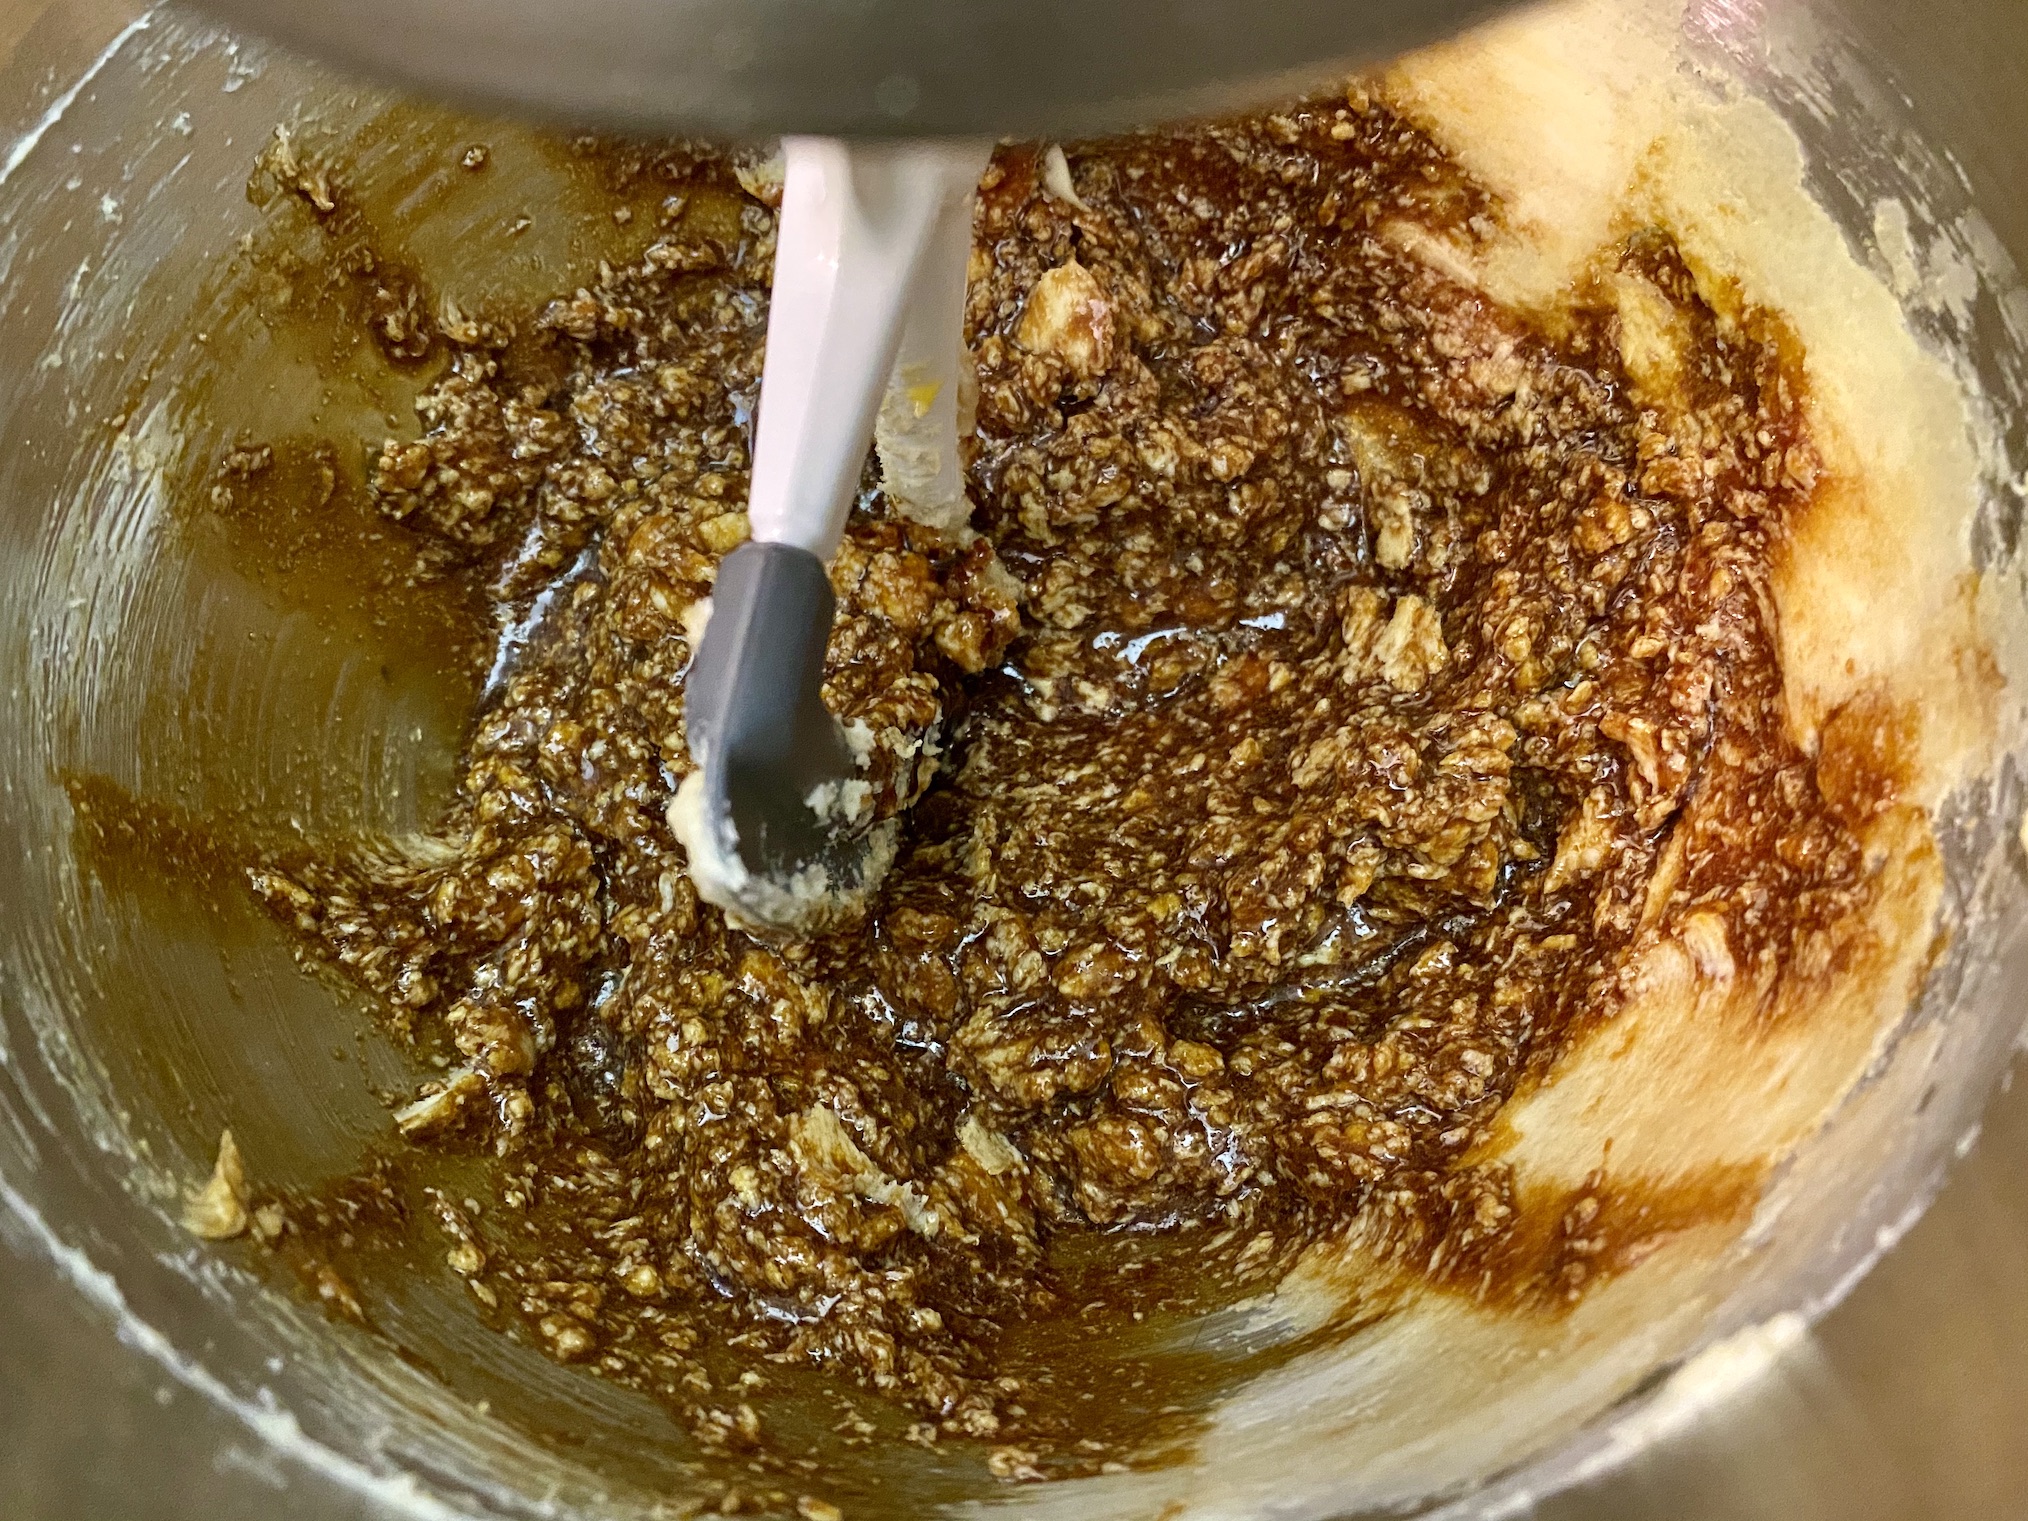
In the bowl of a stand mixer, cream together the butter and brown sugar. Add the molasses, egg, can vanilla extract and continue to mix together. You want the ingredients to be well combined.


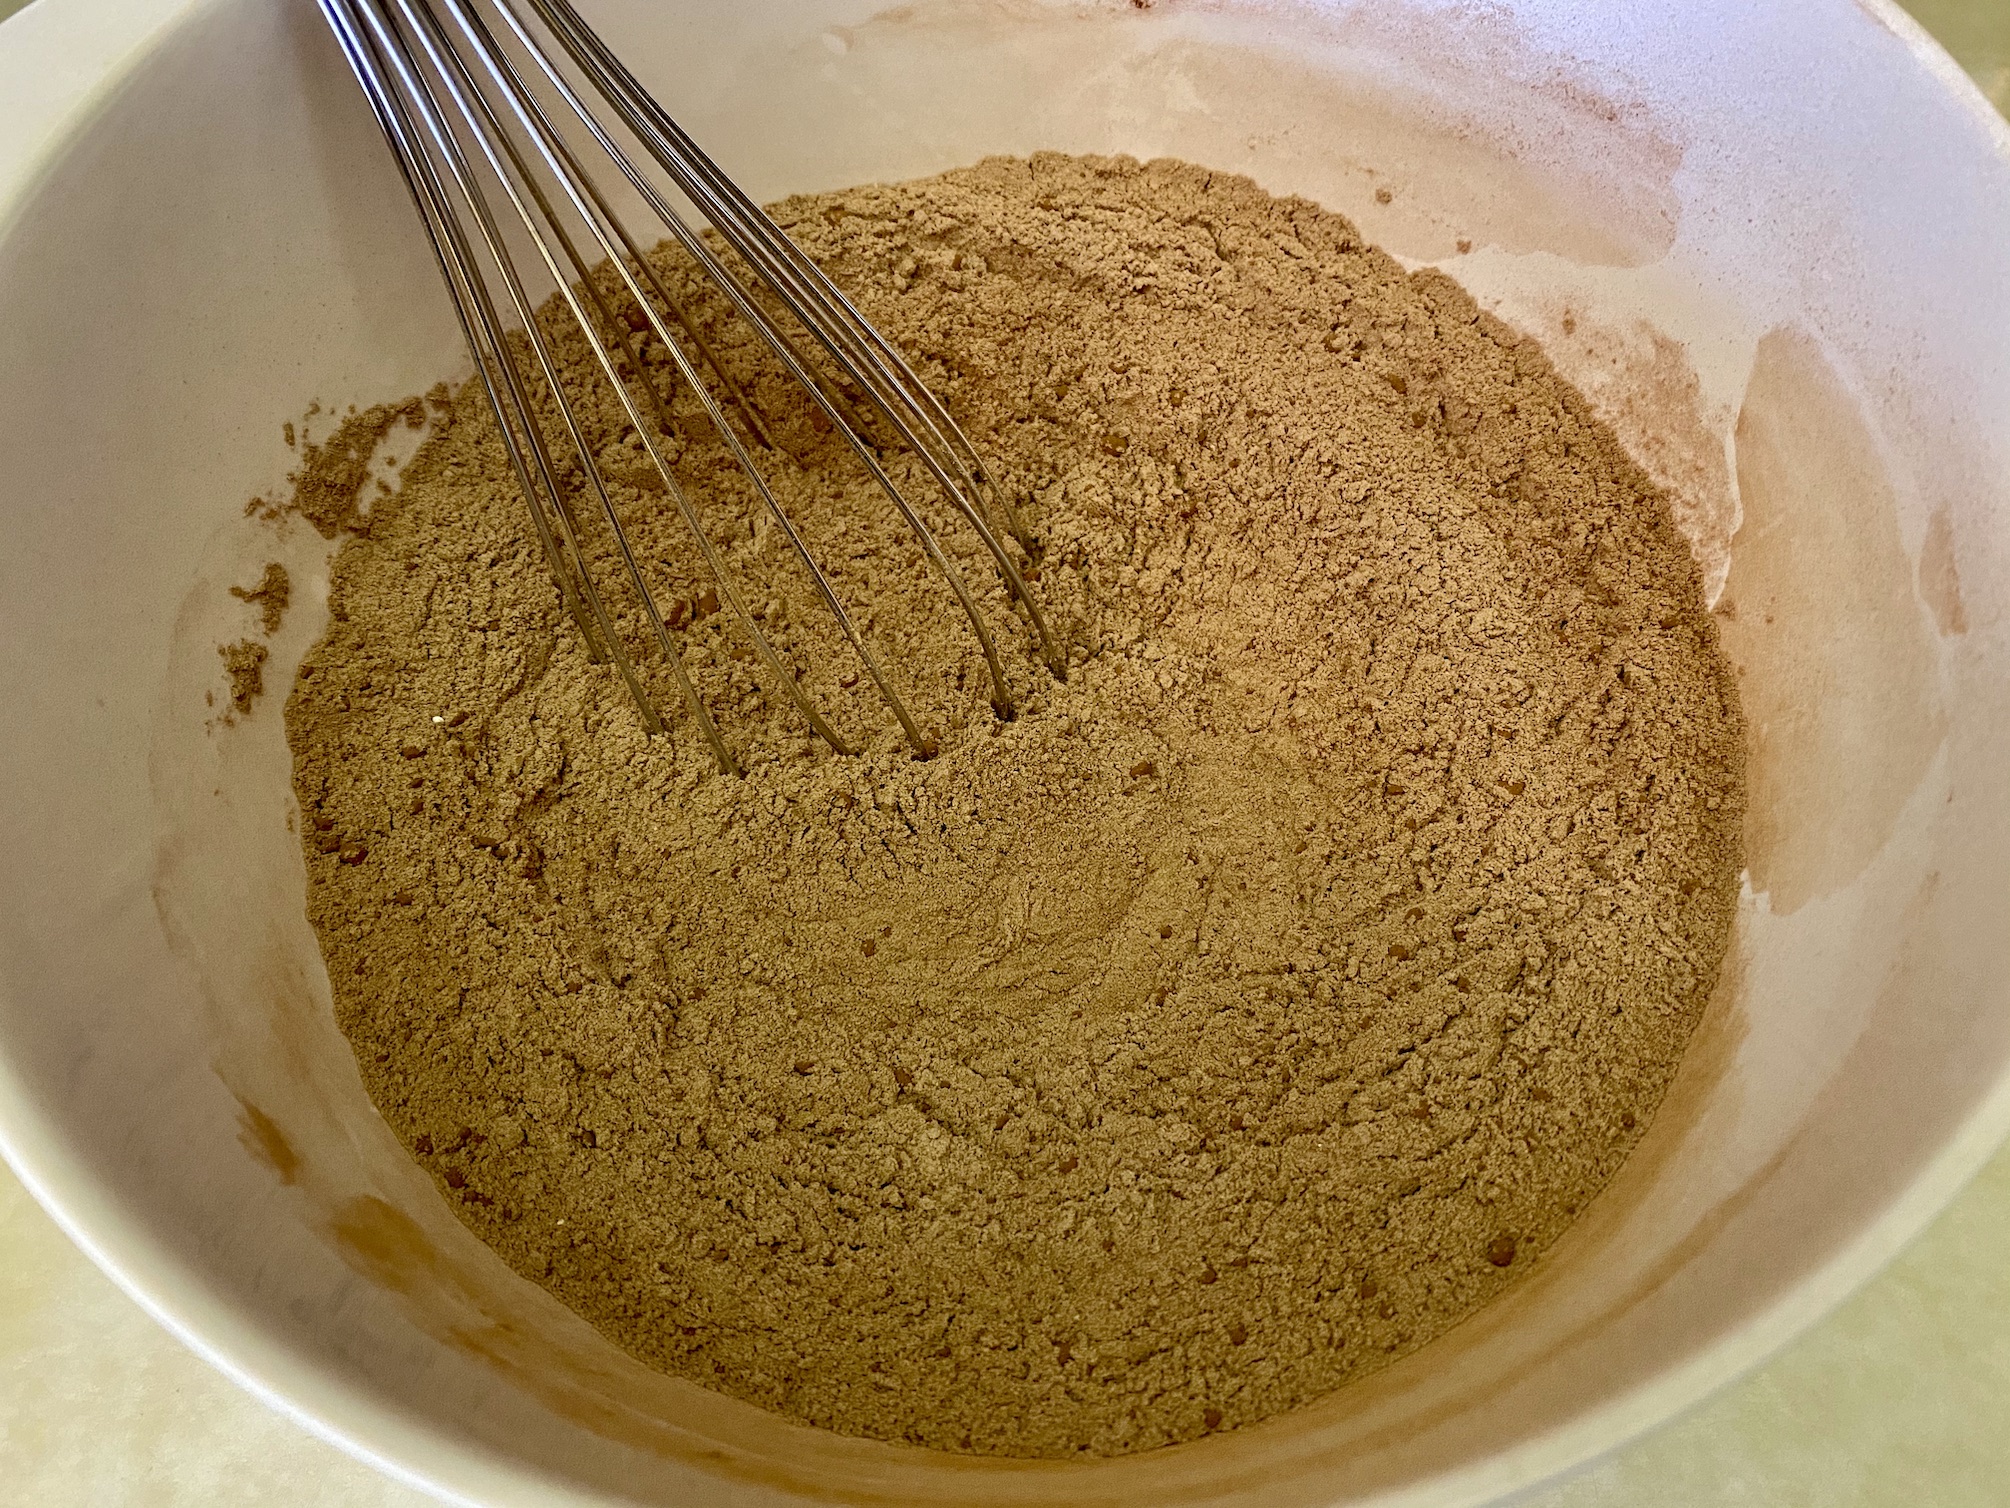
In a separate bowl, whisk together the flour, cinnamon, ginger, salt, white pepper, and cloves (this is the amazing gingerbread flavor).

Add the flour mixture to the stand mixer in batches, mixing in between each batch, until just combined. You don’t want to overmix.


Remove the dough to a piece of wax paper or plastic wrap. Tightly wrap the dough and place in the fridge for about 30 minutes to chill. This will help the cookie press make more uniform cookies and the dough won’t stick as much.

Once chilled, preheat the oven to 375 degrees F. Line 2-3 baking sheets with parchment paper.
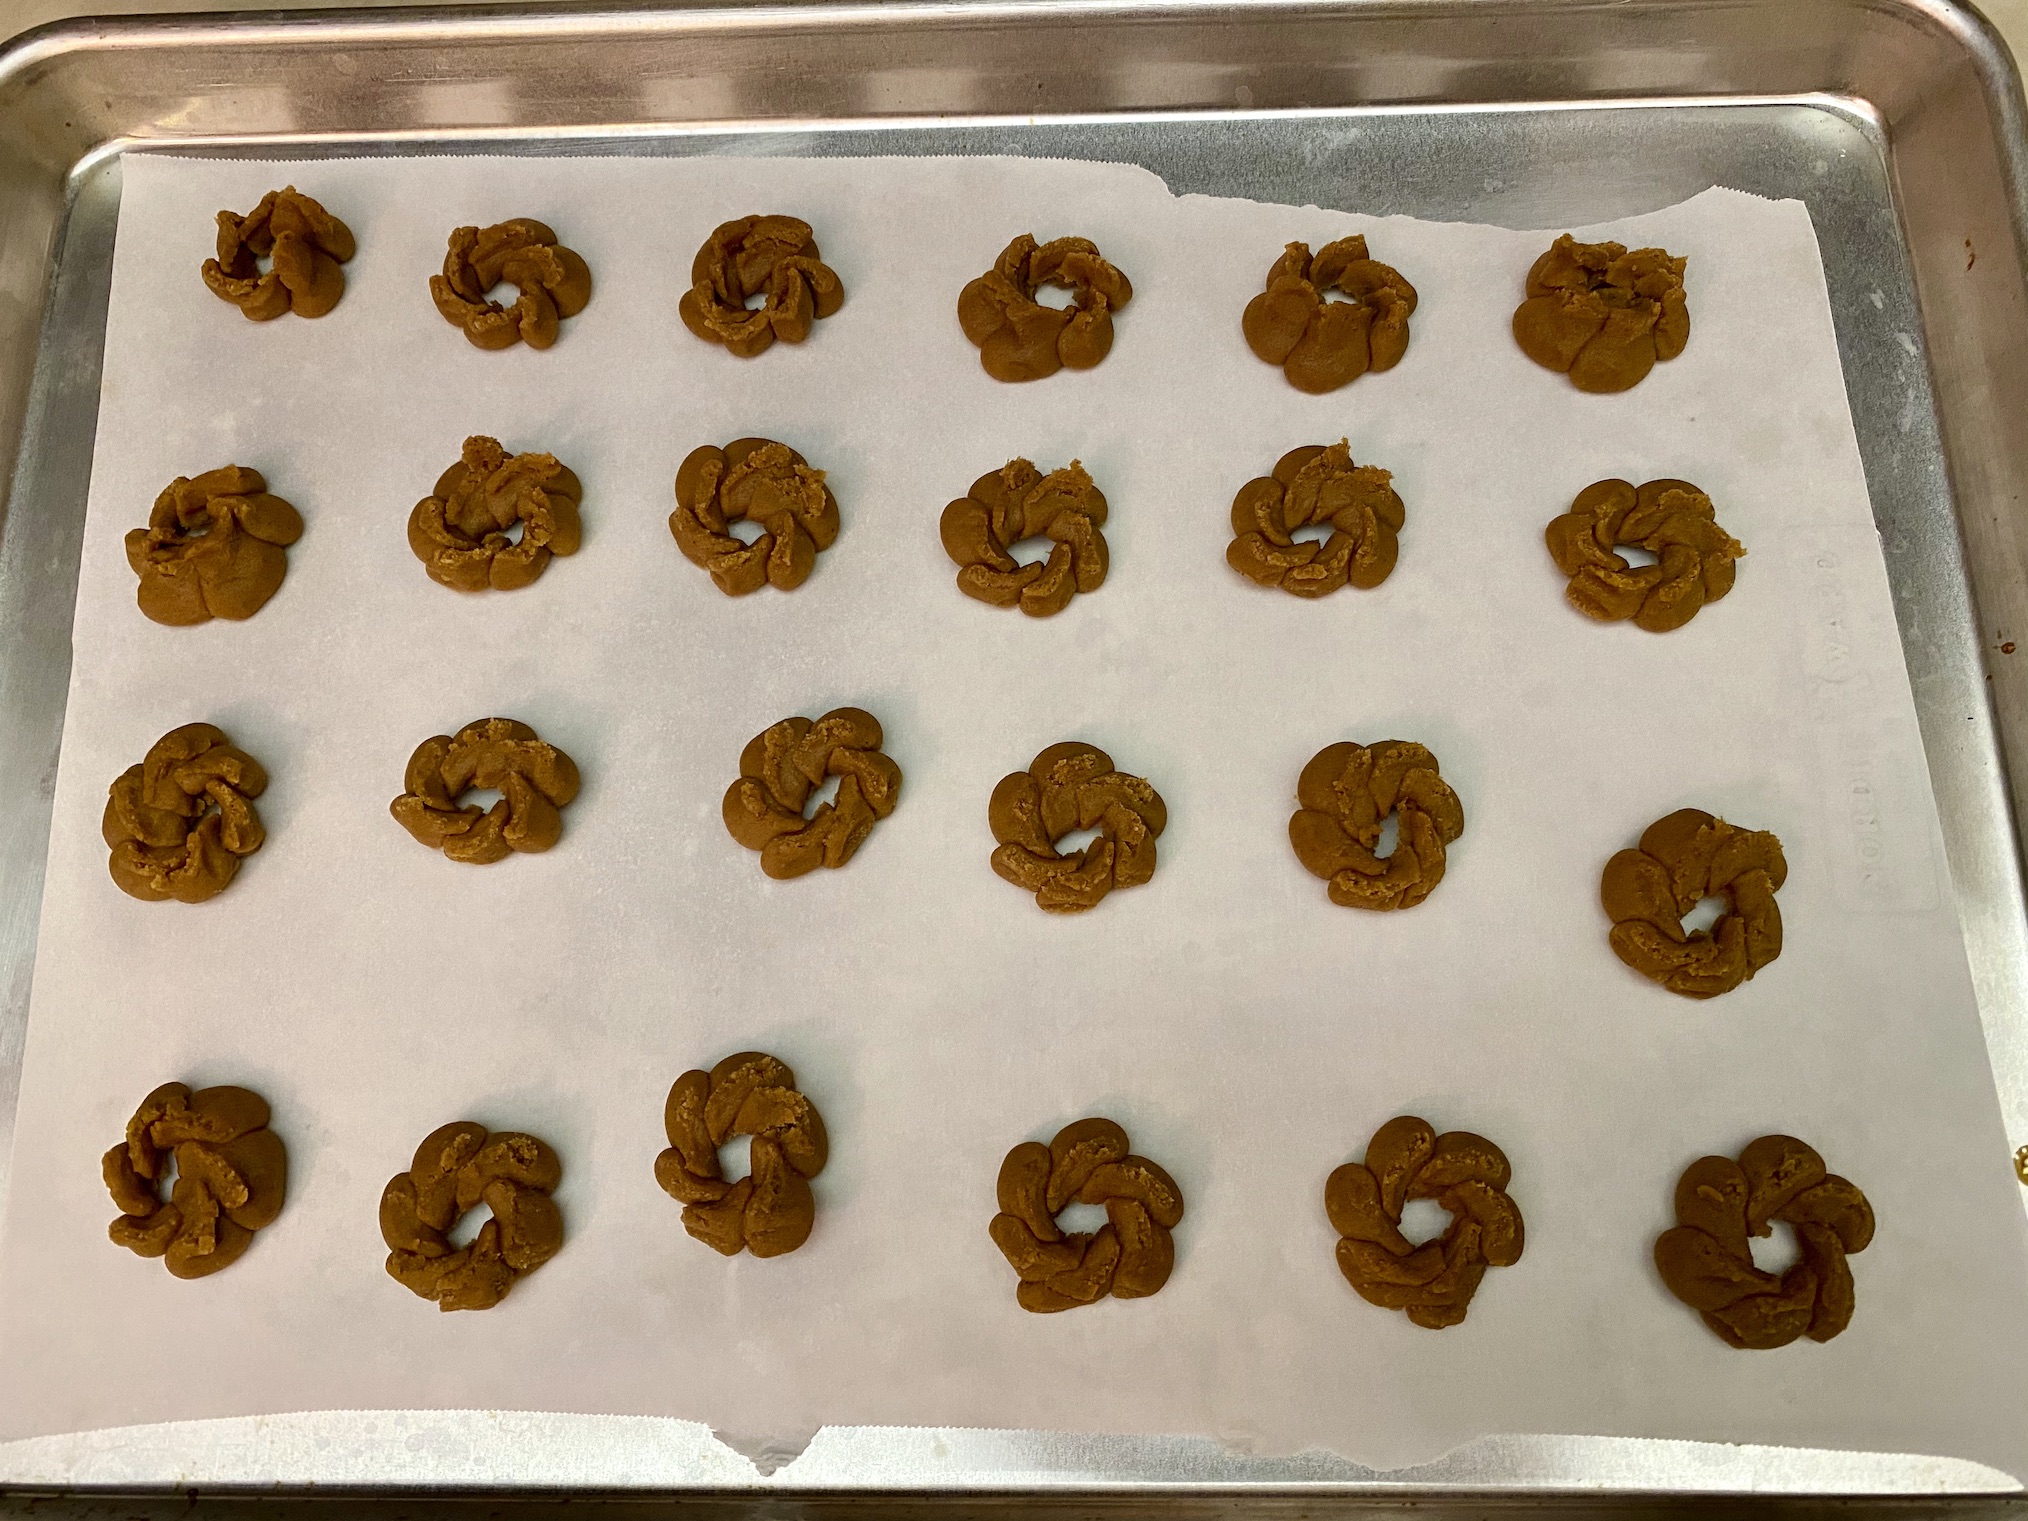
Add dough to your cookie press. Make sure the desired shape is inserted first! Return the rest of the dough to chill while you work. Press cookies onto the baking sheets, about 1-2 inches apart. Refill the cookie press as needed.


Bake one cookie sheet at a time on the middle rack for 5-7 minutes. Let the cookie cool for 2-3 minutes then remove to a cooling rack to cool completely. Store the cookies in an airtight container on the counter or enjoy immediately. The cookies also freeze well.

The recipe can be found here.
Next up is Peppermint Macarons. These are plain macarons with a lovely peppermint buttercream filling. They are melt-in-your-mouth delicious and have a nice crunch from the crushed-up candy canes on the outside. A festive cookie that is also quite classy!


The recipe can be found here.
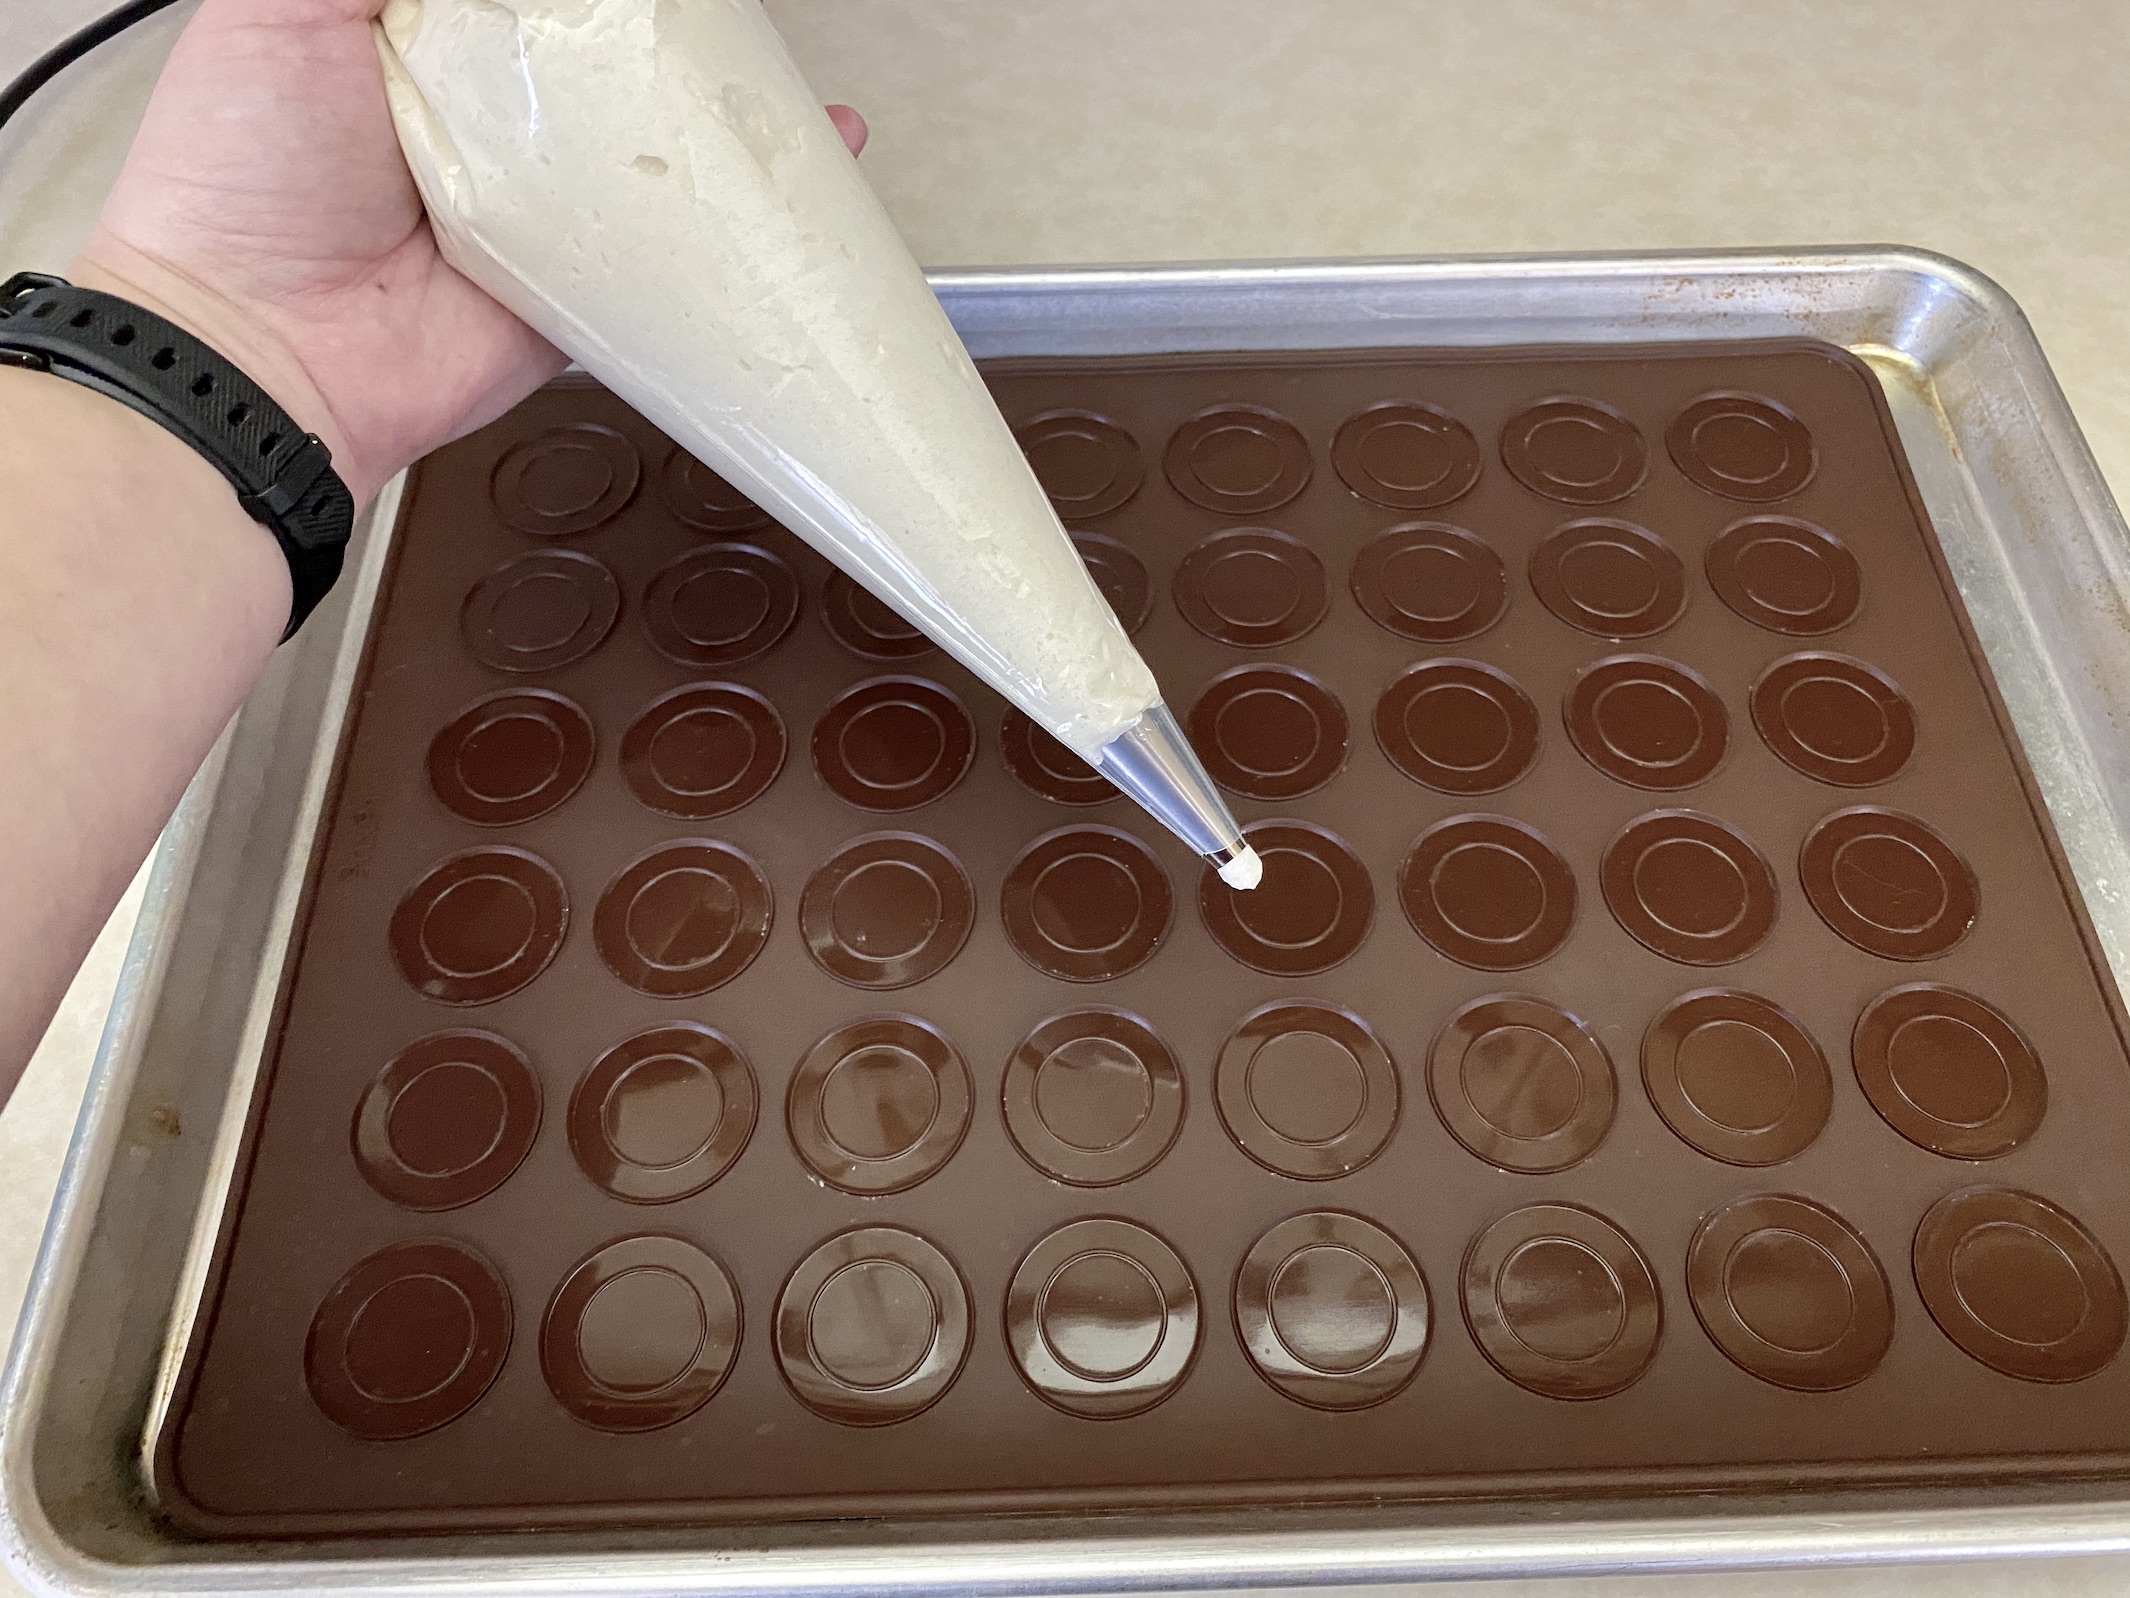
Preheat the oven to 325 degrees F. Line a baking sheet with a silicone macaron mat or parchment paper. The macaron mat is nice, if you have one, because it has marked guides printed on the mat to use for sizing purposes. You can also eyeball the size and use parchment paper. Set the baking sheet aside.
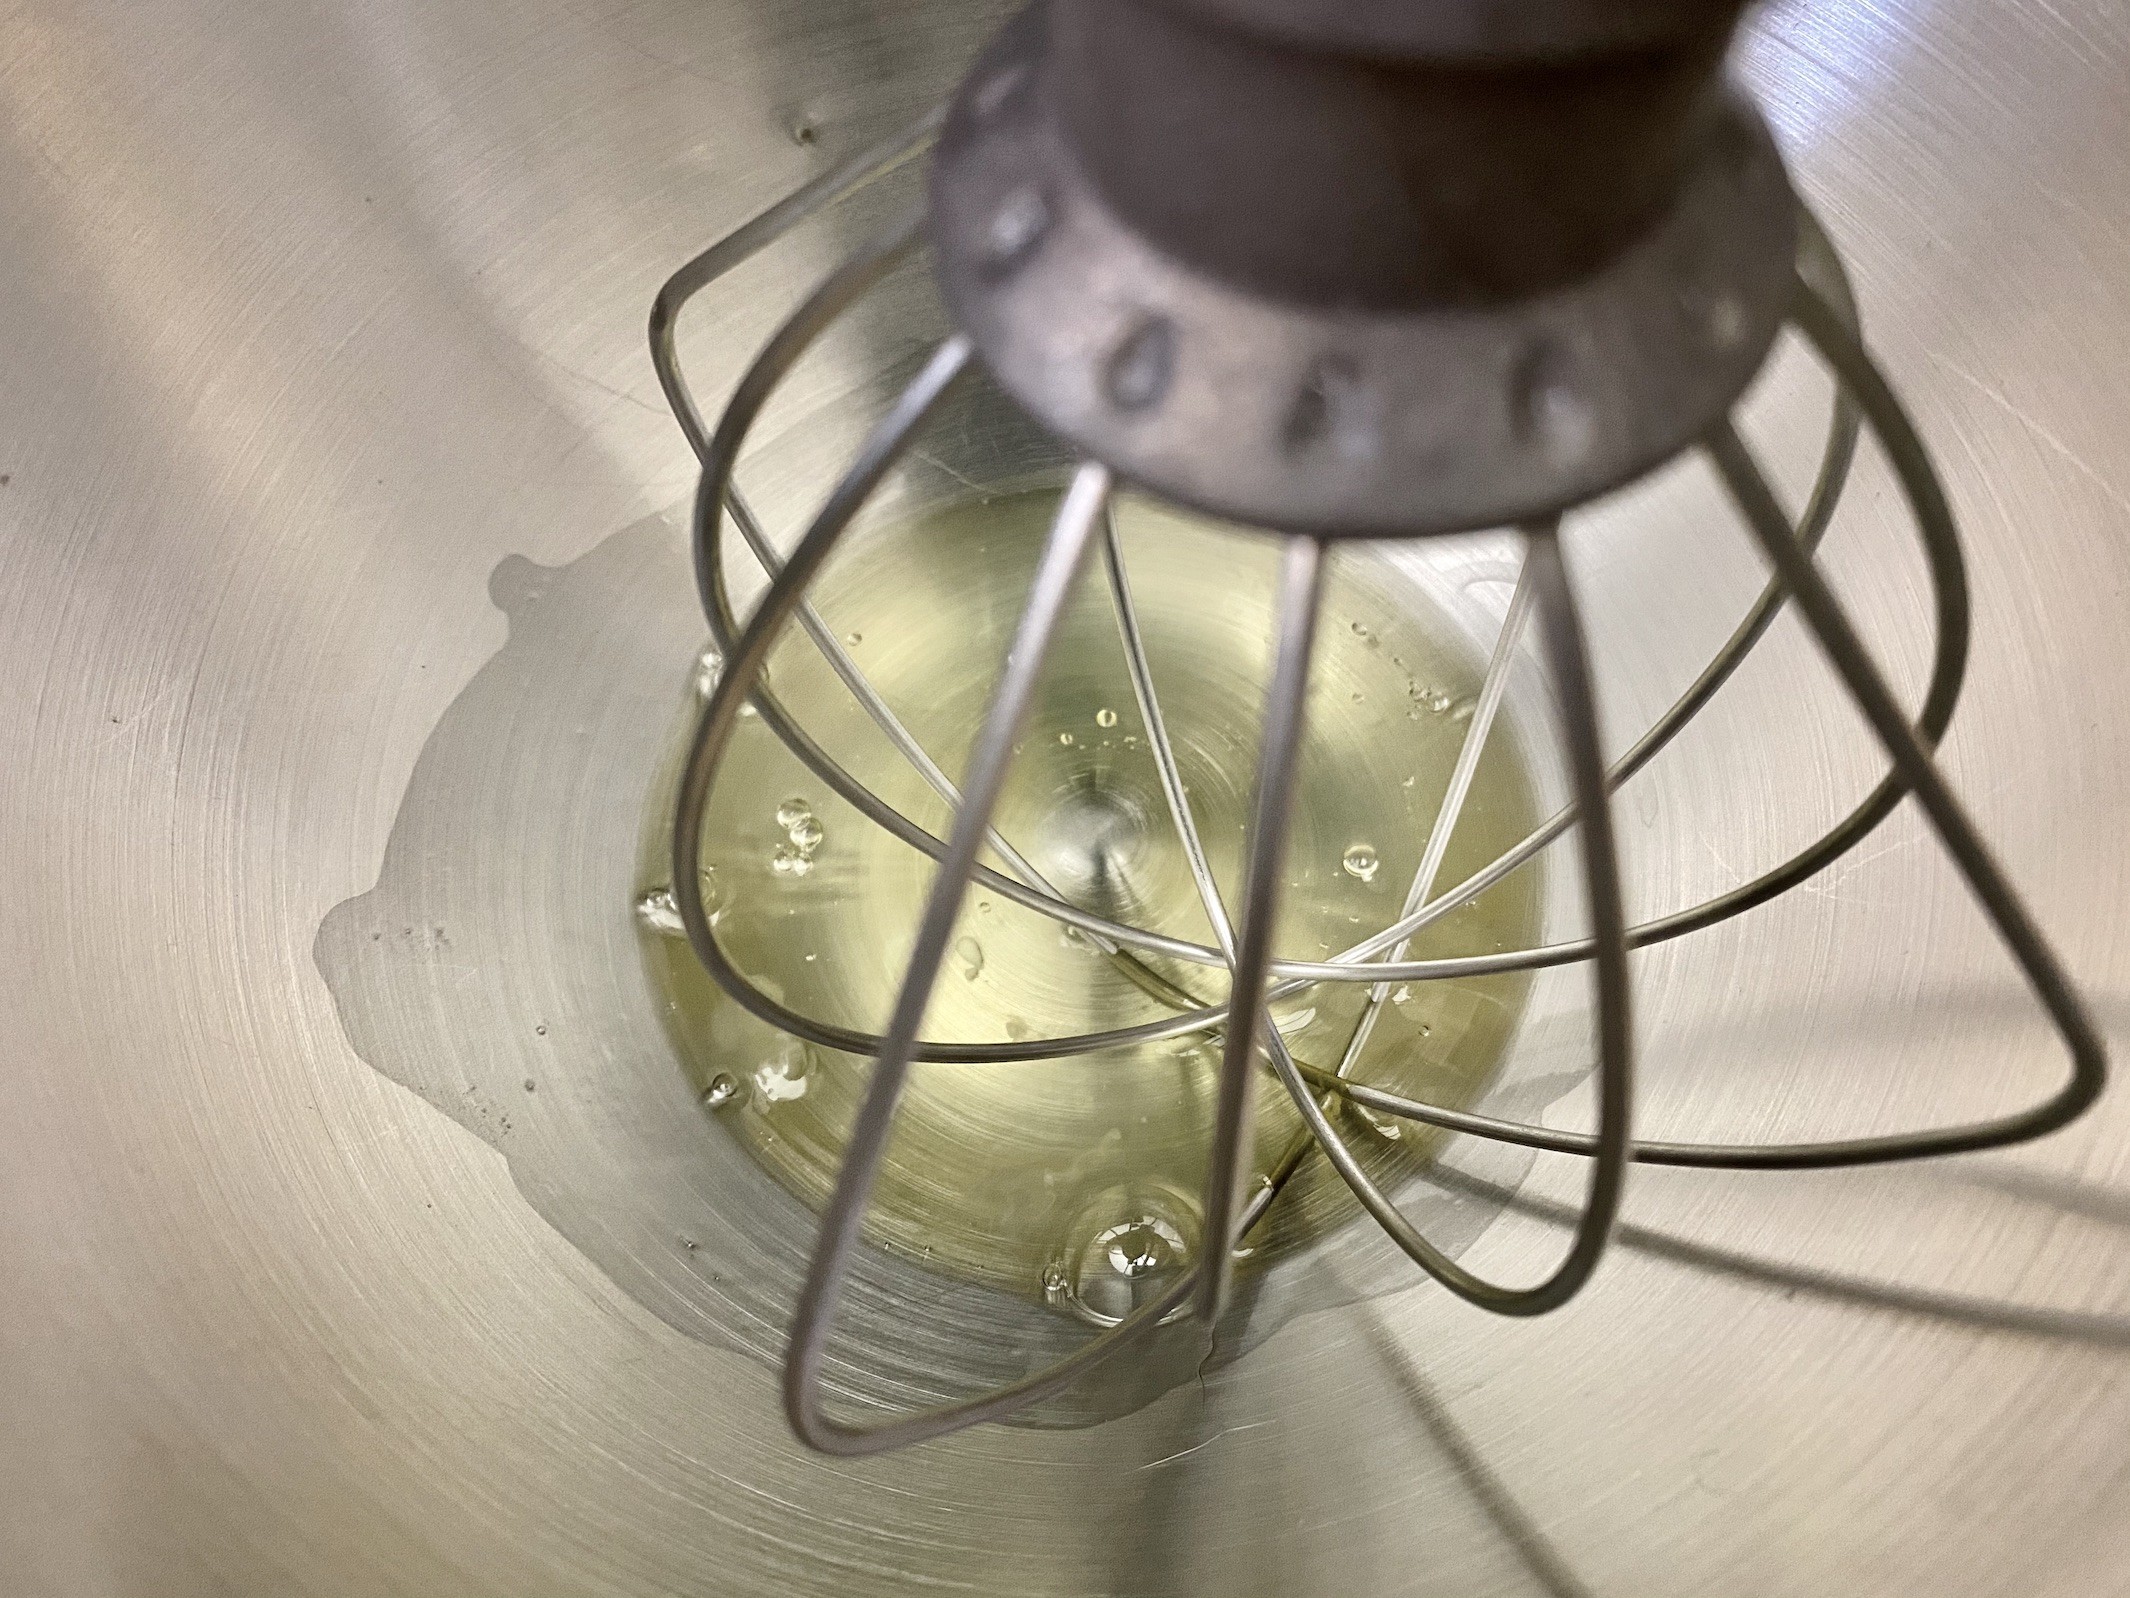
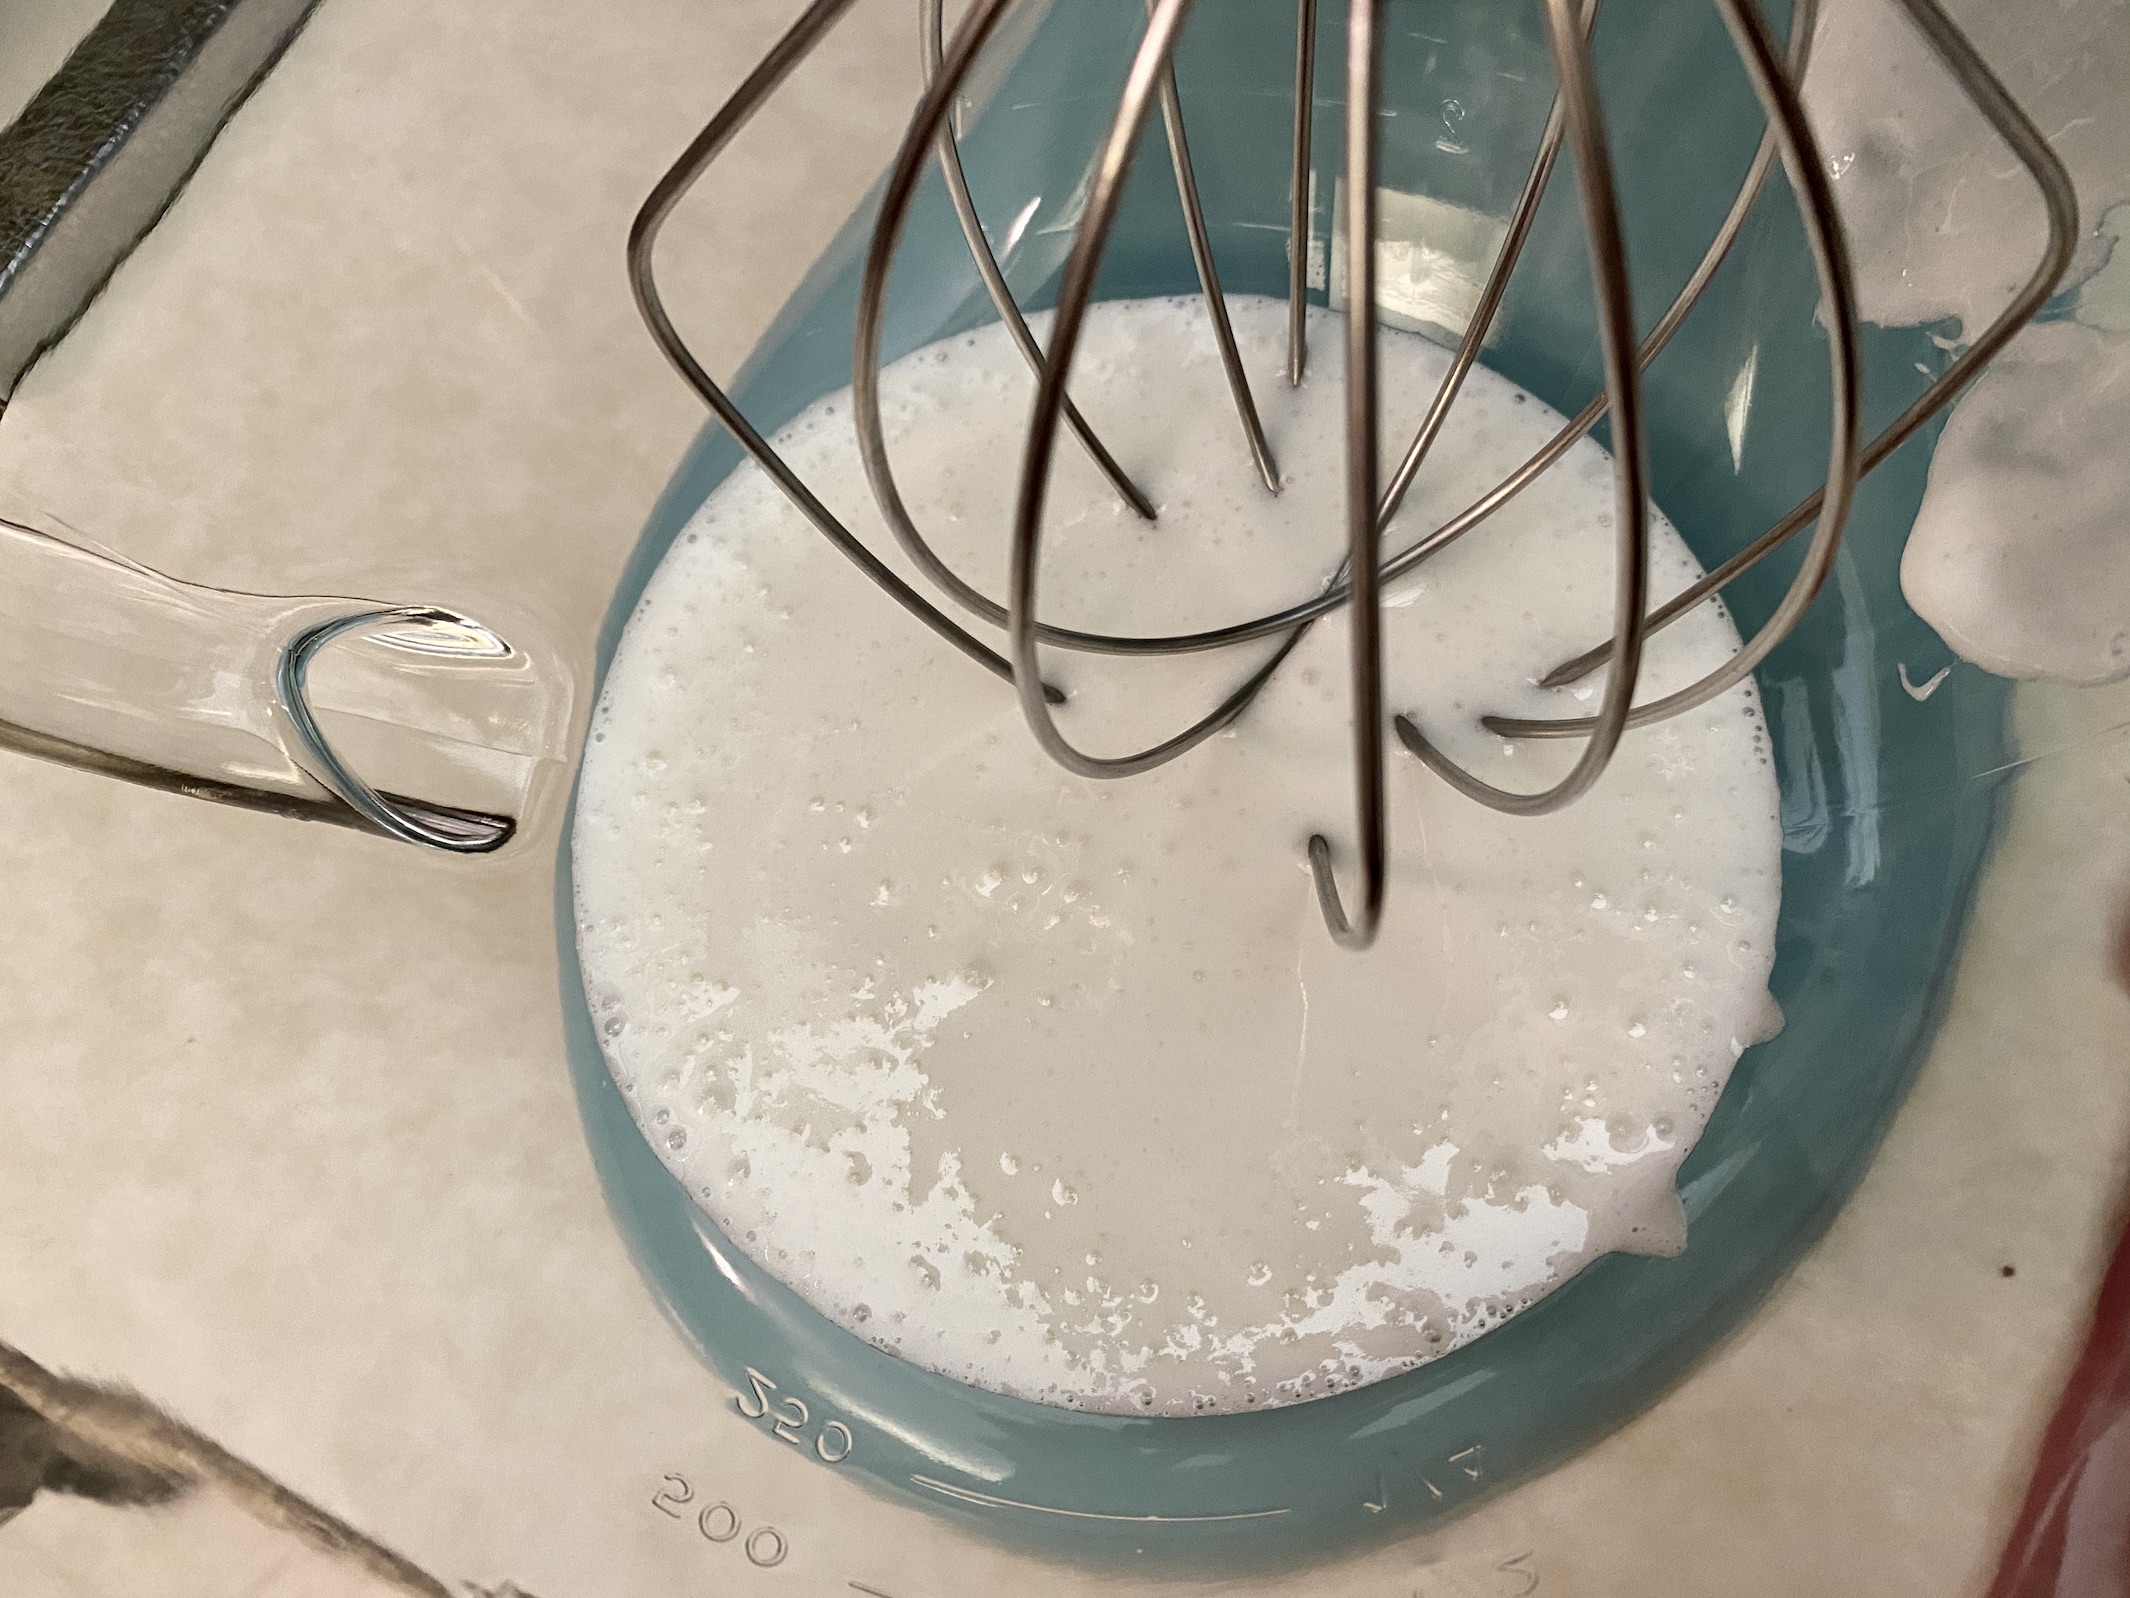
In the bowl of a stand mixer, whisk the egg whites from 2 eggs on medium speed until foamy. Add the cream of tartar and increase the speed to medium-high. Continue to whisk until soft peaks form.

Add the superfine baker’s sugar and whisk on high until stiff peaks form, about 6-8 minutes. Turn the mixer off.

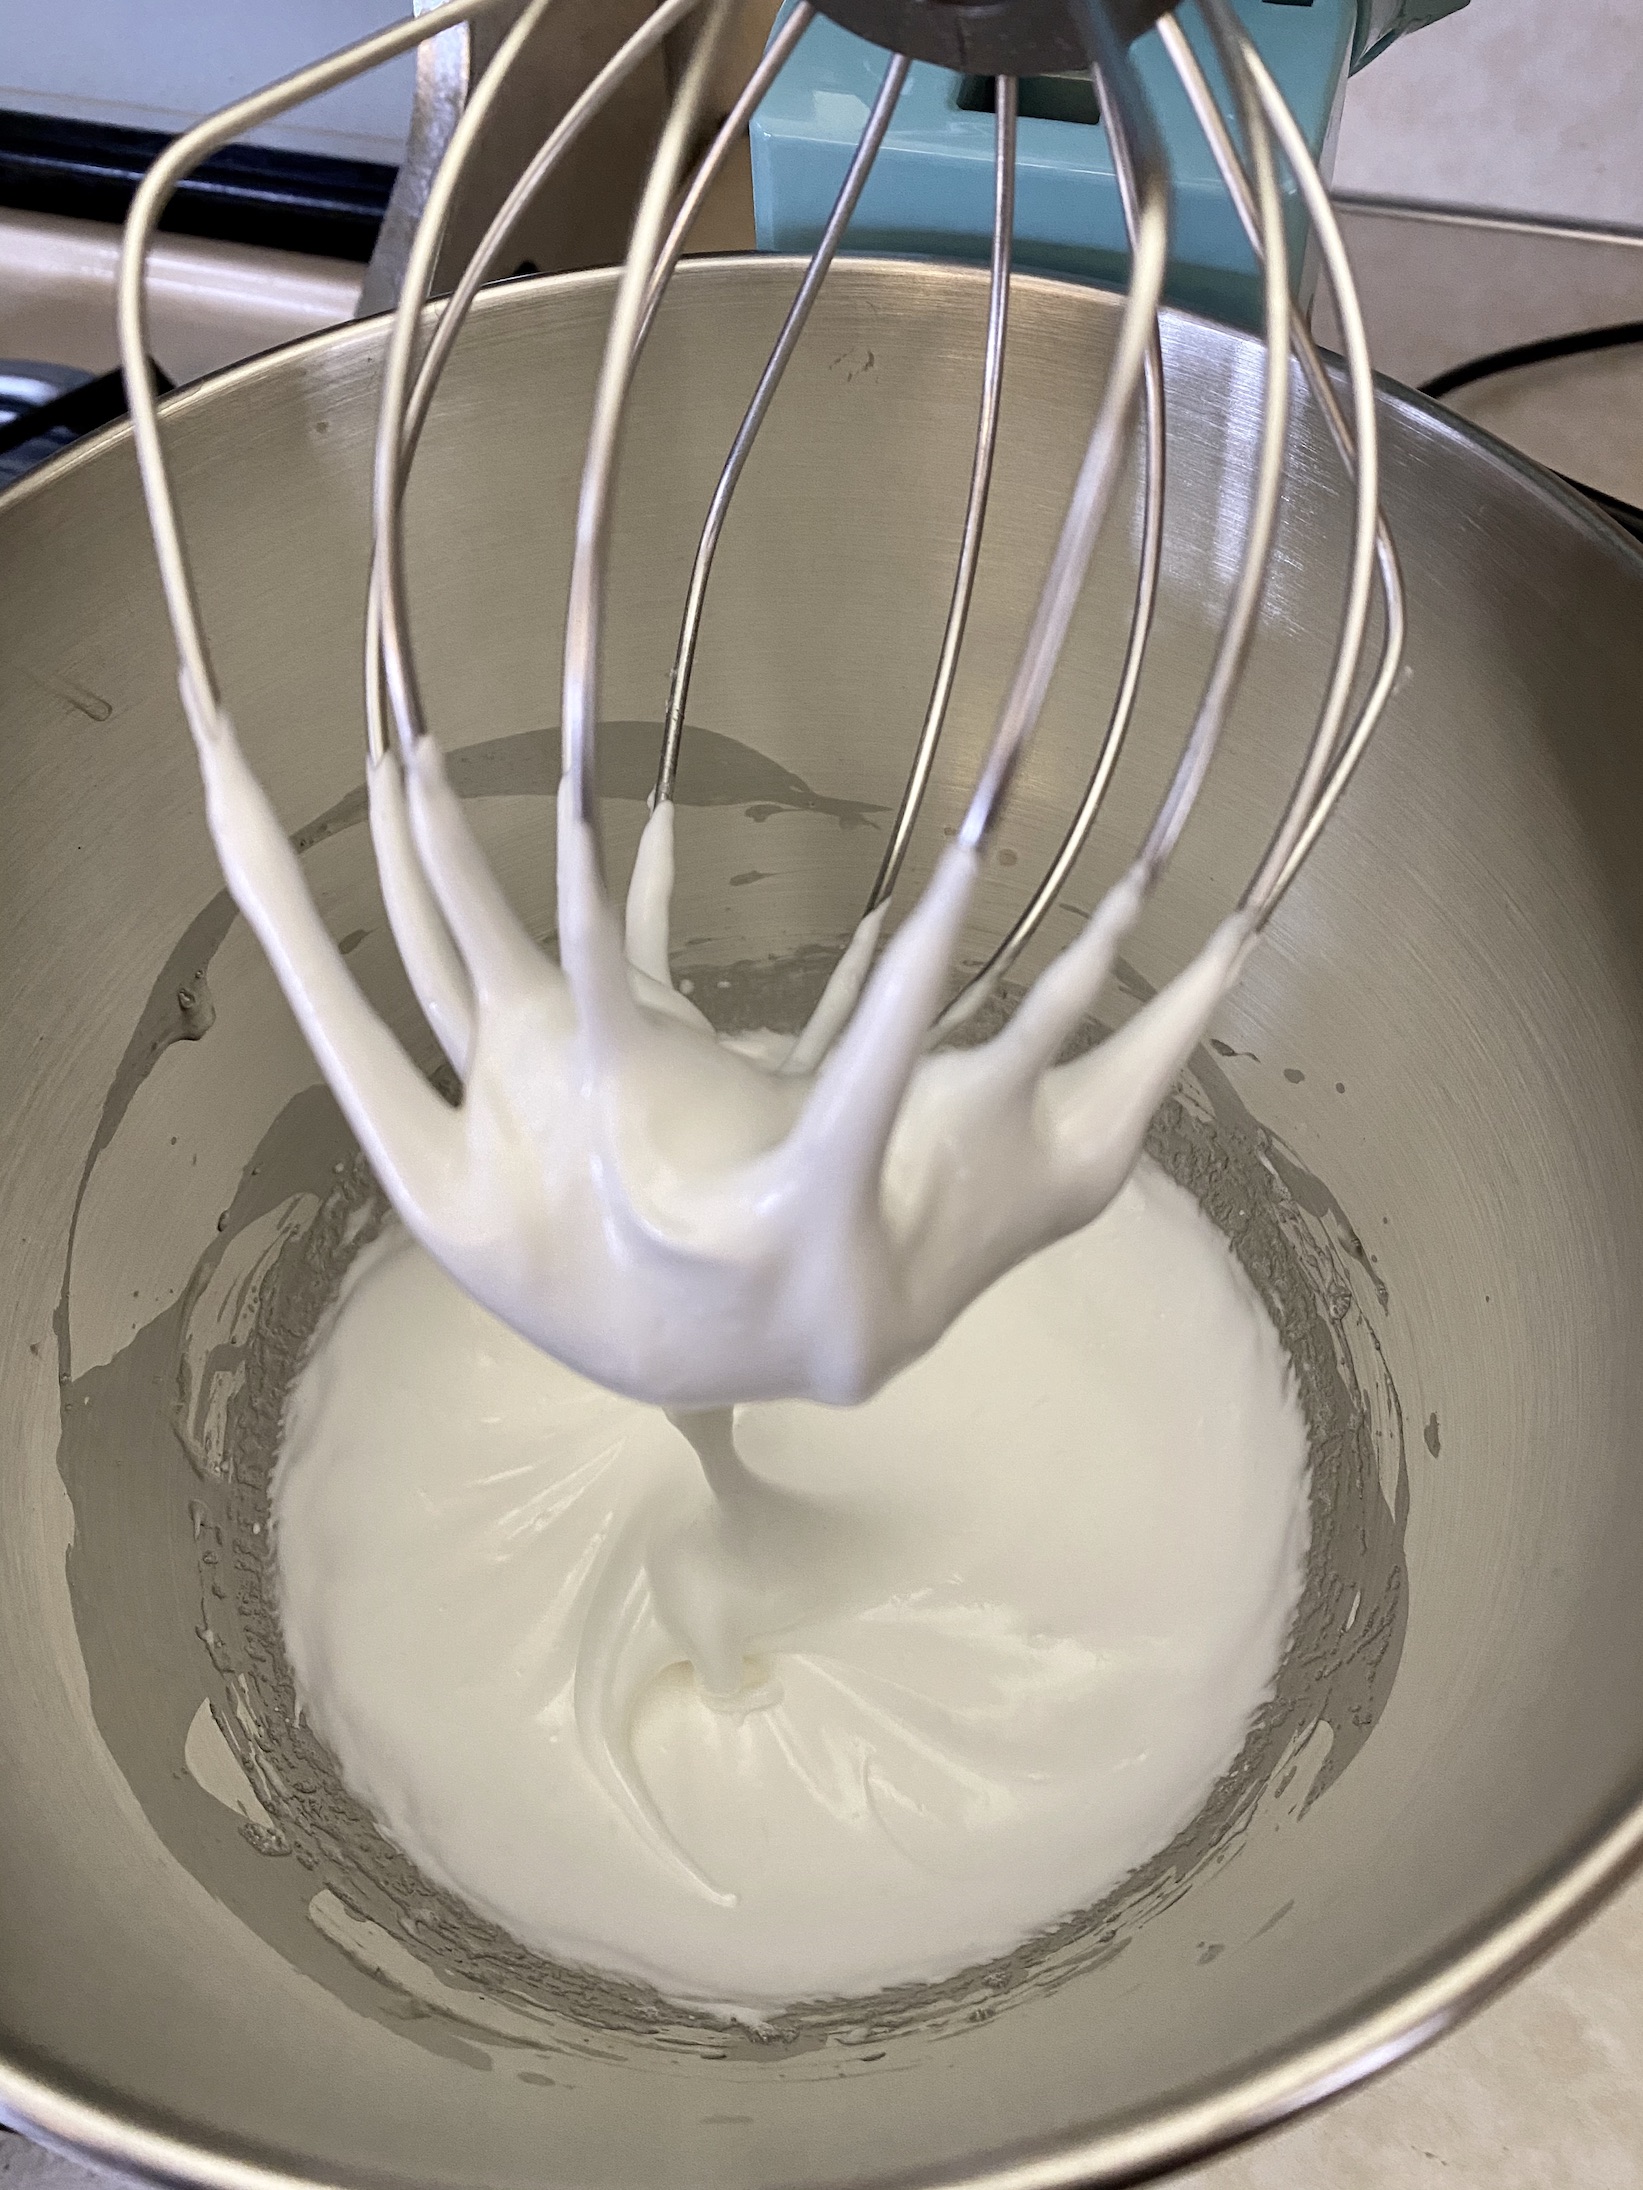
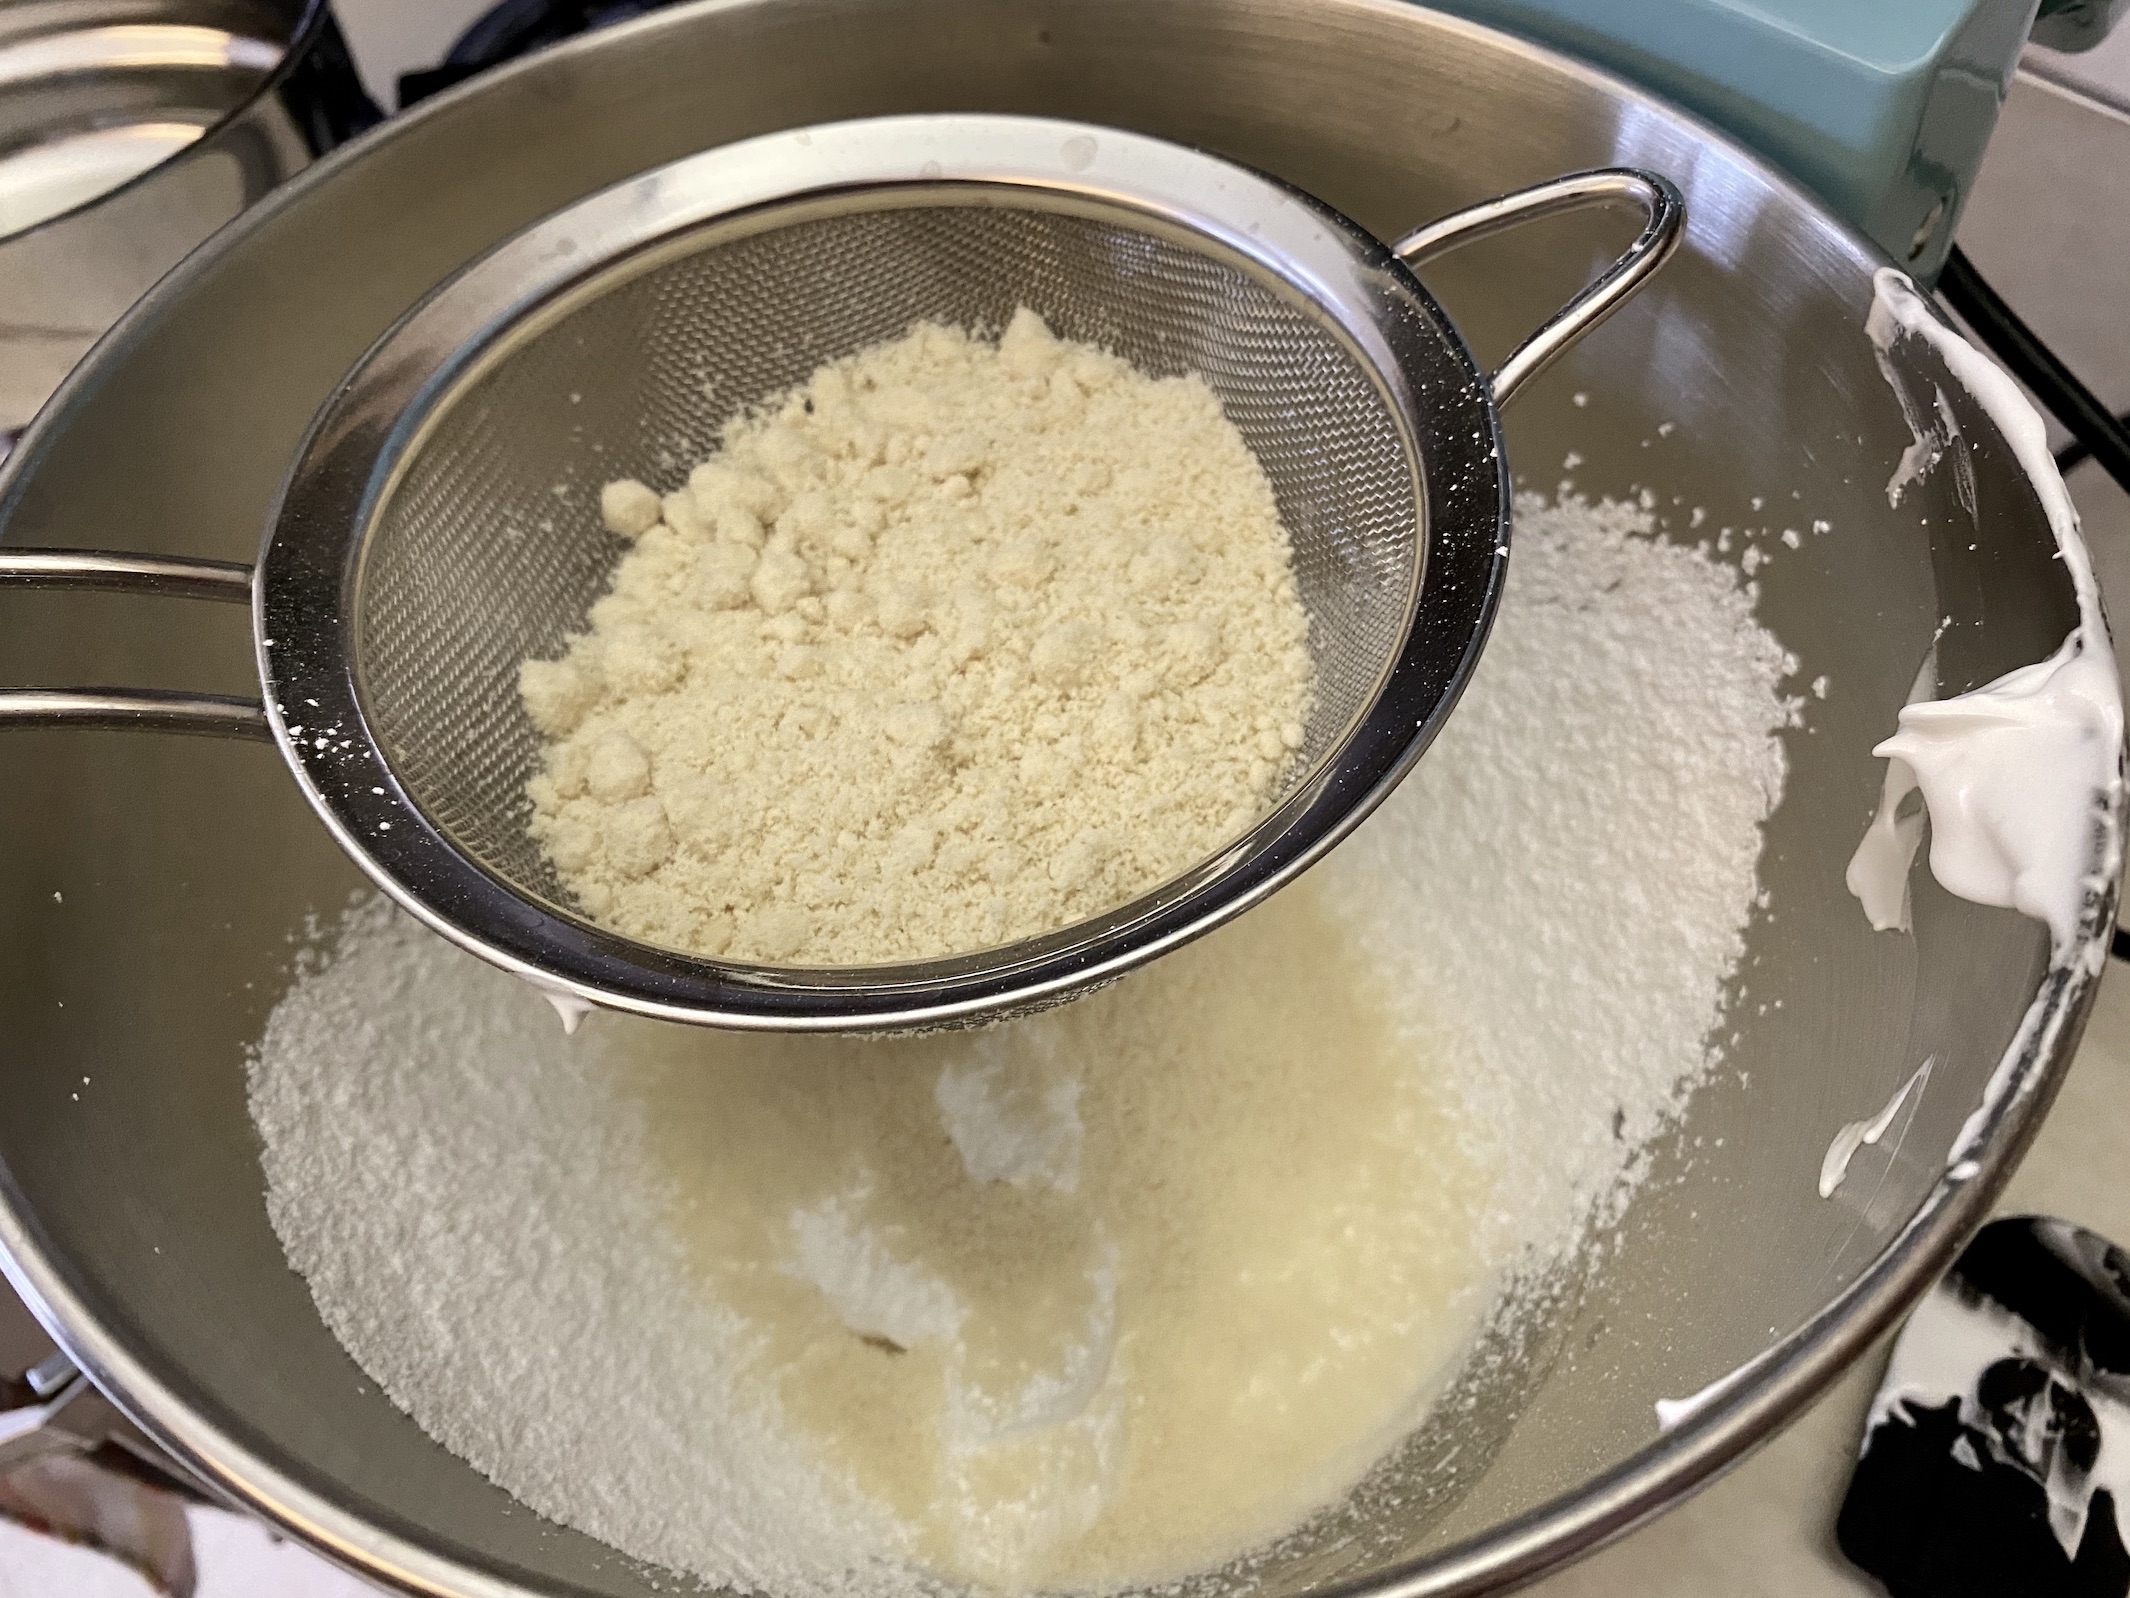
Add the powdered sugar and almond flour to a fine mesh strainer/sieve and sift over the bowl of the stand mixer. This will help remove any large clumps, which can be thrown away. Use a spoon to fold the ingredients together until smooth and combined.


Transfer the batter to a pastry bag fitted with a ½-inch plain round tip. Pipe ¾-inch rounds on the baking sheet, spacing about 1-inch apart. Gently tap the baking sheet against the counter to remove any air bubbles and help to make more uniform-shaped macarons.
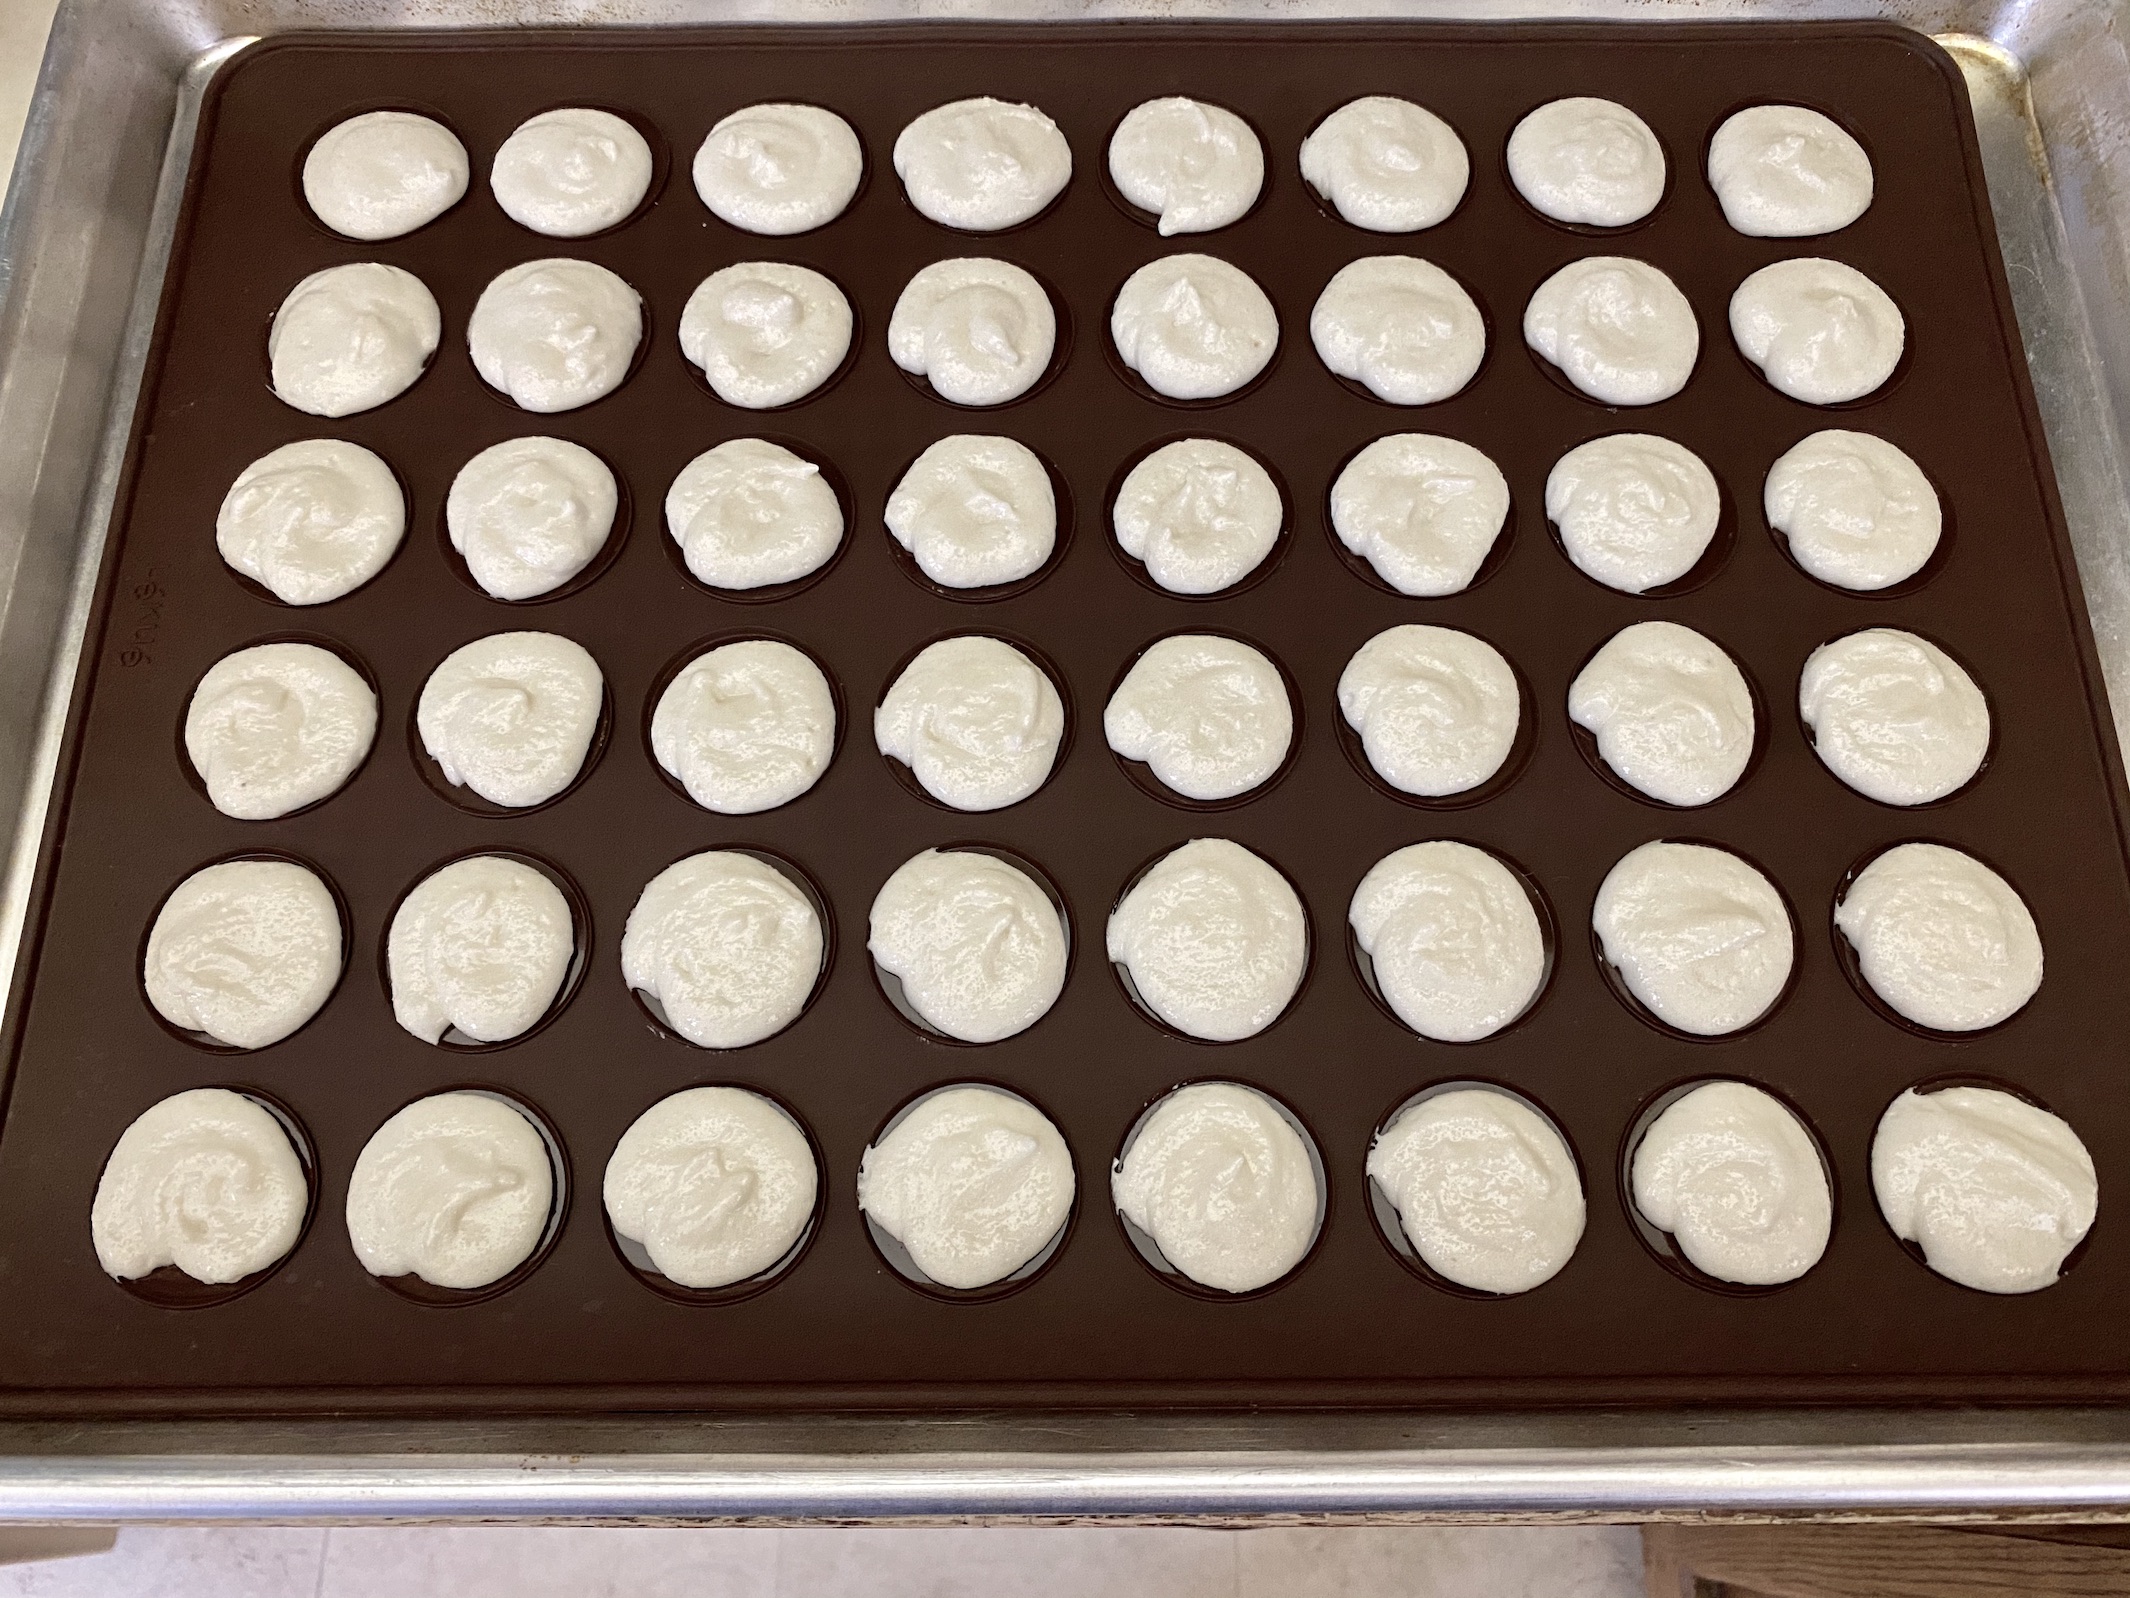
Let the batter sit at room temperature for 20-30 minutes. Then, bake for 8-10 minutes or until the macaron are firm and crisp. If you have more than one baking sheet only bake one sheet at a time.

Let the macarons cool on the baking sheet for 2-3 minutes then remove to a cooling rack to cool completely. If the macarons are sticking to the cookie sheet, use a spatula or knife to gently release them. You want to move the entire bottom of the cookie from the baking sheet. Don’t lift up with the spatula/knife or the macaron will break in half.

Prepare the filling while the macarons cool. Add water to the bottom half of a double boiler and bring the water to a boil.
In the top half of the double boiler, whisk together the egg whites from 2 eggs, sugar, and salt. Set the bowl over the boiling water and whisk constantly until the sugar dissolves.


Pour this mixture into the bowl of a stand mixer and whisk until soft peaks form, about 10 minutes. You can also use a hand mixer but wouldn’t recommend whisking by hand or you’ll have sore arms for days!

Remove the whisk attachment and add the paddle attachment. Add the butter, one Tbsp at a time, and beat on medium speed until fully incorporated. Increase the speed to high and continue to beat until the desired buttercream consistency has been reached.


Add the peppermint extract and mix on low speed until combined. Tastes every so often and add additional peppermint extract if needed.
Transfer the buttercream to a pastry bag fitted with a small plain round tip. Pipe the buttercream on top of ½ of the macaron shells. Place the other half of the macaron shells on top and gently press down to hold each cookie together. Make sure to not squeeze out the frosting but make sure it does spread to the edges.


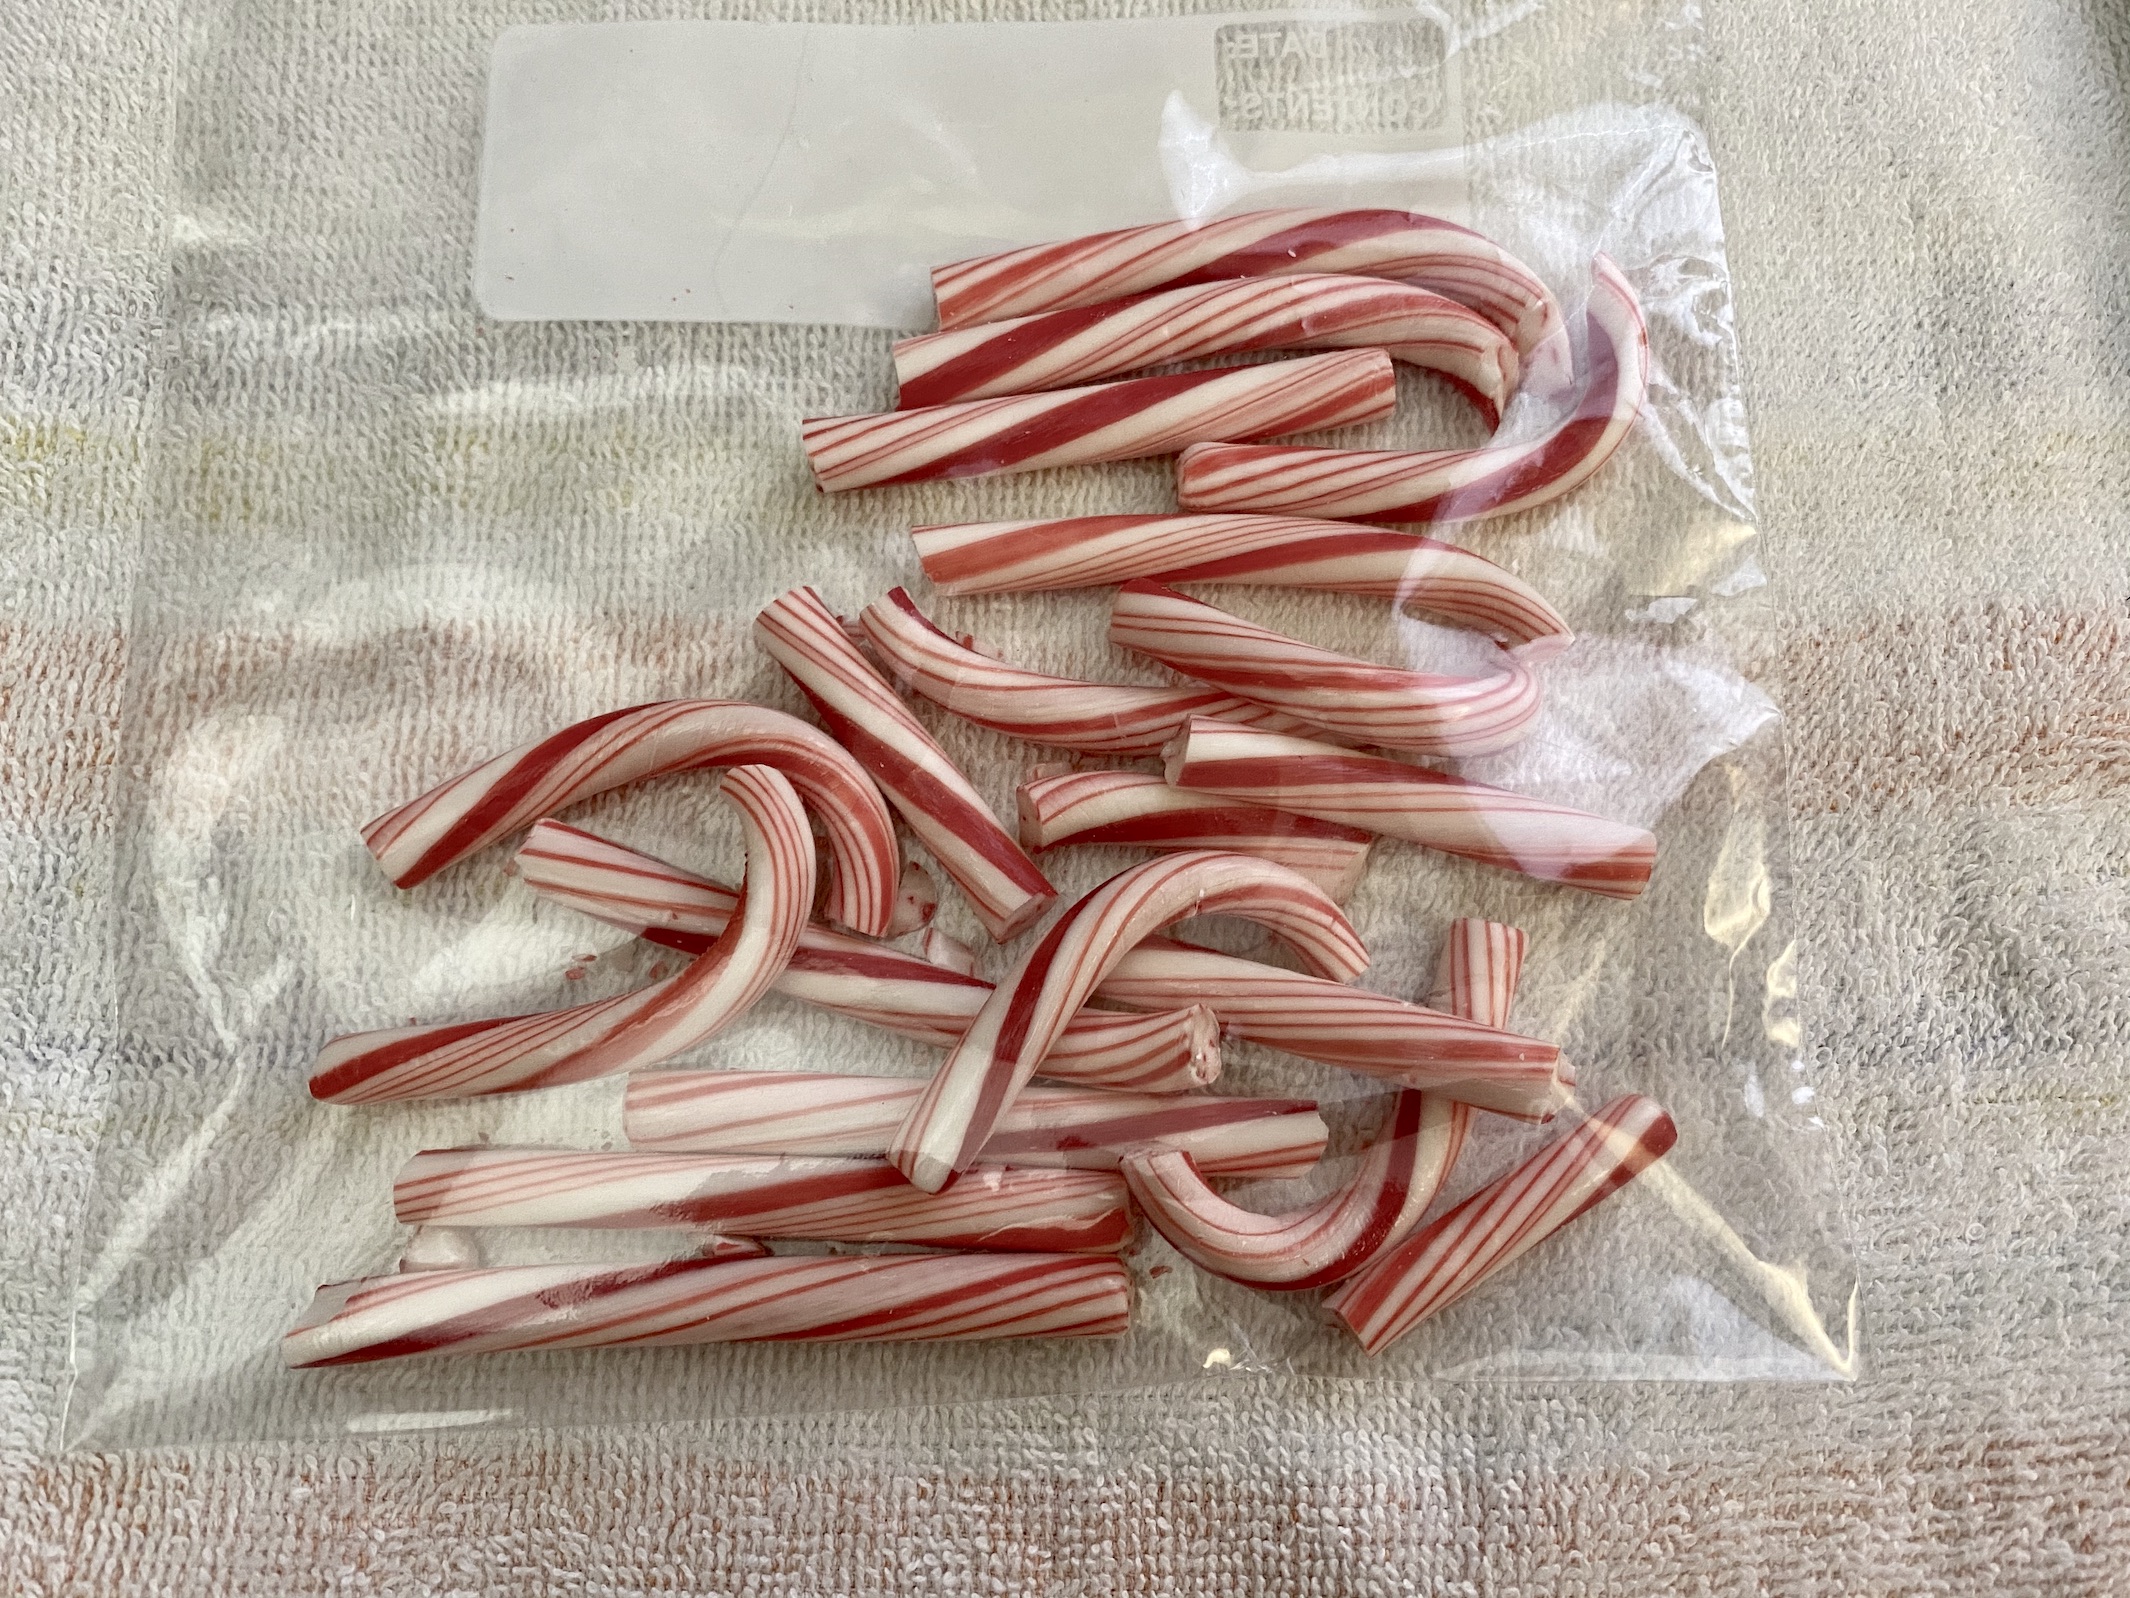
Add the candy canes to a Ziploc bag and use a meat tenderizer or rolling pin to crush the candy until it’s almost a powder with very small pieces remaining. You can also use a food processor. I suggest placing a towel between your counter and the Ziploc bag. It will help to absorb some of the pounding, create less noise, protect your counter.

Pour the crushed candy into a bowl. Roll each macaron on its side in the candy to coat the outside edge of the frosting. Repeat until all macarons are coated.


Store in an airtight container in the fridge for optimal taste. They can also be stored on the counter if being consumed quickly.
The recipe can be found here.
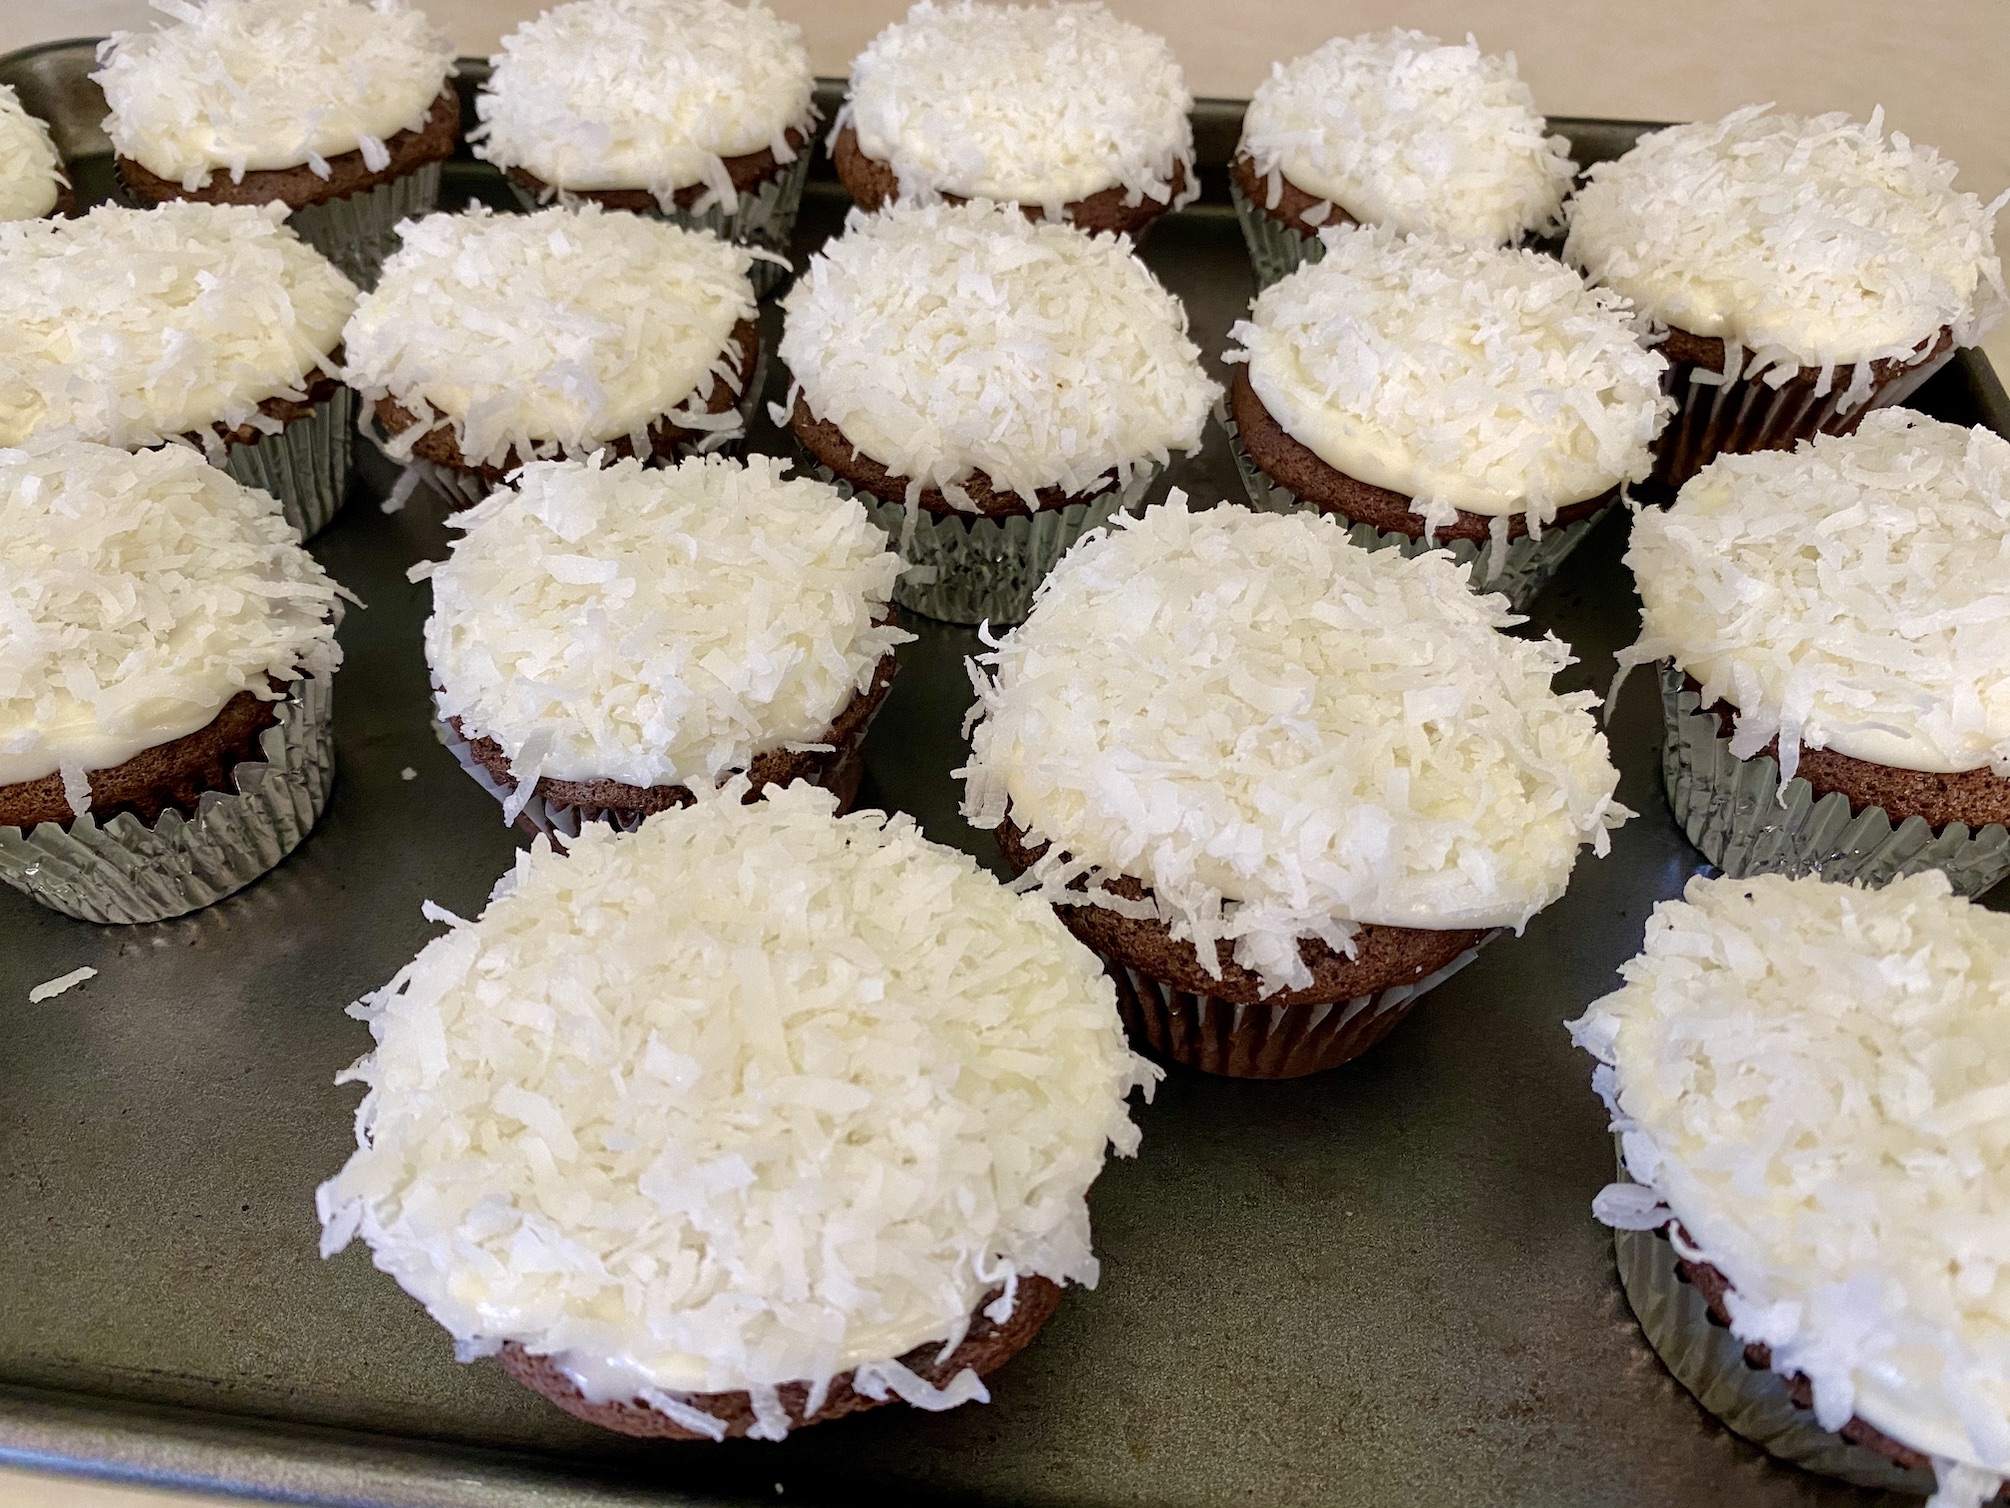
Lastly is Chocolate Christmas Tree Cupcakes. These cupcakes have a perfectly moist cupcake base with sweet chocolate flavor in every bite, a light coating of frosting, shredded coconut to resemble snow (and it also pairs really well with the chocolate), and a decorative homemade tree on top. Super festive for the holidays and an incredibly decadent dessert.


The recipe can be found here.
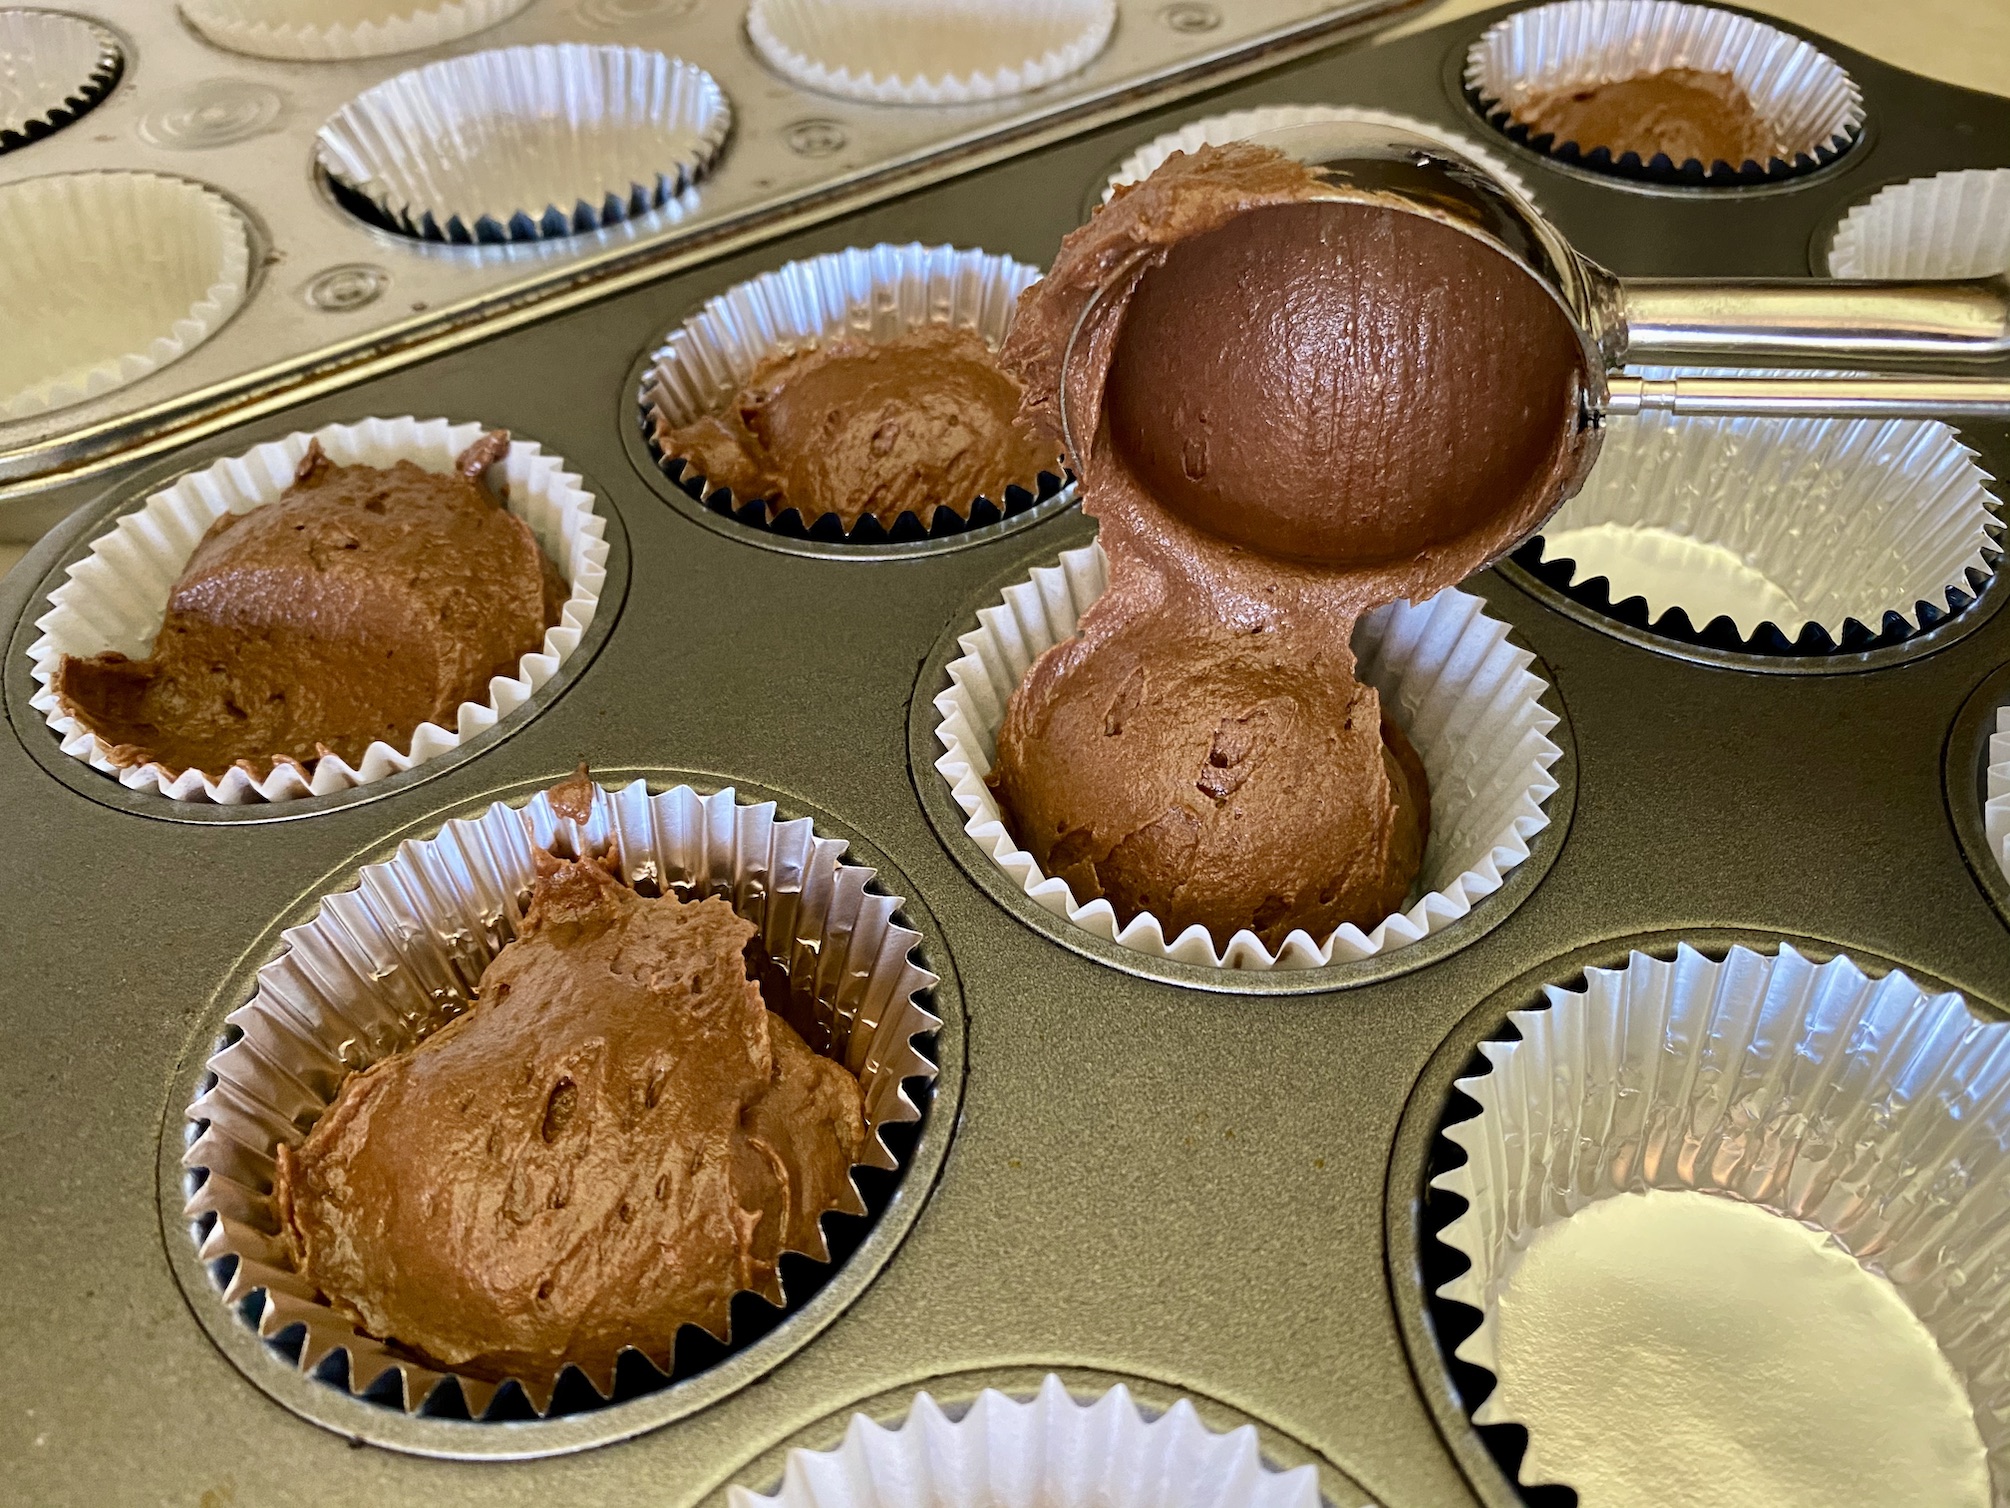
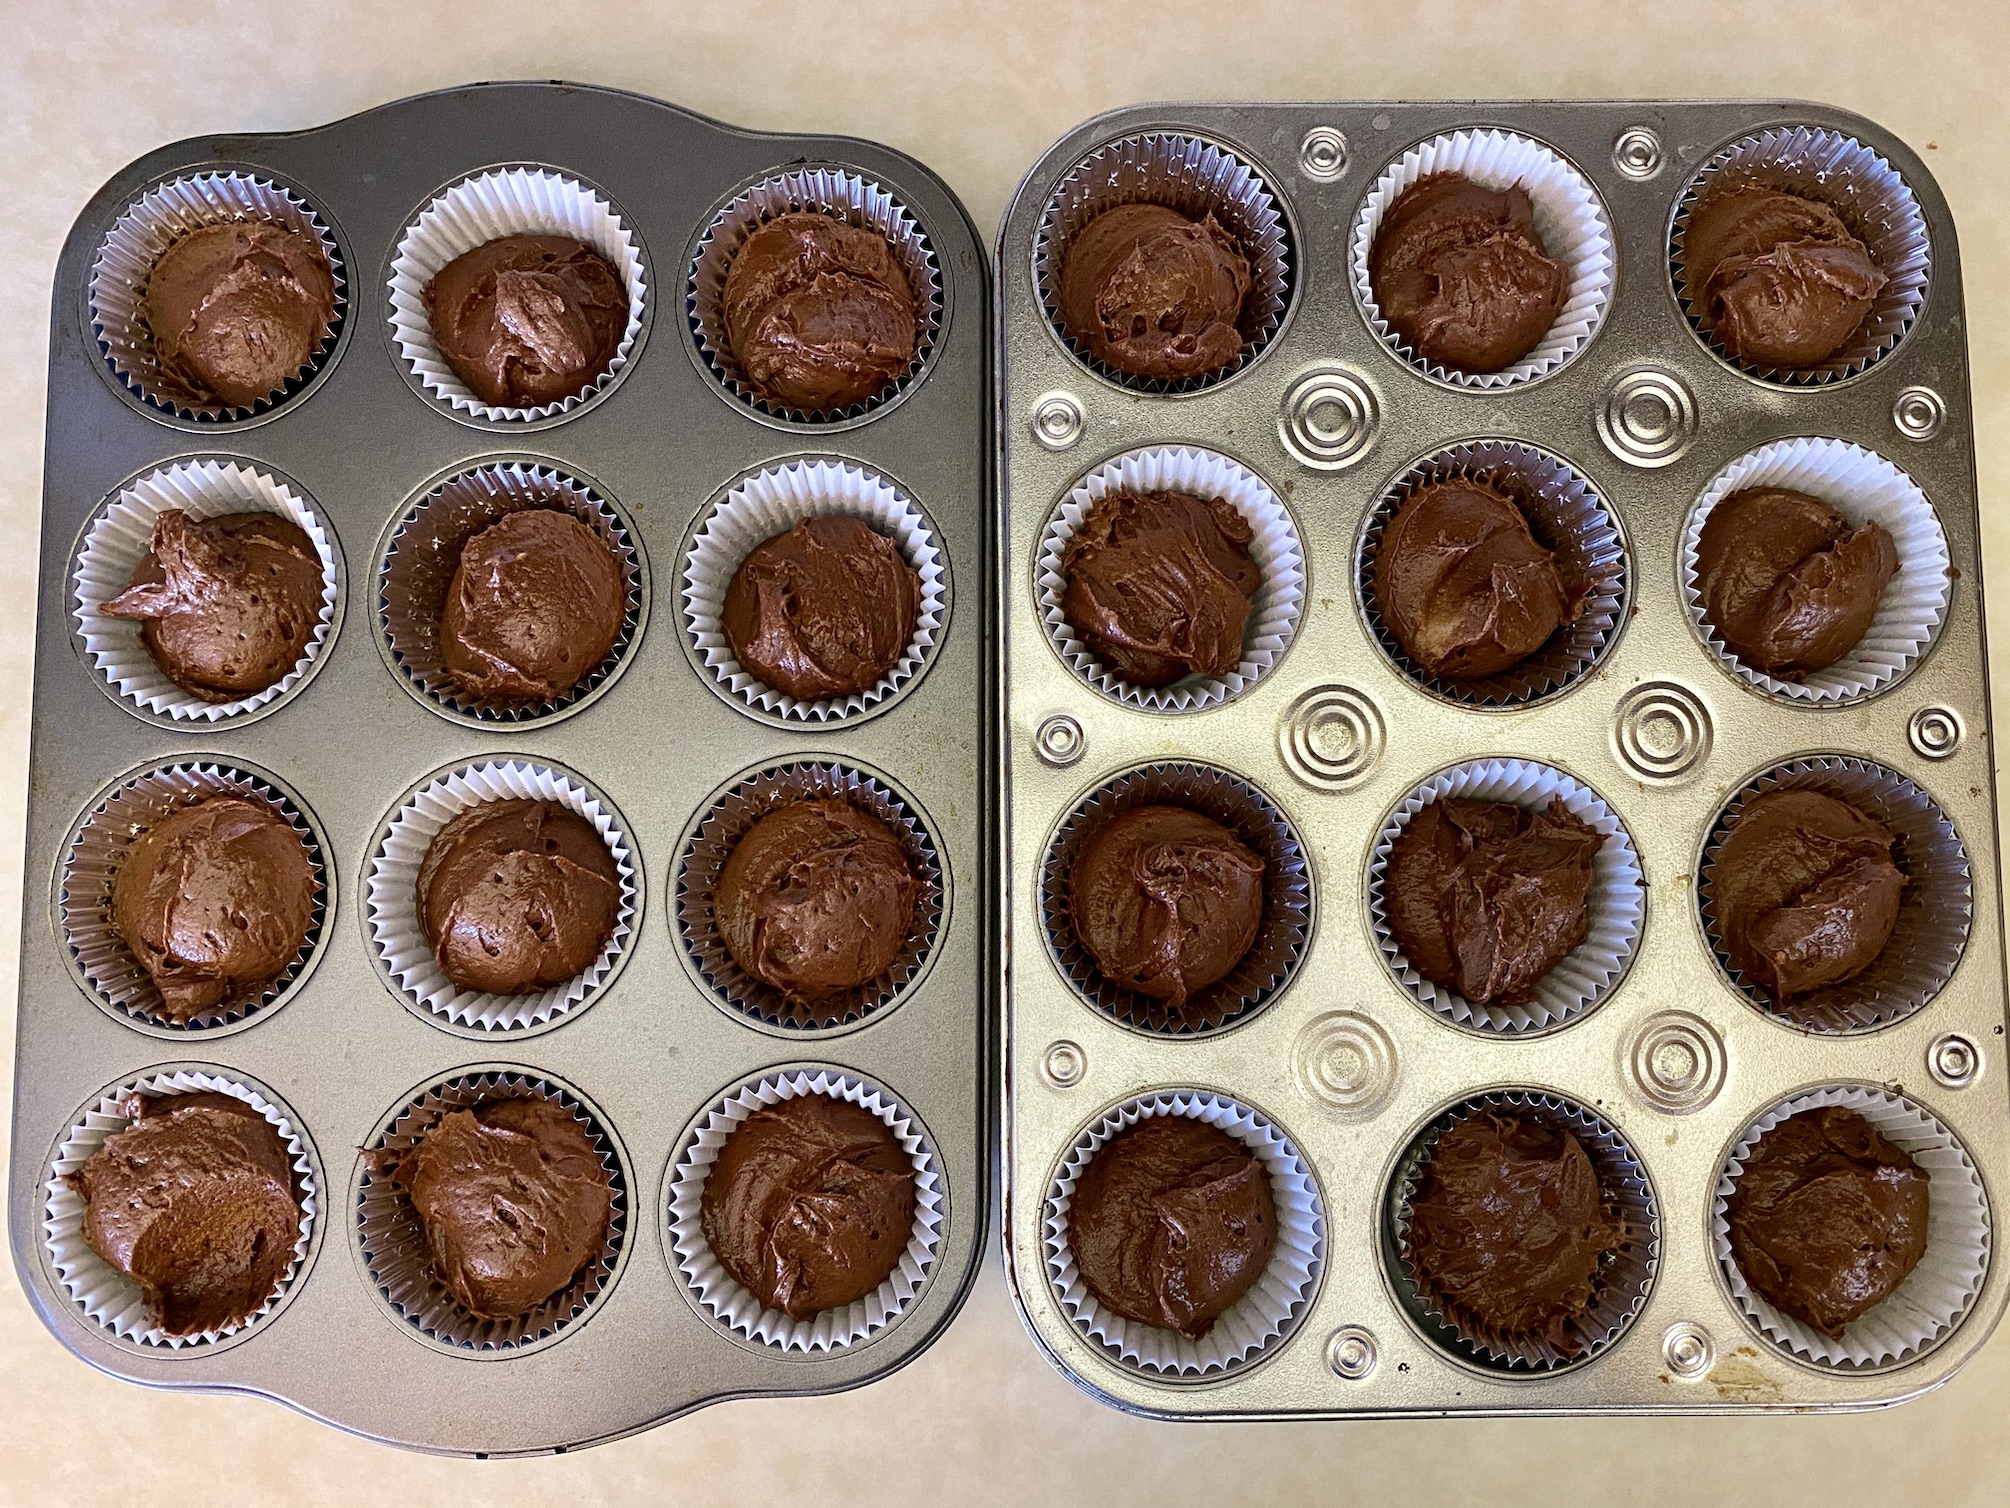
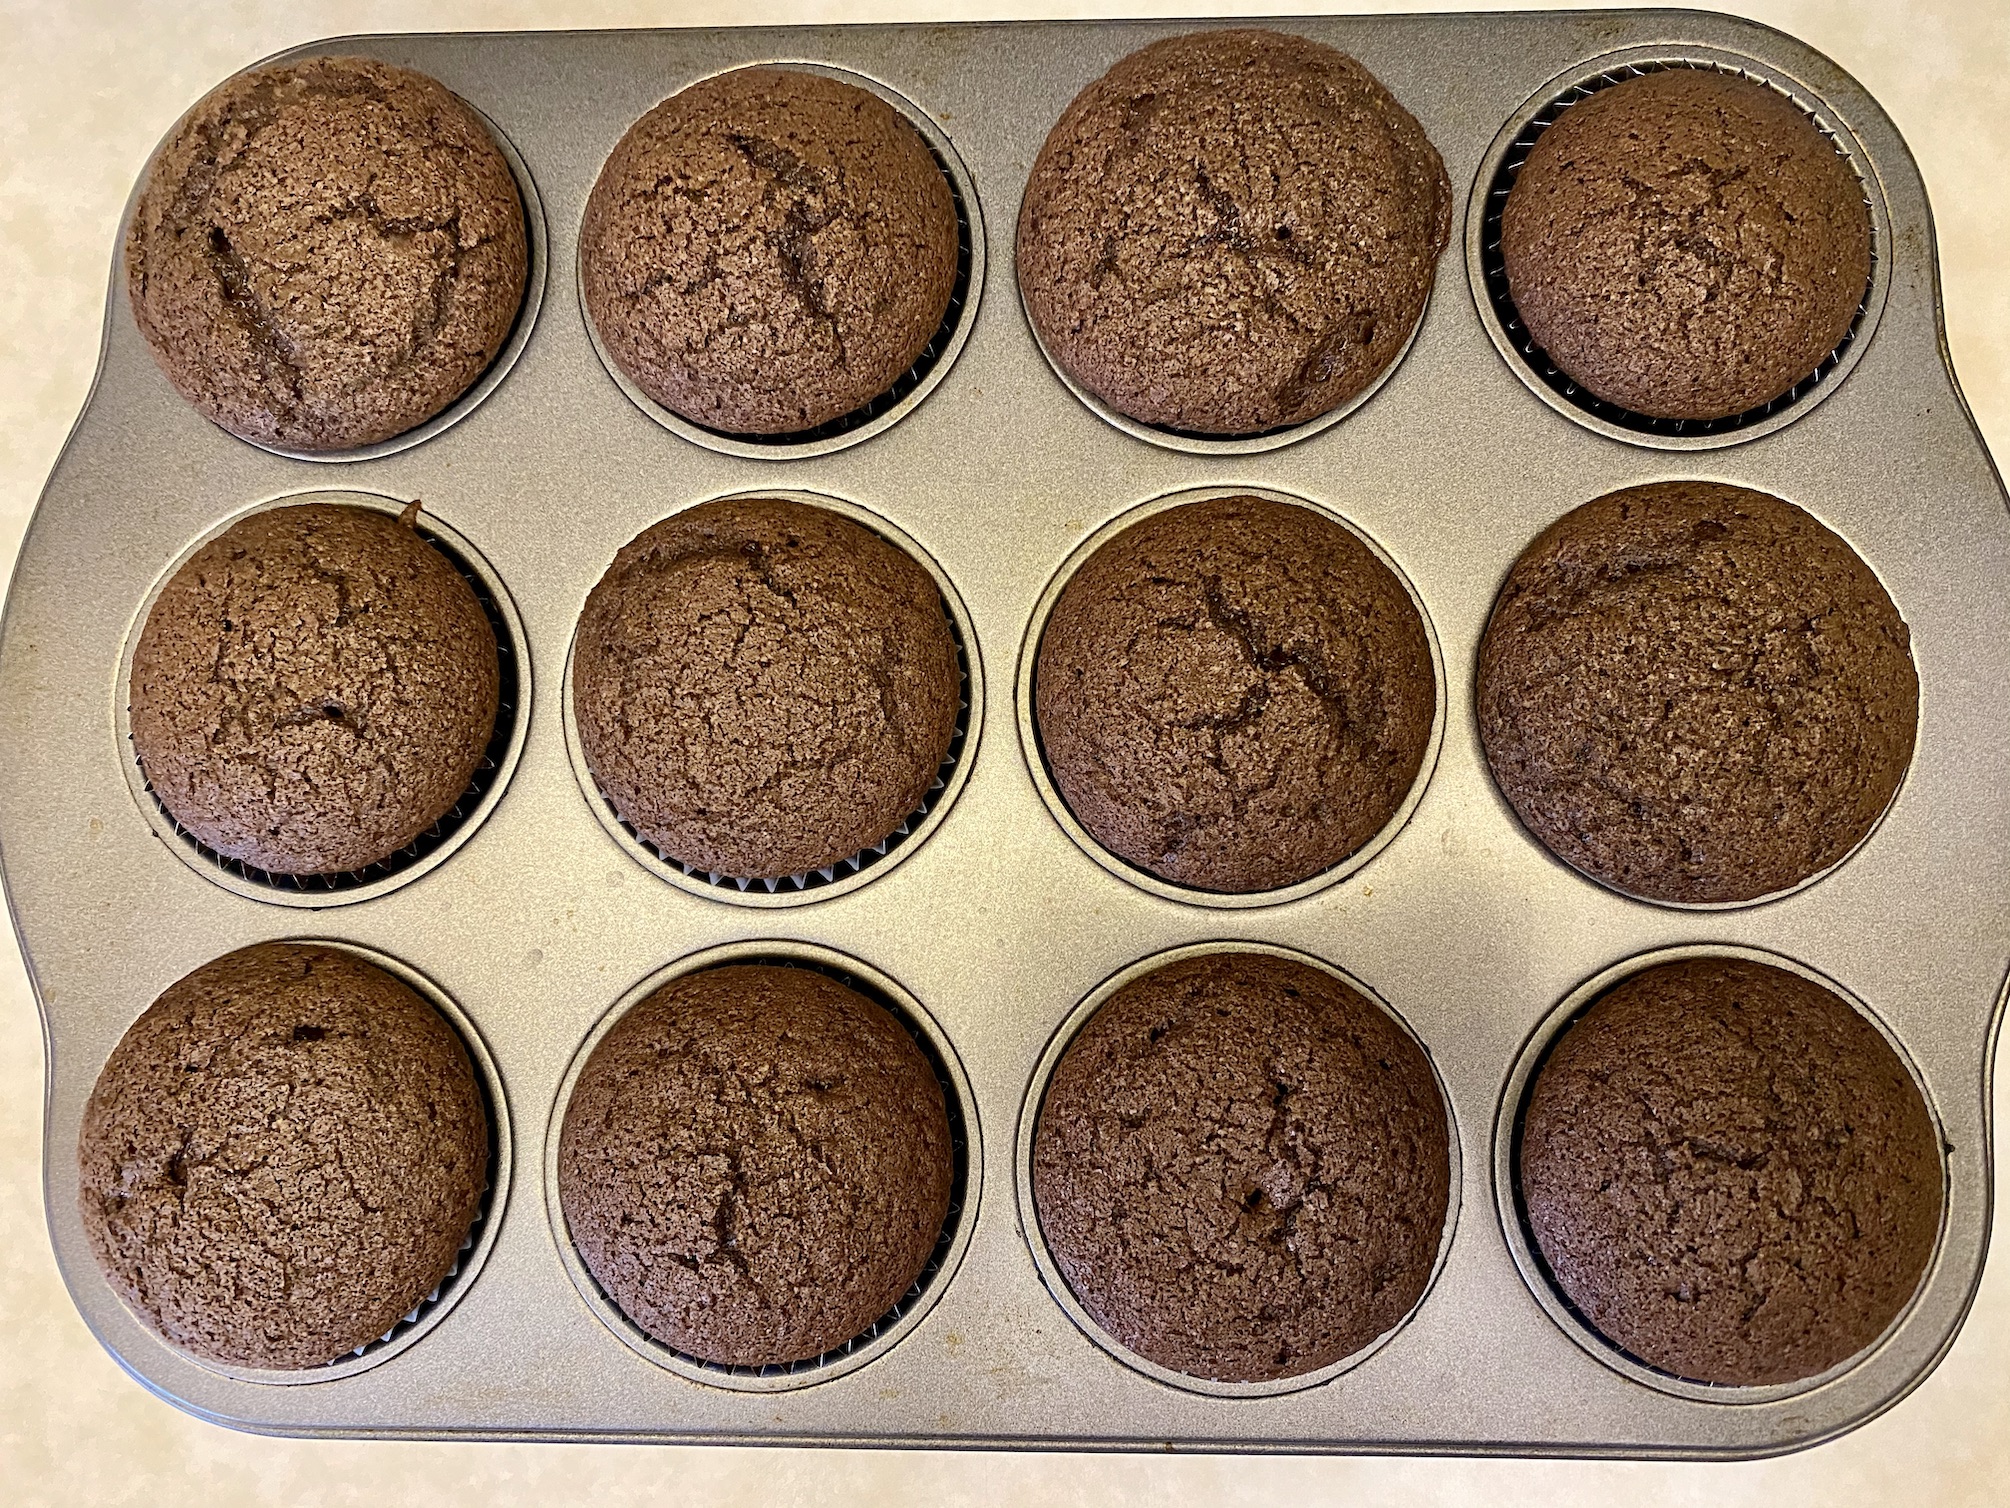
Preheat the oven to 350 degrees F. Line 2 muffin pans with baking cups (the recipe will make 24 cupcakes).
In a medium bowl, whisk together the flour, cocoa powder, baking soda, baking powder, and salt. Set aside.

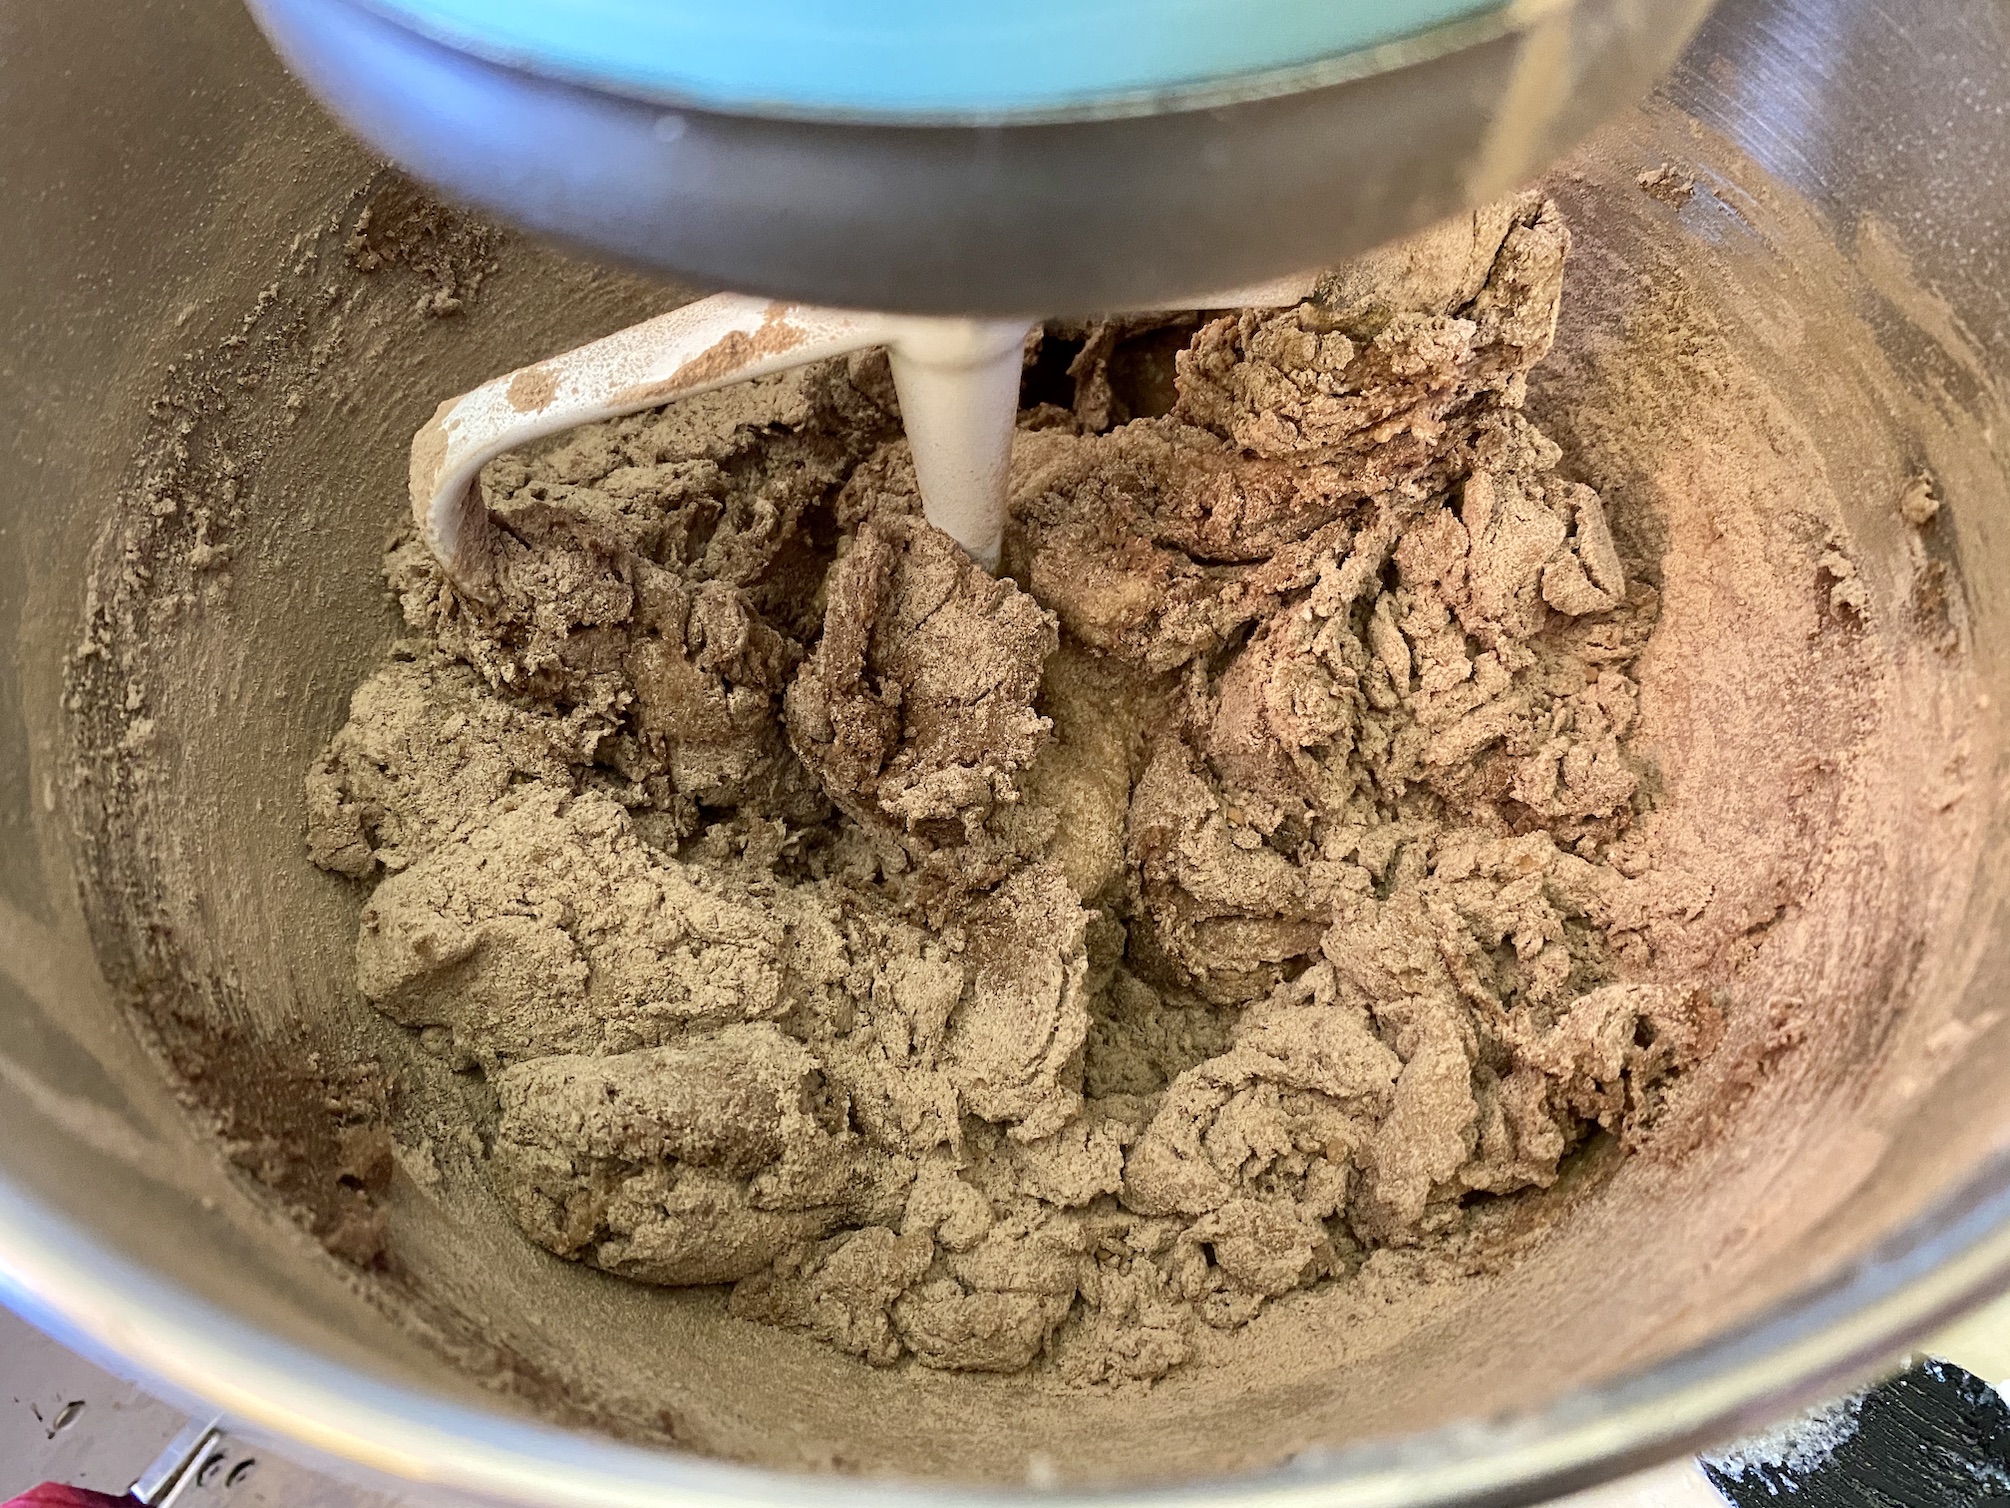
In the bowl of a stand mixer, add the butter and sugar. Use the paddle attachment to beat until light and fluffy. Add the eggs and beat until well combined, making sure to scrape the sides of the bowl as needed. Add the vanilla and mix until well combined.


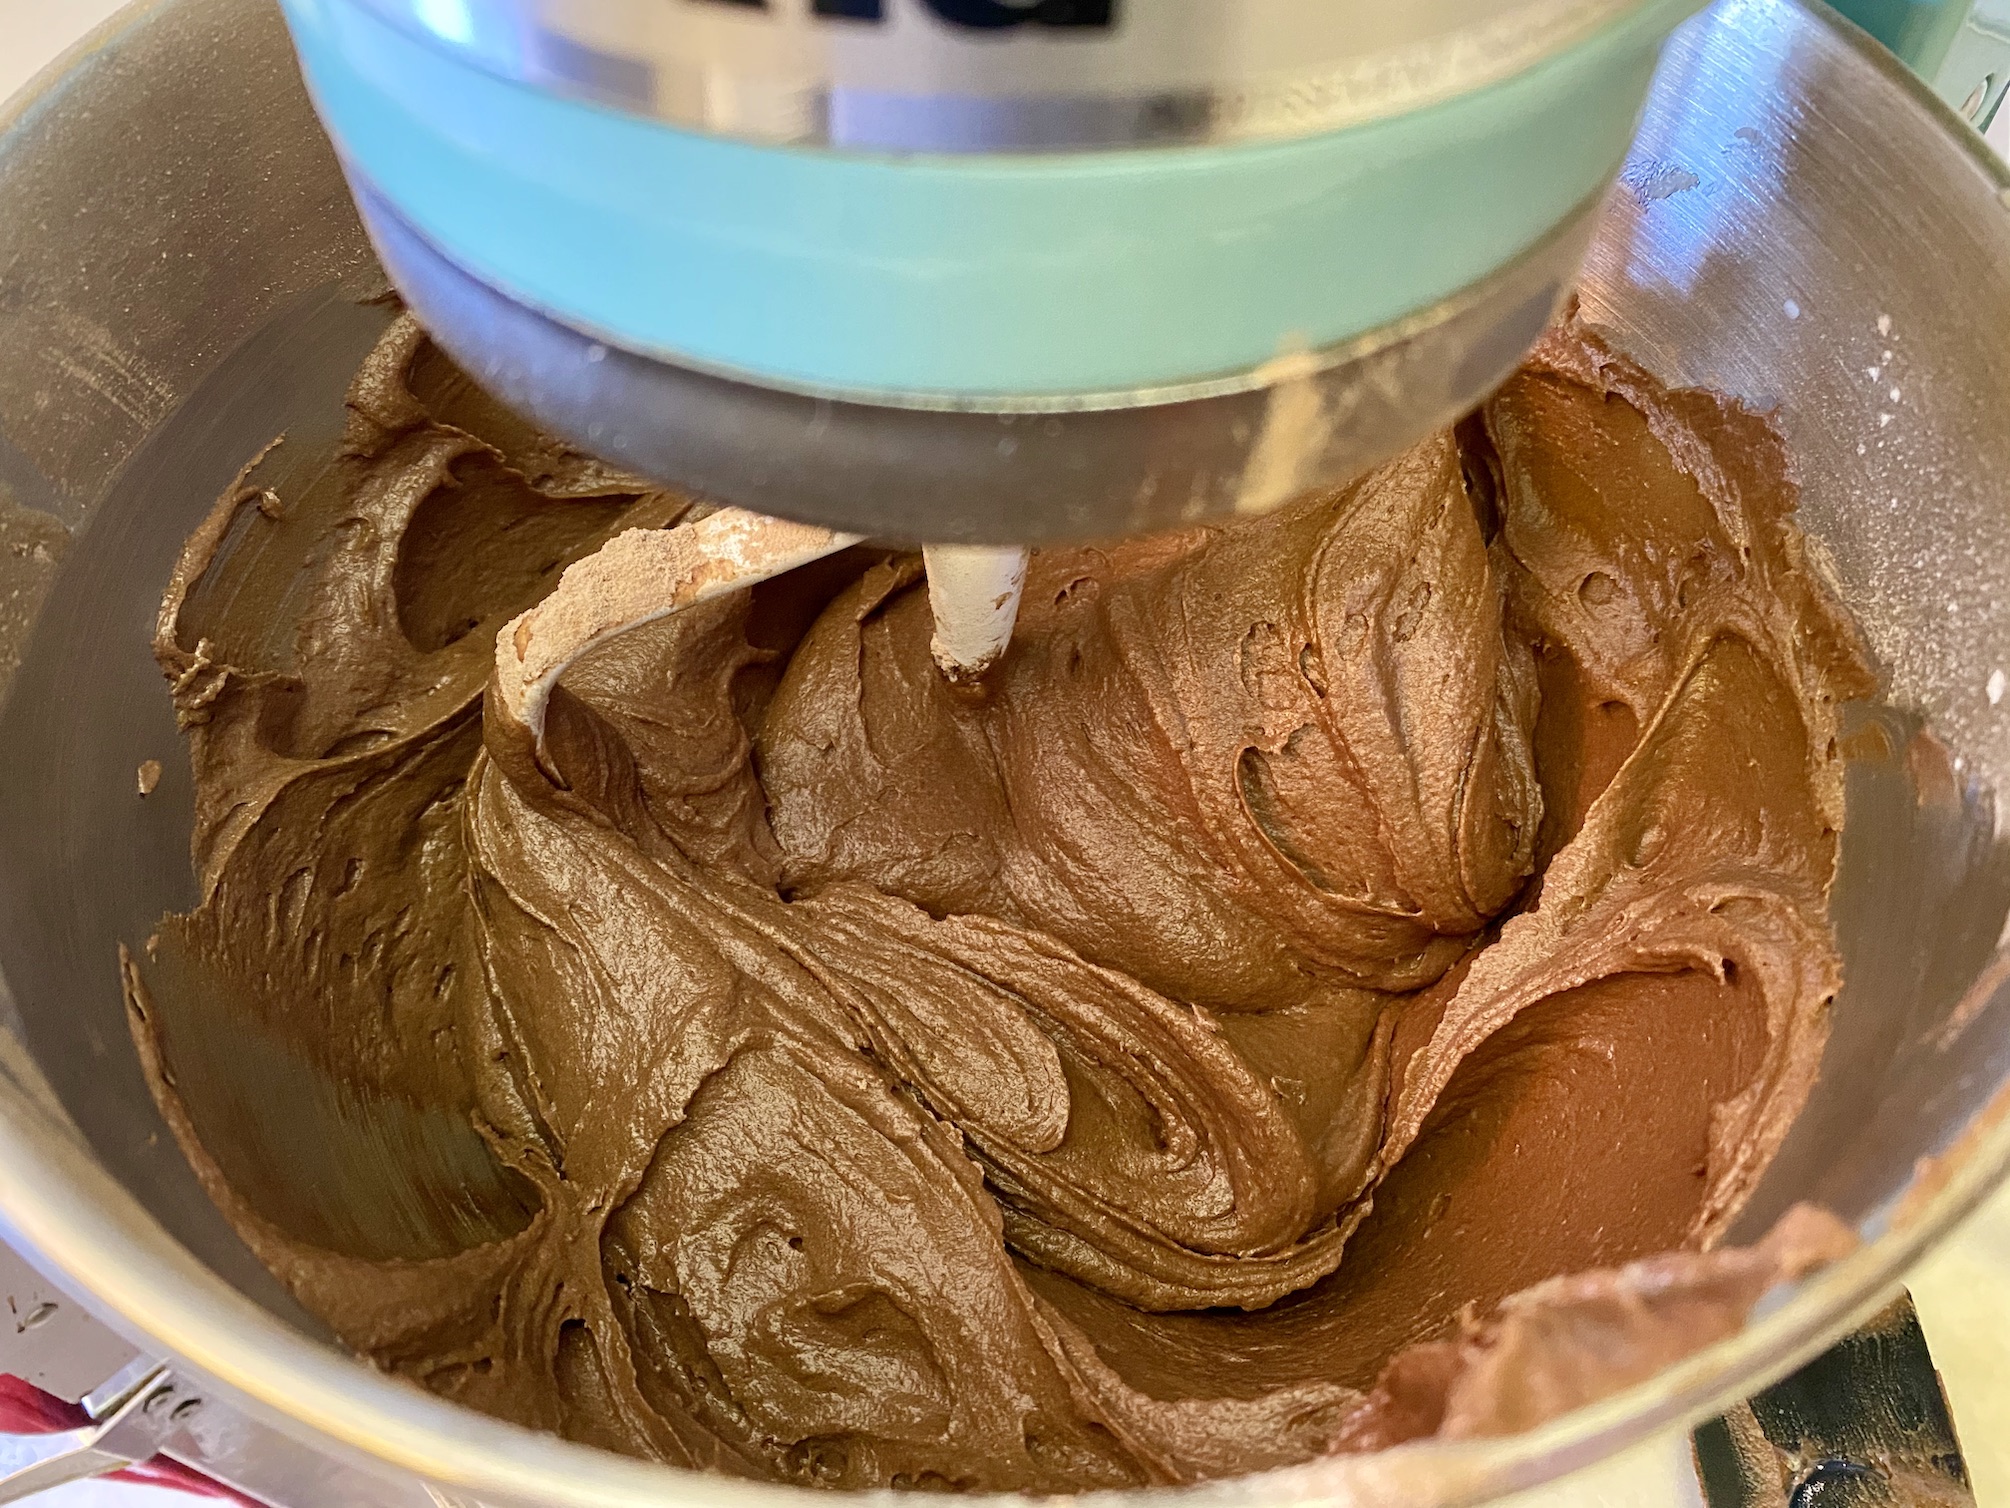
Add 1/3 of the flour mixture and ½ of the milk and continue to mix. Once the batter starts coming together, add another 1/3 of the flour mixture and the other ½ of the milk and continue to mix. End by adding the last 1/3 of the flour mixture and beat until well combined. It’s a little confusing but it will help the batter mix well and come together nicely.

Use a cookie scoop to add the batter to each muffin cup, filling about 2/3 full. This is a super-fast way to fill muffin cups and helps ensure you have equal amounts of batter in each cavity. Bake for 18-20 minutes or until a toothpick inserted in the center of the cupcakes comes out clean. Remove the cupcakes from the oven and transfer to a cooling rack to cool completely.
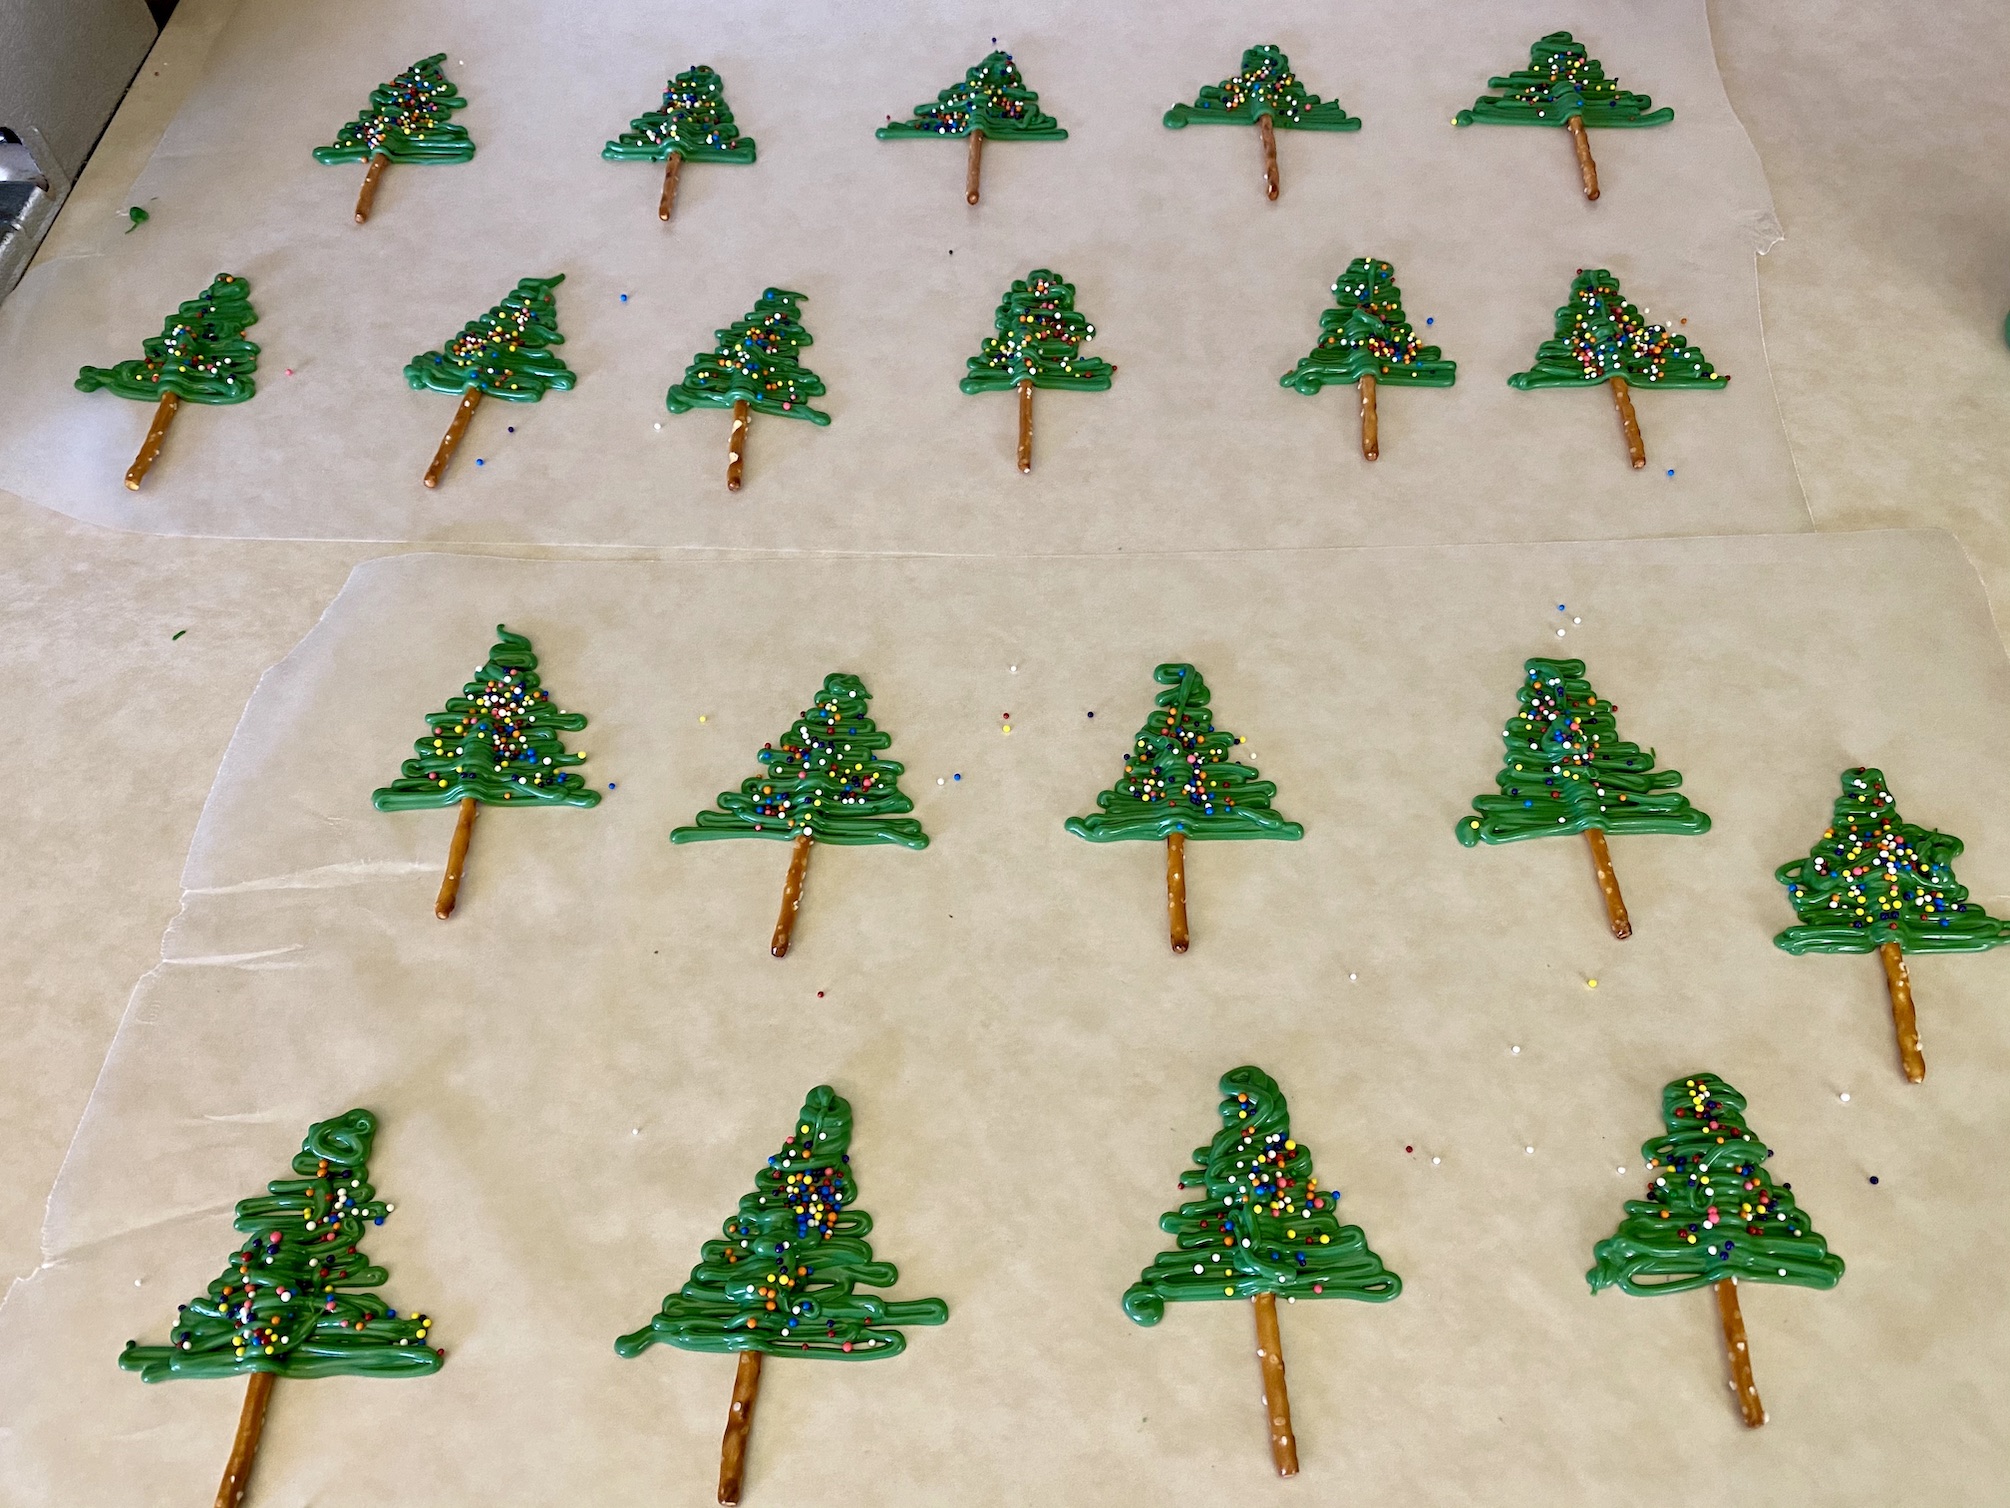
While the cupcakes cool, make the tree toppers. Melt the green candy melts according to package instruction. Transfer the melted chocolate to a piping bag or squeeze bottle. Place the pretzel sticks on wax paper, leaving 3-4 inches between each pretzel. You want to do this on wax paper so it’s easier to lift the trees when done otherwise they will stick to the counter!


Pipe the melted chocolate in the shape of a tree, overlapping part of the pretzel to hold it all together. Immediately top the chocolate with sprinkles. I recommend doing this every 2-3 trees, then continue on with the next few trees. If you don’t do this, the chocolate will harden, and the sprinkles won’t stick. It doesn’t take long for this chocolate to set so move quickly! Once done, let the trees sit on the counter for about 10-15 minutes to ensure they are fully set.

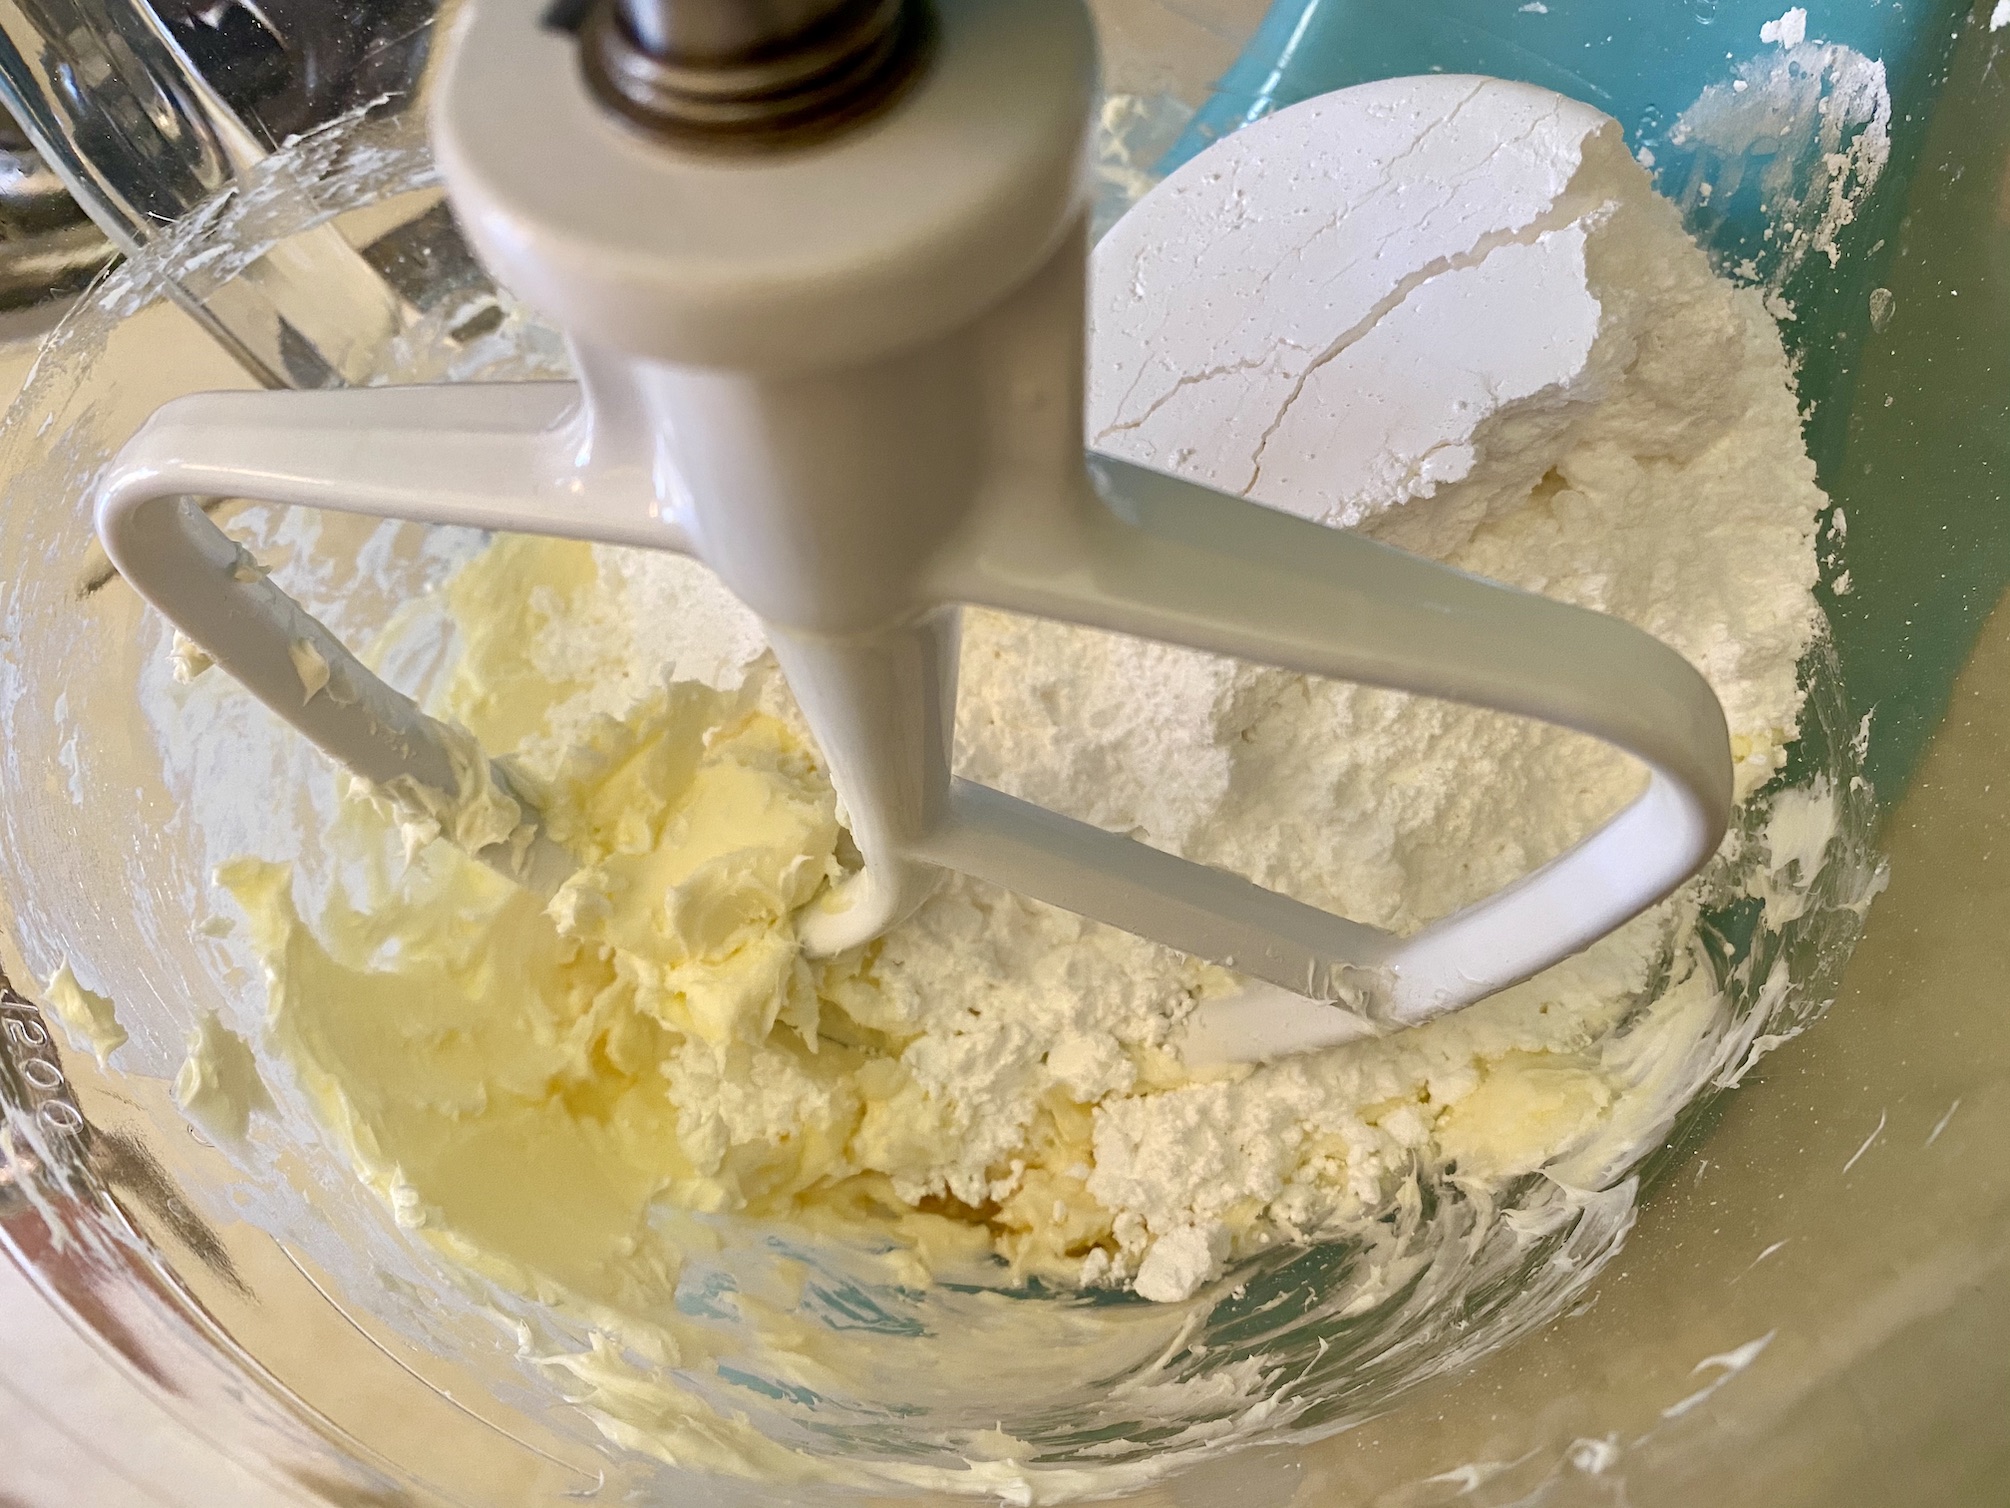
While the tree toppers harden, make the frosting. Add the butter and cream cheese to the bowl of a stand mixer and beat until well combined. Add the vanilla and powdered sugar and beat until just combined.


Spread a decent amount of frosting on top of one cupcake, then immediately sprinkle coconut flakes on top. Gently press the coconut flakes down to help them stick to the frosting. Set the cupcake aside and repeat until all cupcakes have been frosted and topped with coconut.


Use an offset spatula or knife to help you remove the tree toppers from the wax paper. You want to do this, or they will break when you try to pick them up and peel them from the wax paper. They are very fragile!
Gently push the bottom of the pretzels into the tops of the cupcakes making it look like a decorative tree sitting on a pile of fresh snow. I recommend holding the tree by the pretzel when doing this and not holding the chocolate part to prevent breaking.


Serve immediately or place in the fridge for 30 minutes to allow the frosting to set. Once the frosting is set, the cupcakes can be stored at room temperature or you can keep them in the fridge until ready to serve. Enjoy!

The recipe can be found here.
Do any of these recipes spark your interest or have you made something similar in the past? Baking is a great way to spend time with your family or to entertain the kids when they have nothing else to do over winter break, so go ahead and make some of your old favorites, try something new, stock your freezer, and enjoy the time with those you are able to see. Hopefully next holiday season will be COVID-free, and we will be back to participating in actual cookie exchanges 🙂
Happy Cooking and Happy Holidays!


Recent Comments