 order online
 weekly specials
Normally by mid-December we would have a plan for Christmas Eve dinner, Christmas Day brunch, and Christmas Day dinner…. it’s a busy 2 days to say the least! But we have zero plans scheduled at the moment. It’s an odd feeling and we know we are not along. Do you spend time with family and friends over the holidays or opt for a quiet day at home? Do you take the simple route and order a meal to go from your favorite restaurant or perhaps a heat-and-serve meal from the grocery store? Whatever you end up doing, it will be a year to remember!
We will still have a lovely meal to commemorate the holidays and spend the day cooking together. I have a few recipes I want to share with you that not only make the perfect Christmas meal but are great options when cooking for a small group (about 2-4 people).

Here’s the menu:
- Slow Cooker Honey Thyme Glazed Carrots
- Duchess Potatoes
- Rosemary Chicken w/ Cranberries
- Crème Brûlée
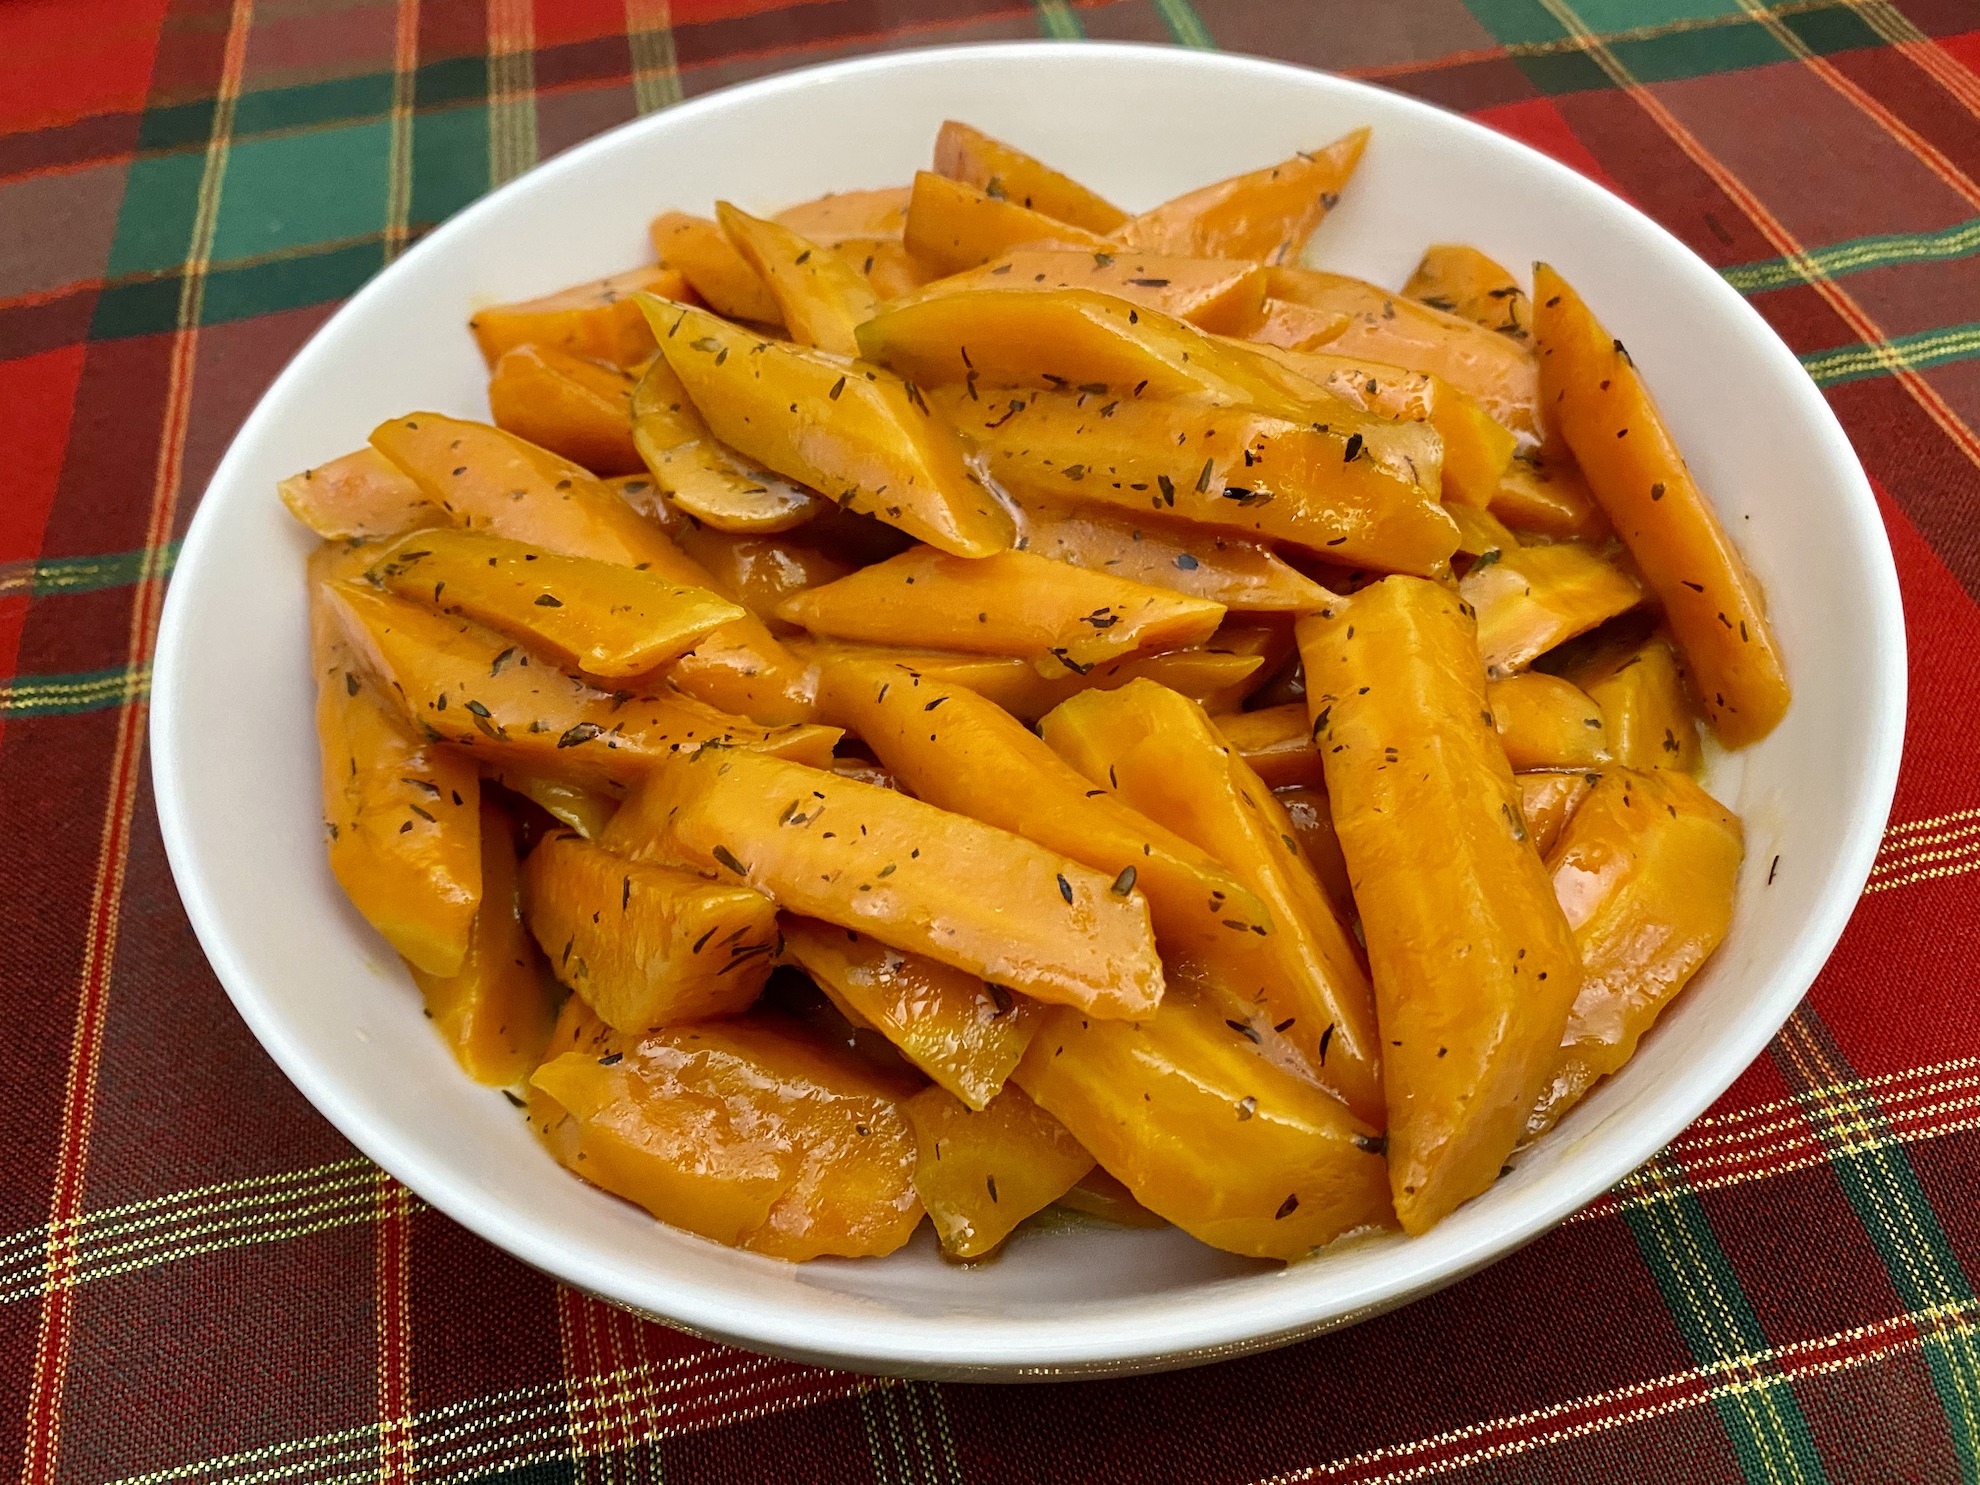
Slow Cooker Honey Thyme Glazed Carrots are the perfect side dish. The honey adds a bit of sweet flavor and the thyme gives it that earthy feel. The carrots are perfectly cooked and tender, and you can’t go wrong with a one-pot side dish!

The recipe can be found here.
Start by washing, peeling, and slicing the carrots. I like to use regular carrots instead of baby carrots because I think they have more depth in taste, but you can use either option. Baby carrots won’t require any peeling or chopping so you have even less work to do there!
Add the carrots, honey, butter, thyme, and salt to the bowl of a slow cooker. You don’t even need to stir!
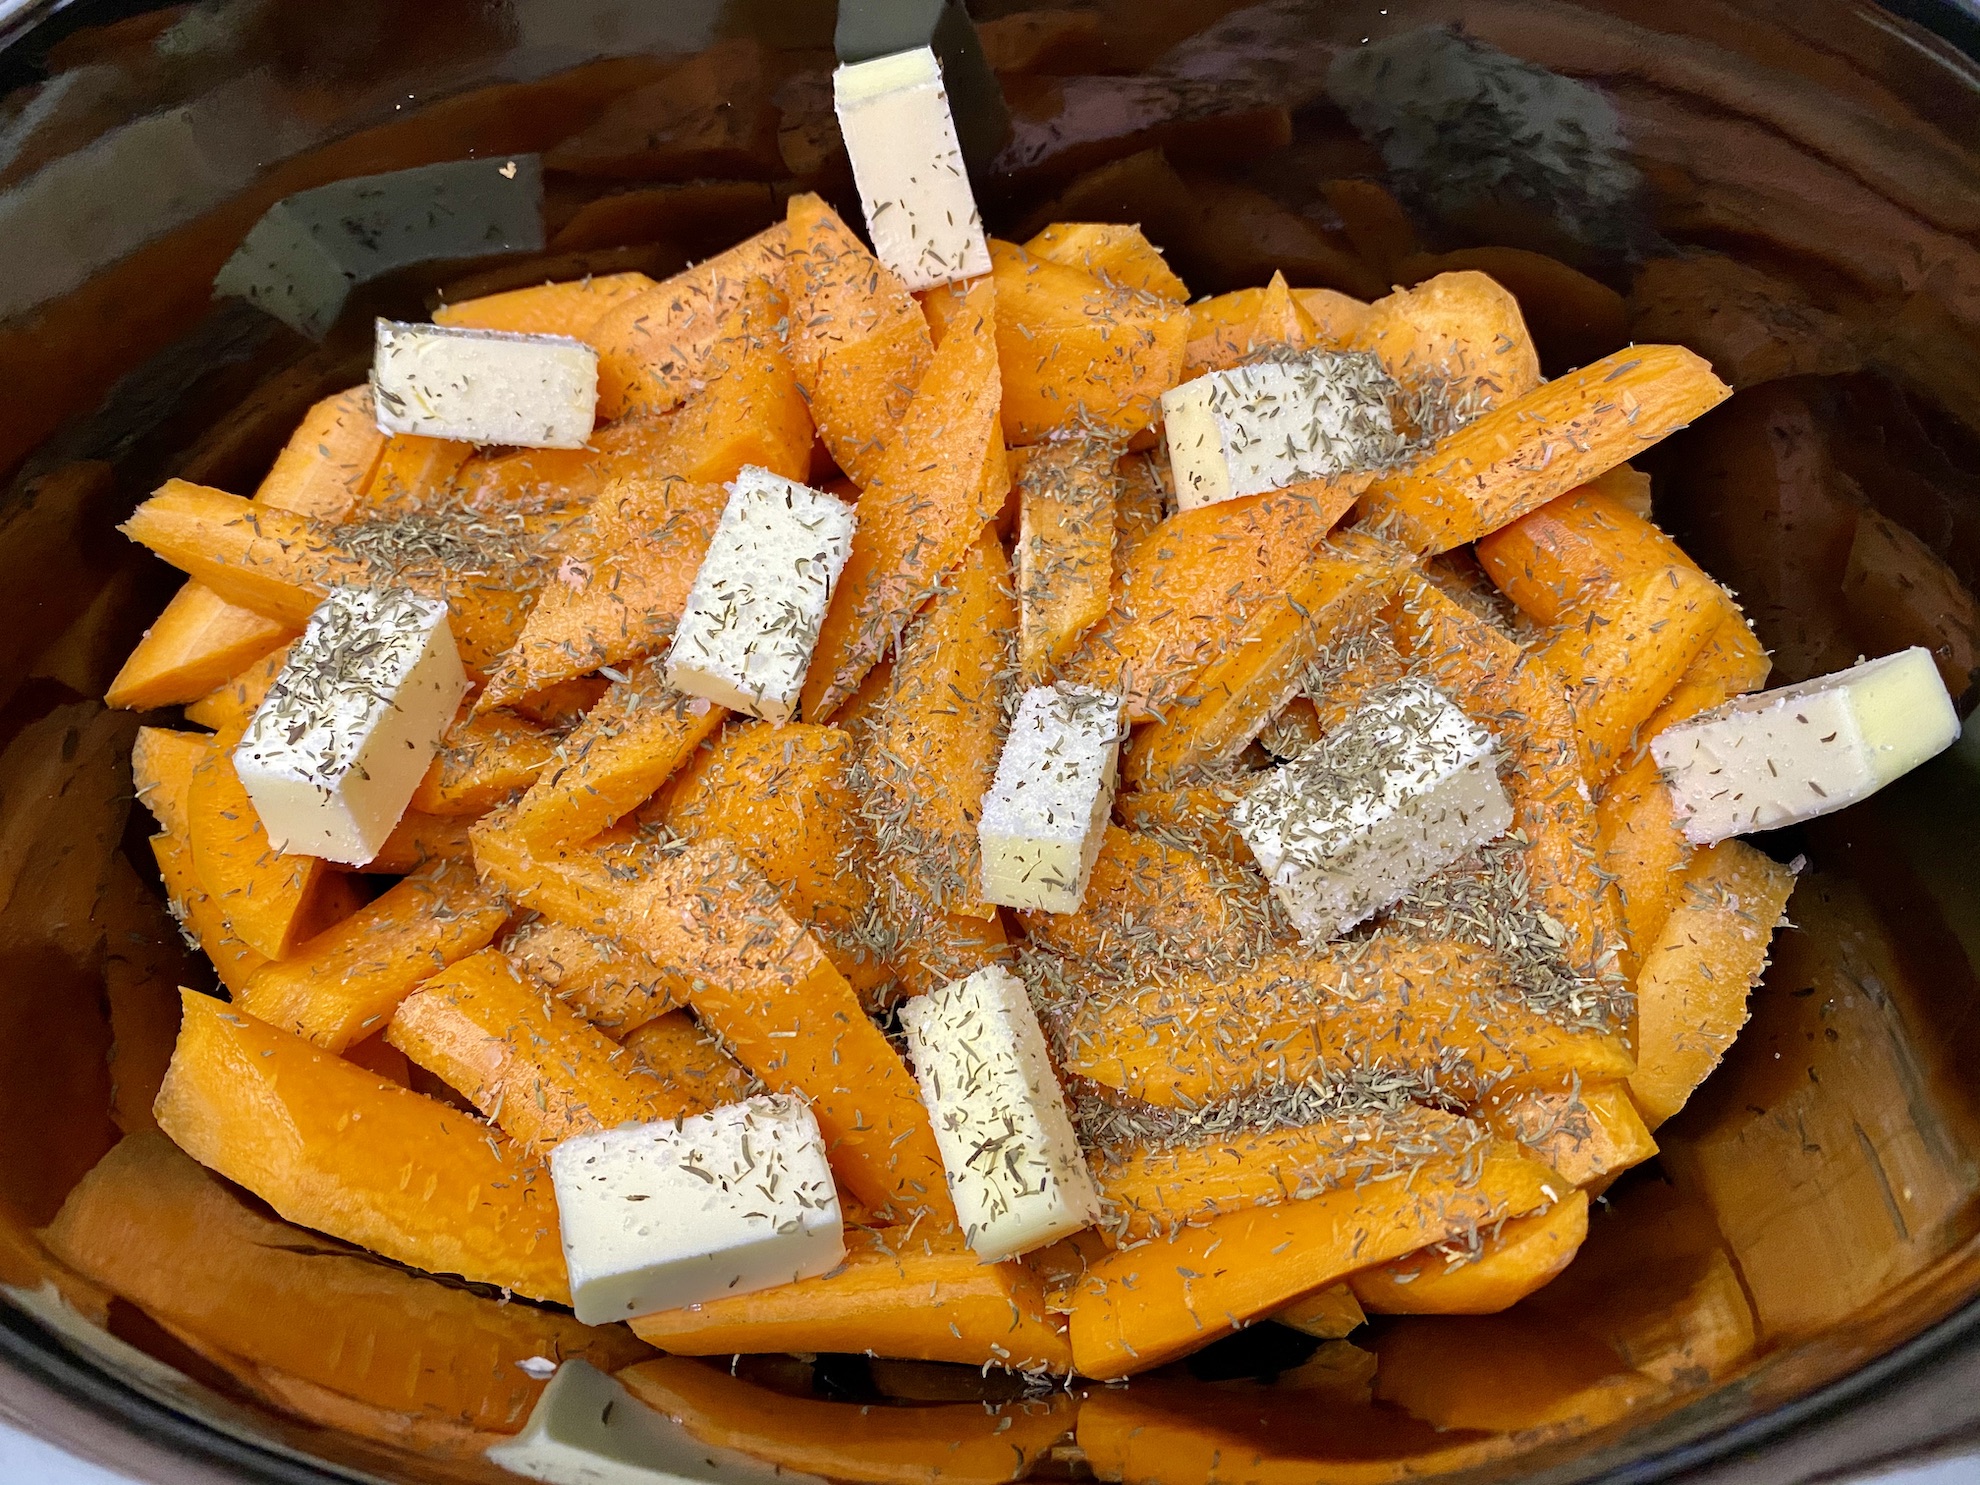
Cover and cook on LOW for 4 hours or HIGH for 2 hours. Stir every hour or so to make sure the carrots are coated with the glaze and not sticking to the sides. Otherwise, you don’t have to touch the dish until it’s done cooking! That gives you plenty of time to work on other things 🙂


Serve warm with the glaze drizzled over the top.
The recipe can be found here.
Duchess Potatoes are a little finicky to make but are worth the effort and will look very elegant on your table. It’s Christmas, right? Put a little extra effort into the meal!
Duchess potatoes are puréed mashed potatoes that are piped into a decorative swirl and baked. You get the same great taste of mashed potatoes with an ever-so-subtle golden brown-crispy outside. They are quite addicting!

The recipe can be found here.
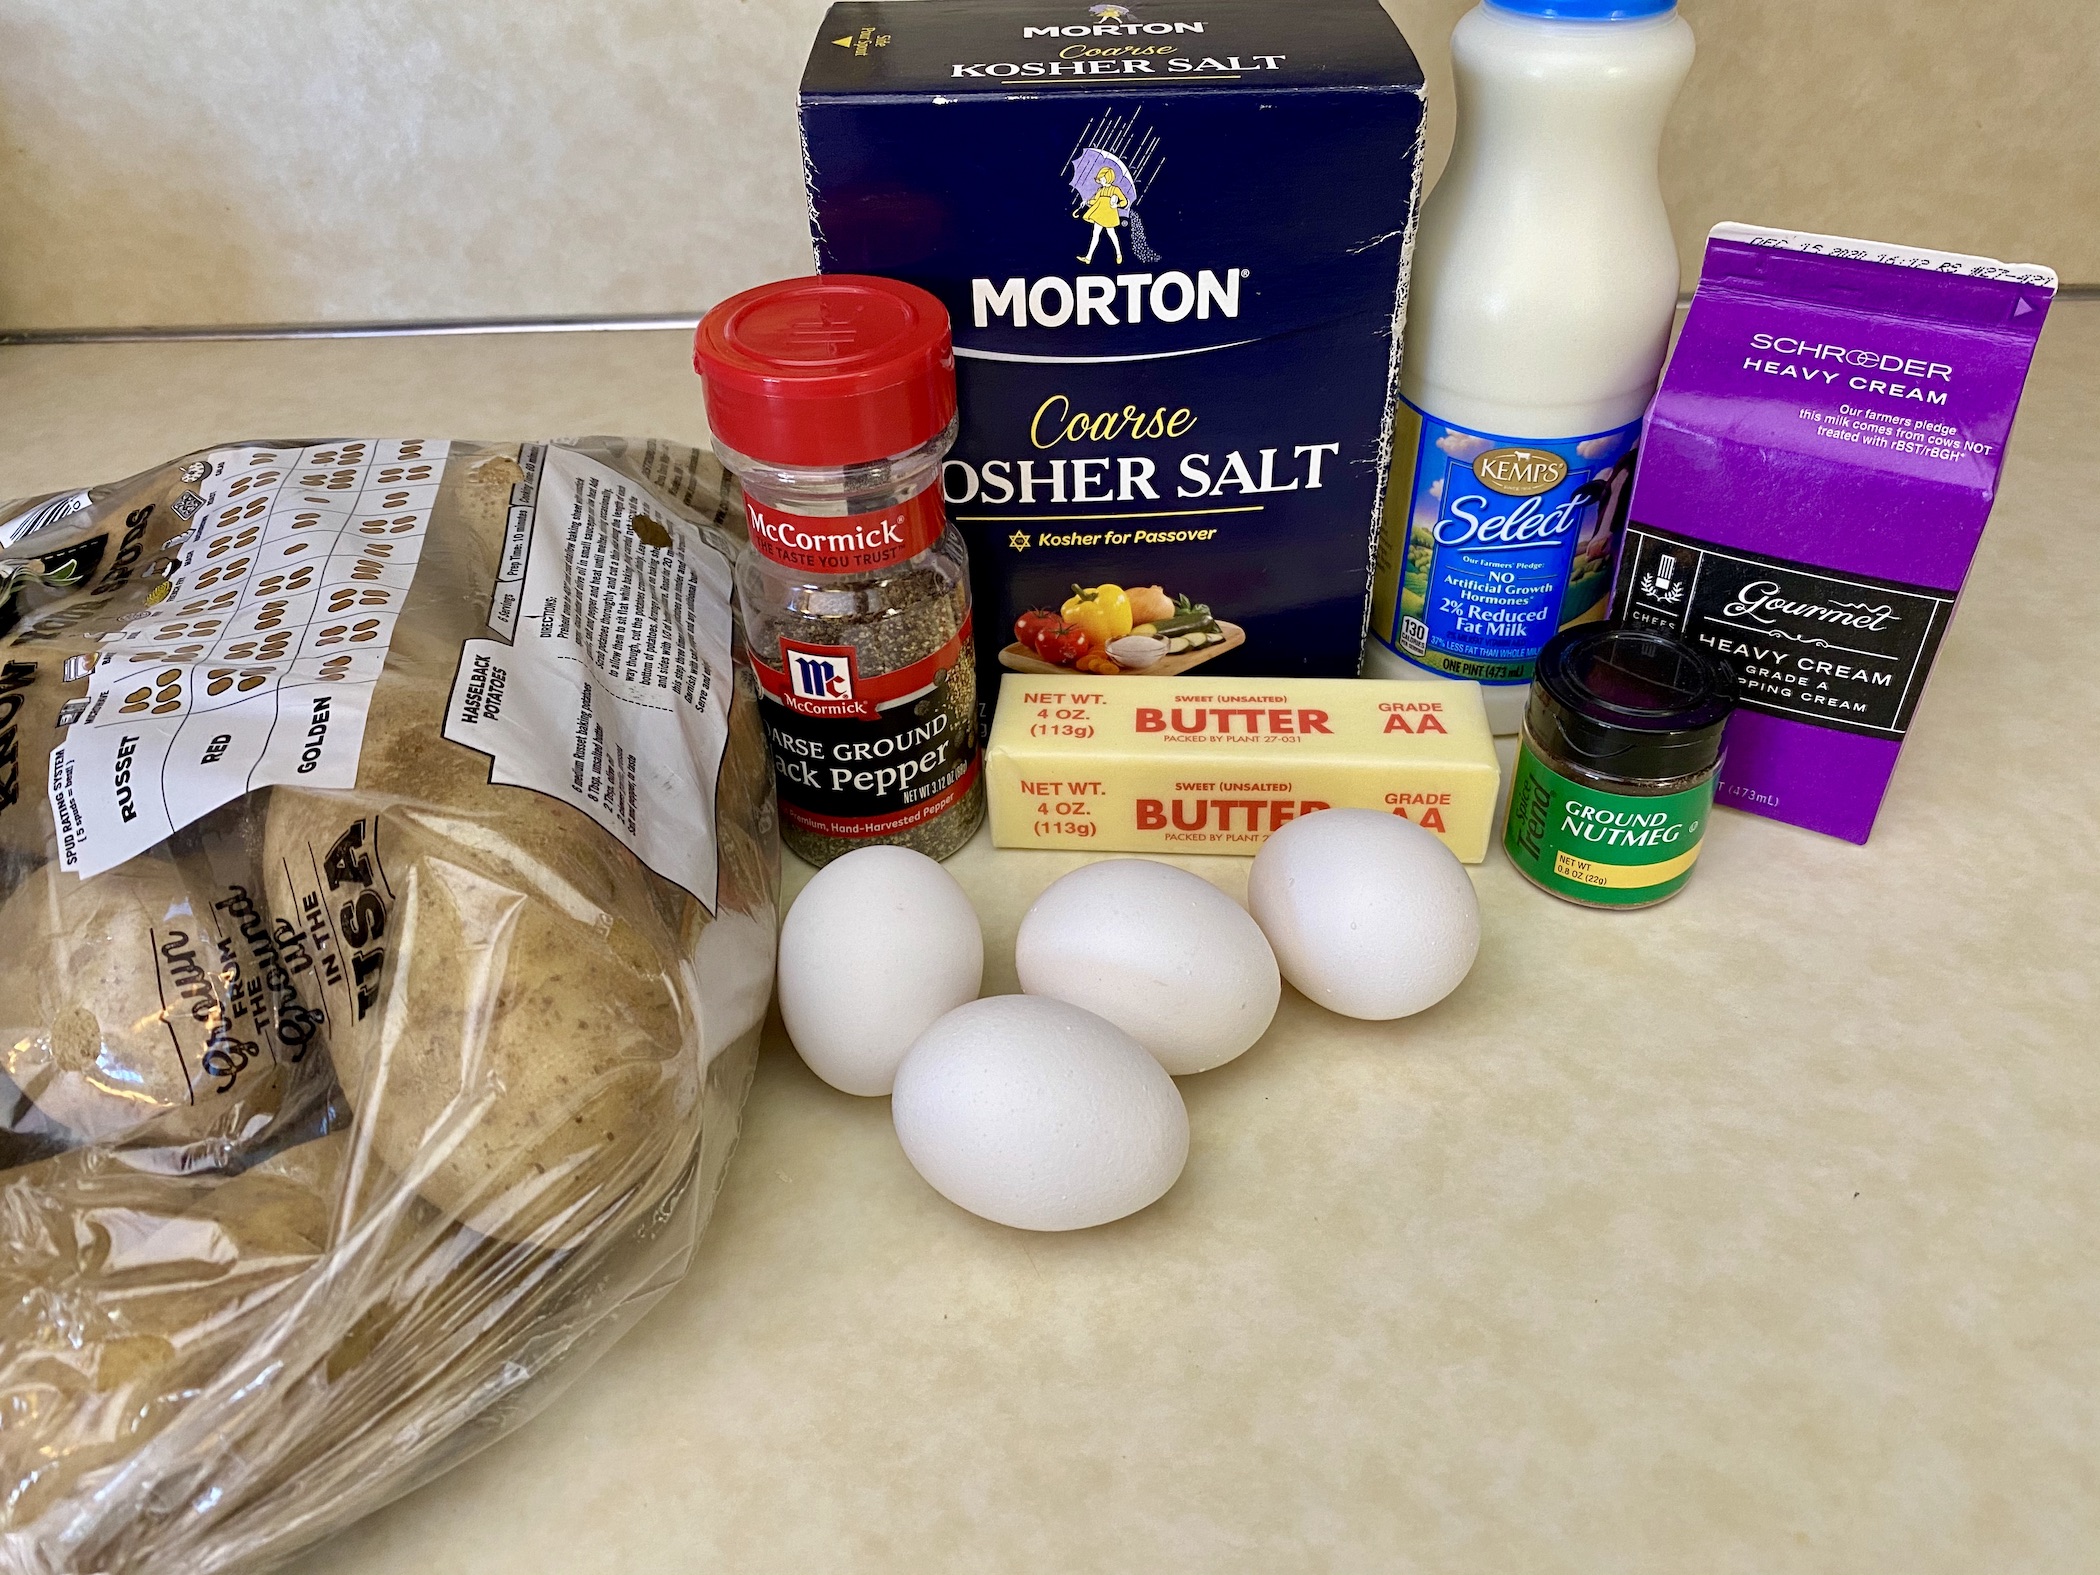
Start by preheating the oven to 400 degrees F and lining 2 baking sheets with parchment paper.
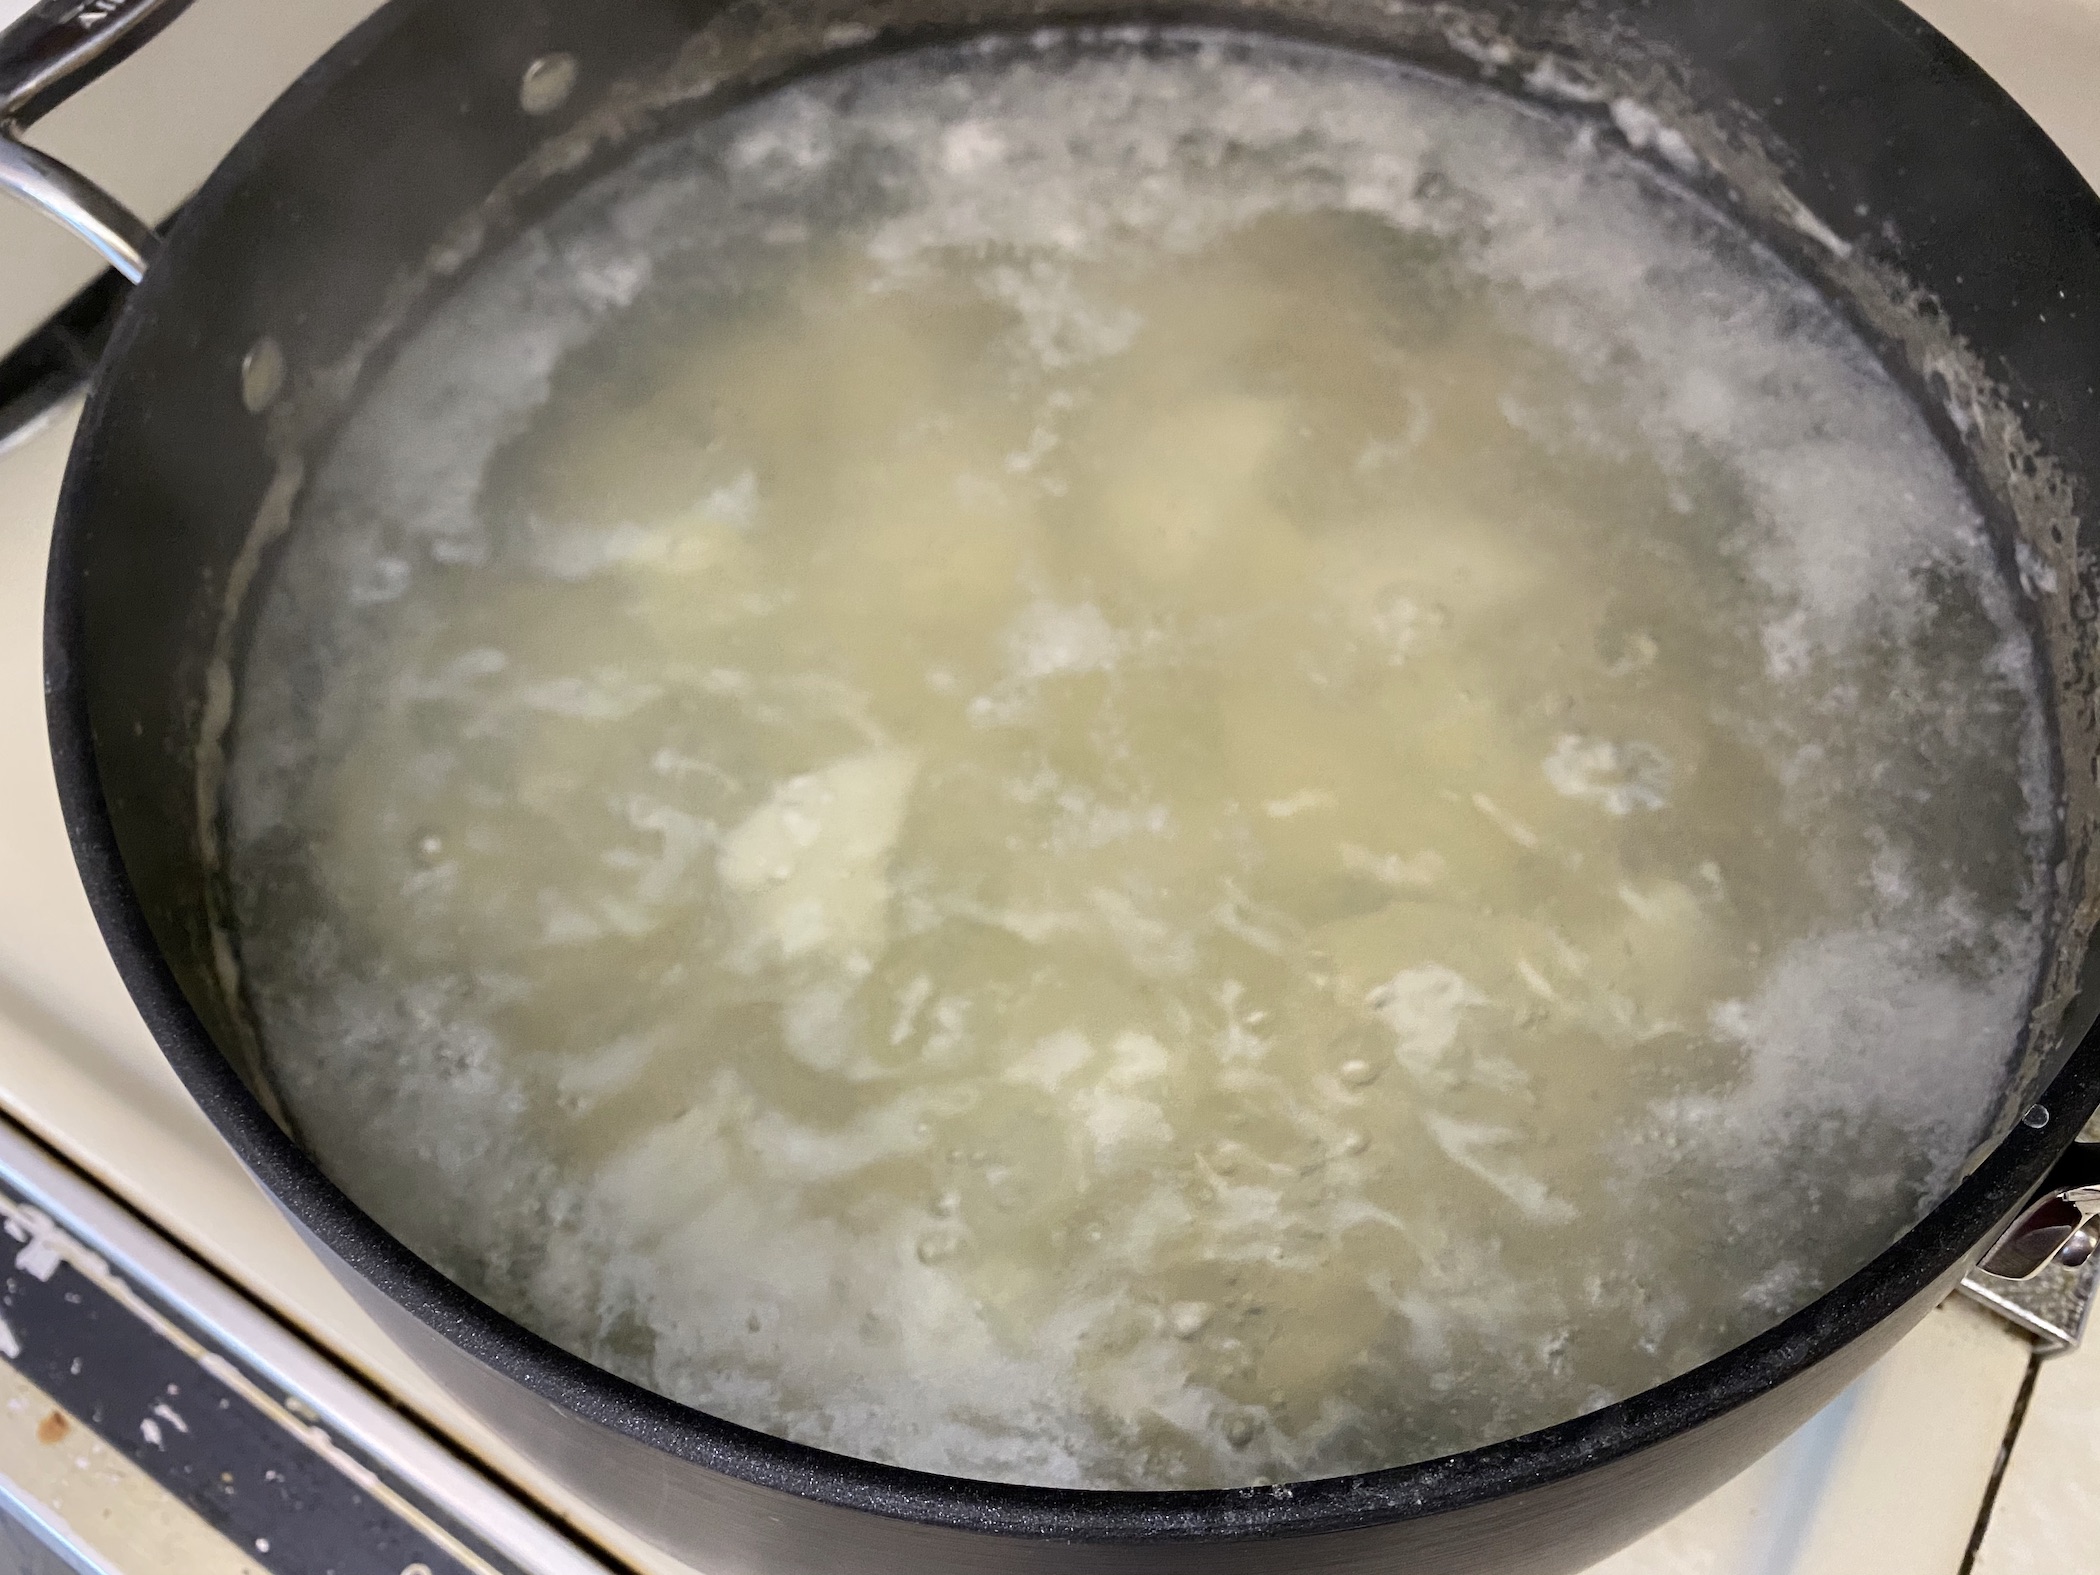
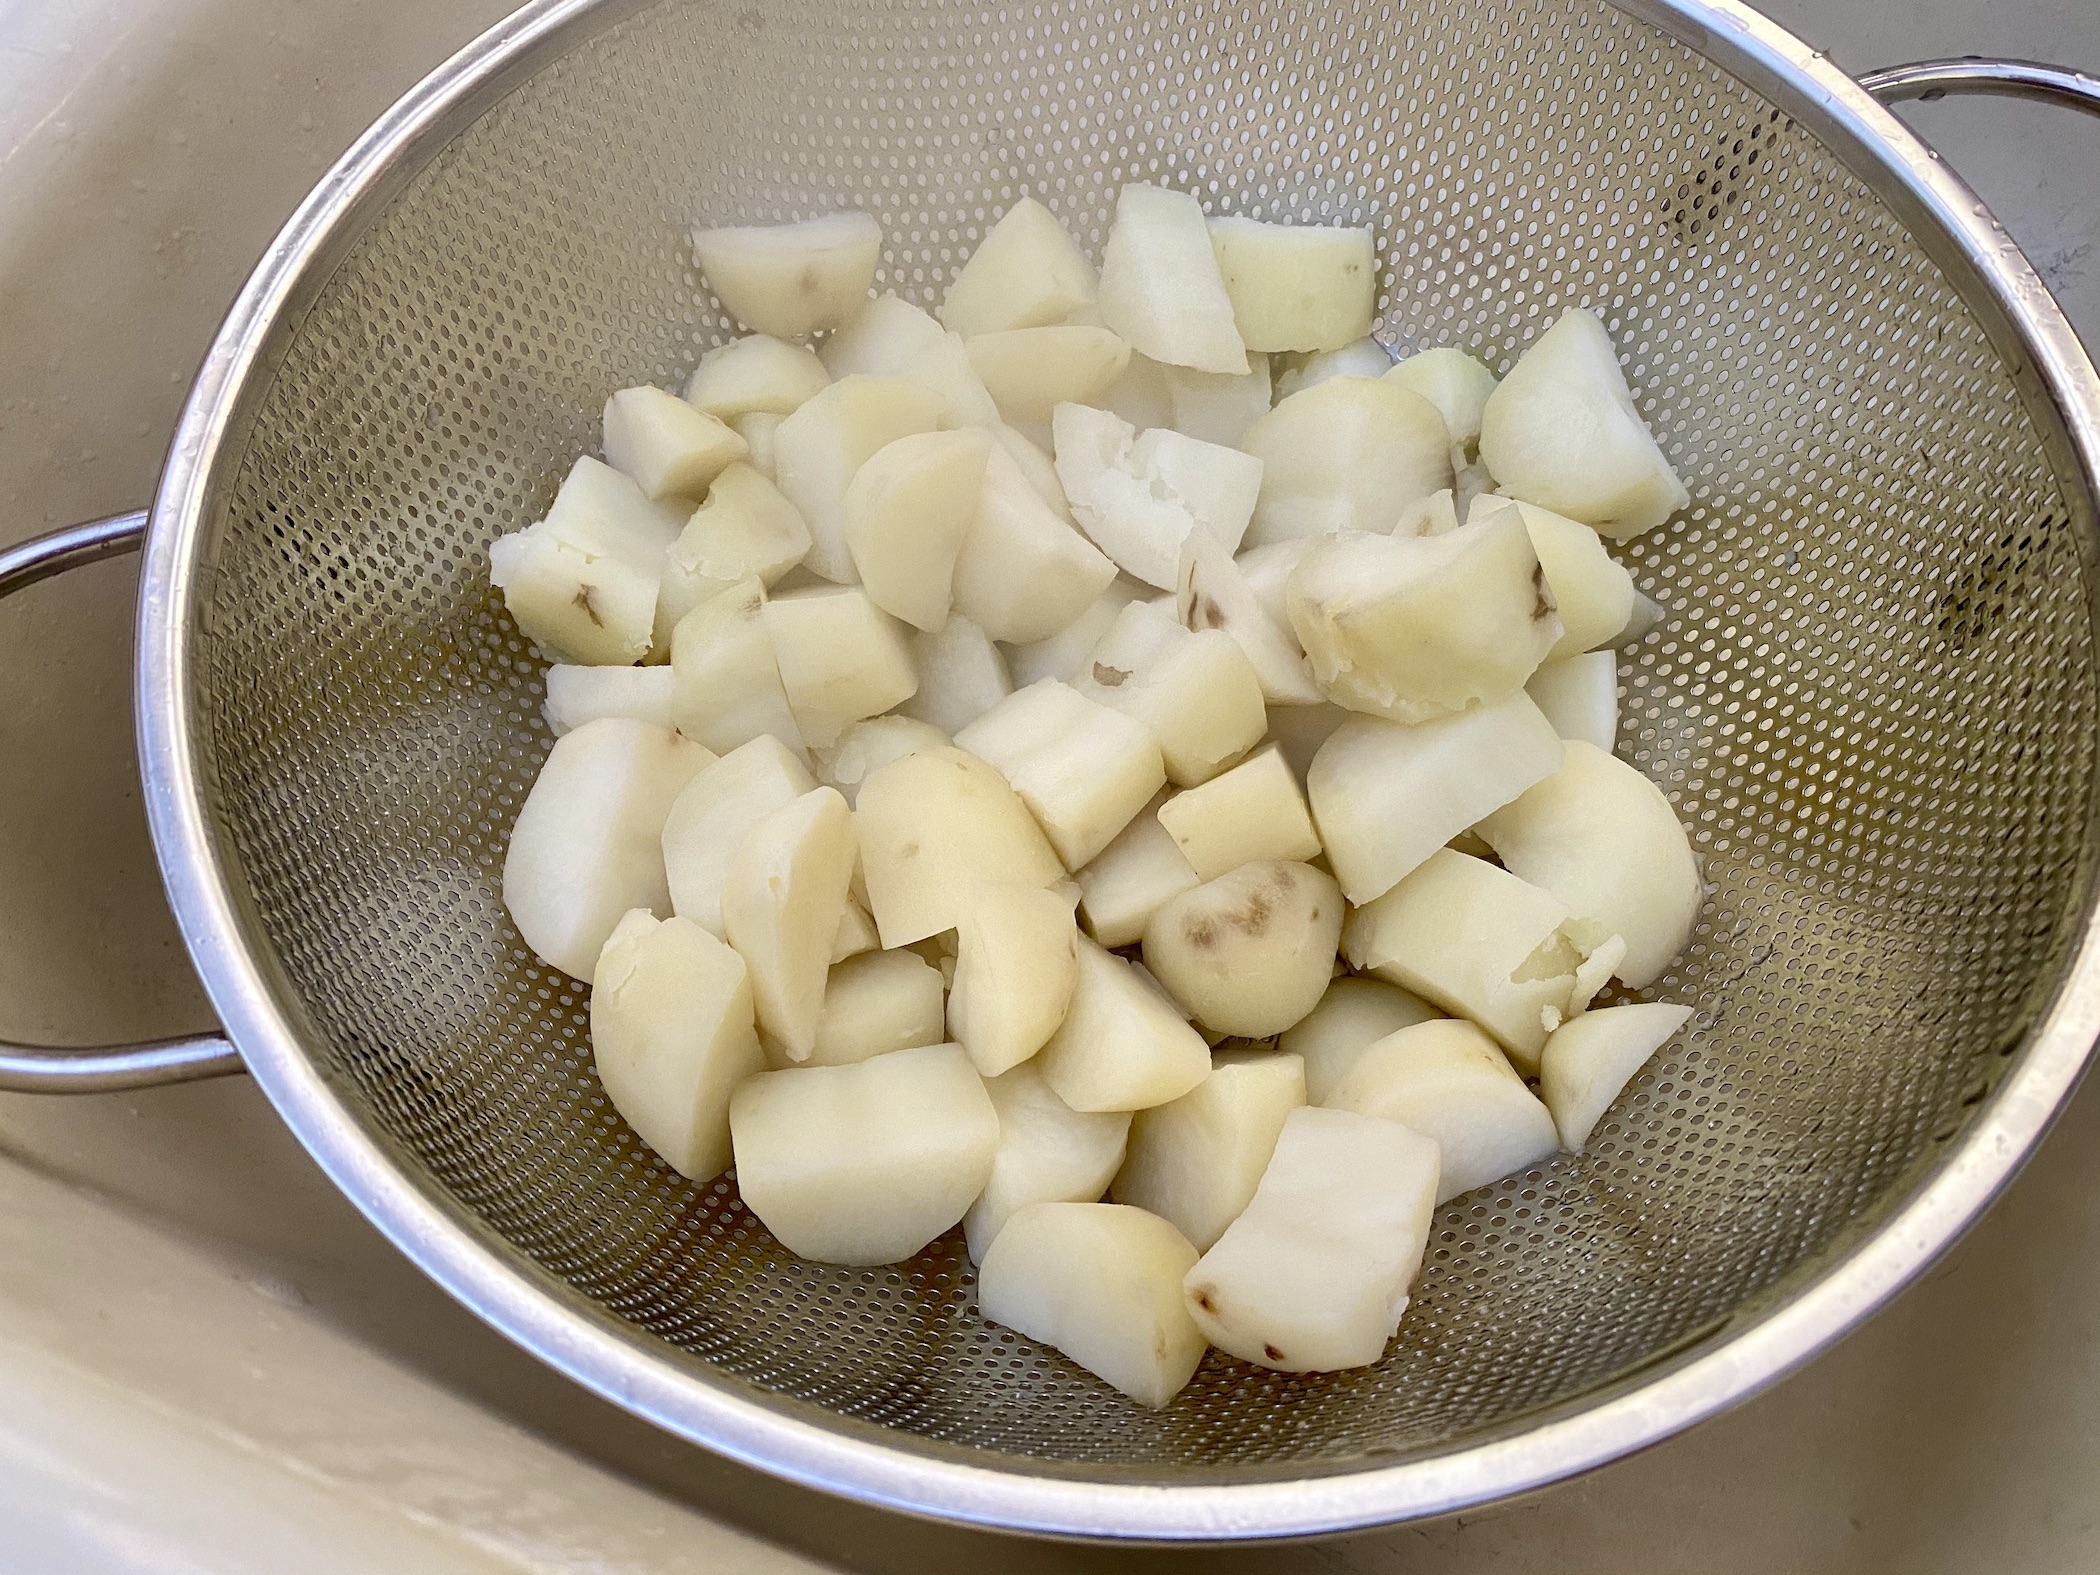
Peel and chop the potatoes and add them to a large pot filled with water. Bring the water to a boil and boil the potatoes until cooked through. I prefer to chop the potatoes for faster cooking, but you can leave the potatoes whole if that is your preference. Drain the water from the pot and pour the potatoes in a large mixing bowl.
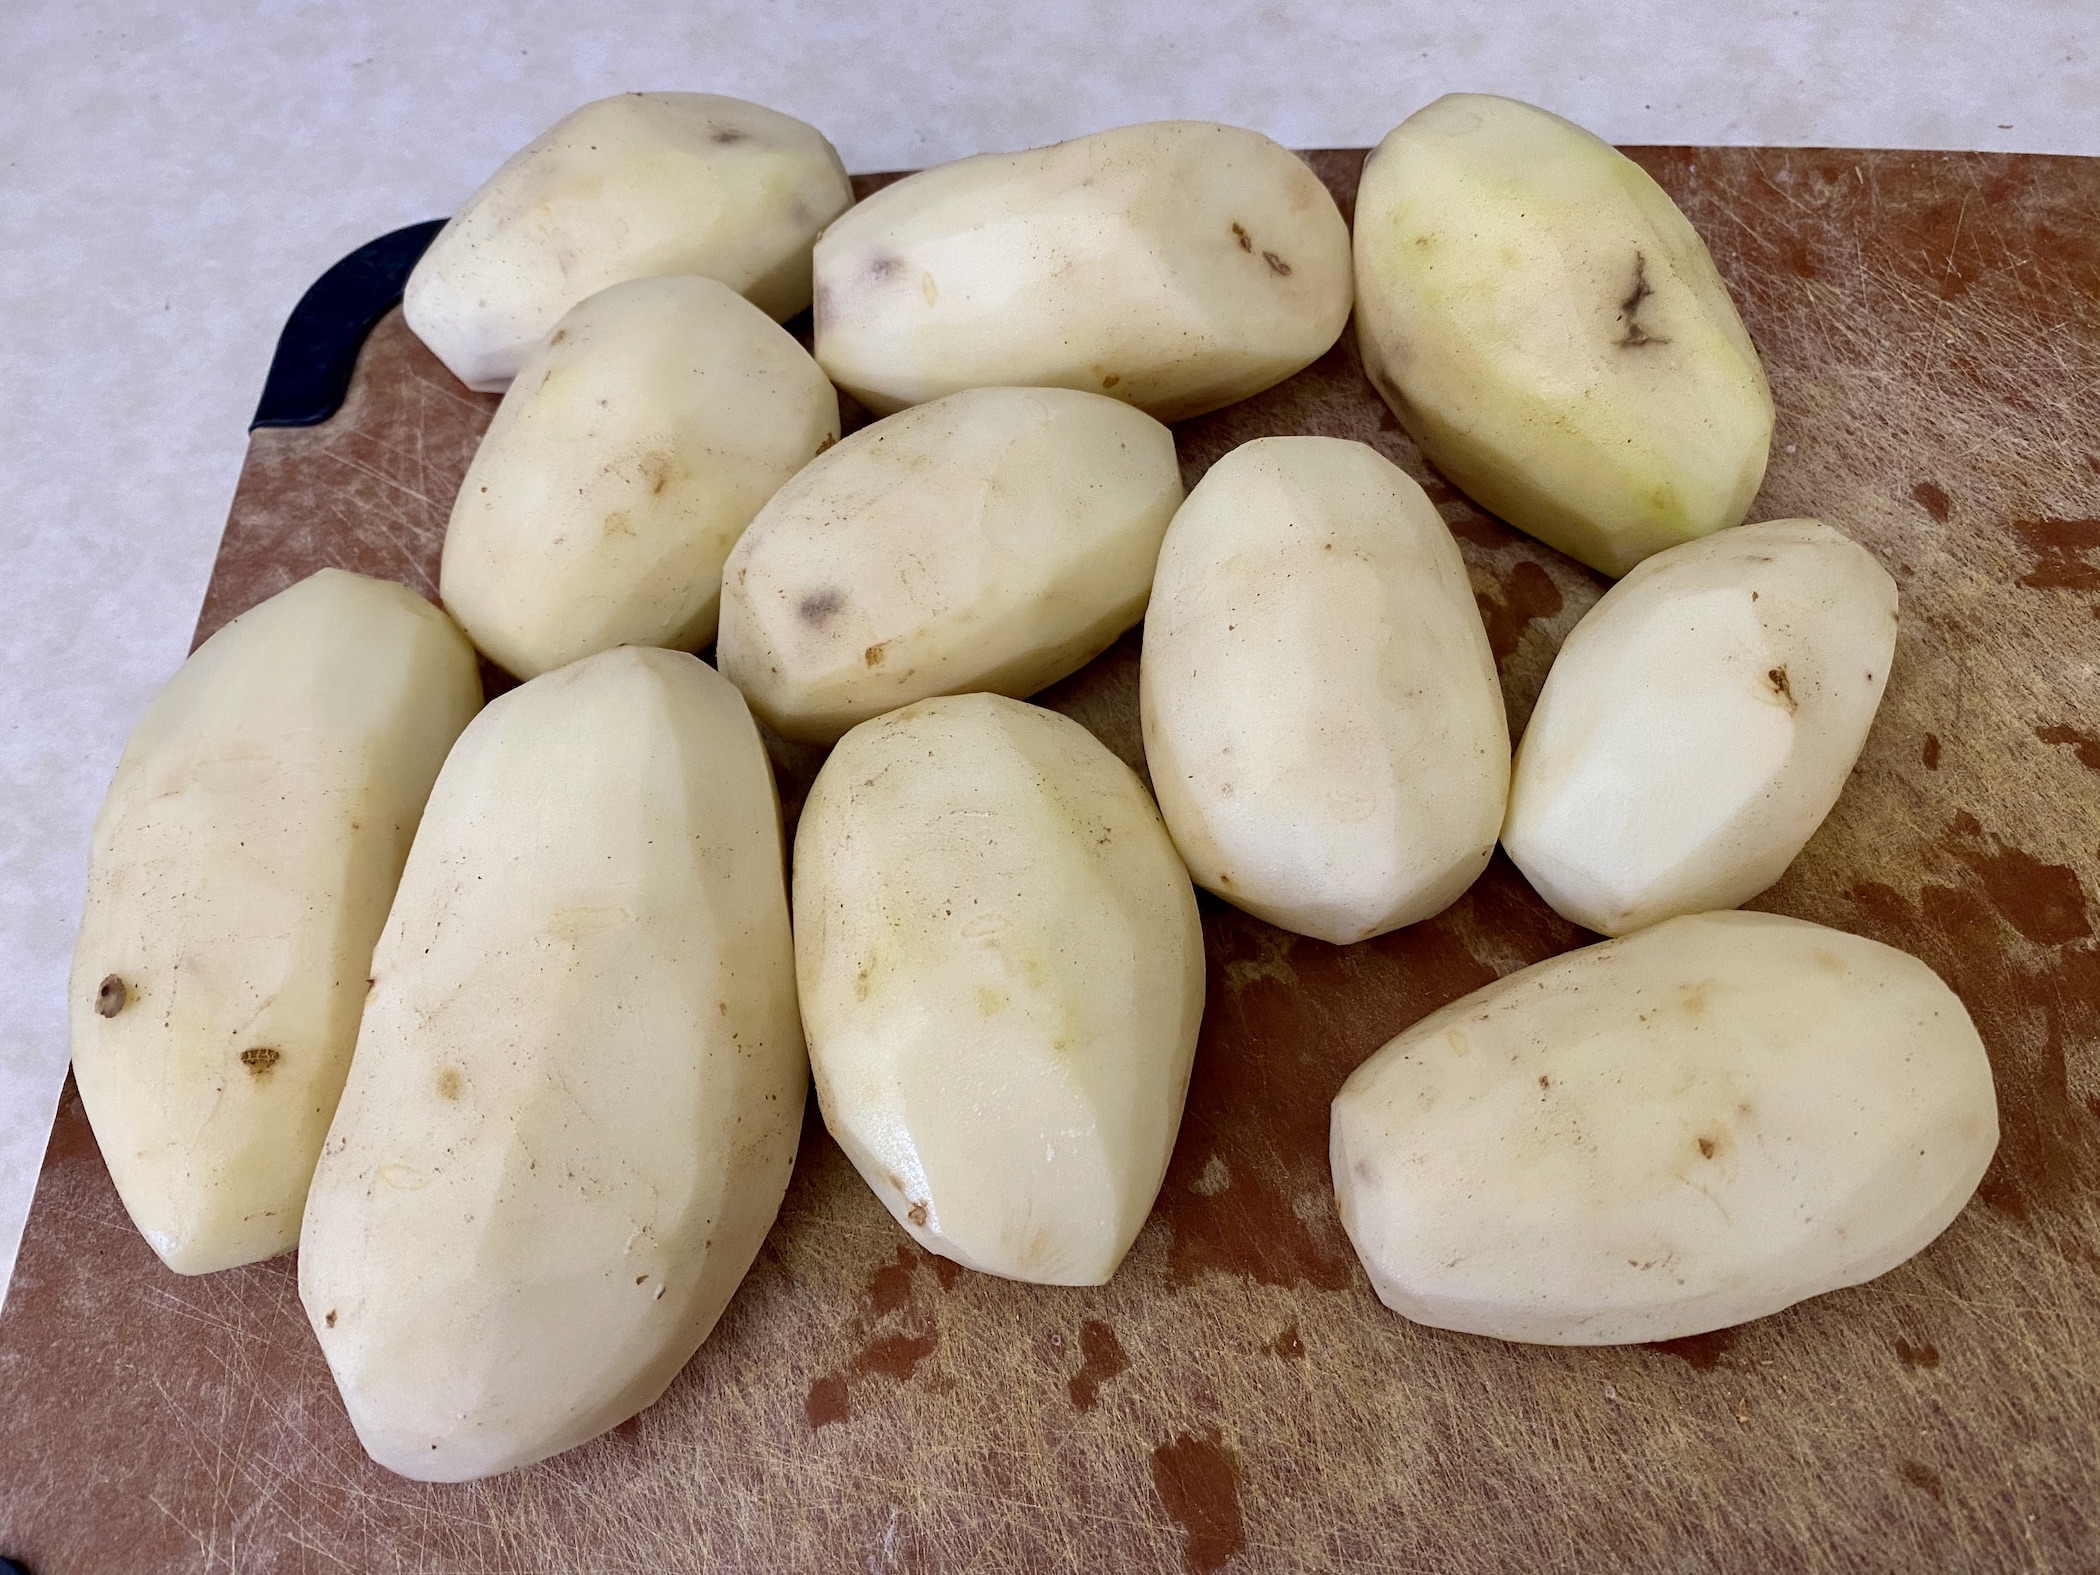

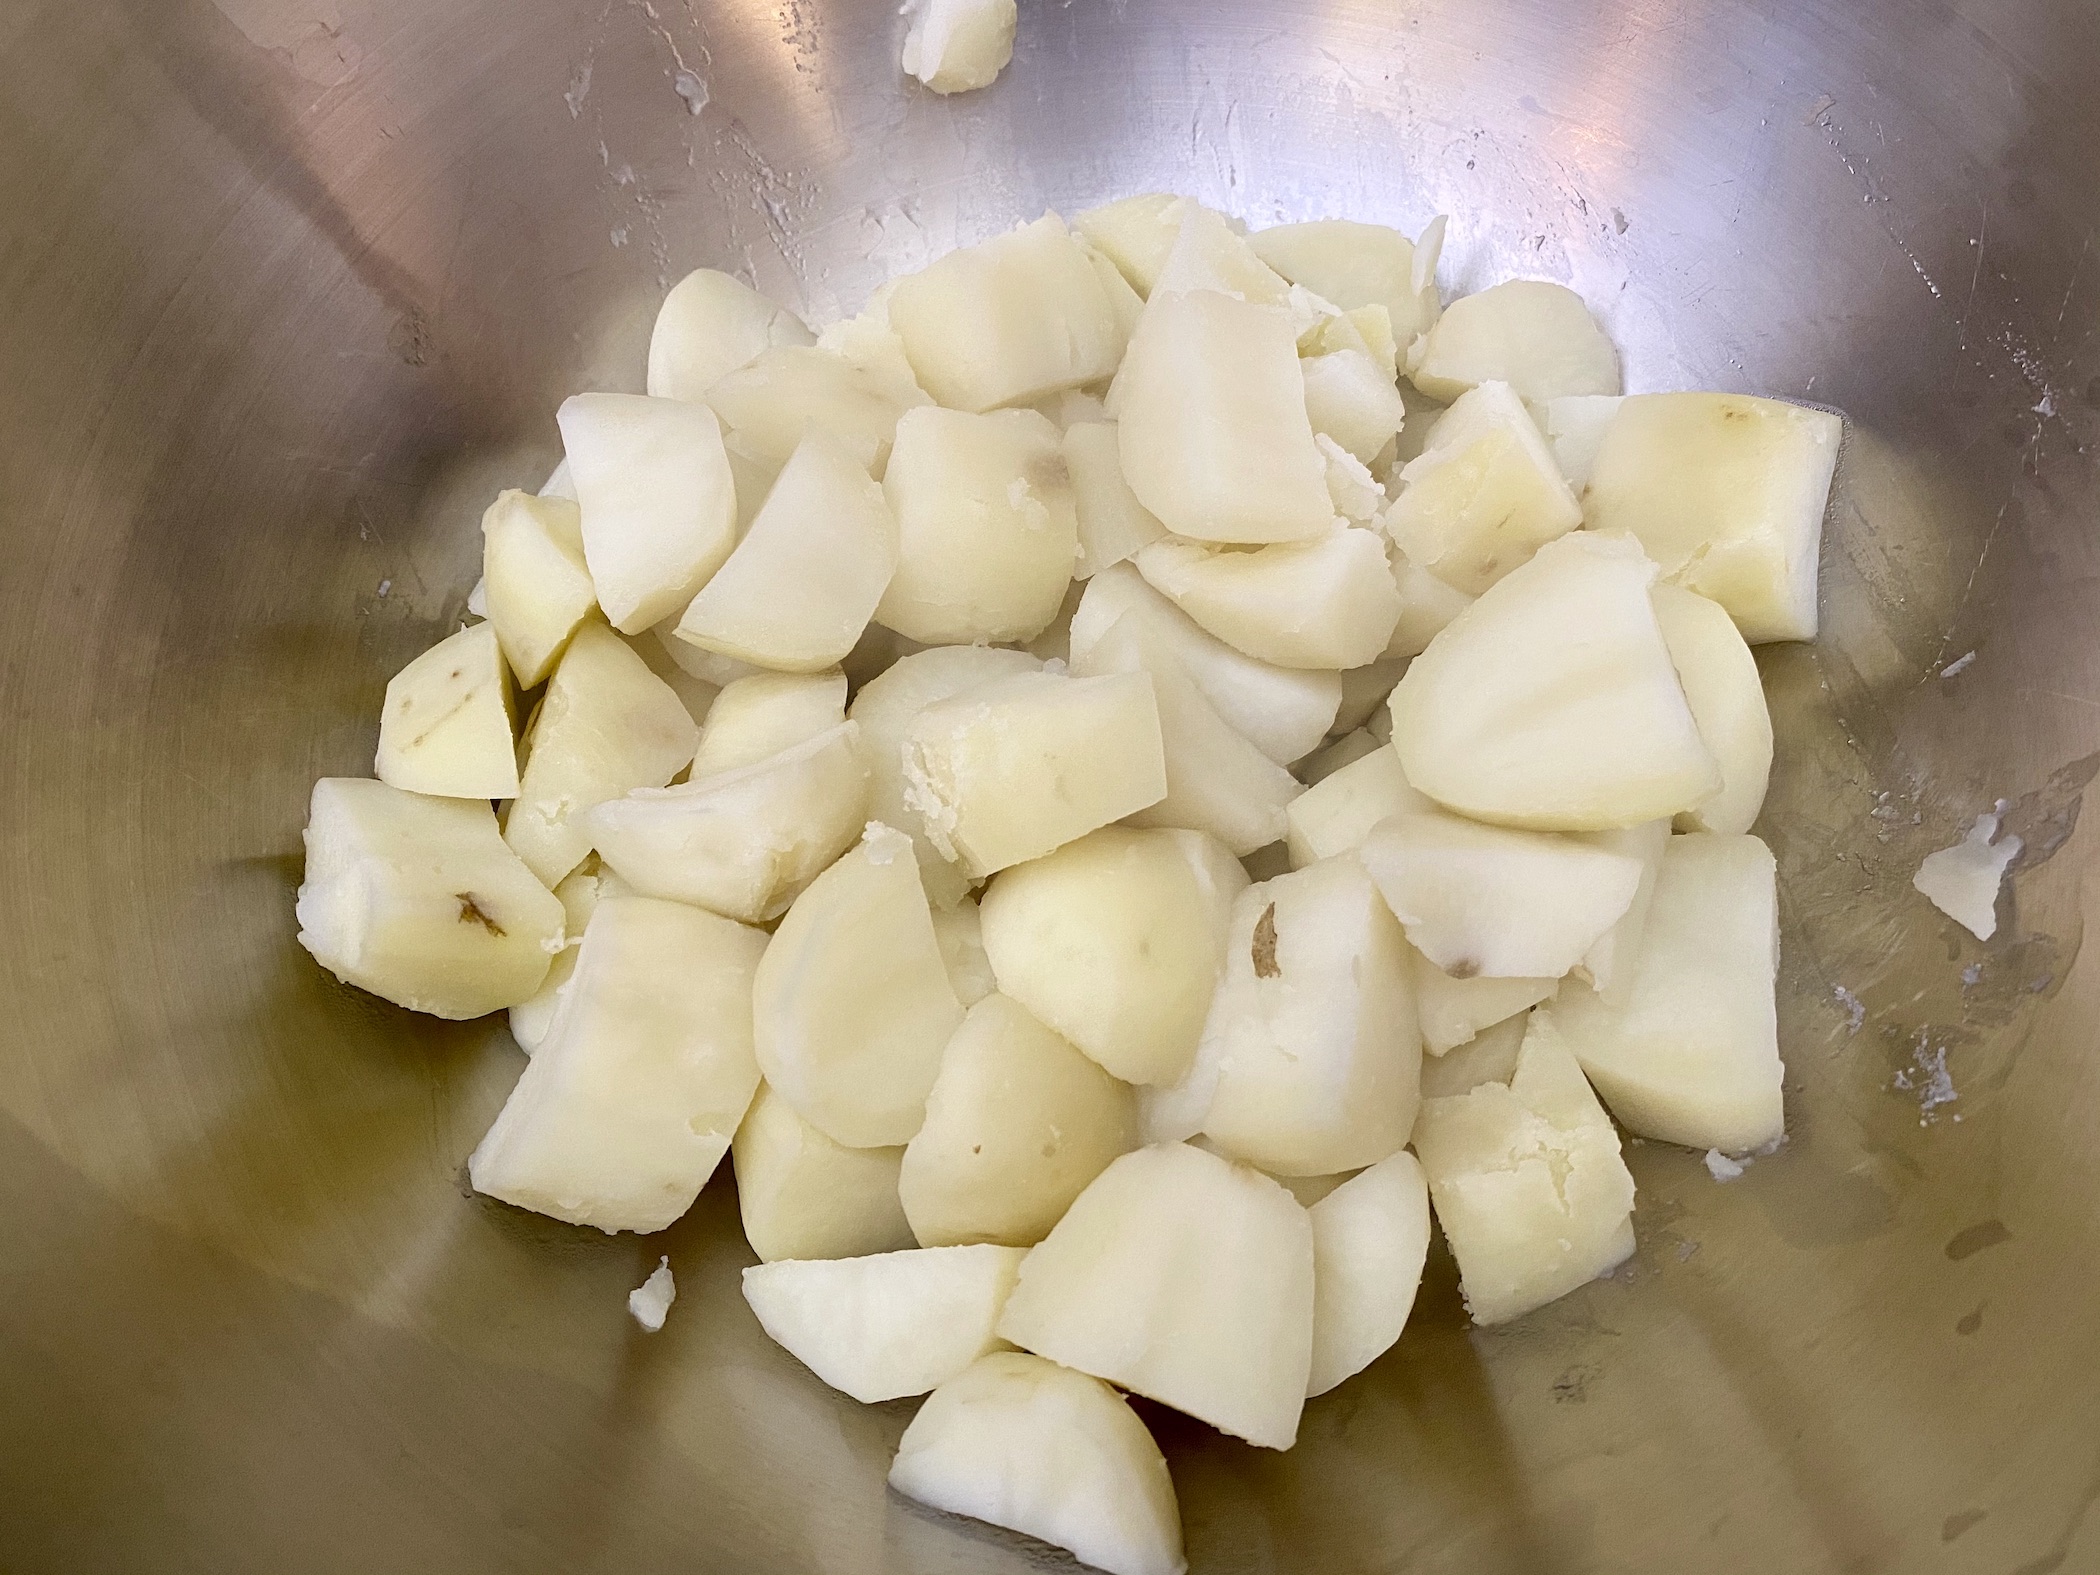
Mash the potatoes until smooth. You can do this by hand or with a hand mixer, just make sure there are no chunks left! You want the potatoes to be fully mashed.

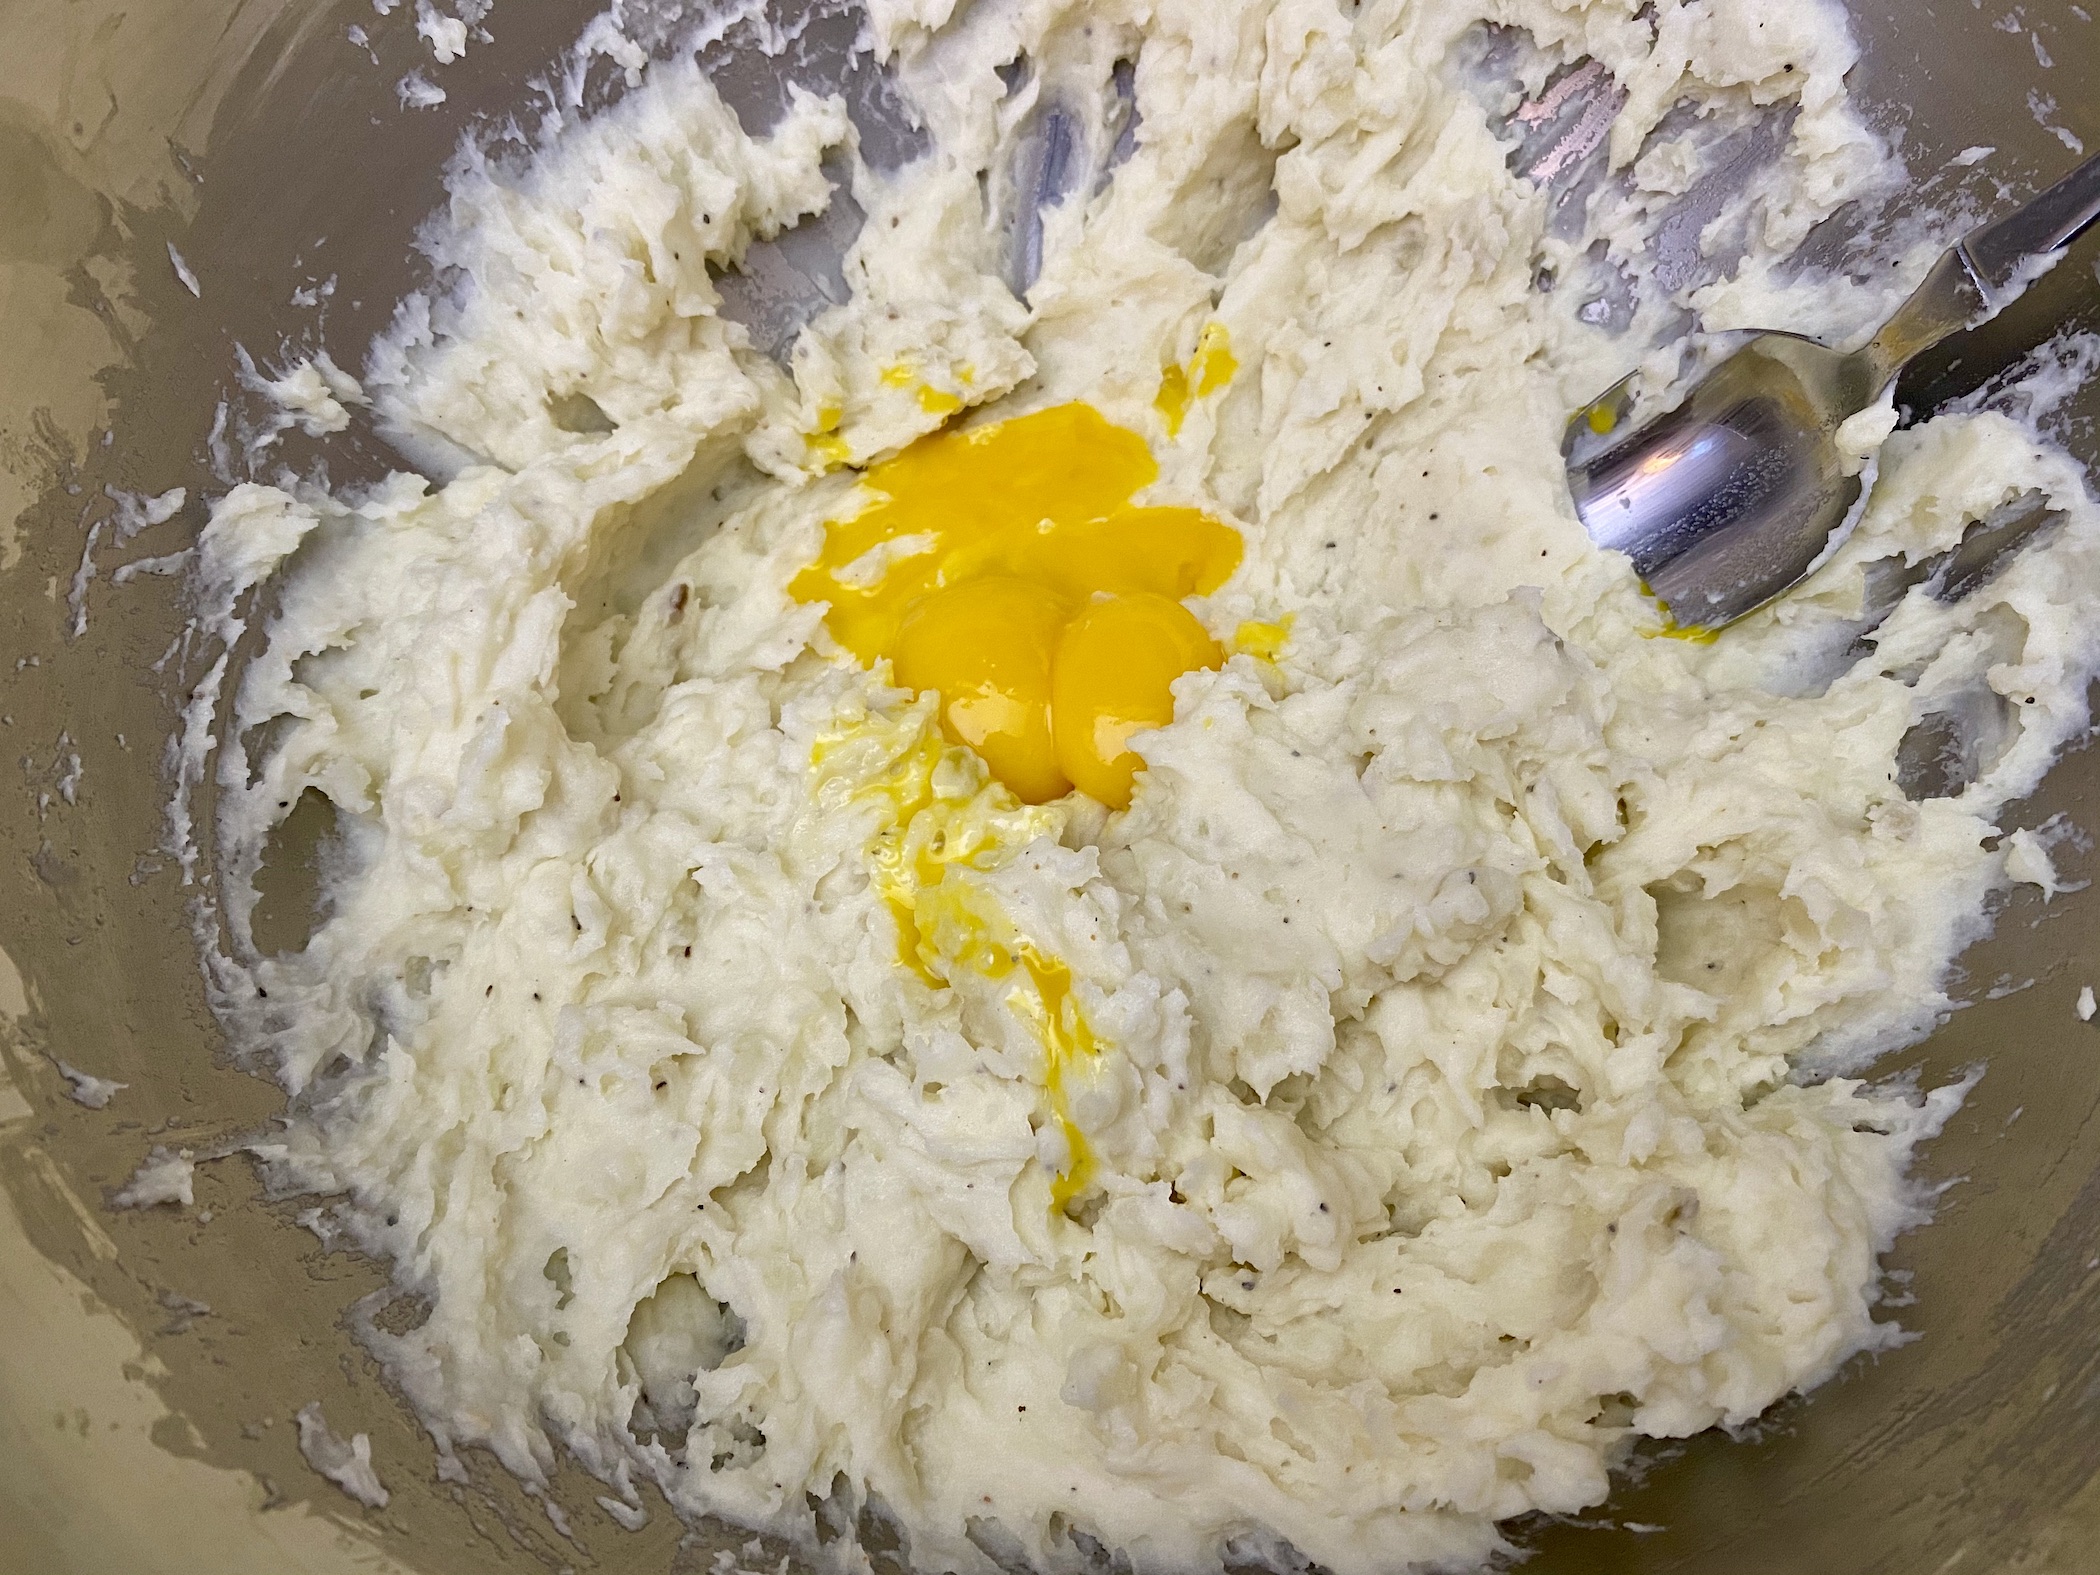
Add the butter, salt, pepper, nutmeg, and cream. Stir to combine. Taste the potatoes and add additional salt and pepper, if needed. I love the addition of nutmeg…. it’s delicate and slightly sweet.


Add the egg yolks and fold into the potato mixture until just combined.

Add the potatoes to a piping bag fitted with a large star tip. I recommend using at least a size 6B if not larger. If you use too small of a tip, the mashed potatoes (and any chunks left in the potatoes) won’t fit through the tip and you won’t be able to pipe the potatoes. So, make sure to use a large tip and you shouldn’t have problems!
Pipe the potatoes onto the baking sheets in a circular pattern to create a swirl (or decorative shape of your choosing). Repeat this step until you have used up all of the mashed potatoes. You only have to leave about 1-inch of space between each potato on the baking sheet because they don’t really rise or spread while baking.


Place the baking sheets in the freezer for about 30 minutes. This will help the potatoes hold their shape. If you don’t do this, the potatoes will start to settle and you will lose the ridges created by the star tip, which is part of the presentation aspect but won’t affect the flavor.
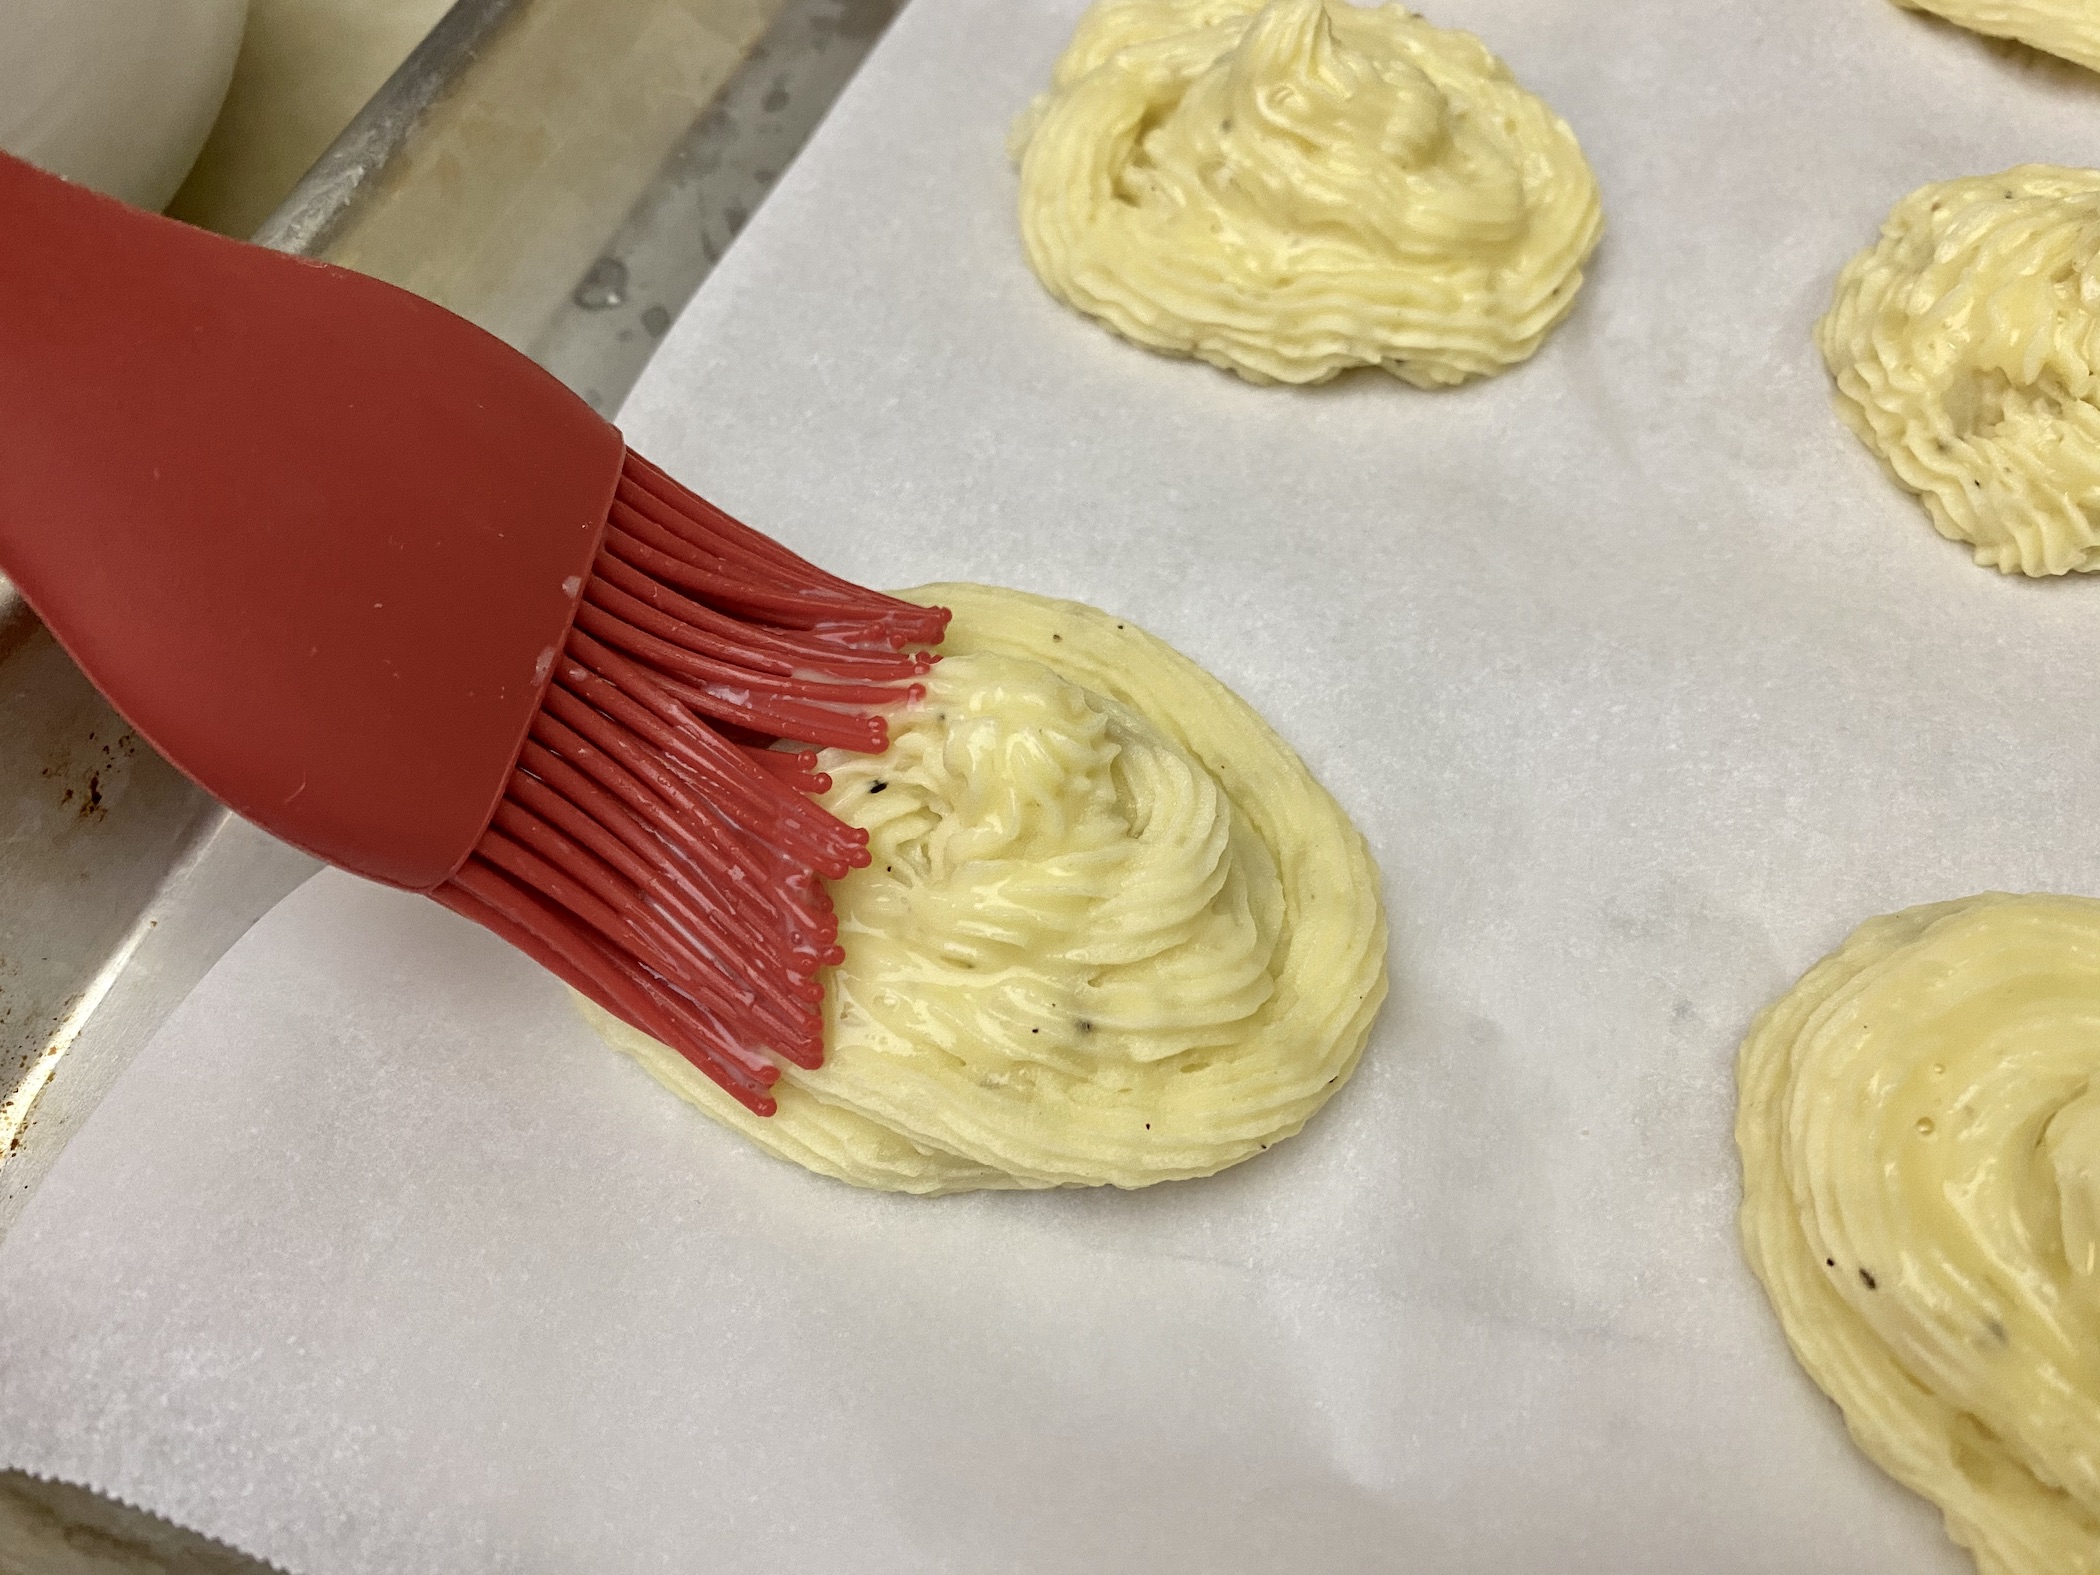
Combine 1 egg with 2 Tbsp milk. Gently brush the mixture over the potatoes. You don’t want the egg wash pooling around the bottom of the potatoes so don’t apply too much!
Bake for 20-25 minutes or until the potatoes start to turn golden brown. Remove from the oven and let sit for 1-2 minutes. Use a spatula to remove them or they will start to break. The longer the potatoes cool the less likely they are to break, but you don’t want to eat cold potatoes so make sure to serve them warm 🙂


The recipe can be found here.
Rosemary Chicken w/ Cranberries is a very simple dish in terms of preparation but is quite grand to serve. It has some beautiful colors with the cranberries and rosemary, is seasoned nicely, and roasted to perfection. The flavor isn’t half had either 🙂 The cranberries are a bit tart and the rosemary is earthy and fresh. Now that I think of it, I’m reminded of some holiday cocktails that include rosemary and cranberry… think I should make those instead? Haha…perhaps I’ll save those for after dinner with the leftover ingredients!


The recipe can be found here.
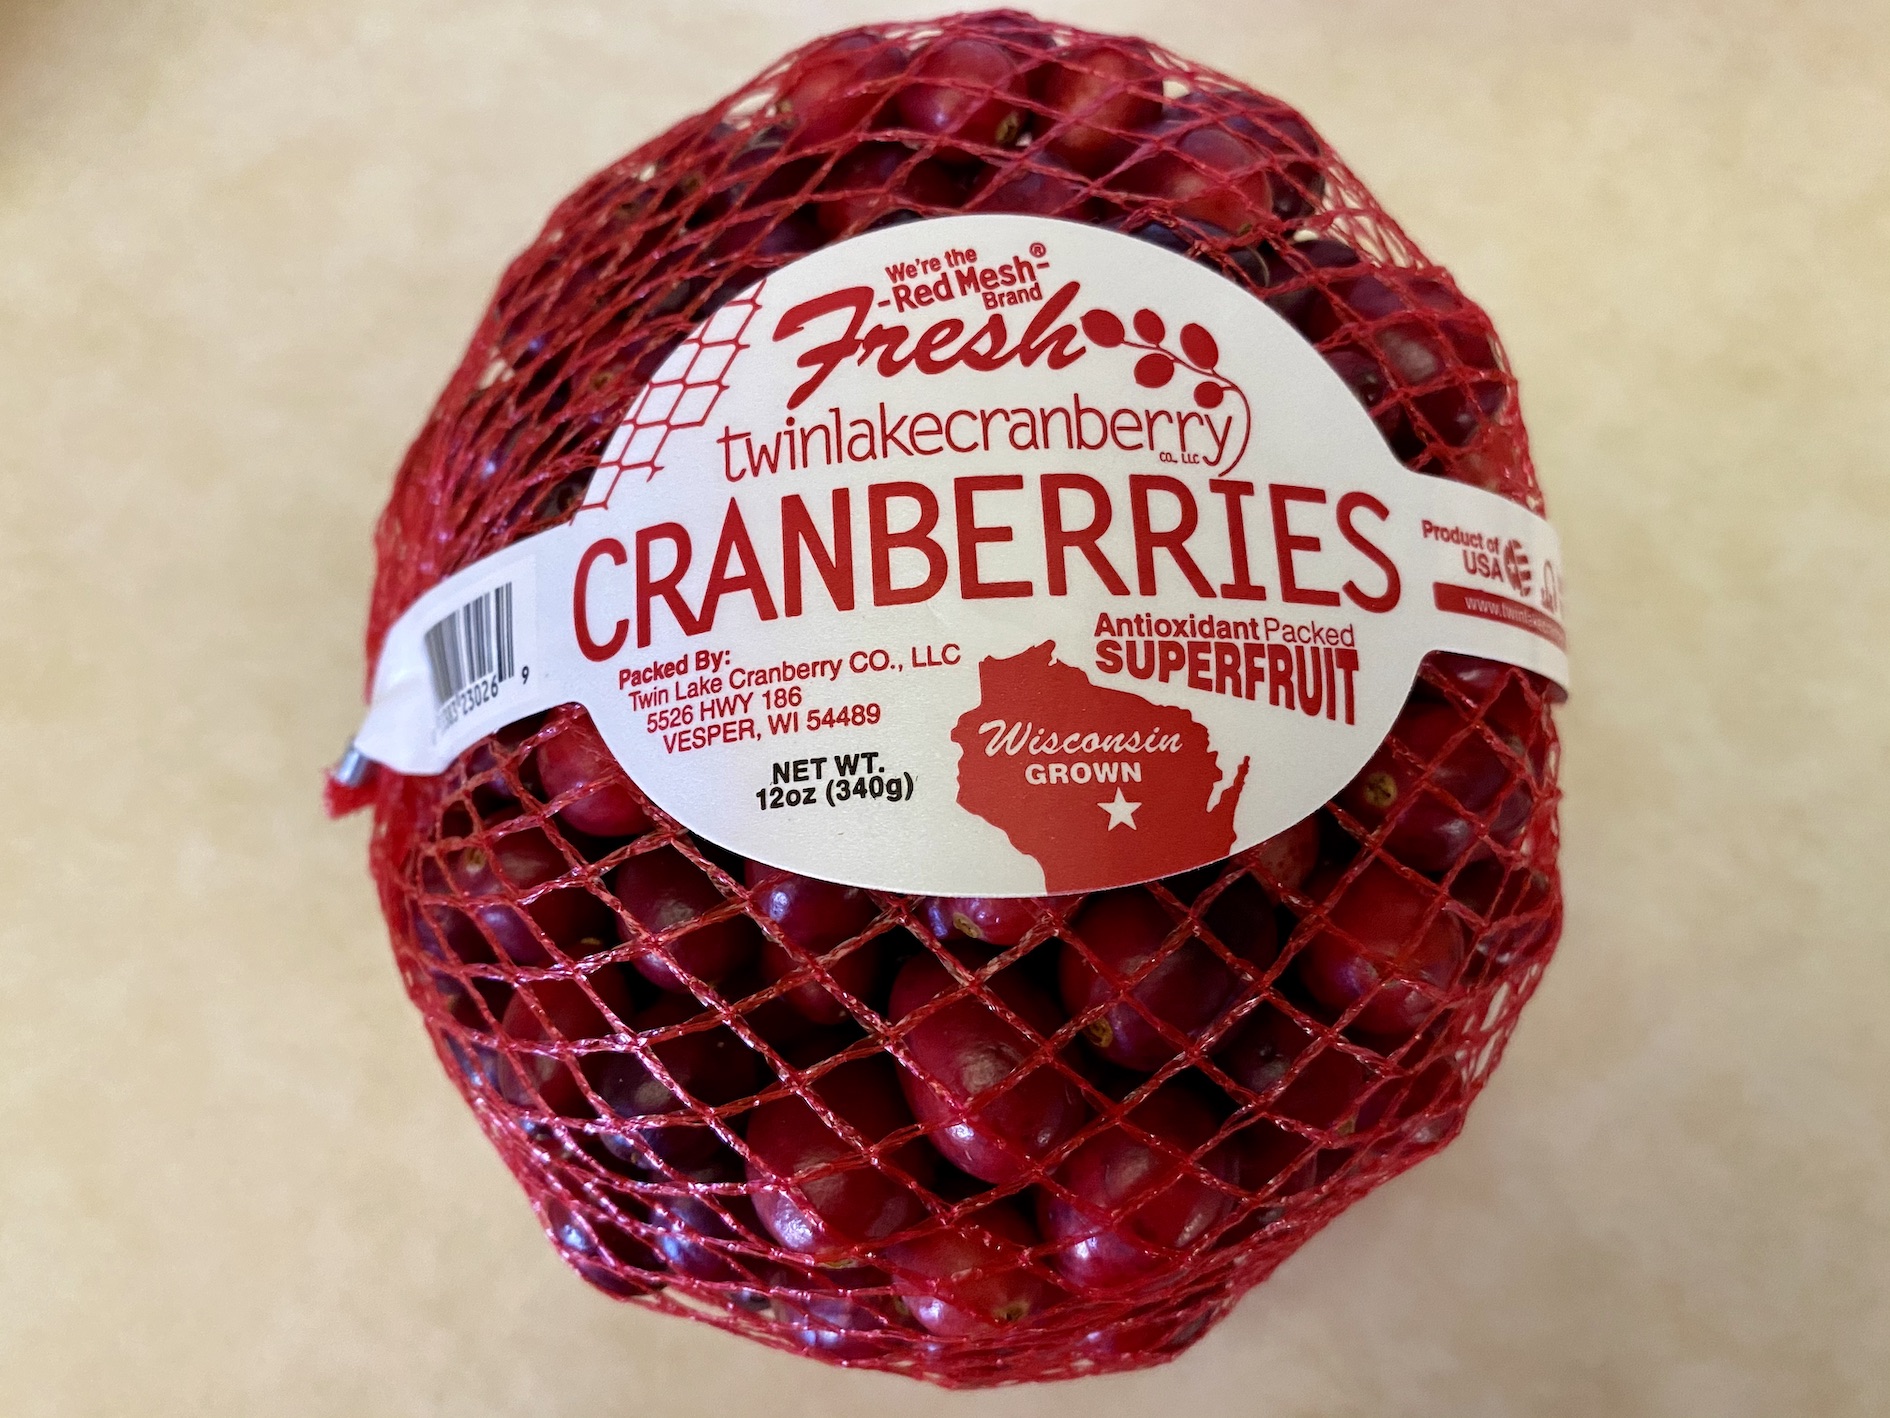
In a small bowl, combine the cranberries, brown sugar, and 2 Tbsp white wine vinegar. Set aside.


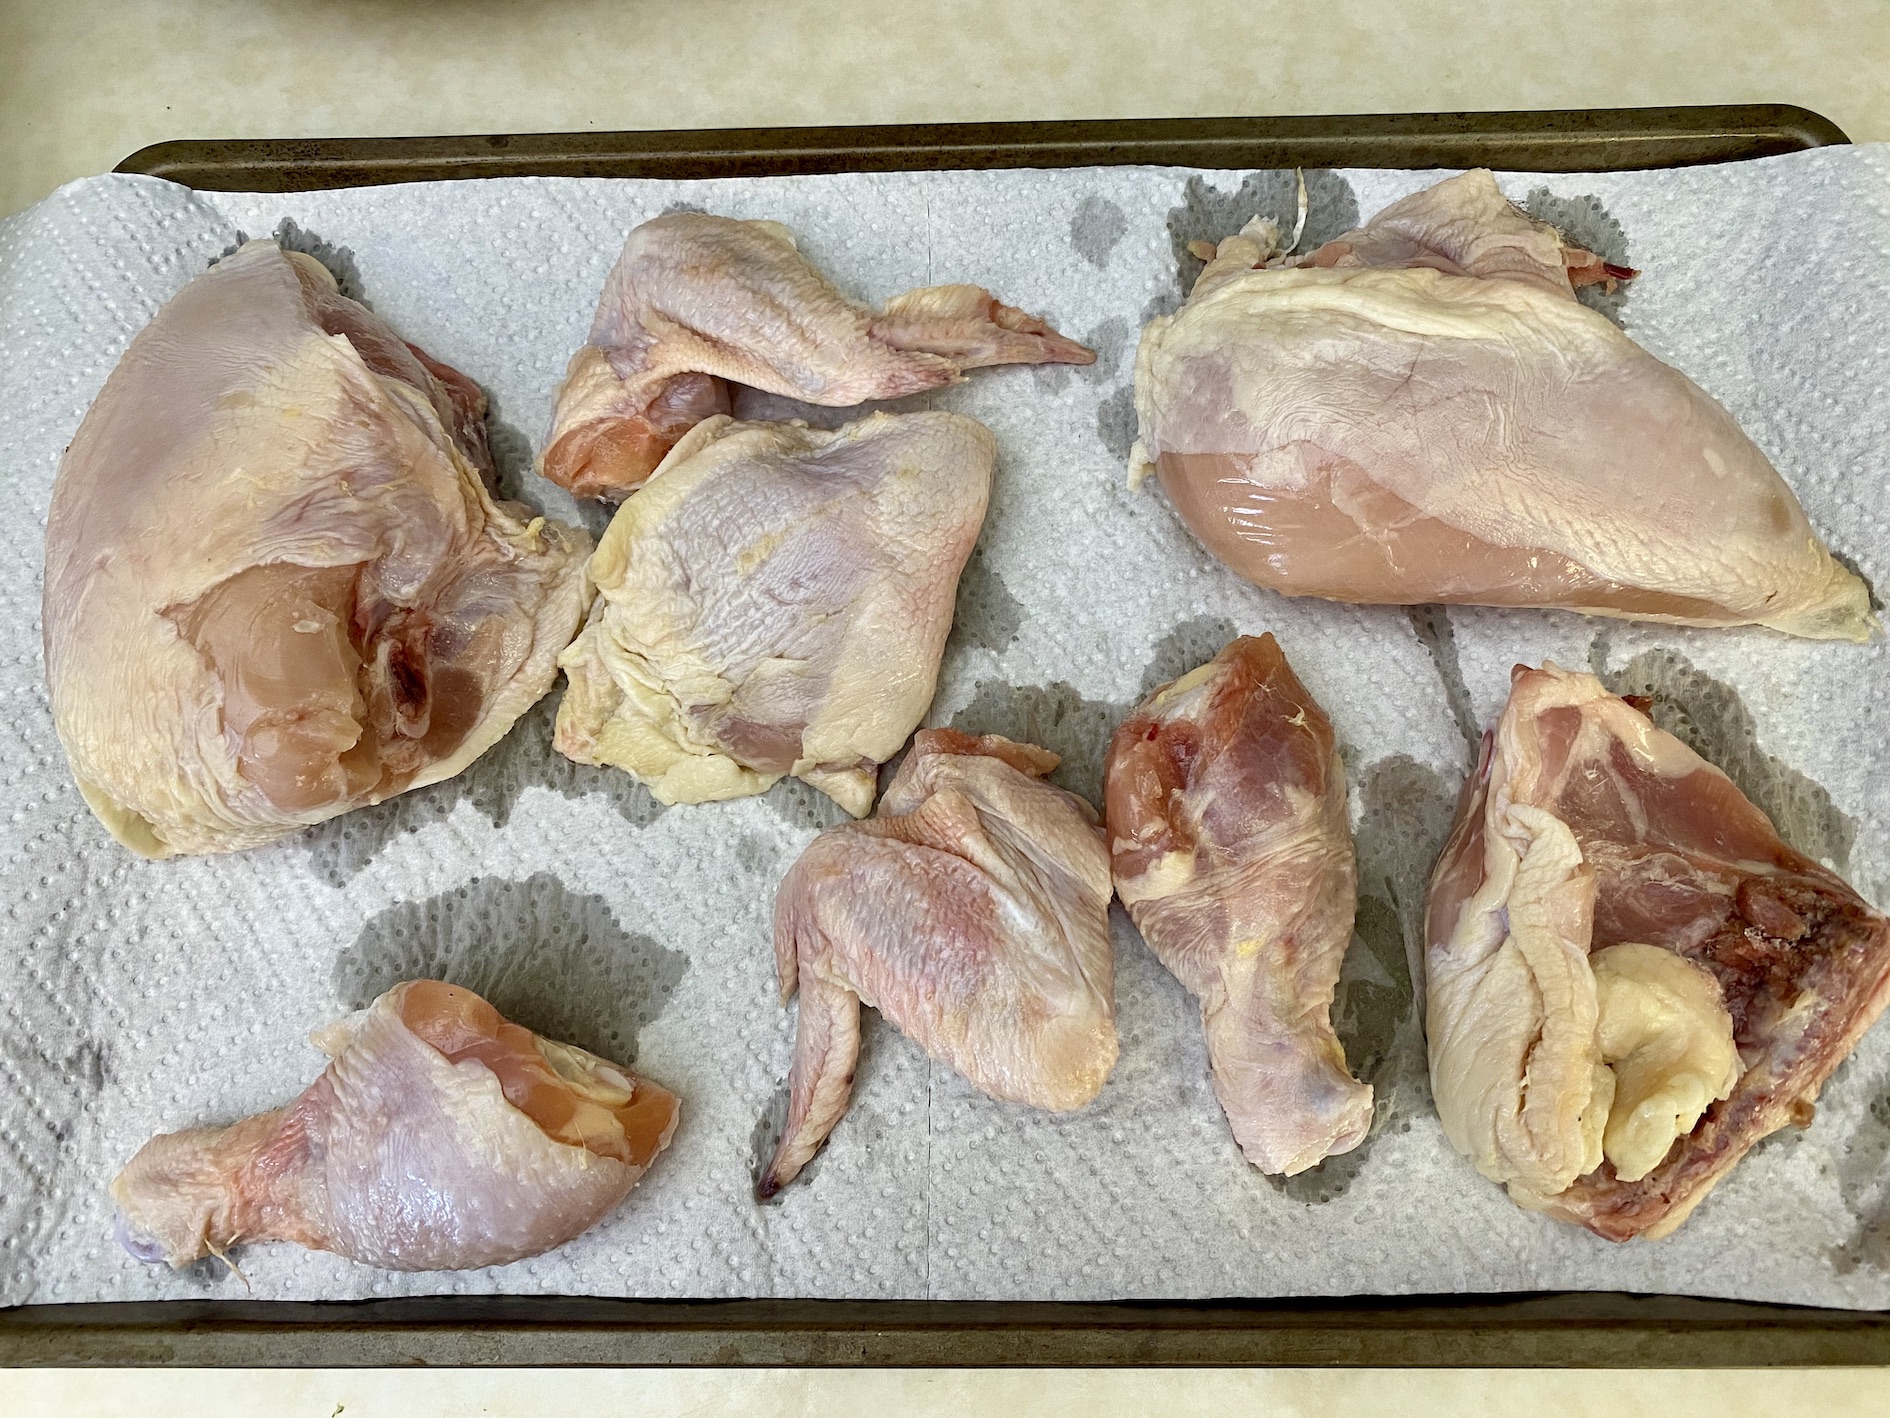
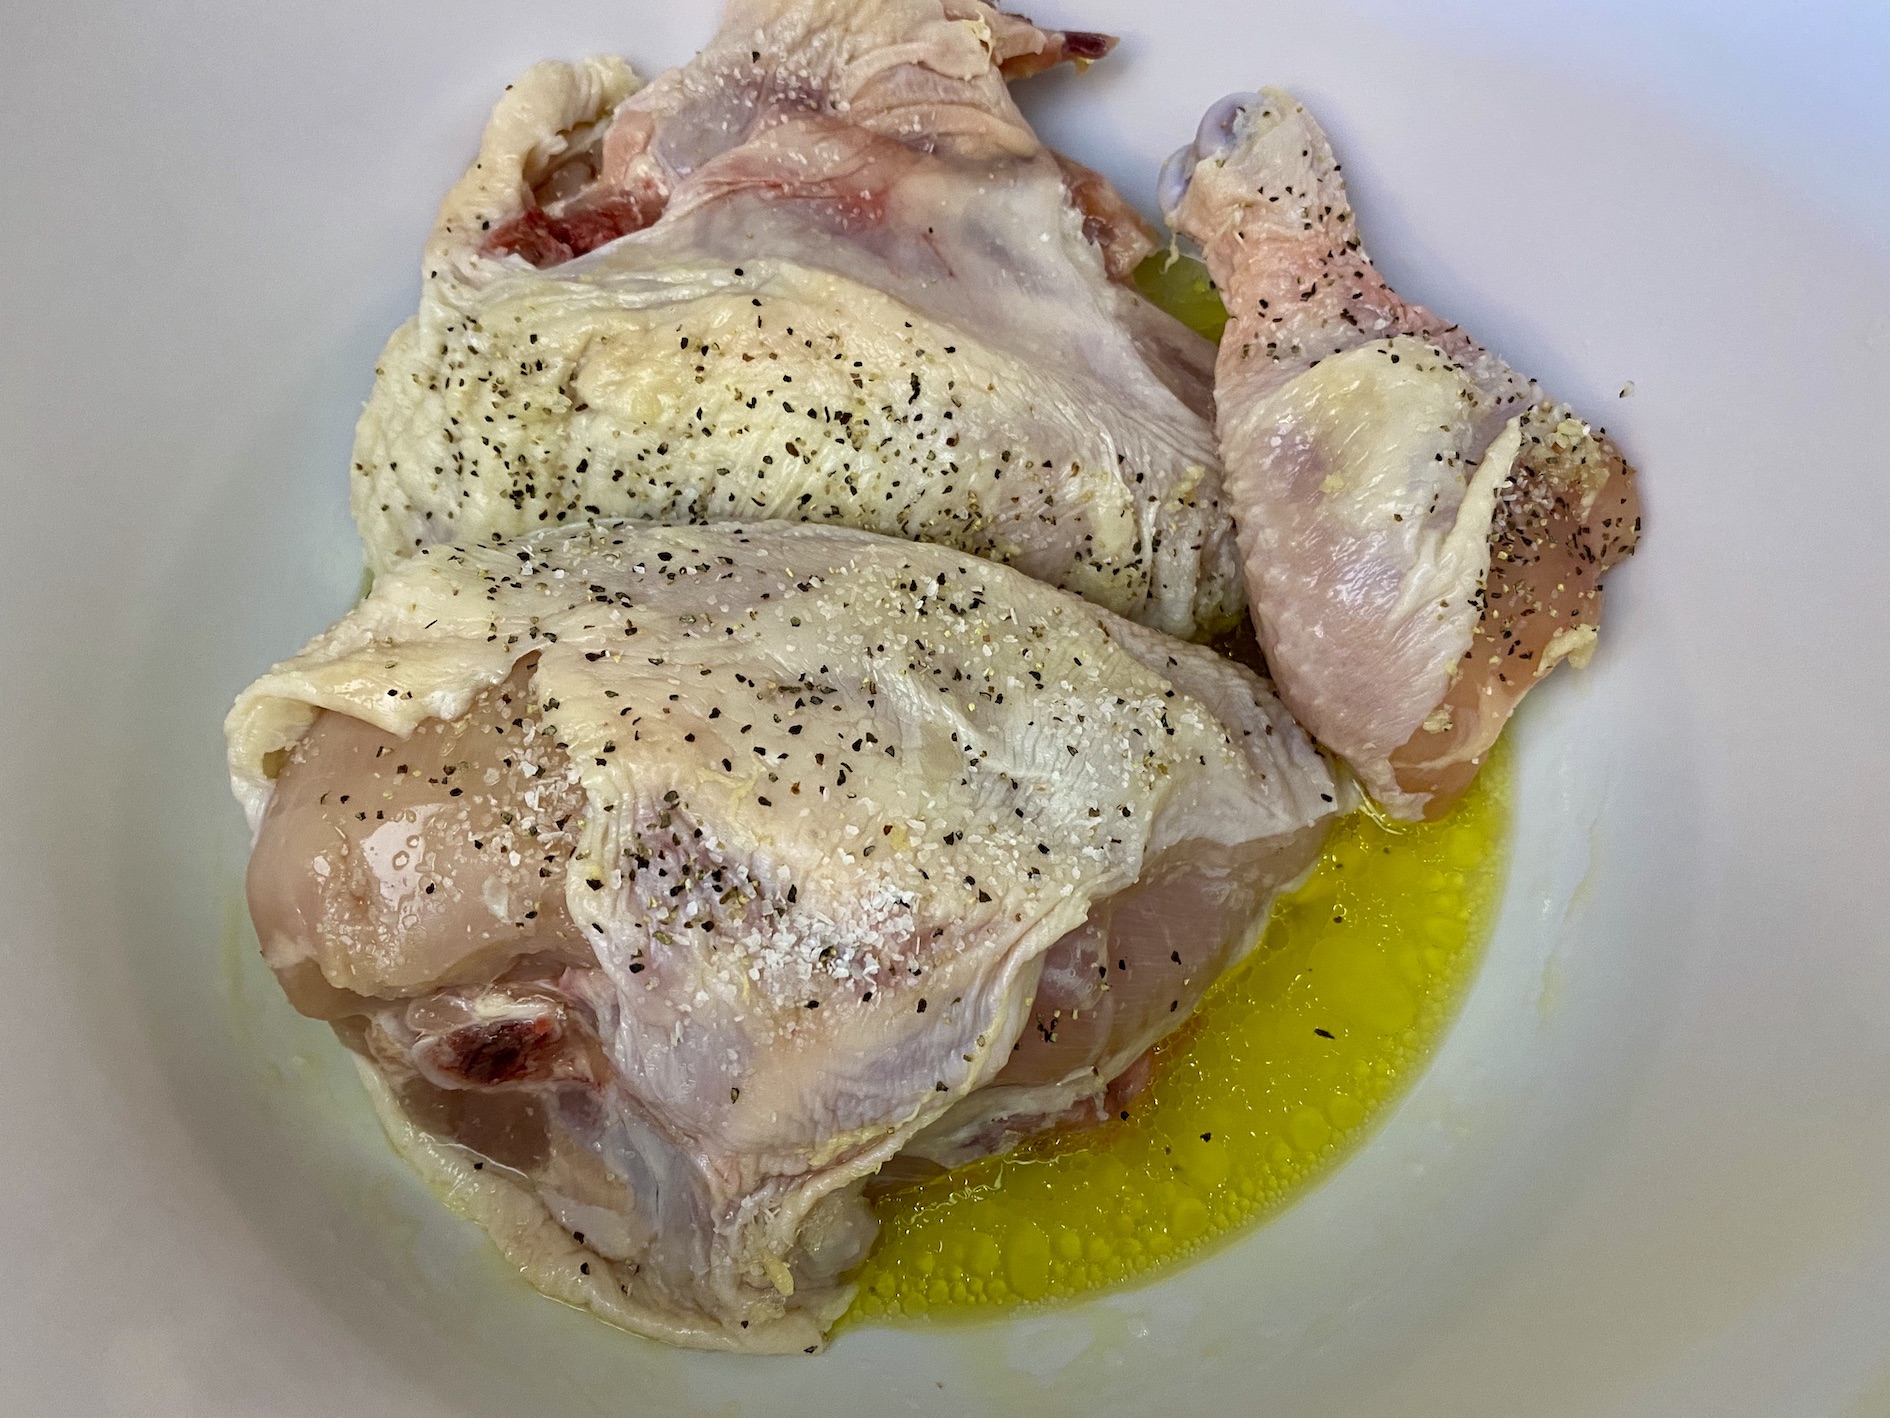
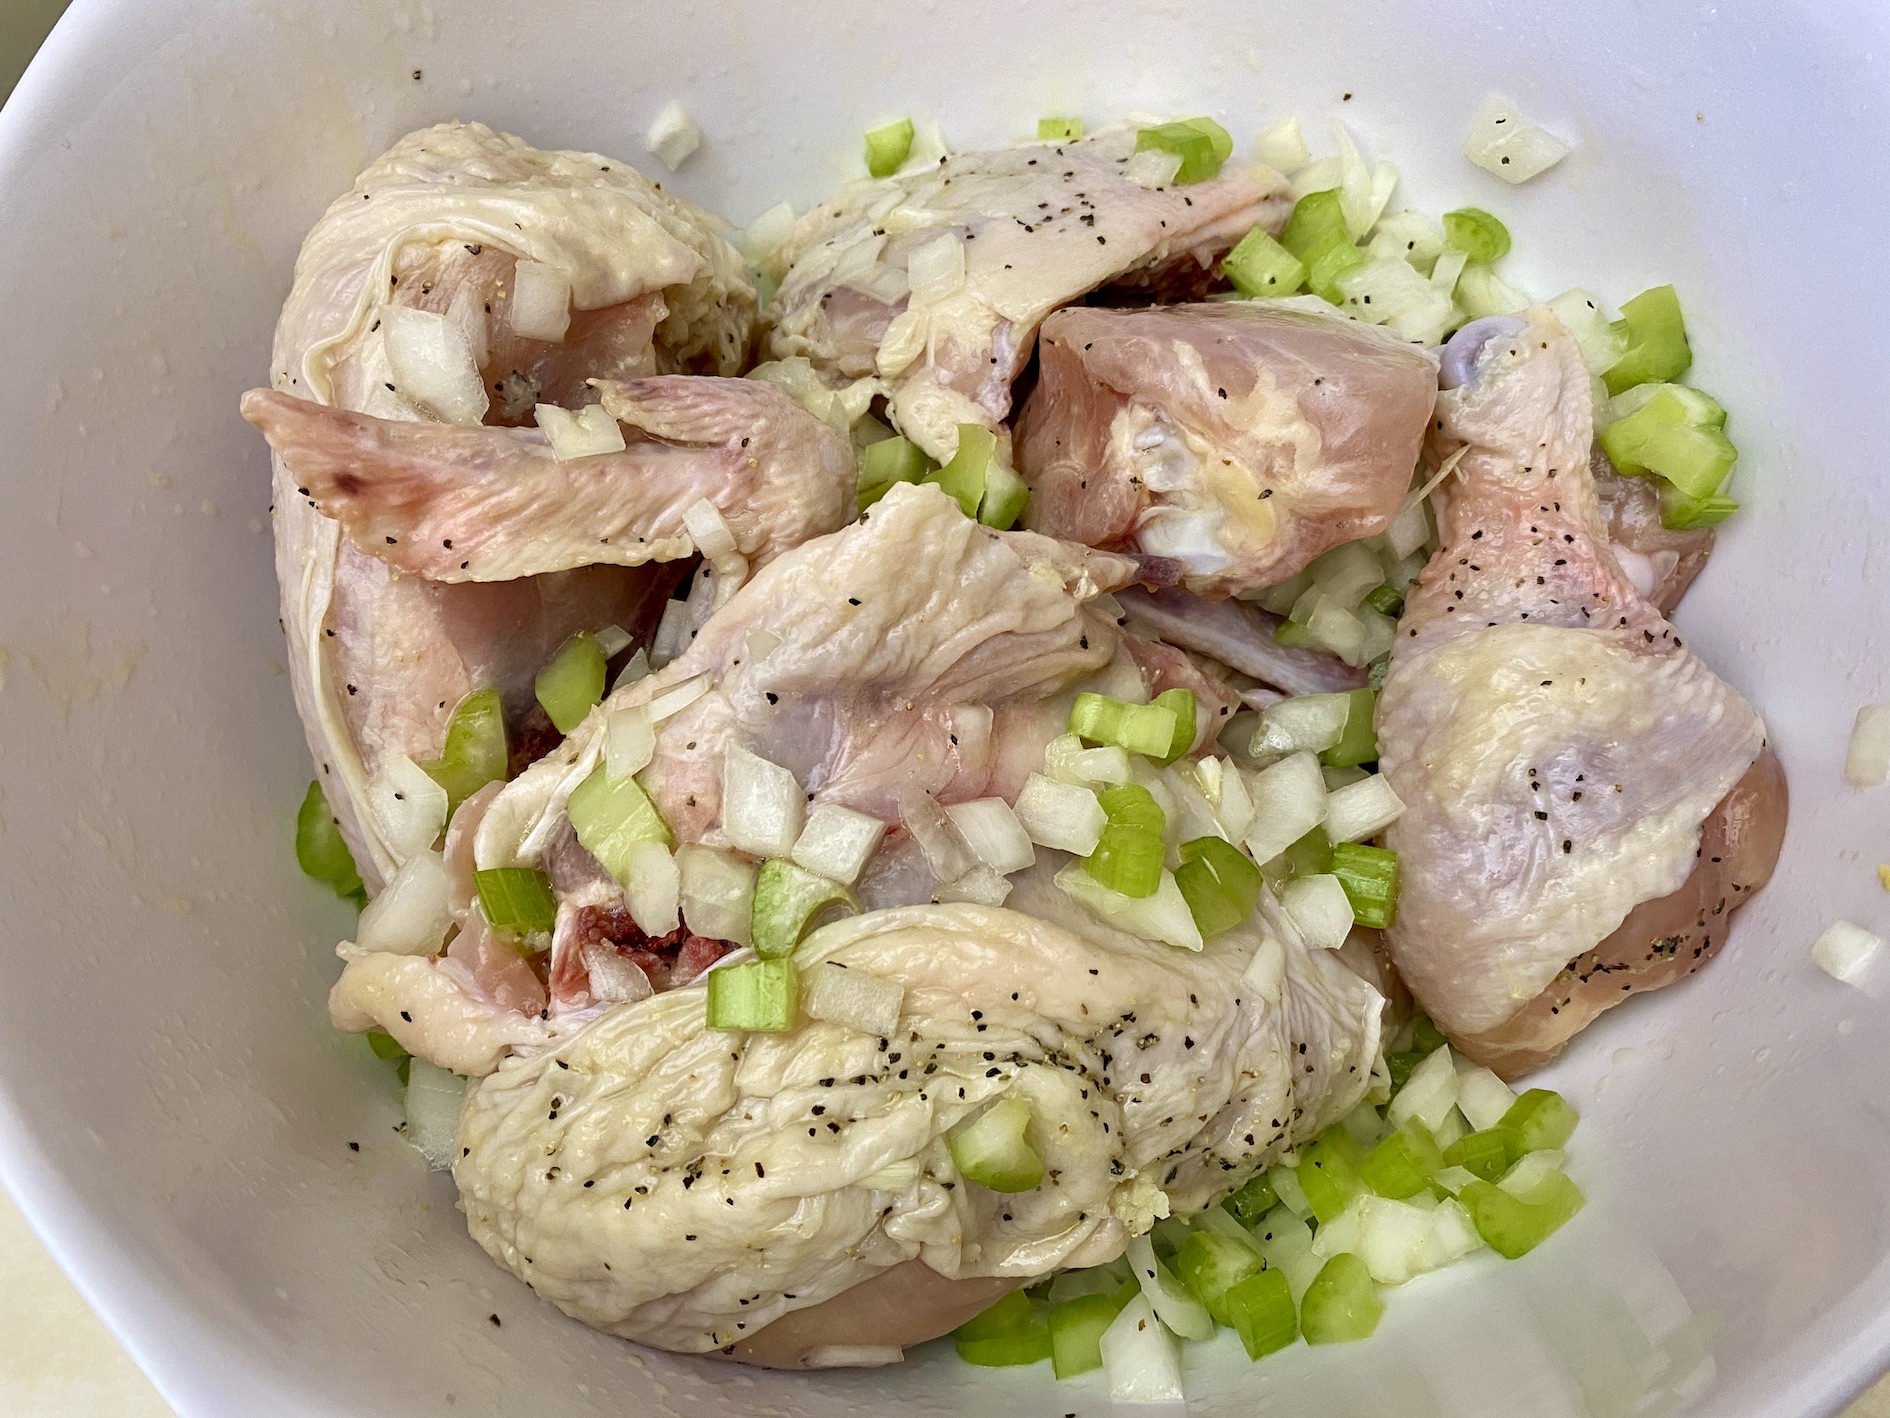
Place the chicken on a baking sheet or plate. Make sure each piece is dry before proceeding. I like to but a package of chicken that includes breast meat, wings, drumsticks, etc. for a little variety. Mince the garlic and rub underneath the skin of each piece. If you can’t get under the skin that’s ok, you can also run it on top of the chicken. Season the outside of each piece with salt, pepper, and paprika.

In a large bowl, add the olive oil, lemon juice, and 2 Tbsp white wine vinegar. Whisk together. This is the marinade for the chicken.
Add the chicken, onion, celery, and rosemary to the bowl. Use your hands to stir everything together and make sure the chicken is fully coated. It sounds gross but it really is better to get in there with your hands. You can massage the seasoning into the chicken a bit and ensure it will marinate nicely, just make sure to thoroughly wash your hands after!


Set the bowl aside to marinate for at least 30 minutes (or up to 4 hours, if you are preparing well ahead of time). Preheat the oven to 400 degrees F and lightly grease a 9×13 baking dish.
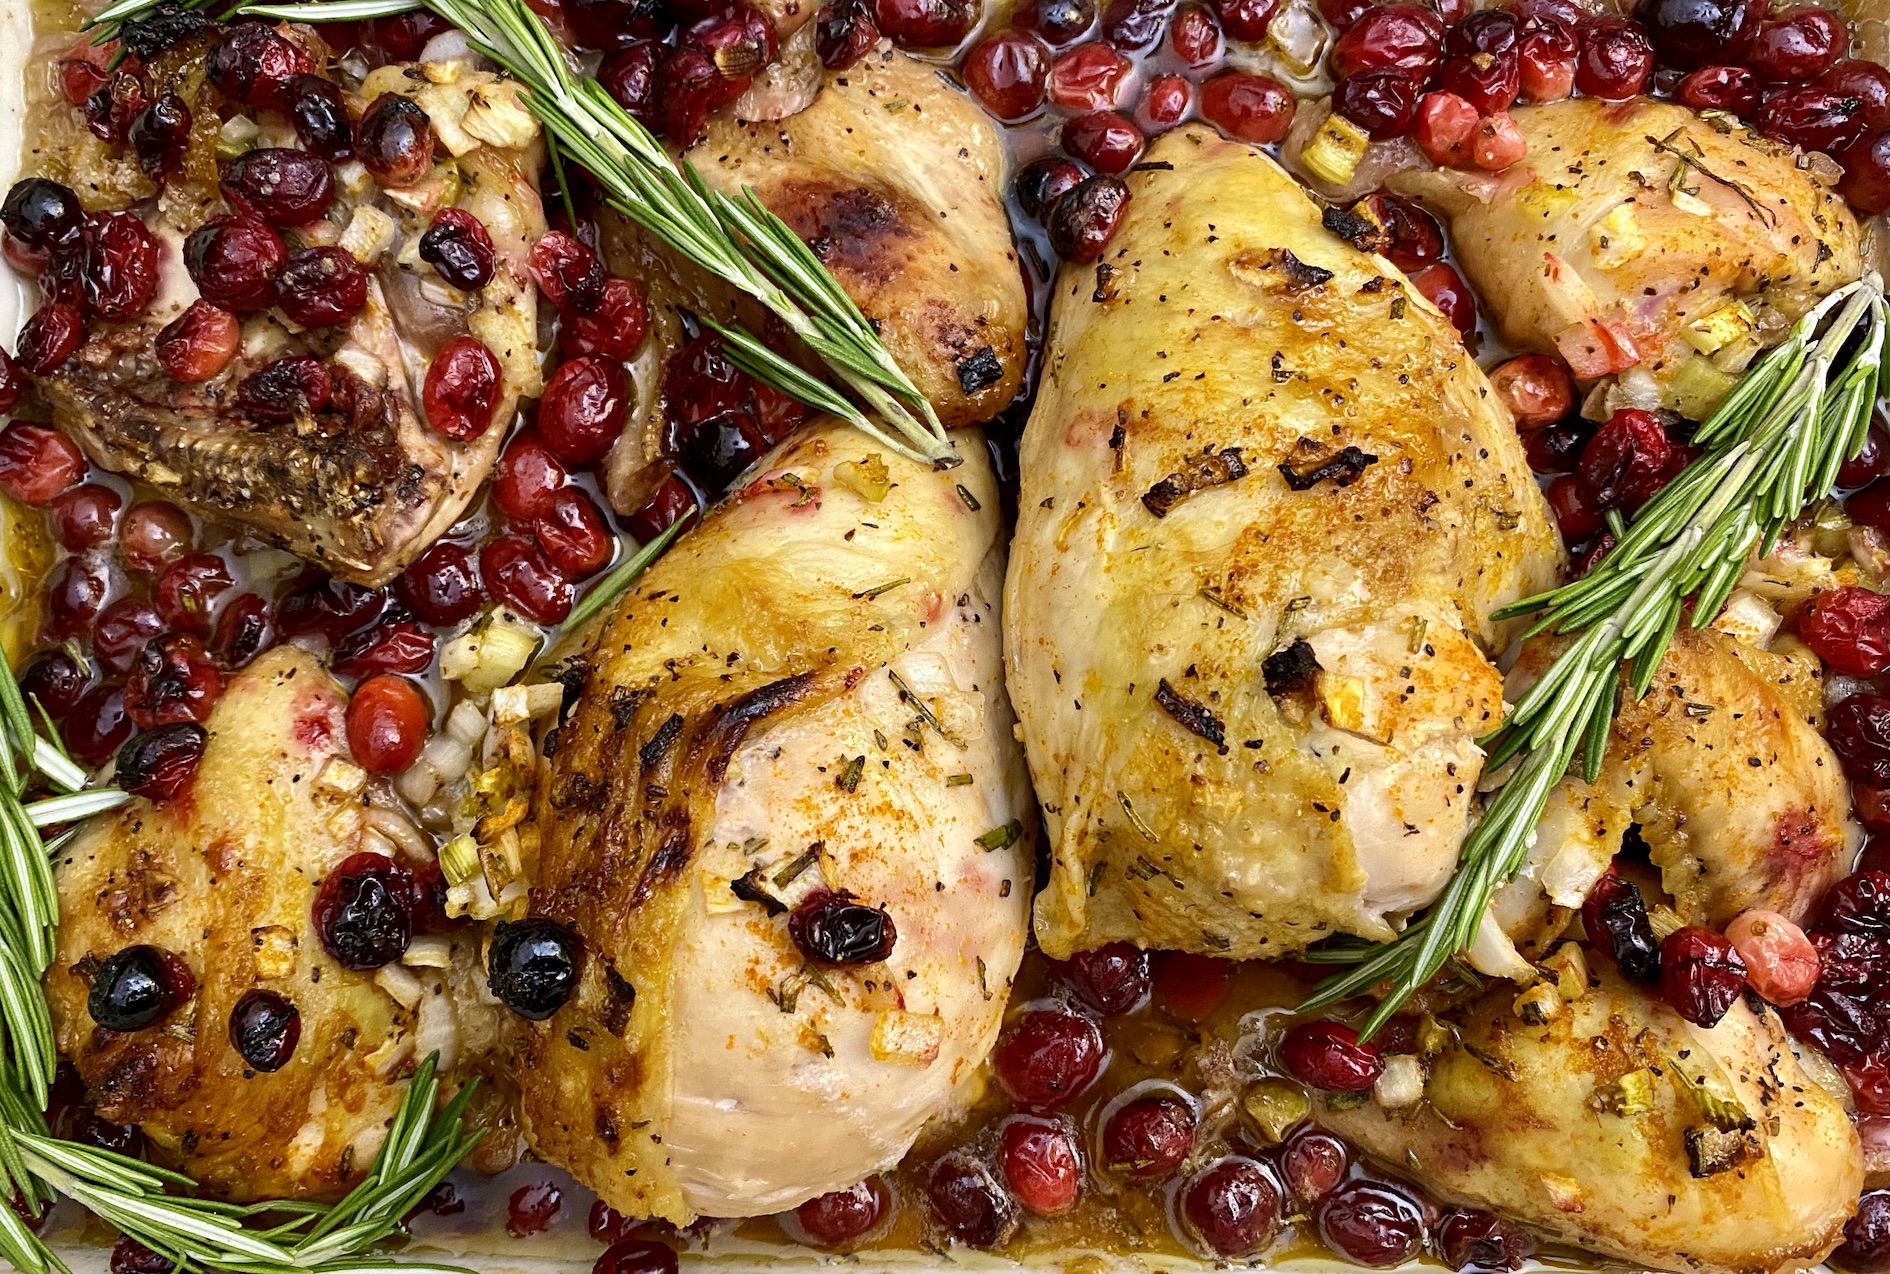
After marinating, arrange the chicken in the baking dish. It’s OK if the piece overlap a bit but try to make everything fit in a single layer. Pour the onion/celery mixture from the bowl in the baking dish as well. Spread it around so it’s evenly distributed, then pour the sugared cranberries over the top of the chicken.


Bake (uncovered) for 55-60 minutes or until the chicken reaches an internal temperature of 165 degrees F. Garnish with additional sprigs of rosemary and serve warm. I like to top the chicken with some of the cooked veggies and cranberries so I can have a little of each flavor in every bite. Yum!
The recipe can be found here.
Crème Brûlée is for dessert and is really the star of the show. It’s something I look forward to eating every time I make it. Crème Brûlée is a custard base with a hard top consisting of caramelized sugar. It’s sweet, creamy, and smooth. And, for a little fun, you can brûlée the dessert tableside with your kitchen torch.


The recipe can be found here.
Start by preheating the oven to 325 degrees F. Move an oven rack to the middle position. Arrange 6 4-ounce ramekins in a baking dish or on a baking sheet. I personally use a baking sheet because my ramekins are shallow and wide, so they fit easier.

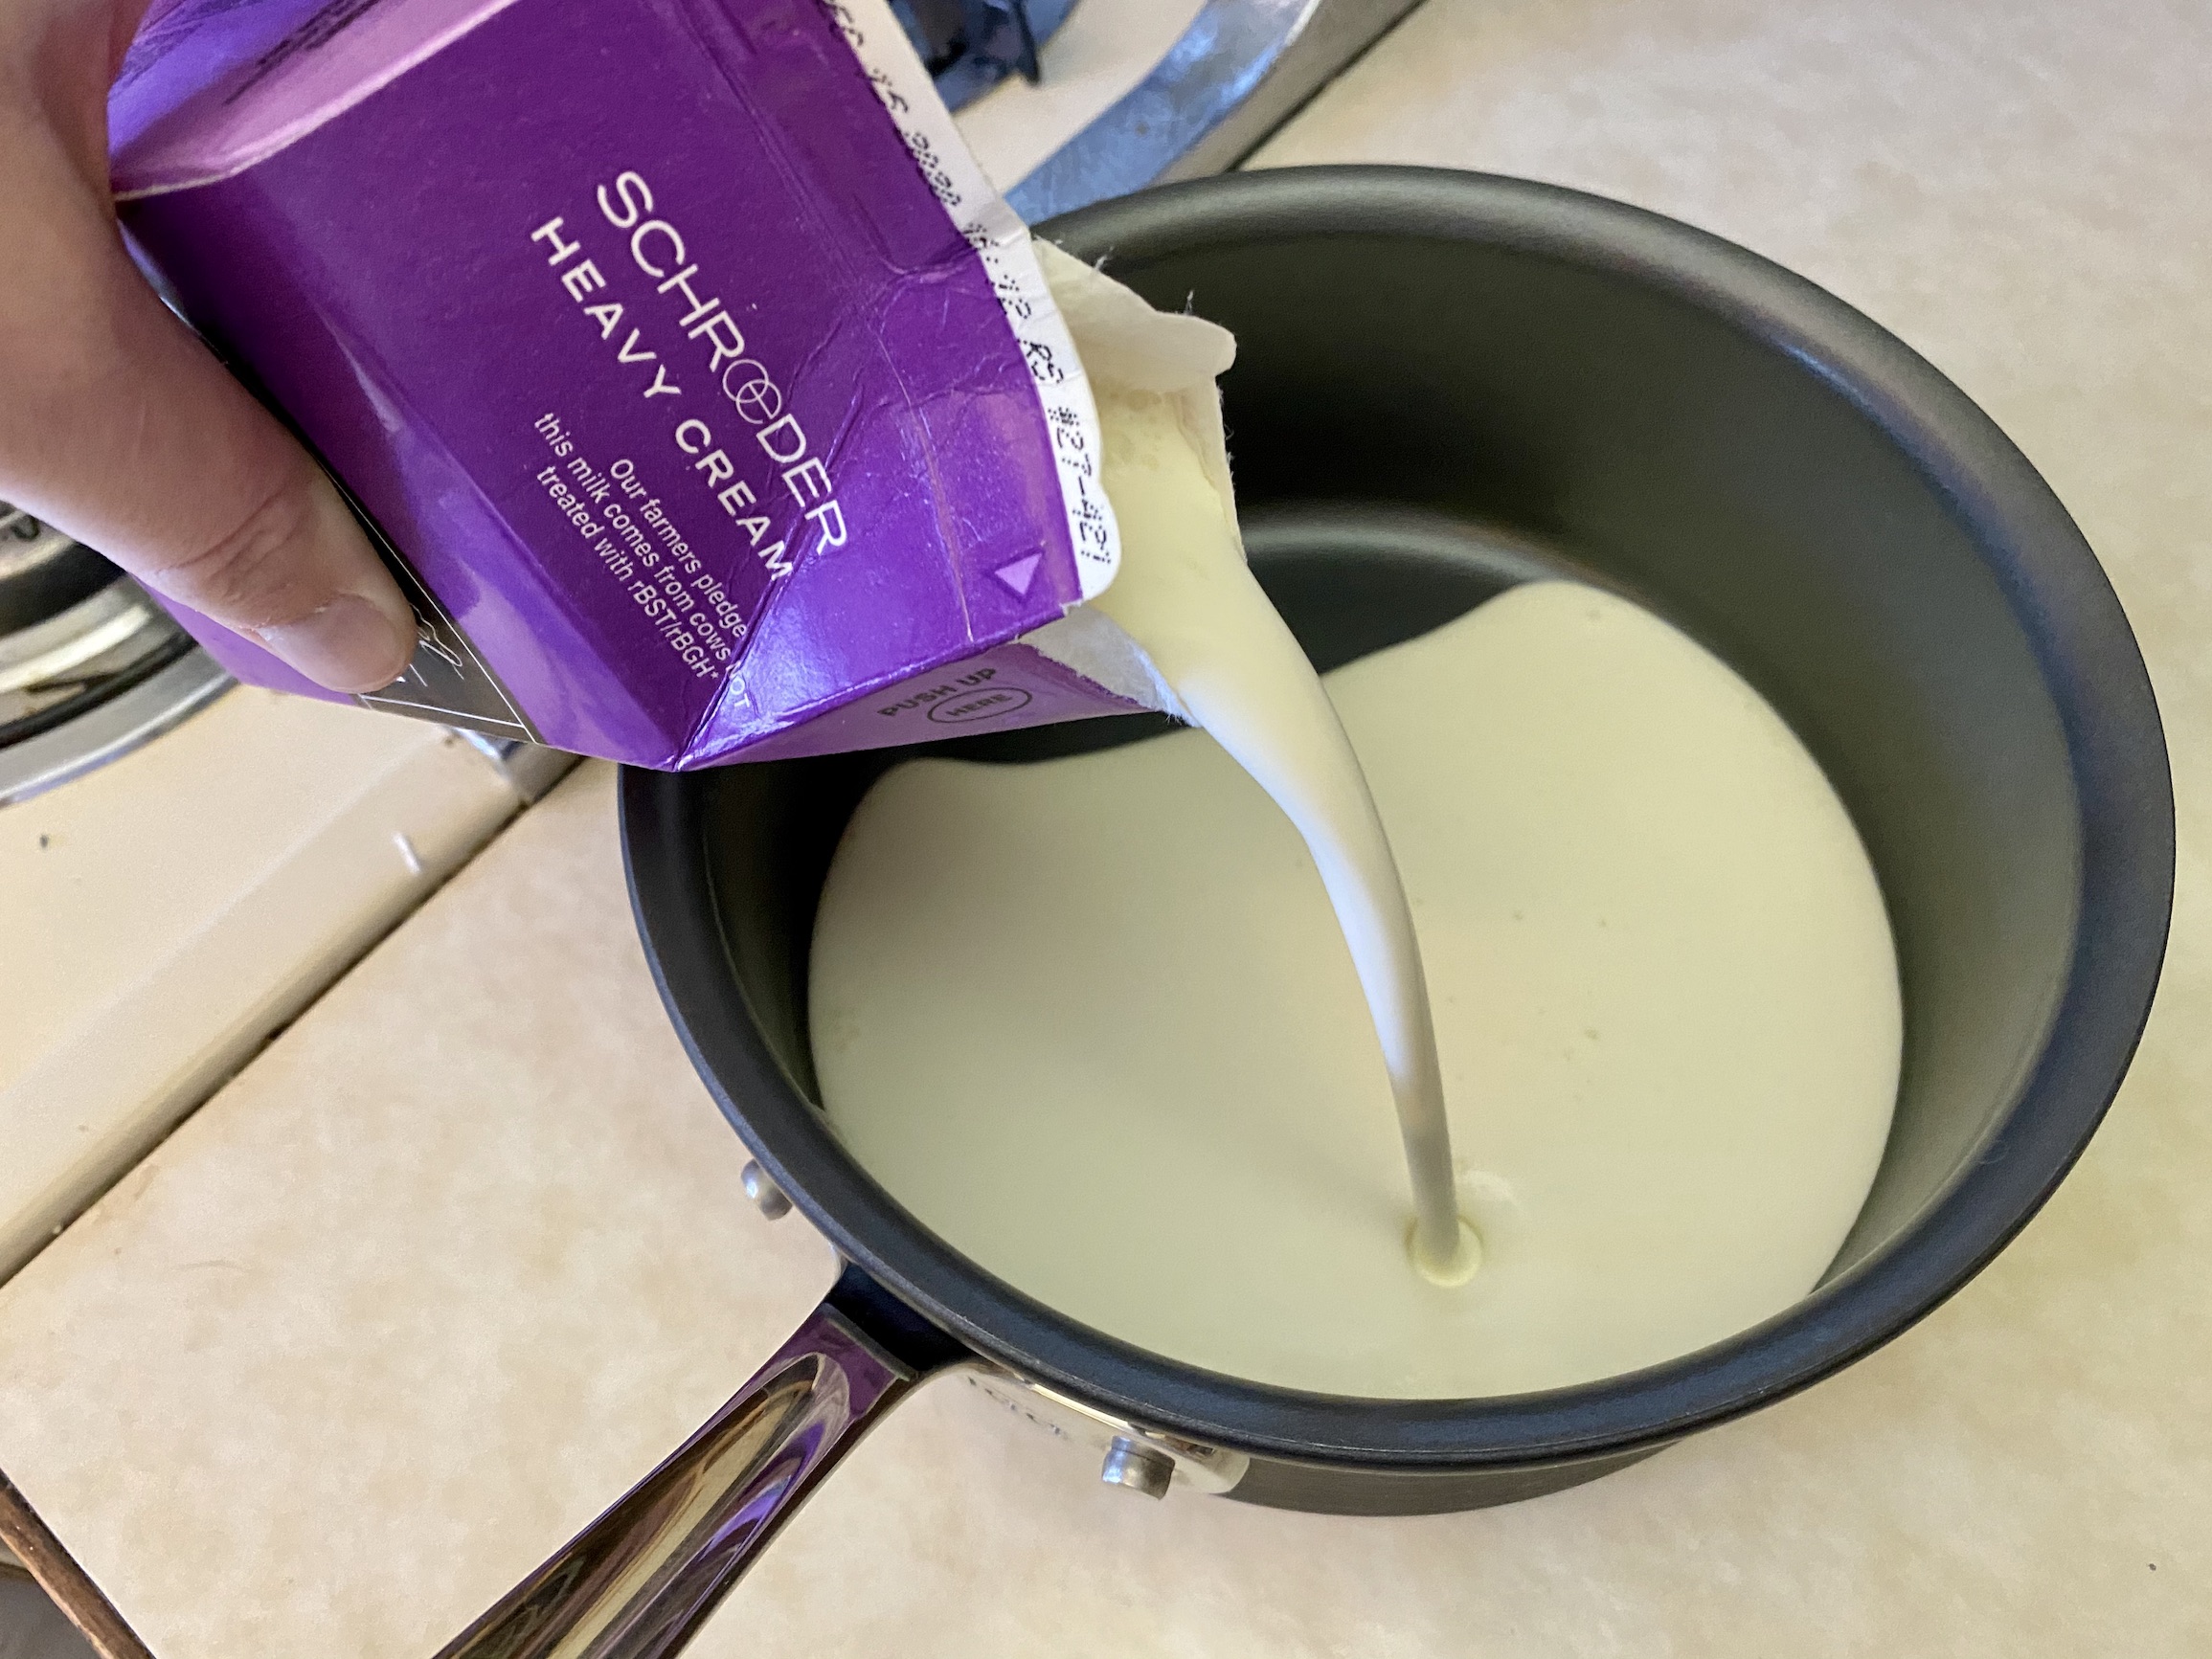
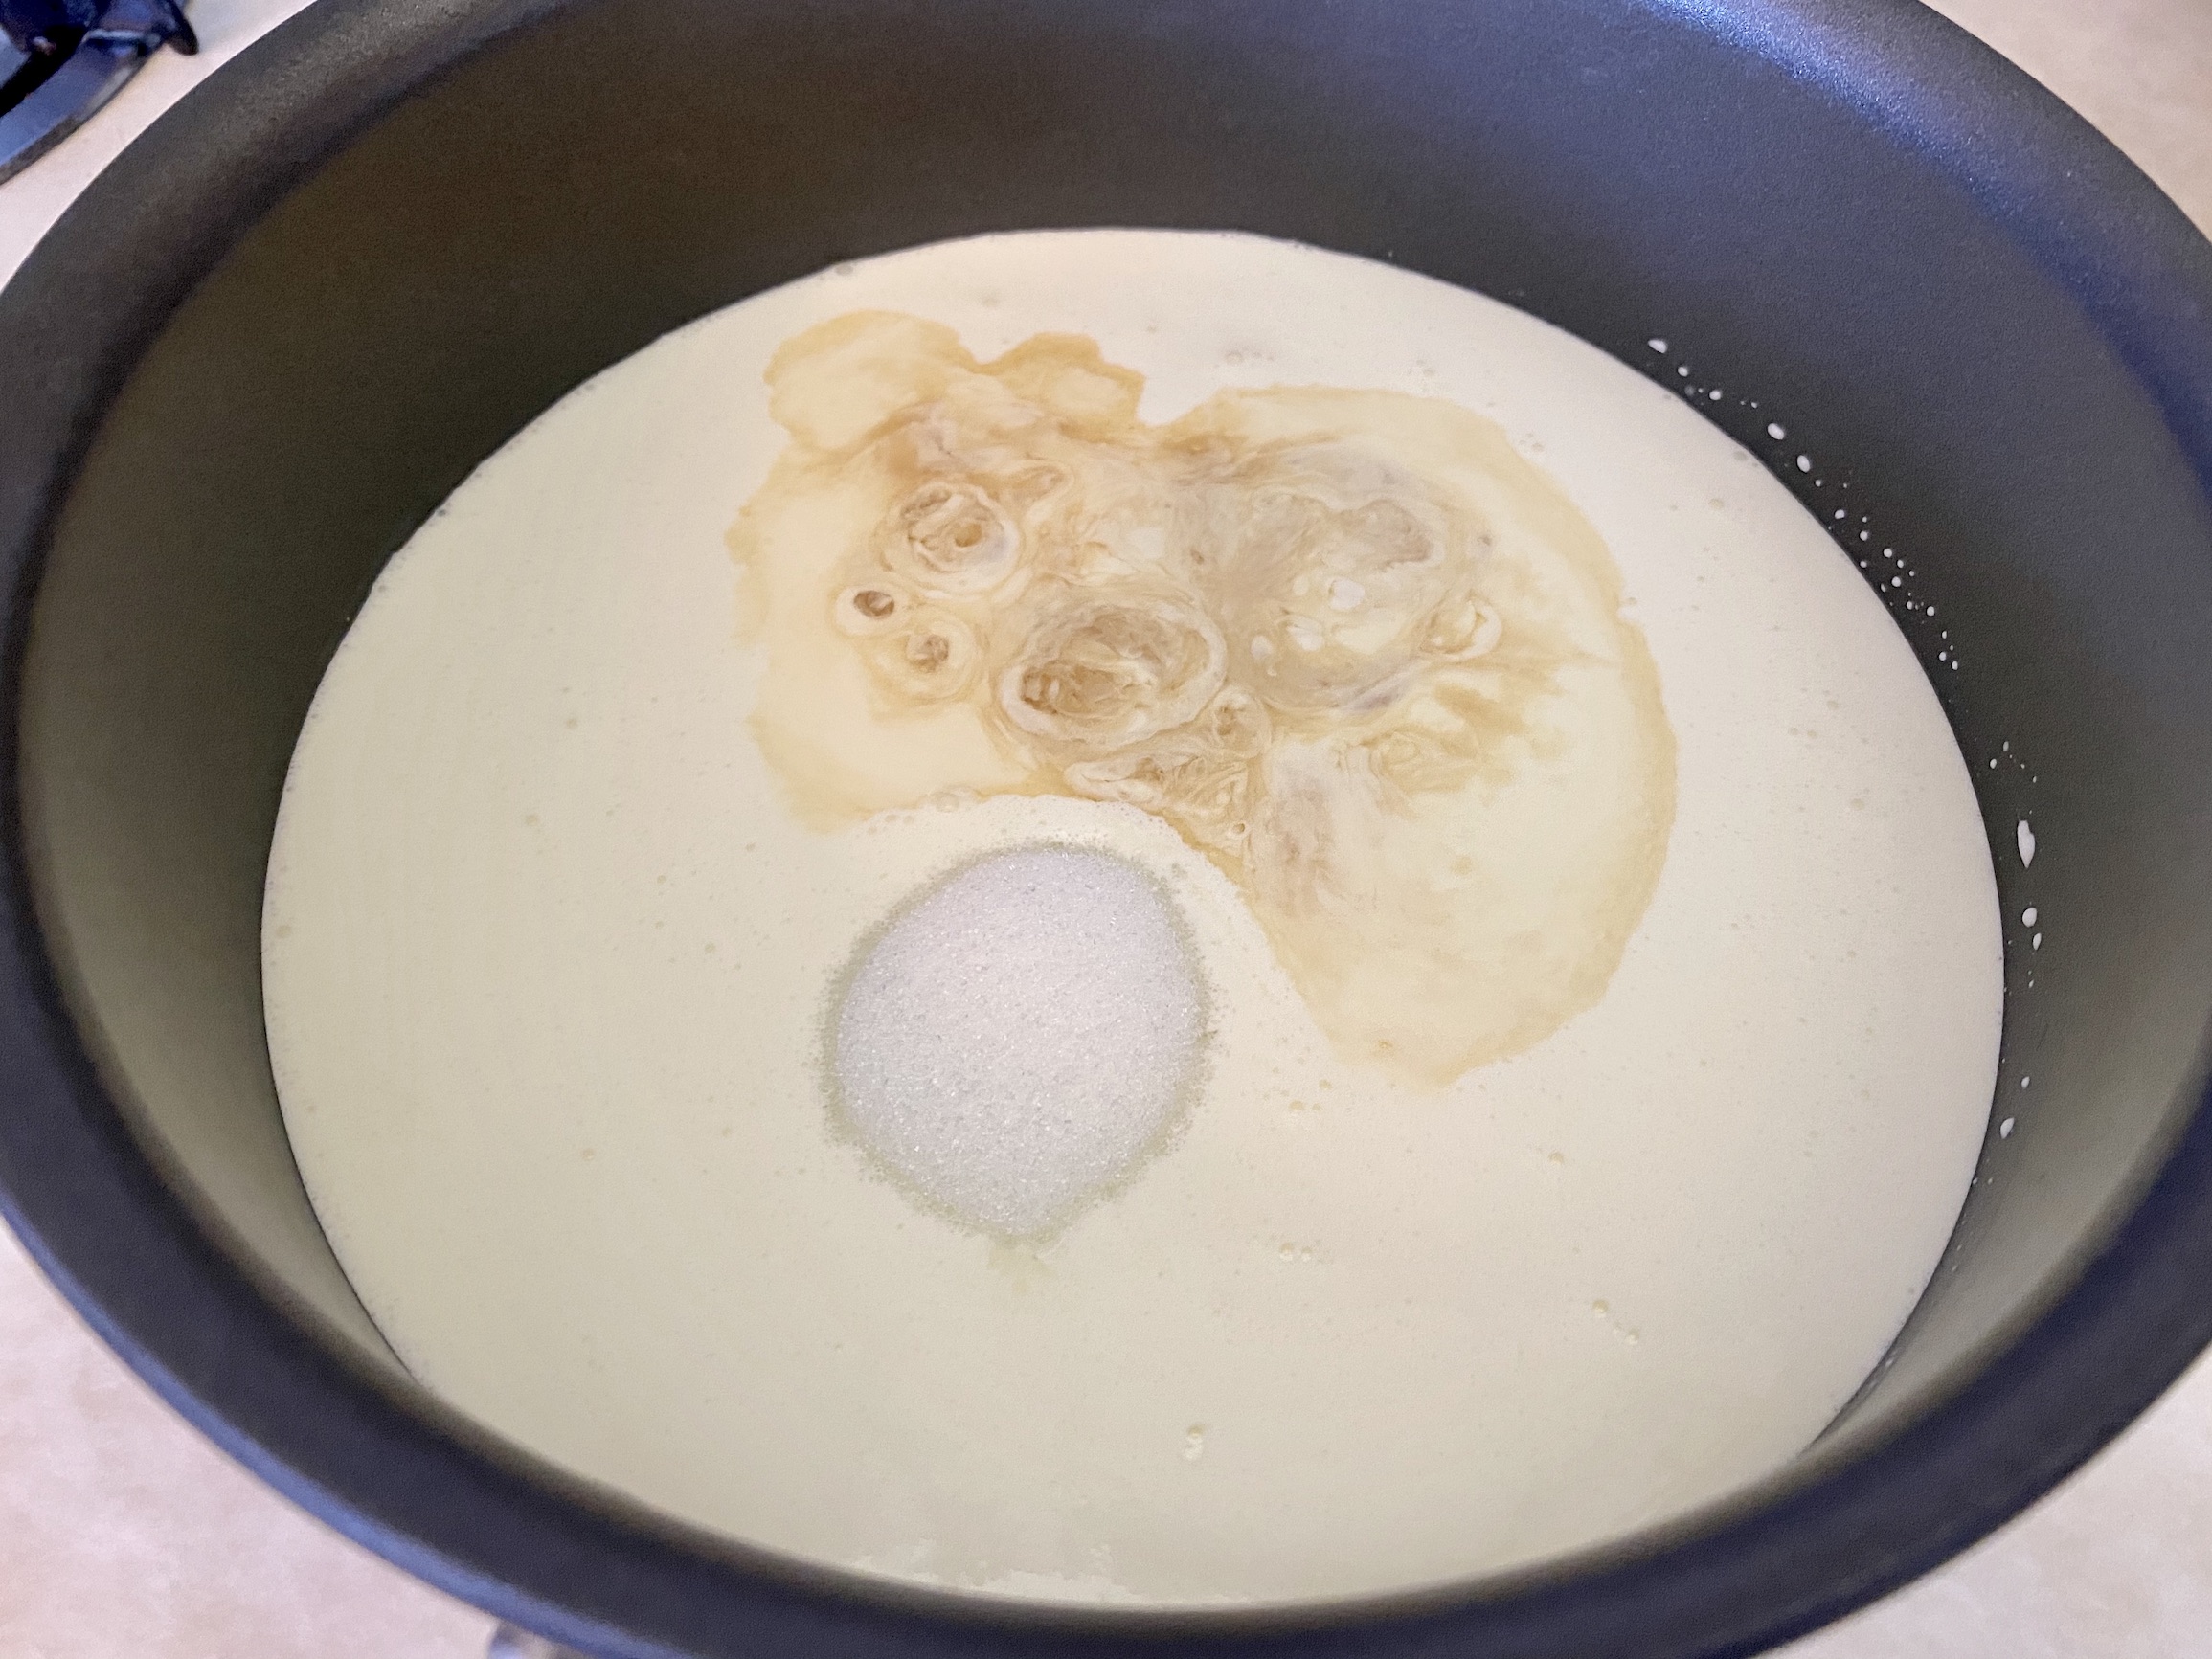
In a medium saucepan, add the heavy cream, 4 Tbsp sugar, vanilla, and salt. Cook over medium heat until the mixture begins to simmer, whisking occasionally. You want the sugar and salt to dissolve. Set aside to cool for about 5 minutes.

Separate the eggs in a large mixing bowl. You want to keep the egg yolks and can discard the egg white or save for another recipe. Whisk in the remaining 6 Tbsp sugar. Do this as the mixture is cooling. If you whisk in the sugar too soon, it will get lumpy and take away some of the liquid aspect from the egg yolks.


Temper the egg yolks by adding about ¼ cup of the hot cream mixture. Whisk continuously as you add the hot mixture. Do this 2-3 more times. Then, add the remaining cream mixture to the egg mixture, while continuing to whisk. You need to add the hot liquid in small batches, or you will cook the eggs and they will start to scramble – you don’t want this!


Strain the egg mixture into a second mixing bowl, through a fine mesh sieve. This helps catch any pieces of egg that aren’t combined.

I always bake my custard right away, but you can cool the custard and store it for up to 5 days at this point. This is really nice to do around the holidays when you are busy and need to plan ahead. I typically make my custard the day I will be baking it, so I don’t have to worry about cooling and storing.
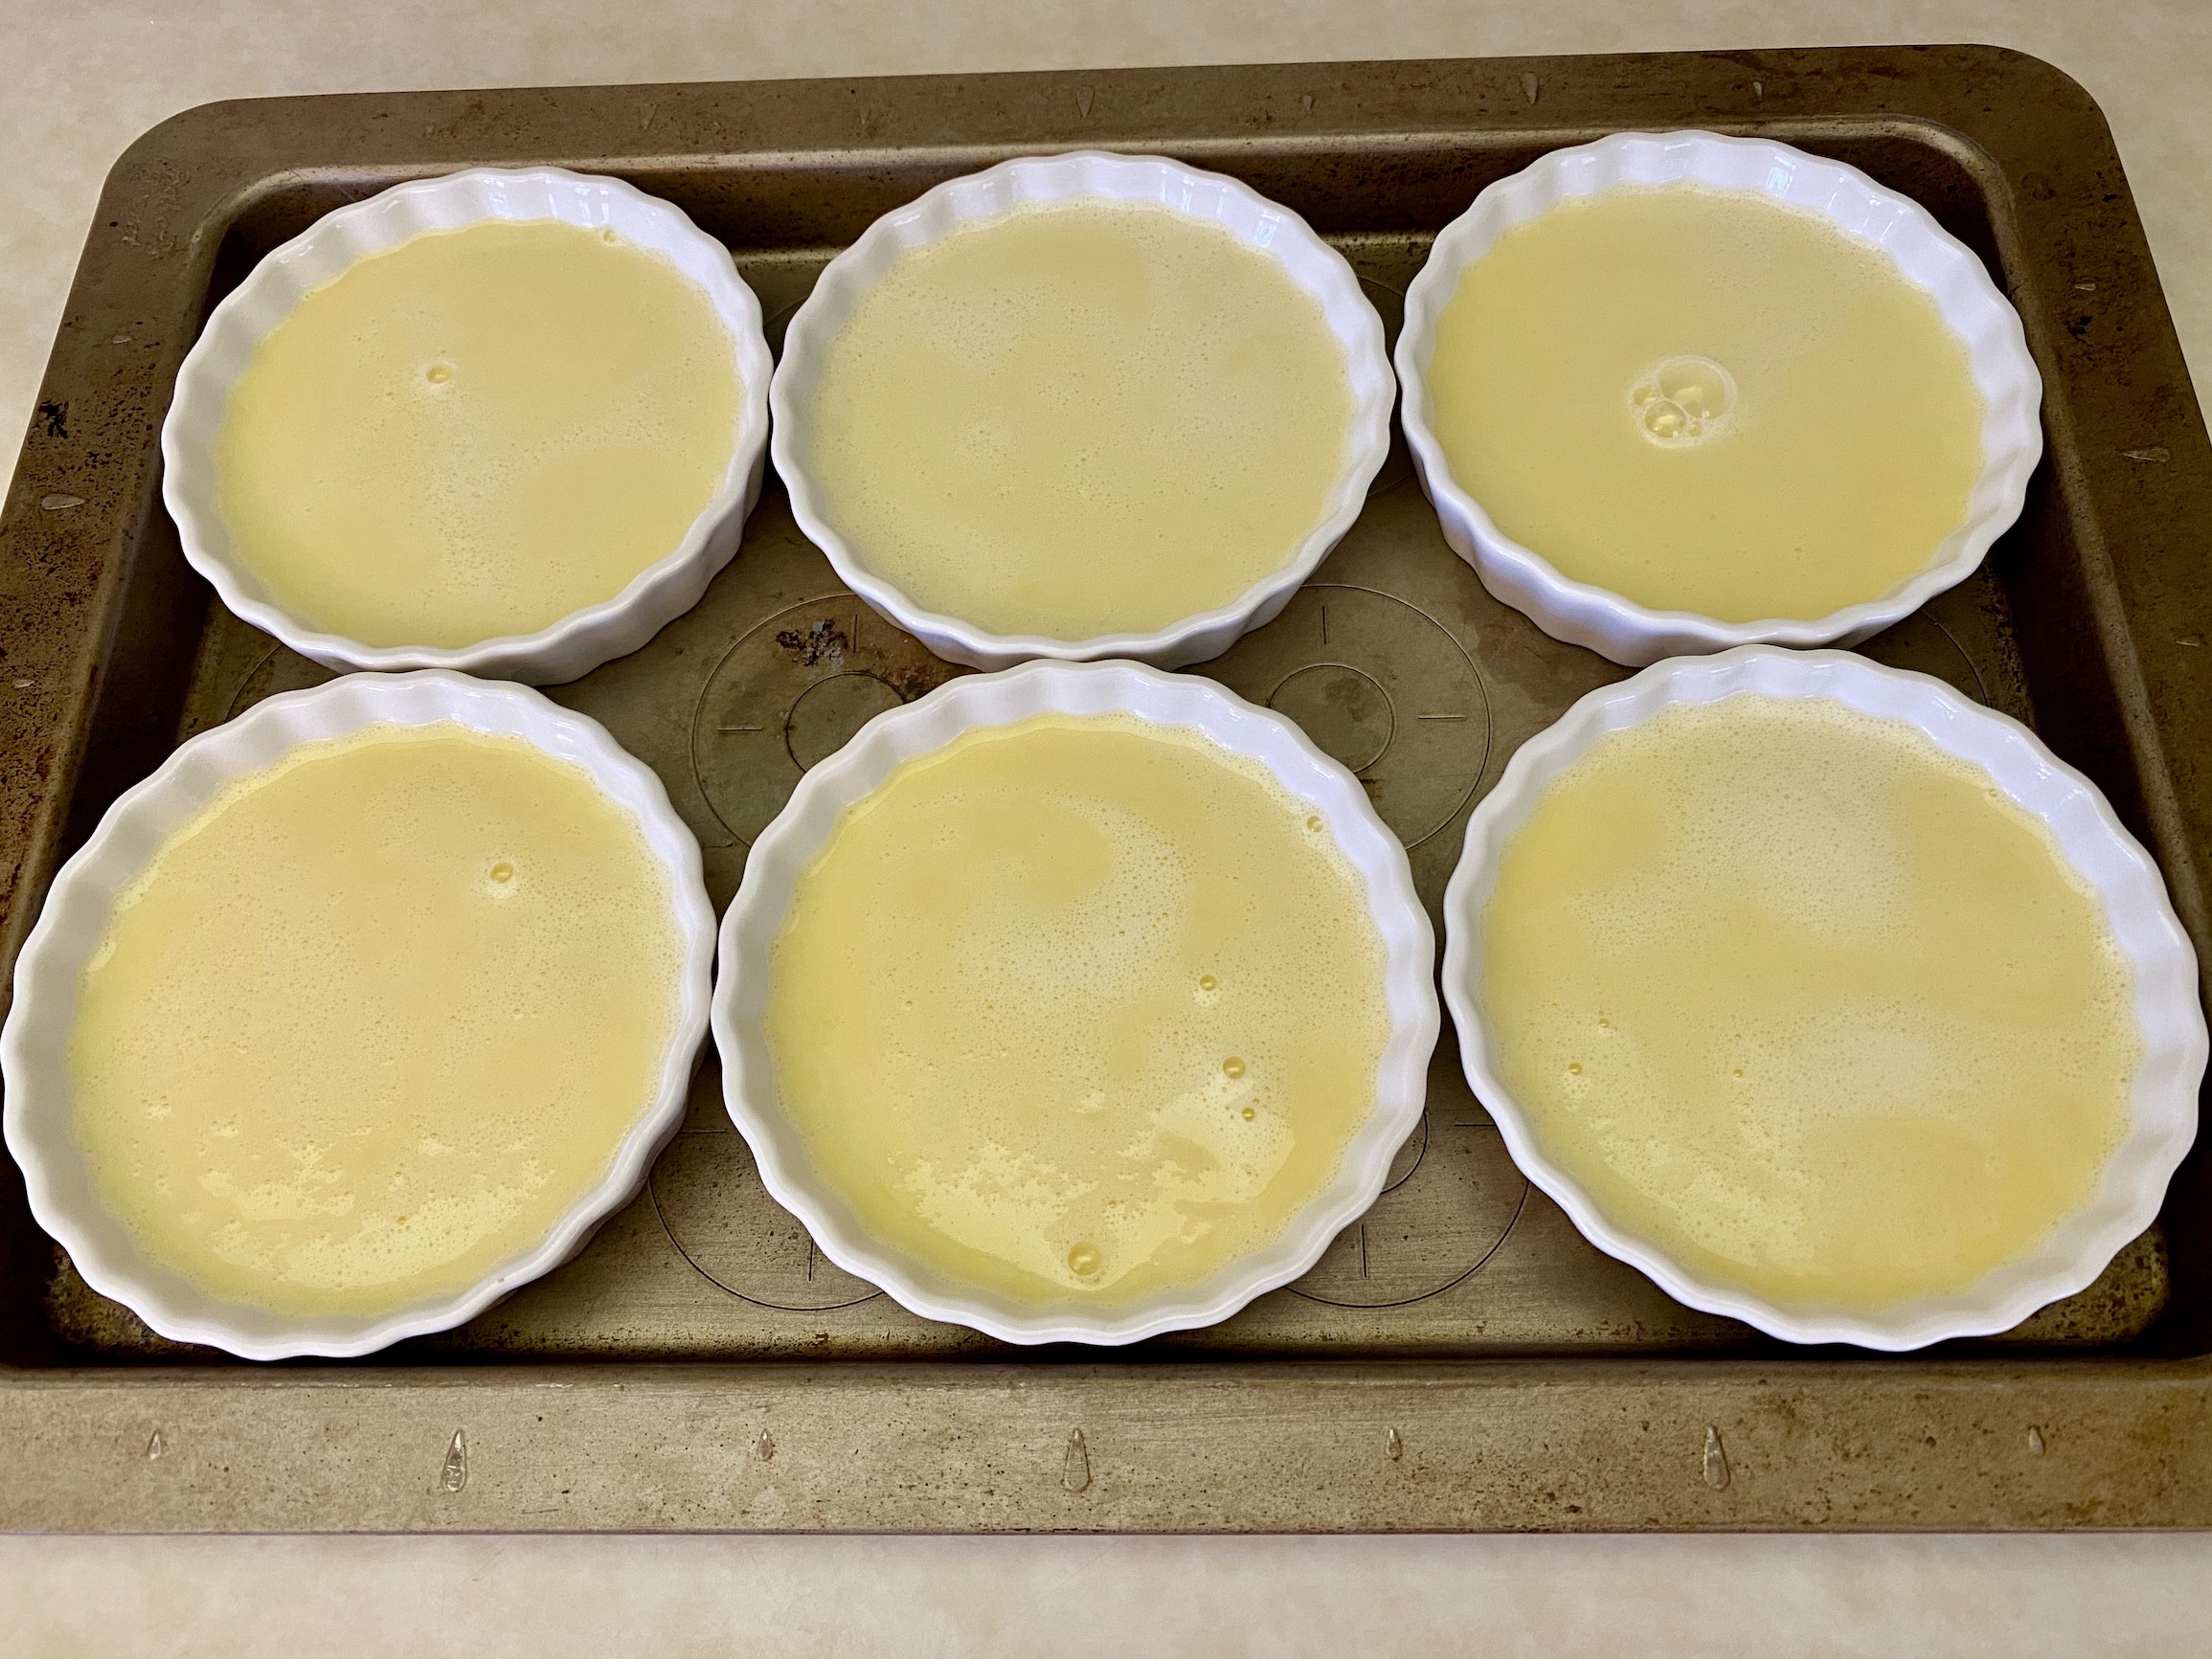
Divide the mixture evenly between the ramekins, filling about ¾ of the way. You should have enough to fill all 6 ramekins.
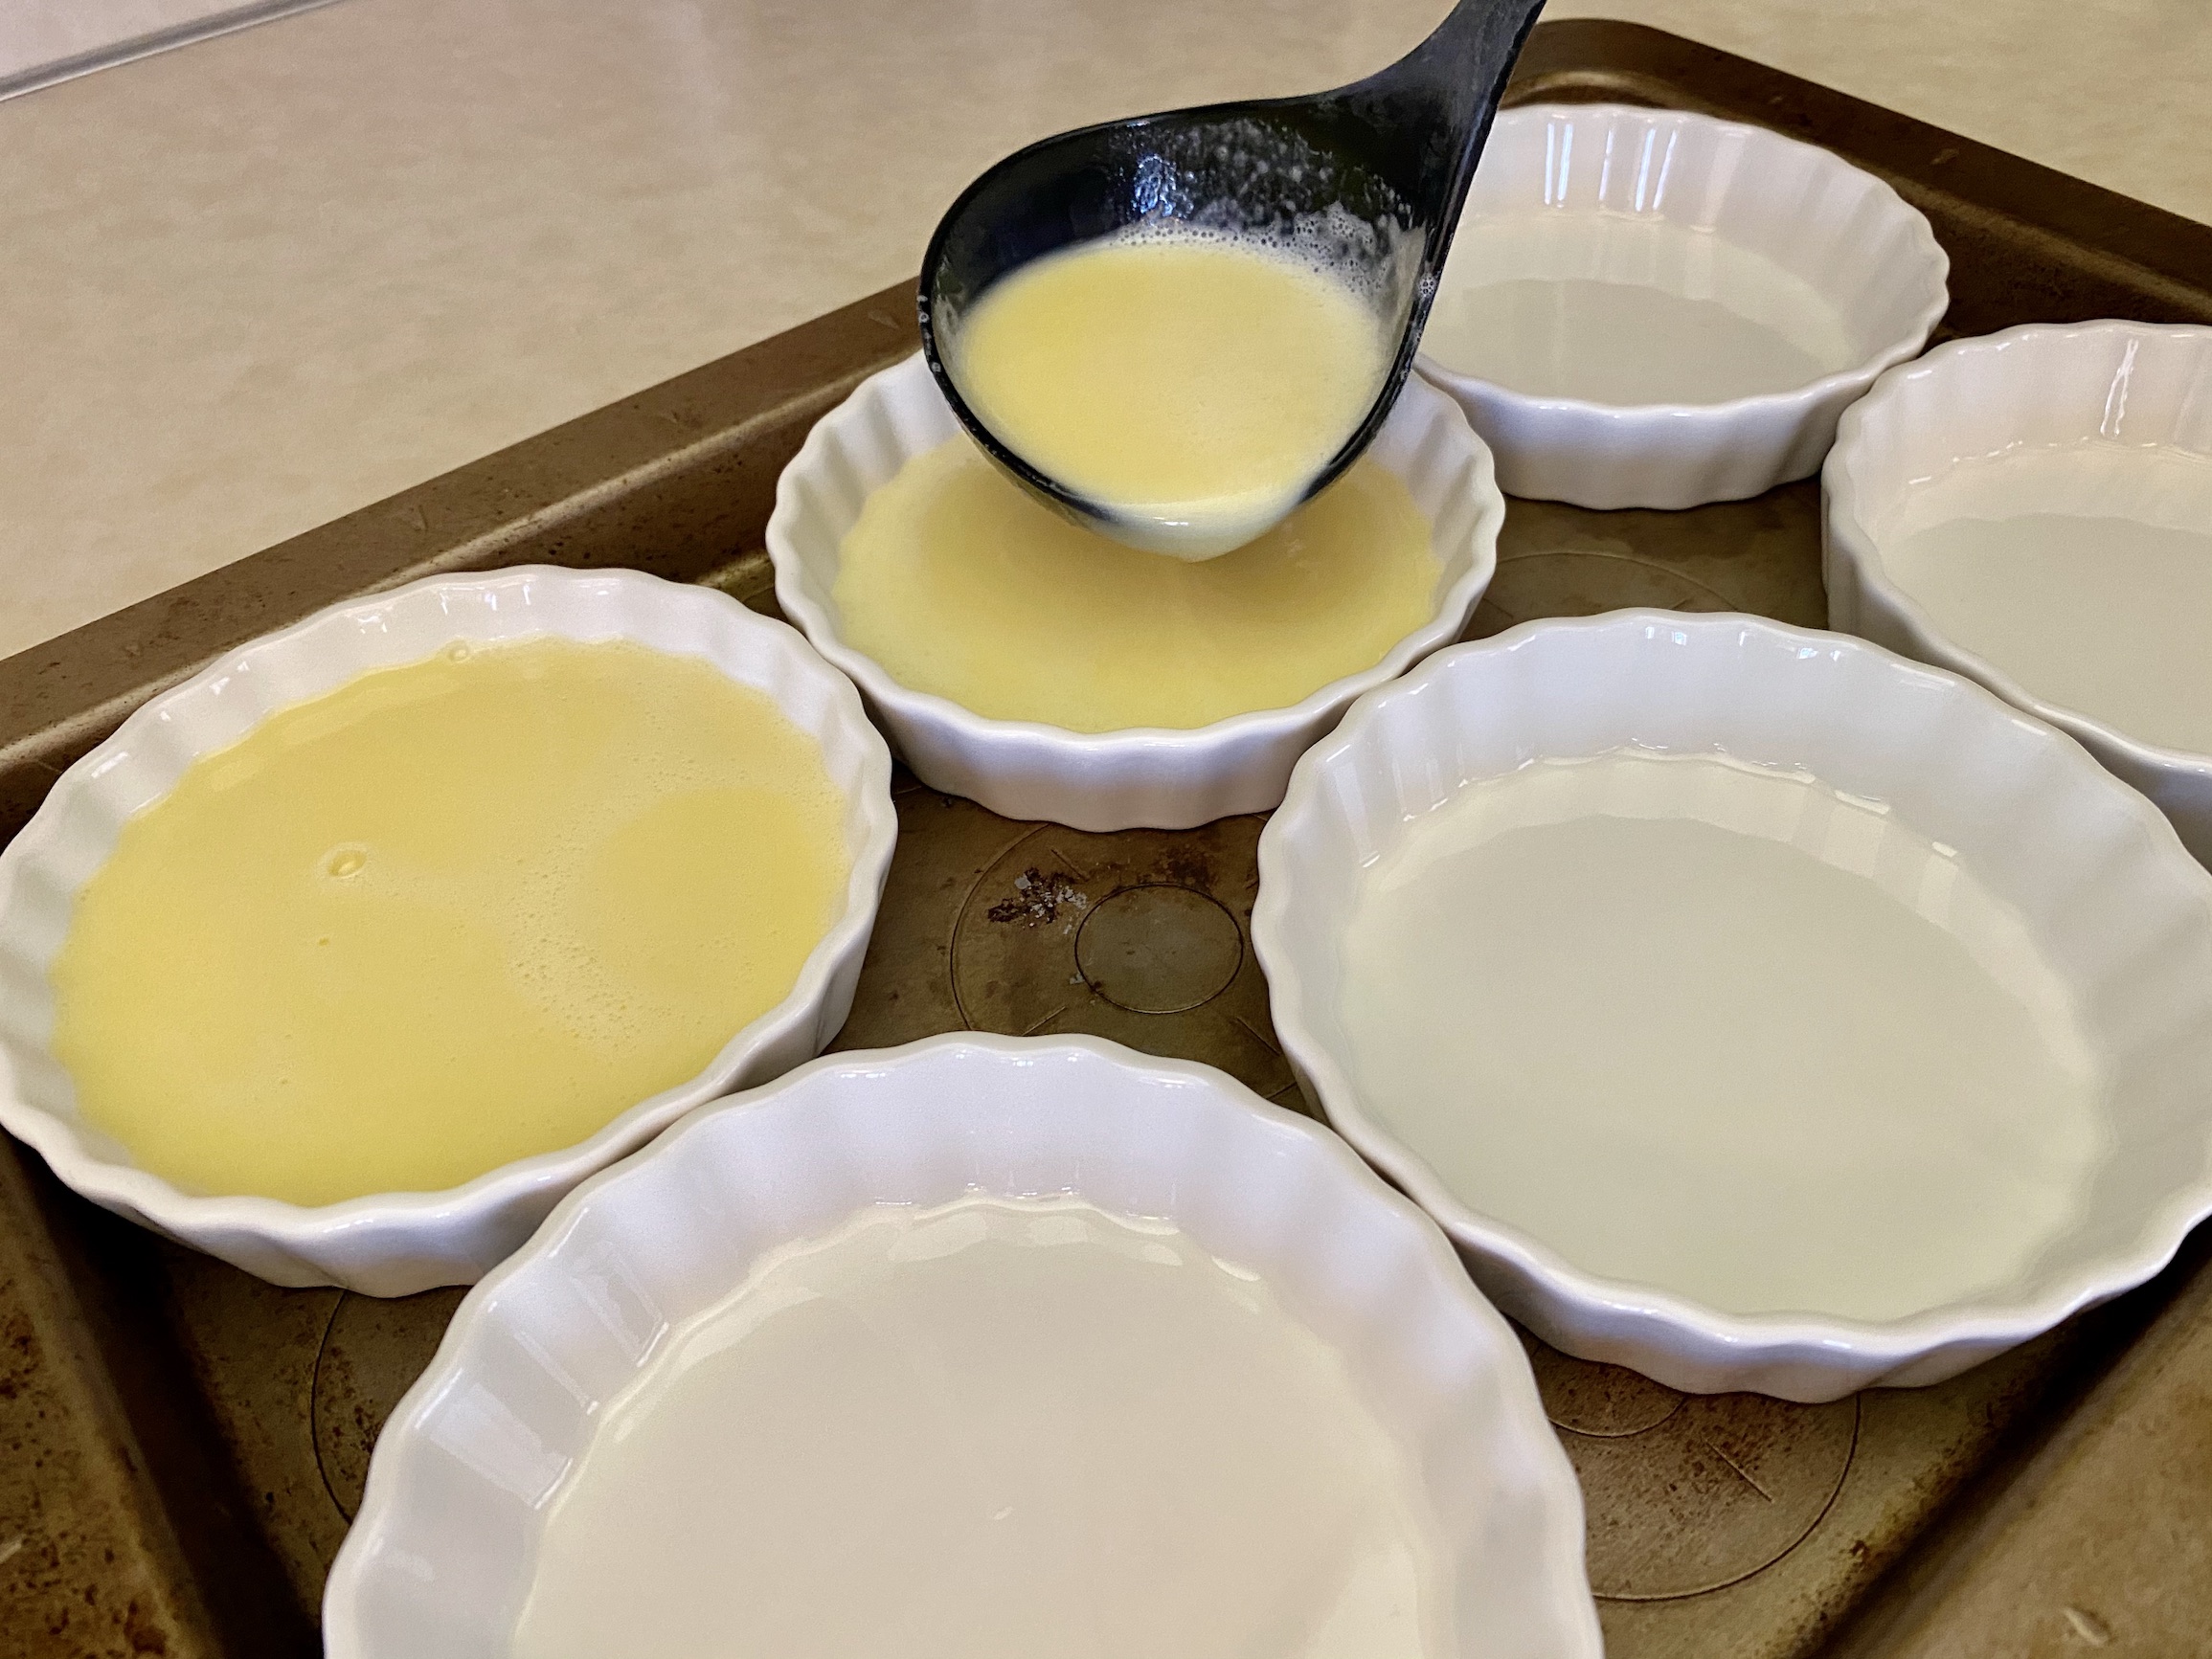
Bring a kettle or pot of water to a boil. Slowly fill the pan with the boiling water until the water is about 2/3 of the way up the sides of the ramekins. Make sure to pour slowly and avoid splashing water inside the ramekins!

Carefully transfer the pan to the middle rack of the oven and bake. If your ramekins are shallow and wide, bake for 25-30 minutes. If your ramekins are deep and narrow, bake for 35-40 minutes. When ready, the Crème Brûlée should spring back when gently touched in the center and have a slight jiggle.
Helpful hints for baking:
- If the sides are firm but the center is still liquid, they are not done baking. Continue to bake in 2-3 minutes increments until done. Do not eat the custard if it is in this stage.
- If the texture is similar to Jell-O, they are overbaked. You can still eat them at this stage, and they will taste just fine.
- If the center rises while baking, they are overbaked. I would suggest starting over because the taste and texture will be off!
Remove the pan from the oven and set on a cooling rack. Let the ramekins cool for about 15 minutes (while still sitting in the hot water). Then, remove the ramekins from the hot water and set on a cooling rack to cool completely. You should be able to touch the ramekins without burning yourself before removing them. Once cooled, cover with plastic wrap and place in the fridge to chill for at least 4 hours. They will hold in the fridge for up to 4 days. So, you can either make these ahead of time or have dessert prepped and ready to go for a few days 🙂

Before serving, sprinkle 1-2 Tbsp of sugar on top of each custard. Rotate the ramekin as you sprinkle the sugar to make sure the top is evenly coated, including the edges. Ignite the torch and hold the flame about 4-inches from the surface of the sugar. Move your hand in a circular motion across the surface to melt the sugar. The sugar will start to bead, then solidify and form a hard crust, and start to caramelize. The end result will be a nice brown color. You can add a second layer of sugar and Brûlée the tops again, if desired. I think one time is the perfect amount.


Let the ramekins sit for a few minutes before serving because they will be quite hot from the torch!
Use the back of a spoon to crack through the sugar and enjoy!
The recipe can be found here.
However you end up celebrating the holidays, I hope it’s a joyous occasion filled with great food and happy memories. And stay healthy!
If you haven’t read my blog post yet about Christmas Baking, I recommend heading there next. There are a lot of great options for baked goods for the holiday season. In addition to Crème Brûlée, I’ll be eating anything left over from the blog for dessert. You can never have too much dessert 🙂
Earlier in my post I mentioned ordering from a restaurant or grocery store for your holiday meal. Festival Foods has some lovely meals for 1, 2 or more, depending on your gathering size. You can also find rolls, sides, and desserts for convenience. Check out any of the links below to explore these options!
- Side Dishes
- Holiday Dinners
- Family Size Meals
- Hams, Rib Roasts, and Fresh Turkeys
- Buns, Rolls, and Breads
- Cookies, Cakes, Candies, and More
Happy Holidays and Happy Cooking!


Recent Comments