 order online
 weekly specials
Can you believe it? Easter is right around the corner. With all that is going on in the world these days I’m starting to lose track of time. What is typically a day of family and friends gathering together will most likely be spend apart or perhaps in very small groups. This puts quite the strain on menu planning when you won’t be hosting, won’t be attending the usual get-together, or are just trying to maintain social distance.
Not to worry – I won’t let you know down! I have created a menu of simple items you can make at home. Some can be modified depending on the ingredients in your pantry, some can be reduced in size or doubled depending on the number of people in your household, and some make great leftovers 🙂
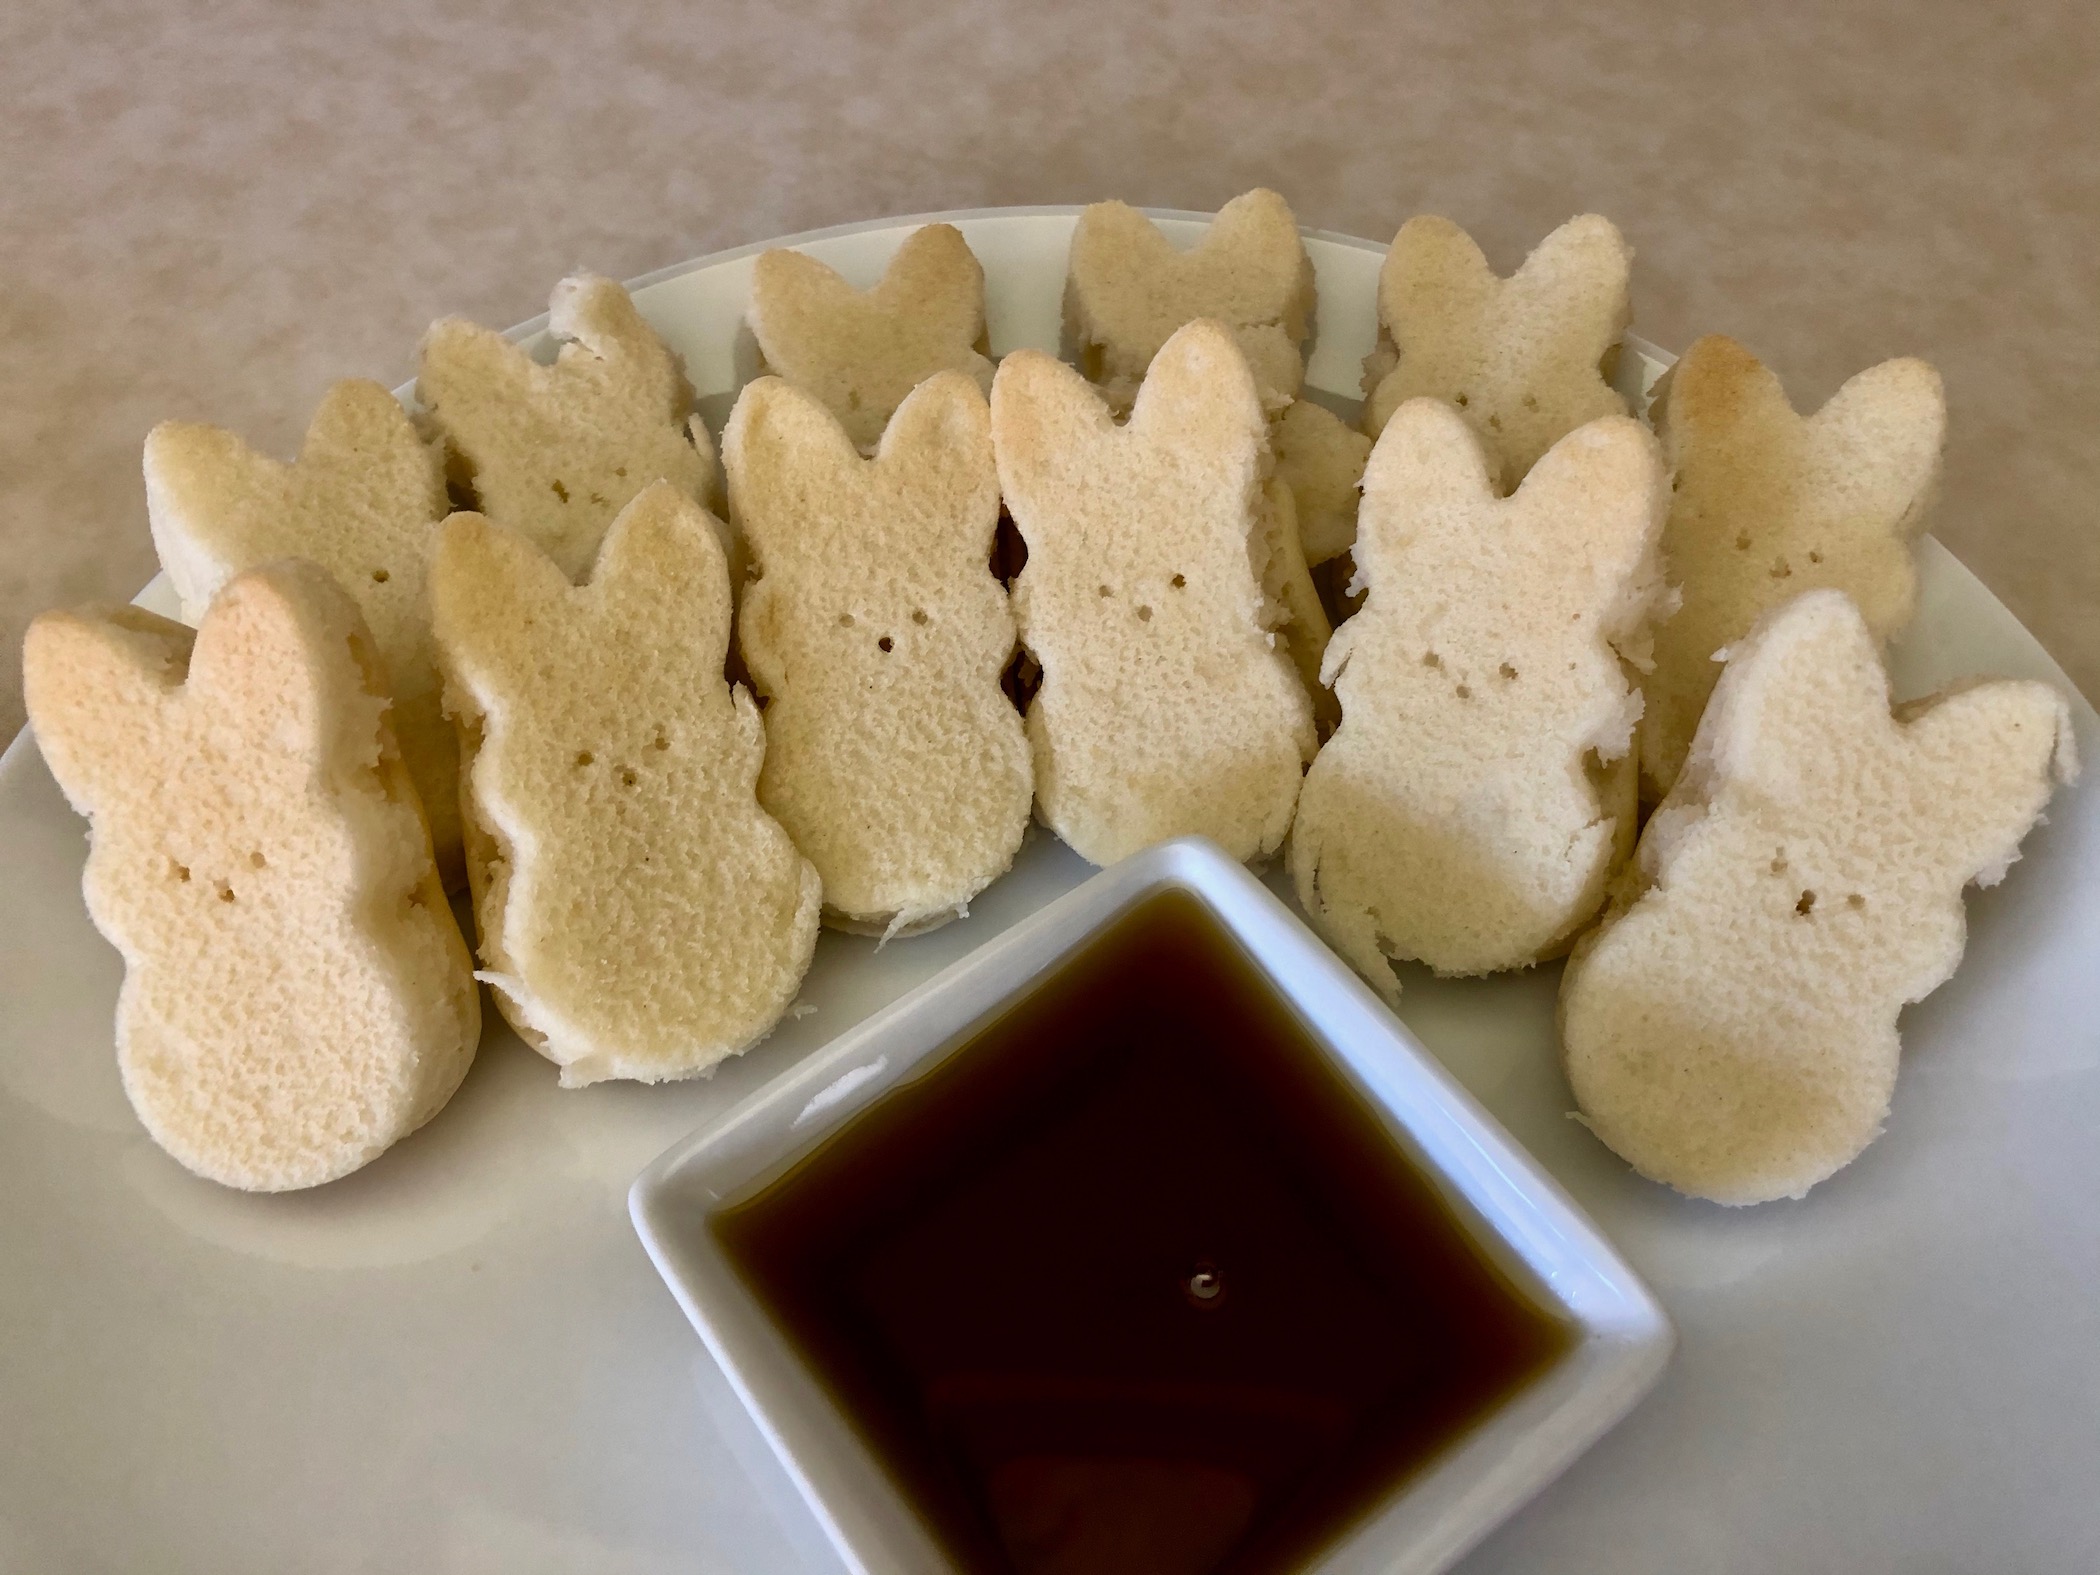
I’m going to start the morning with Peeps Pancakes and Hash Brown & Bacon Egg Cups. Peeps Pancakes are made with a special mold that creates pancakes that look like the ever-popular candy, Peeps.


The recipe can be found here.
Start by preheating the oven to 350 degrees. Then add the water to the Bisquick container and shake for 30 seconds. Unscrew the top to release the pressure that built up from shaking, close the top and shake again for 30 seconds. I like to use Bisquick Shake and Pour Pancake Mix because you only need 2 ingredients; the Bisquick and water. It’s a great pantry item!

Next, spray the pancake mold with cooking spray and add about 2-3 Tbsp of pancake batter to each mold. You should have enough batter for 24 pancakes.


Bake for 7-8 minutes or until the pancake mixture has set. Then remove from the oven and let cool for 1-2 minutes. You don’t want the pancakes to cool down but want the mold cool enough to be able to touch it to remove the pancakes without burning yourself.

Use a dull knife or rubber scraper to go around the edges of the mold – this helps remove the pancakes and prevents them from sticking. Remove the pancake and serve immediately with butter and maple syrup.

If you don’t have the Peeps mold, you can use the same batter to make traditional pancakes on a griddle. One idea is to separate the batter into 2-4 bowls. Add a few drops of different colored food coloring to each bowl and stir to combine. This will create colorful pancakes that are pastel to celebrate Easter. Super easy and fun for the kids to help with!
The recipe can be found here.
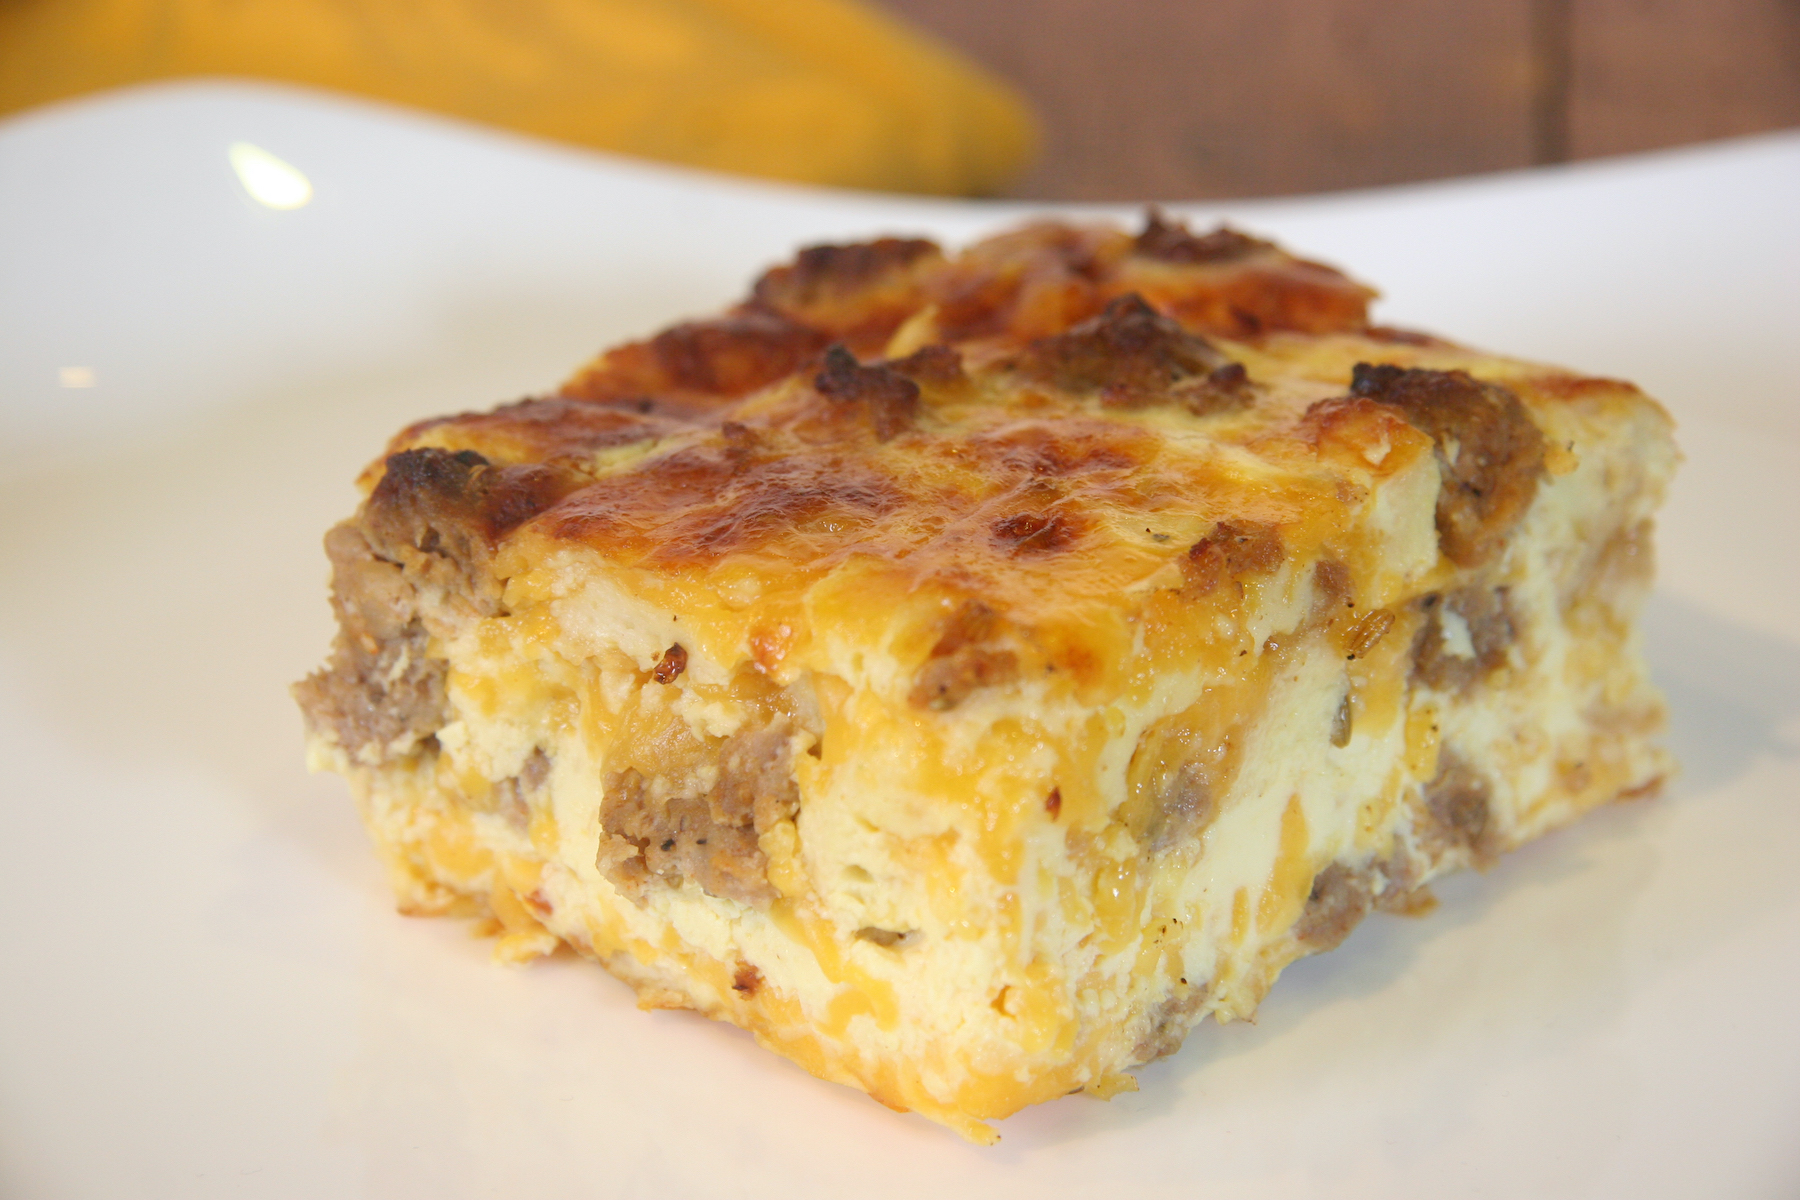
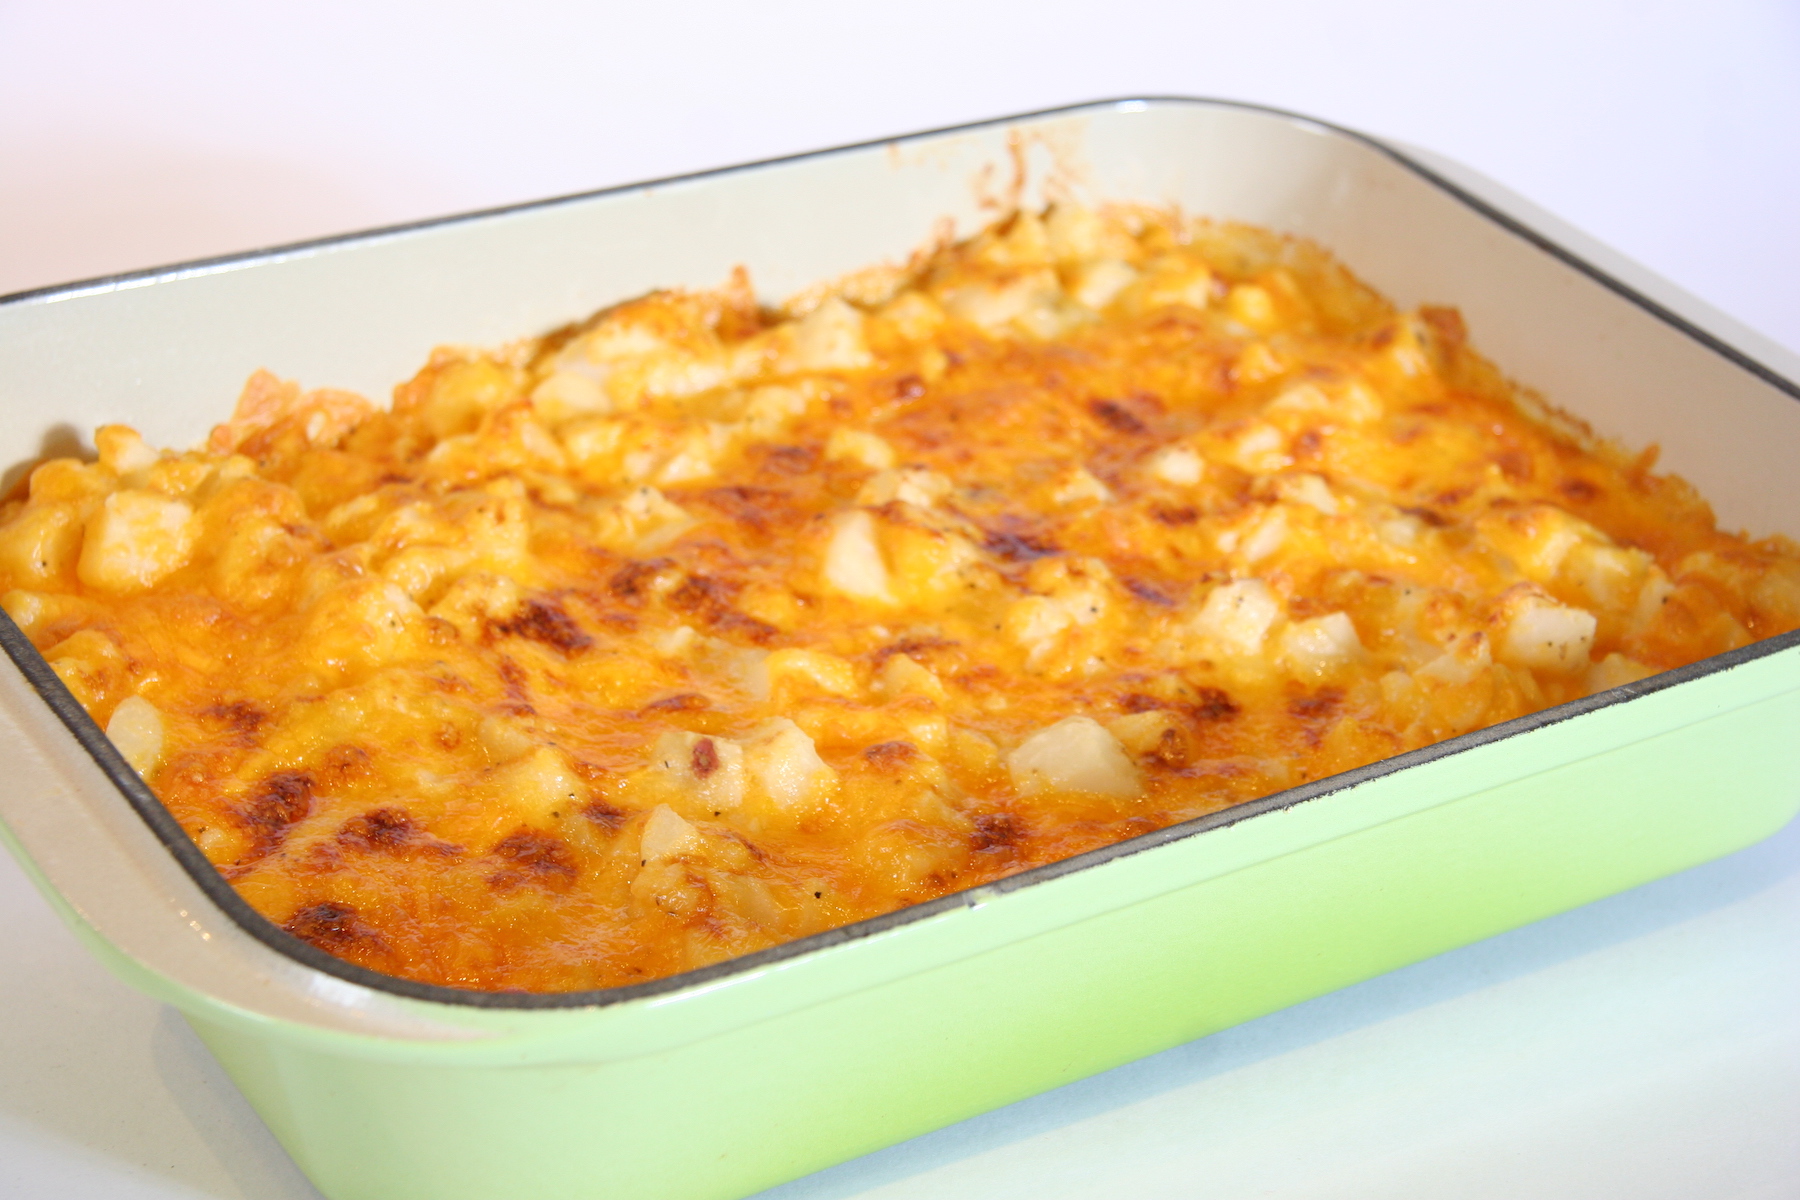
Hash Brown & Bacon Egg Cups pack some of your favorite breakfast foods into cute little bite sized “muffins”. Everything is checked off the list; hashbrowns – check, cheese – check, eggs – check, and bacon – check. This is a great customizable dish as well. You can substitute the bacon with crumbled sausage or diced ham. You could also skip the meat and go vegetarian with diced peppers and onions. You can make these to fit your needs and taste. Plus, they save and reheat well the next day so when you are making brunch for 1-2 people on Easter and have leftovers, you can enjoy them every day of the week 🙂

The recipe can be found here.
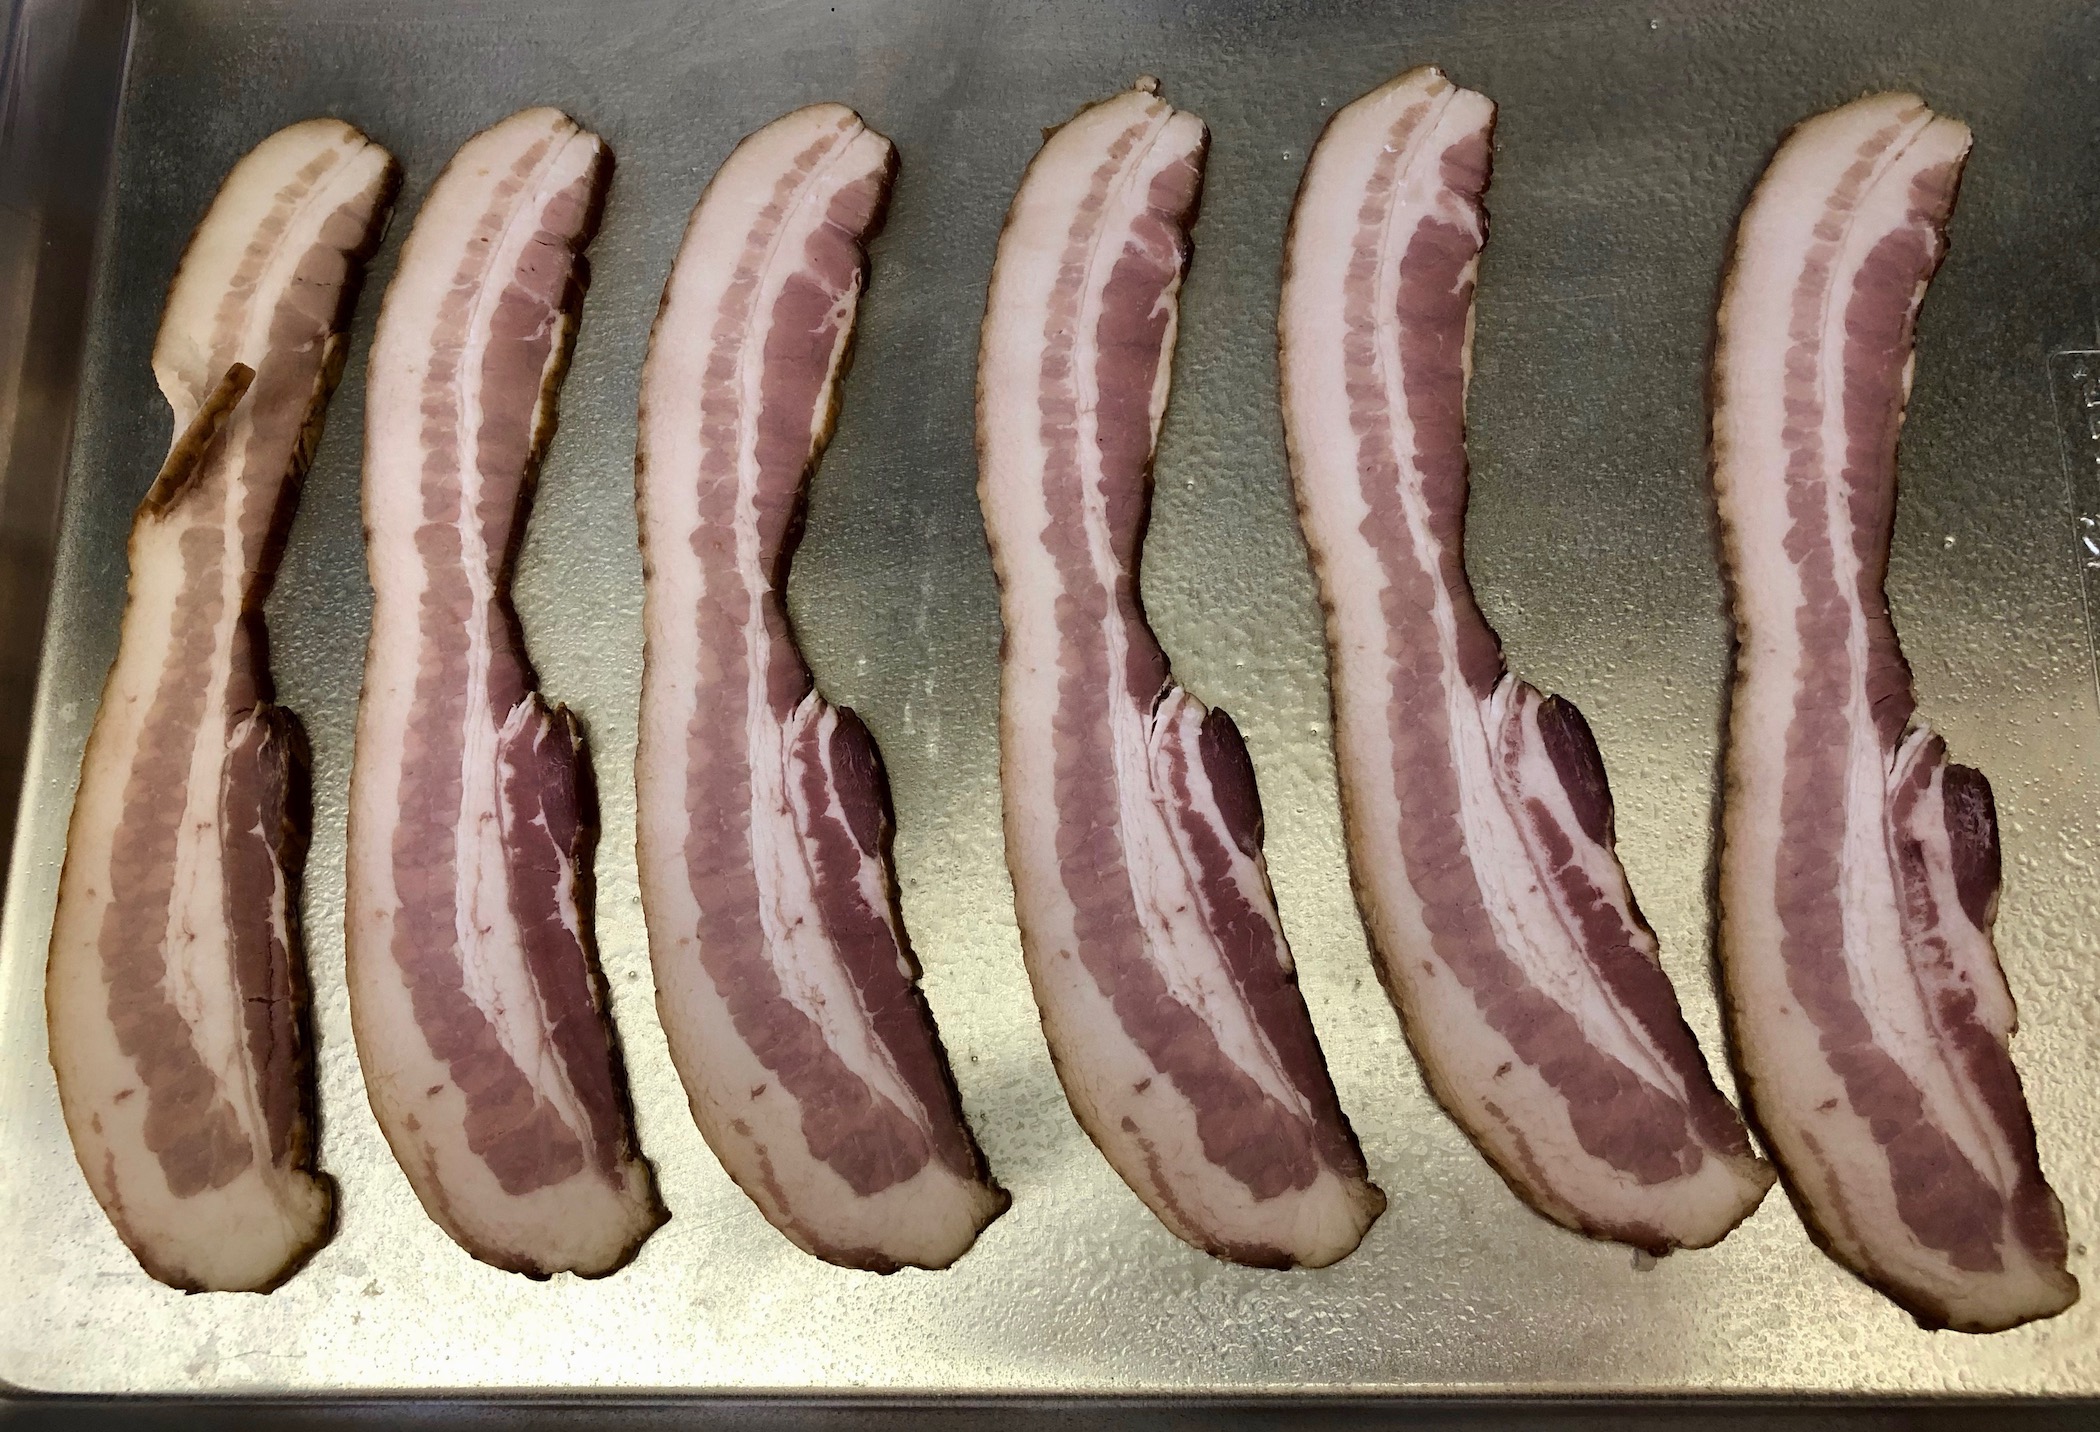
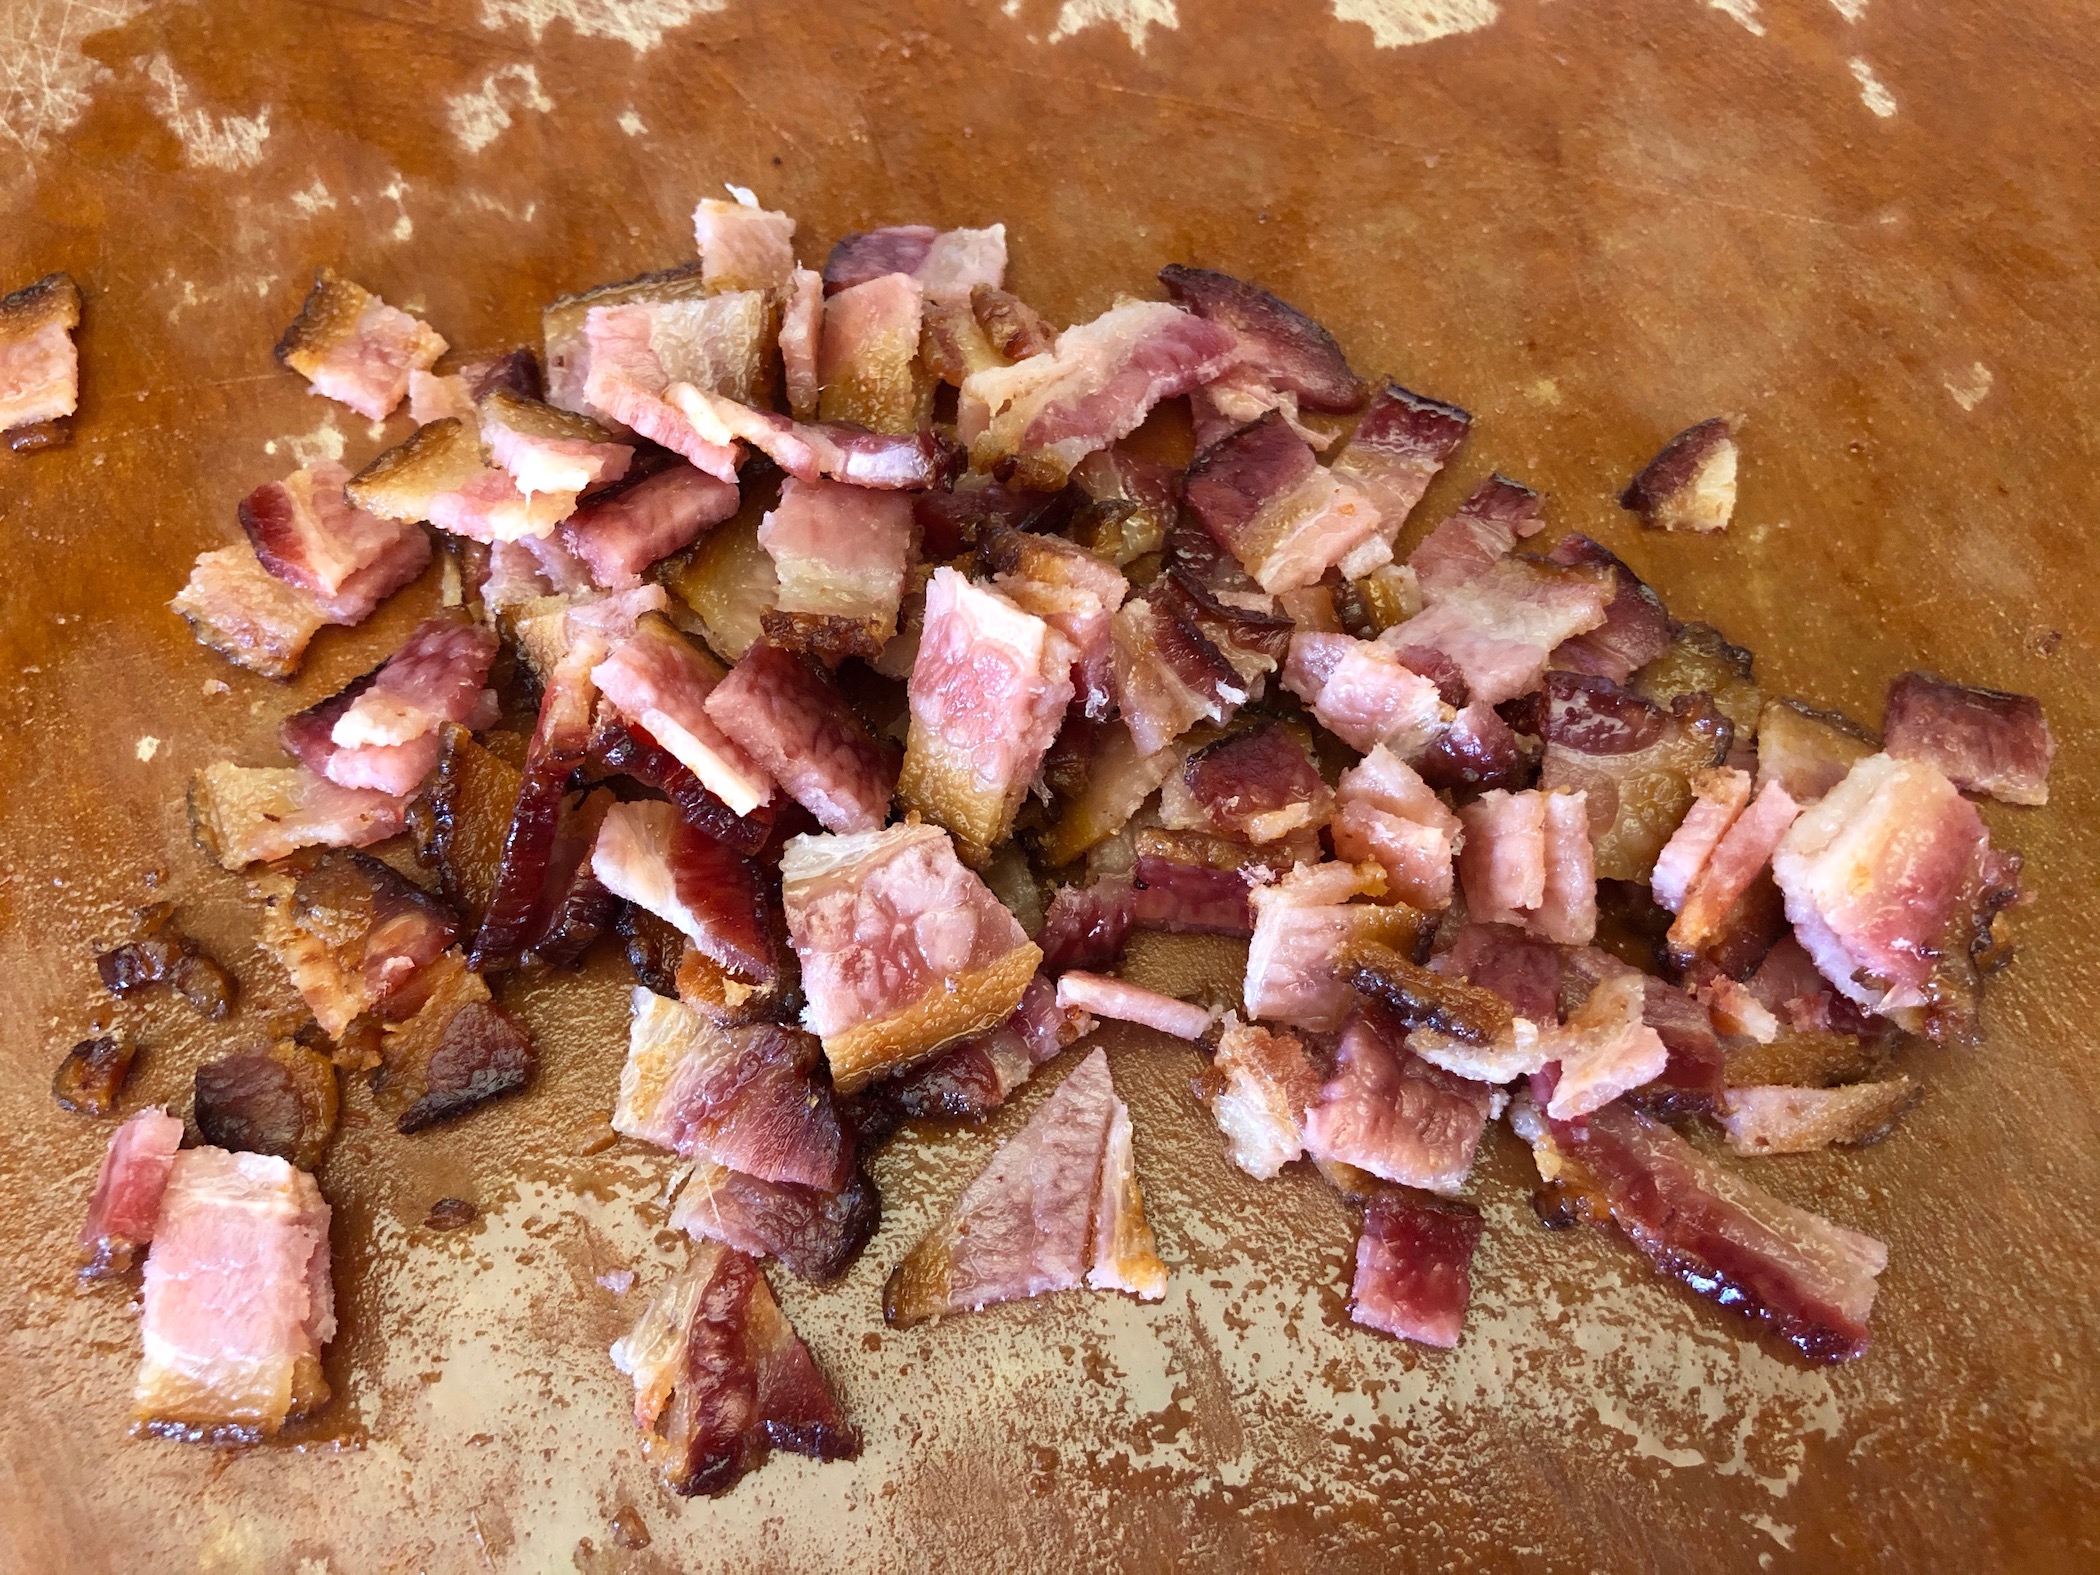
Start by cooking the bacon according to package instructions. I like to bake my bacon but do whatever you prefer. The recipe only calls for 4 slices of bacon so you will have some leftover to enjoy while you continue cooking…yum! Chop the bacon.

Preheat the oven to 450 degrees and spray a standard sized muffin tin with baking spray.
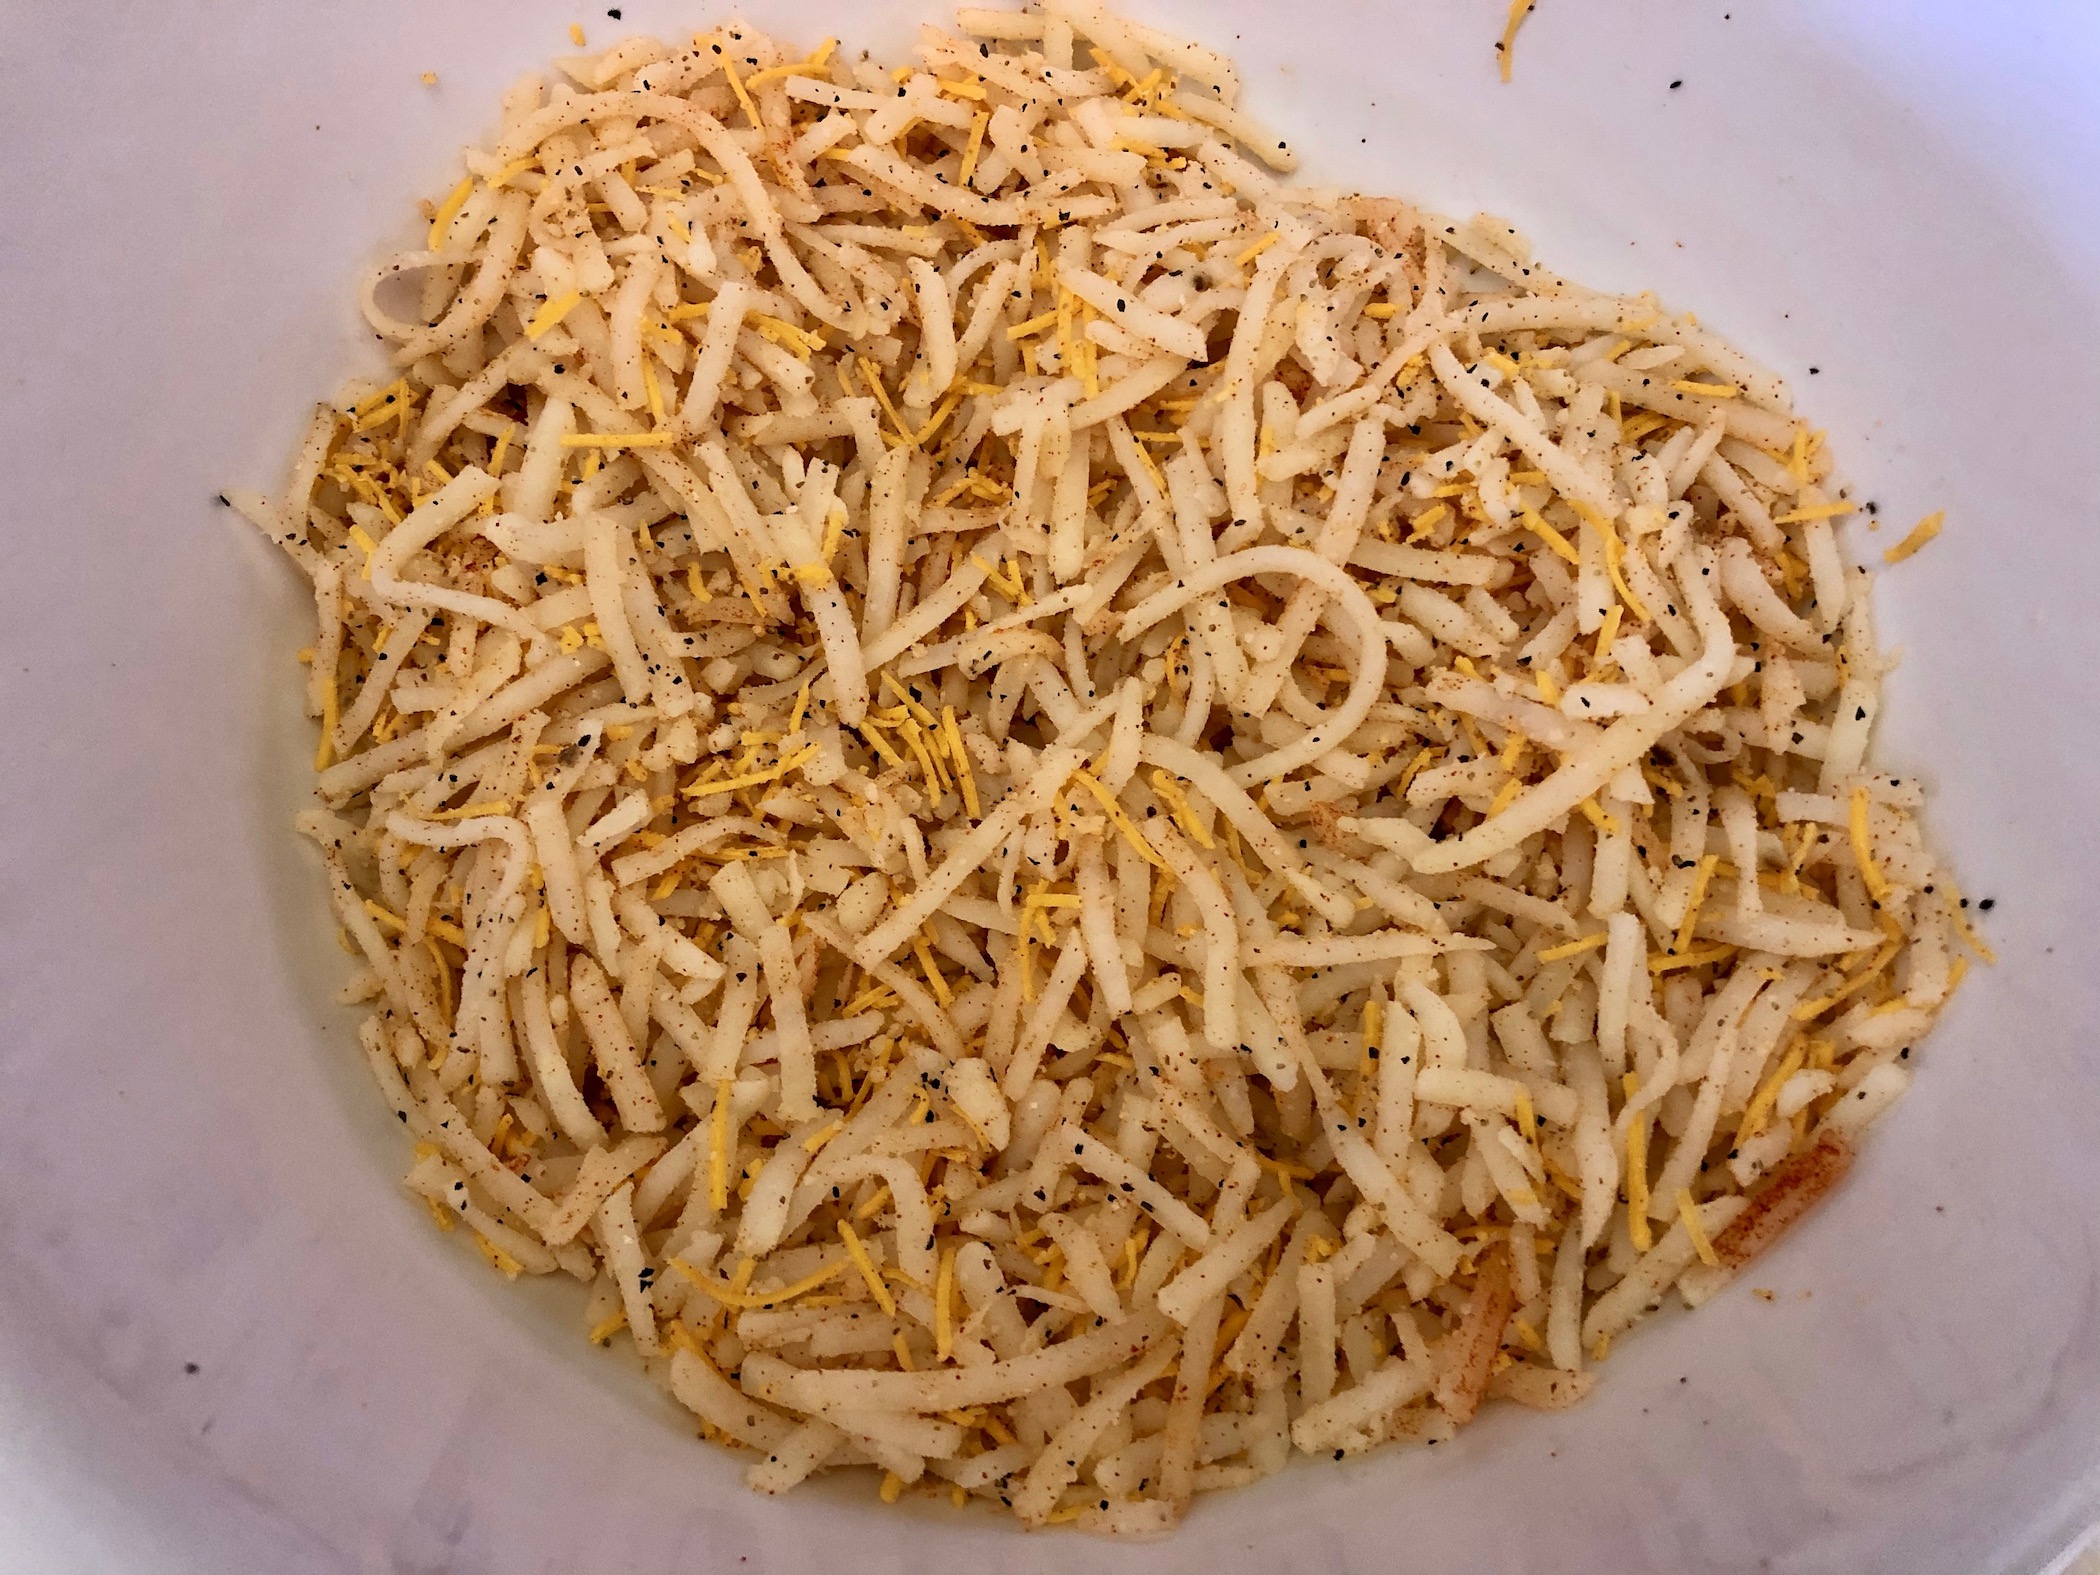
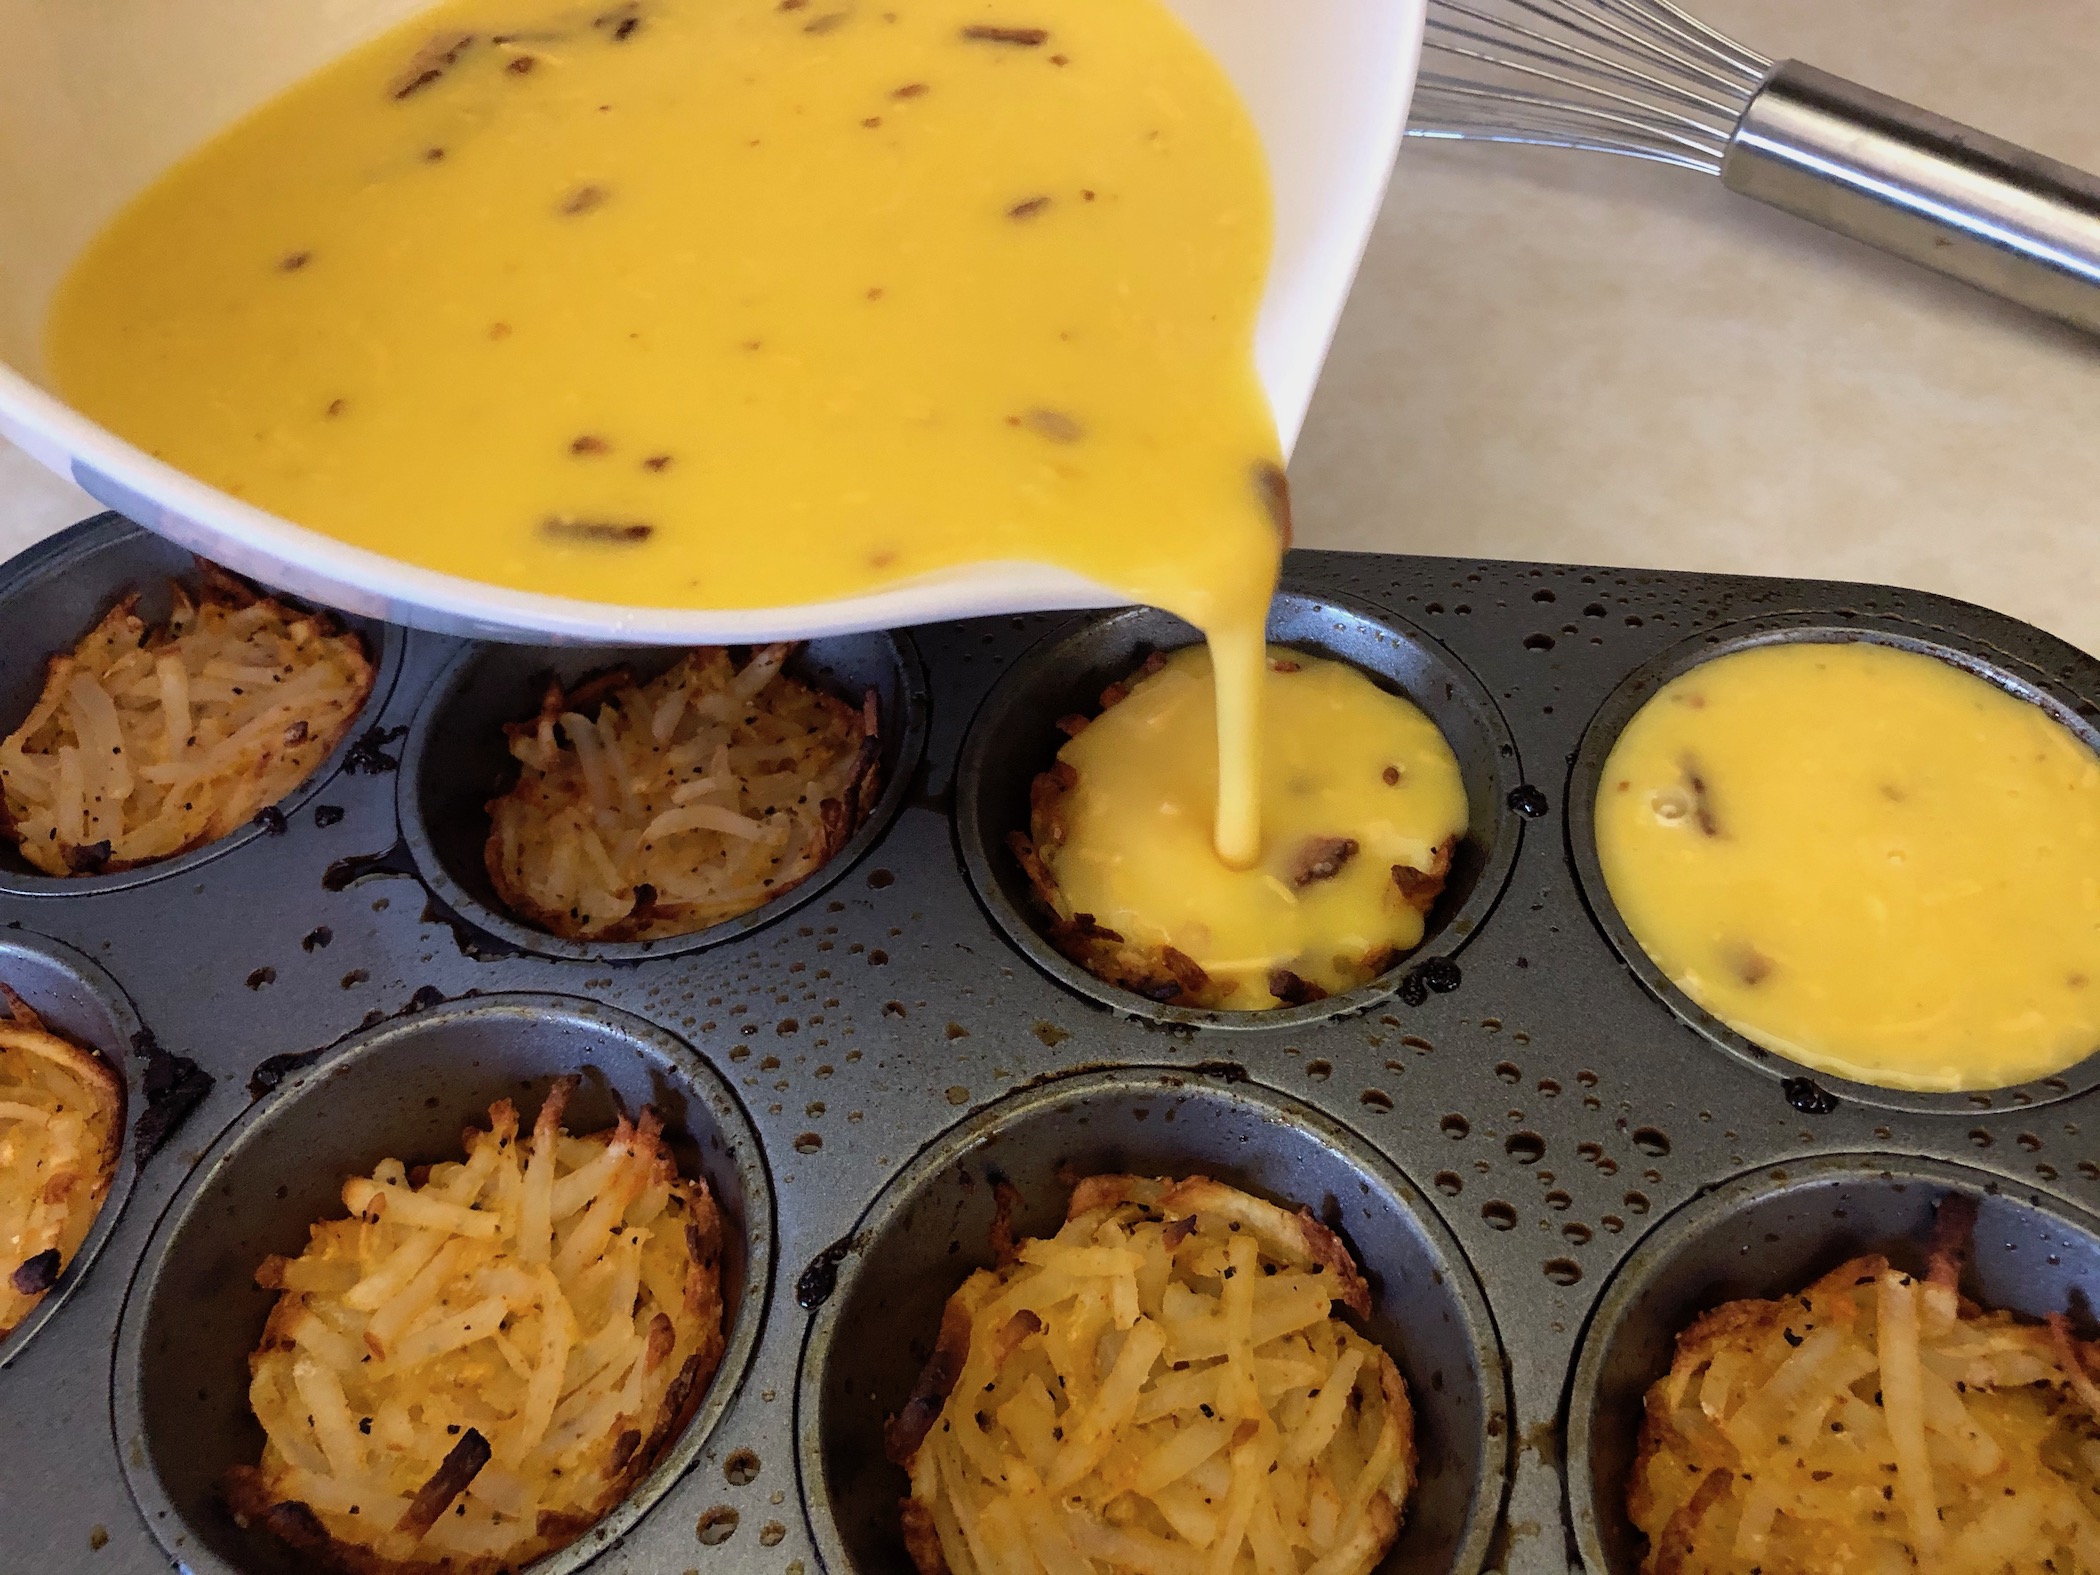
In a large mixing bowl, combine the hashbrowns, ½ cup cheddar cheese, salt, pepper, paprika, and cayenne. Add a heaping spoonful to each muffin cup and press the mixture down to create a nest. You might have a little mixture leftover and that’s OK! I’m not able to fit all the mixture in when I make these because I like to have a little more egg on top, so I end up tossing about ½ cup of the mixture. Bake for 20 minutes then remove from the oven and reduce the oven temperature to 350 degrees.


In a large mixing bowl, whisk together the eggs and milk. Pour the mixture into each muffin cup. The liquid should be slightly below the top of the muffin cup. Don’t forget – you still need to add the filling ingredients! And be careful to not burn yourself while pouring the mixture because the pan just came out of the oven!
Sprinkle the crumbled bacon into each muffin cup and top with the remaining cheddar cheese. Bake for 12-15 minutes or until the eggs have set. Remove from the oven and set aside to cool slightly. You don’t want to burn yourself when removing the “muffins” from the pan.


Remove from the pan, sprinkle with fresh chopped parsley and serve warm.

The recipe can be found here.
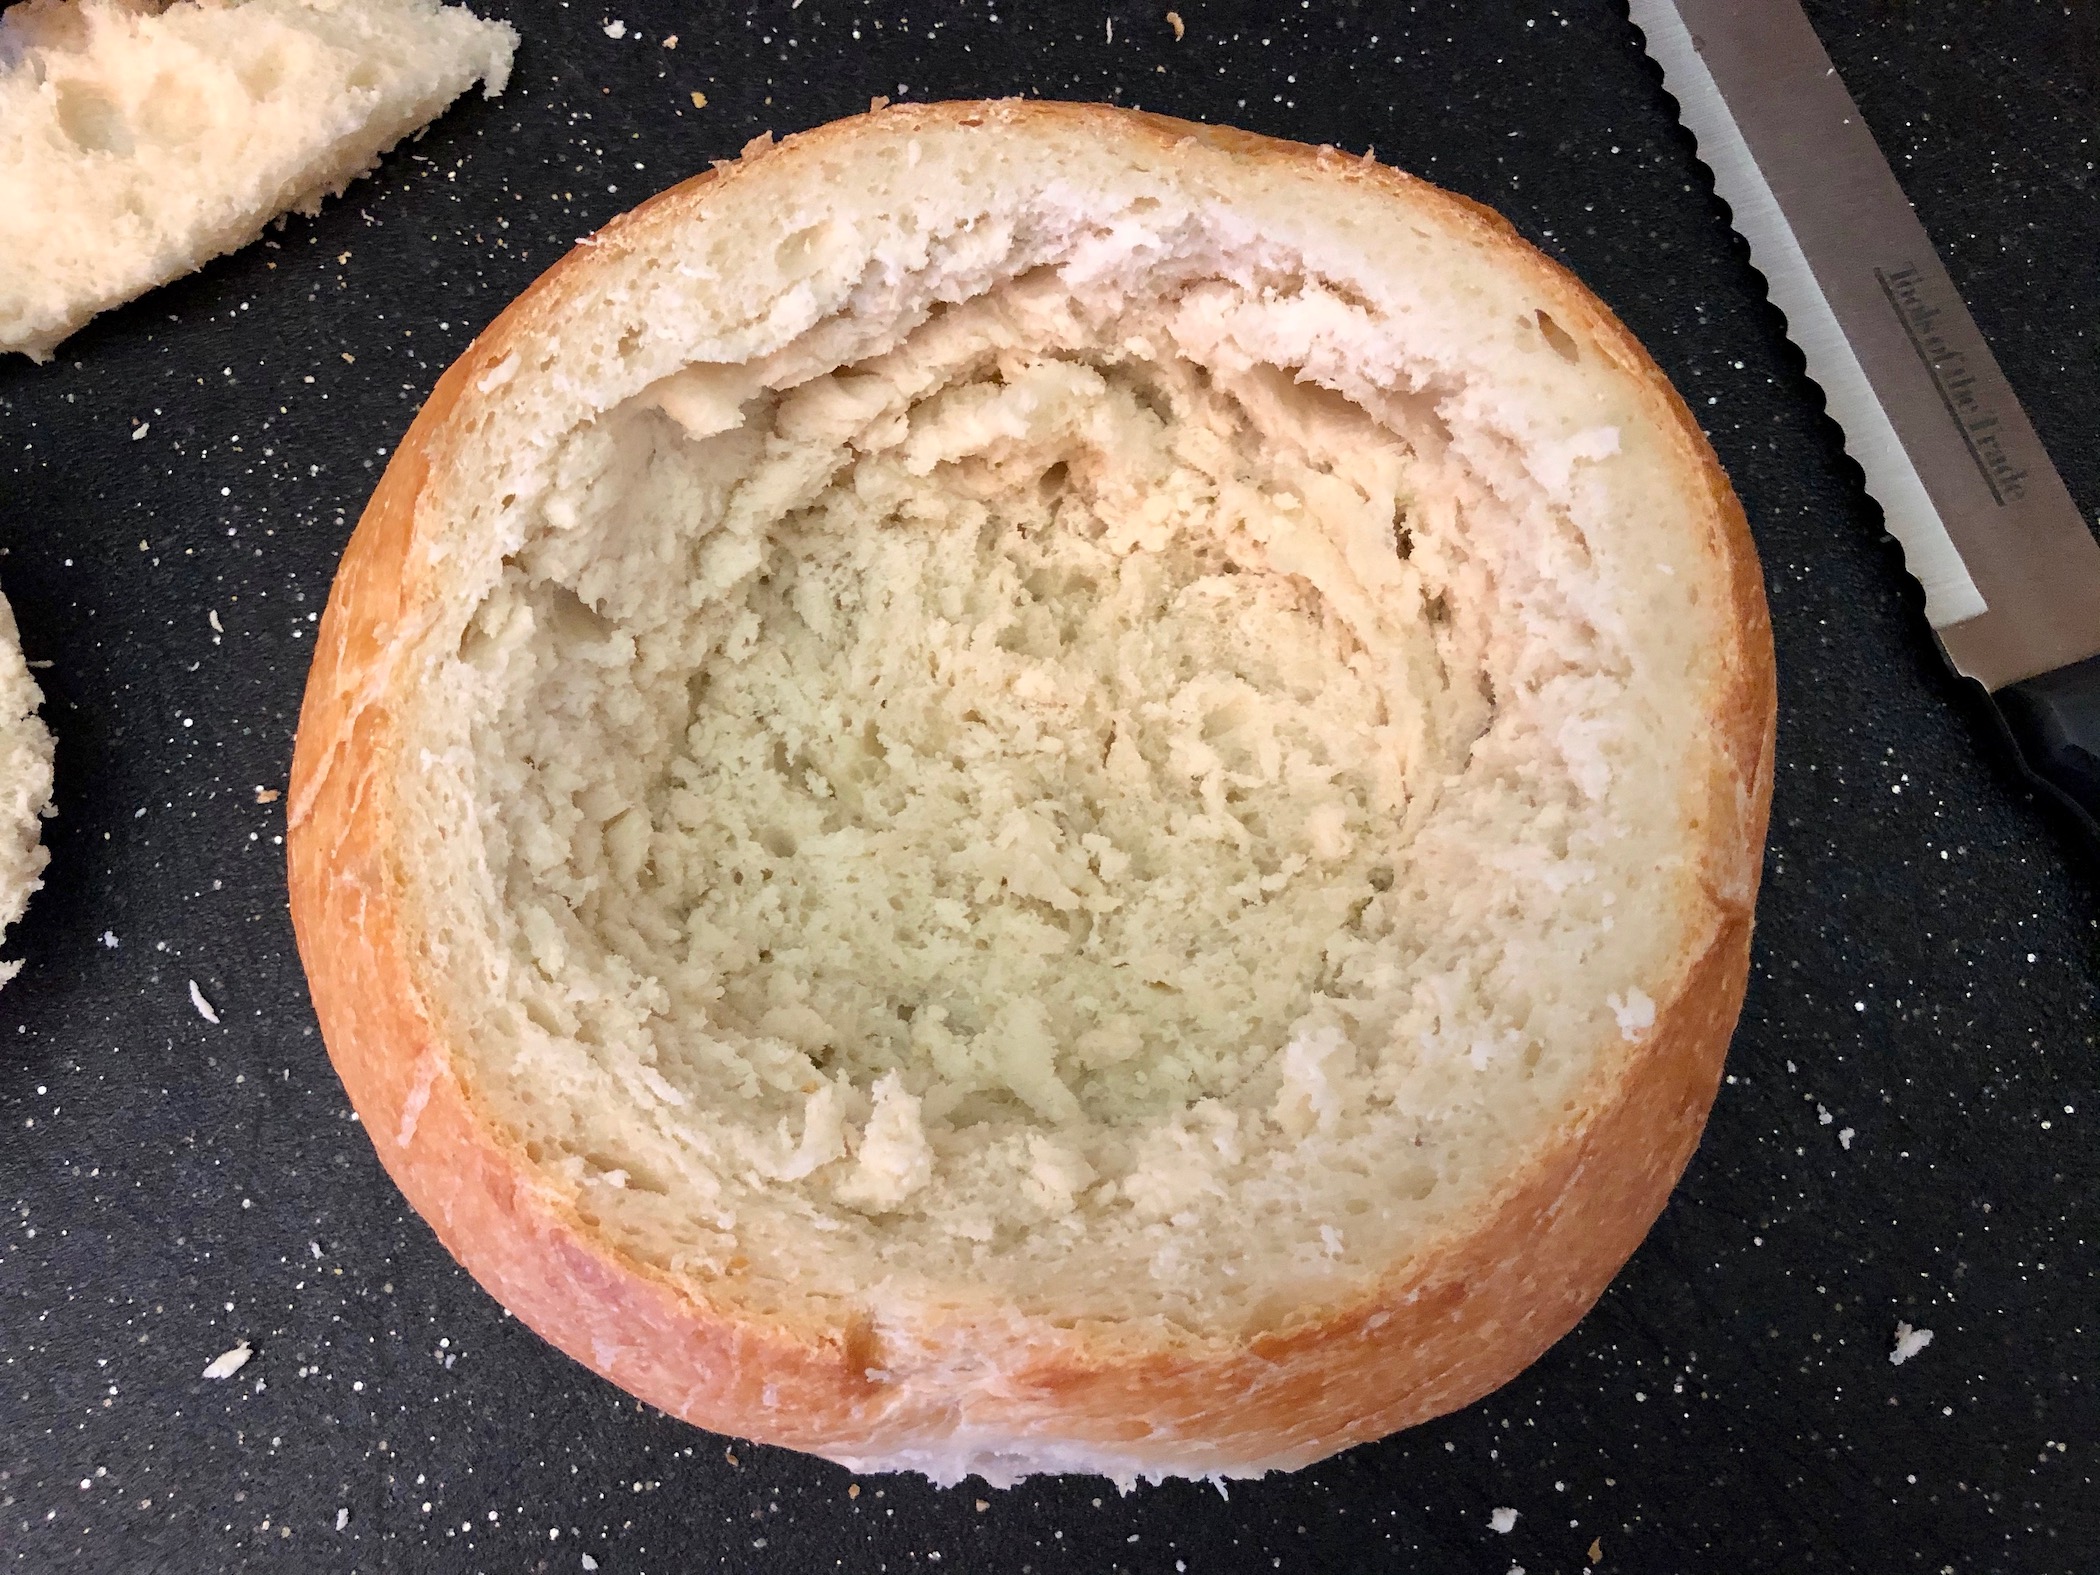
For a mid-morning snack, I’m going to make Bunny Bread Bowl Spinach Dip with vegetables. This recipe (if you can call it a recipe) is incredibly simple and requires only store-bought items.

Start with sourdough bread that is unsliced. Slice off the top and then carve out the center to create a bread bowl. Add store-bought spinach dip to the bowl. You can also make homemade spinach dip or use another dip of your choice.


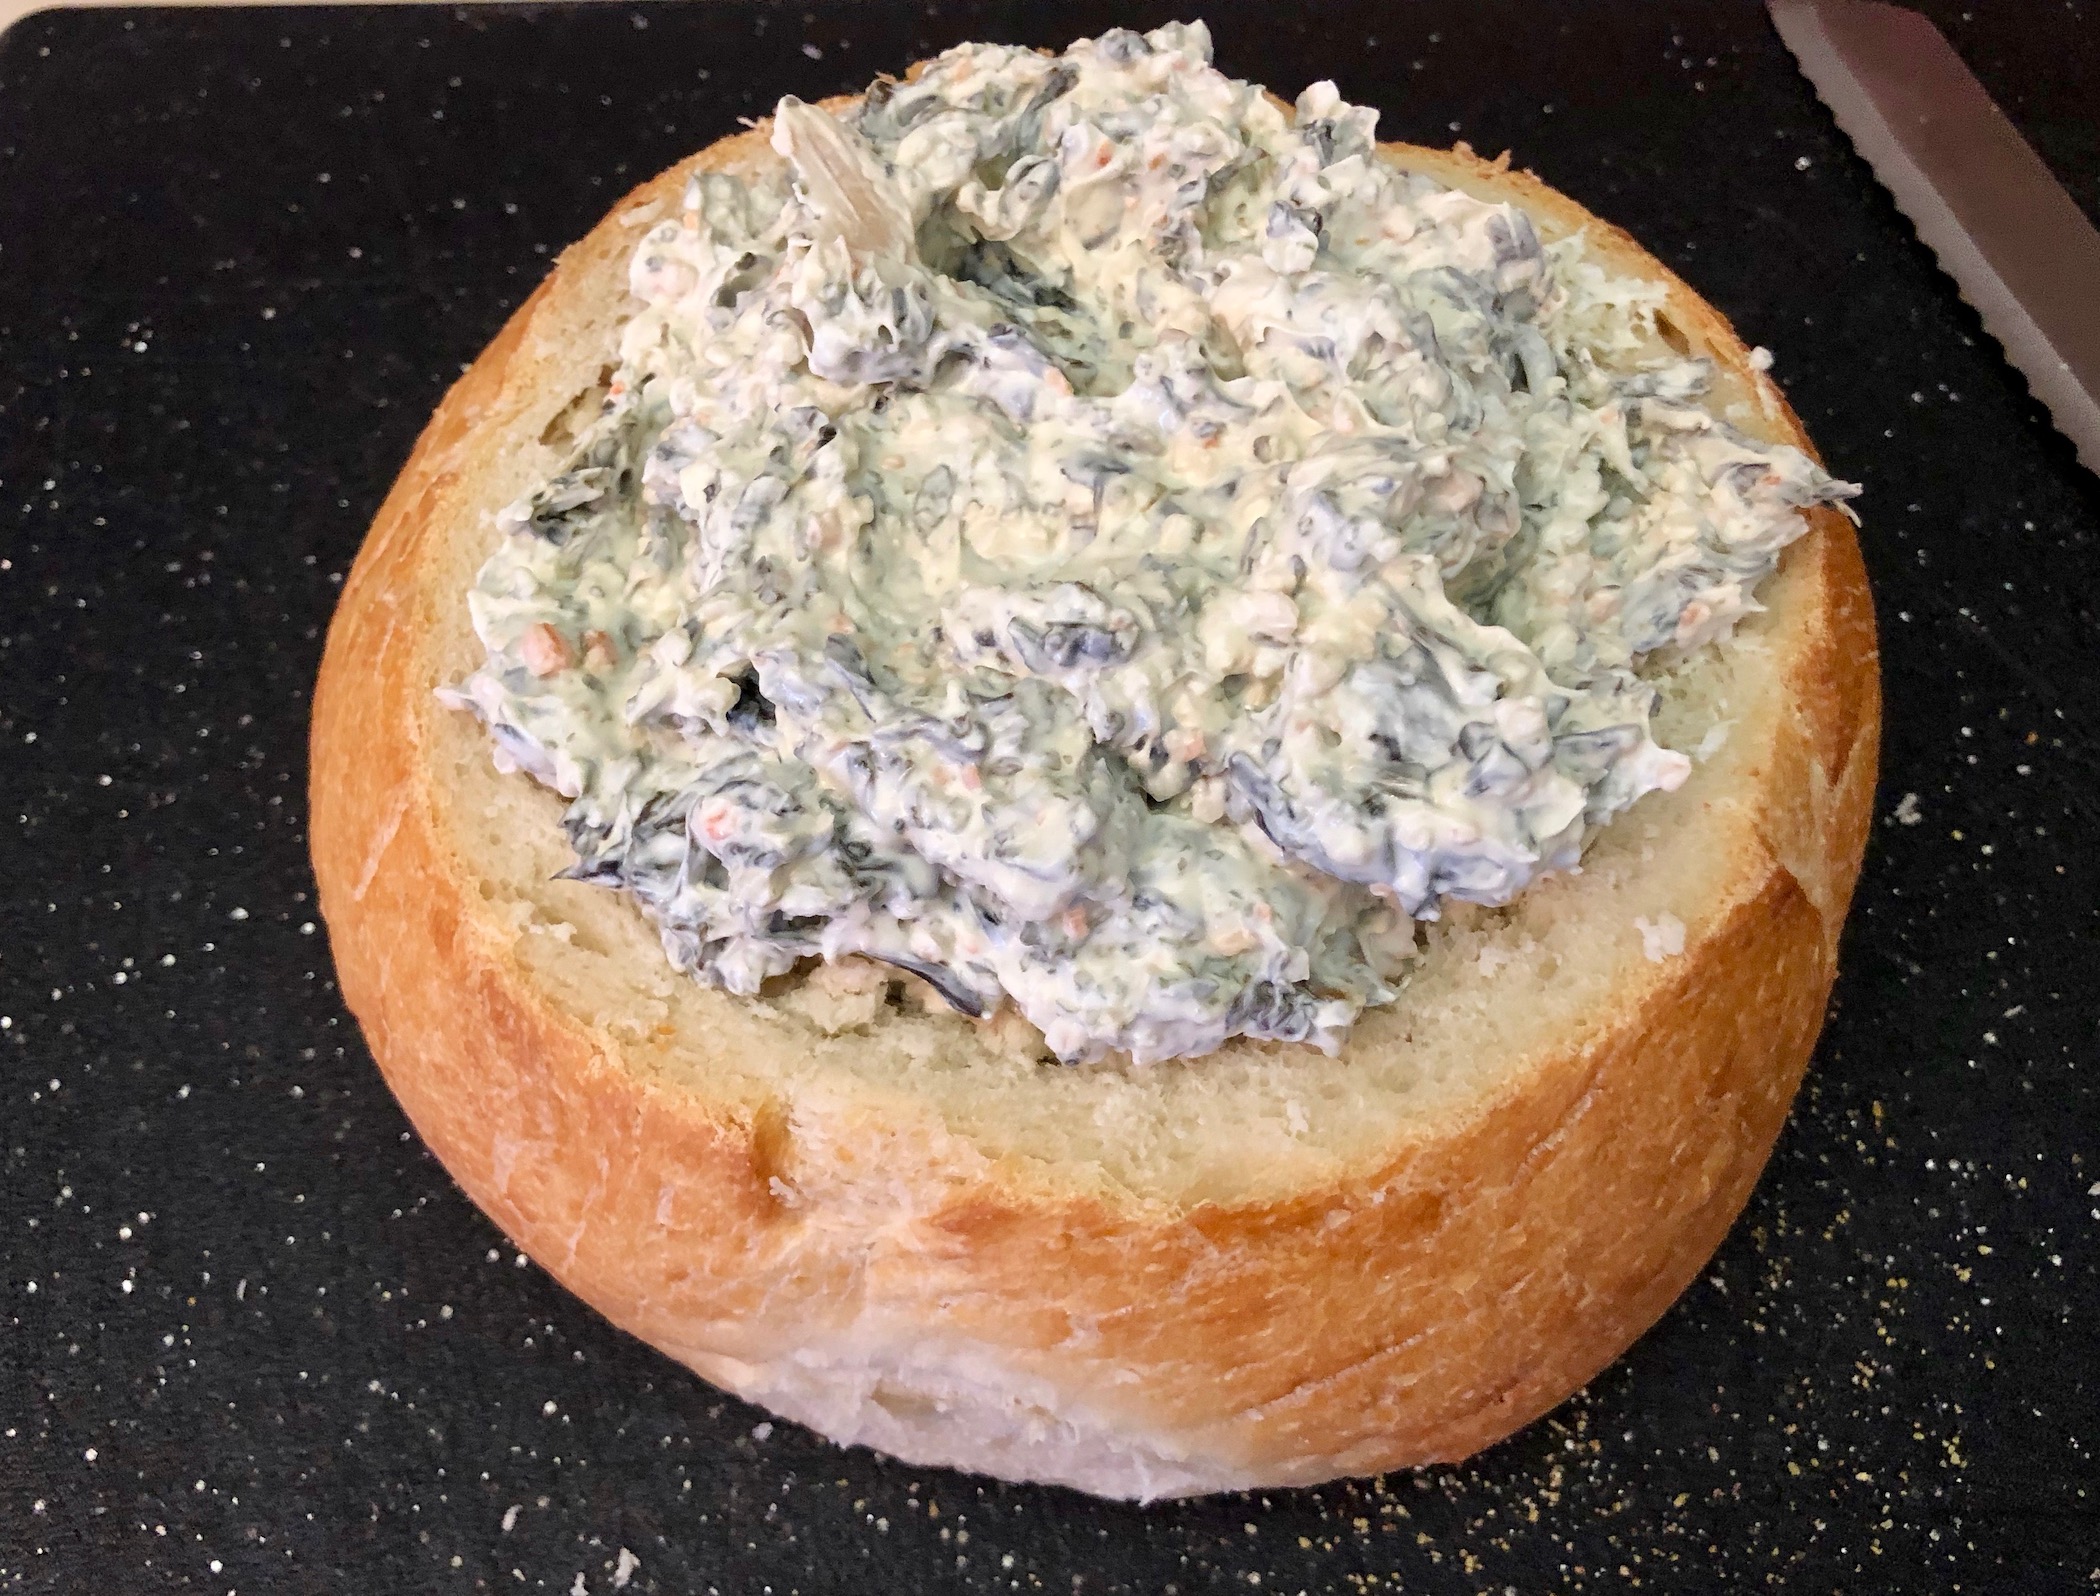
Place the bread bowl near the bottom of a long serving platter. Then place the top part of the bread bowl you sliced off above the bread bowl, so it resembles the body of a bunny. Slice a baguette in half and add to the serving platter to represent the bunny ears.
Slice any veggies of your choice – carrots, celery, bell peppers, broccoli, cauliflower, etc. and arrange them in a colorful variety around the bread. Create a face for the bunny and enjoy! No recipe needed as everything is purchased from the store. This makes a great centerpiece for your table…and also makes great leftovers that you can munch on throughout the week!

Later in the day, when the sweet tooth kicks in and we’re craving some yummy Easter candy, I’m going to set out my Easter Candy Board. This is essentially a charcuterie board but with candy and sweets instead of meat and cheese. You purchase Jellybeans, M&M’s, chocolate eggs, chocolate bunnies…really any kind of Easter candy plus cookies, Peeps, chocolate covered marshmallows, etc. and arrange everything on a cutting board or serving platter. The colors are so pretty for Easter and there is sure to be something sweet for every taste. These are wonderful to bring to a gathering or to set out at home for your family to grab off of as they pass by the kitchen.


After dinner (I’ll talk about dinner next) is Homemade Carrot Cake with Caramel Buttercream. This is a simple recipe for a very moist carrot cake with homemade frosting. You can really taste the carrot flavor but don’t have large chunks of carrot in each bite. The caramel buttercream frosting complements the flavors nicely.

The recipe can be found here.
Start by preheating the oven to 350 degrees and spraying 2 9-inch round cake pans with cooking spray.
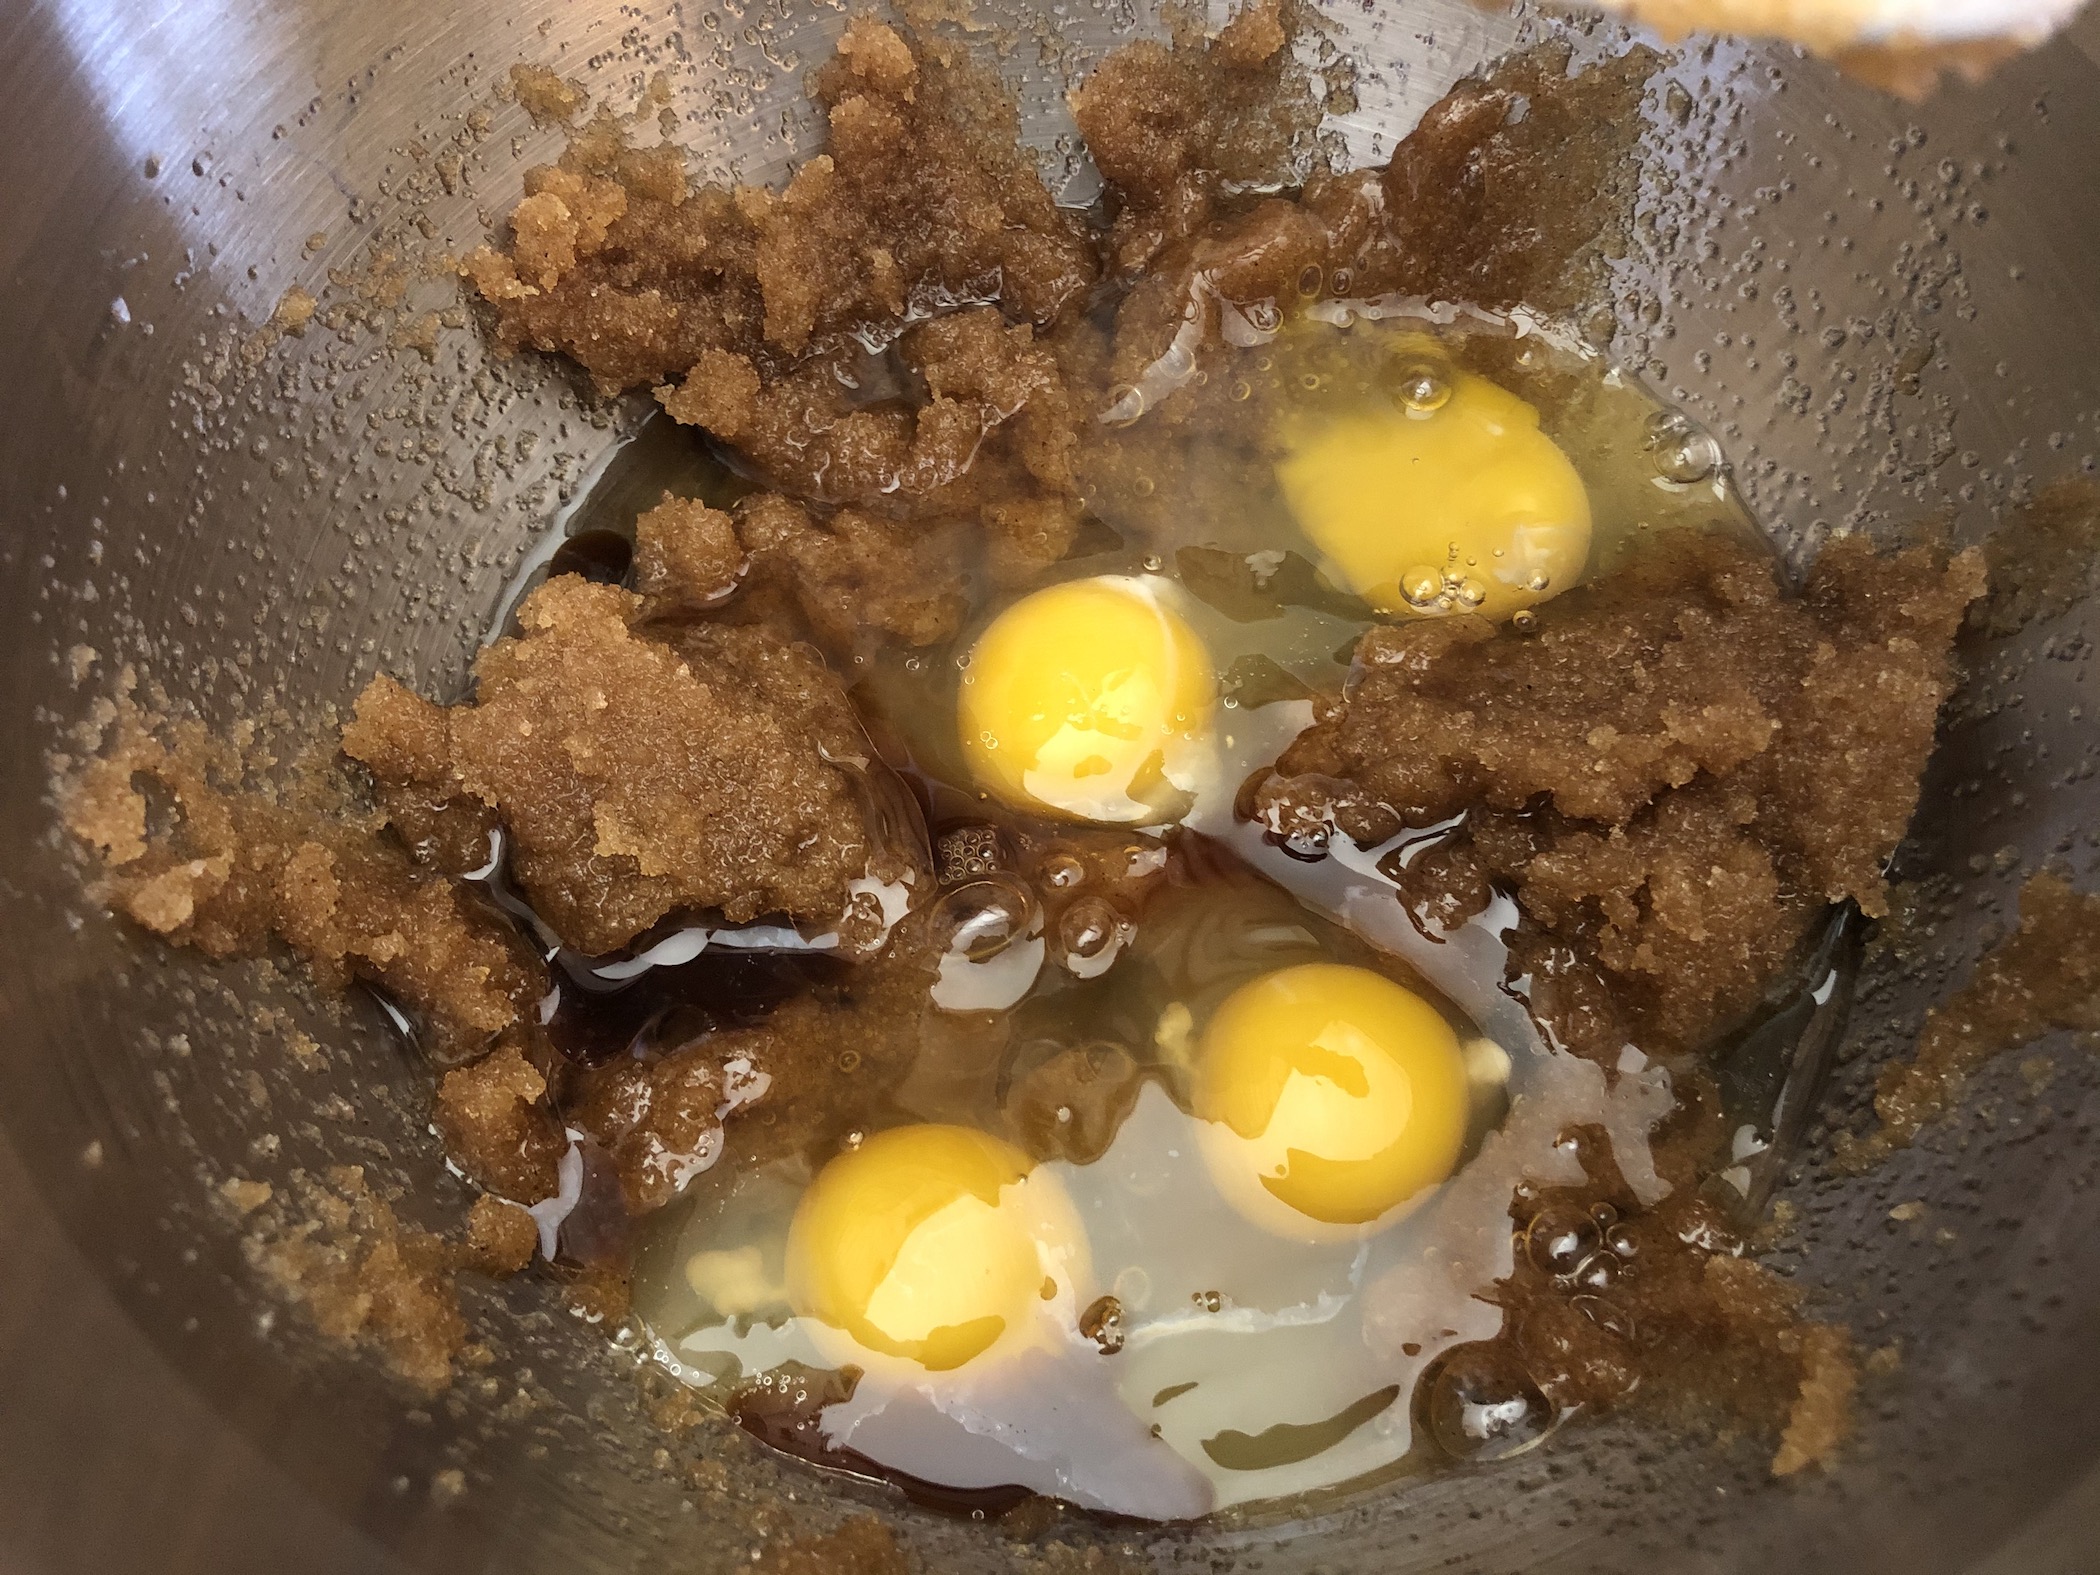
In the bowl of a stand mixer, add the sugar, brown sugar, cinnamon and nutmeg. Use the paddle attachment to mix until well combined. You can mix by hand if you don’t have a stand mixer, I just like to give my arms a break!


Add the vegetable oil and continue to mix. Then add the vanilla and eggs and mix until incorporated.


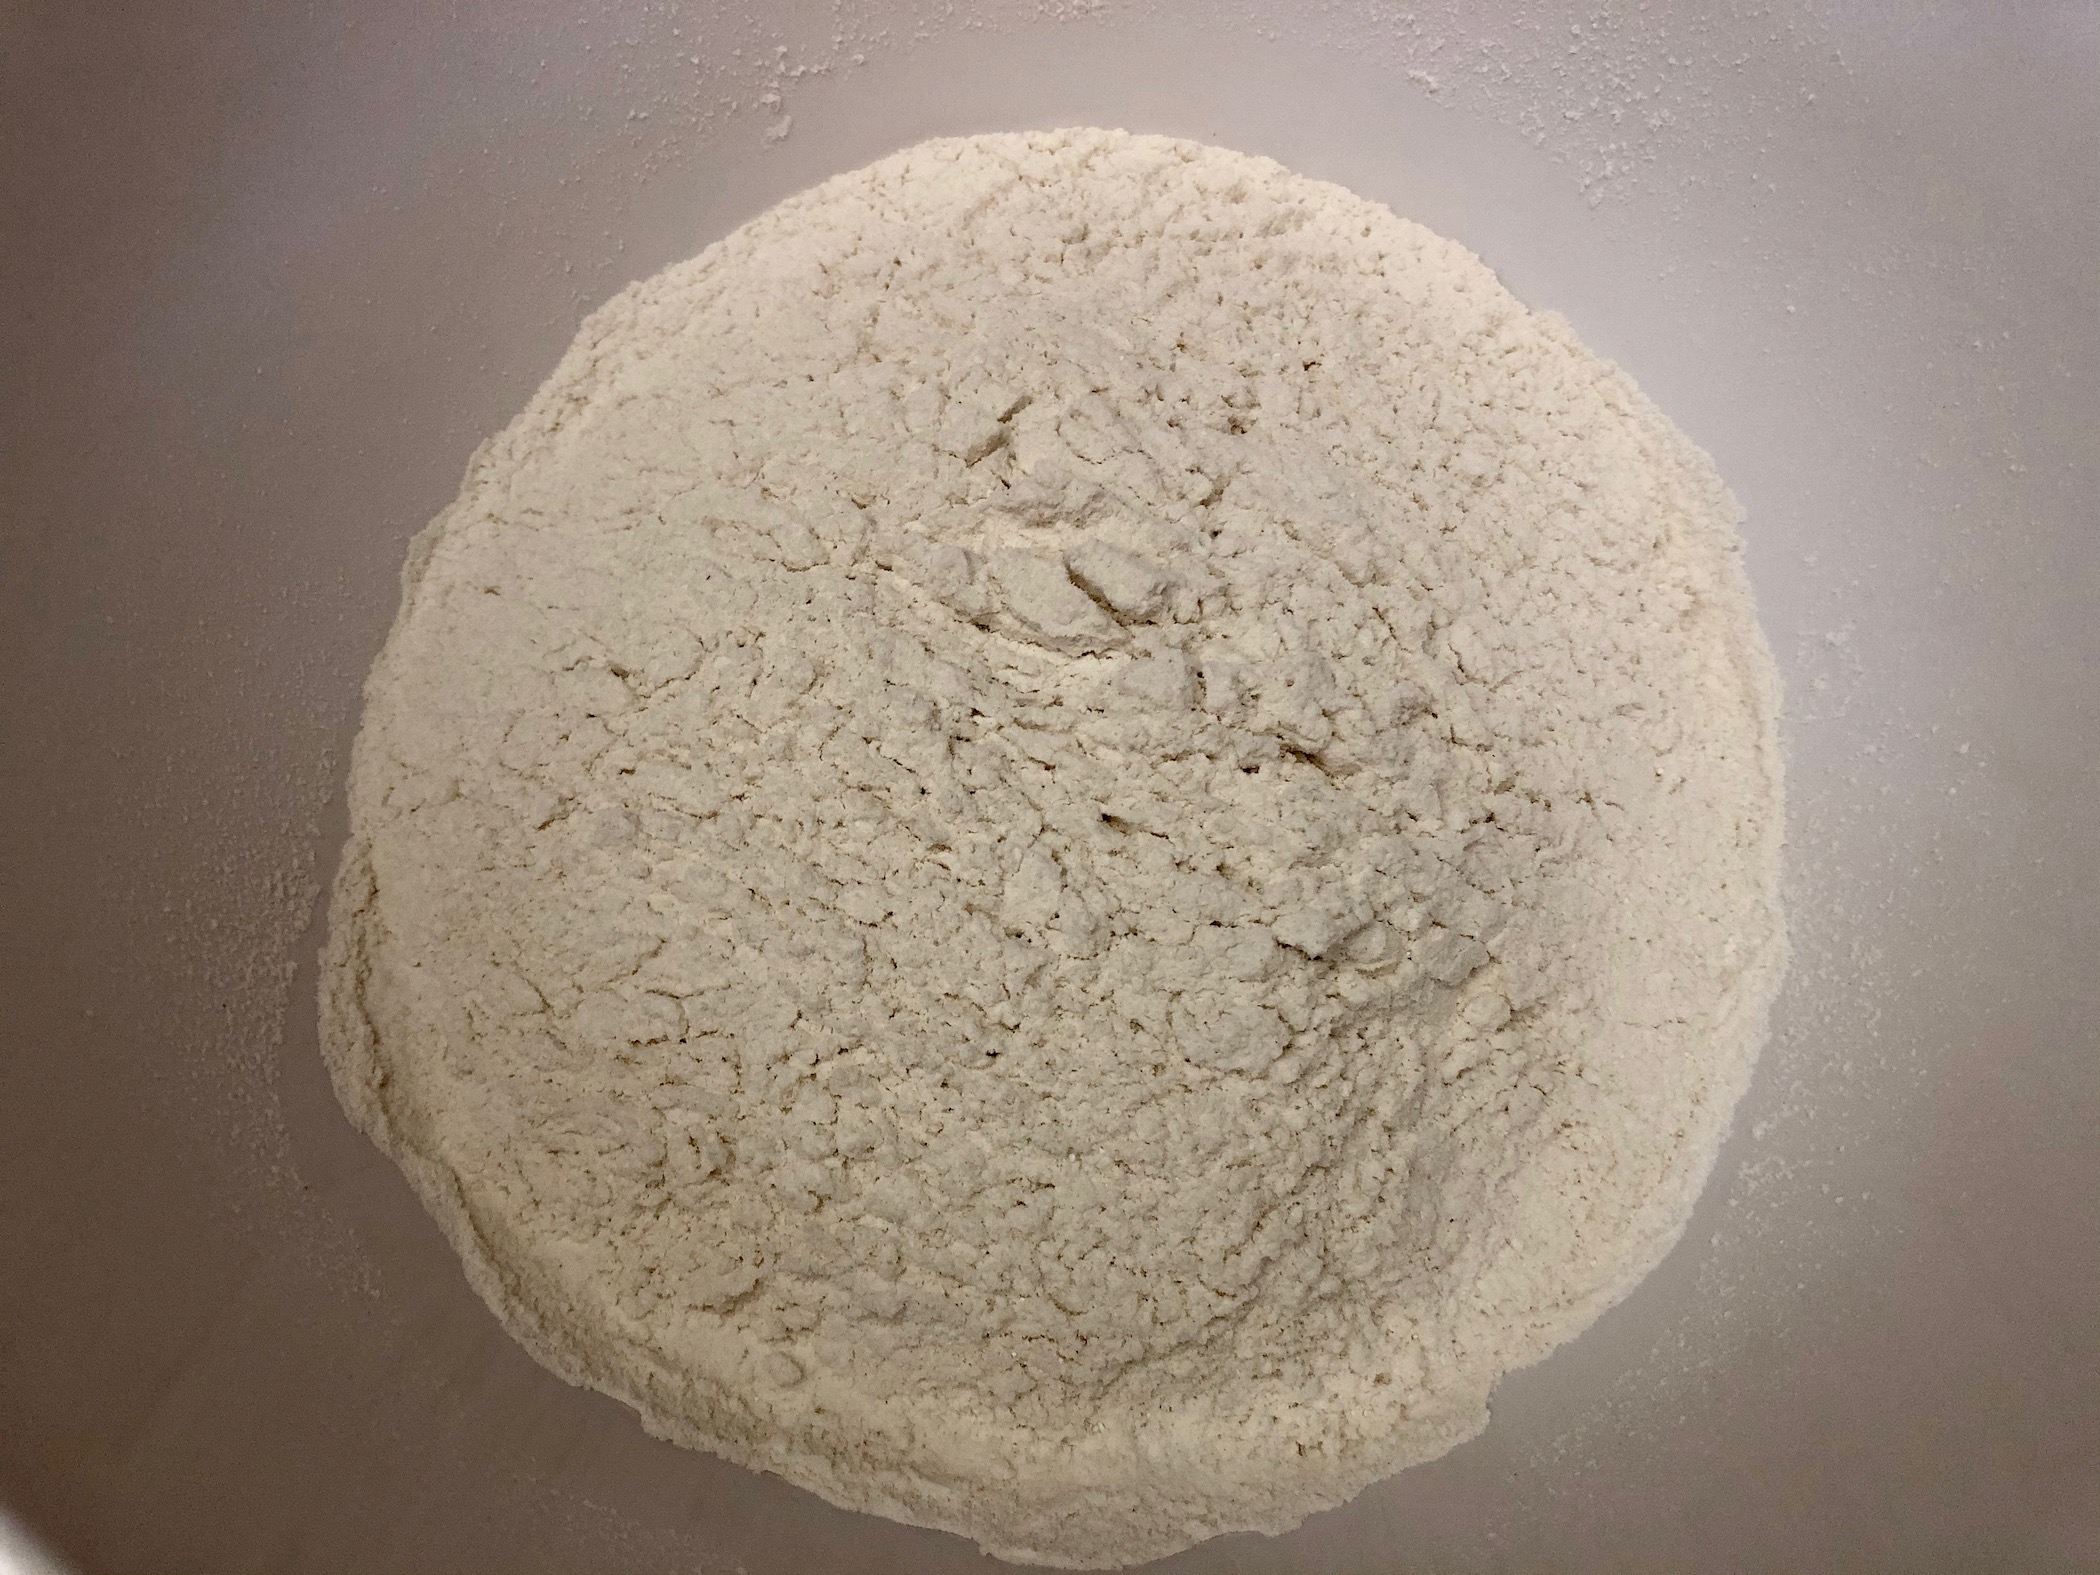
In a separate bowl, sift together the flour, baking soda, baking powder, and salt. If you don’t have a sifter, use a fine mesh strainer. Add the dry ingredients to the stand mixer and mix on low until incorporated. Then, increase the speed to medium, and mix for an additional 30 seconds.


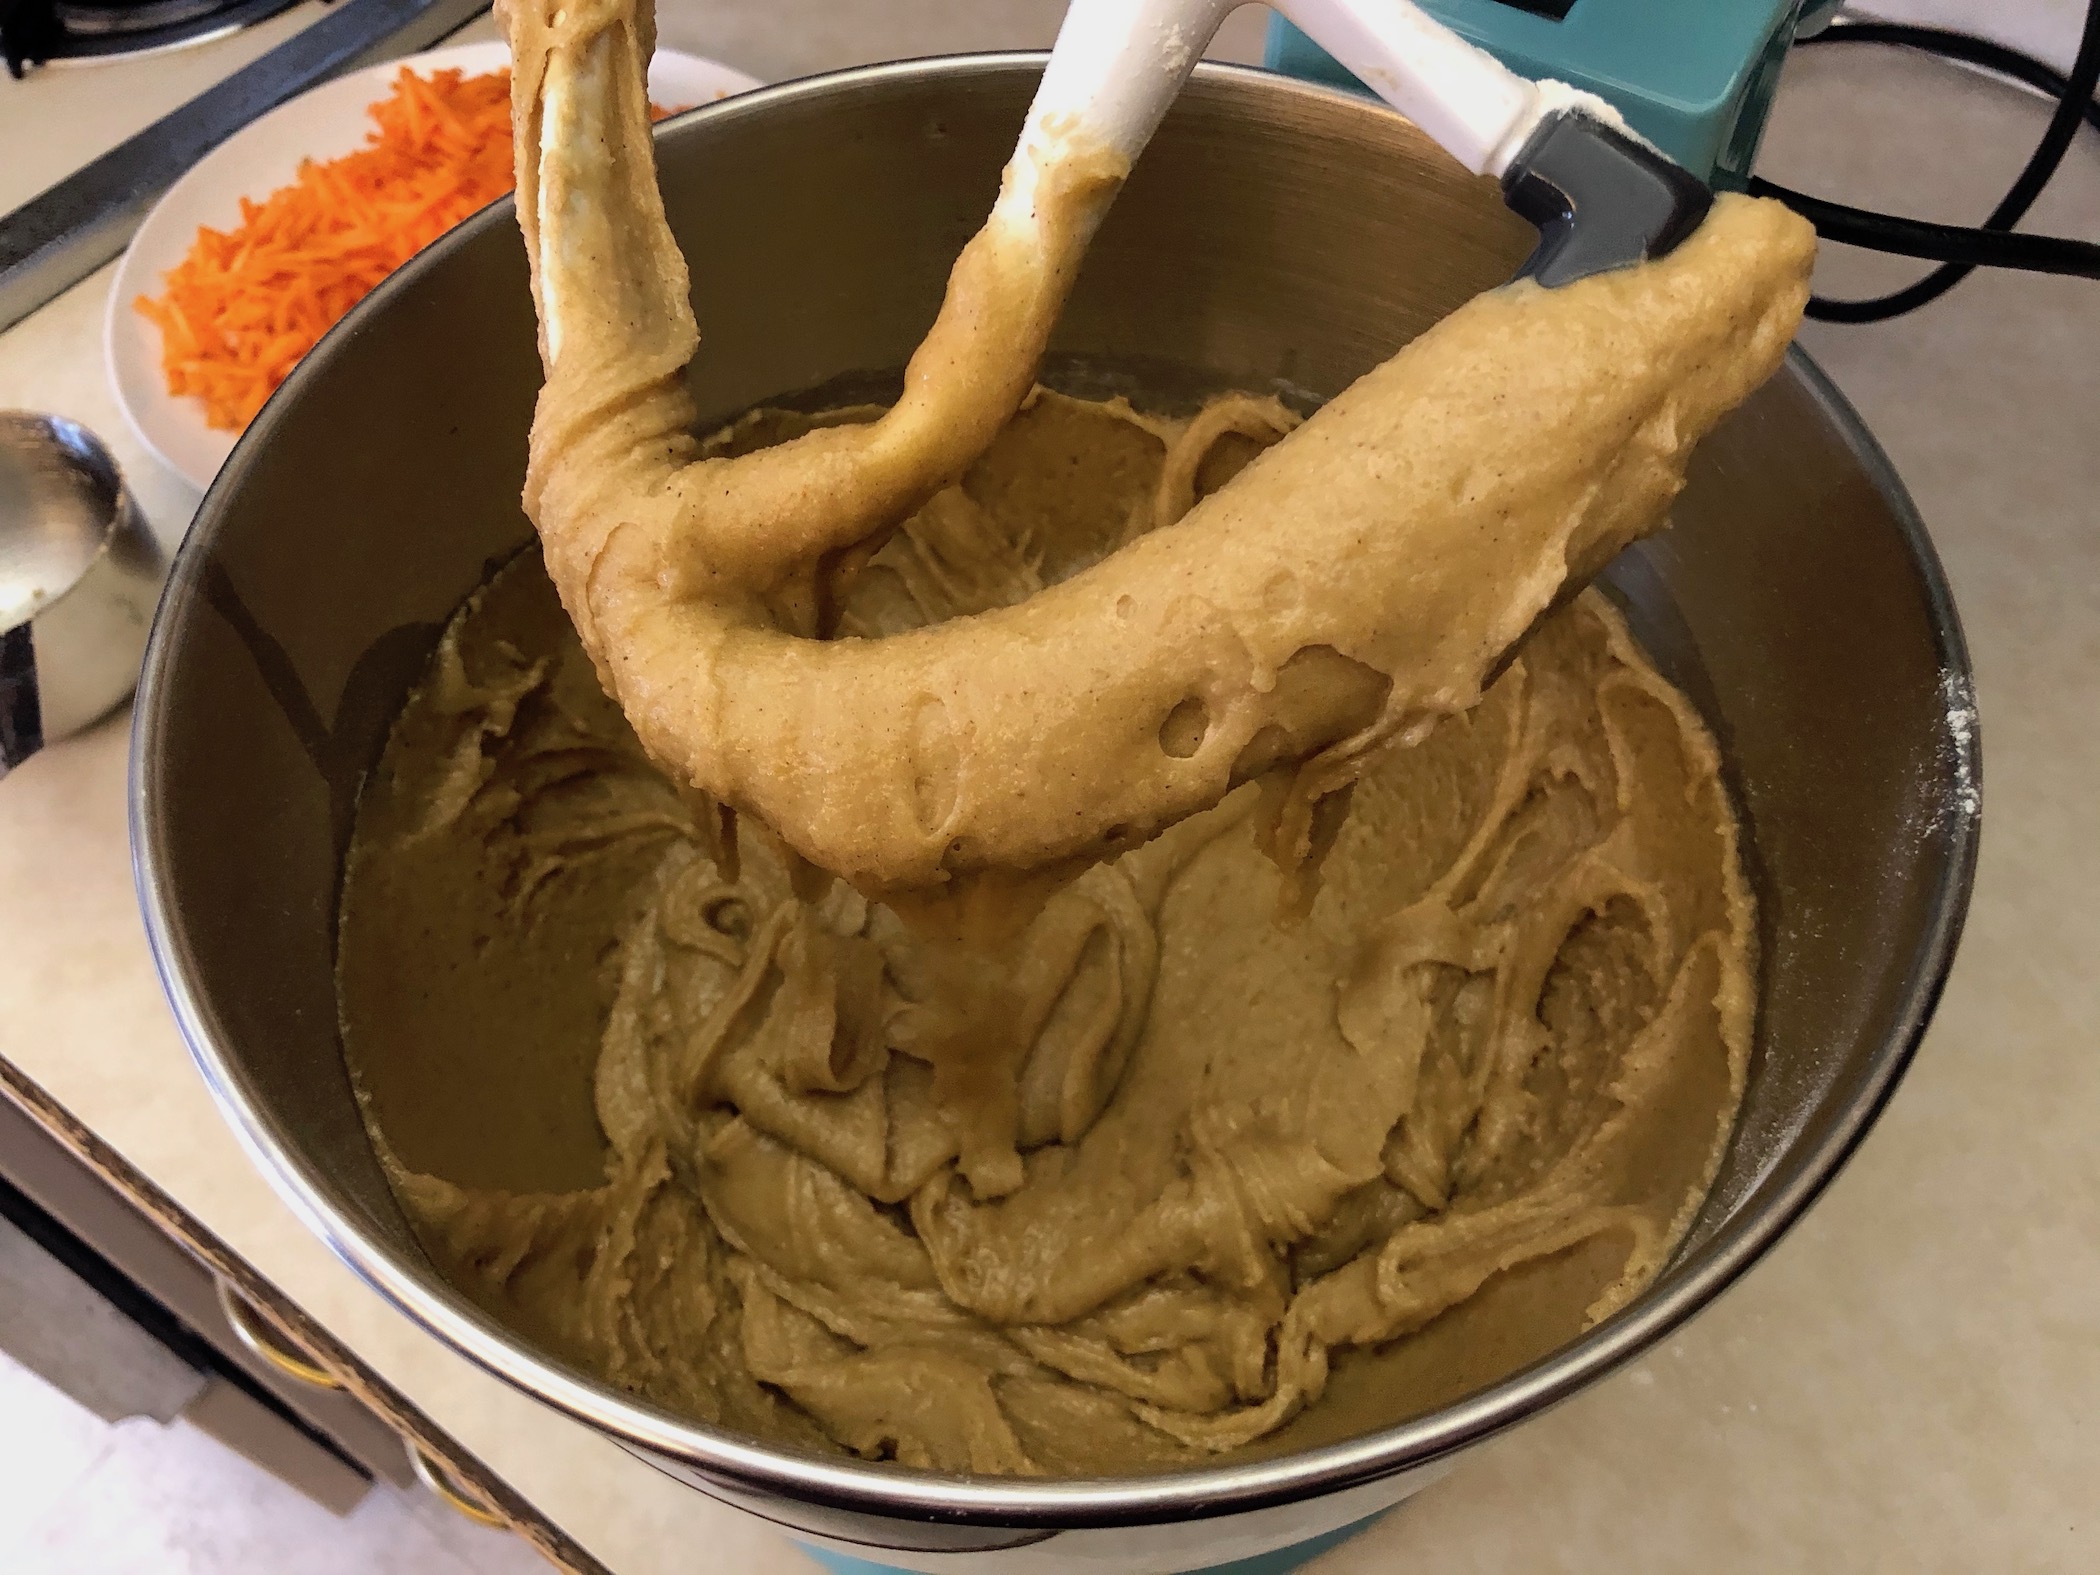
Add the grated carrots and mix until combined.


Pour the batter evenly into the 2 cake pans. Bake for 25-30 minutes or until a toothpick inserted in the center comes out clean. Let cool for about 10 minutes then remove from the pans and place on a wire rack to finish cooling.


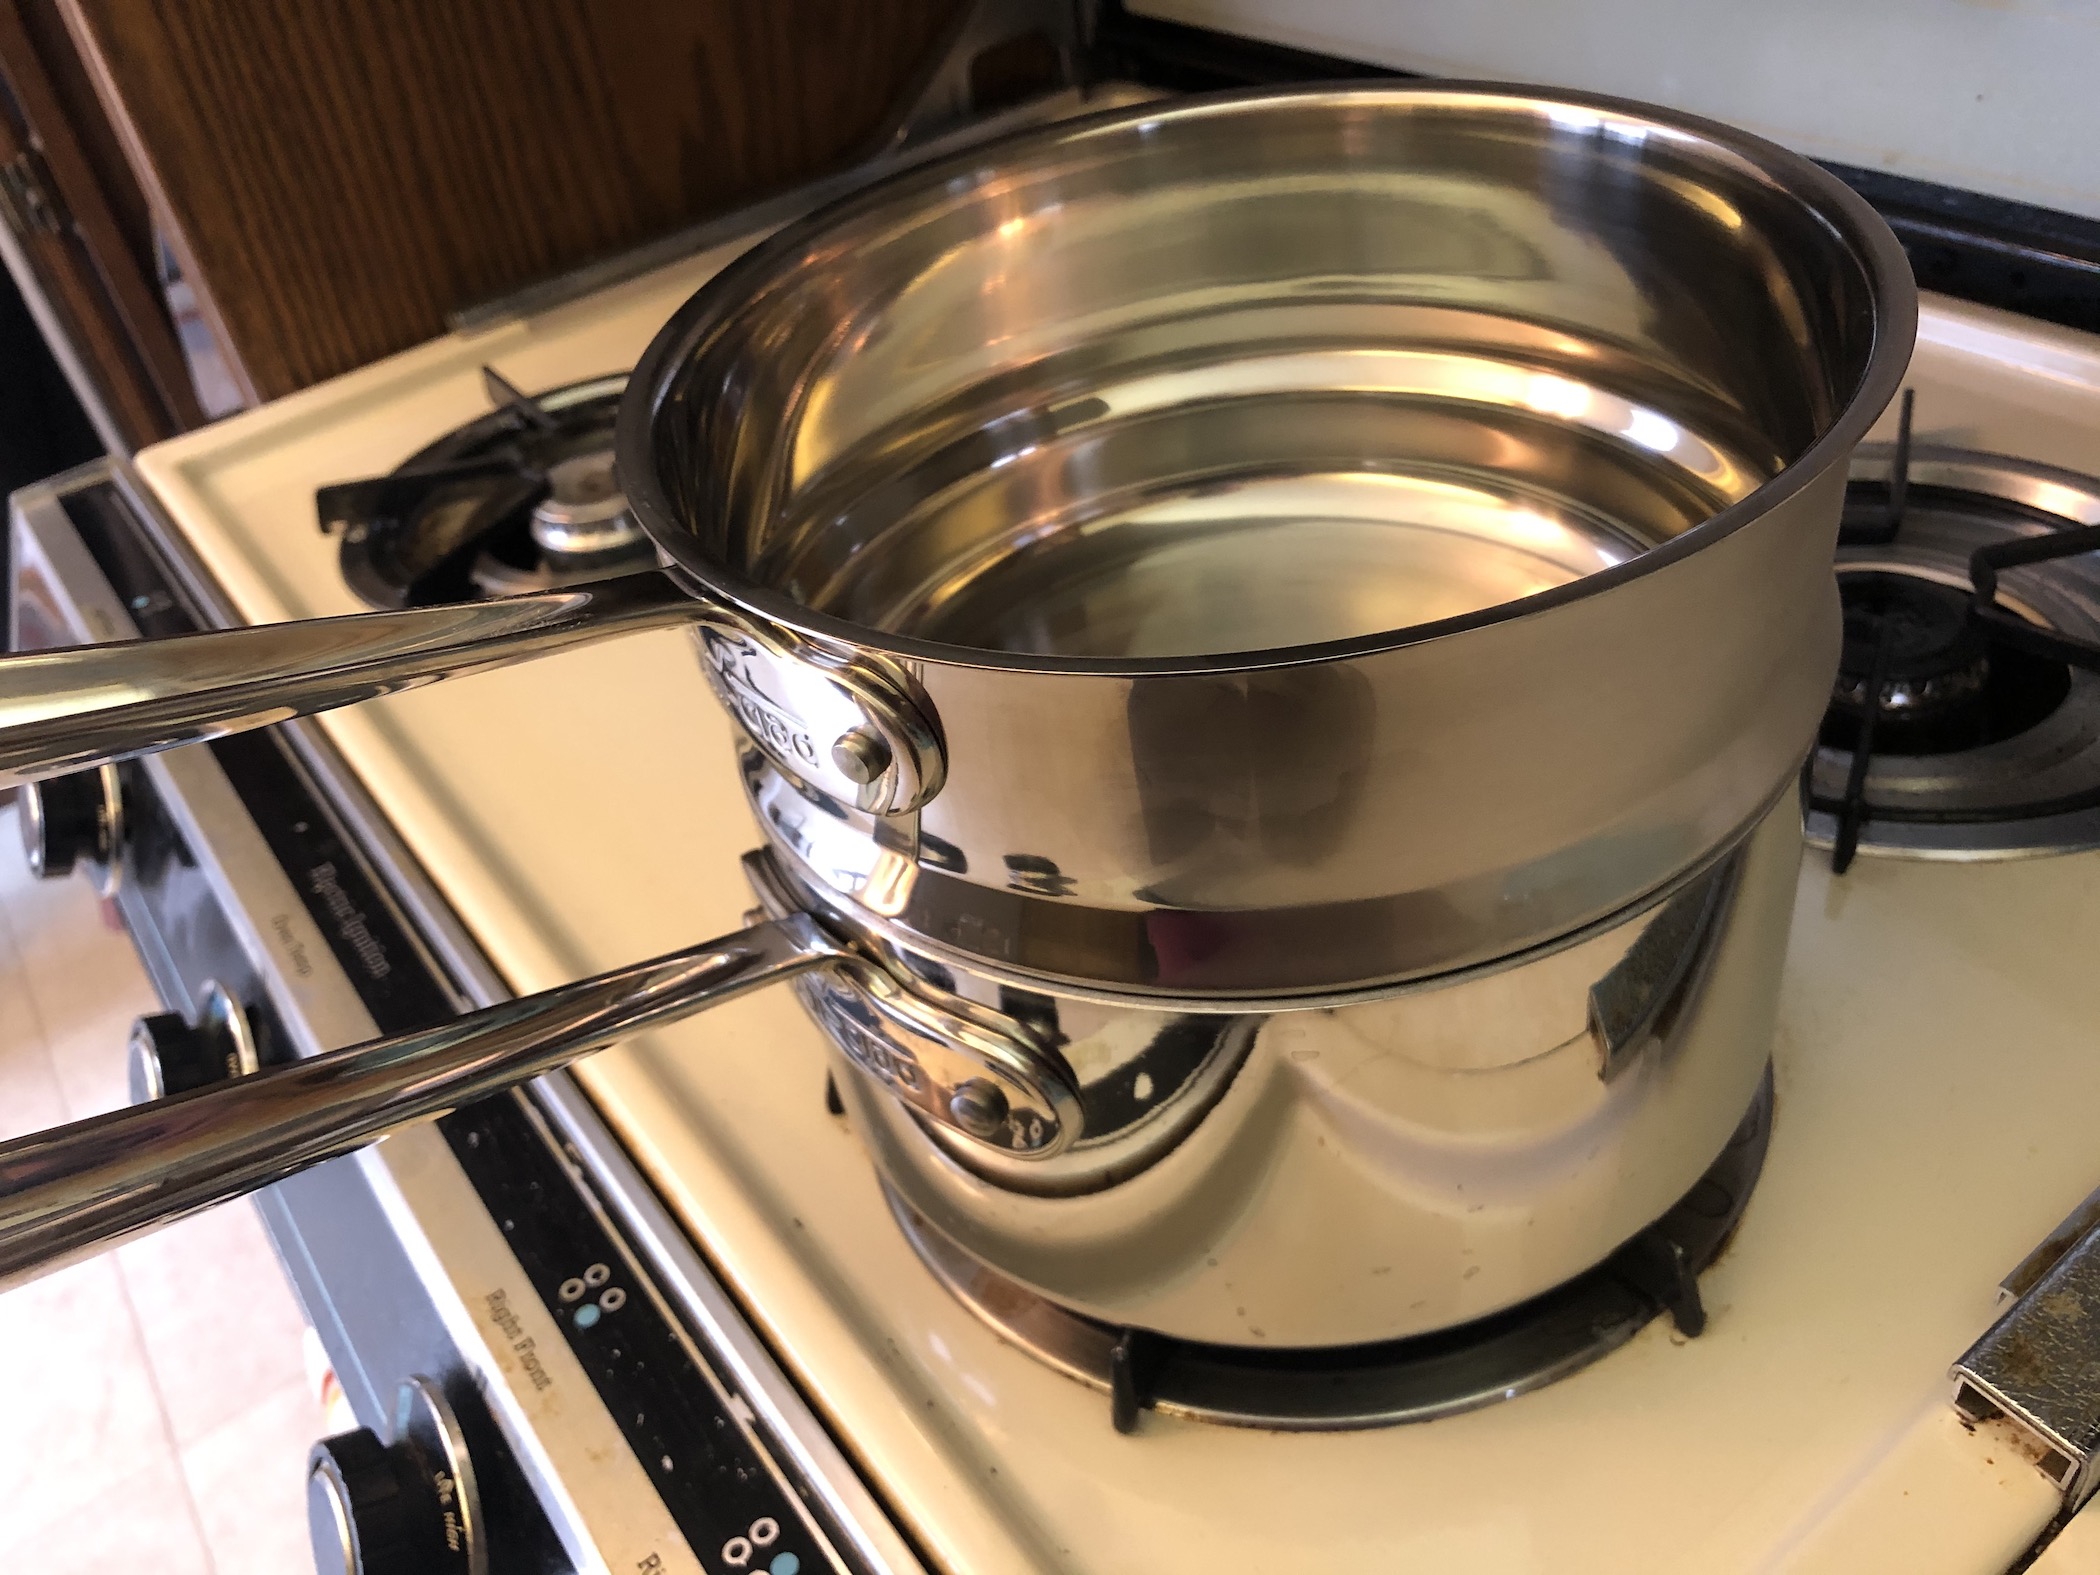
Use a double boiler and add water to the bottom pan. Bring to a boil, then reduce the heat to simmer and place the second pan on top. Make sure the bottom of the top pan isn’t touching the water.

Add the egg whites and sugar and stir until the sugar is dissolved. Make sure to stir constantly and keep the water to a slow simmer. You don’t want the water to be boiling or the eggs might start to cook.


If you don’t have a double boiler you can use a saucepan on the bottom and a heat safe glass bowl on top. Just make sure the bowl doesn’t sink inside the saucepan and the bottom isn’t touching the water.
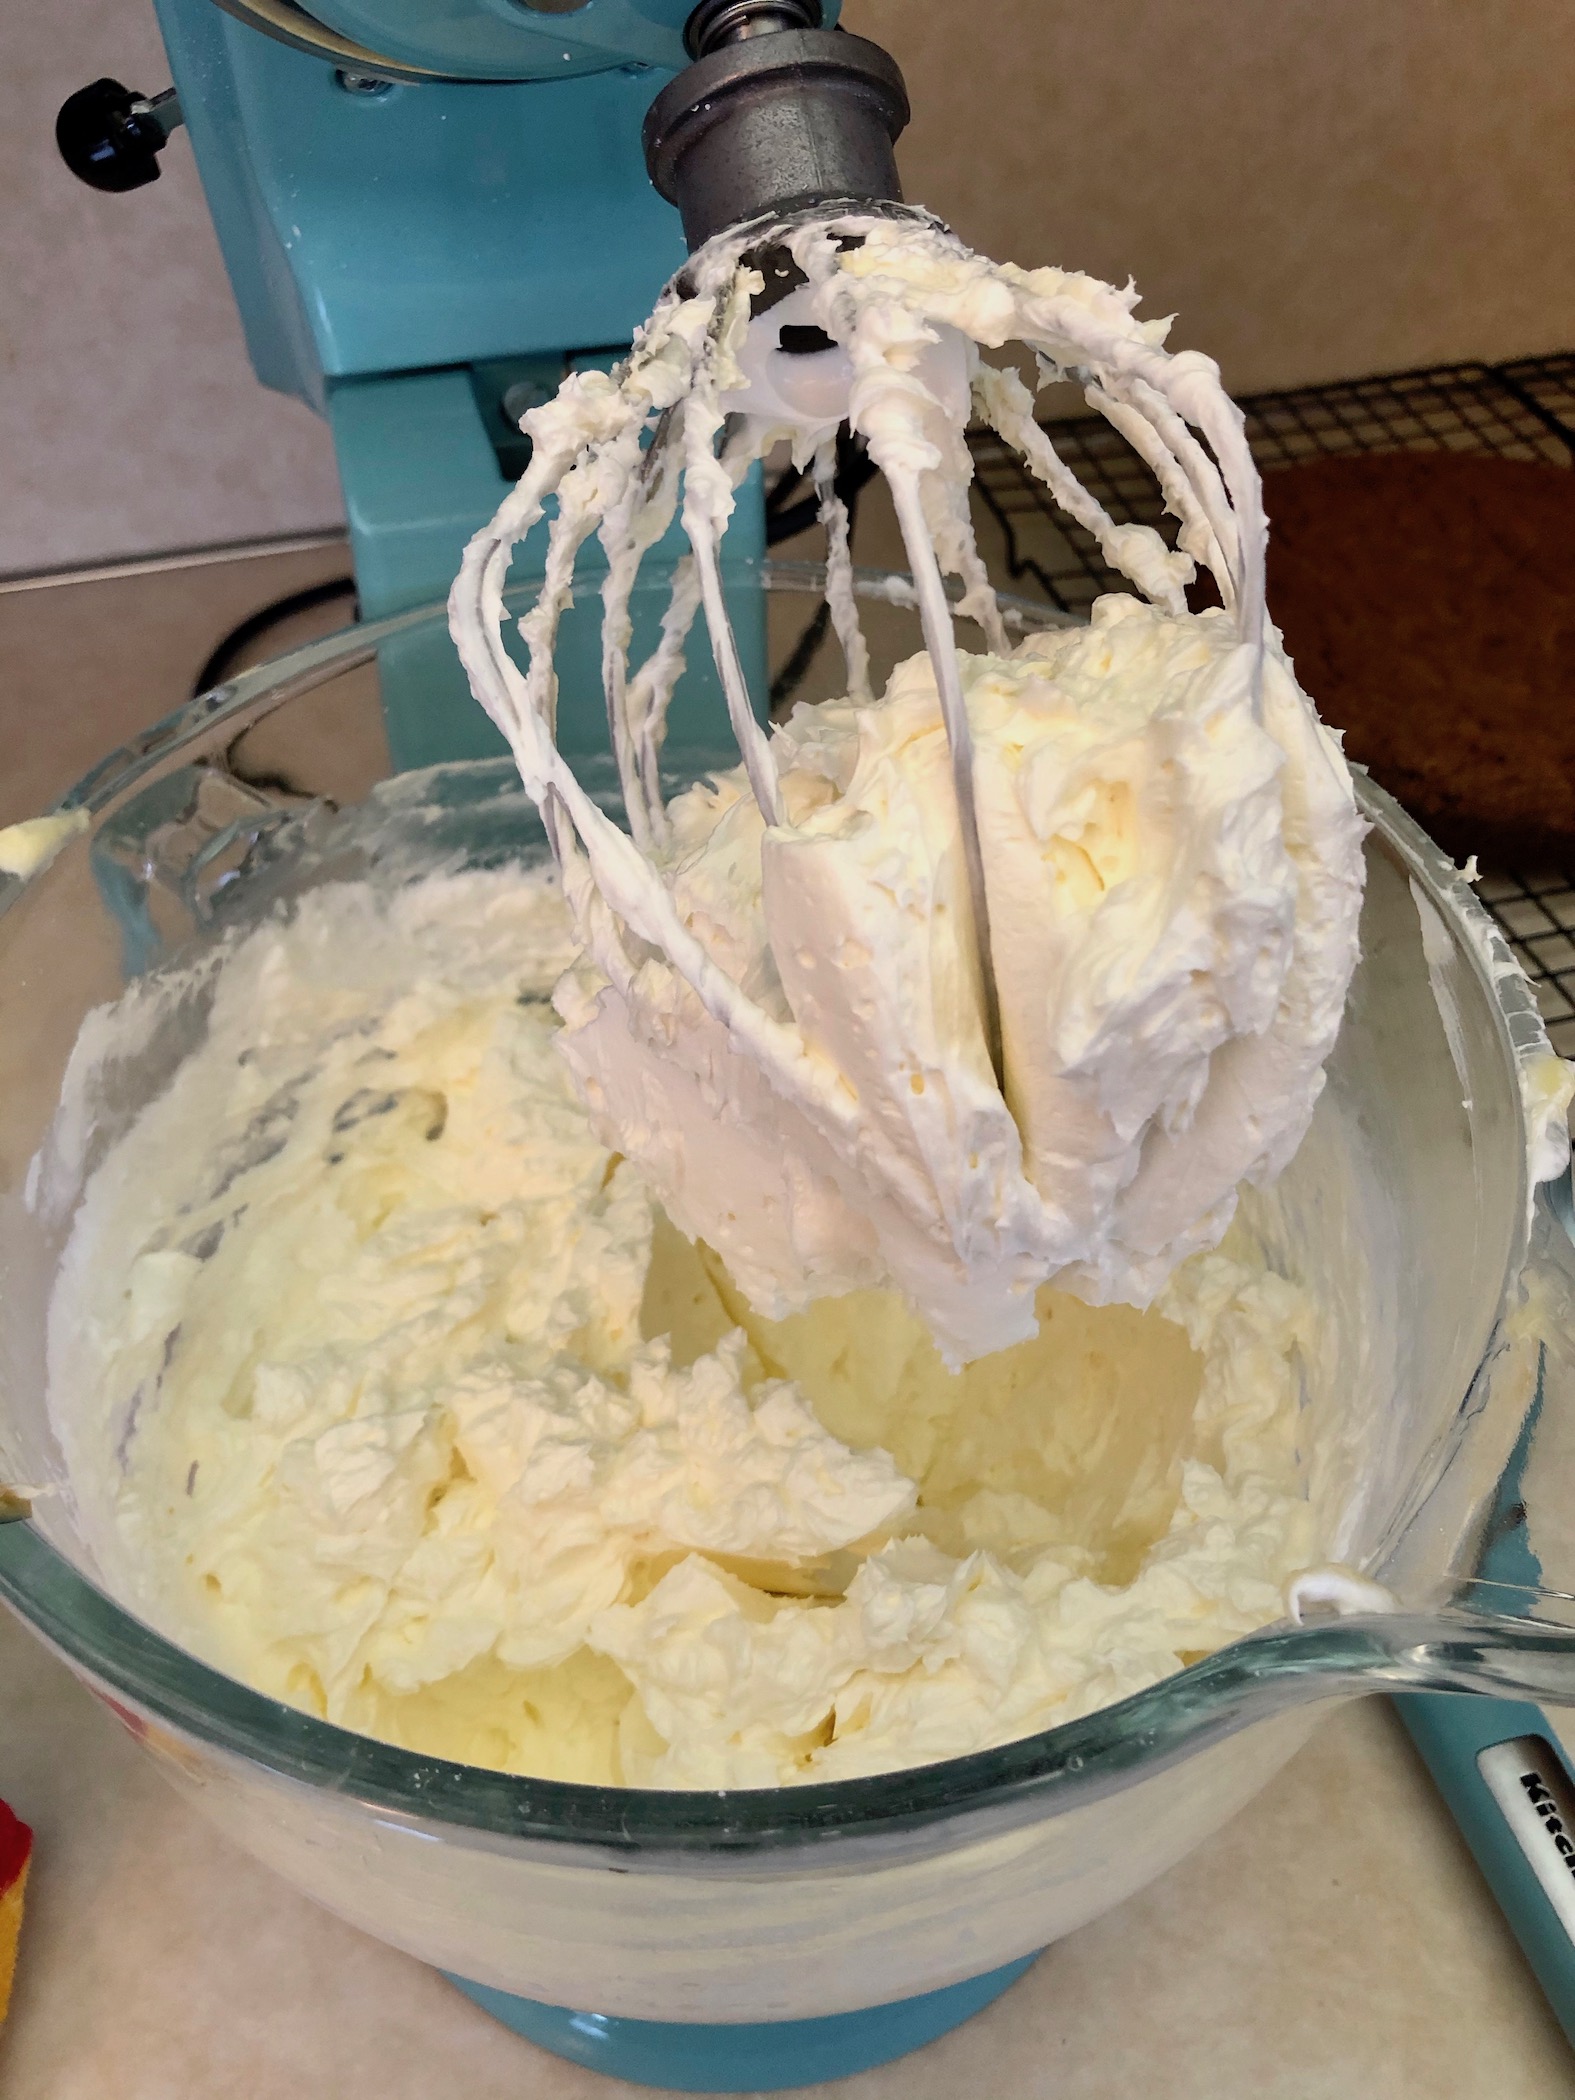
Pour the mixture into the bowl of a stand mixer and use the whisk attachment to whip the mixture on high until stiff peaks form. This will take about 5 minutes.


Add the powdered sugar and mix until combined. Add the shortening and butter and mix until combined. You may need to switch attachments at this point or scrape down the sides of the bowl to make sure all ingredients are incorporated. Add the vanilla and caramel sauce and mix until combined.


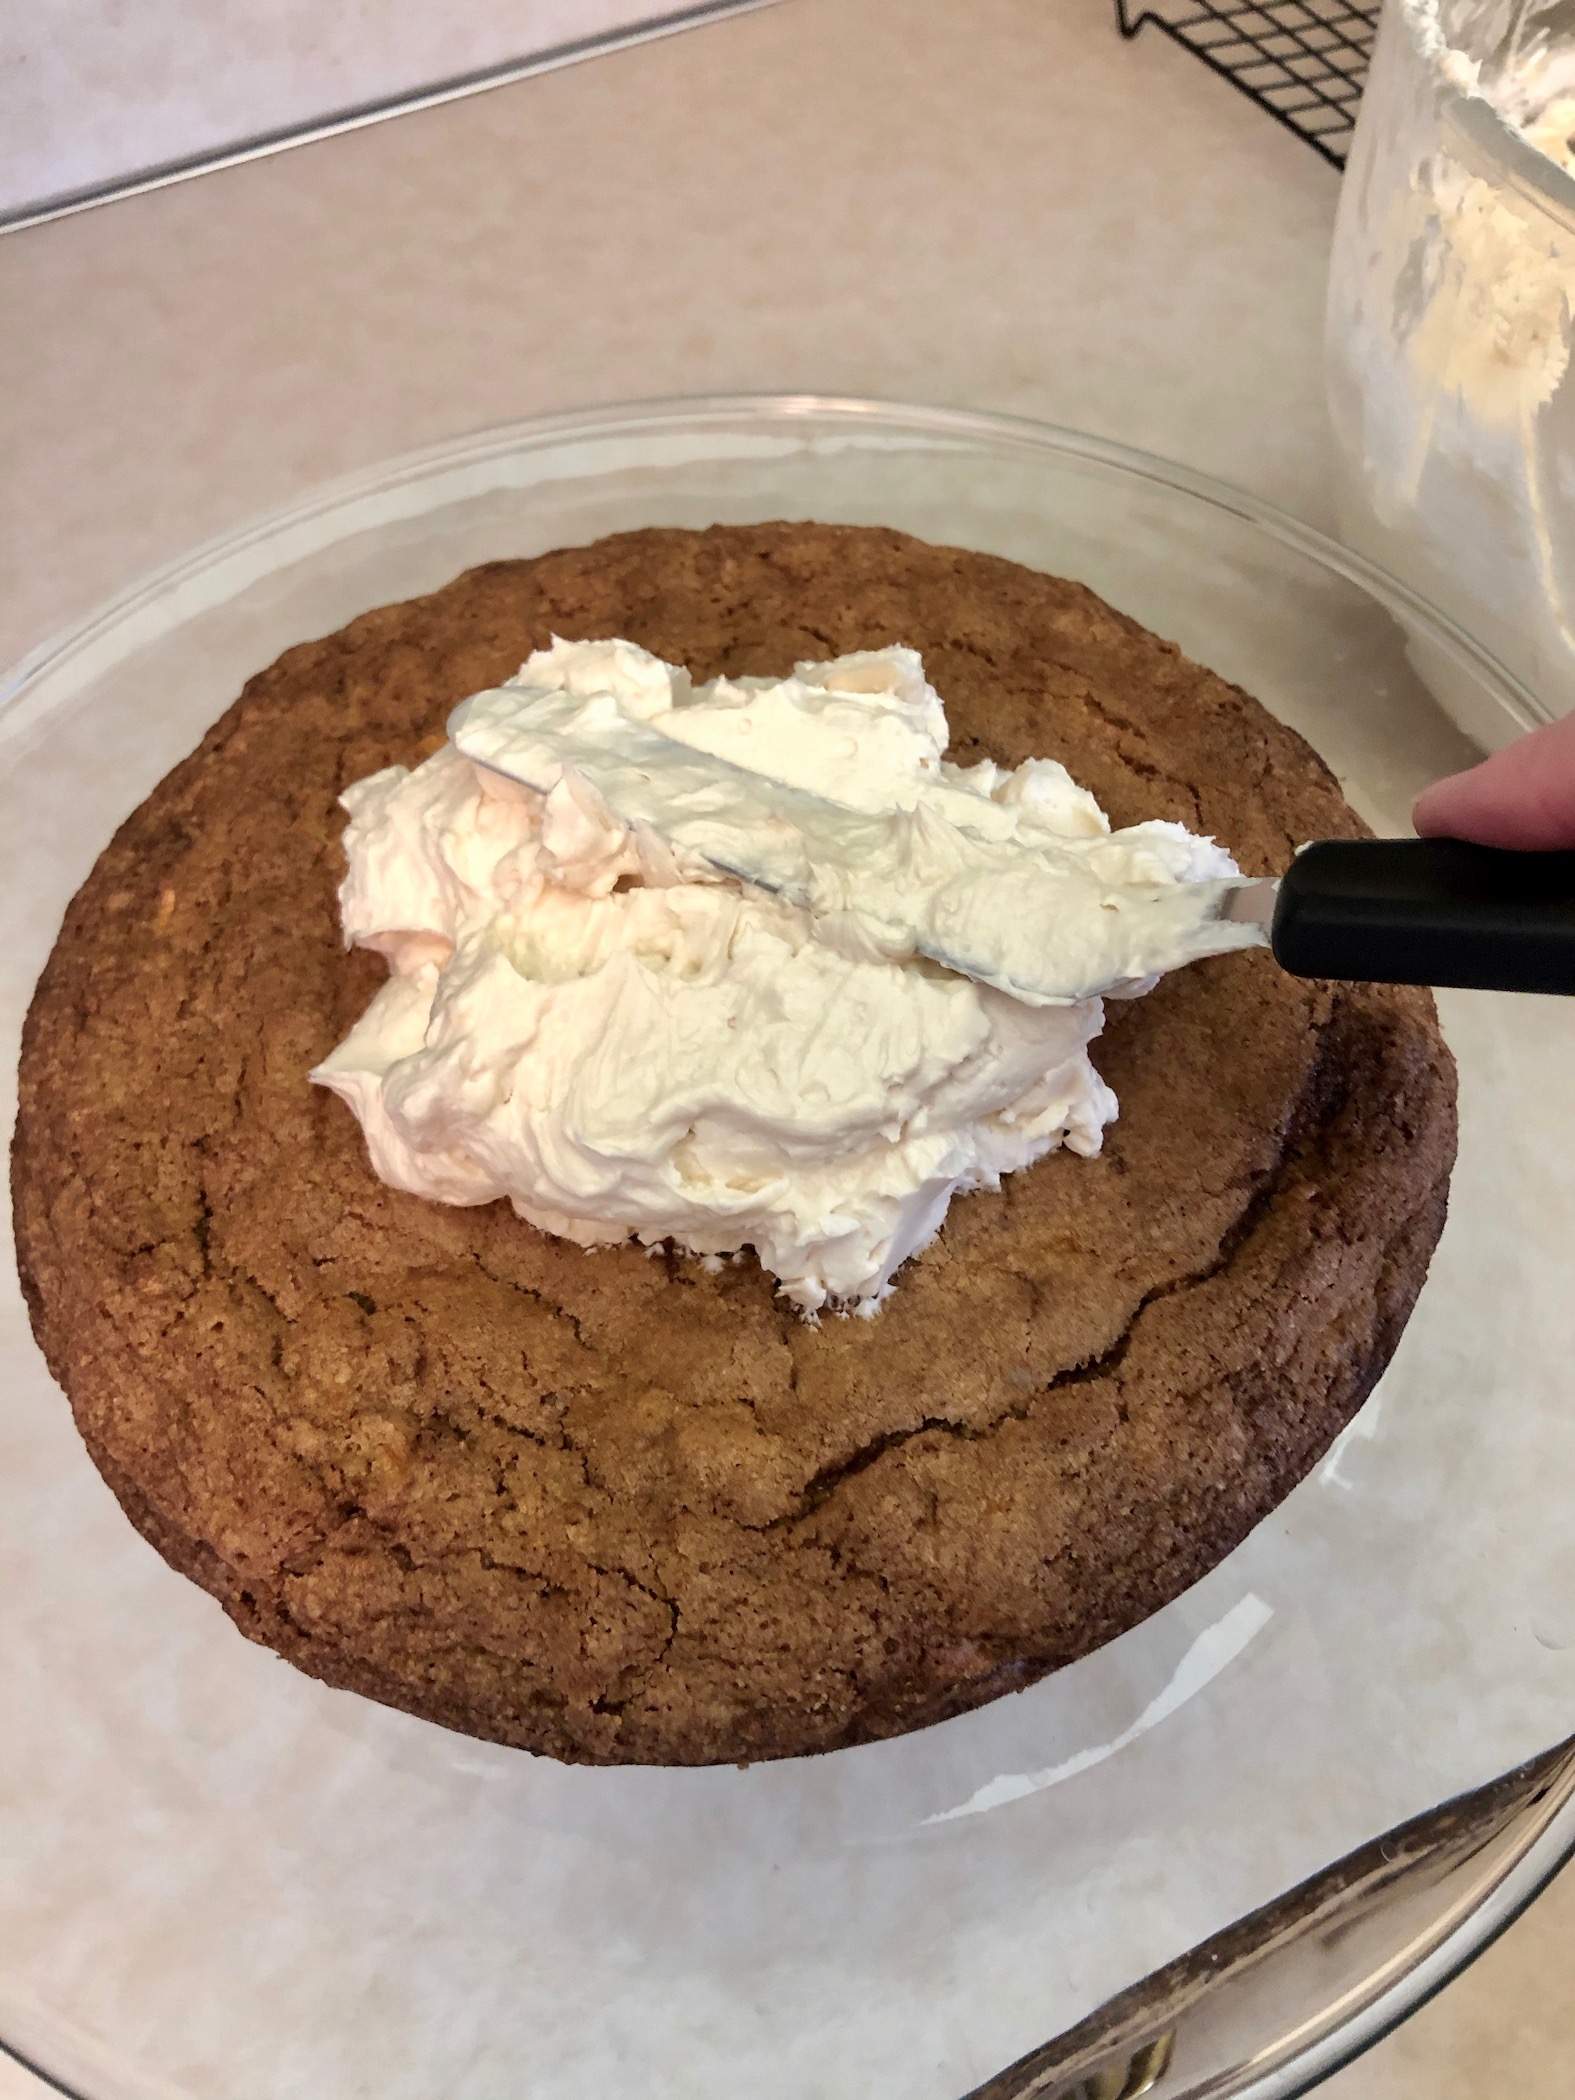
Start to assemble the cake. Add a small dollop of frosting to the cake plate – this will help the cake stay in place. Place one layer of cake on top and gently press down. Spread a generous layer of frosting on the cake. It’s OK if the frosting starts to go over the edge of the cake because you will be covering the sides in a later step.


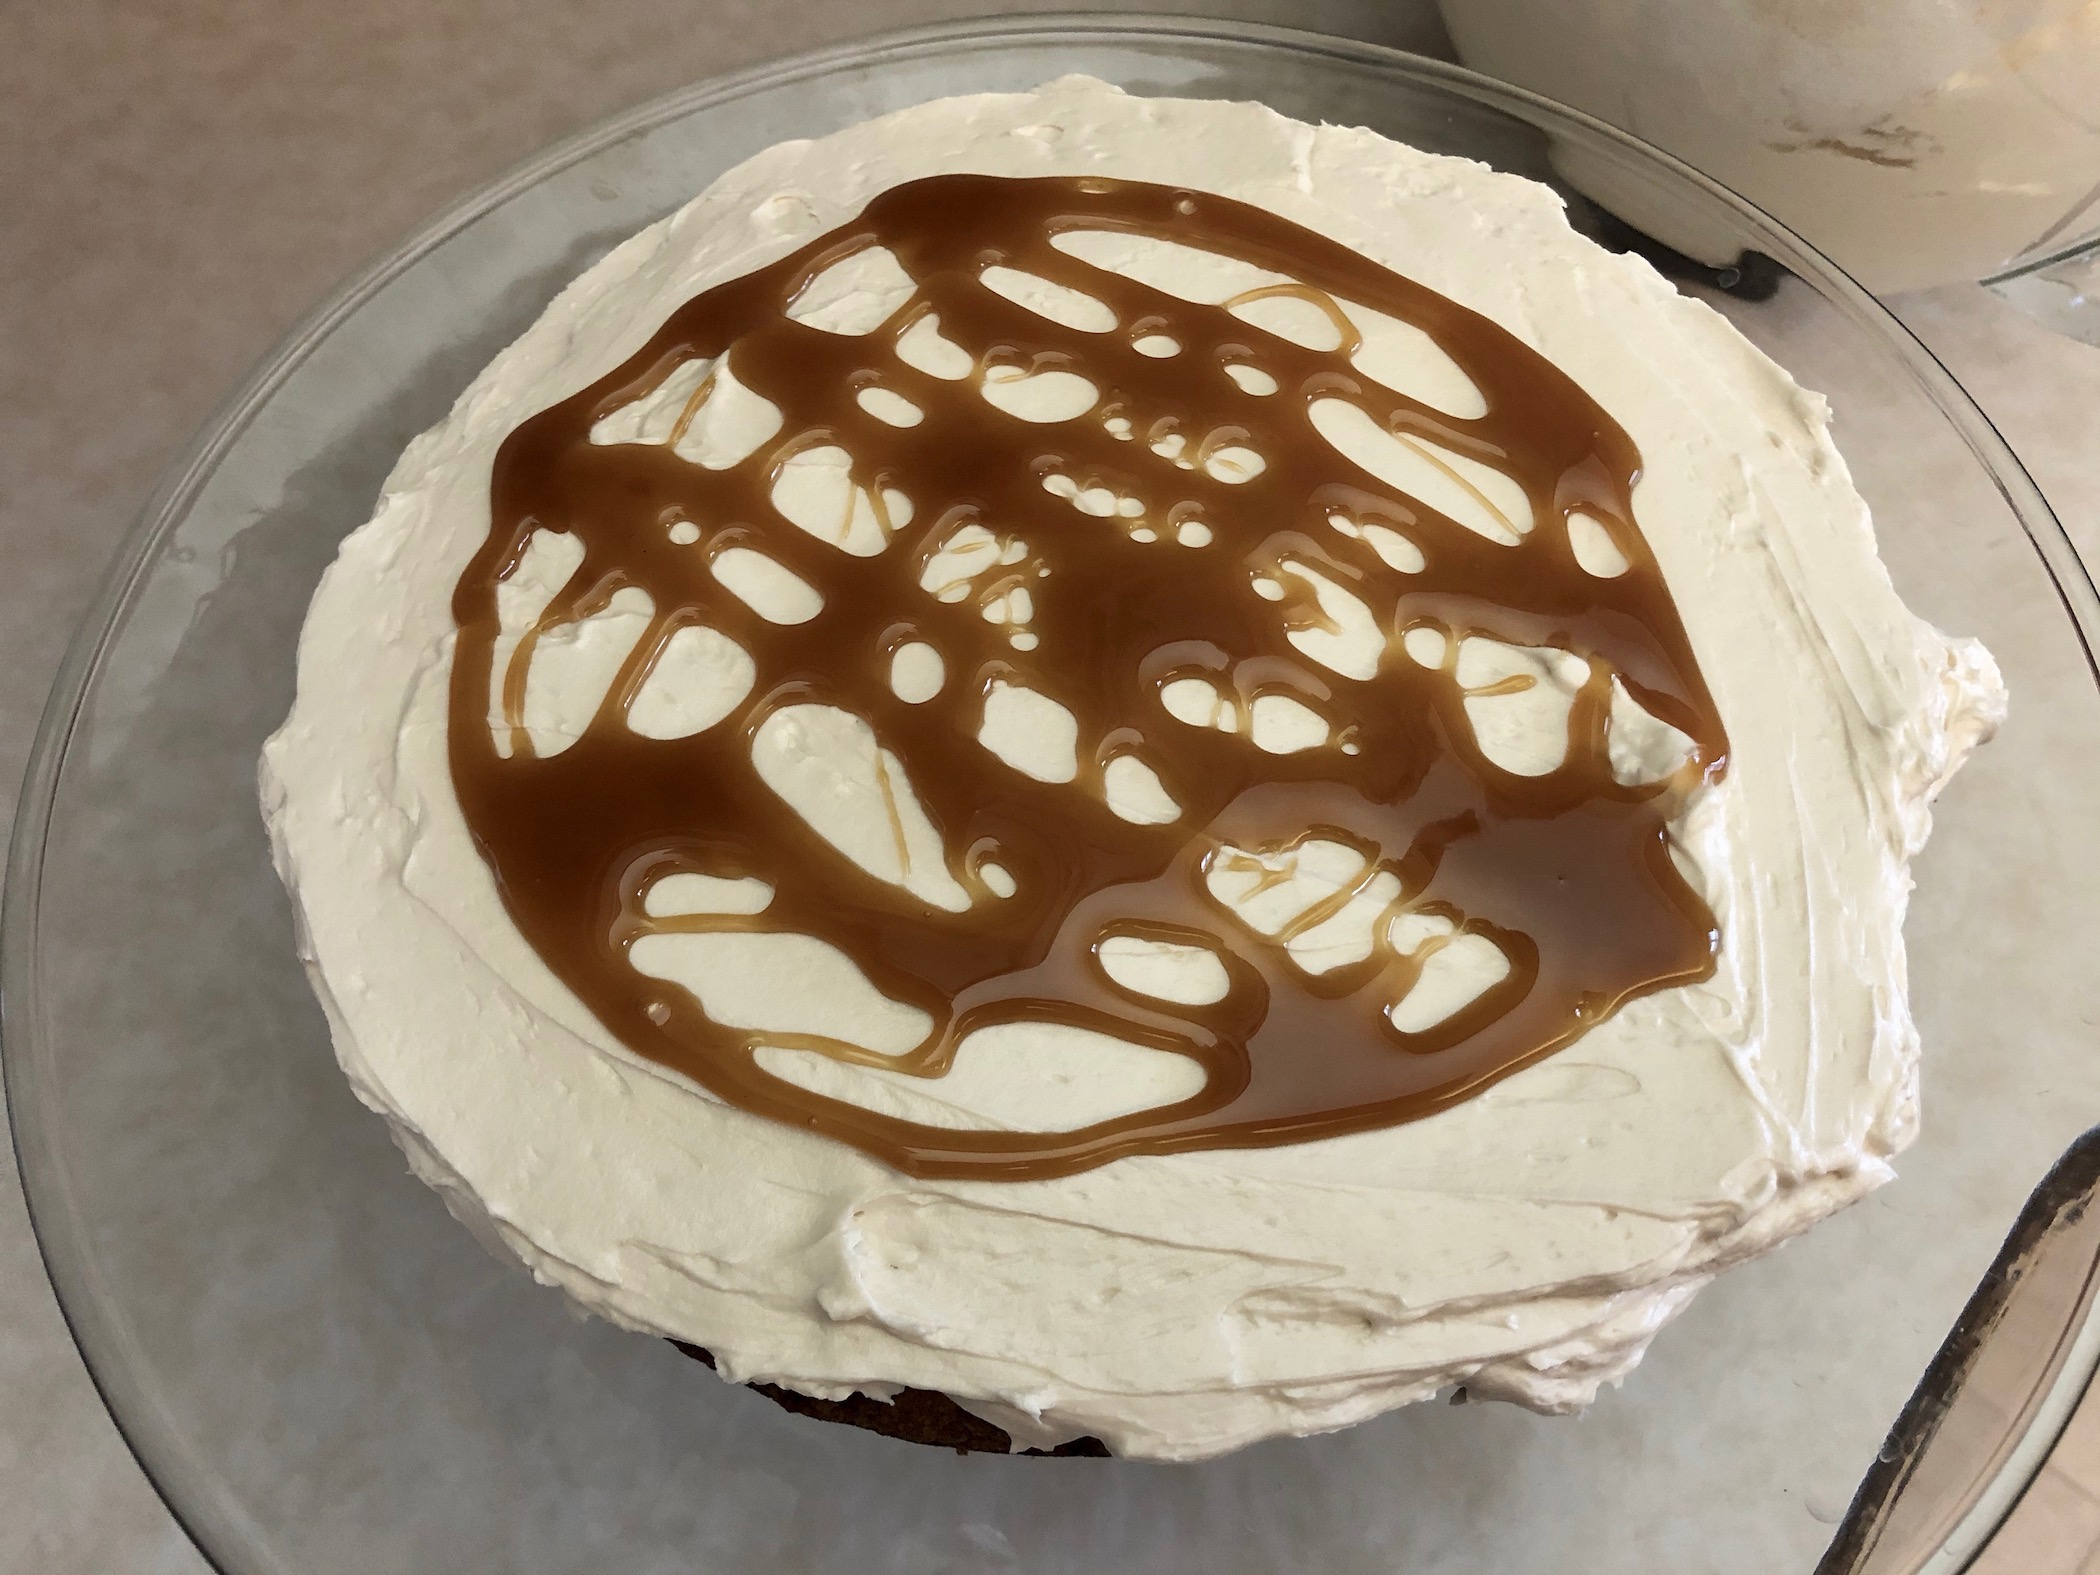
Drizzle a few tablespoons of caramel sauce on top of the buttercream making sure to keep it about 1-inch from the edge. You can skip this step if you don’t have any jarred caramel left. You can also add some chopped pecans to the center of the cake if you want a little crunch!
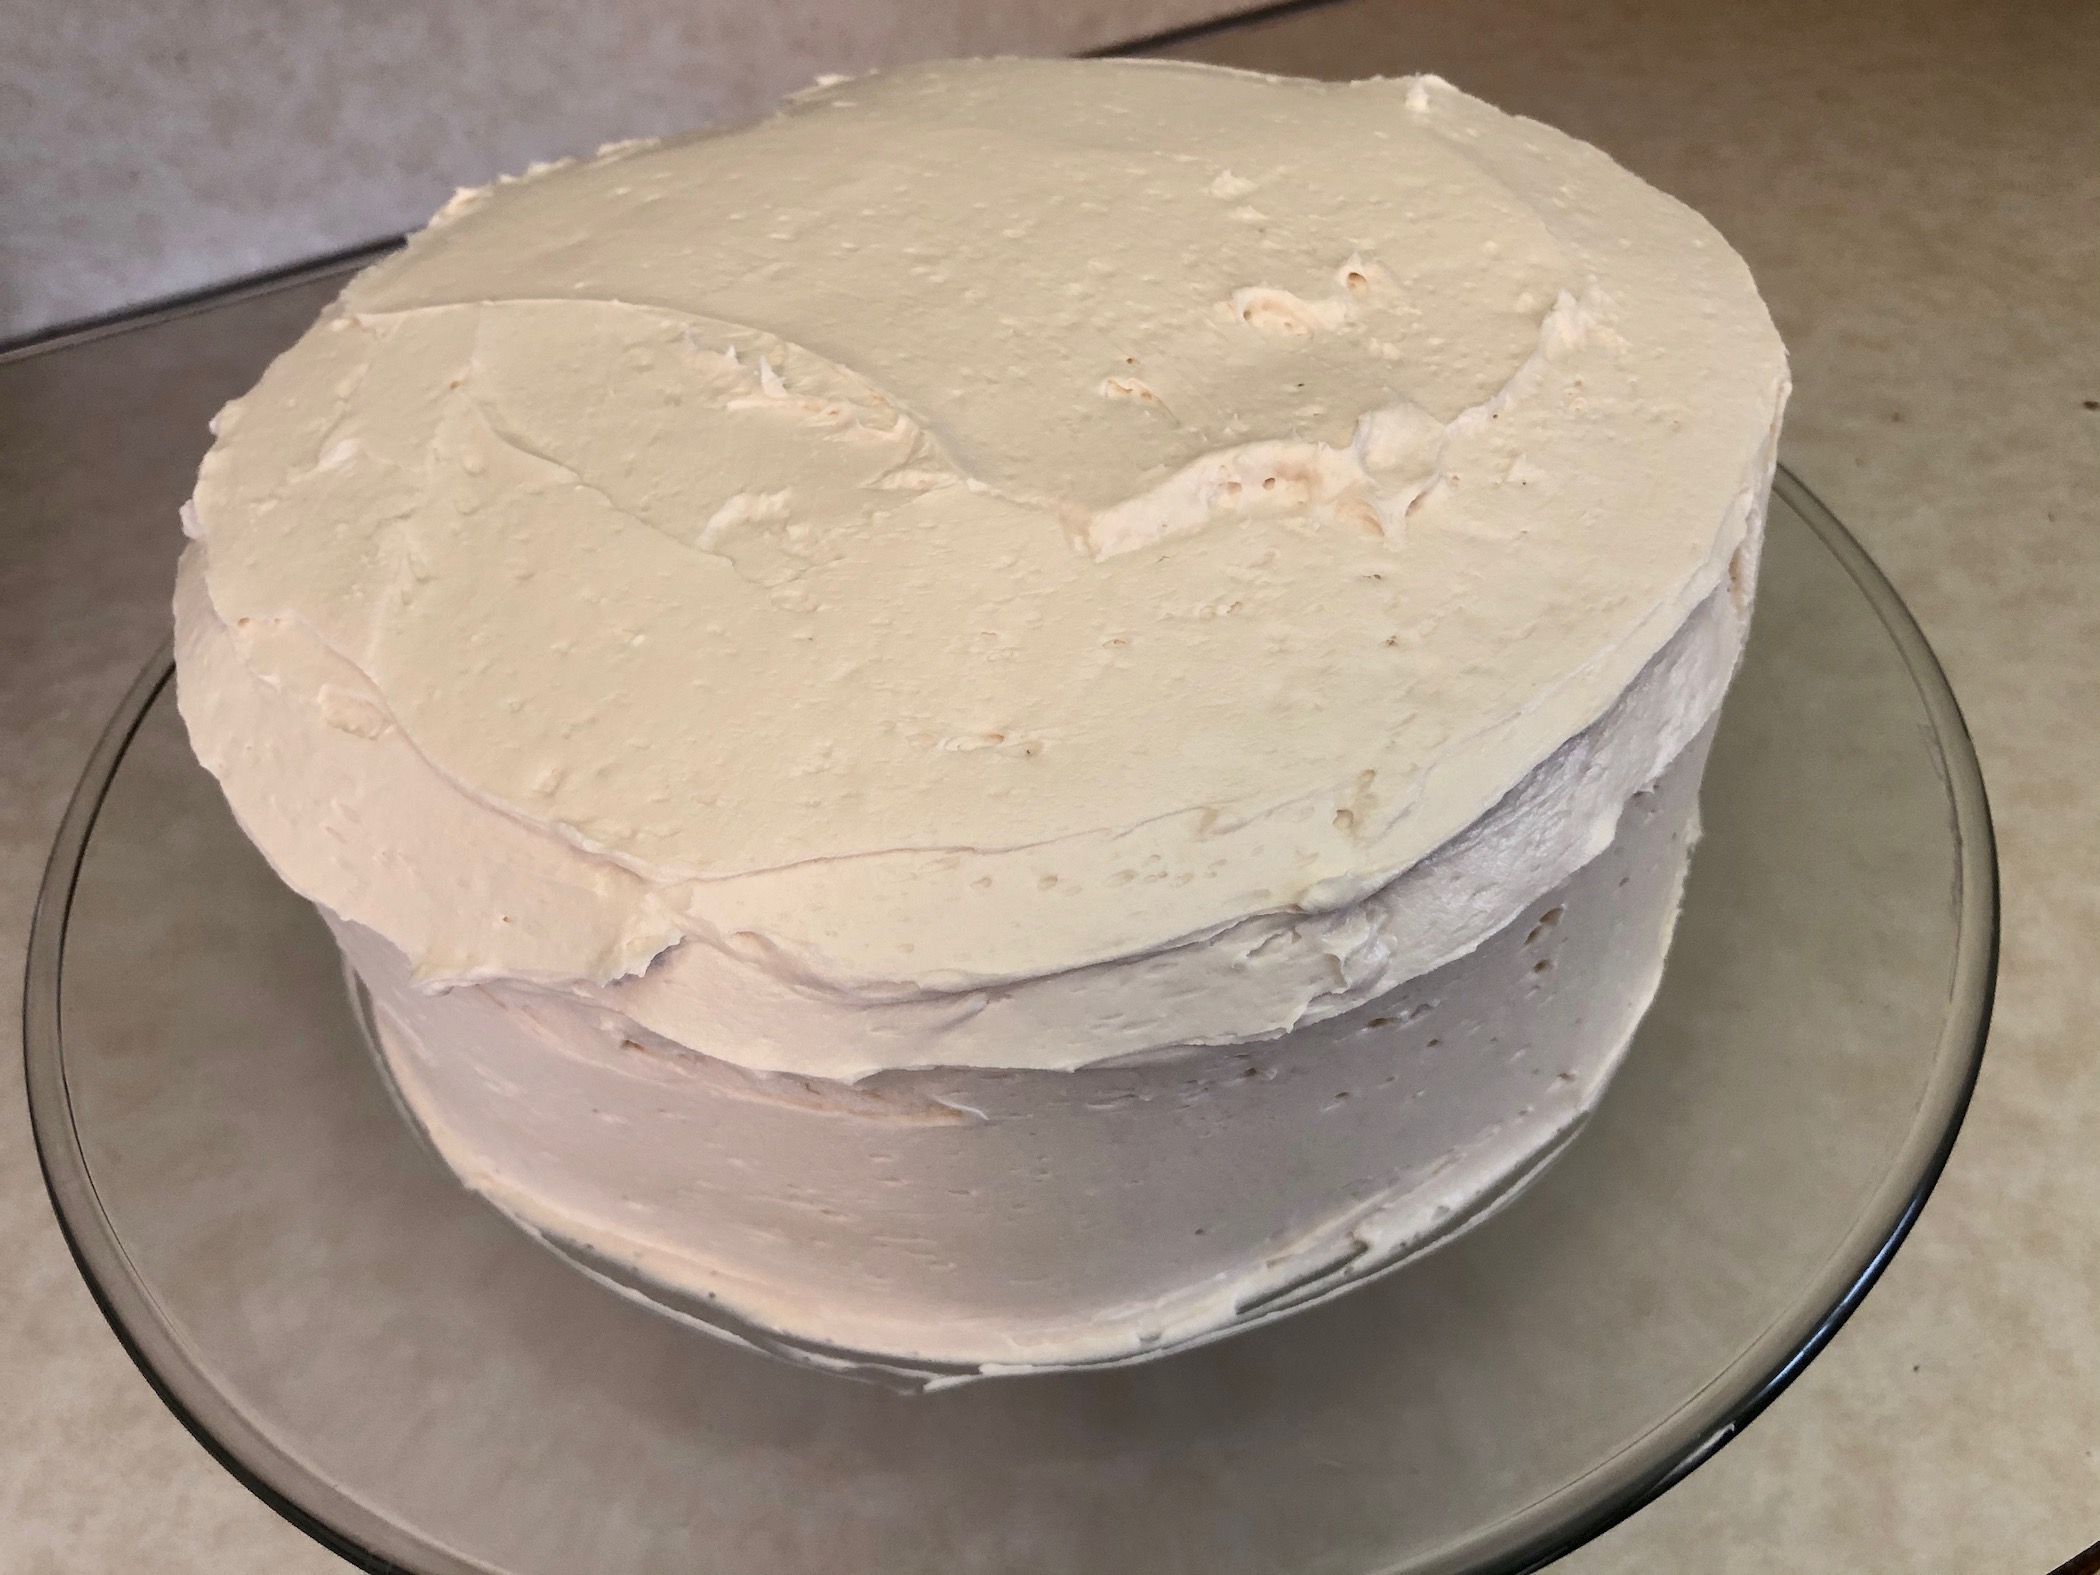
Place the other layer of cake on top and gently press down. Spread a generous layer of frosting on the top of the cake. Add additional frosting and push it down the sides of the cake. You want to use an offset spatula or the back of a knife to evenly cover the cake and smooth out the frosting. It doesn’t have to look perfect!


If you want to decorate the top of the cake, add the leftover frosting to a piping bag fitted with a 1M tip. Pipe swirls around the top of the cake.


Place in the fridge to allow the frosting to set for about 30 minutes.
While the cake chills, make the caramel garnish. This step is optional depending if you want caramel or not. Use a microwave safe bowl to heat the caramel squares and heavy cream. Microwave in 30 second intervals, stirring after each 30 second. You want the caramel to be creamy and smooth.

Pour the caramel into a piping bag and snip the end. Drizzle the caramel along the edges of the cake and let it drip down the sides. Add the rest of the caramel to the top of the cake in the center.


Sprinkle the pecans on top of the caramel in the center of the cake. Place the cake in the fridge until ready to serve. When ready, slice and enjoy!

The recipe can be found here.
If baking isn’t your forte, you can always opt for store-bought goodies! Festival Foods has a variety of Easter cakes and tortes to meet your needs. Click on the link below to see the available selections!
Seasonal Cakes and Tortes can be found here!


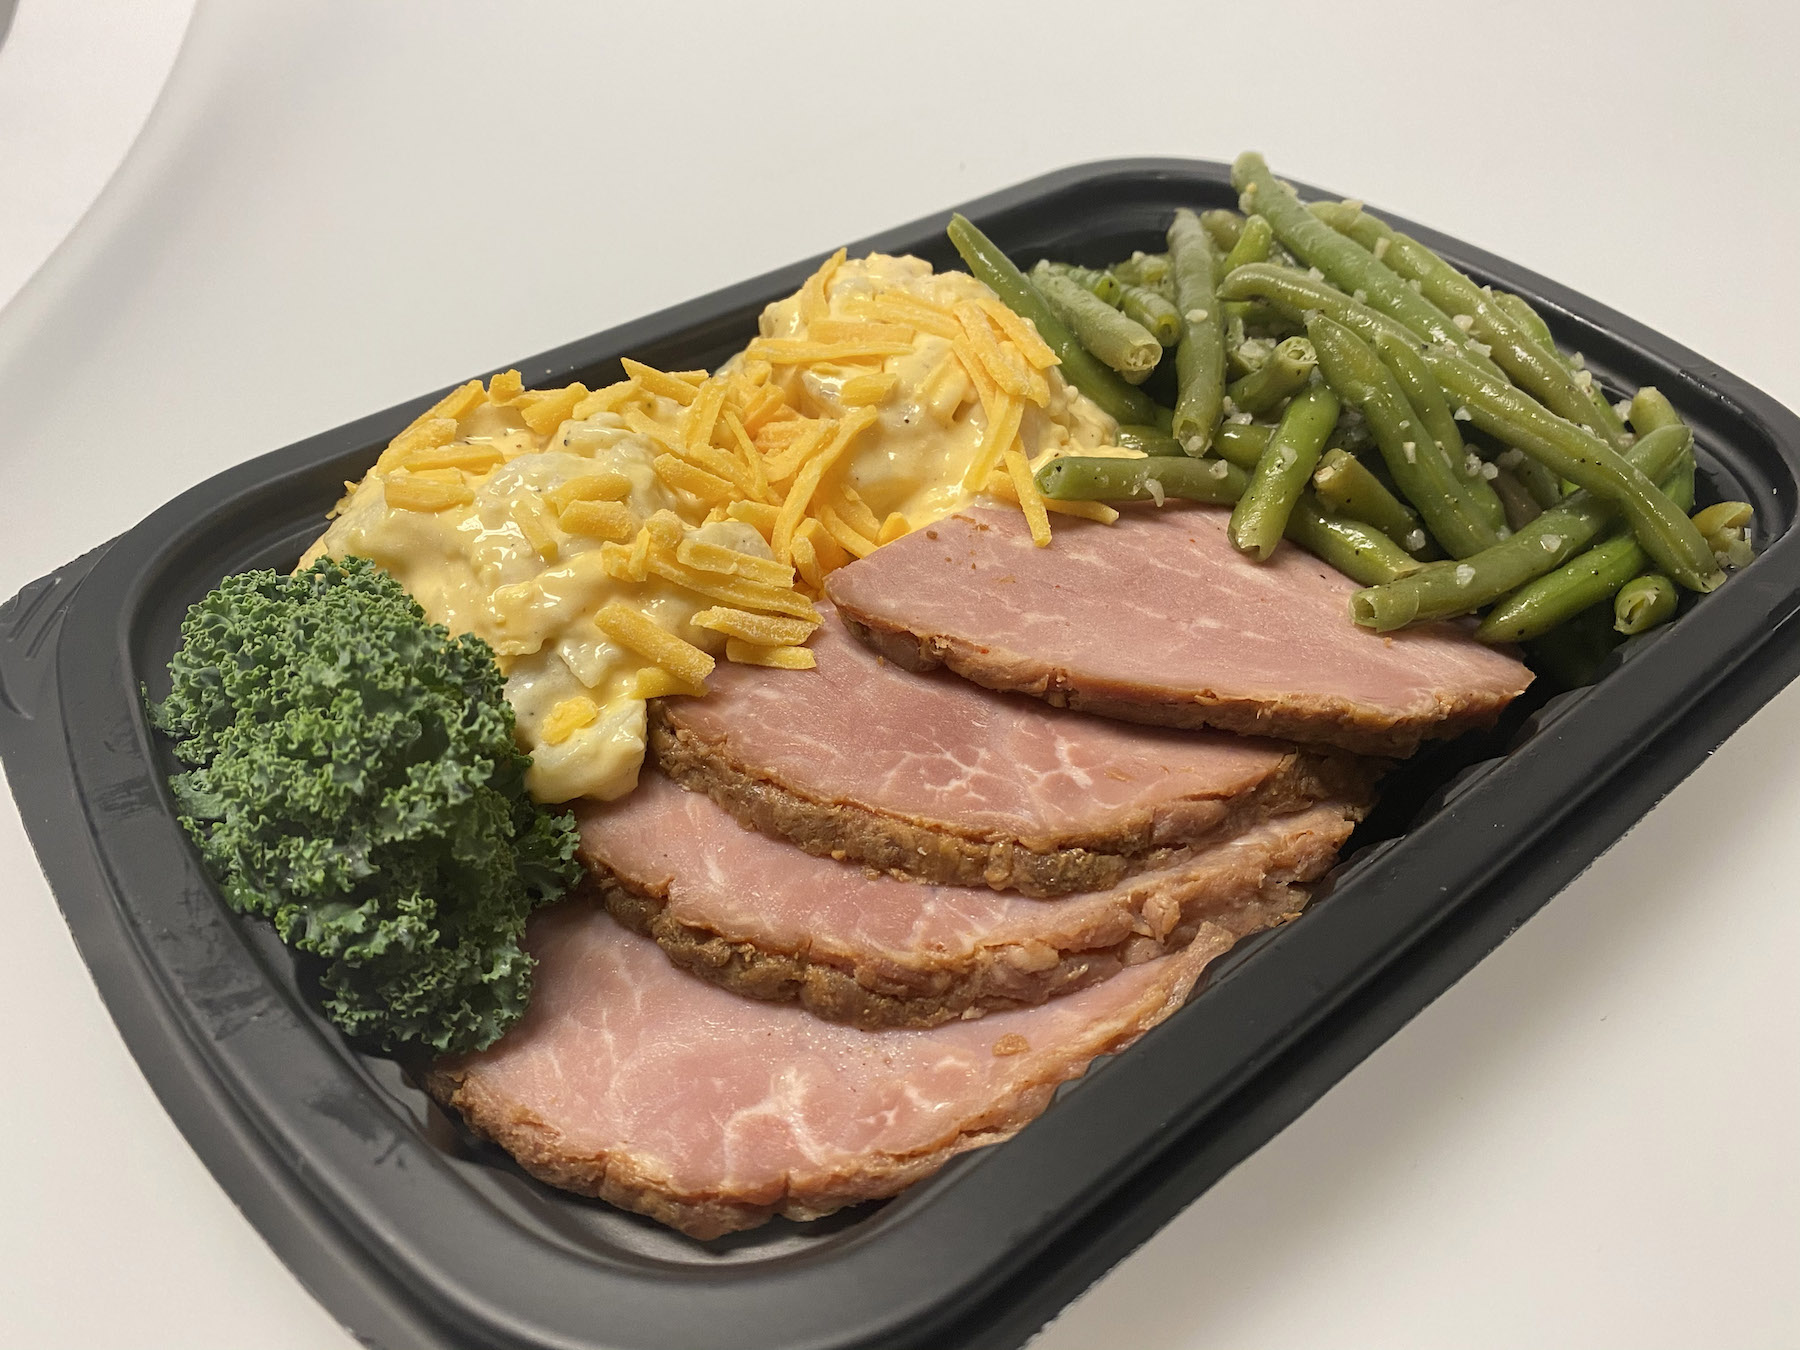
Now, it’s time to talk dinner! After making breakfast, a snack, and dessert, I’m spent! I don’t want to think about what to make for dinner so I’m going to rely on Festival Foods to meet my needs. This is a great option if you only have 1-2 people to feed or prefer to have your meal catered vs home cooked.
Festival Foods offers a Ham Dinner for One, Ham Dinner for Two, or a Full Easter Ham Dinner that serves 6-10. Ordering information and details can be found by clicking the link below. The dinner that serves 6-10 might be too large for an Easter celebration due to social distancing but that’s ok! The food will keep for a few days to serve as leftovers, so you don’t have to worry about getting to the grocery store and/or cooking for a few days. That’s a win-win!
Available holiday dinners can be found here!


You can also purchase a ham from your local Festival Foods to prepare at home. Again, social distancing might cause you to have plenty of leftovers, but ham freezes quite well, or it can be turned into other dishes. I like to portion out the leftovers into individual meal sized bags and place in the freezer. I then thaw 1-2 bags at a time to make omelets, sandwiches, eat as is with a side dish, etc. You can also make homemade soup, dice up the ham to put on a salad, make a quiche, etc.
If you do make your own ham, don’t forget about the sides! Festival Foods has an incredible amount of sides to make any meal complete! Click on the link below to see the options; potatoes, pasta, dips, breakfast items, fruit, etc.
Available side dish options can be found here!

Happy Cooking and Happy Easter!


Recent Comments