 order online
 weekly specials
Cake Pops are a fun phenomenon and something I had to try. When I think of a Cake Pop, I think of cake that is coated in melted chocolate, skewered on a stick, and served as a bite sized treat. They can be made in most cake flavors and decorated as simple or elaborate as you want. They are very similar to truffles but are often a little lighter and truffles aren’t served on a stick.
I started my Cake Pop venture before the 4th of July (can you see I’m a bit behind on writing this? :)) but thought these are great treat for any time of year! You could make some to celebrate Labor Day, the end of summer and kids going back to school, dessert at a BBQ, or just make them because you love cake 🙂

I purchased this fancy Cake Pop maker (little countertop appliance similar to a waffle maker) and thought it was a breeze to use. There are 2 different ways you can make Cake Pop …. use the little appliance (technically cheating) or make them by hand. I’m going to start with explaining how to make Cake Pop by using the little appliance that does all the work for you 🙂

To start you are going to need 1 box of cake mix. Any flavor you want, plus all the ingredients listed on the box to actually make the cake. This took some trial and error on my part. Pillsbury Cake Mix was a little too thick to use in the Cake Pop Maker, but Betty Crocker Super Moist Cake Mix was the perfect consistency. You also need Candy Melts (again, any color of your choosing) and lollipop or treat sticks. I’m talking about those round white sticks you can find at your local craft store and sometimes the baking aisle of the supermarket, not popsicle sticks. If you can’t find the color of Candy Melts you want, you can always buy white and use GEL food coloring to create the color you want. Do not use liquid food coloring with Candy Melts. The liquid will cause the Candy Melts to curdle and it’s not a pretty sight…. or anything you’ll actually be able to work with!

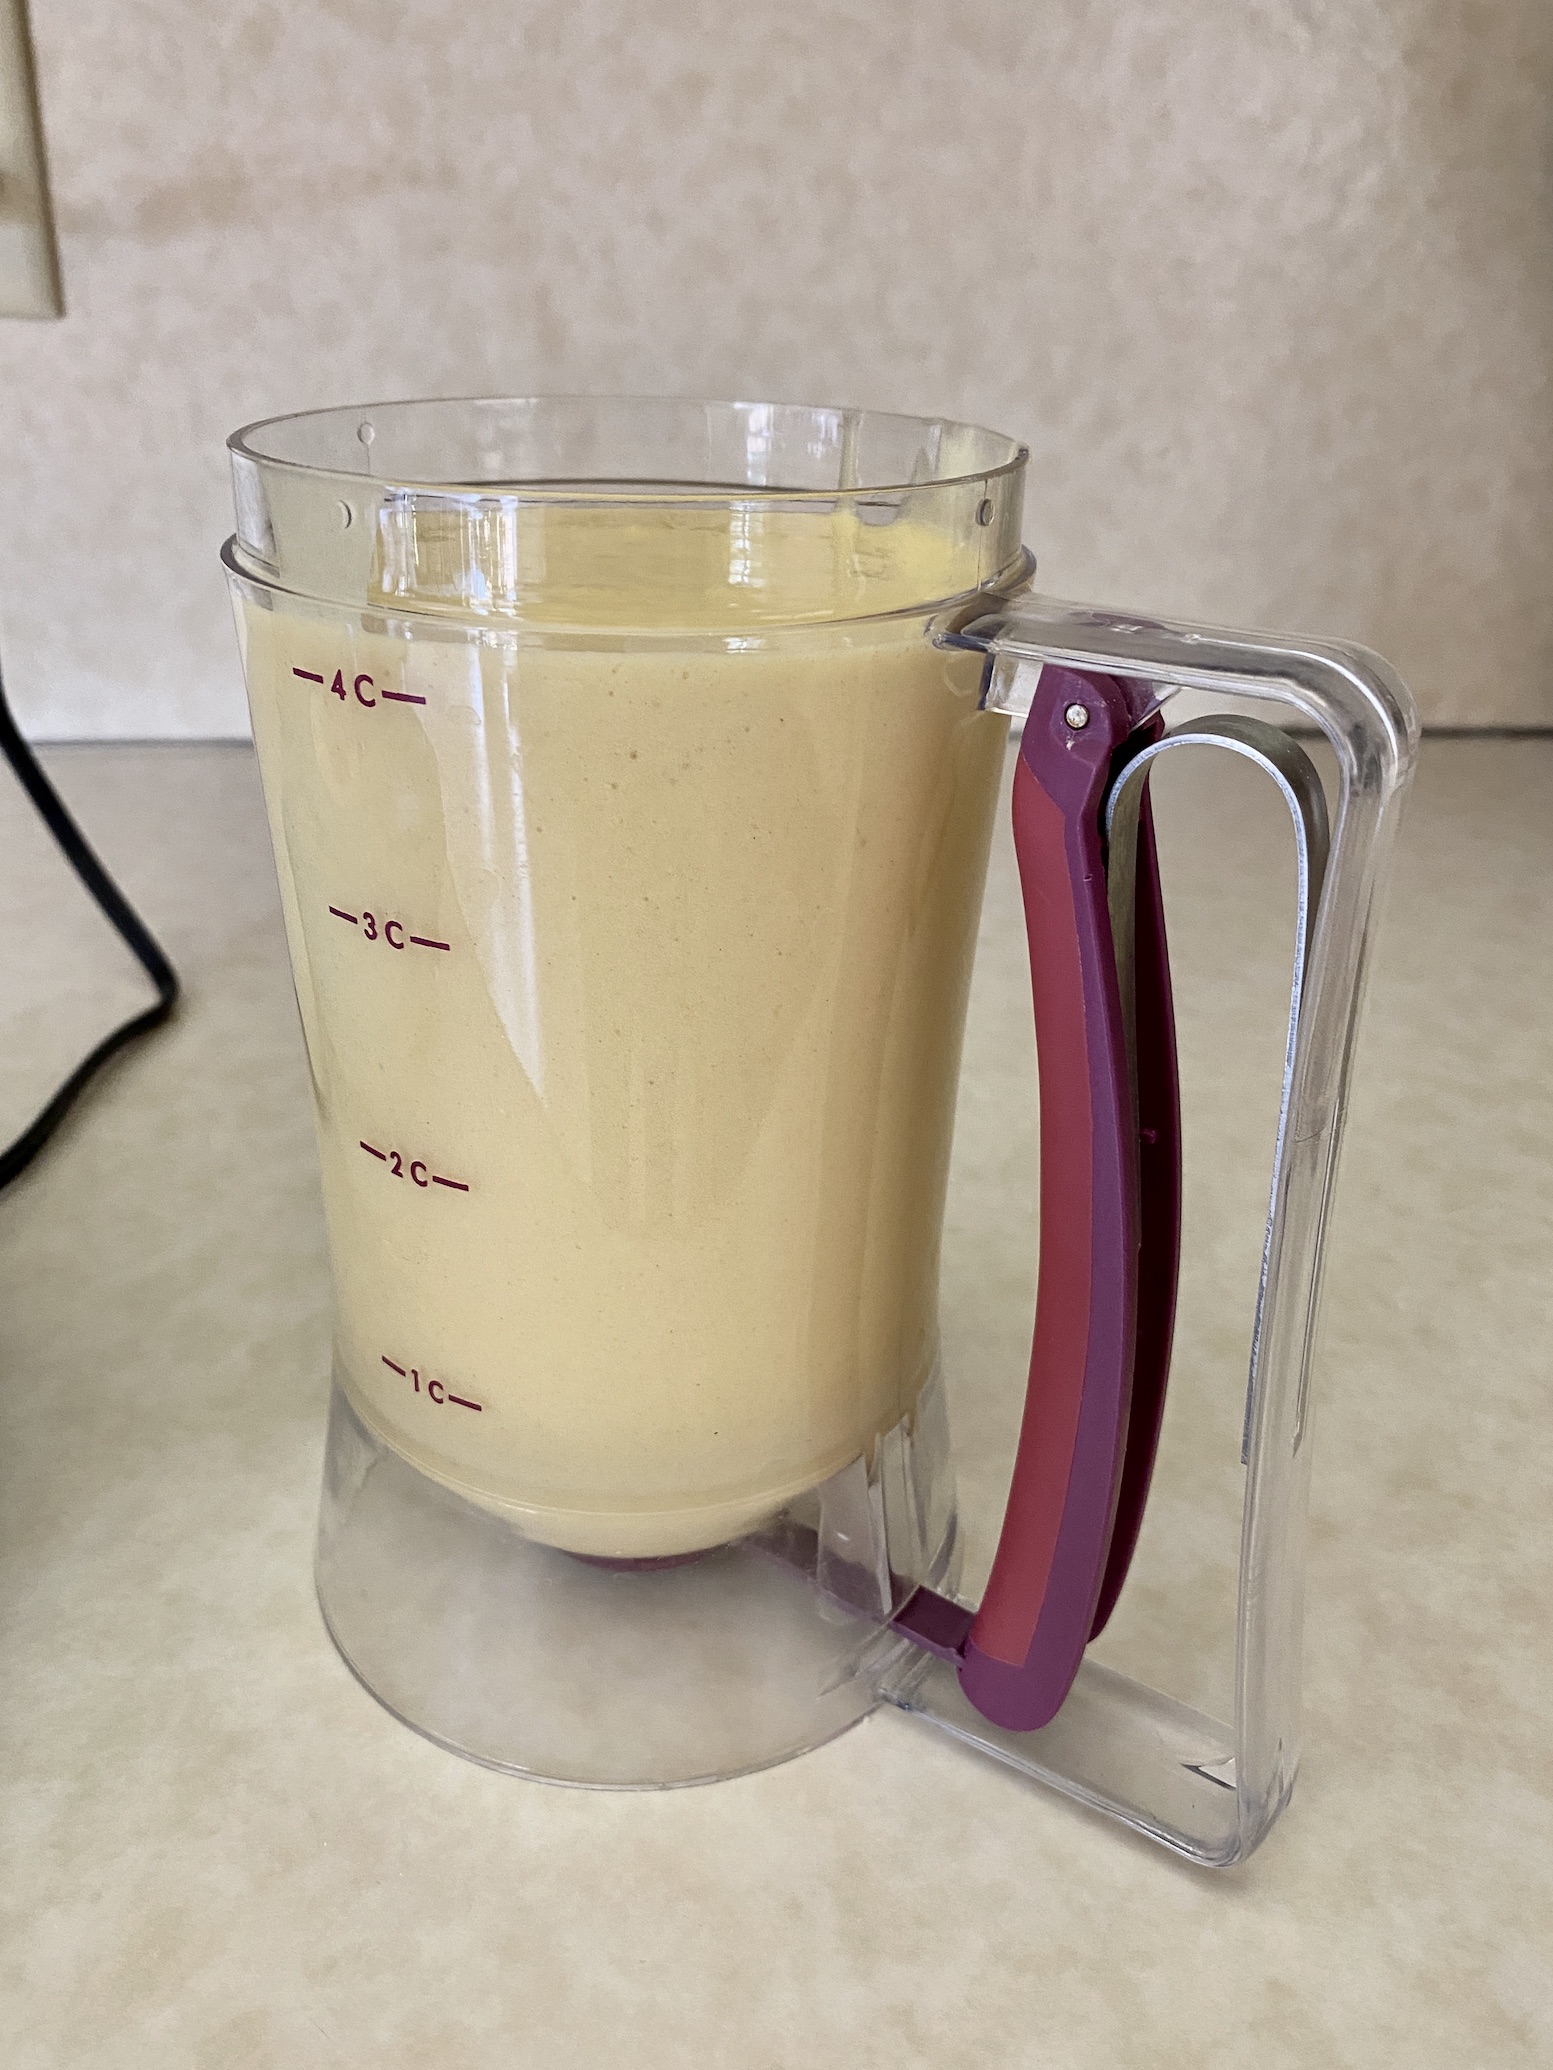
Start by mixing the cake batter according to package instructions. Then, pour the batter into a dispenser (if you have one). I find a batter dispenser very helpful when using the Cake Pop Maker. You can also scoop the batter into the molds by hand.


Plug in the Cake Pop Maker and wait for the indicator light on the top to advise the appliance is preheated. I always spray the Cake Pop molds with cooking spray before adding any batter. I would also recommend spraying again every 2-3 batches to prevent any sticking.
Use the dispenser (or a spoon) to add batter to each well. I fill mine completely. If you add too much, the batter will start to pour over the sides and cook between each mold. Not a big deal! You can always peel any excess off afterward. Close the lid and set a timer for 2 ½ minutes. This was also trial and error on my part. 2 ½ minutes seems to be the sweet spot. If you go any longer, the Cake Pops tend to be a little dry and sometimes burn. If you go much less, the Cake Pops are often undercooked.

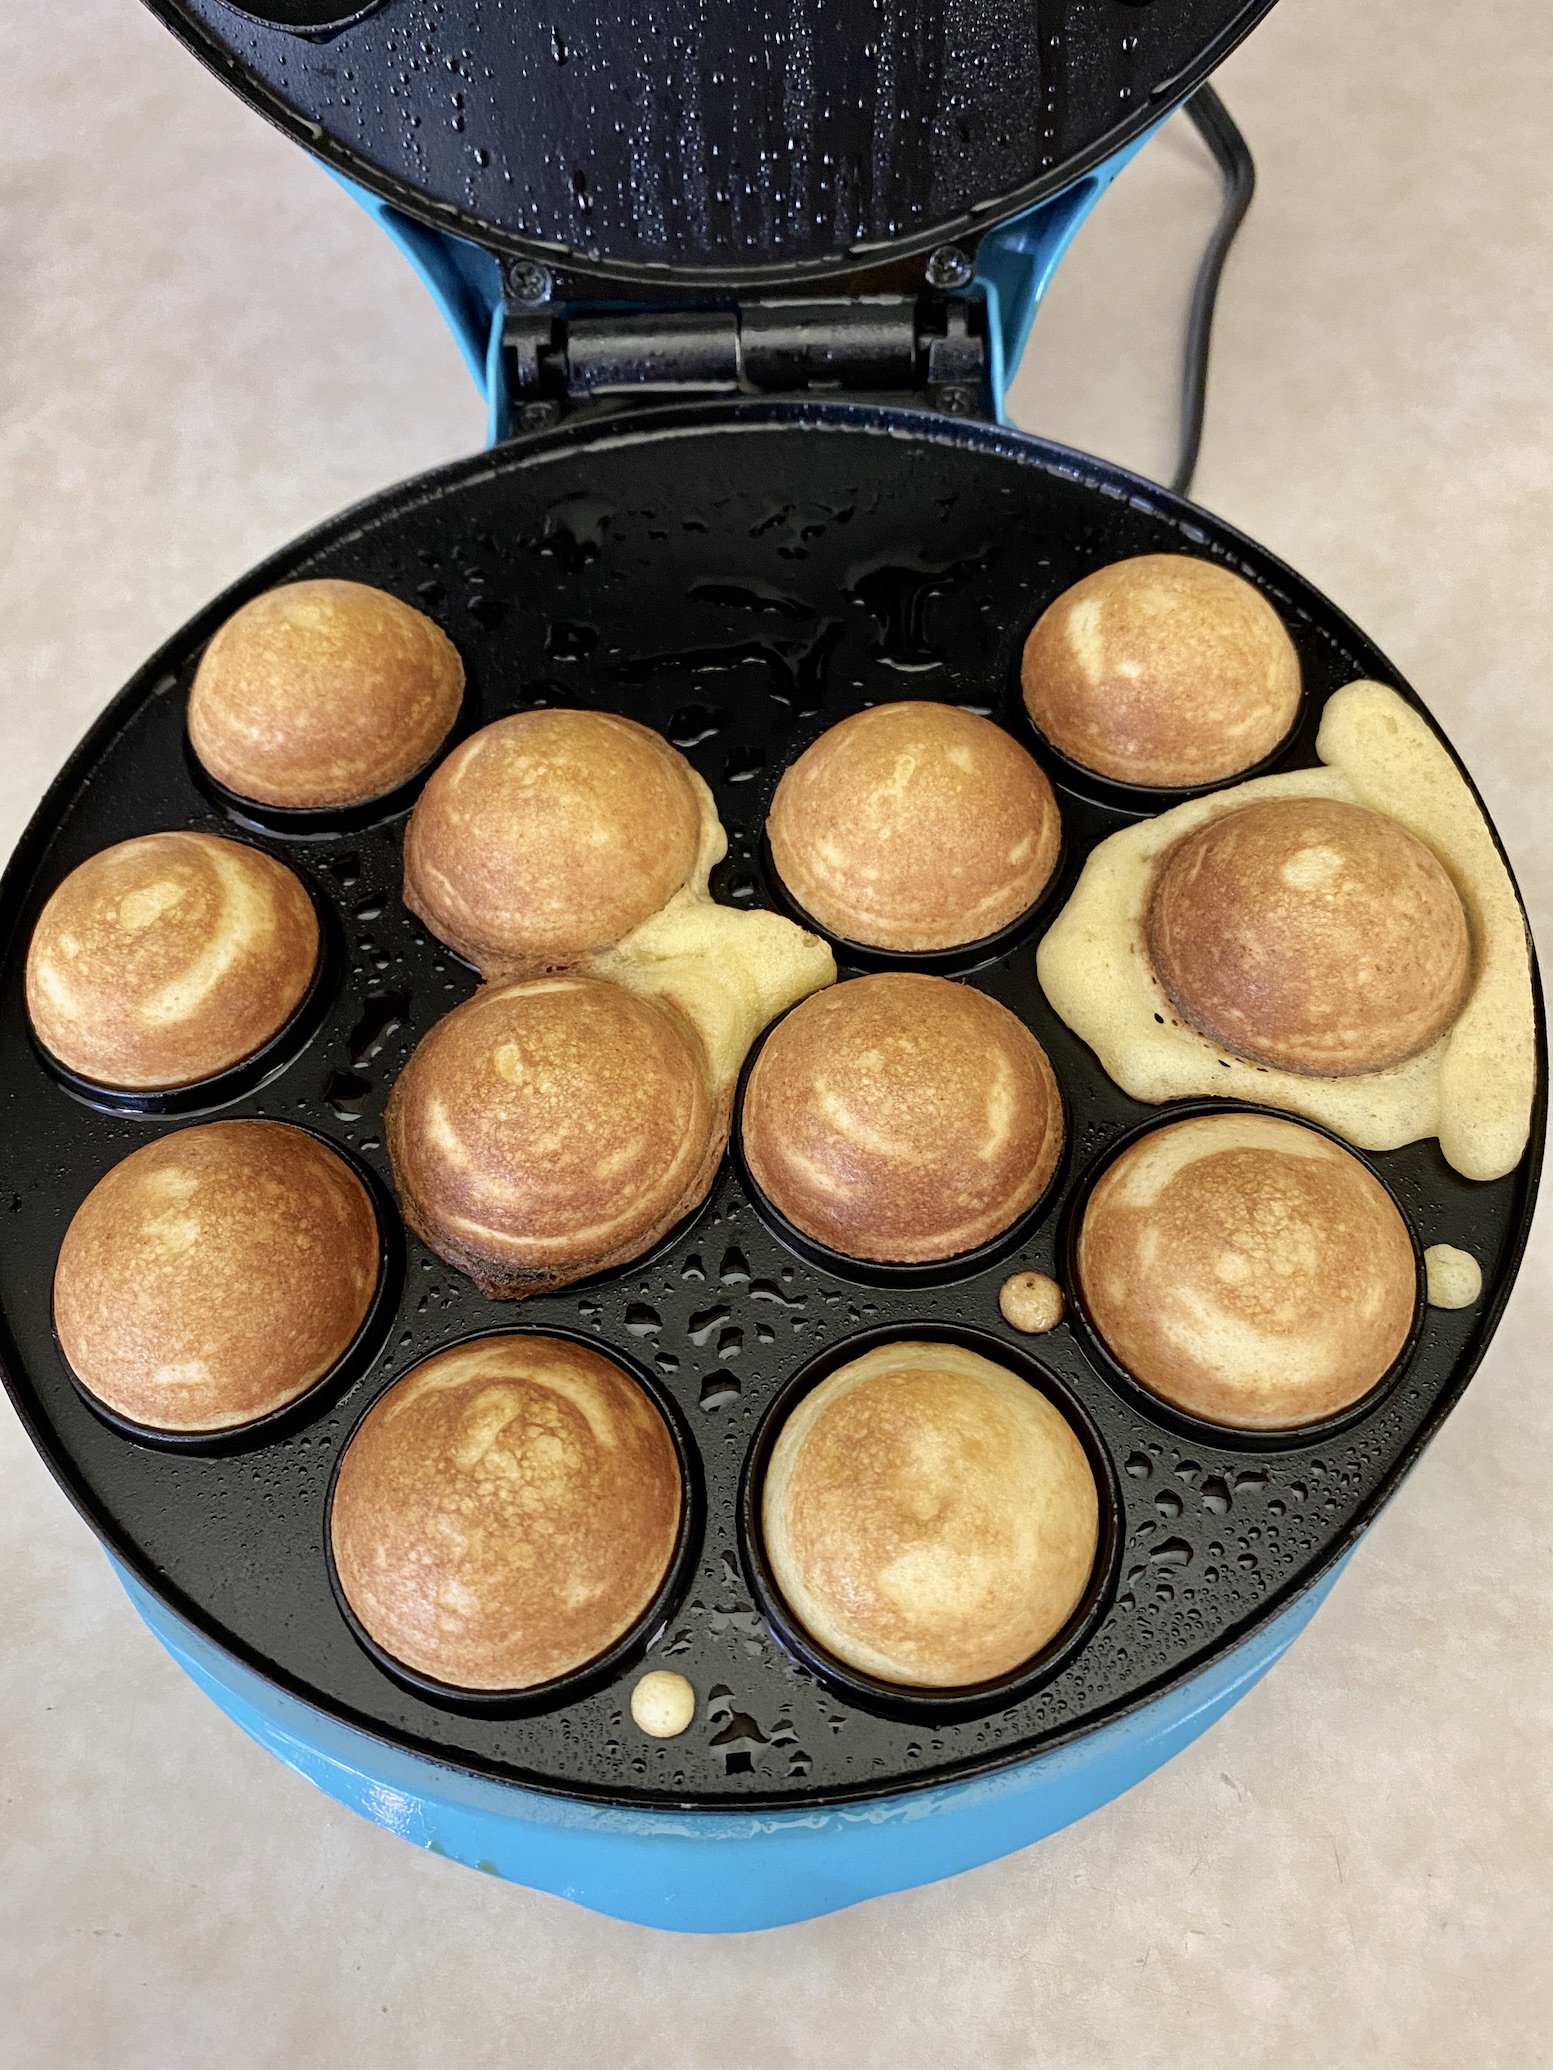

Use your fingers or gently use a fork to remove the cake balls to a cooling rack.
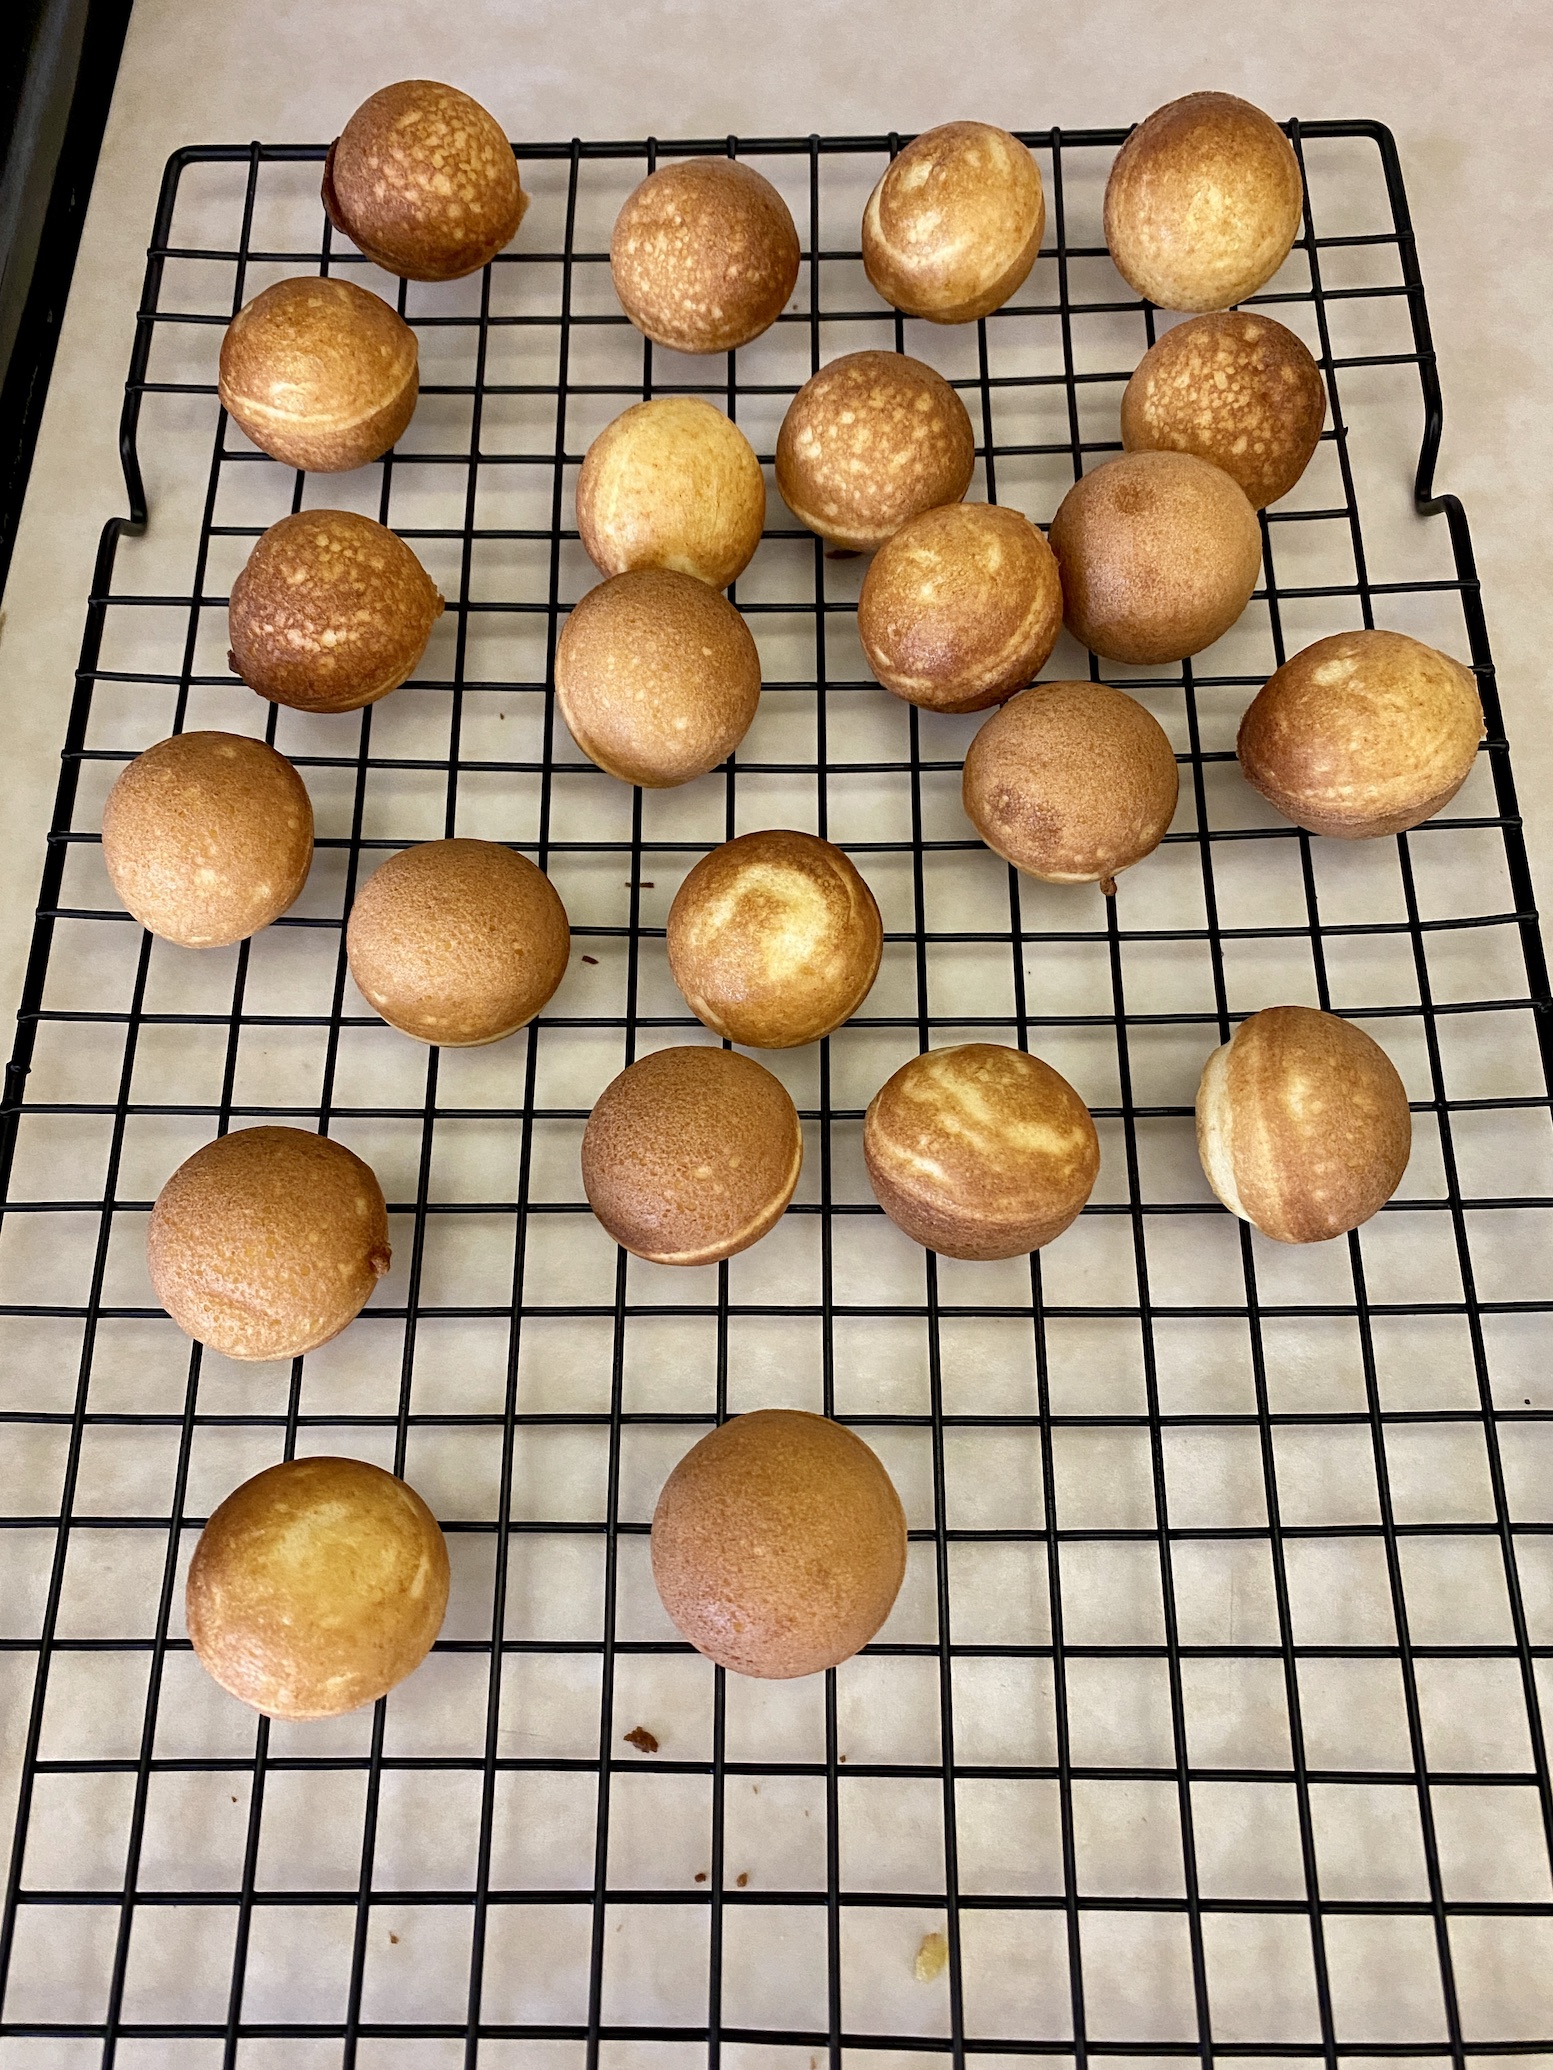
Add more batter and continue these steps until all batter has been used. Then, unplug the Cake Pop Maker to cool completely before cleaning.
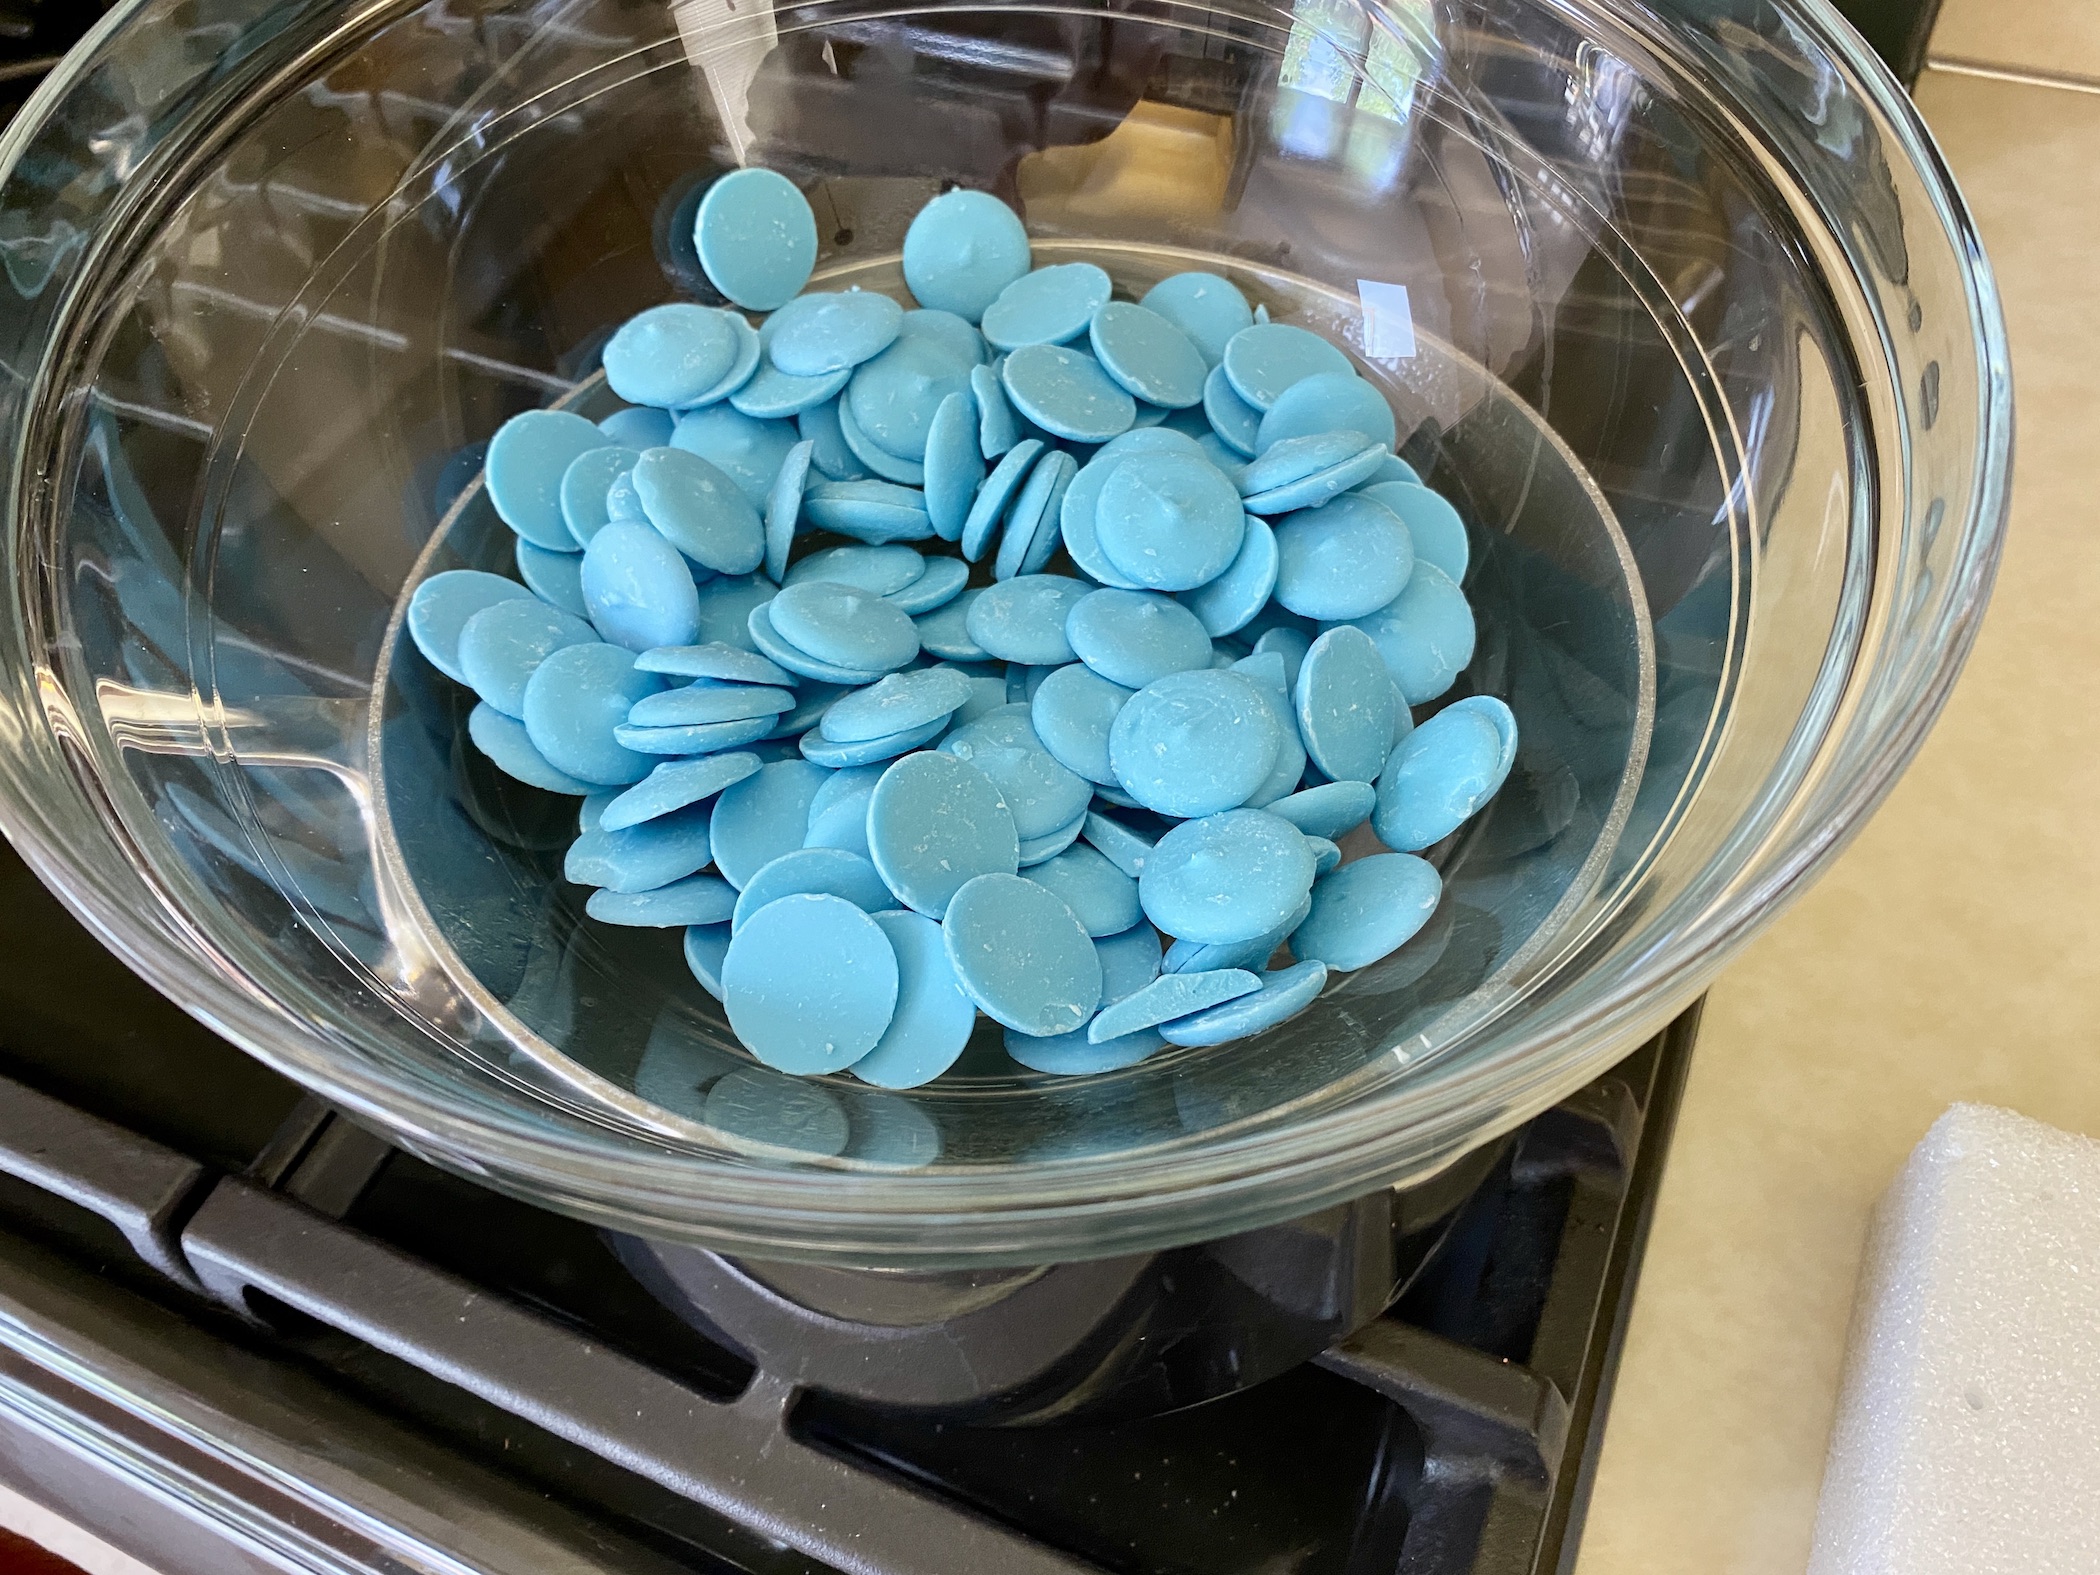
Once the cake balls have cooled completely, melt a very small amount of Candy Melts according to package instructions. Any color is fine as this chocolate is simply being used to help secure the cake balls to the stick.
Dip the top of the “stick” into the melted chocolate (you only need to dip a small amount) then push it into the center of a cake ball. Place on a baking sheet and repeat until all cake balls have sticks inserted in them. Now you wait for the chocolate to harden and set. This will make coating the rest of the cake ball in chocolate much easier. I like to speed up the process by placing them in the fridge for about 10 minutes.

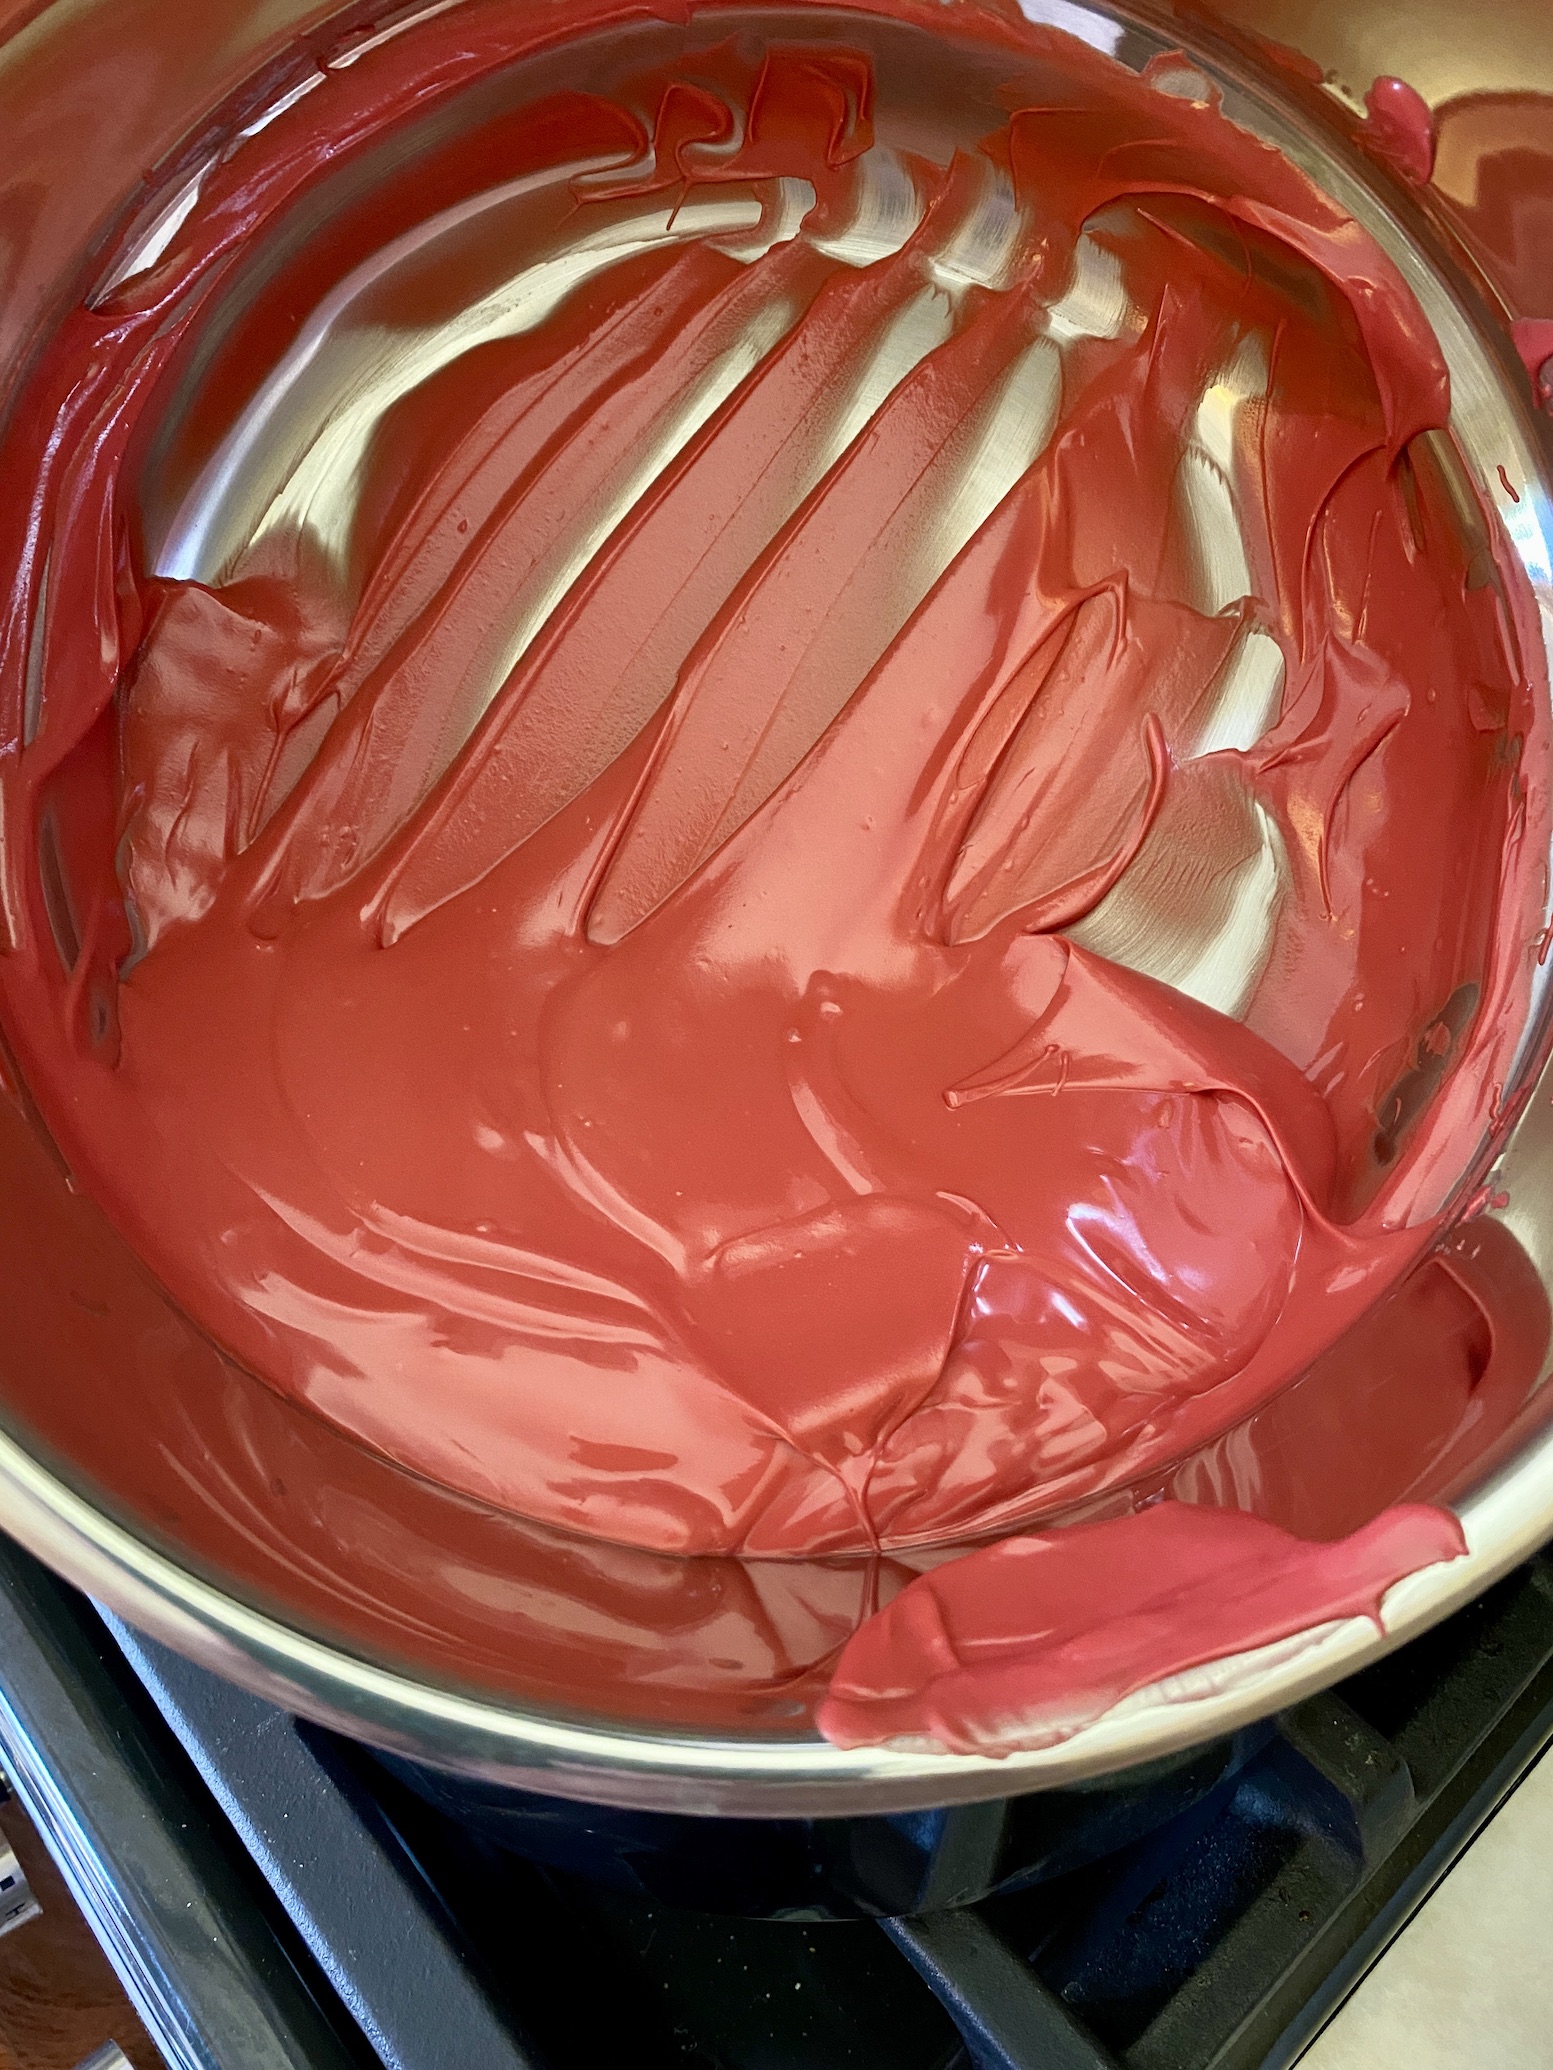
Next, melt the Candy Melts in a microwave safe bowl or use a double boiler. Remove the cake balls from the fridge and one-by-one, dip them into the melted chocolate, letting the excess chocolate drip off. I like to use a piece of Styrofoam to hold the sticks upright while the chocolate hardens. This created a very smooth surface on each Cake Pop. So, once you have dipped a cake ball in the melted chocolate, place the stick in Styrofoam and repeat until all have been coated.


If you don’t have Styrofoam, you can fill a vase or drinking glass with rice or beans and use that to hold the sticks upright.
Once the chocolate has hardened, that’s it! You’ve made Cake Pops! Store the Cake Pops in an airtight container. They do not need to be refrigerated and will often gather moisture on the outside if kept in the fridge.
The alternate way to make Cake Pops is to mix by hand.
Same as before, you are going to need 1 box of cake mix plus the ingredients listed on the box, candy melts, sticks, and about 1/3 cup of frosting. You can use any brand and any kind of cake mix for this method.
Start by preparing the cake mix per the directions on the box. Let cool completely and then use your hands (yes, your hands) to crumble the cake into fine crumbs. Mix the cake crumbs with the frosting to create a dense mixture (you don’t want it to be gooey so don’t use too much frosting). Use a cookie scoop or your hands to scoop the mixture into small balls. You want the cake balls to be firmly packed. Place them on a baking sheet and repeat until all the cake mix has been used. Place them in the fridge for at least 1 hour. This will help the cake balls be less crumbly and help them stay attached to the sticks.
Next, follow the instructions above to melt chocolate and insert the sticks, followed by dipping each cake ball into melted chocolate. This is how you will finish off your handmade Cake Pops.

These are super simple to make and not that time consuming. They are also customizable with various cake flavors and Candy Melt colors. I tend to go the simple route and stick to solid colors for my Cake Pops, but you can get as decorative as you want. I’m sure you’ve seen some of the Cake Pops out there that are decorated to look like a bride and groom or for various holidays, etc. They are incredibly elaborate! I don’t have the skill set or patience to do that kind of decorating!
These bite sized treats are perfect for any get-together. Your guests will love the simplicity of grab-and-go dessert and the fact they can easily carry dessert (or a snack) around with them.
Happy Cooking!


Recent Comments