 order online
 weekly specials
Trash Can Nachos are a fun way to prepare and serve nachos. The nachos are stacked in a cylinder-shaped metal container and baked until all ingredients are heated through or melted. They are then inverted onto a serving platter and served in a stack. Trash Can Nachos are easy to make, customizable, and delicious. They were originally made famous by Guy Fieri and the Food Network.

The recipe I want to share with you today is for Trash Can Chicken Nachos. I will admit this recipe was trial and error for me. I wasn’t sure how the nachos would bake, if they would hold their shape when removed from the can, etc. And I didn’t really have a recipe to follow. I simply used our favorite nacho toppings and hoped for the best! The result was pretty amazing.
The recipe can be found here.
You will need a metal can for this recipe. I found that a metal coffee can, at least 23oz, worked well and didn’t require me to buy any special equipment because I already had one at home. One thing you will want to pay attention to is the rim on the coffee can (if you go this route). Mine had a lip around the rim so I knew the nachos would not easily slide out when tipped over. I used pliers to crimp back the lip of the coffee can the best I could….it did work! But I had to be super careful to not cut myself on the can because there were a few jagged edges. So, tread lightly but use what you can at home and make it work!
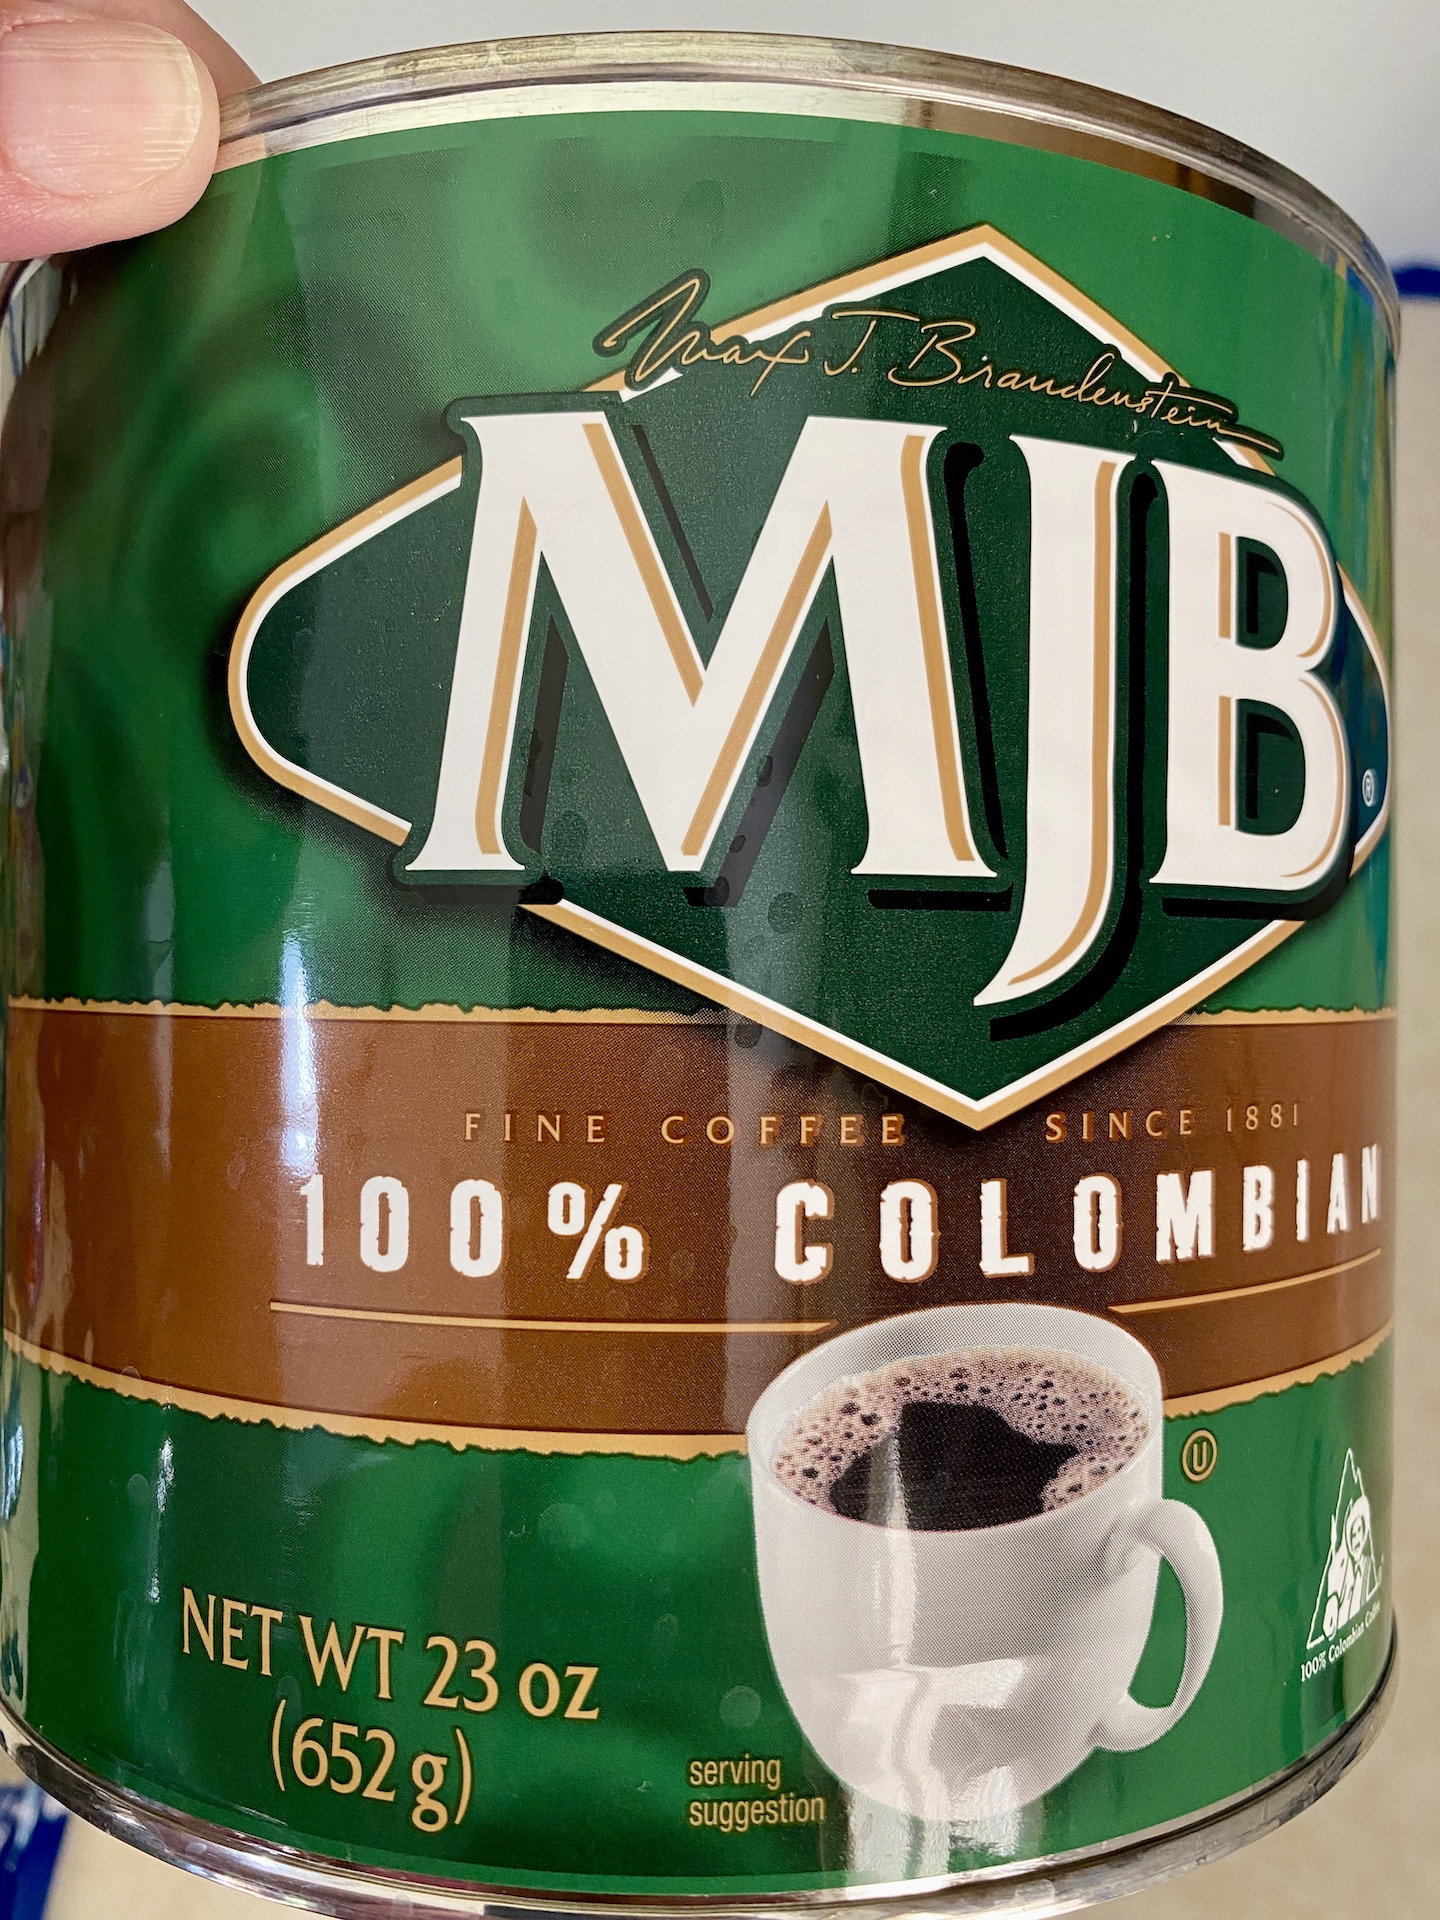
Start by preheating the oven to 350 degrees F. Make sure the coffee can is thoroughly washed and dried (you don’t want coffee flavored nachos!). Remove the outside label on the can or it might melt in your oven. Then liberally spray the inside of the can with cooking spray, making sure to fully coat the sides and bottom.


I used a boneless skinless chicken breast for the recipe. You can substitute with ground chicken, ground beef, rotisserie chicken, etc. Just make sure the meat is pre-cooked 🙂
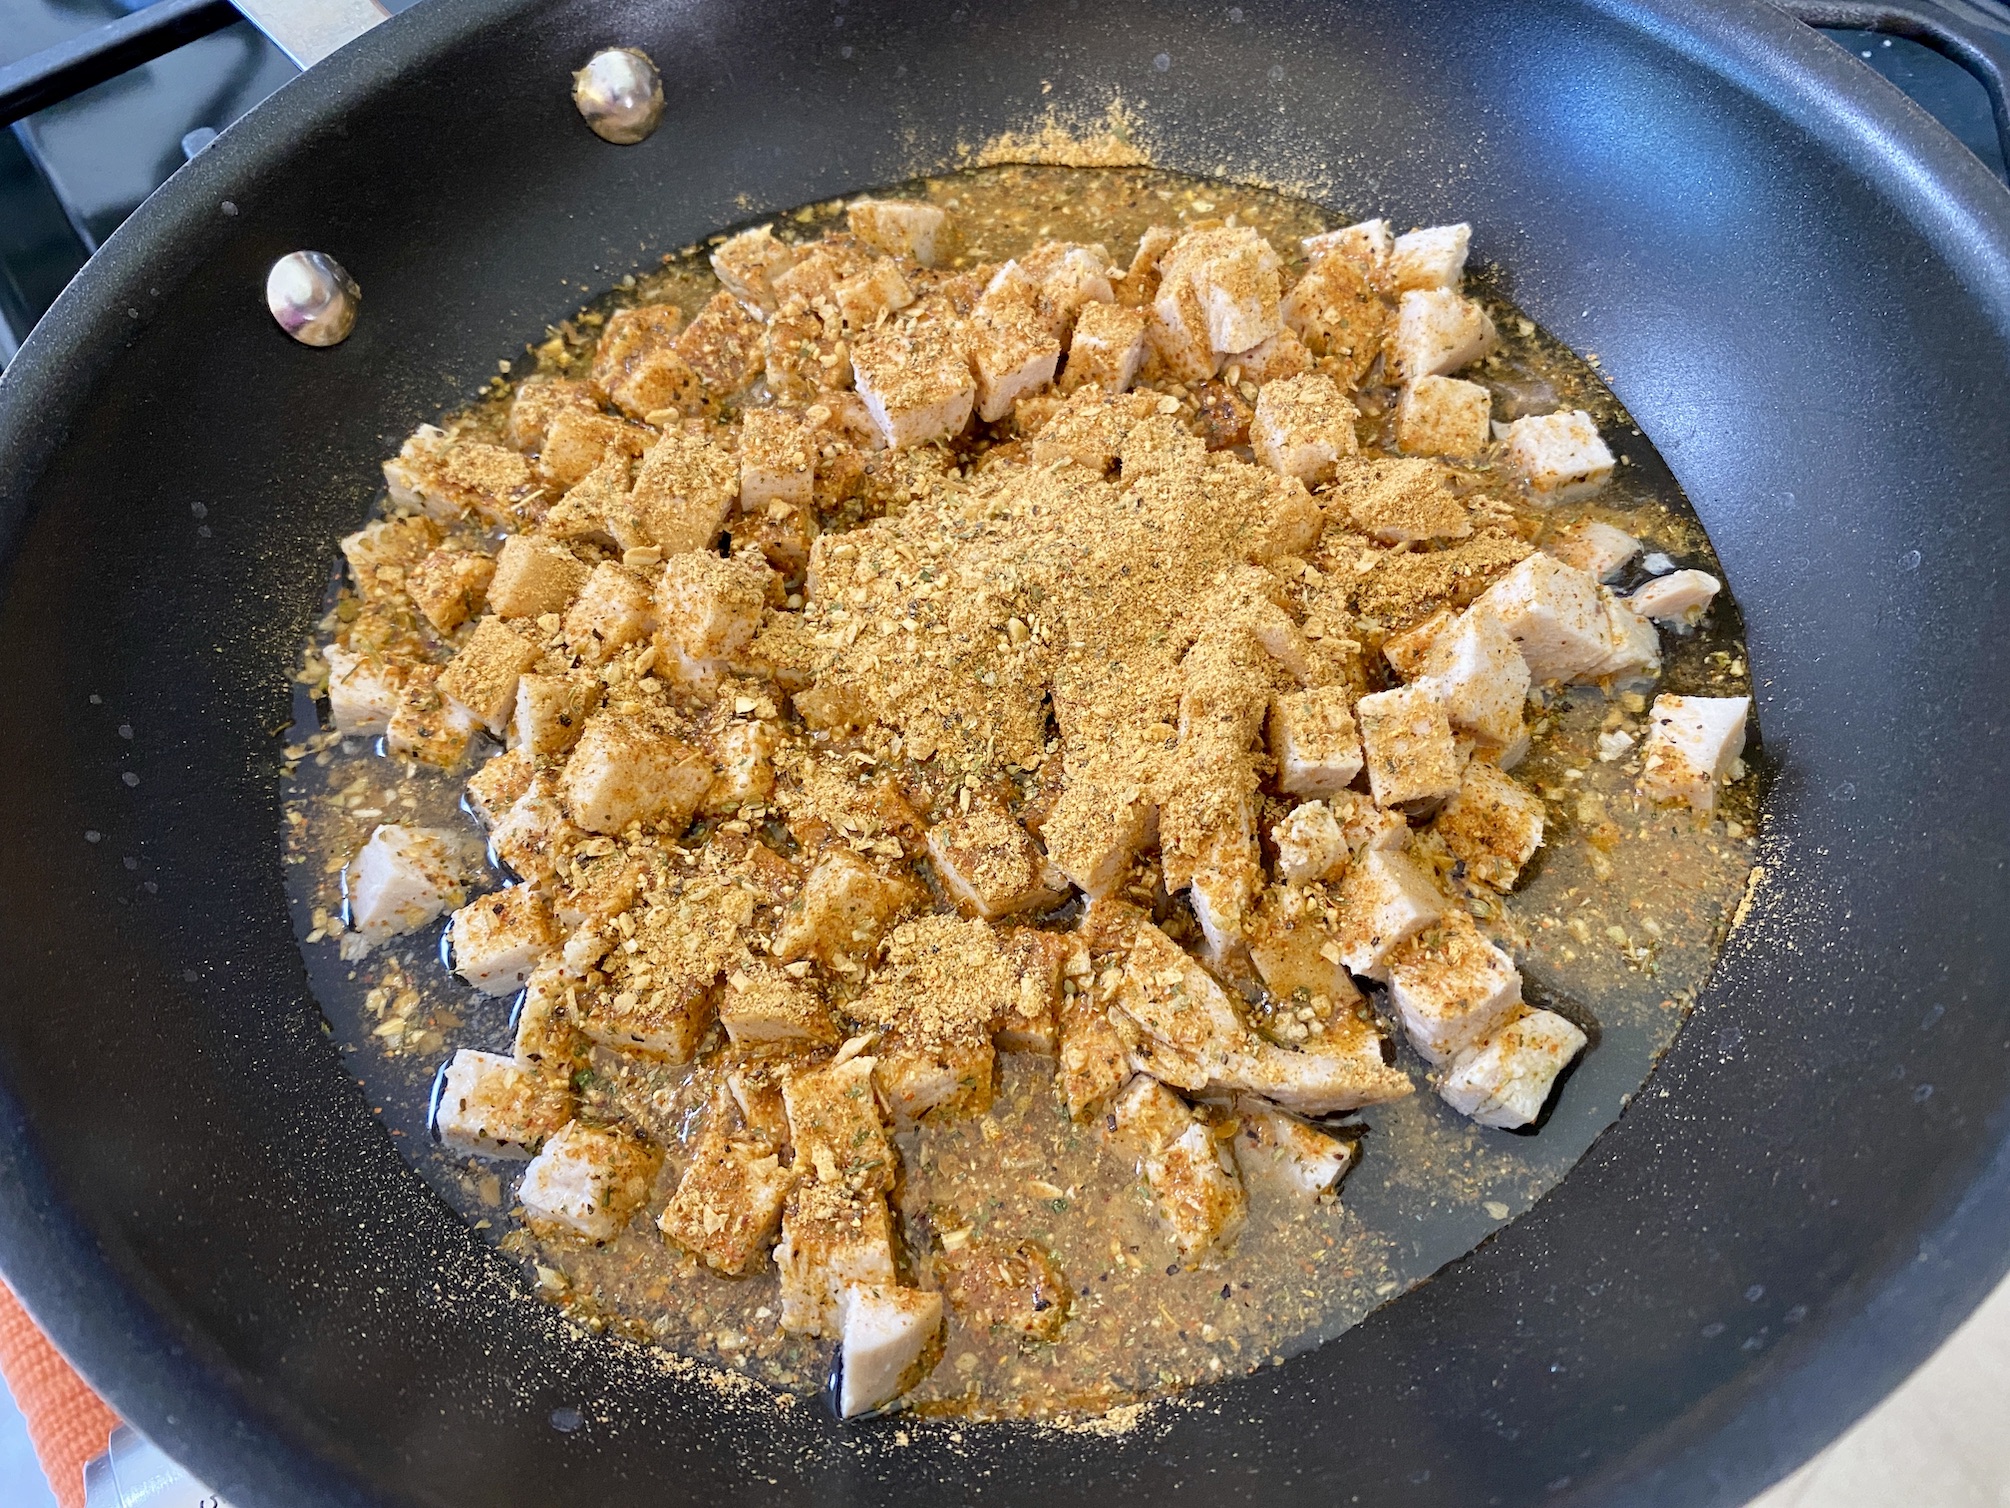
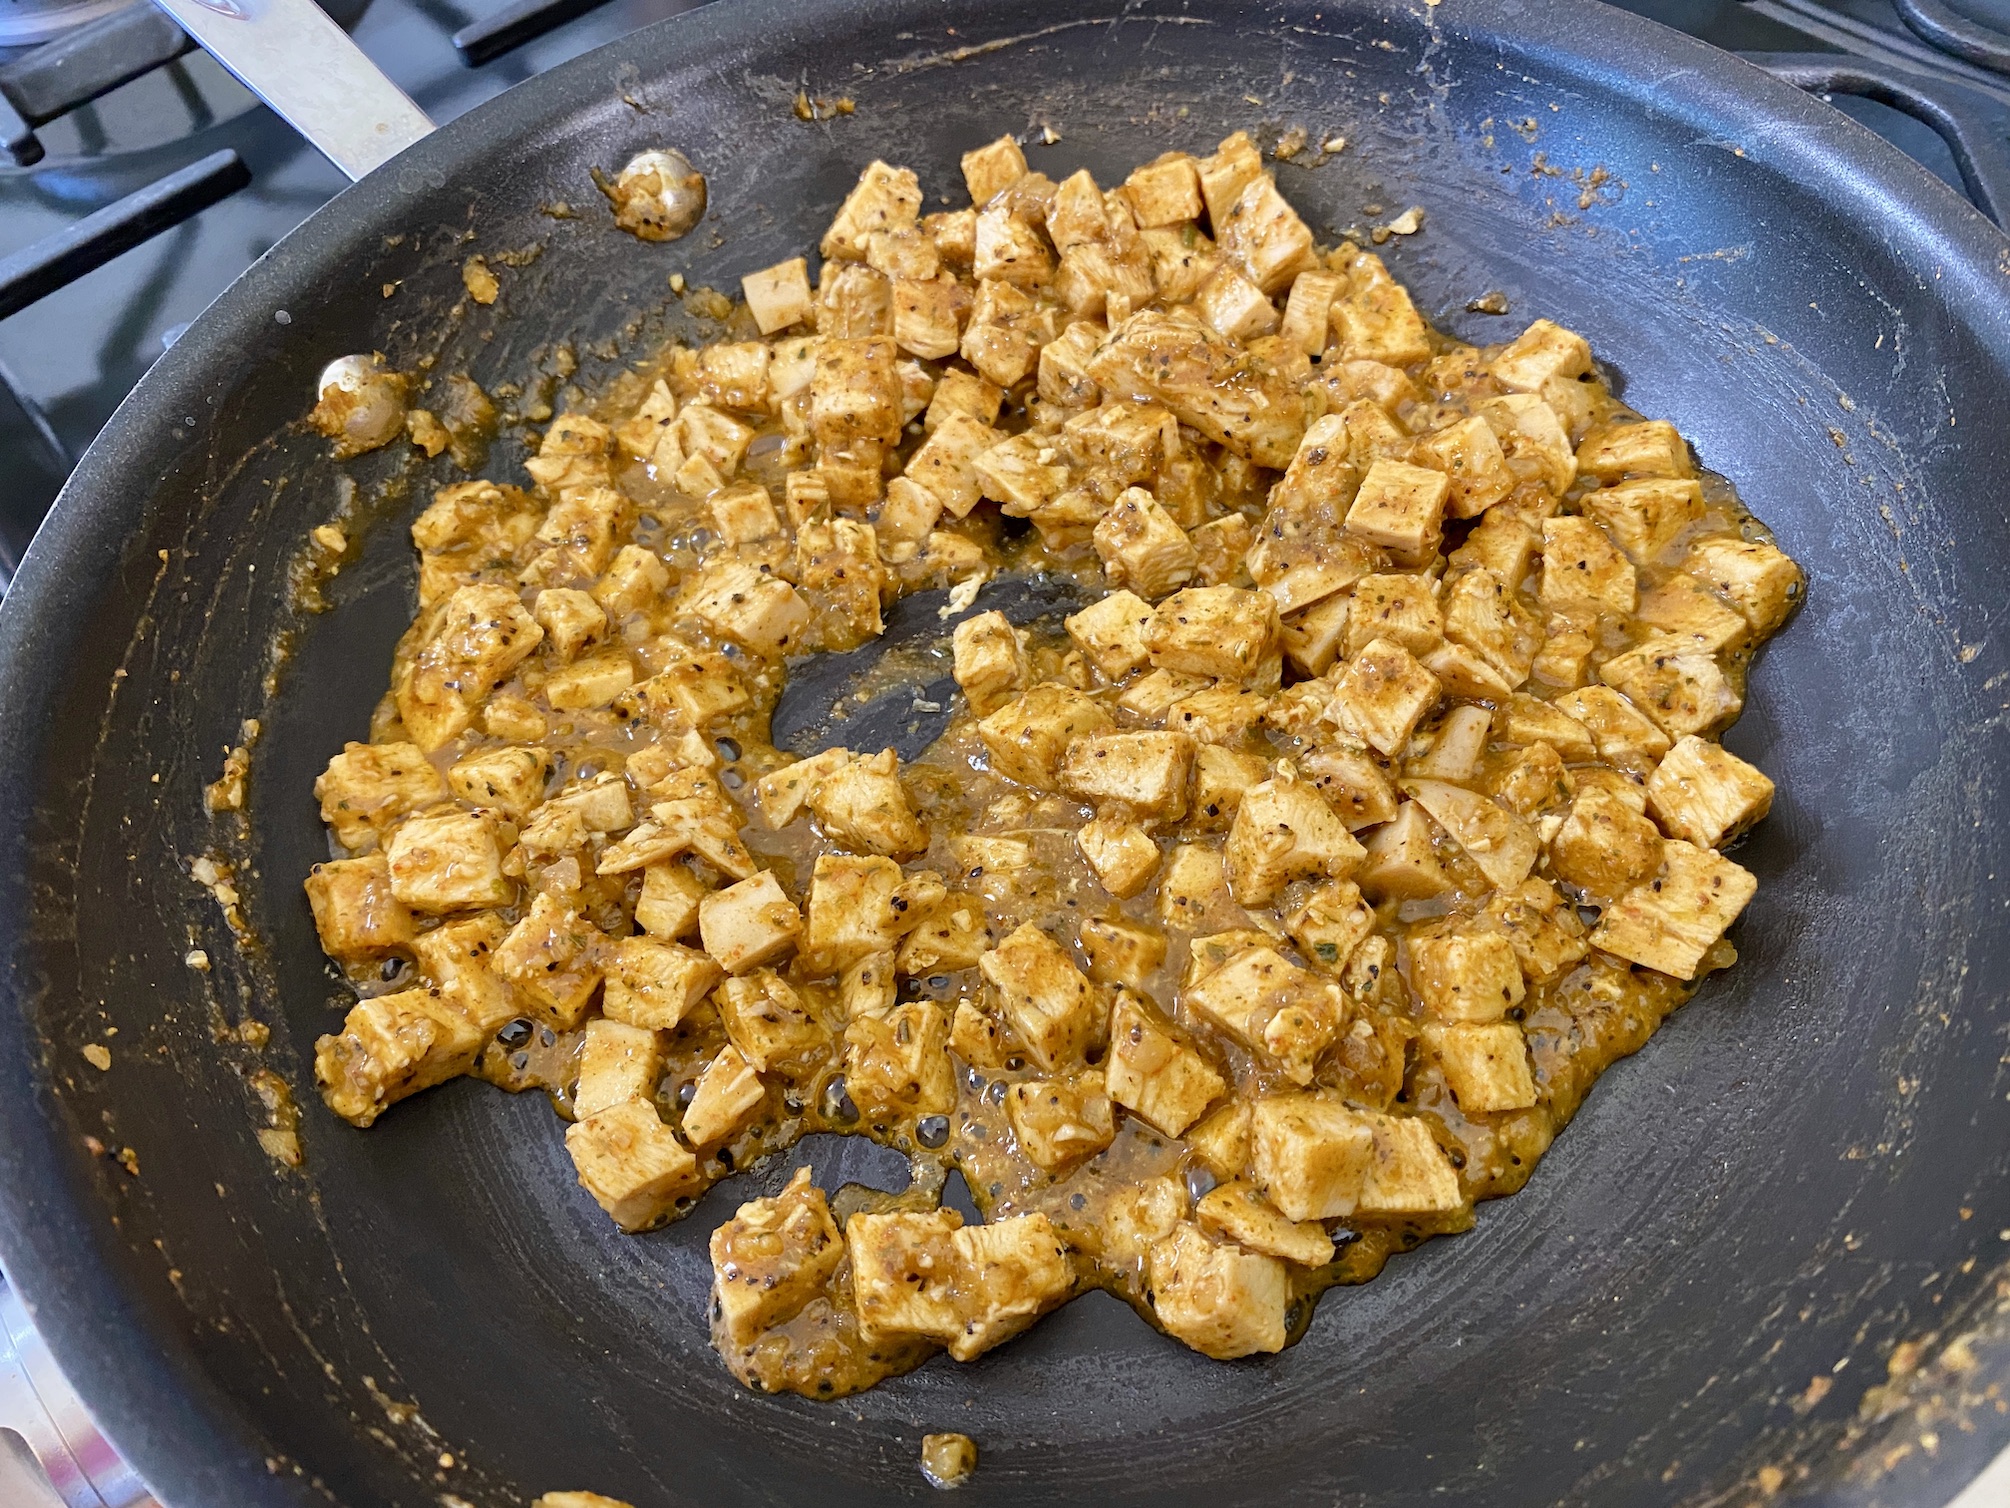
Cube the chicken then add it to a skillet with ½ cup water and the packet of taco seasoning. Stir to combine. Bring to a boil then reduce the heat to simmer to allow the chicken to heat through and absorb the seasoning, stirring occasionally. You essentially want to follow the instructions on the back of the taco seasoning packet. Remove from the heat and set aside.
Drain and rinse the black beans. Drain the olives (and slice if needed). Slice or dice the jalapeno.
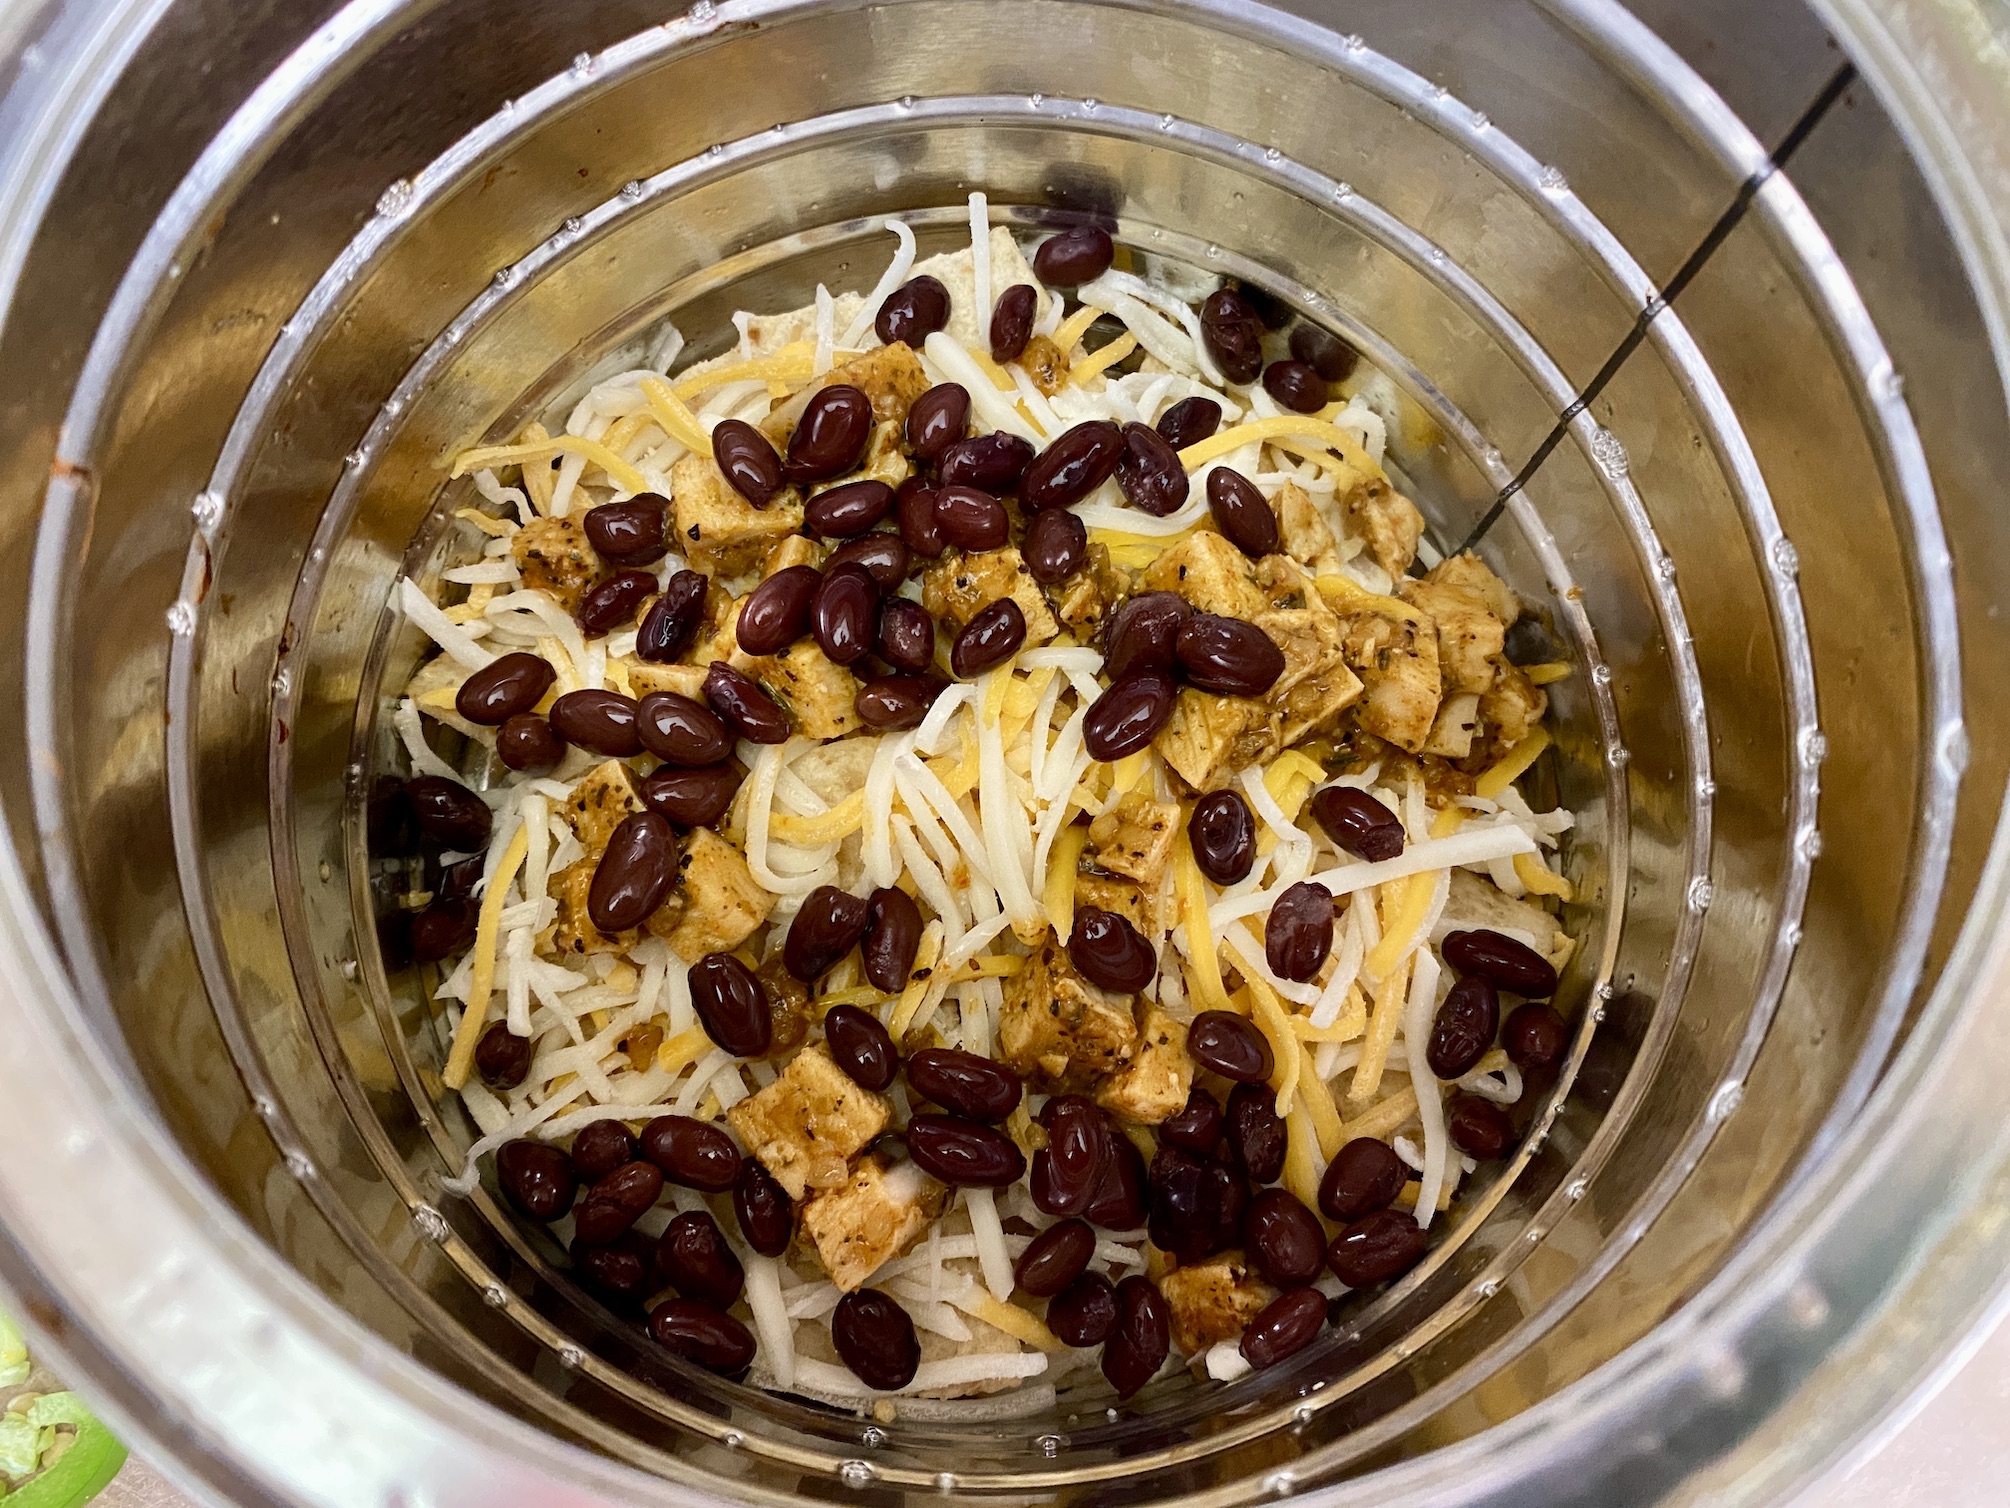
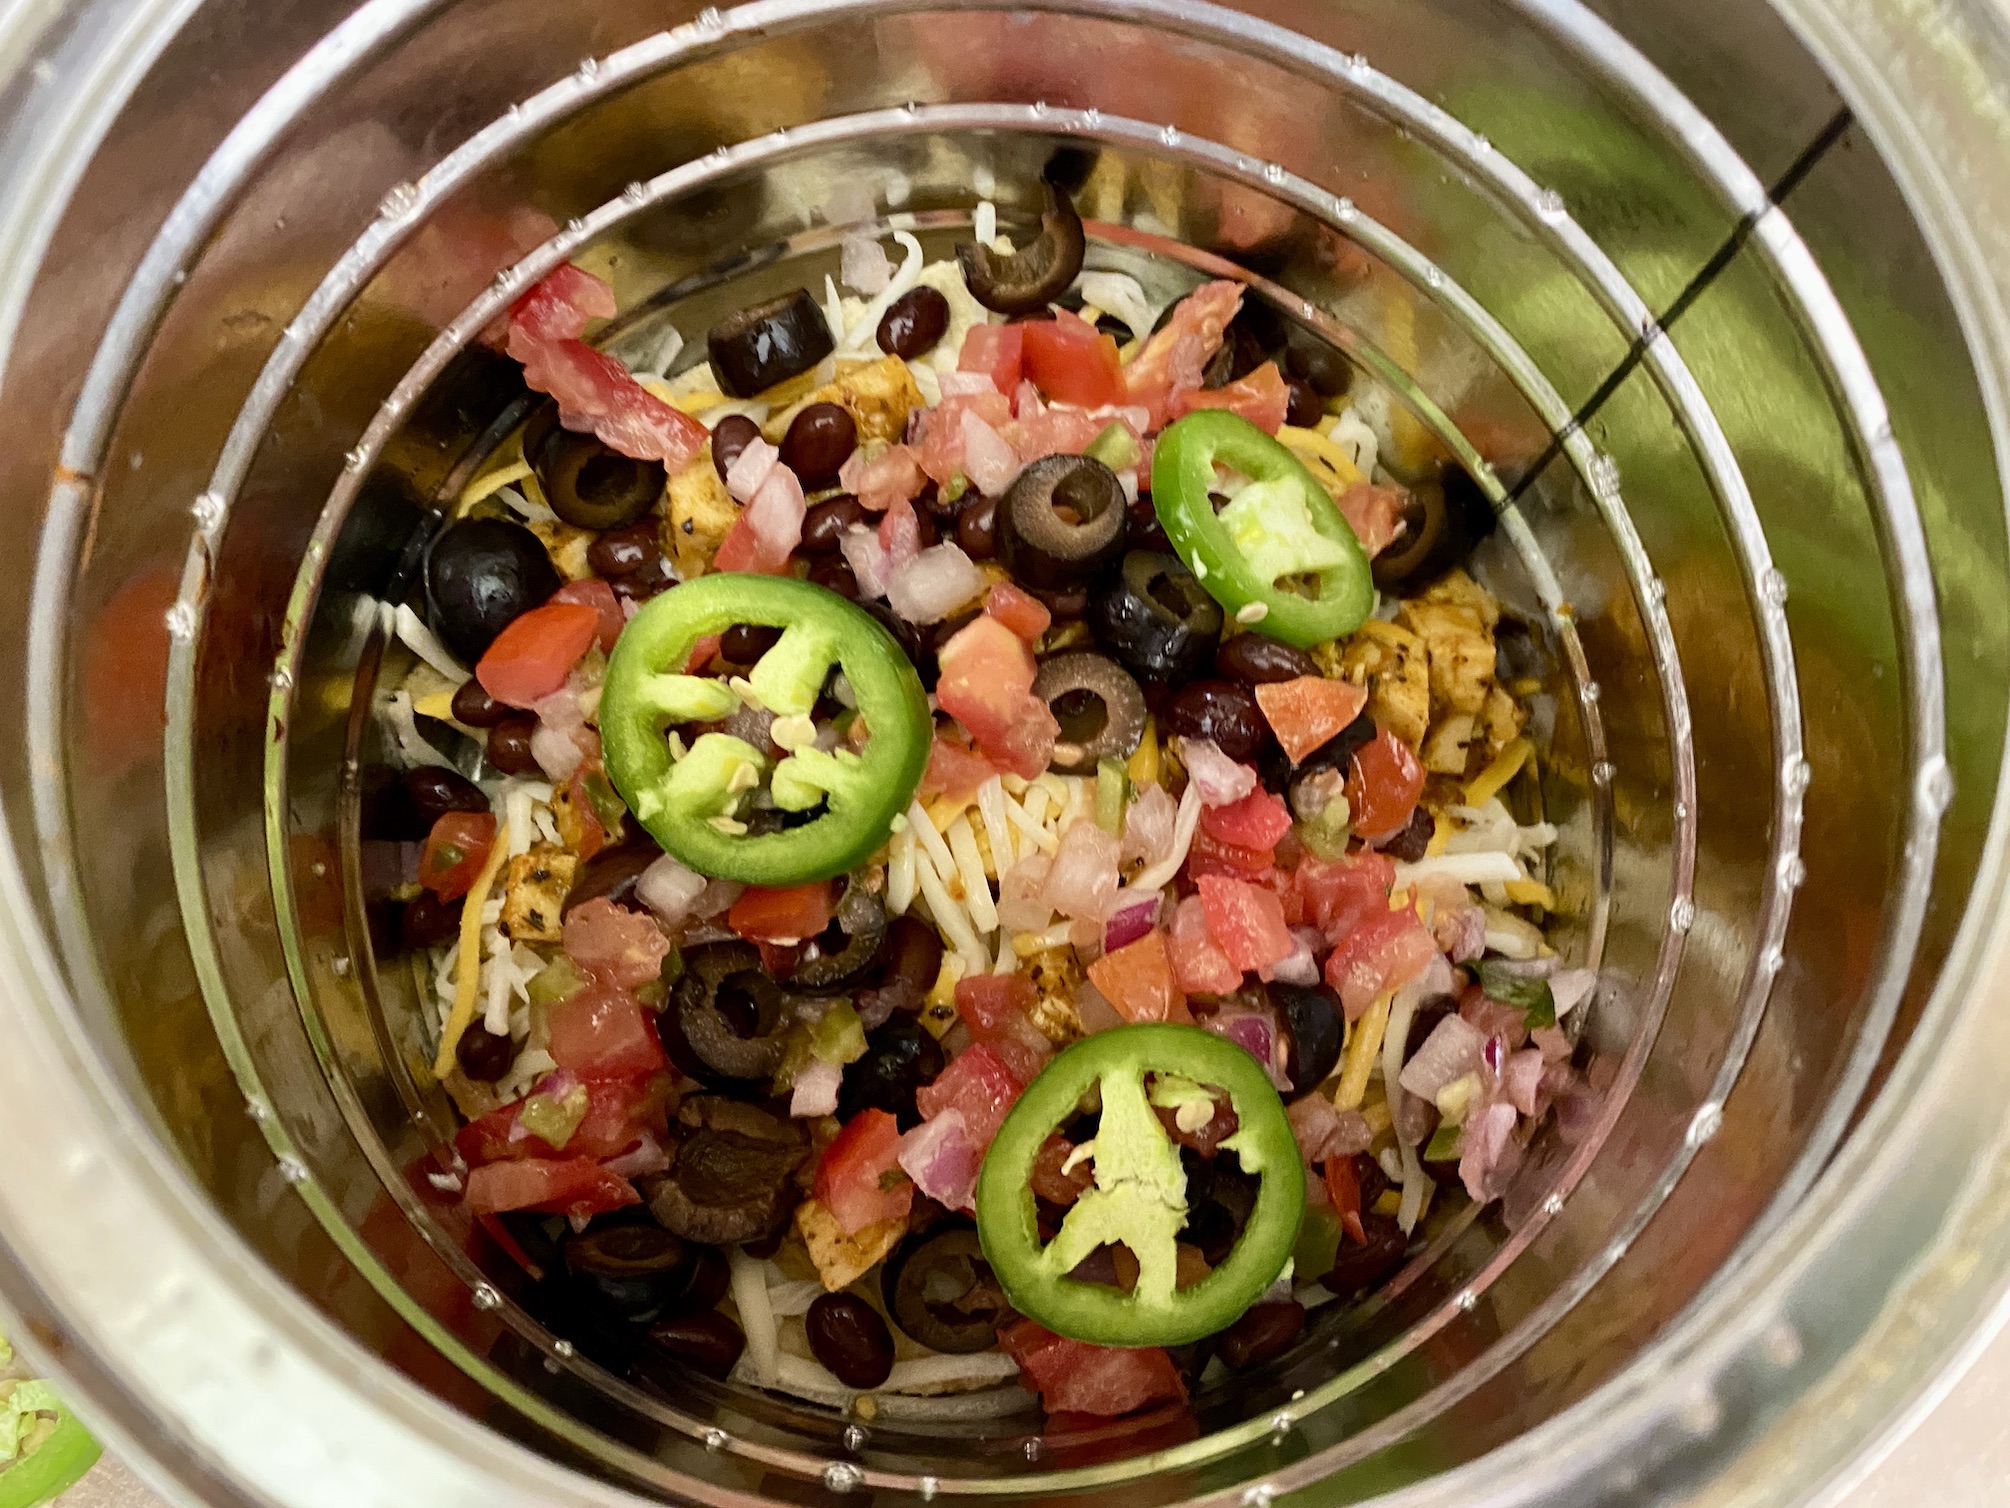
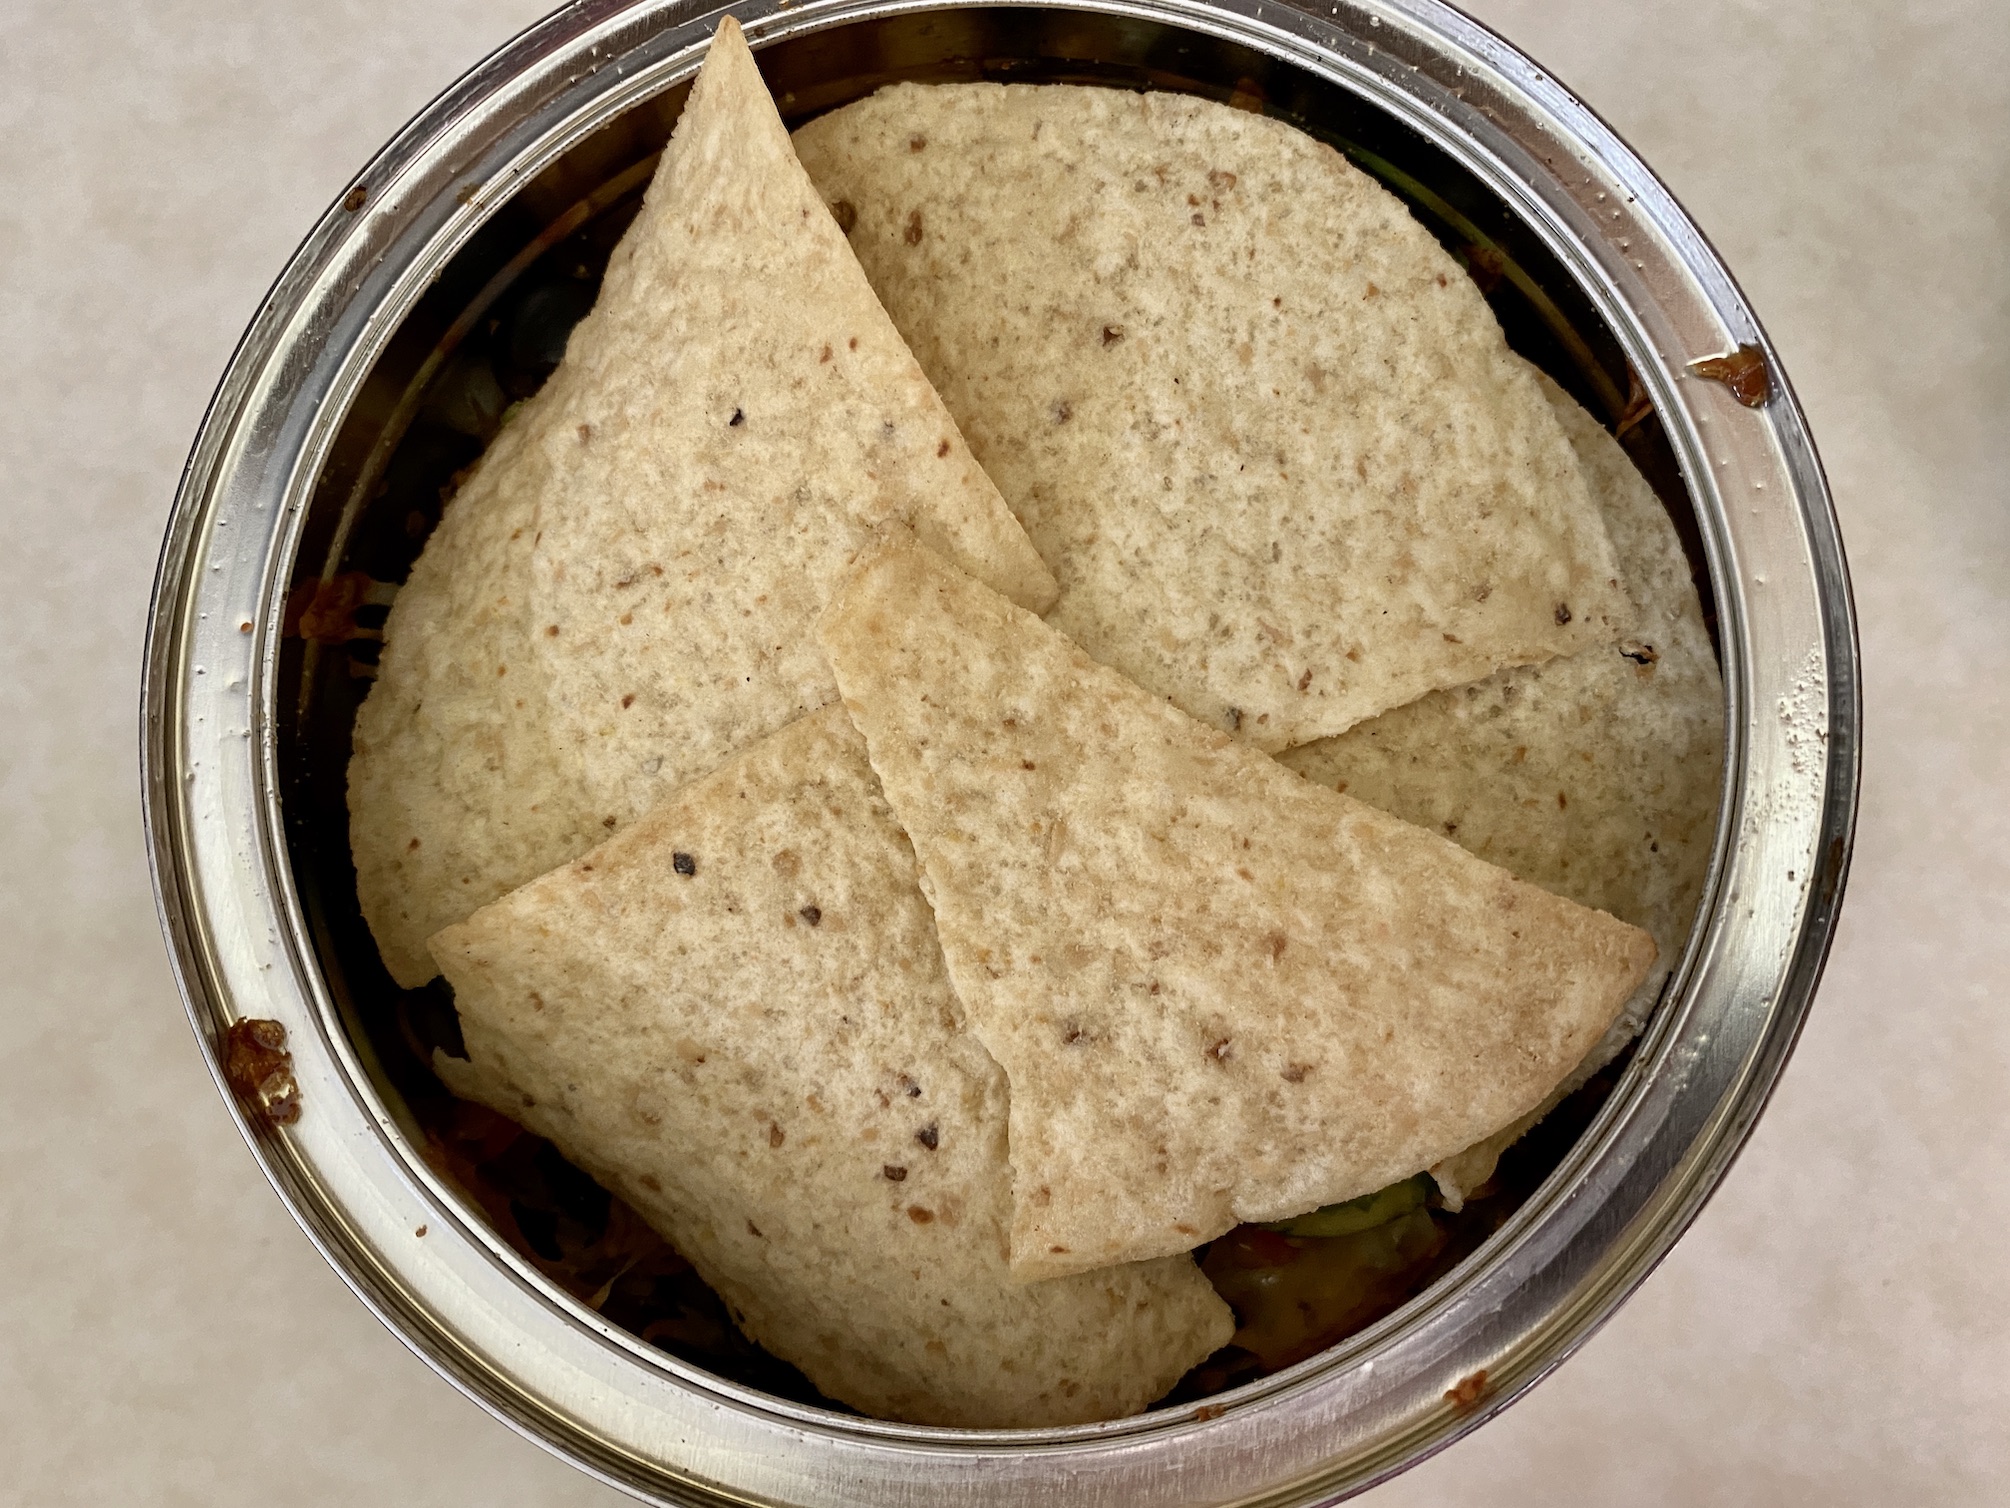
You are now ready to assemble the nachos. Place a layer of tortilla chips on the bottom. Top with shredded cheese, chicken, black beans, olives, Pico de Gallo, and jalapeno. Add another layer of tortilla chips and continue to create layers until the metal can is full, with tortilla chips being the top layer.


Bake for 15-20 minutes.
Remove from the oven and place a plate on top of the metal can. Invert the metal can onto the plate and carefully lift to allow the nachos to fall out while holding their stacked shape. You might need to wiggle the can back and forth and use a fork or knife to loosen the sides.


Once the nachos are out of the can, top with additional shredded cheese, Pico de Gallo, jalapeno, and finish with a drizzle of sour cream.

Serve immediately and enjoy! Pull apart the layers and devour each bite.
The recipe can be found here.
Happy Cooking!


Recent Comments