 order online
 weekly specials
Something I love to do from time to time is making homemade bread. I don’t do it often because it can be time consuming, but nothing beats the taste of a hot, fresh loaf of bread right out of the oven. I recently purchased the KitchenAid Bread Bowl with Baking Lid which makes creating artisan bread at home quite simple! It’s essentially one bowl that goes from mixing to rising to baking. First, I’ll walk through hot to make the homemade bread then I’ll walk you through my favorite recipe to use with the bread.

The recipe for the KitchenAid Artisan Bread Loaf can be found here.
Start by adding hot water to the KitchenAid Bread Bowl. Swirl it around then dump it out and dry the bowl. Secure the bowl on your stand mixer. Attach the dough hook.
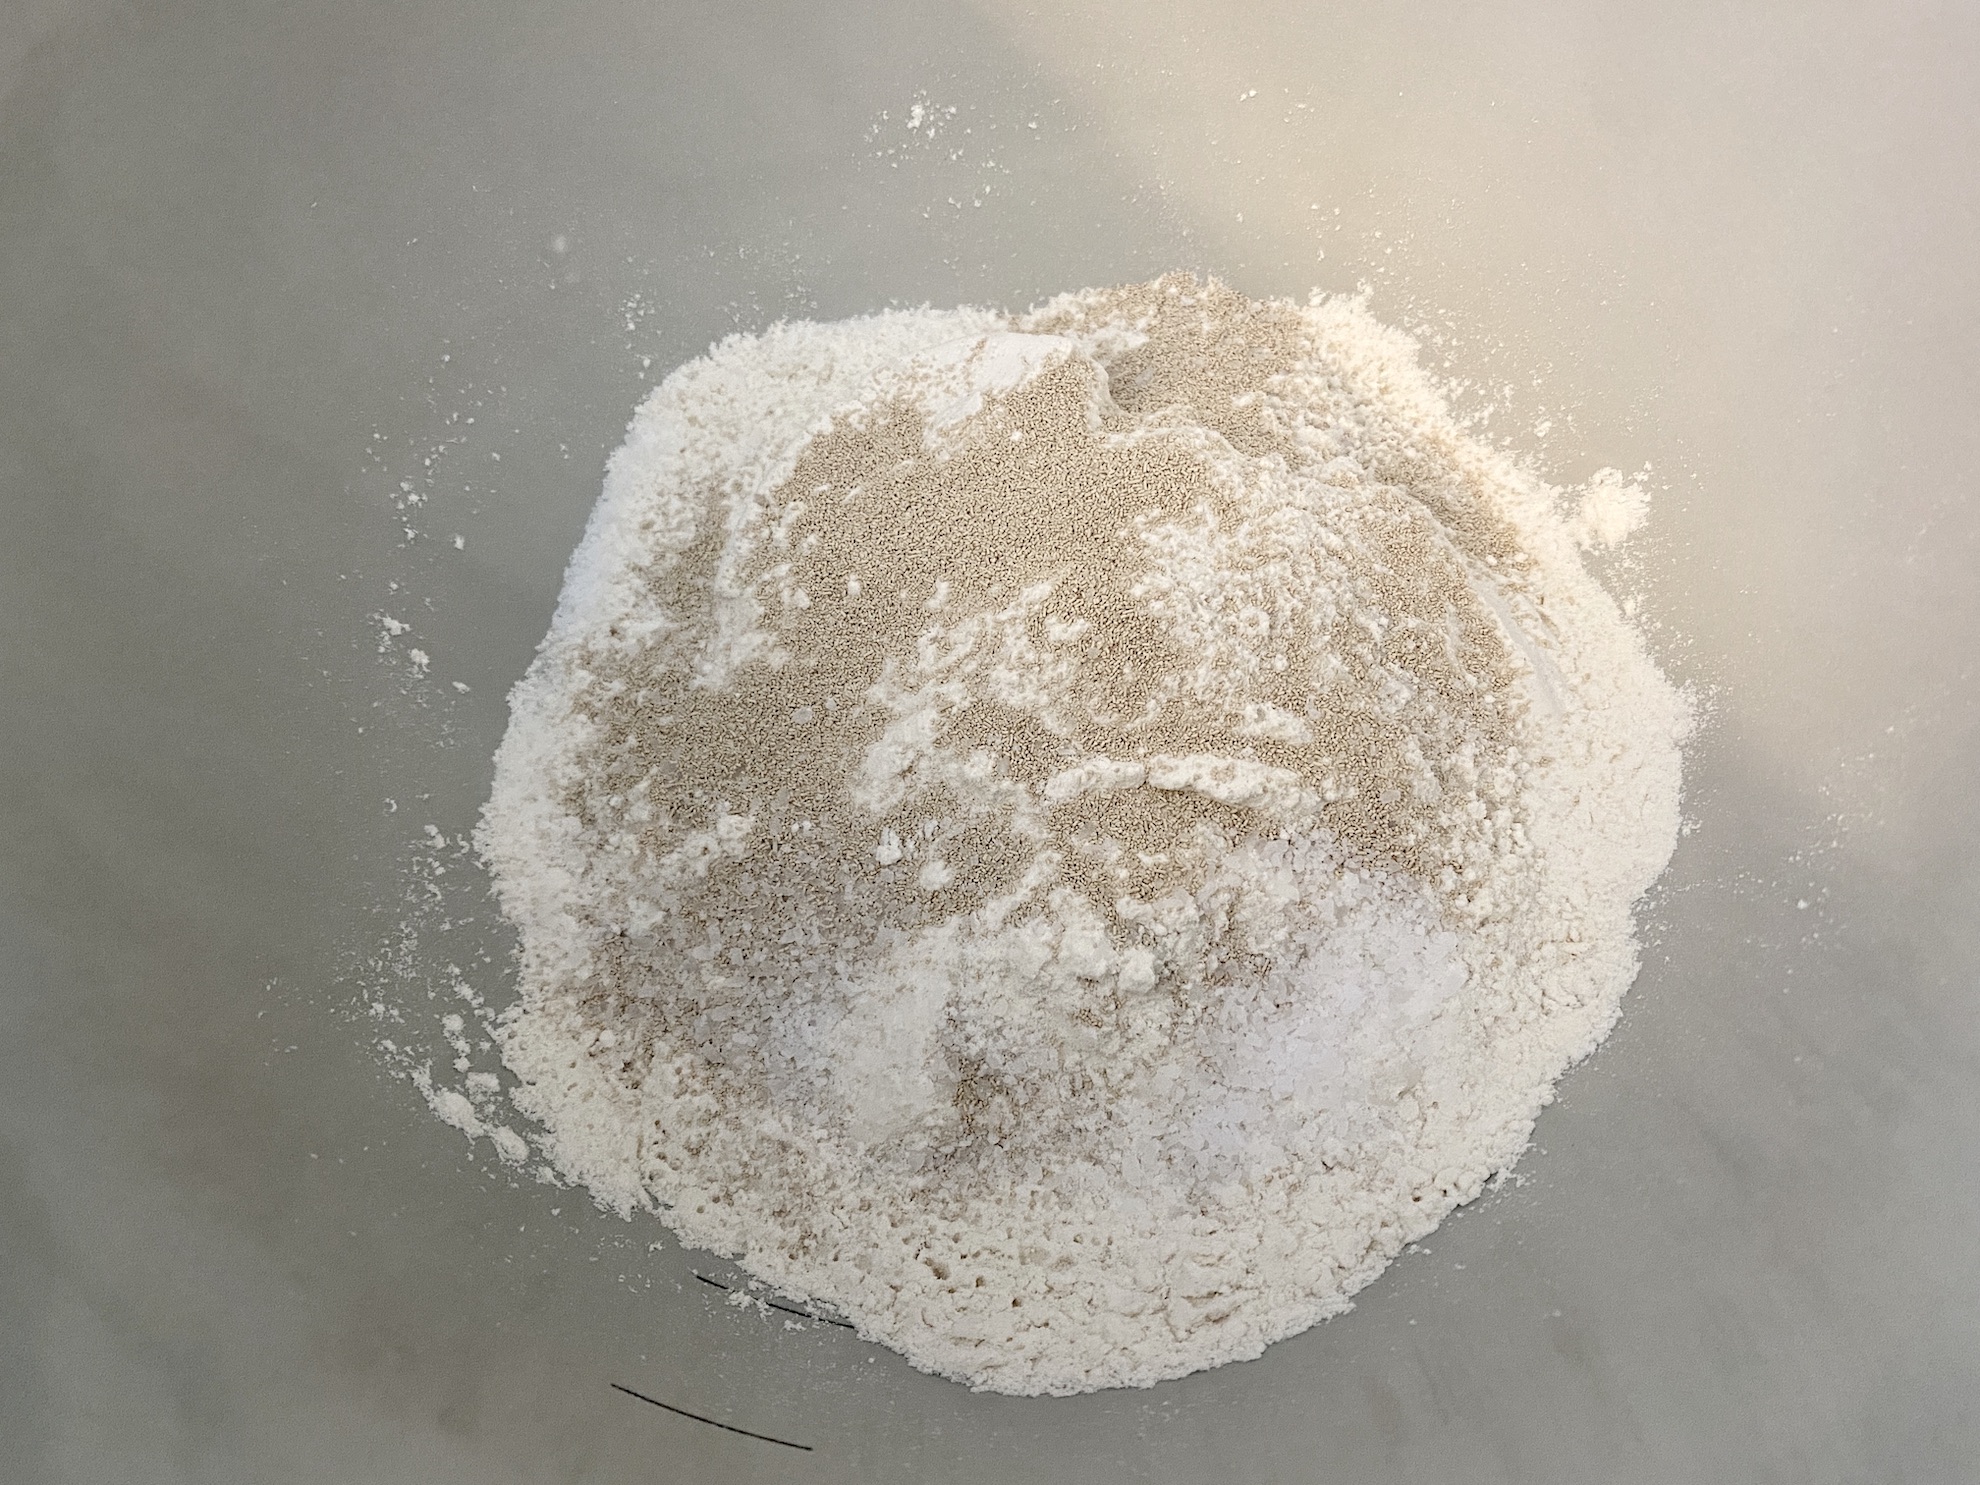
Add the flour, yeast, and salt. Turn the mixer on to speed 2. Slowly stream in the warm water while the stand mixer is on. Allow the ingredients to fully combine and knead for 1 ½ – 2 ½ minutes. The dough should pull away from the sides of the bowl and be wet and sticky.


Remove any dough from the hook and remove the dough hook from the stand mixer. Dust the top of the dough with flour then slowly turn the dough to entirely coat in flour. The dough will be sticky so you might have some stick to your hands!

Place the cover on the bowl and place in a warm place to rise for about 60 minutes. The dough should double in size during this time.

Once the dough has risen, uncover the bowl and gently remove the dough from the bowl and place on a generously floured surface. Pinch the top of the dough, stretch it away from you, then fold it into the center. Turn the dough and repeat. Do this for 3-4 full circle rotations of the dough. After the final stretch, turn the dough over so the fold side is down. Use your hands to gently round out the dough.

Wash and dry the bread bowl (or just rinse out really well). Generously flour the inside of the bowl and the top of the bowl. Place the dough, fold side down, in the bread bowl.
Place the cover on the bowl and let the dough rise for an additional 30 minutes.

Preheat the oven to 450 degrees F. Set the oven rack as close to the center of the oven as possible while still leaving enough room for the height of the bowl. It’s easiest to measure this before the oven is preheated and not too hot!
When ready, remove the lid from the bread bowl. Line the inside with parchment paper. It’s OK if you don’t have round parchment paper. I cut mine to mostly fit but sometimes it hangs over the sides…no big deal!
Carefully remove the dough and place on the parchment paper. You want the fold side to now be up (it was down when sitting in the bowl). Remove any excess flour from the bowl. Place the bread bowl over the dough to fully seal it inside – the cover is not on the bottom and the bowl is upside down.

Bake for 30 minutes then carefully remove the bread bowl and continue to bake for 10 minutes or until golden brown and crispy.


Remove to a cooling rack to cool slightly. You can then slice and enjoy or save for another recipe (which we’re going to do below).

The recipe for the KitchenAid Artisan Bread Loaf can be found here.

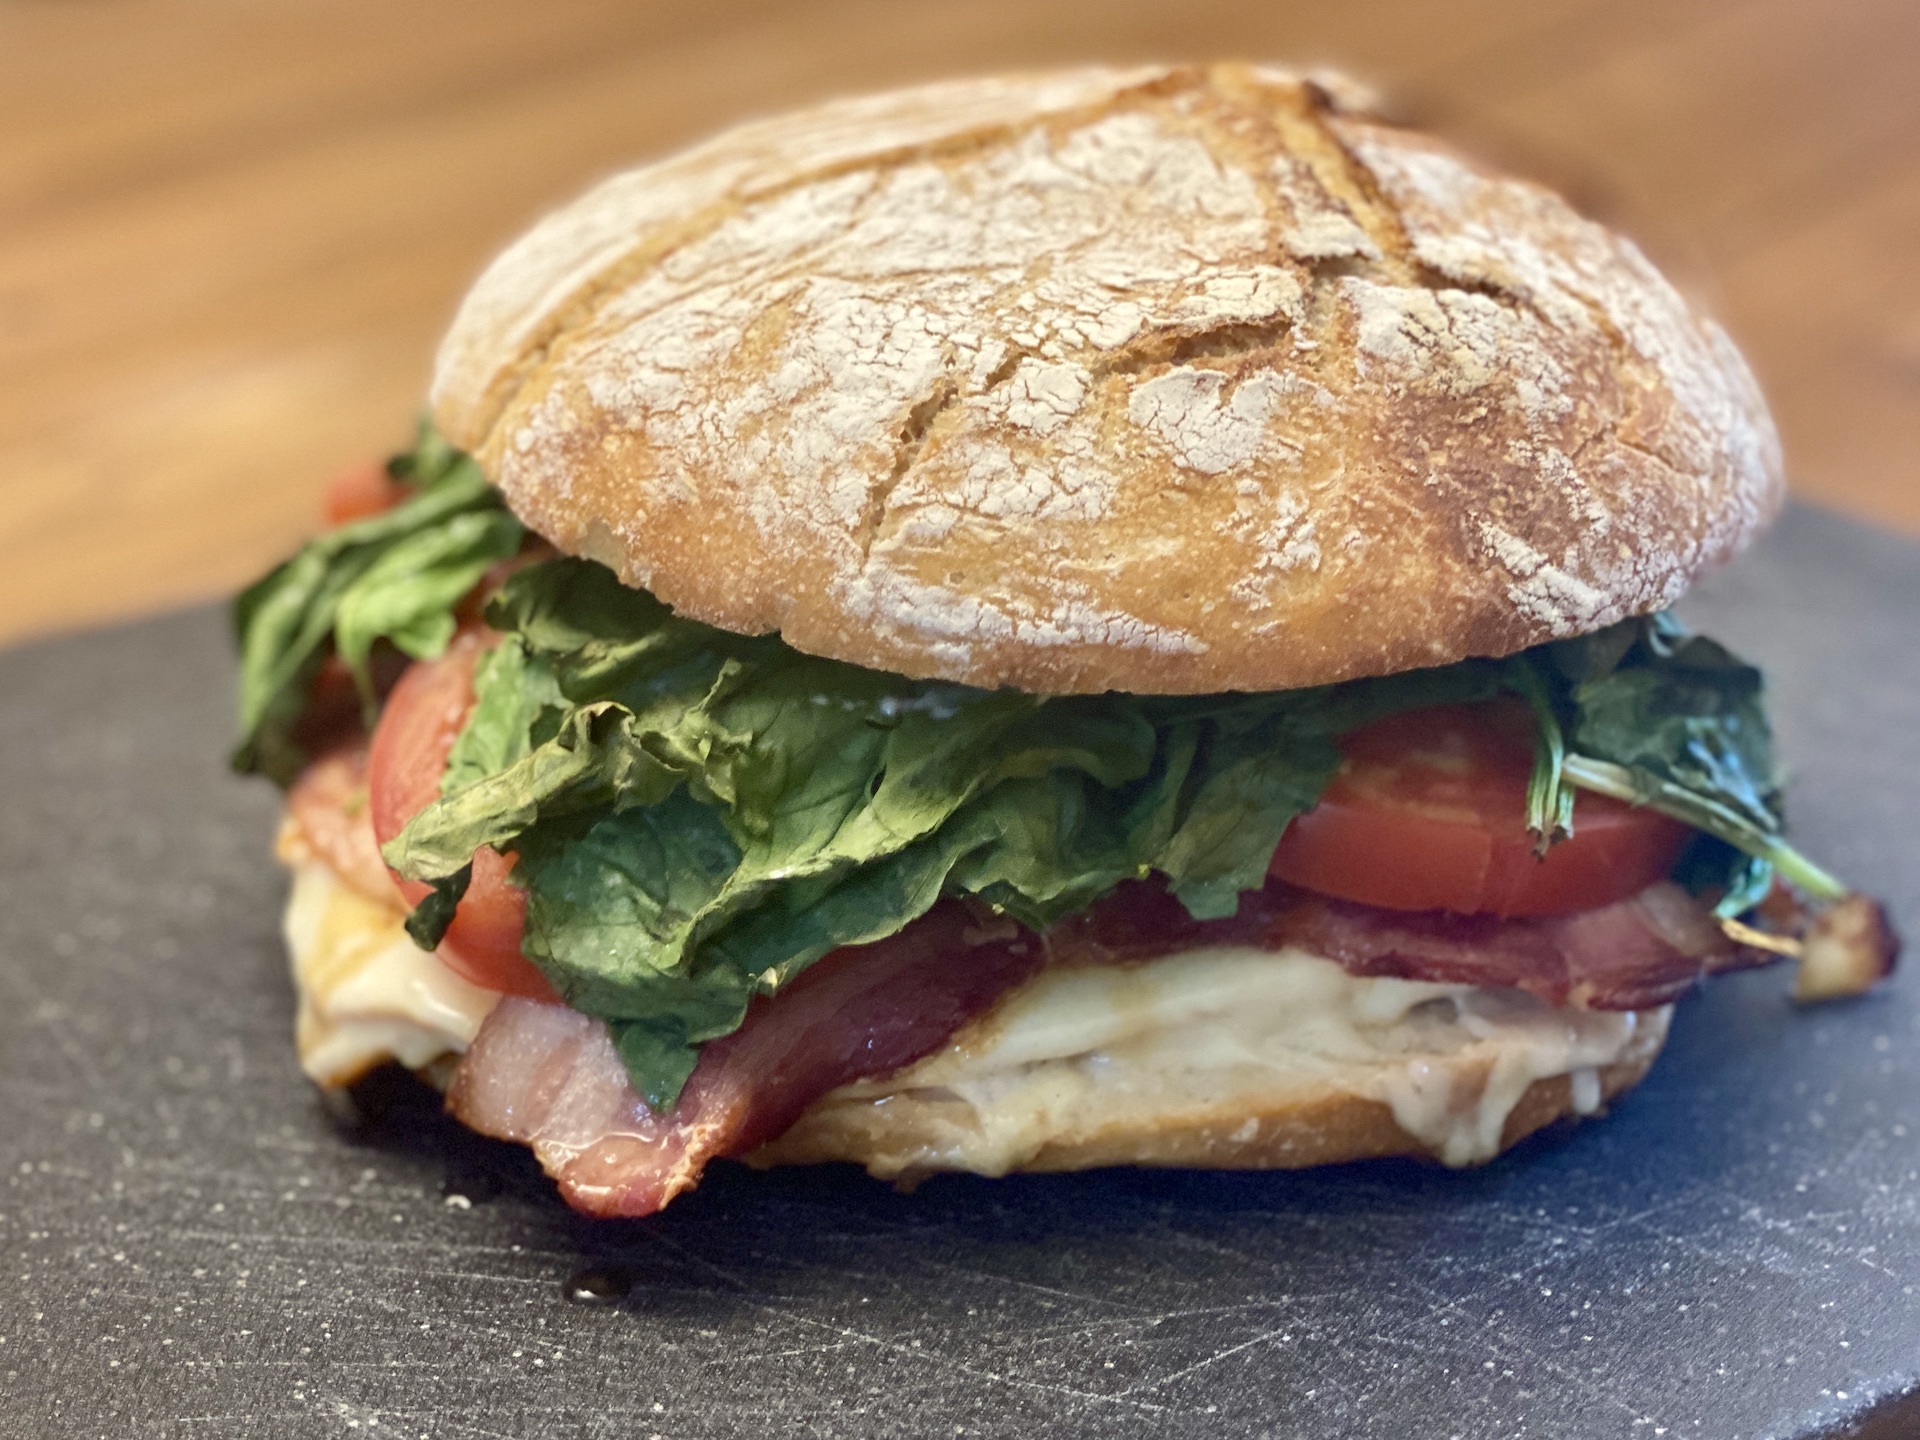
My favorite thing to do with the Artisan Bread Loaf is make a Griller Sandwich. A Griller Sandwich is essentially a fully loaded sandwich that is heated on the grill before being served. This is a completely customizable recipe. I personally like to make a turkey version, but you can substitute / add any ingredient of your choosing. Add salami or ham, pepperoncini, sliced onion, etc. Make it your own! Just follow the basic recipe below for grill temp and cook time. It’s delicious and is perfect for summer grilling.
The Turkey Griller Sandwich with Homemade Bread recipe can be found here.
We discussed how to make the homemade bread for the Griller Sandwich already. I highly recommend you prepare your own bread, but I can completely understand not having the time (or desire) to bake your own…I get it! It’s not for everyone! In that case, I suggest you purchase a round, unsliced, loaf of bread from your local Festival Foods to substitute.
Start by preheating the grill to 400 degrees F.

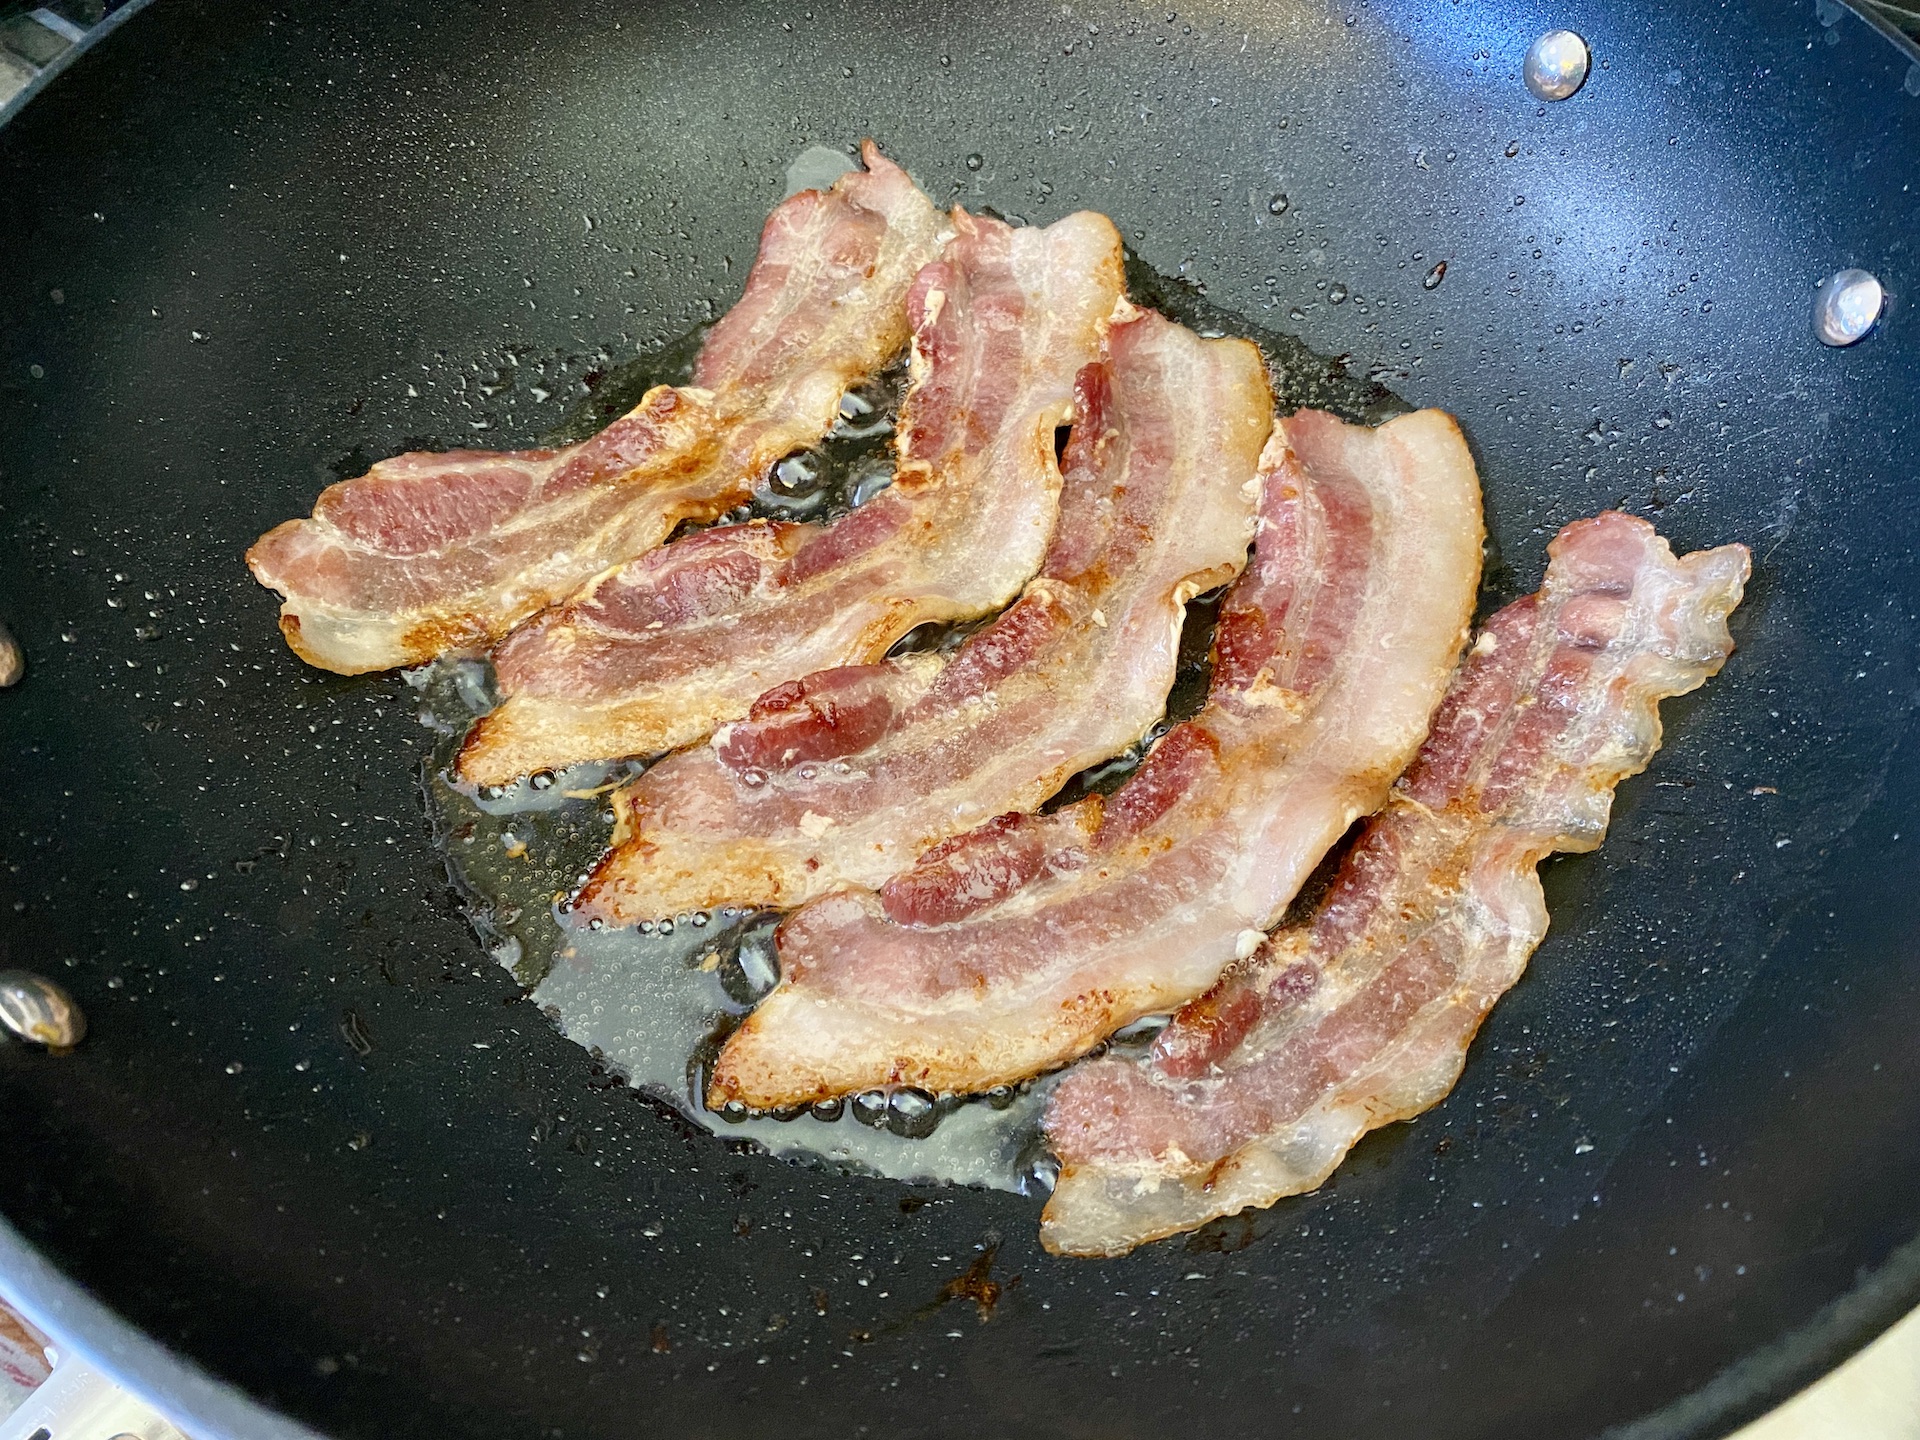
Cook the bacon according to package instructions. Transfer to a paper towel lined plate to drain the grease.

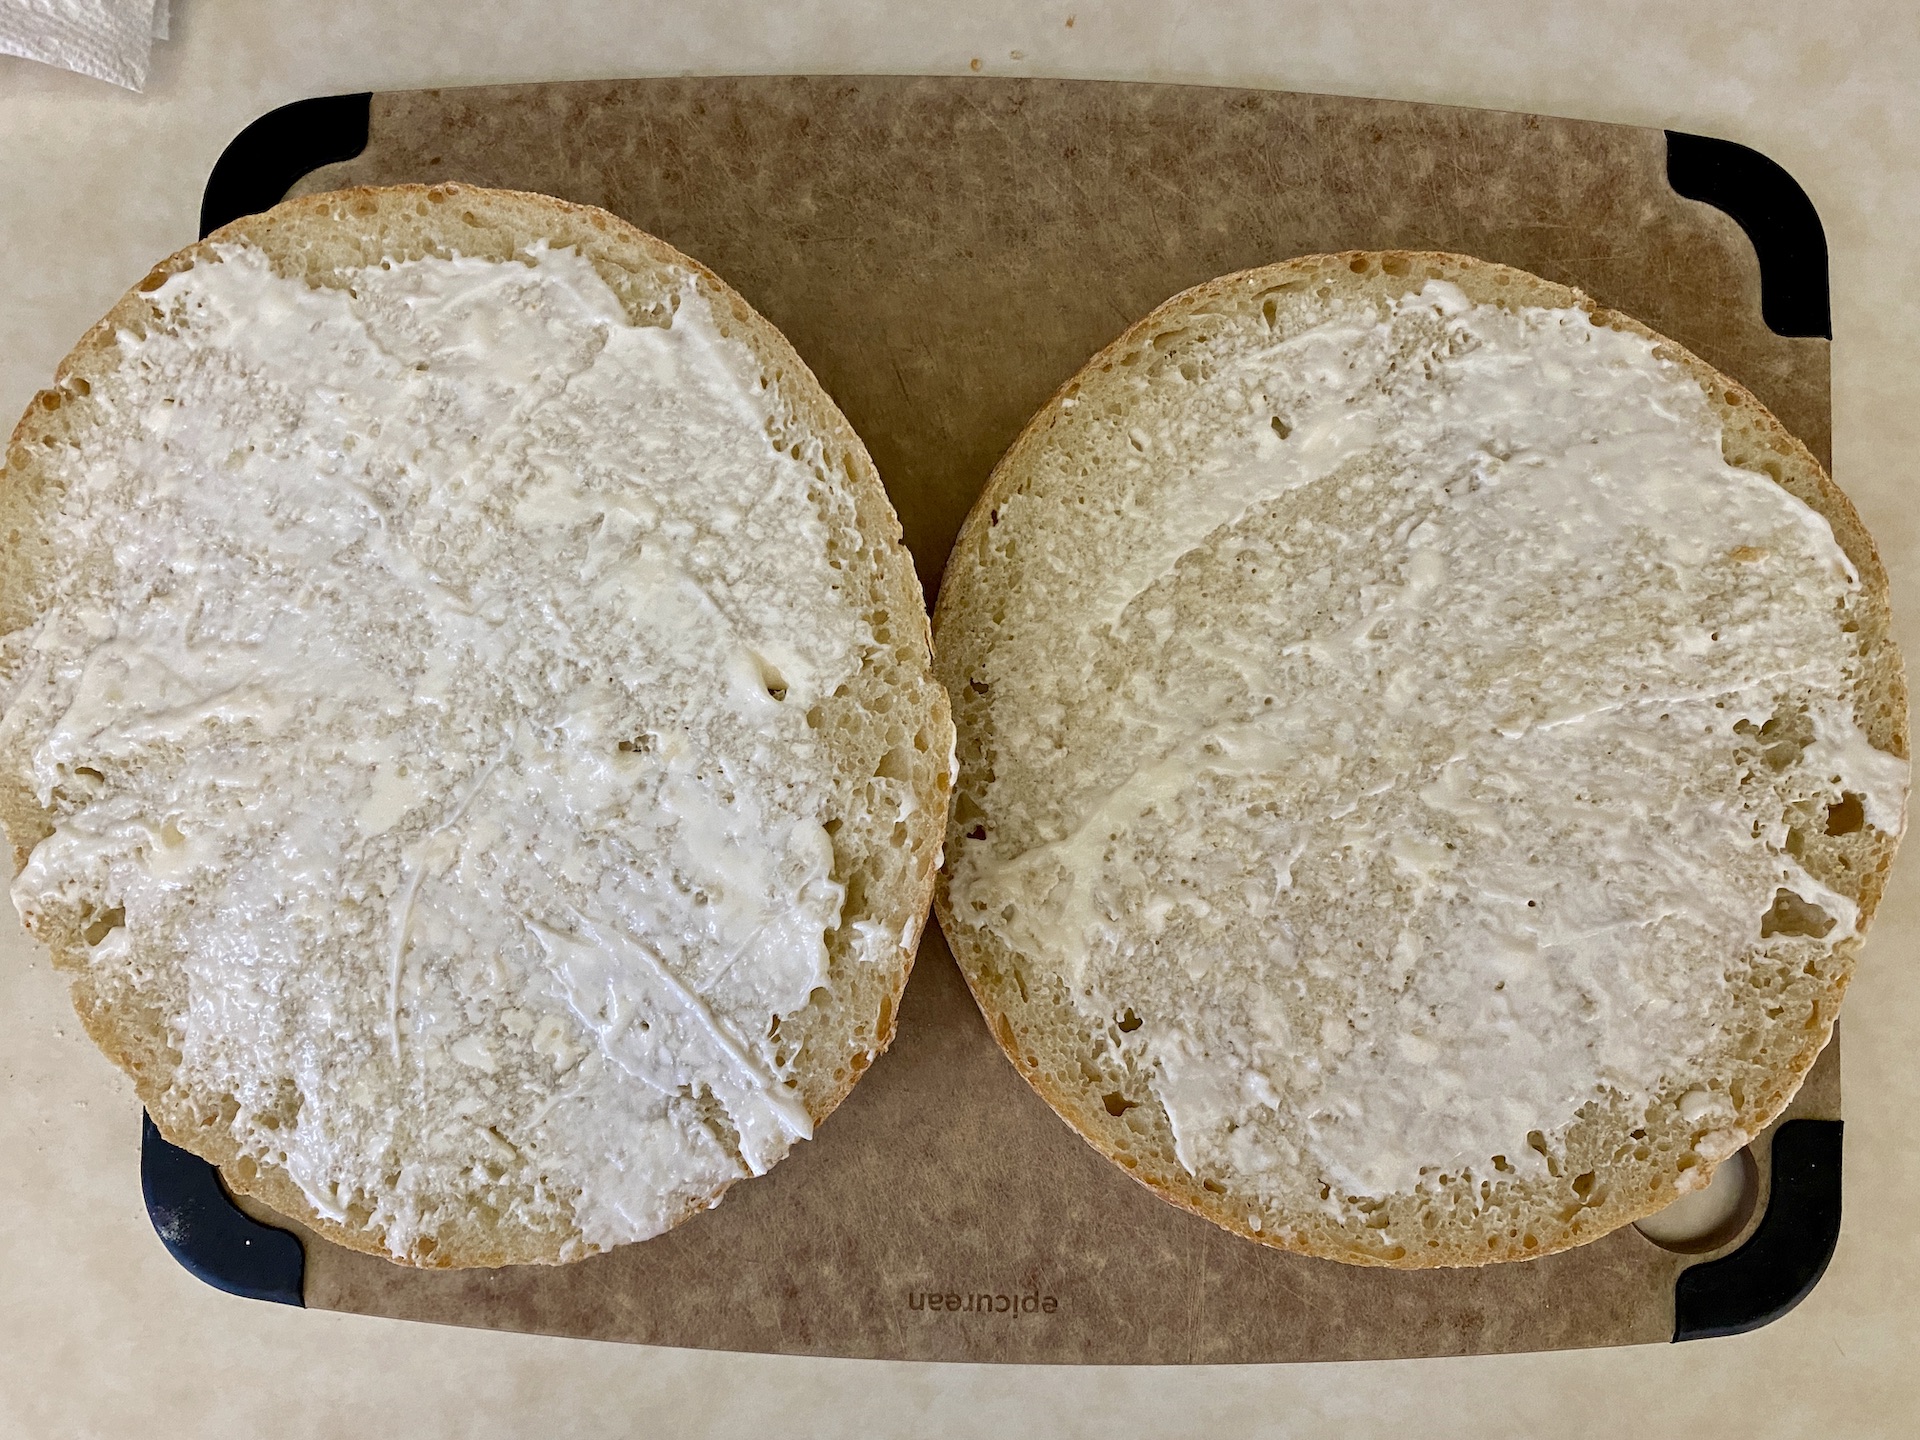
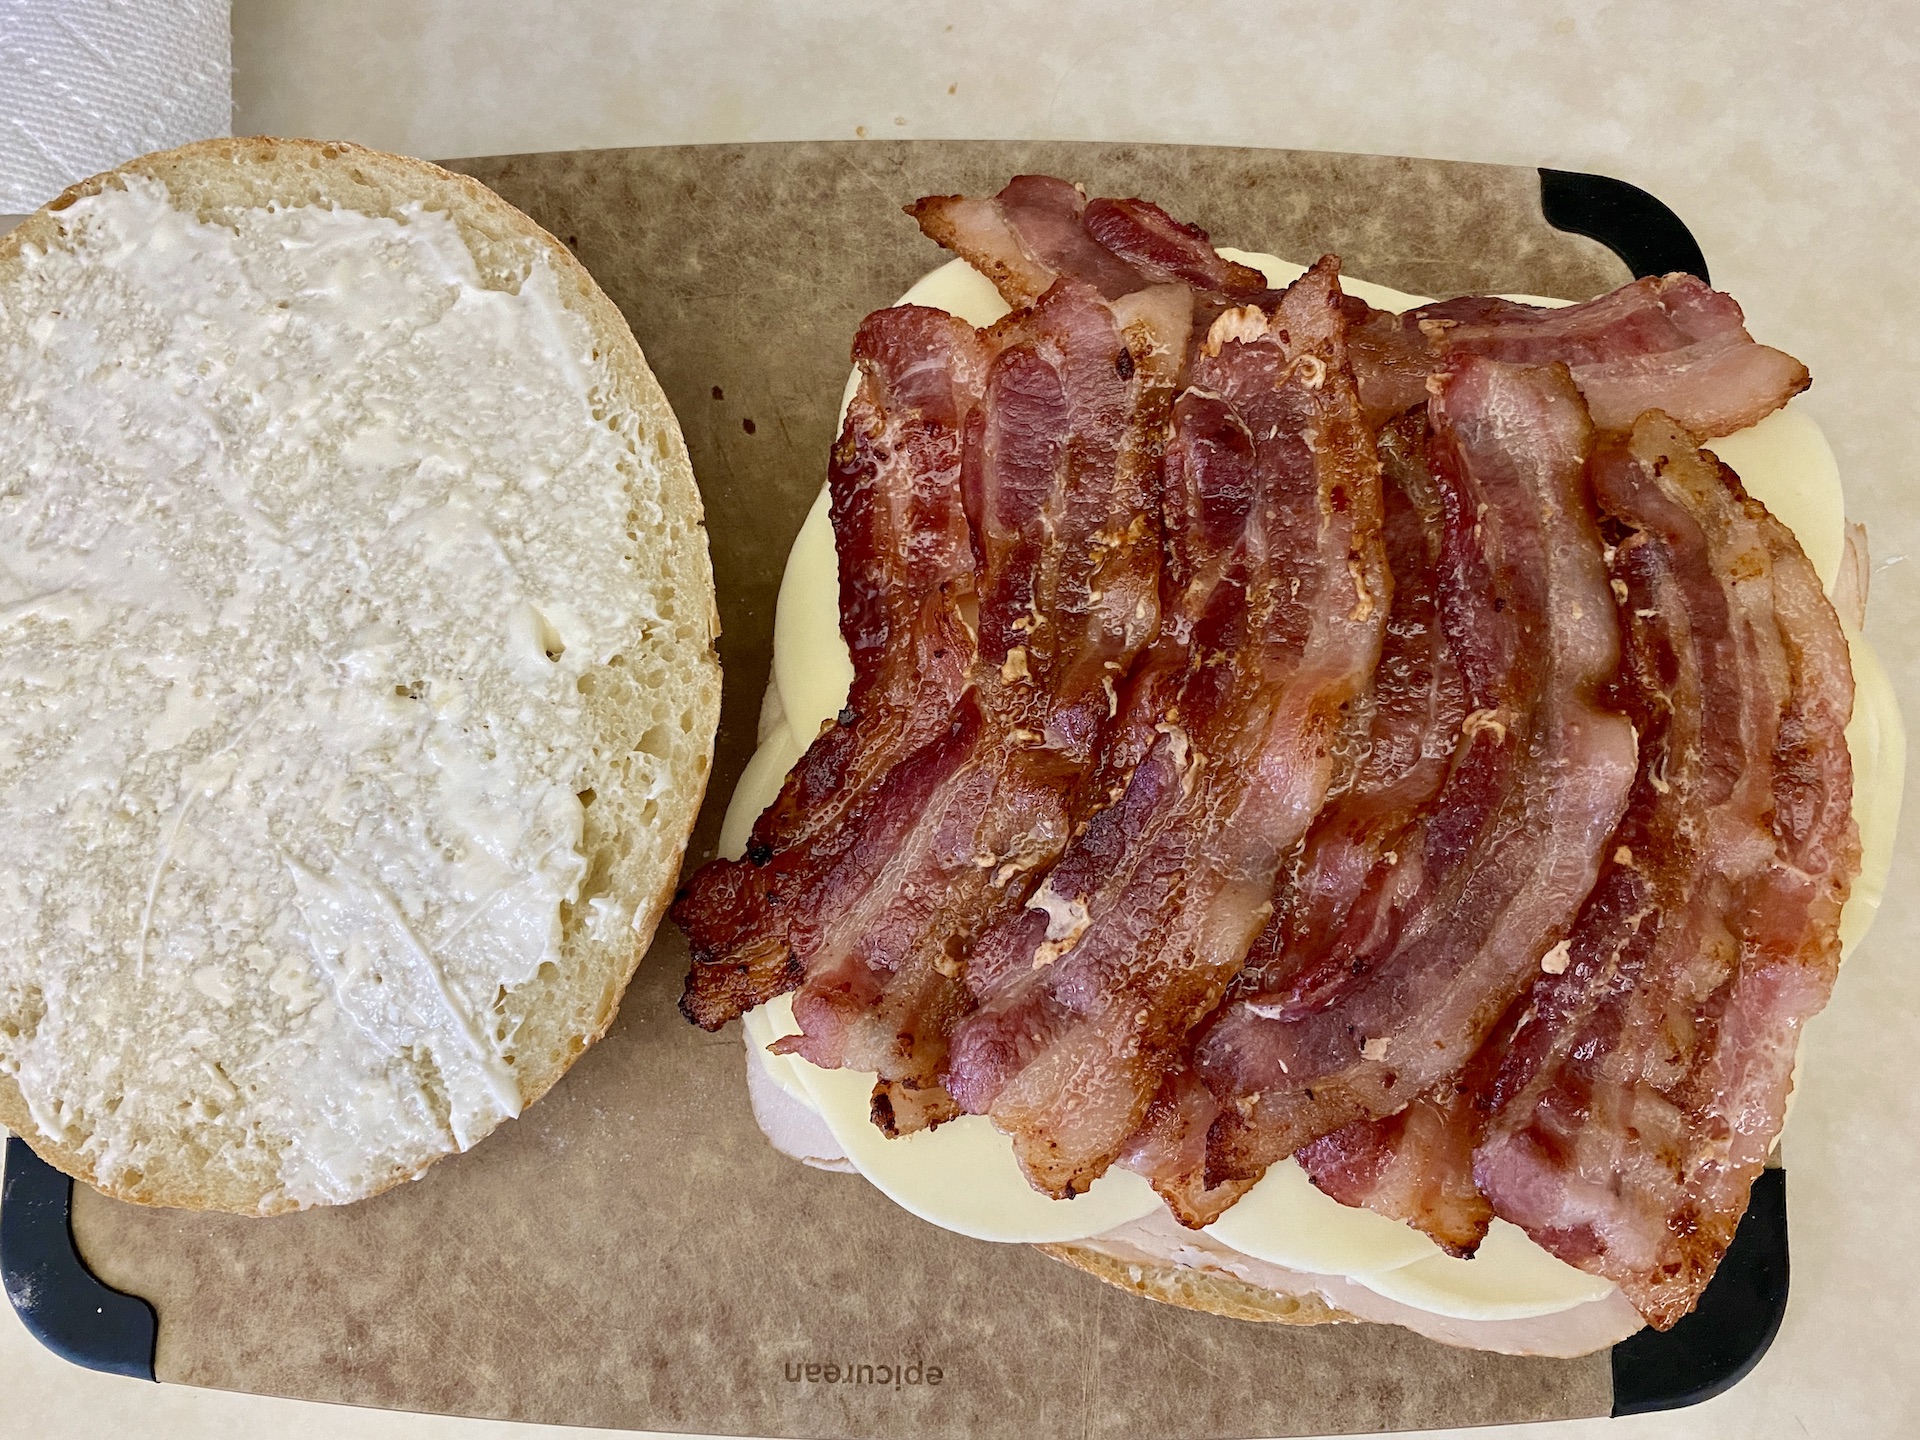
Slice the bread in half (through the center). Spread mayonnaise on each side of the bread. Alternately, you can skip the condiments all together and add once ready to serve. That way everyone can use the spread of their choice.


Add the sliced turkey, followed by the sliced provolone cheese, then the cooked bacon. Make sure to layer and stack the ingredients!


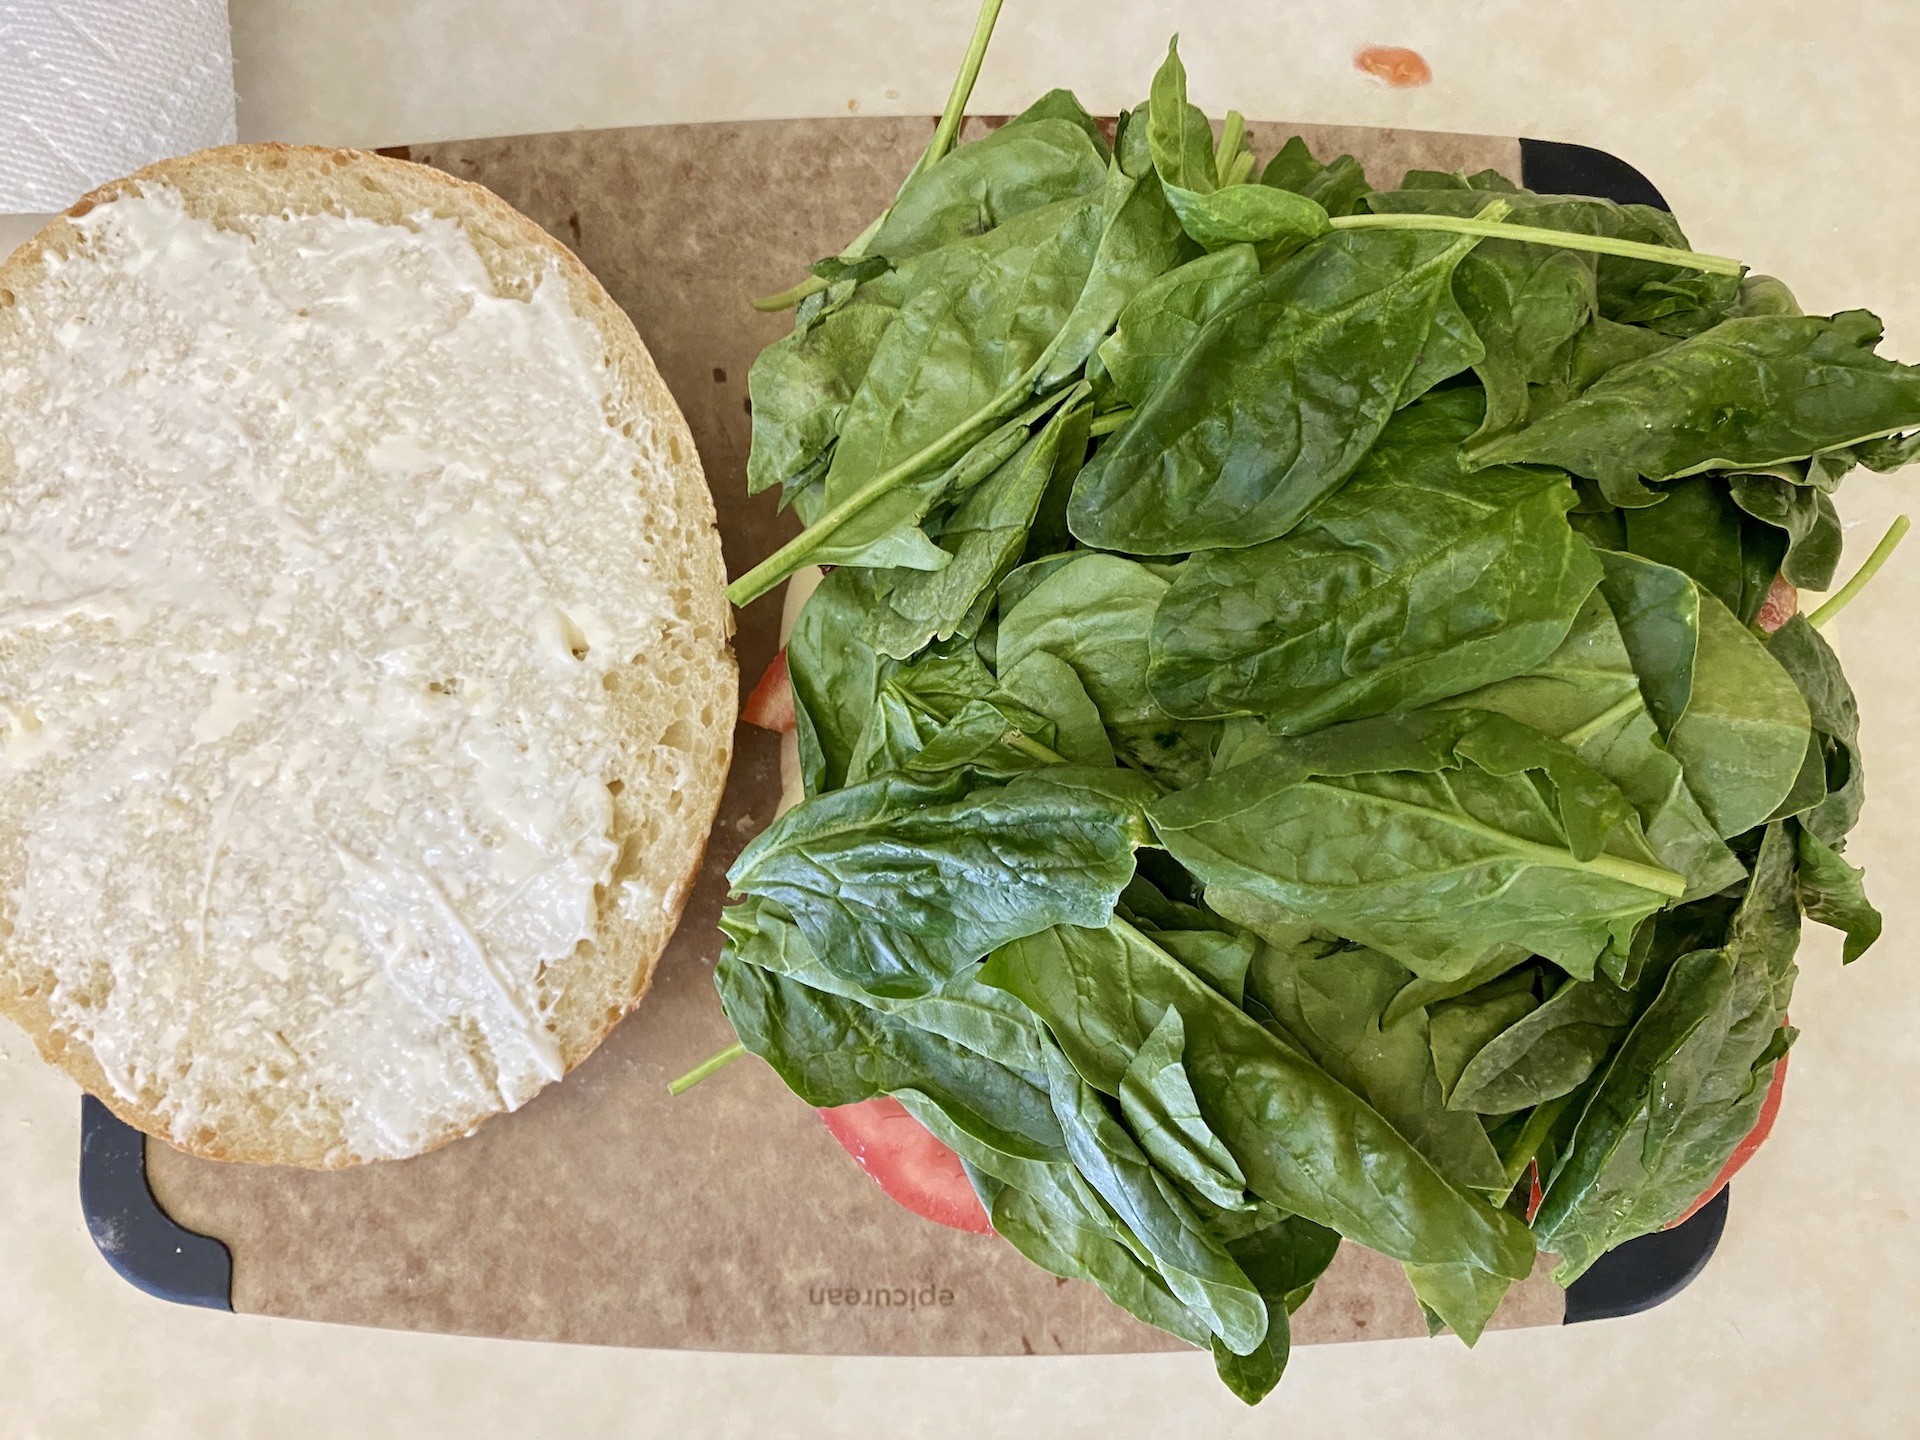
Add the sliced tomatoes and top with spinach. Place the top half of the bread on top.


Tightly wrap in HEAVY DUTY aluminum foil.

Turn off the center burners and leave the outside burners on. Doing this will prevent the bottom of the sandwich from burning while heating!
Place the wrapped sandwich on the grill and close the lid. Let heat for 15-20 minutes. Carefully pull back the aluminum foil to check the temperature and ensure all ingredients are heated through. If so, remove from the grill. If not, close the foil and continue to heat for 5-10 minutes with the grill cover closed.

Let cool slightly so it’s easy to handle. Then slice into wedges and serve. Enjoy!

The Turkey Griller Sandwich with Homemade Bread recipe can be found here.
If you are looking for a premade version, you can order the Deluxe Griller Sandwich from Festival Foods here. This is a pre-order through catering but is just as delicious as the turkey version 🙂
Otherwise, you can try any of these recipes with the Artisan Bread Loaf:
Cheddar Bacon Ranch Pull Apart Bread Bowl
Or simply enjoy warm with some butter, jam, or other spreads!

Happy Cooking!


Recent Comments