 order online
 weekly specials
Spring will be over before you know it and as we get into the summer months, you might be looking for something fun for the kids to do over summer break. Why not make a fresh batch of cookies? (And then send them outside to recover from the sugar rush) 😊
There is nothing like fresh baked cookies, right out of the oven. I always have to sample one off the baking sheet (for quality control purpose) before they are even cooled enough to transfer to a cooling rack. Am I a monster? Yes. But so are the 1st cookies I want to share with you today 😊
Monster Cookies are giant in size and truly the best! They are loaded with peanut butter, oats, butterscotch chips, chocolate chips, and M&M’s, so you are essentially combining aspects of your favorite cookie into one super-sized cookie. They are thick, chewy, and a crowd pleaser!

The recipe can be found here.
Start by preheating the oven to 350 degrees F. Line 2 baking sheets with parchment paper.

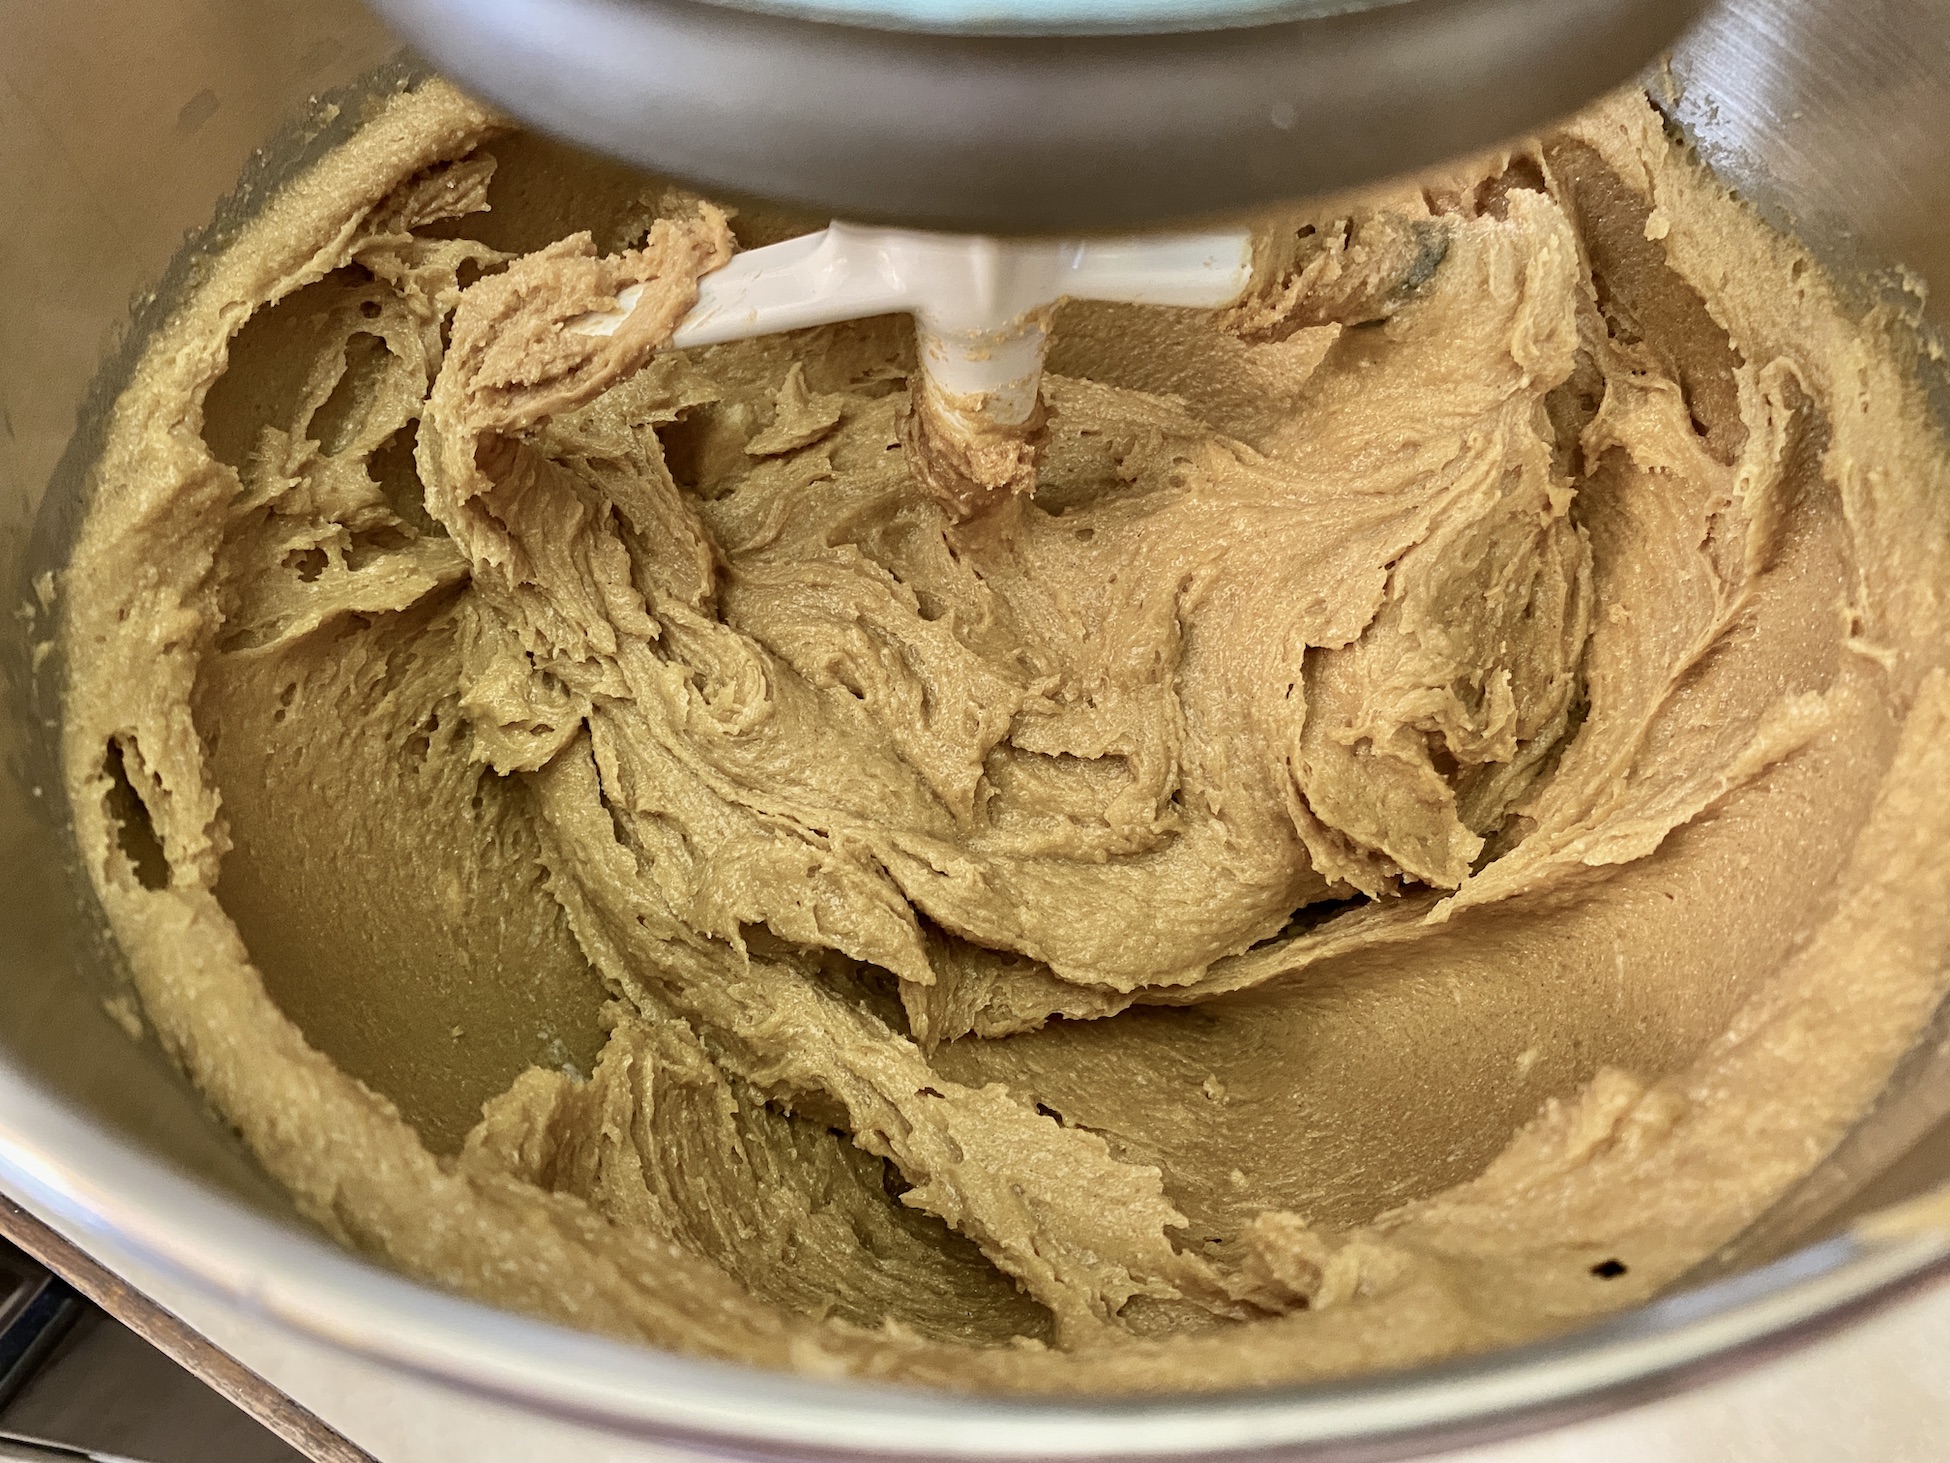
In the bowl of a stand mixer, combine the peanut butter, butter, brown sugar, and sugar. Mix until smooth. You will want to use a stand mixer for this recipe if you have one – save your arms! The batter will be thick and very hard to stir.


Add the eggs and vanilla and mix until combined.

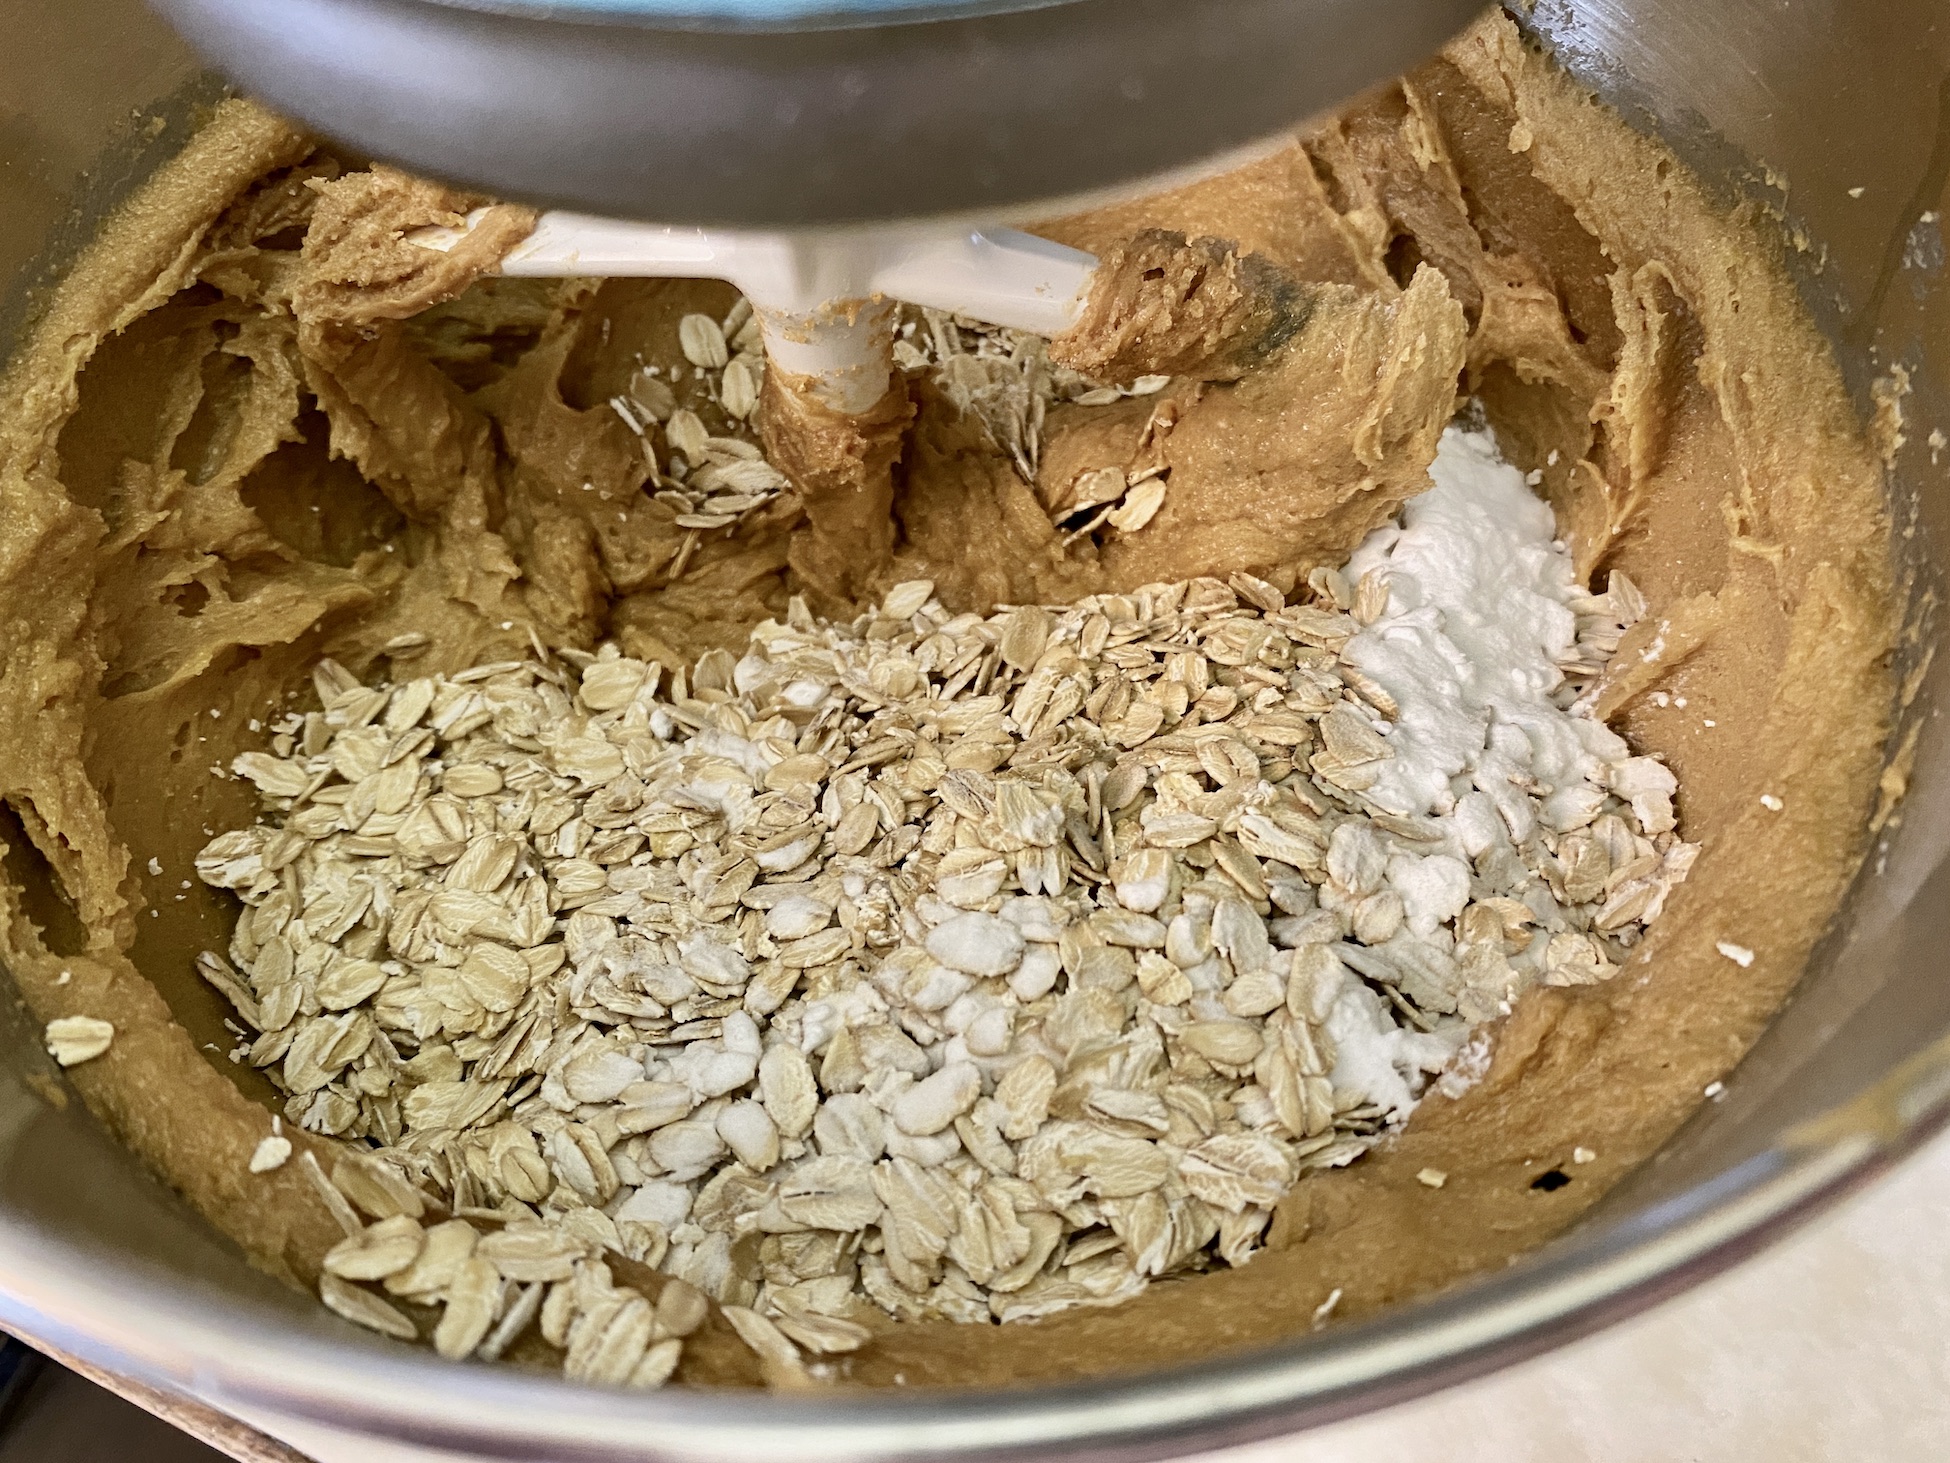
Add the oats and baking soda and mix until combined.

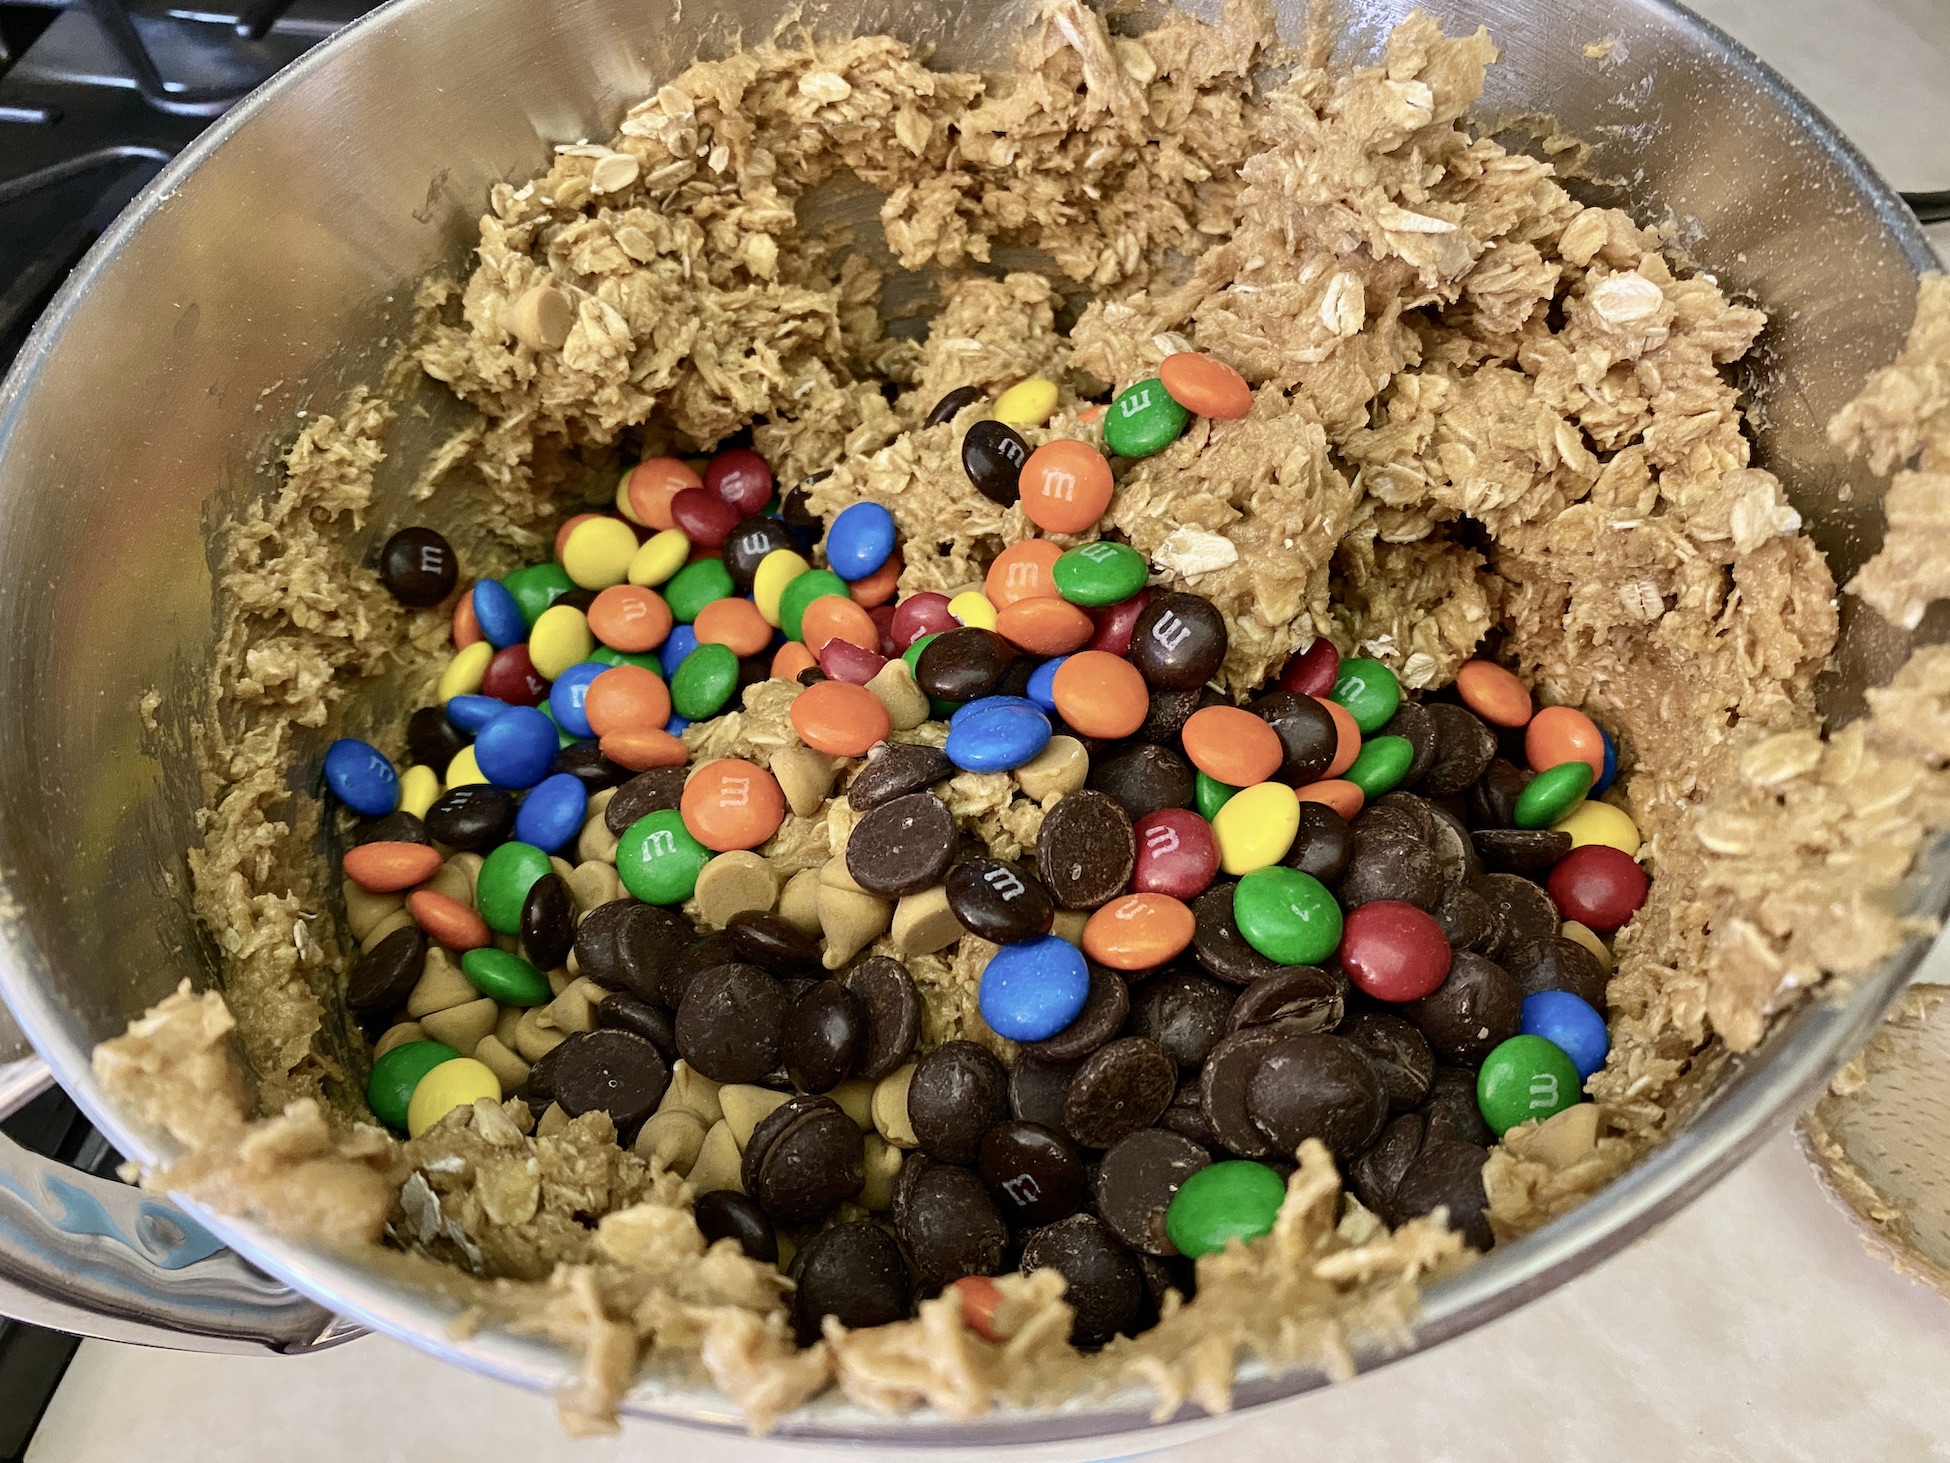
Add the butterscotch chips, milk, or dark chocolate chips (or both), and M&M’s, and stir to combine. You could also add some chopped nuts or peanut butter chips…. anything goes in these cookies! So go ahead and add what you or your family likes in a cookie.

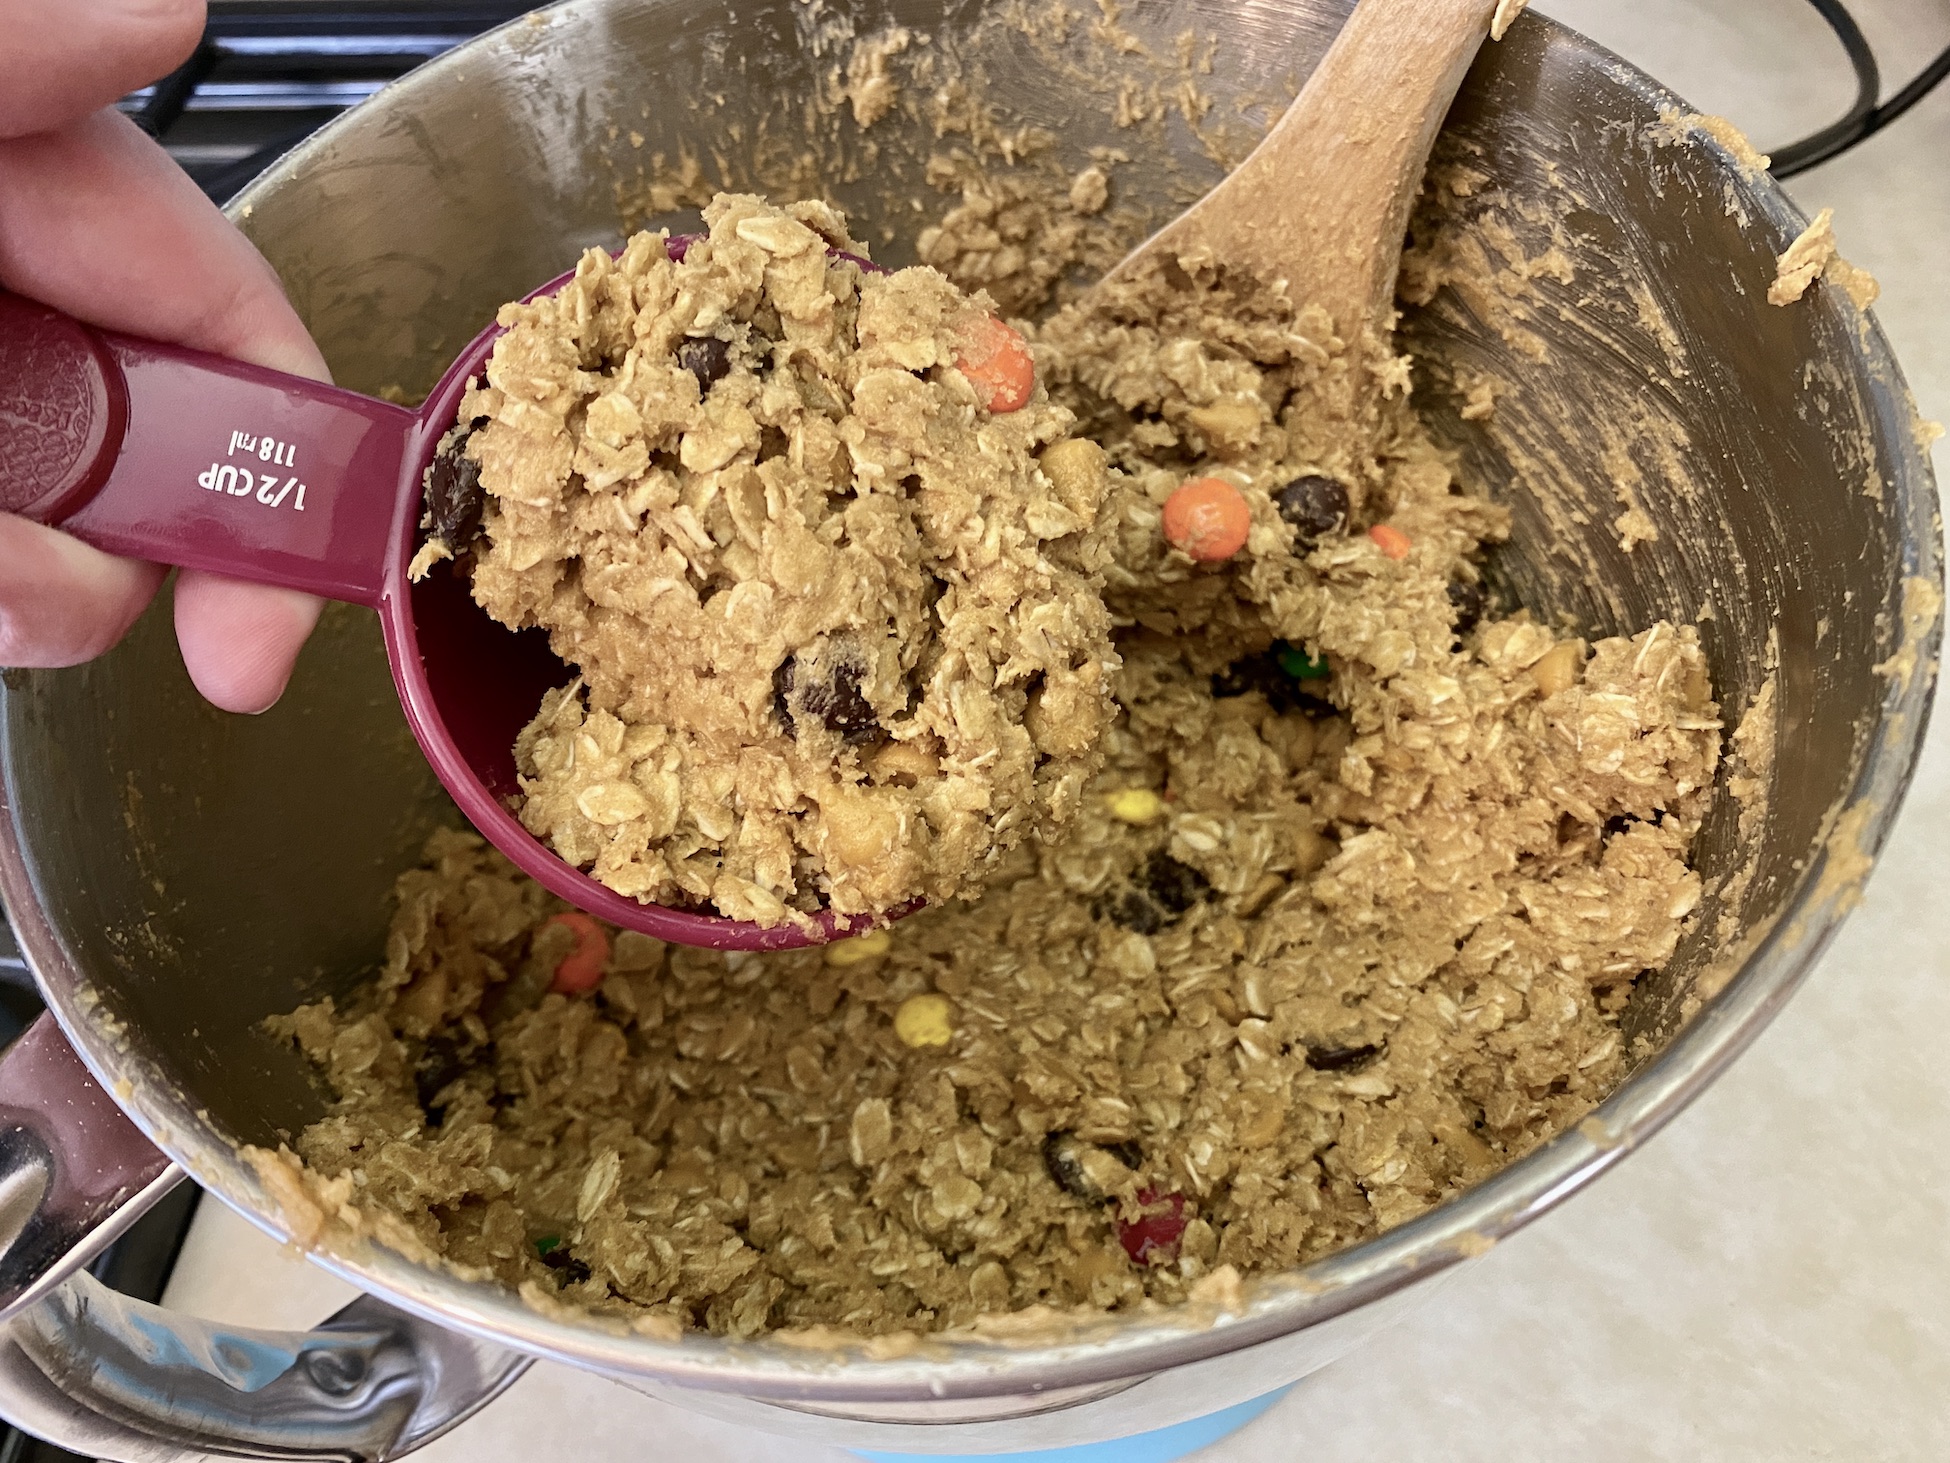
Use a ½ cup measuring cup to portion out the mixture. Use your hands to roll the dough into balls and set on the counter (or a piece of wax or parchment paper). Repeat this until all the dough has been formed into a ball.
Place 3-4 cookies on each baking sheet. The cookies will spread while baking so you don’t want to overcrowd the pan.

Bake for 12 minutes. Then remove the baking sheets from the oven and use a fork to press down slightly to flatten the cookies. You don’t want to smush the cookies flat, just press down a little to help with even baking.


Bake for an additional 5 minutes.

Remove from the oven and let cool slightly. Then transfer to a cooling rack and back the next round of cookies. Repeat until all cookies have been baked.
Enjoy immediately or store in an airtight container on the counter (once completely cooled). You can also freeze the cookies to save for later. So good!

The recipe can be found here.
The next cookie recipe I want to share with you is for Butterscotch Pretzel Cookies with Sea Salt. These are my new sweet / salty obsession, packed and they were a crowd favorite when I brought them to work. They are packed with butterscotch chips, chocolate chips, pretzel pieces, and flakey salt, but the real depth of flavor comes from the browned butter.

The recipe can be found here.

Start by browning the butter. Use a saucepan to melt the butter over medium heat. Once melted, bring to a slow boil (almost like a simmer), and swirl the pan while the butter continues to boil. The butter will eventually turn a deep amber color. Be patient! Once browned, remove from the heat, and allow to cool for about 20 minutes.


Preheat the oven to 350 degrees F and line 2 baking sheets with parchment paper.
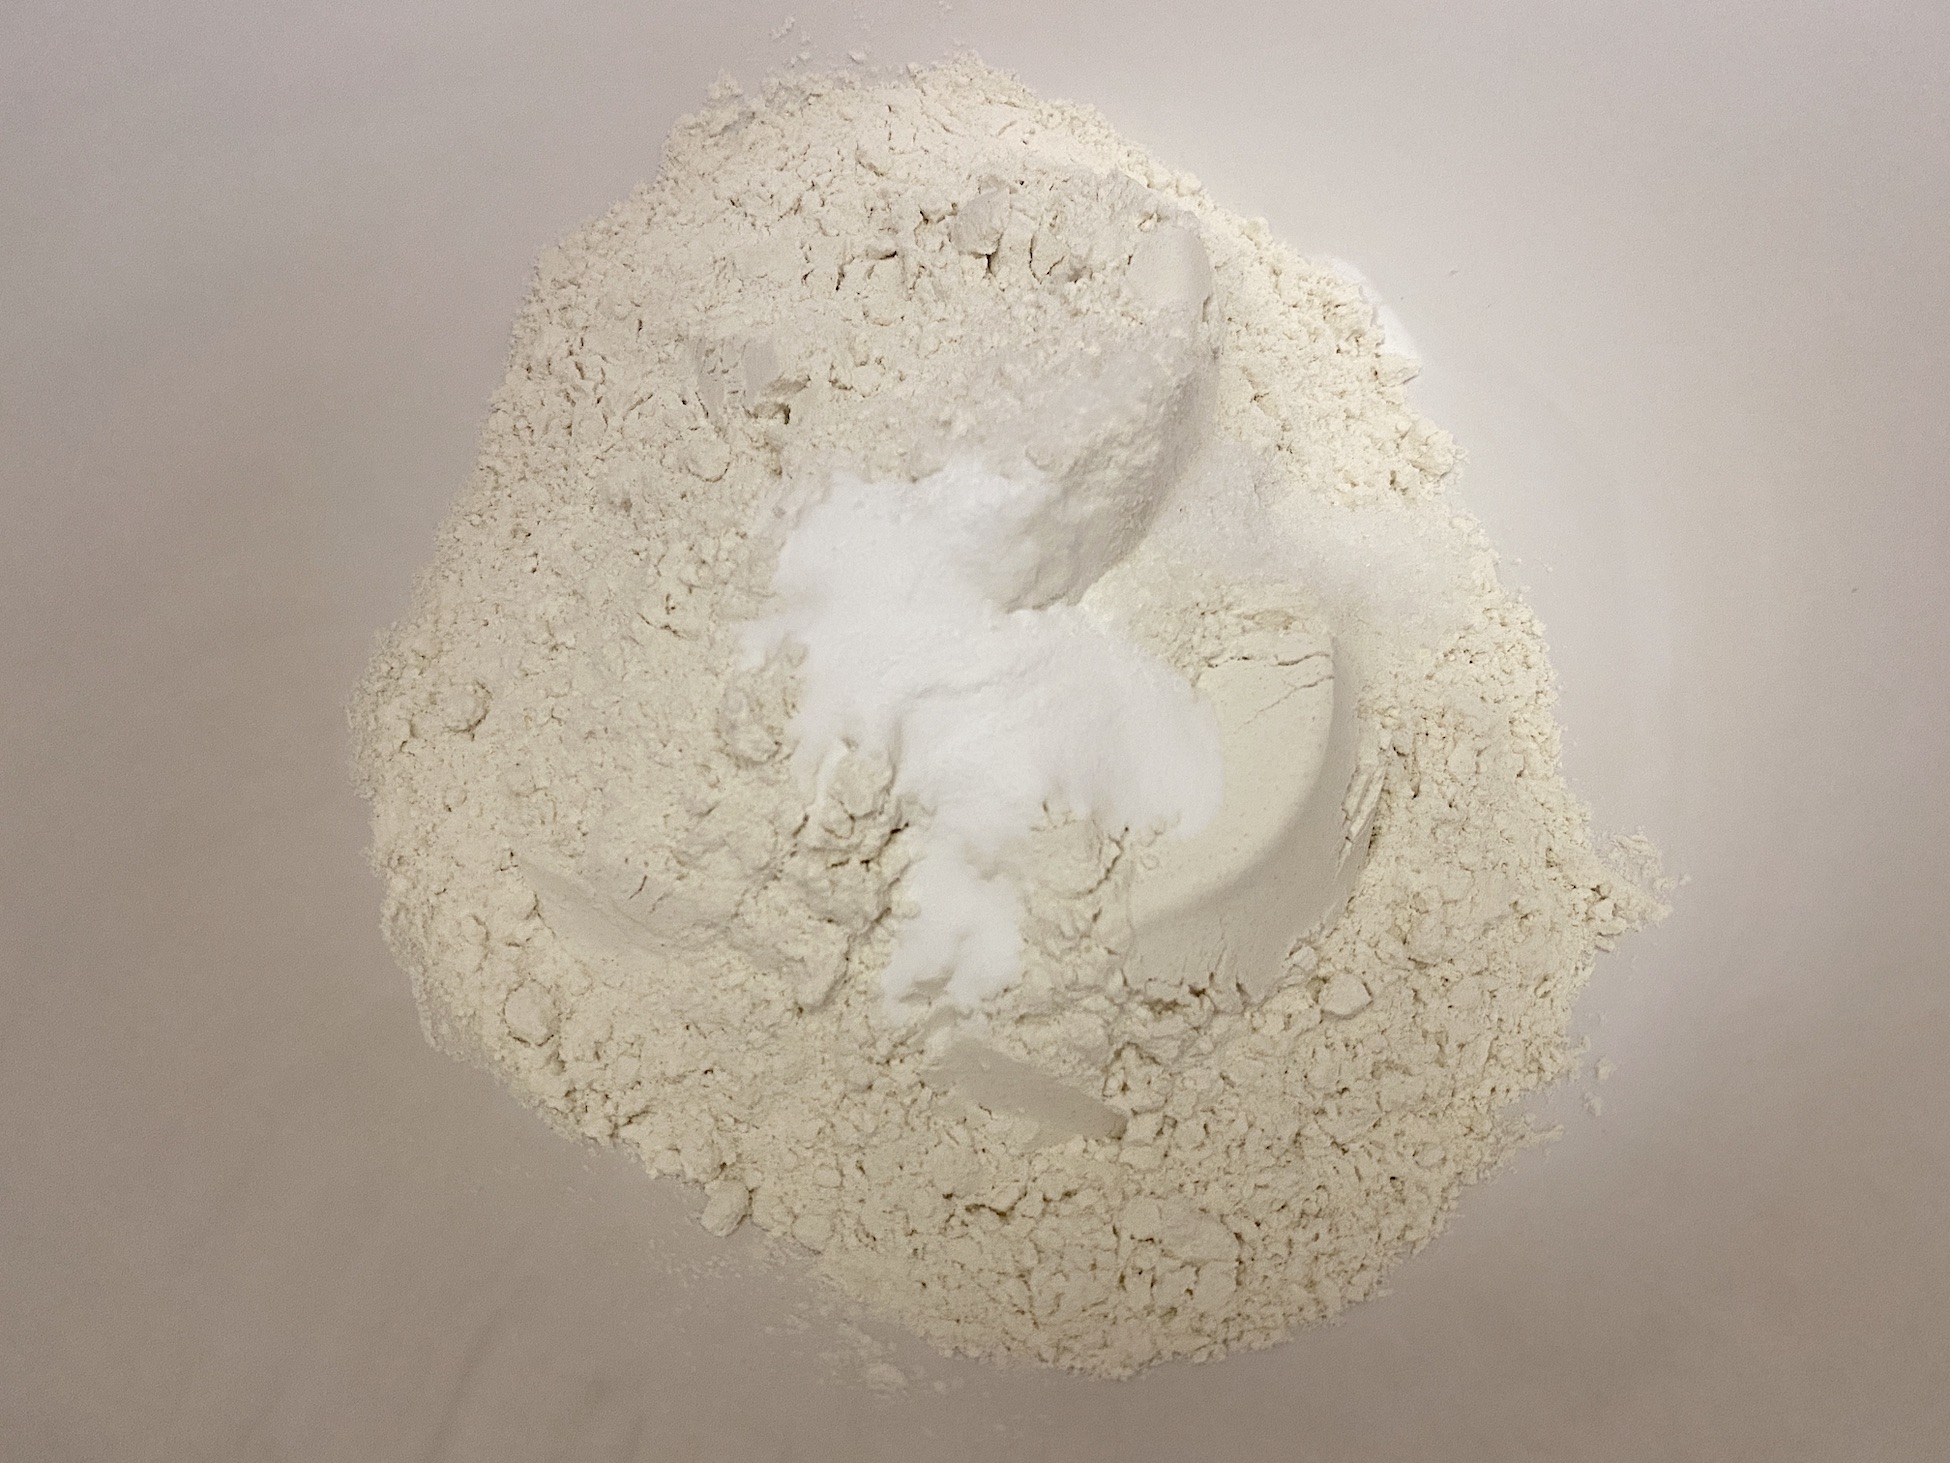
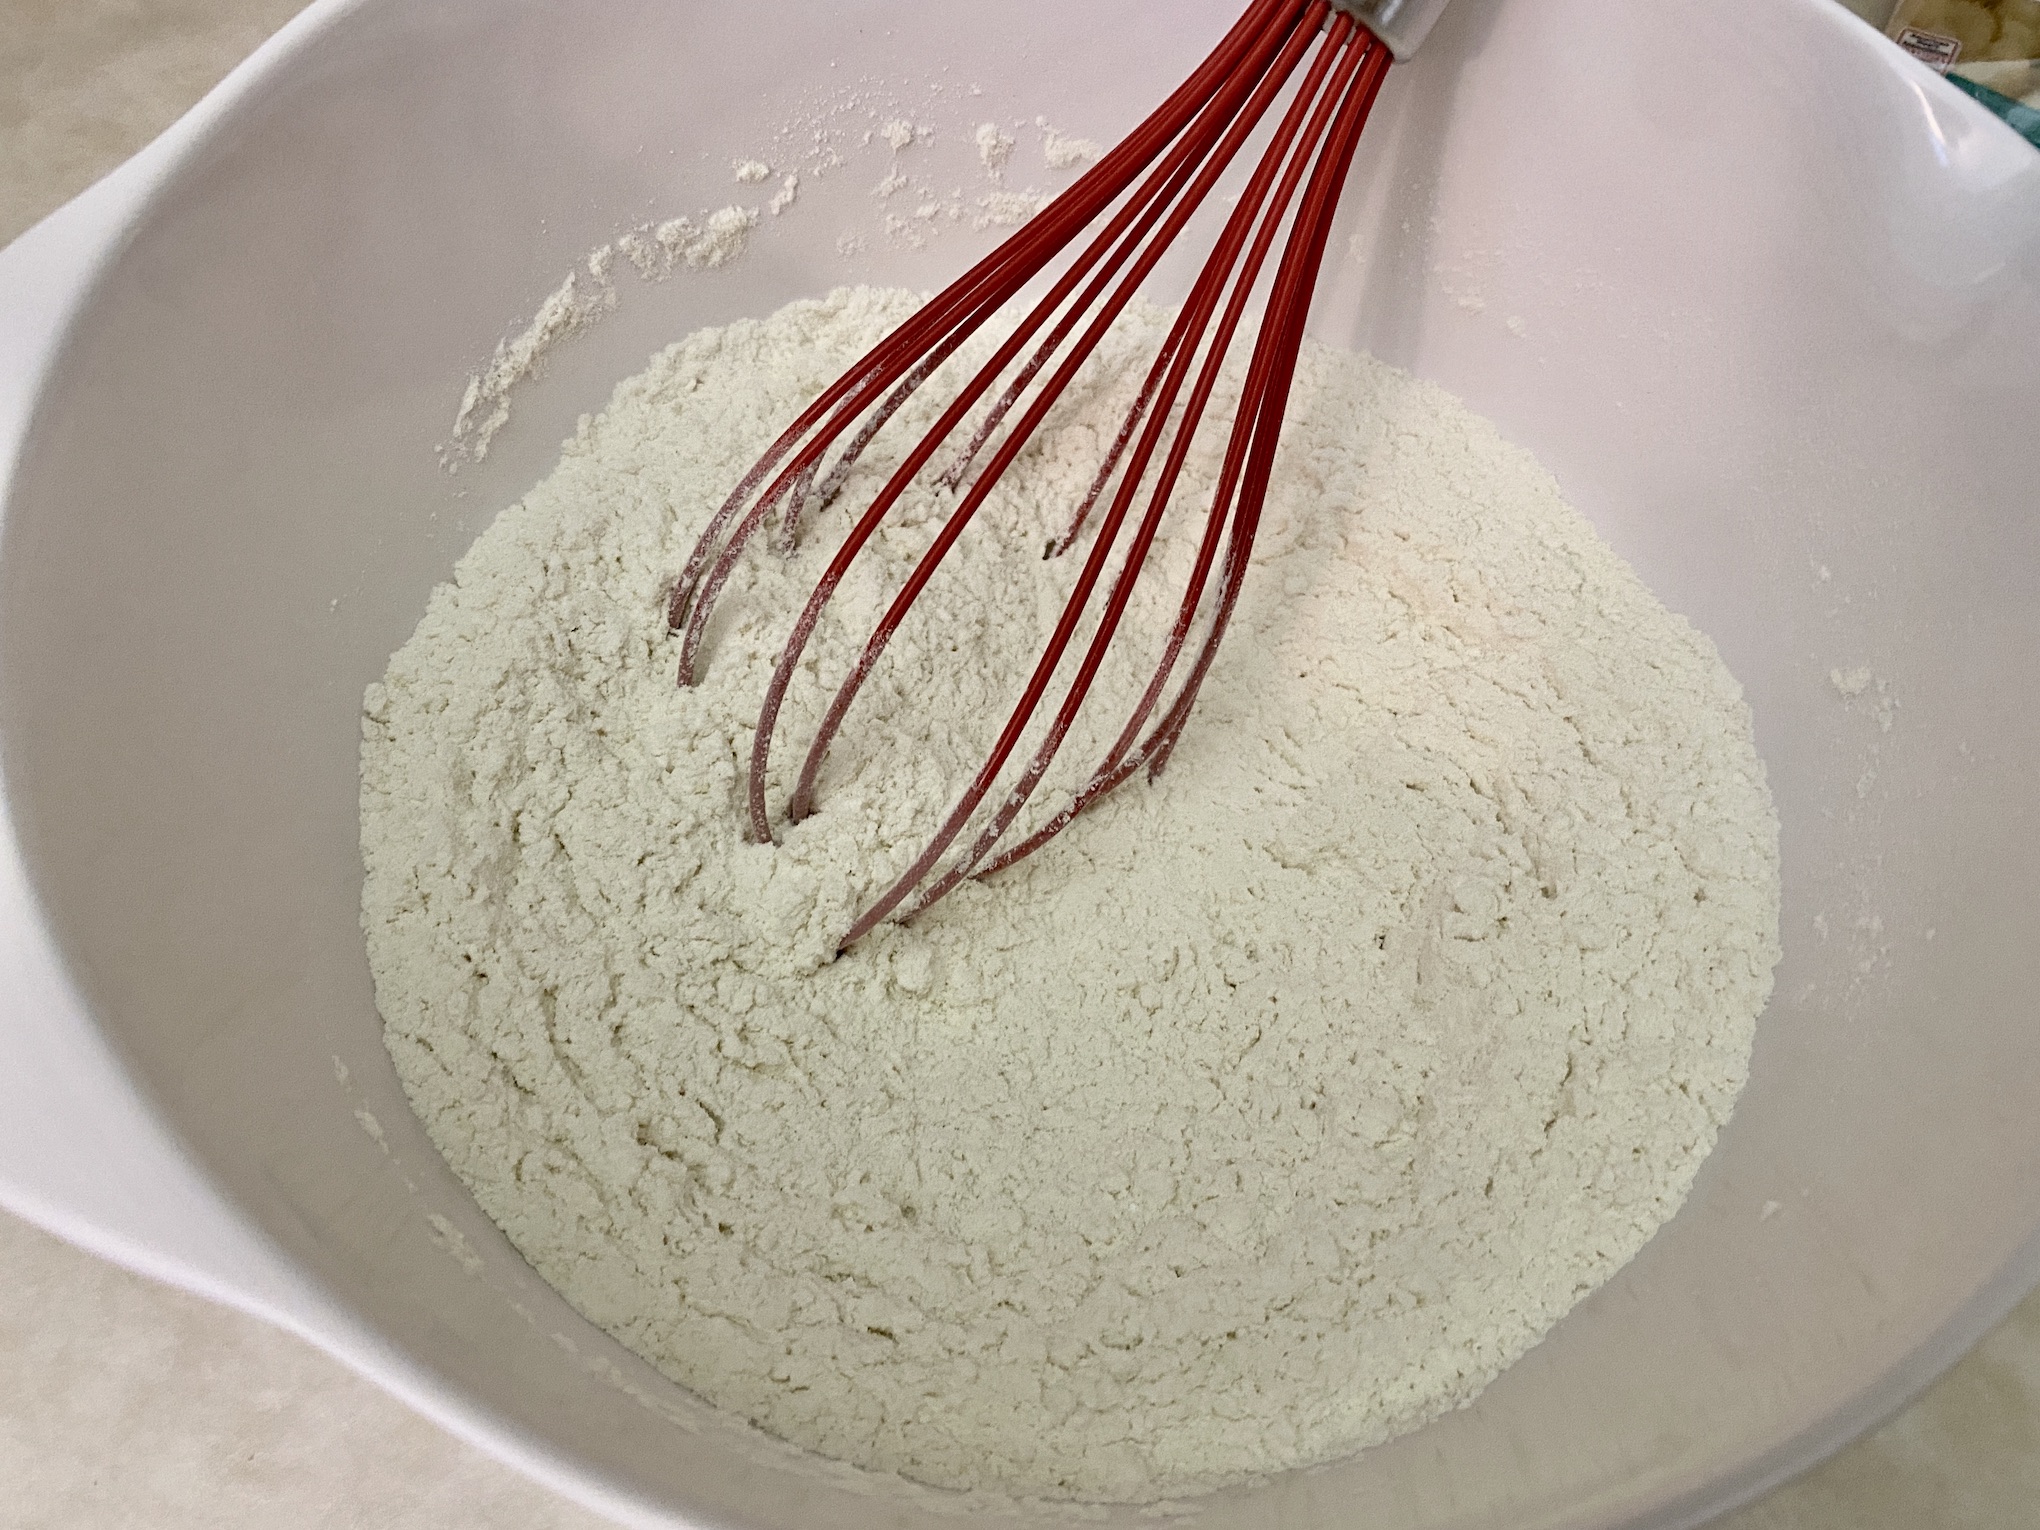
In a large bowl, whisk together the flour, baking soda, and sea salt.

Add the brown sugar, vanilla, and eggs to the melted (and cooled) butter and stir until well combined.


Pour the wet ingredients into the dry ingredients and mix until well combined. You shouldn’t need a stand mixer for this recipe but are welcome to use one if you prefer. The batter will be thick, but you should still be able to mix without a stand mixer.


Add the butterscotch chips, chocolate chips, and pretzels. Stir to combine.


Use a cookie scoop (a 2 Tbsp size) to measure out the dough and place on the prepared baking sheets. Leave about 2-inches of space between each cookie. You might need to bake a second batch; it all depends on how large your baking sheets are and how far apart you spread the cookies.

Bake for 10-11 minutes or until the edges are slightly browned.

Let cool slightly, then transfer to a cooling rack to cool completely. While still hot, sprinkle a small amount of sea salt or flakey salt over the top of each cookie.

Enjoy immediately or store in an airtight container on the counter (once completely cooled). Yum!

The recipe can be found here.
The last cookie recipe I want to share with you is for White Chocolate Macadamia Nut Cookies. If you aren’t familiar, macadamia nuts have a sweet and buttery flavor, hard exterior and creamy interior. I think they are delicious, especially when added to cookie dough! It’s a wonderful combination of textures between the white chocolate and macadamia nuts, soft and chewy center, and crisp edges of the cookie.

The recipe can be found here.
Start by preheating the oven to 350 degrees F. Line 2-3 baking sheets with parchment paper.

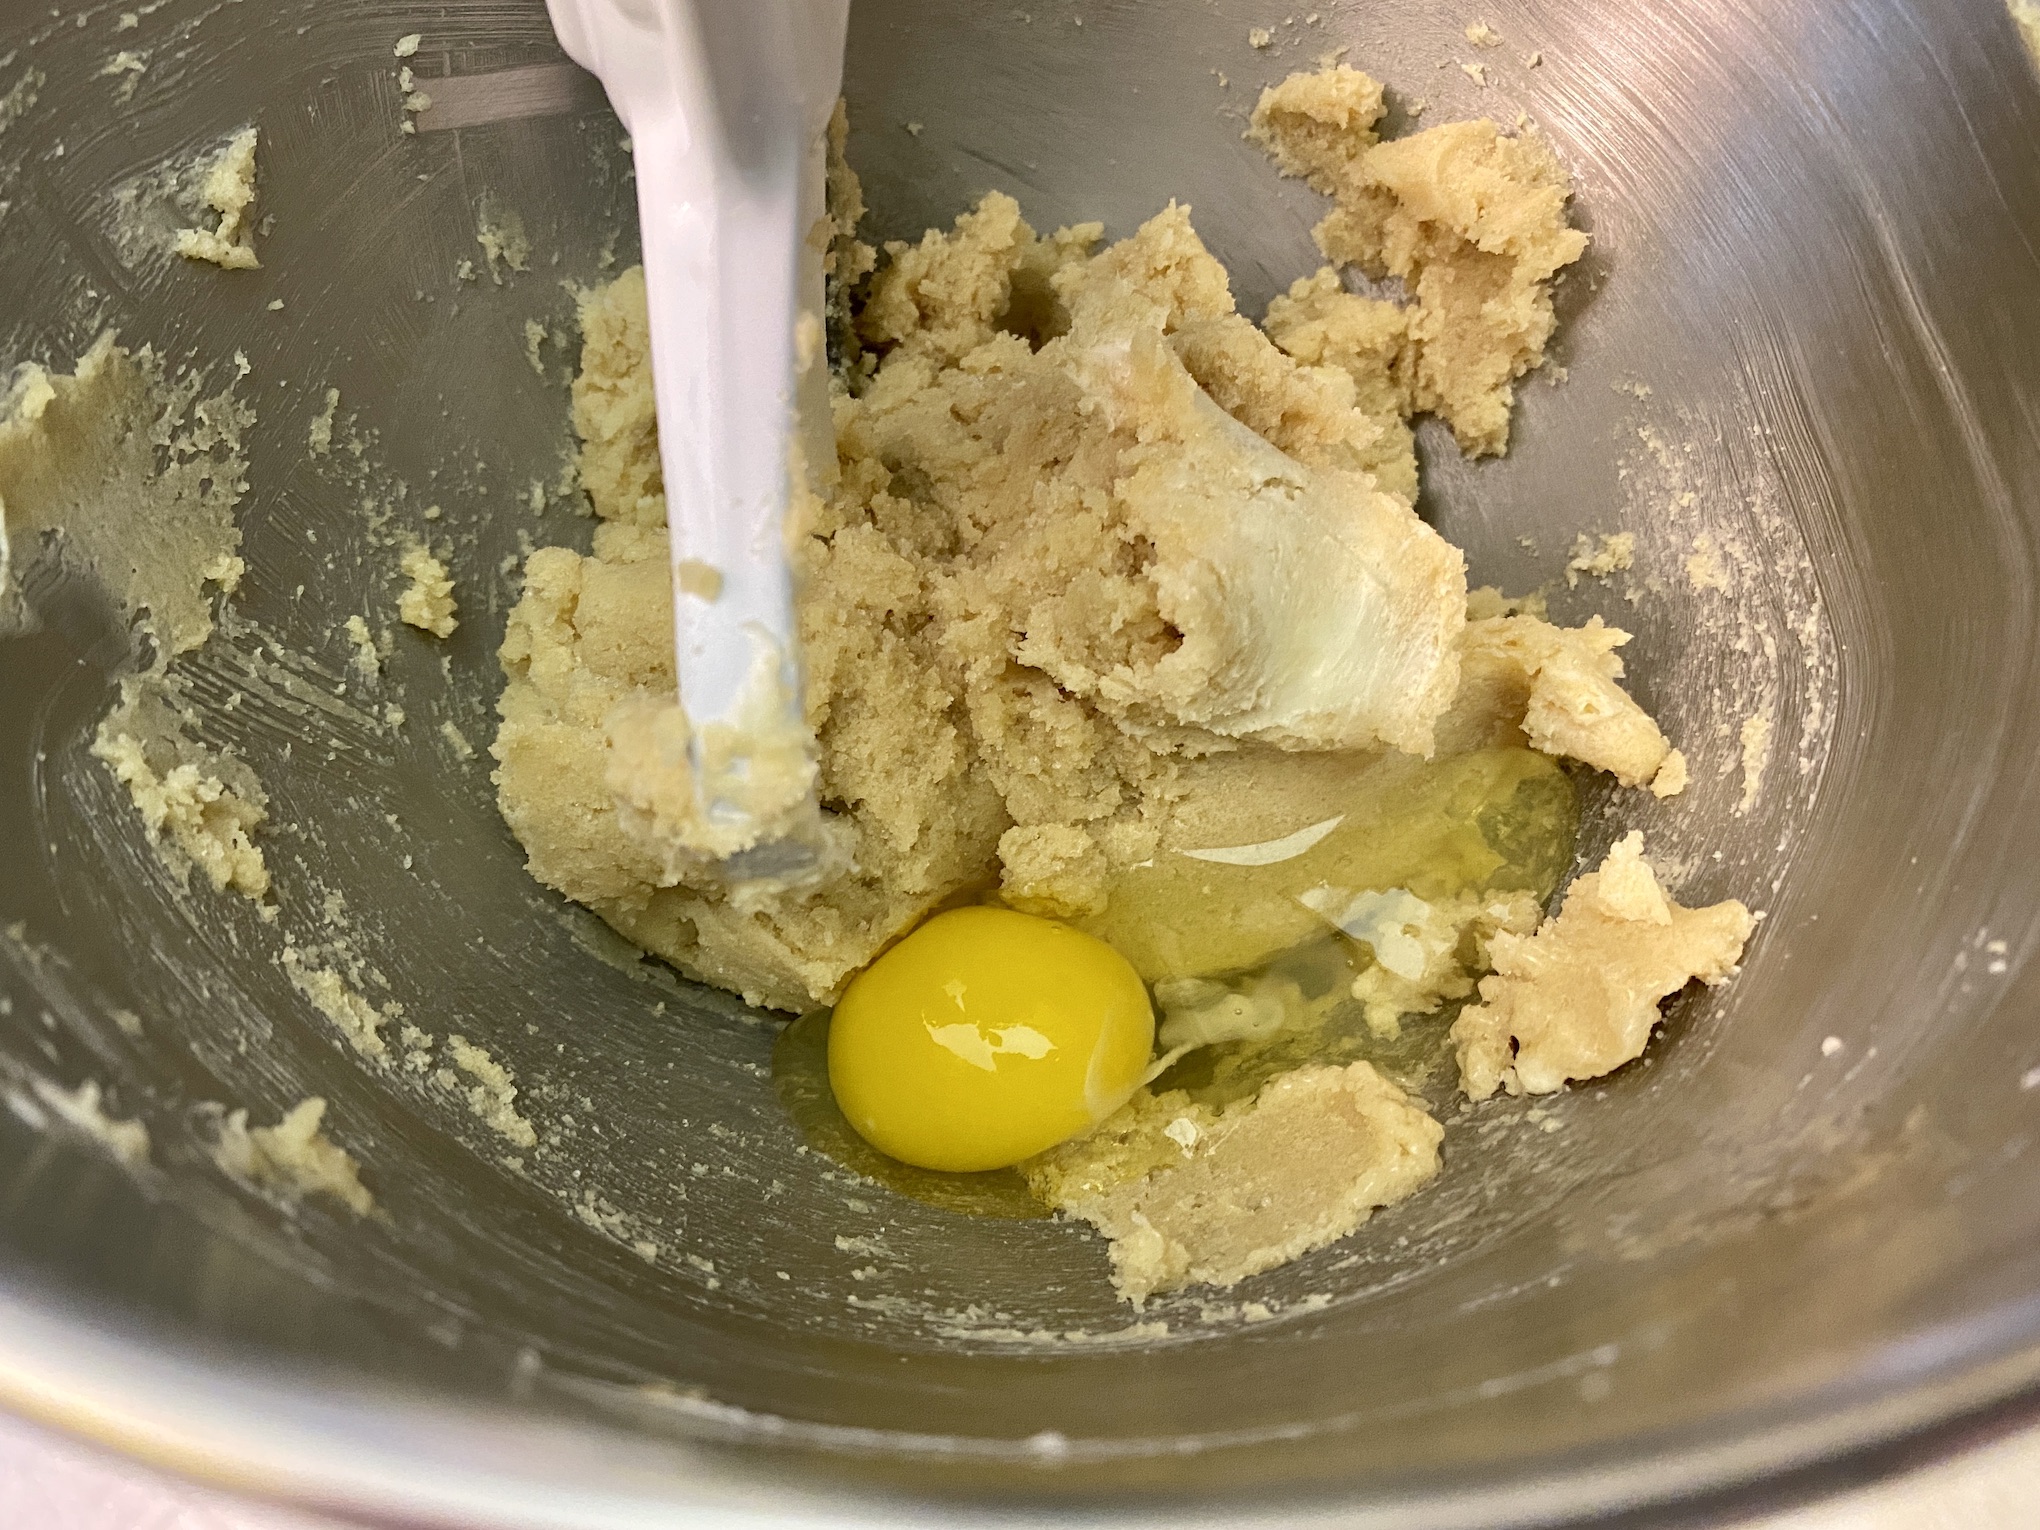
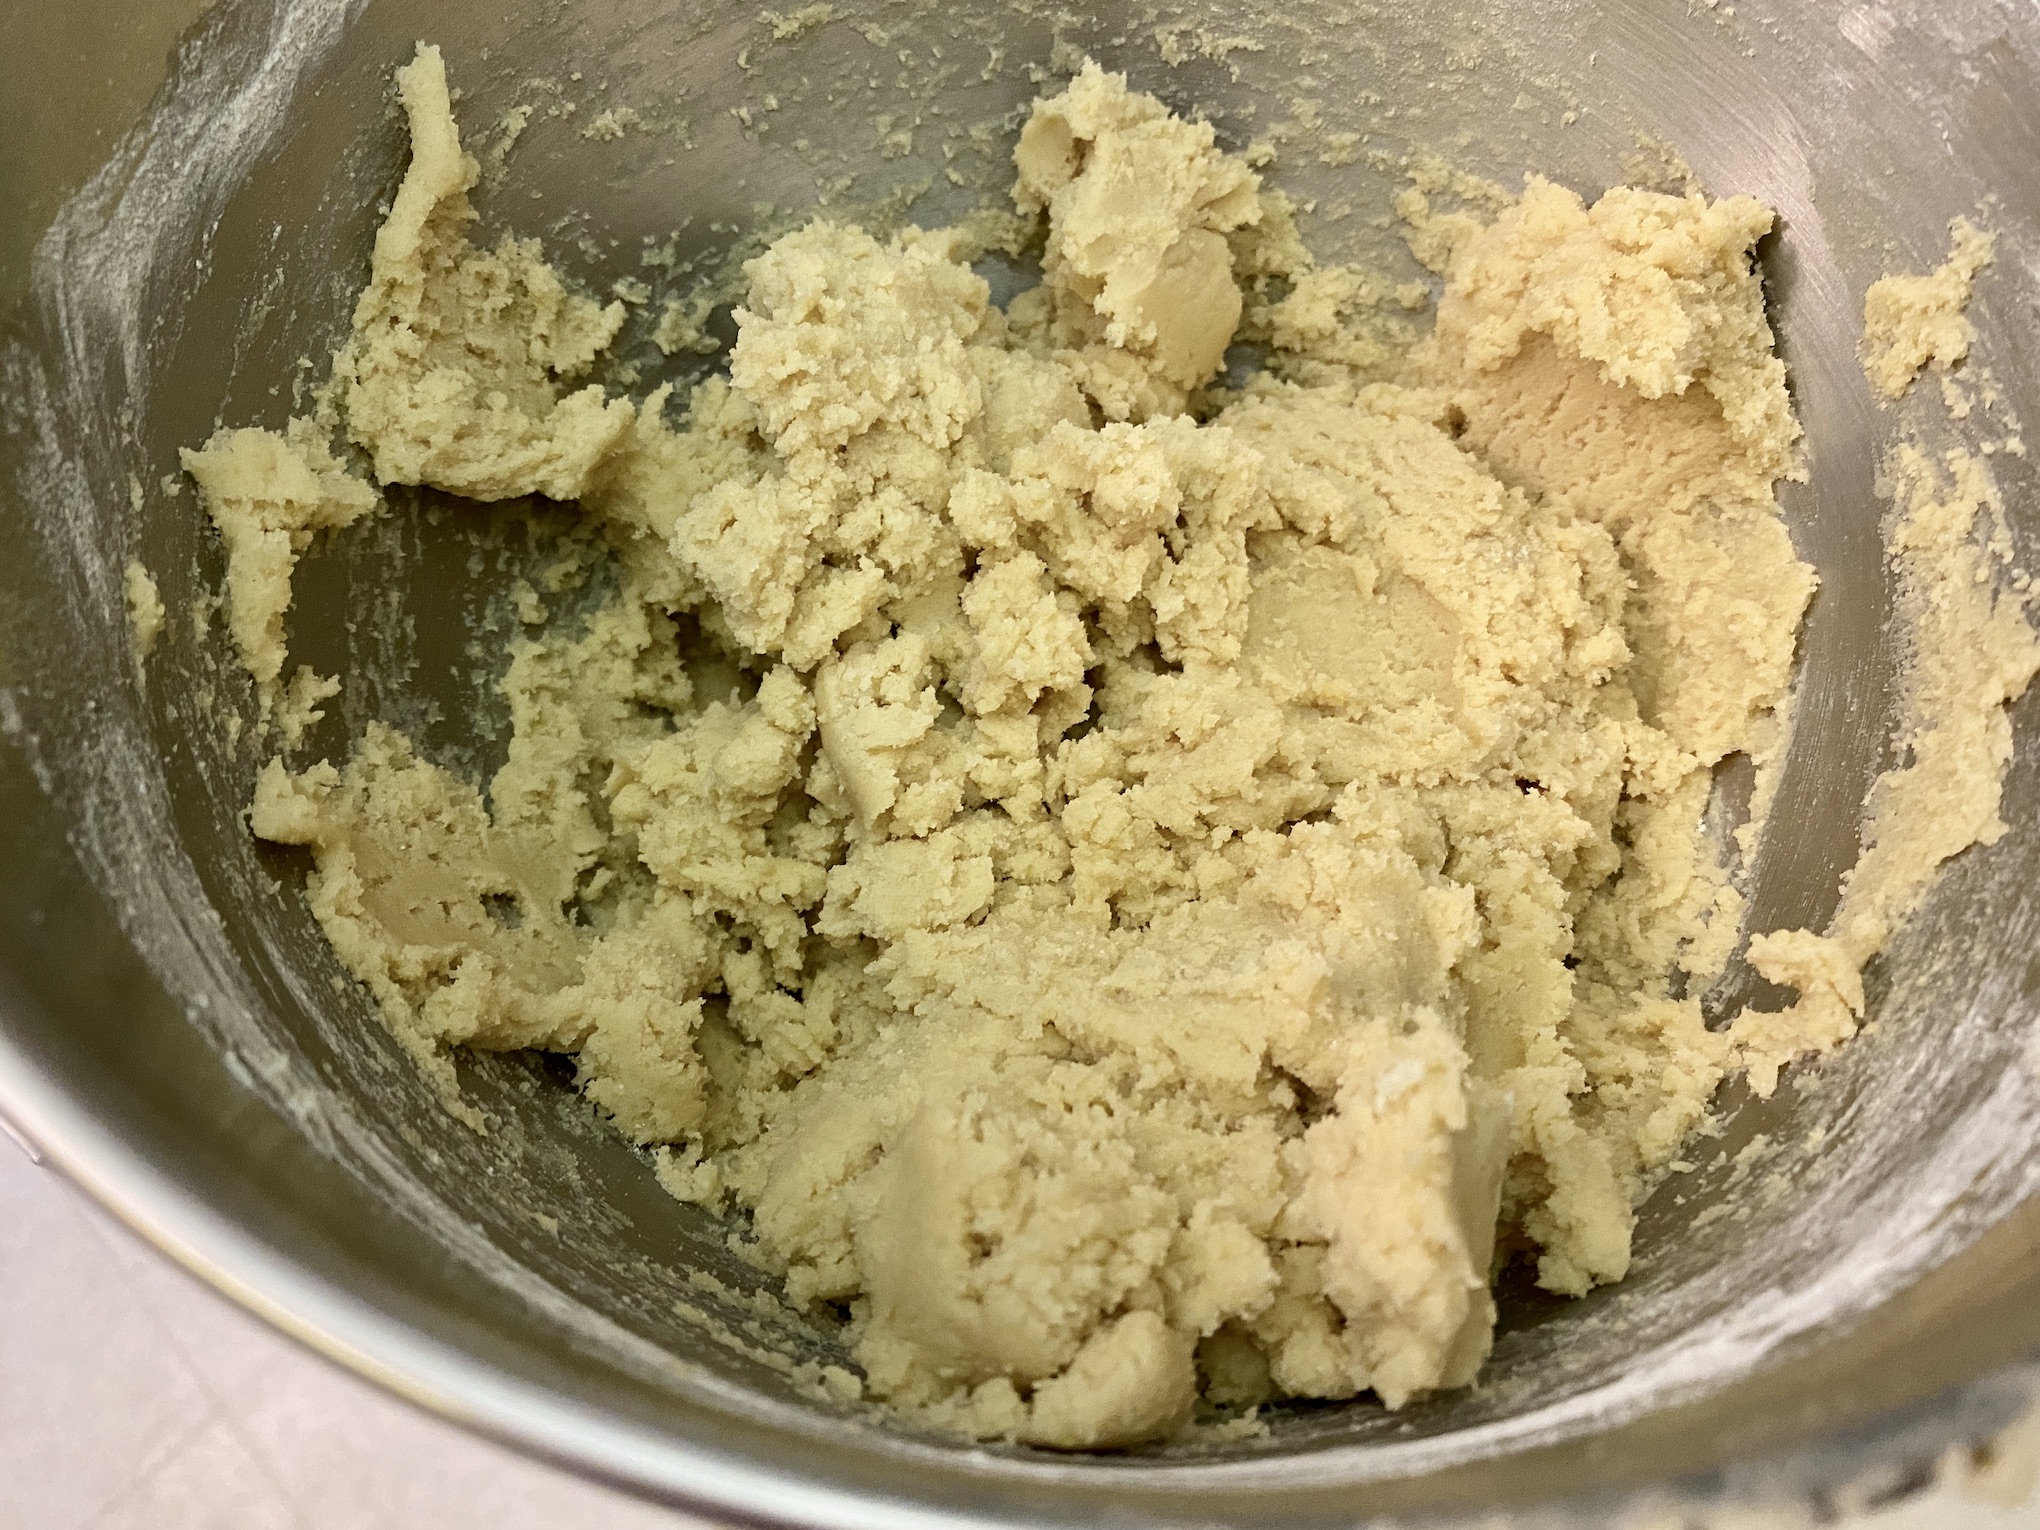
Add the butter, brown sugar, and sugar to the bowl of a stand mixer. Beat until smooth.


Add the eggs, one at a time, and beat until combined.

Add the vanilla and almond extract and beat until combined.

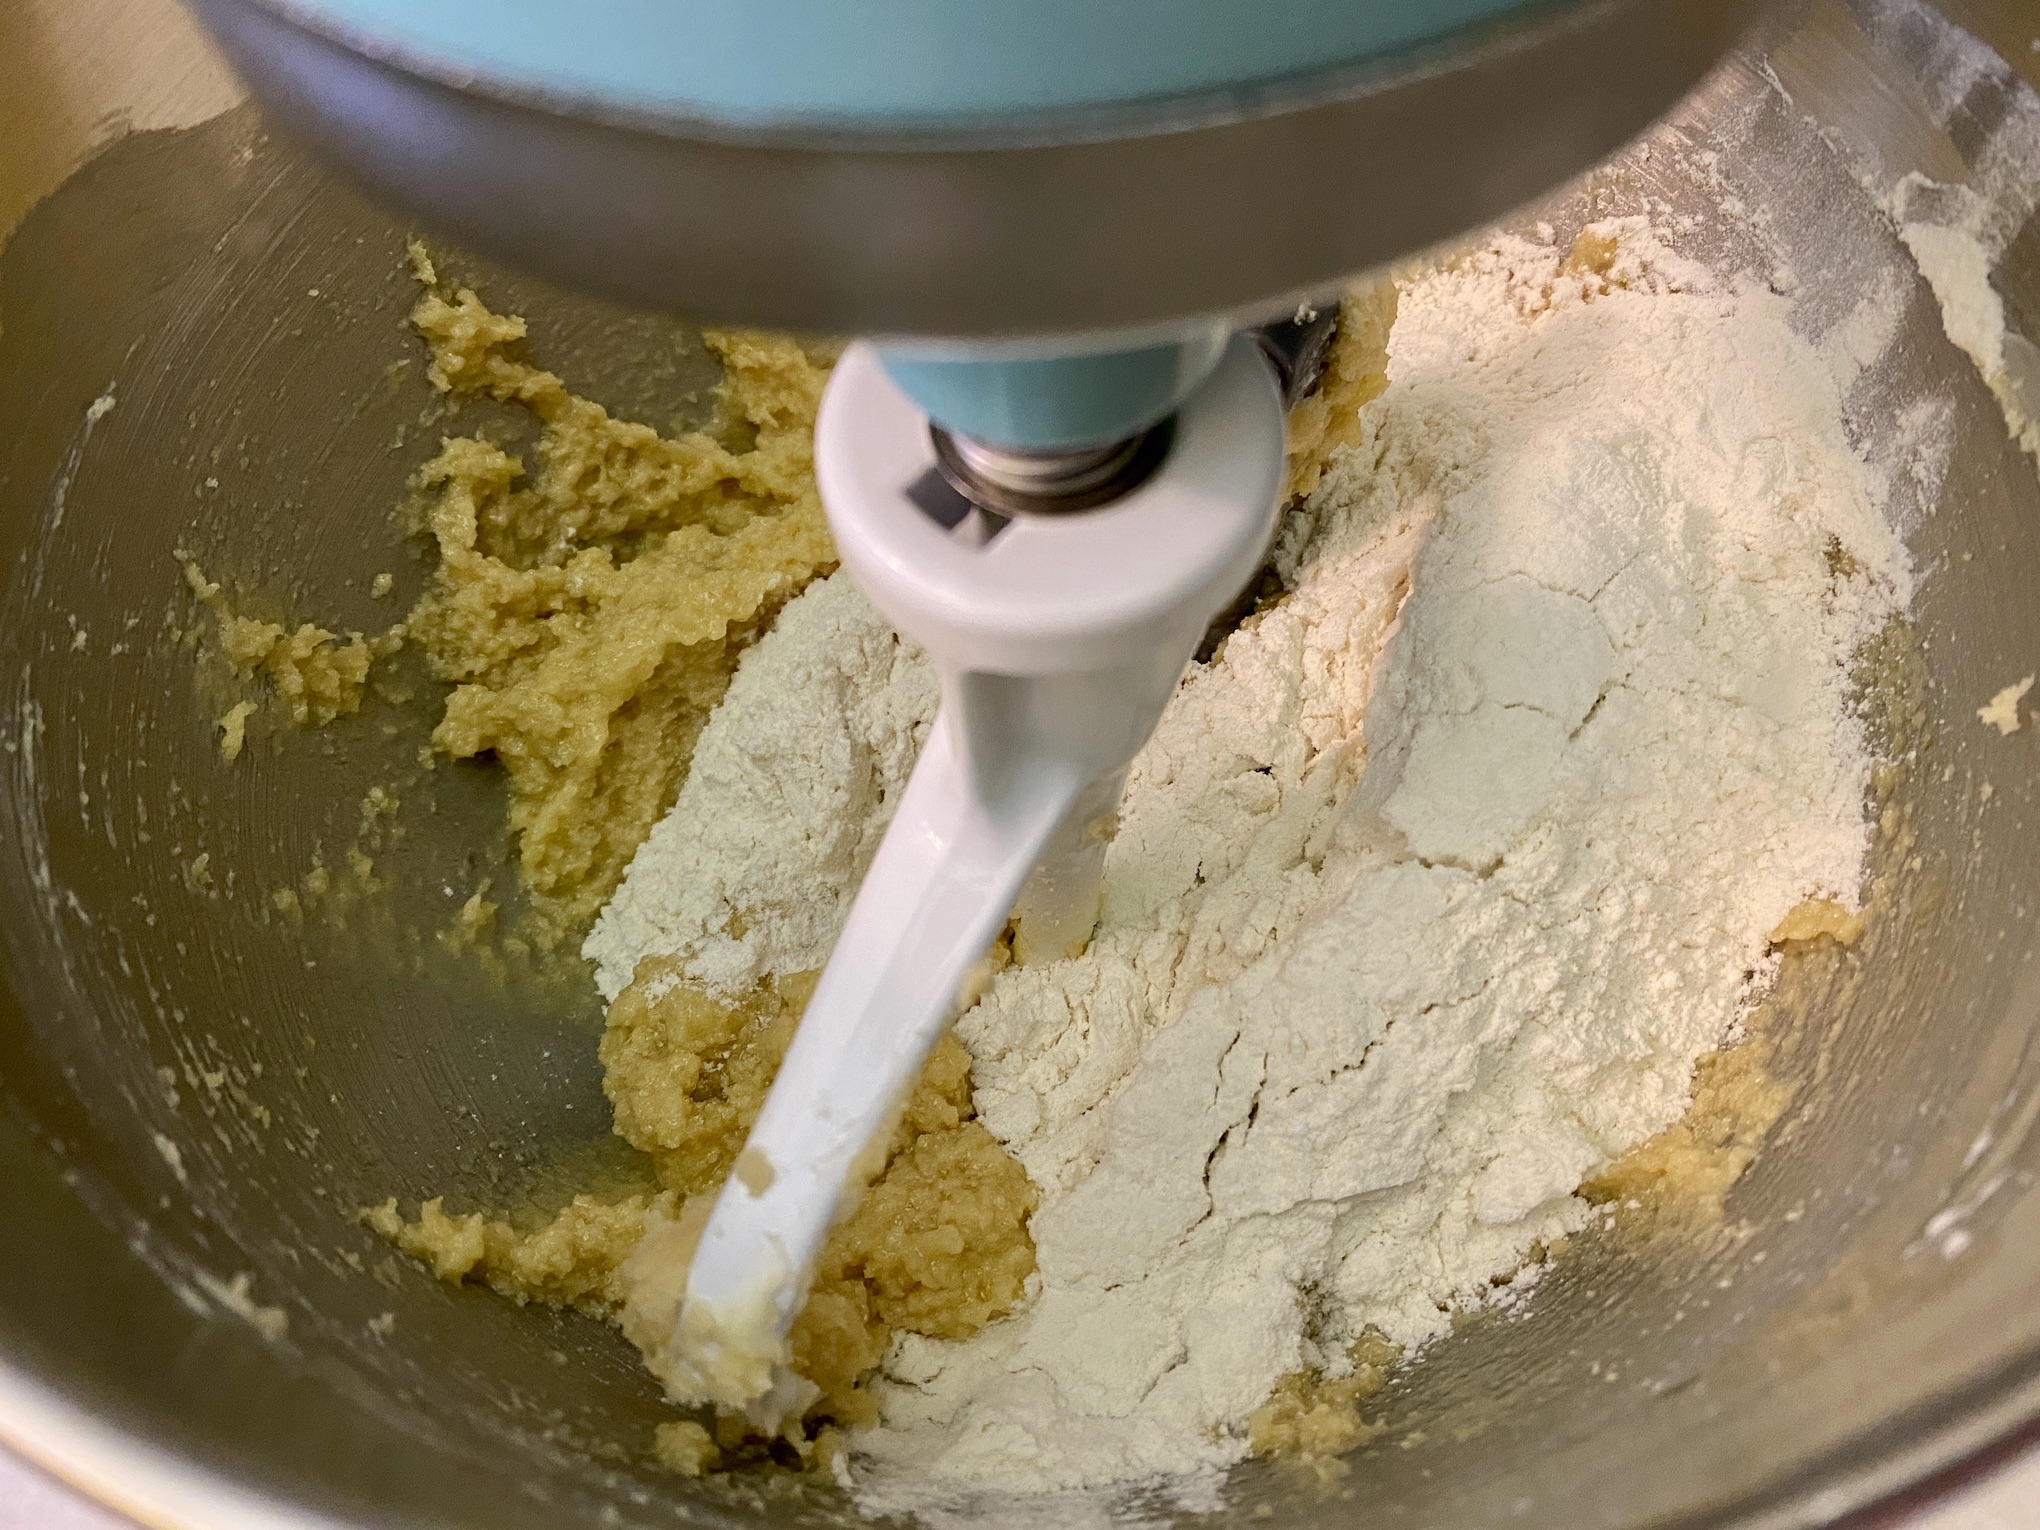
In a separate bowl, whisk together the flour, baking soda, and salt. Gradually add to the stand mixer while mixing on low speed. Mix until well combined.

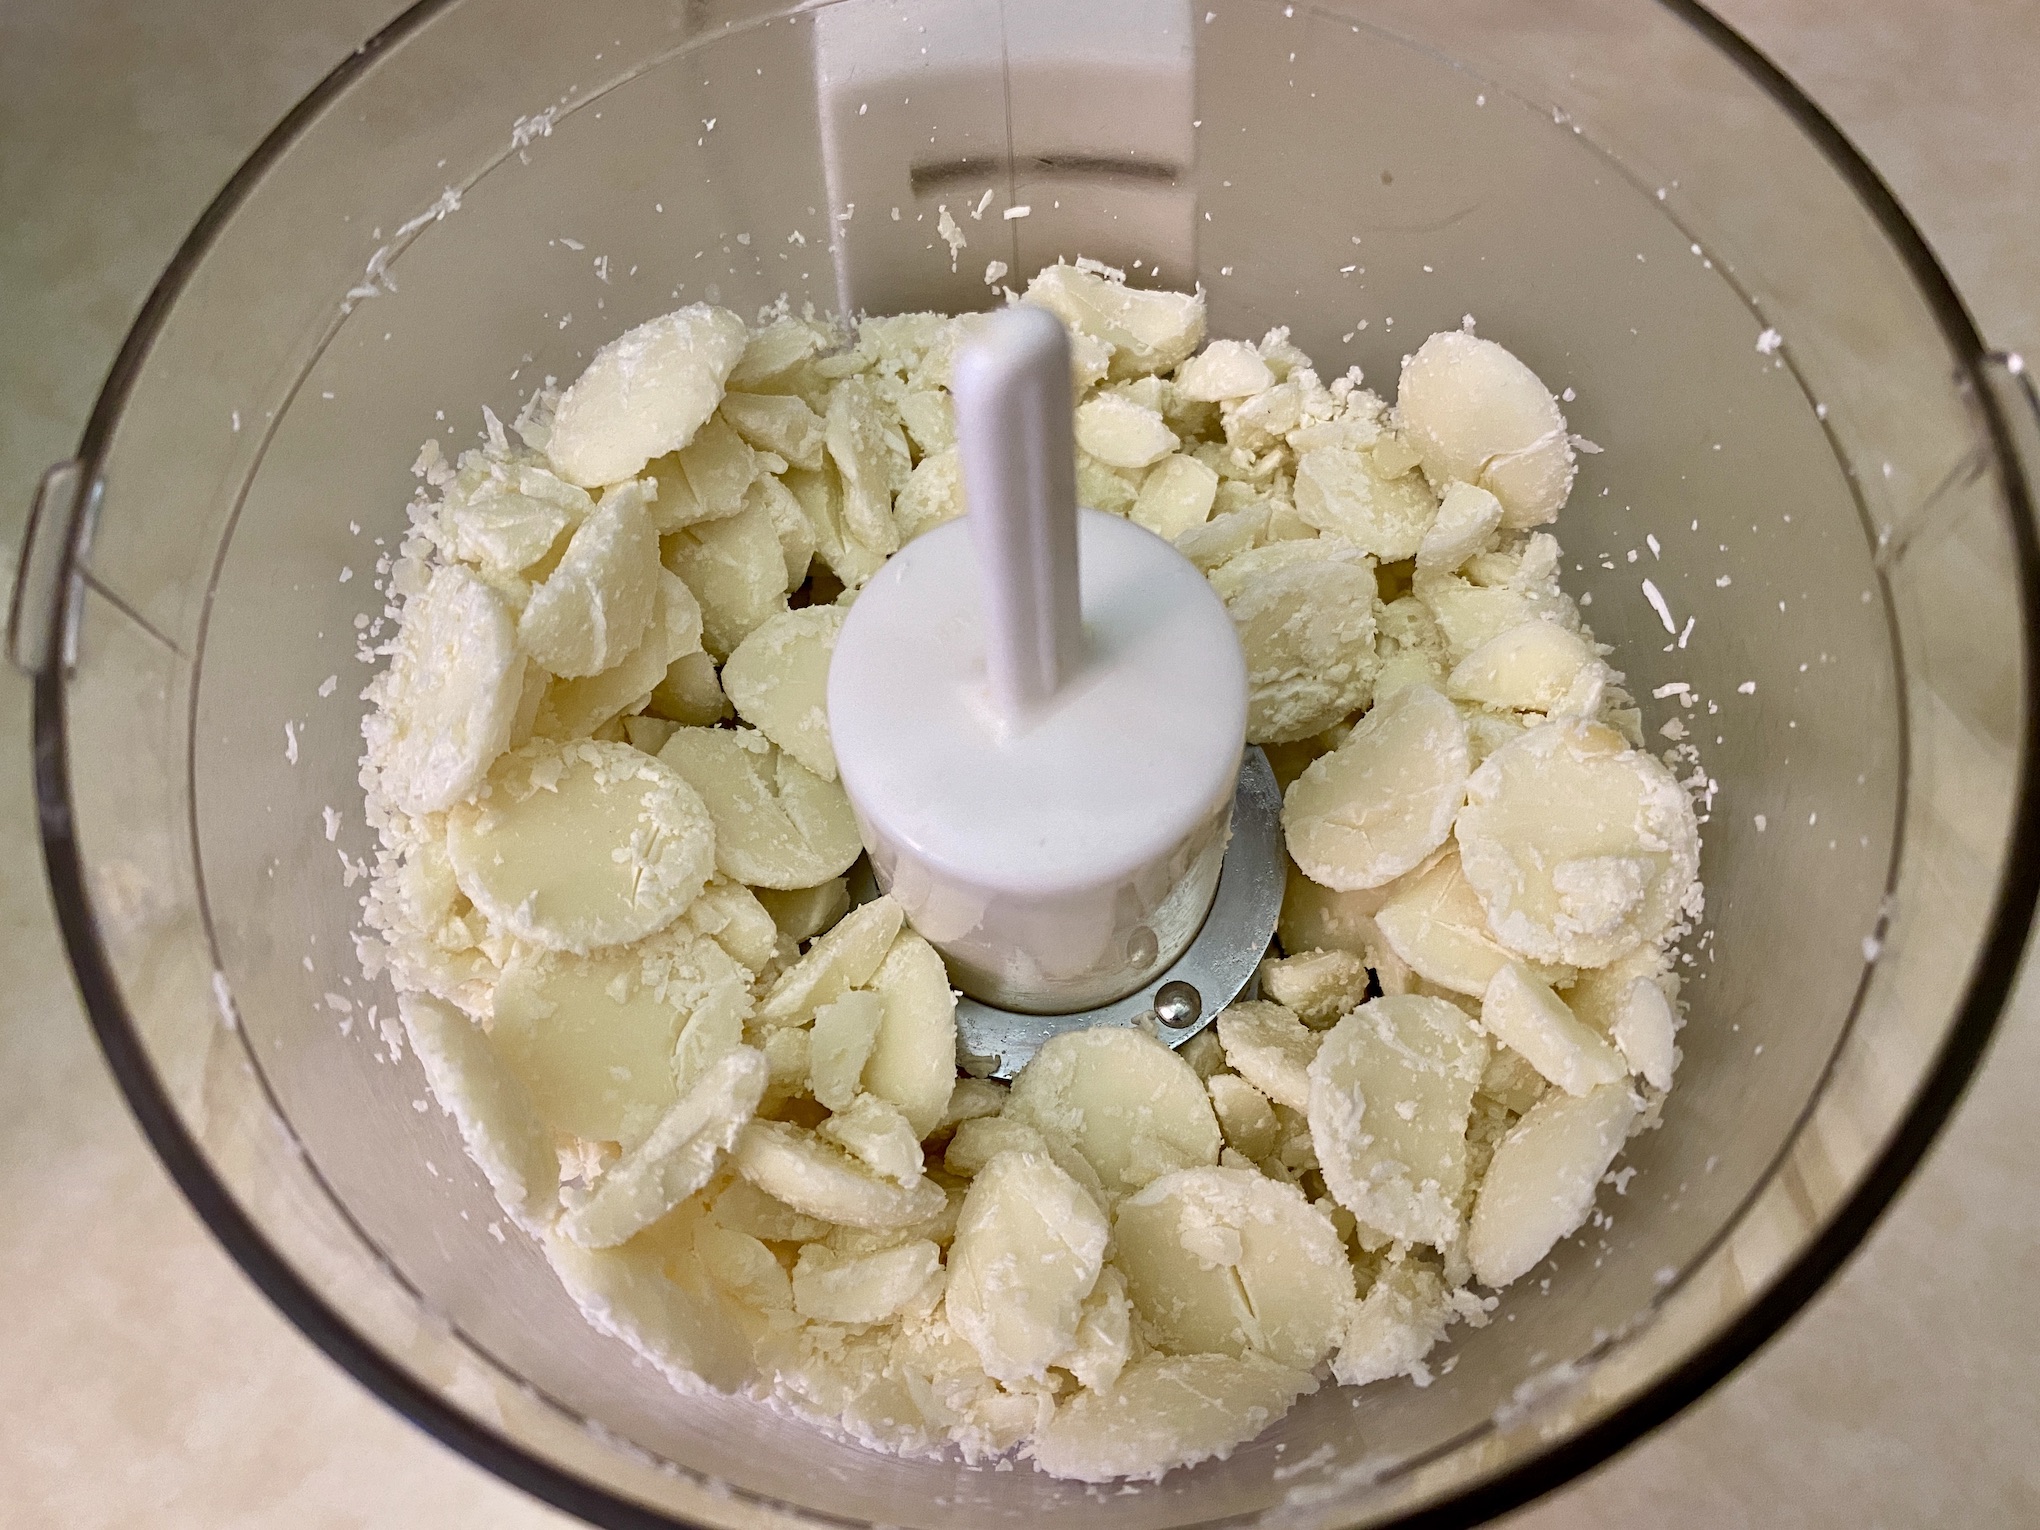
Use a knife to coarsely chop the macadamia nuts (or use a food processor). You can use either white chocolate chips or white chocolate that needs to be coarsely chopped, whichever you prefer. Add both the macadamia nuts and white chocolate to the batter. Use a spoon to stir to combine.


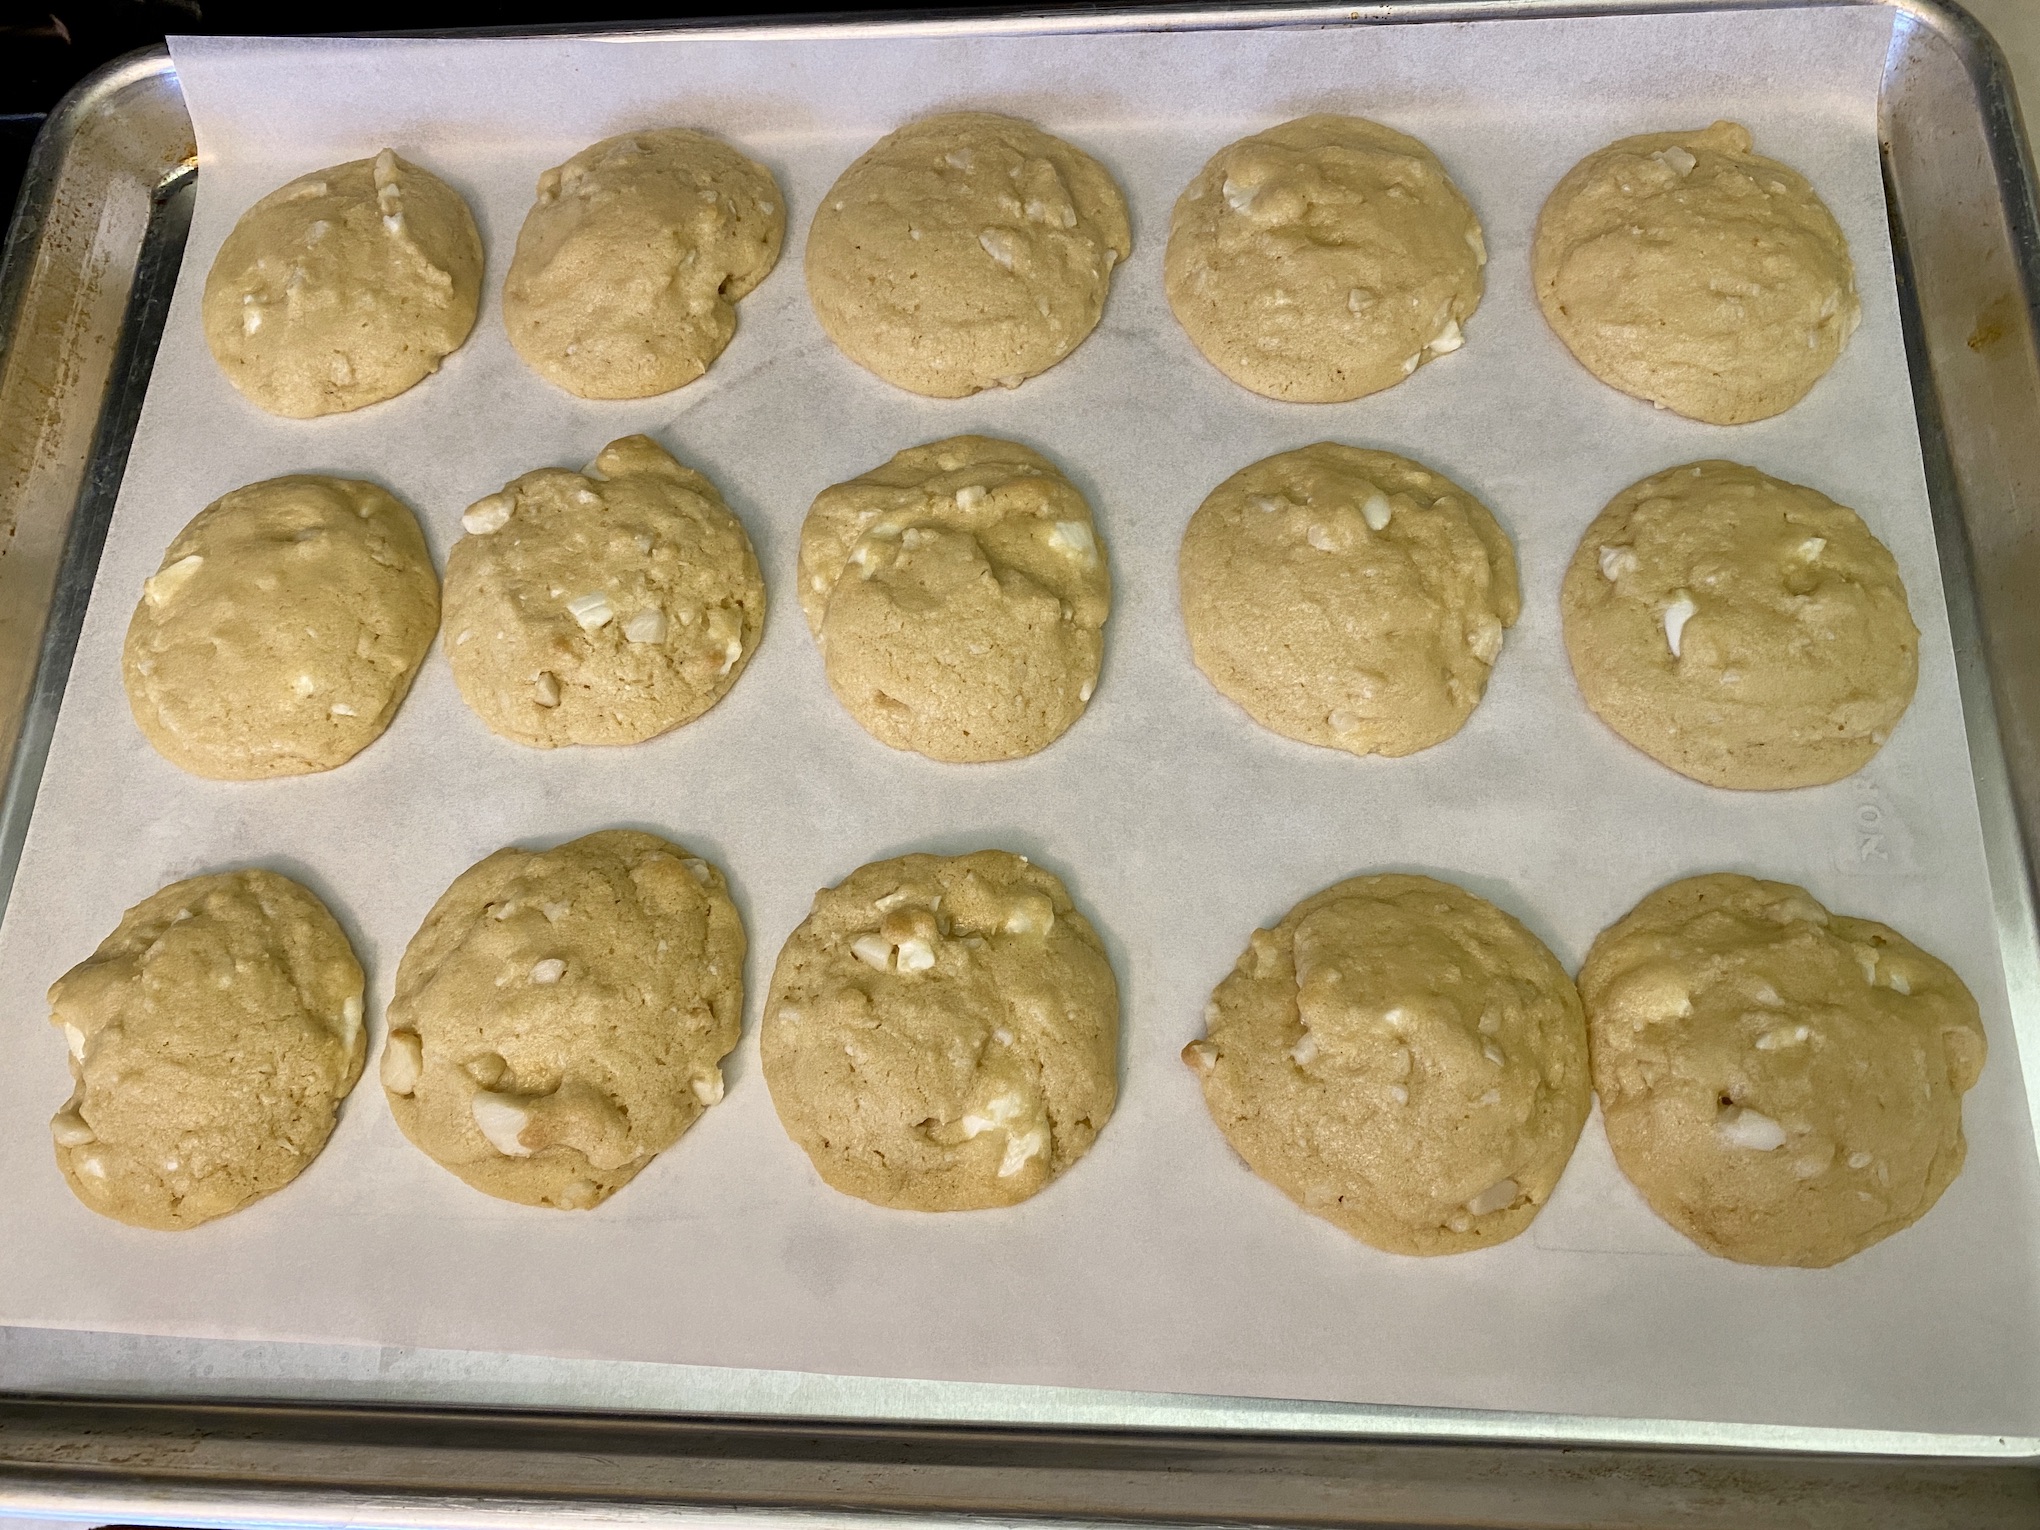
Use a Tbsp size cookie scoop to scoop balls of dough and place them on the baking sheets, spaced slightly apart.

Bake for 9-10 minutes or until the sides are golden brown. Remove from the oven and let cool slightly then transfer to a cooling rack to cool completely.
Enjoy immediately or store in an airtight container on the counter (once completely cooled). You can also freeze the cookies to save for later. Delicious!

The recipe can be found here.
Happy Baking!


Recent Comments