 order online
 weekly specials
Chocolate Peanut Butter Ice Cream Bars are one of my top 10 favorite desserts. They are essentially cream sandwiches you make on a rimmed baking sheet. A combination of chocolate and peanut butter makes up the flavors in the cookie with a hint of sea salt sprinkled on top. The filling is basic vanilla ice cream. However, you can use any ice cream flavor of your choosing. Chocolate ice cream would make the perfect chocolate extreme dessert. Salted Caramel ice cream would pair nicely with the chocolate/peanut butter cookies. You get the idea! Make this dessert your own.

The recipe can be found here.
Start by preheating the oven to 350 degrees F. Generously spray an 18×13 rimmed baking sheet with nonstick cooking spray. Please do not forget this step or you will have quite a hard time removing the bars!

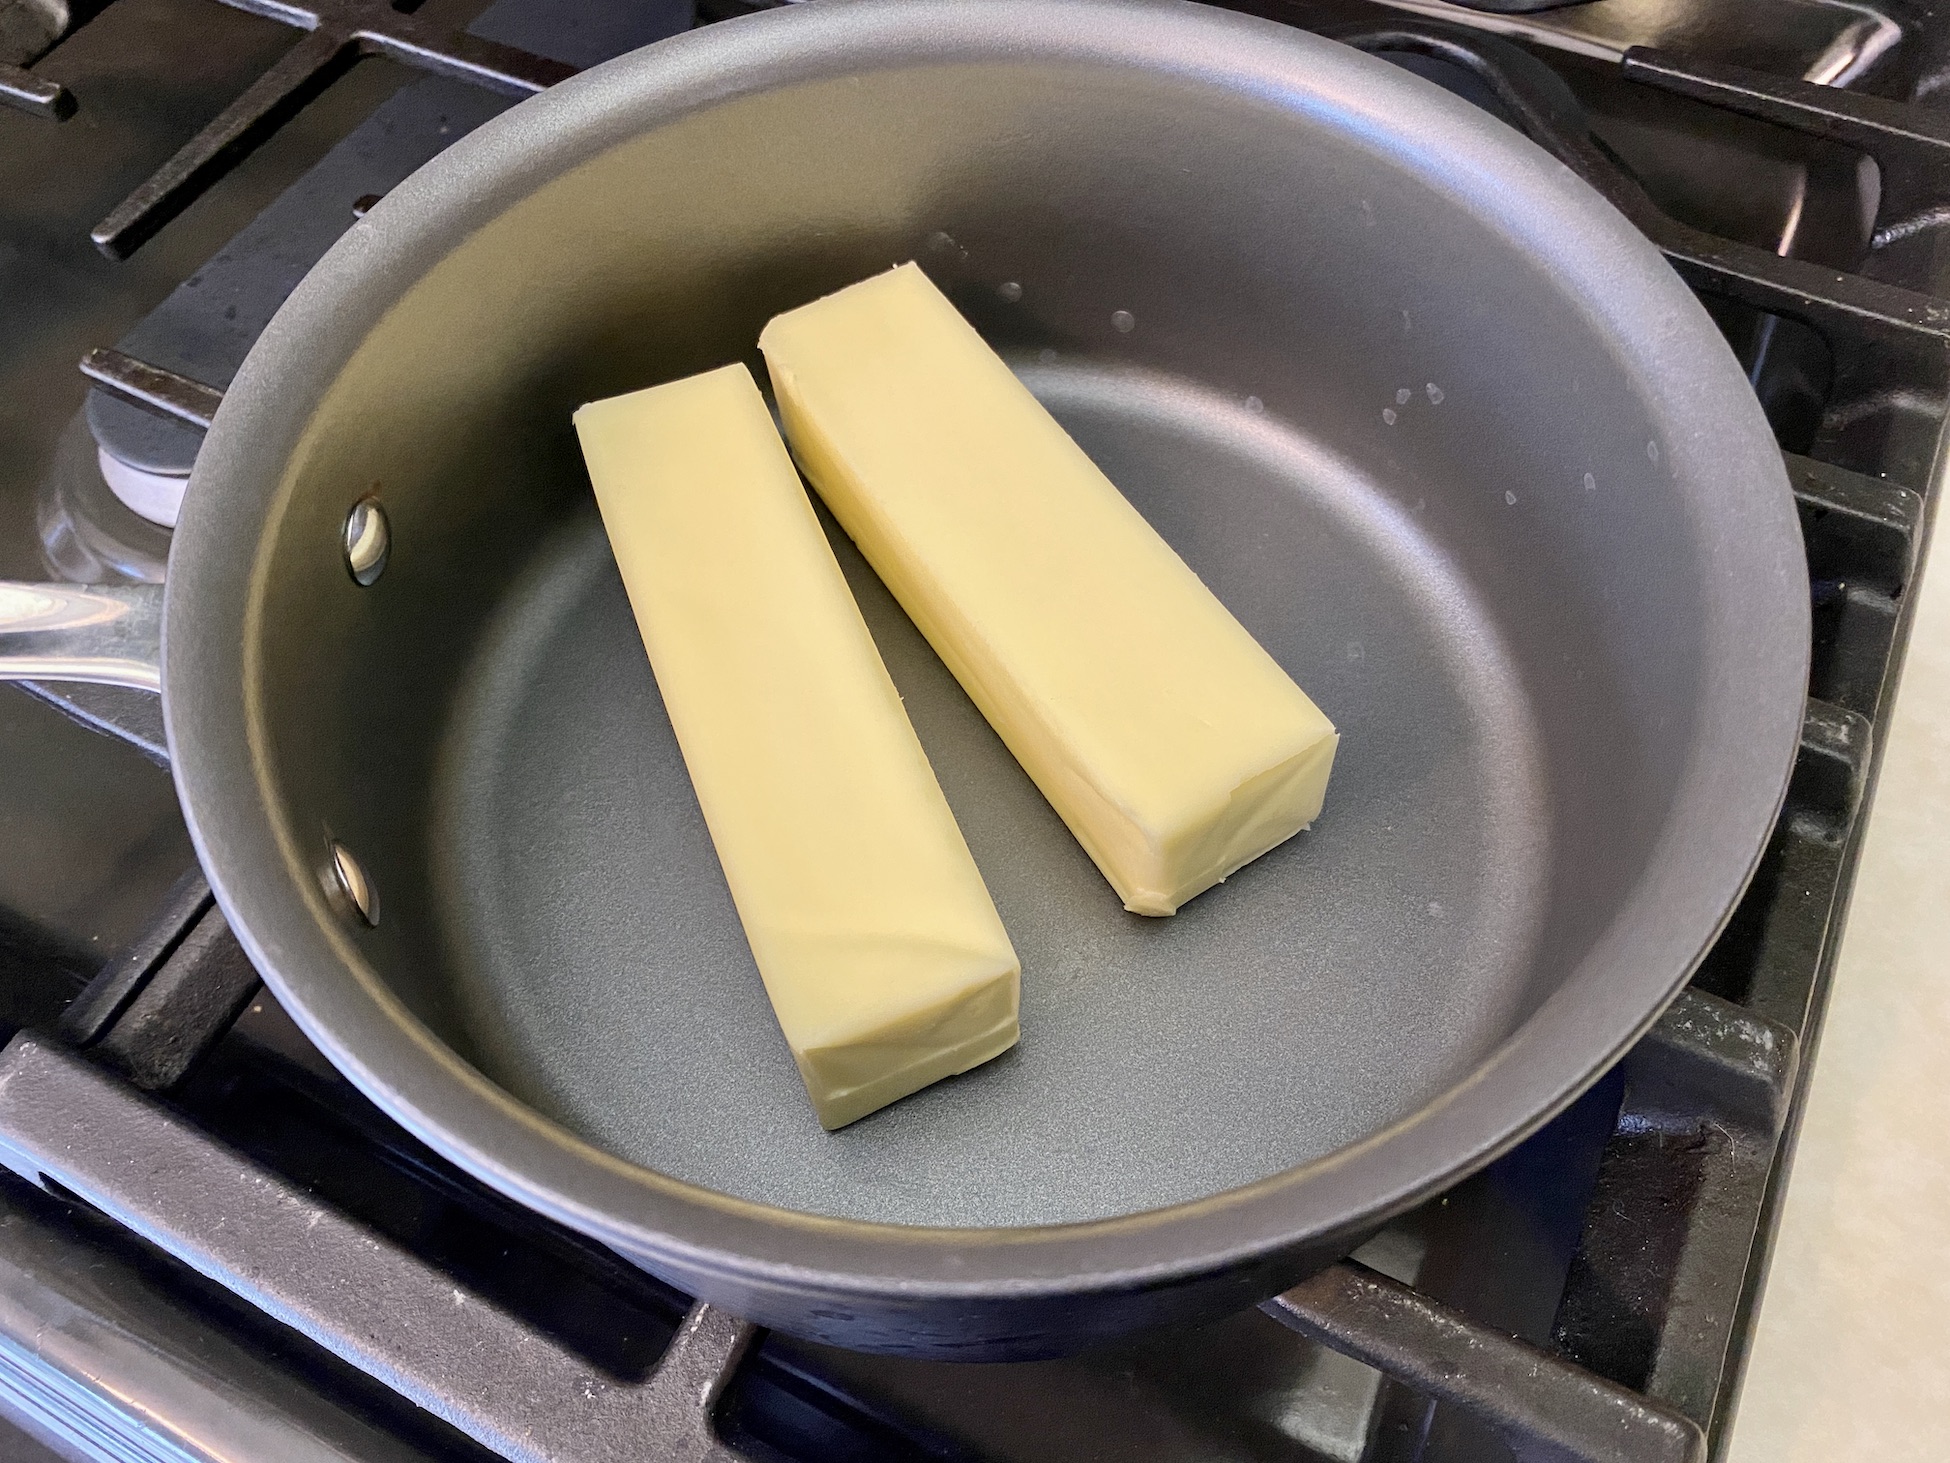
Melt 2 sticks of butter in a small saucepan over medium-low heat. Remove from the heat and let cool slightly.

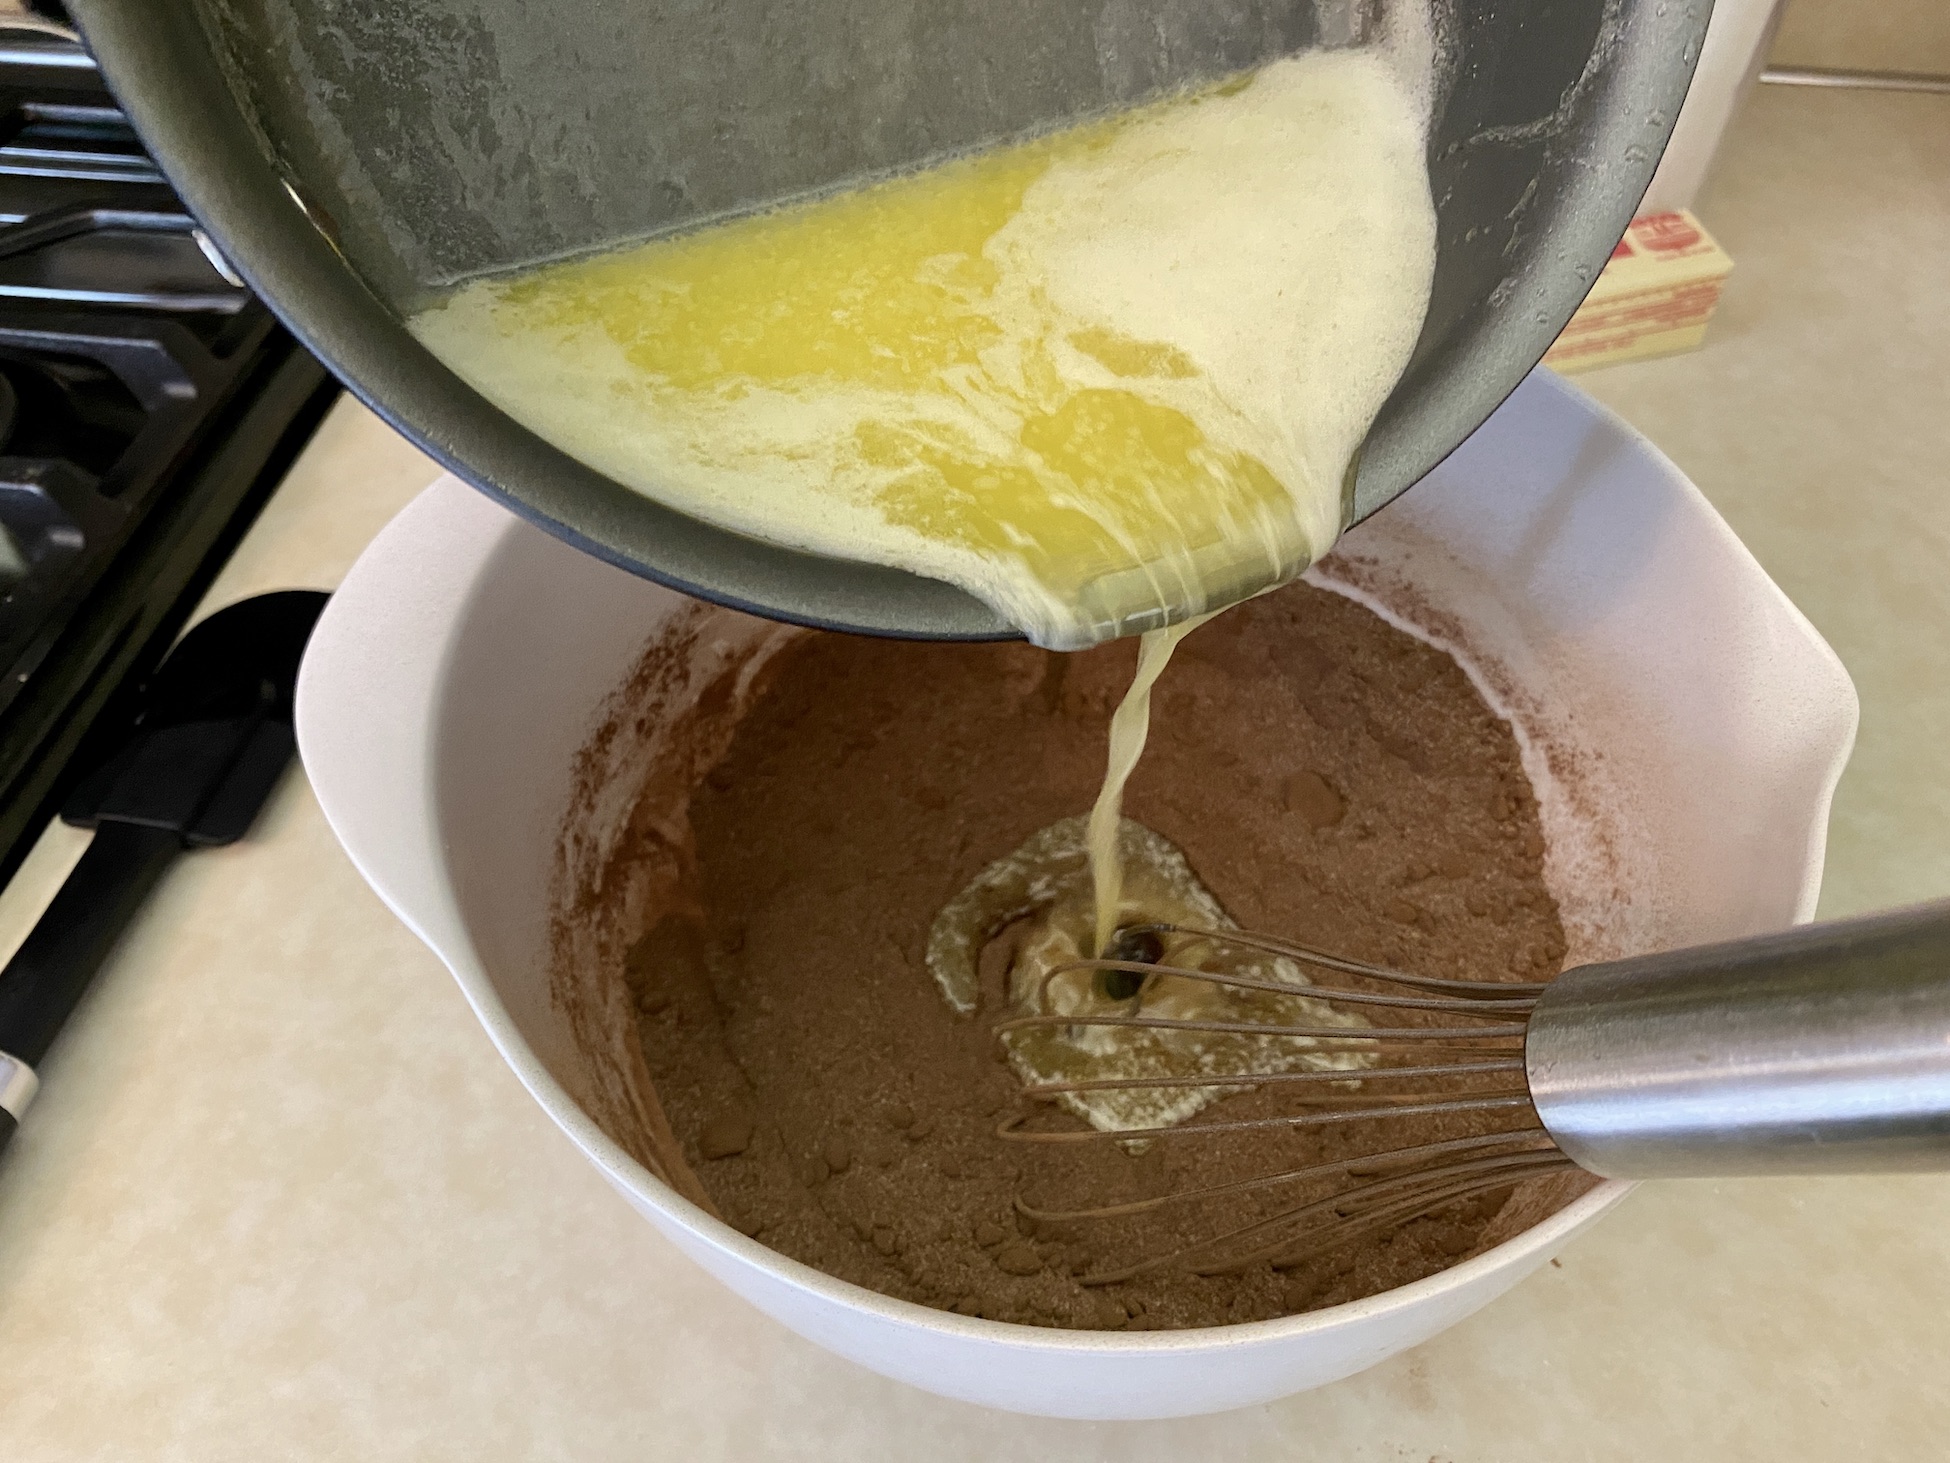
In a large mixing bowl, whisk together the cocoa powder, kosher salt, baking powder, and 1 ½ cups sugar. Add the melted butter and whisk to combine. Add the vanilla and 2 eggs and whisk to combine.


Add 1 ¼ cups flour and whisk to combine. You don’t want any dry streaks from the flour to remain in the mixture. Set aside.


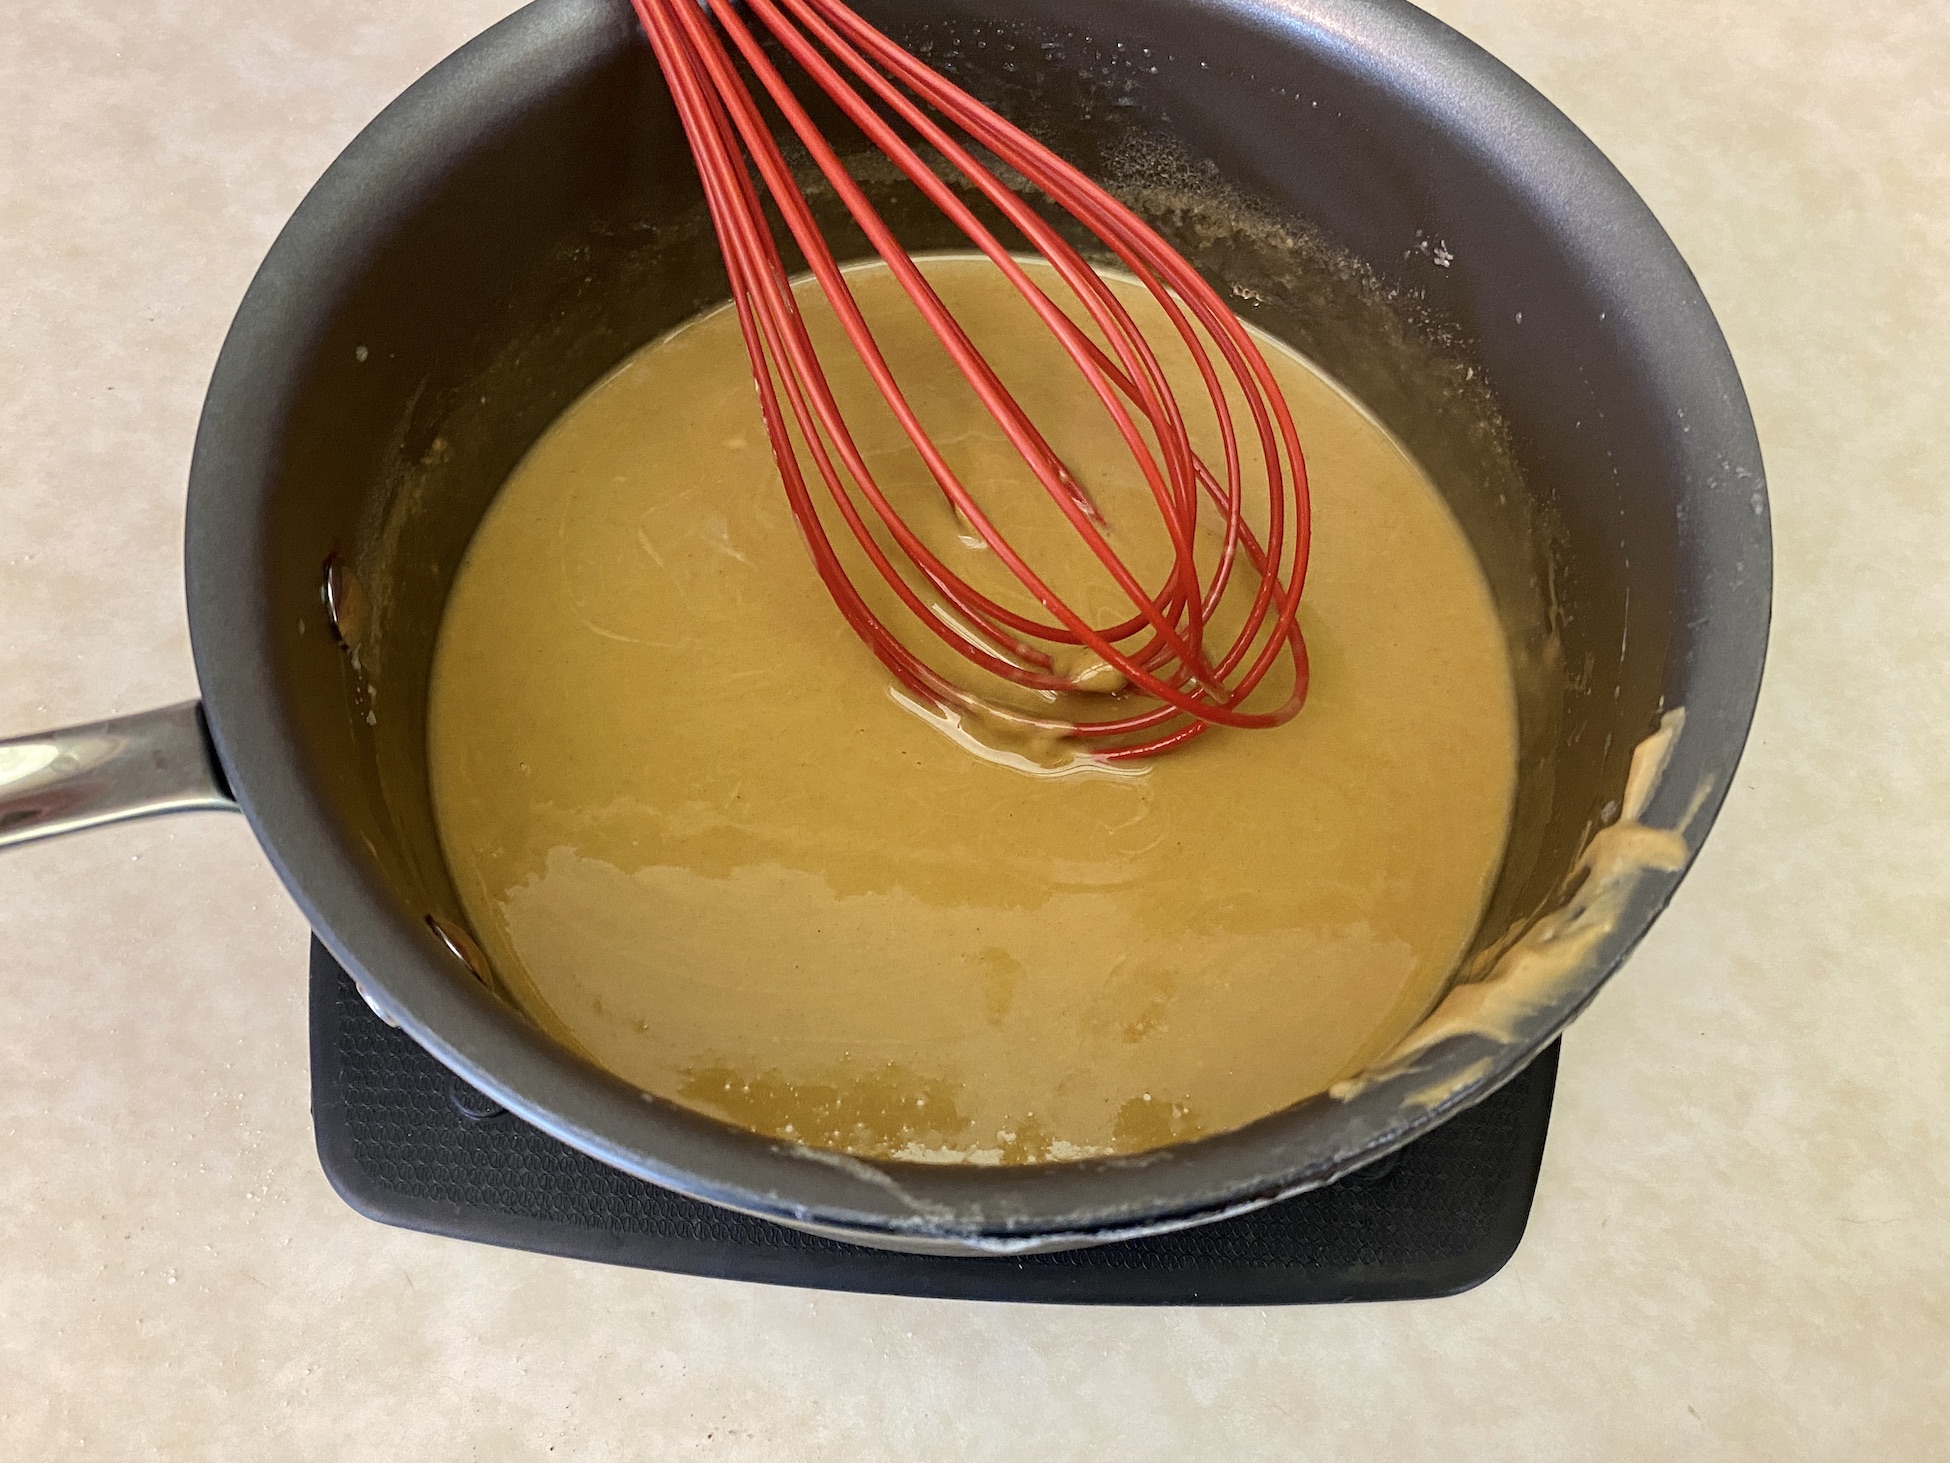
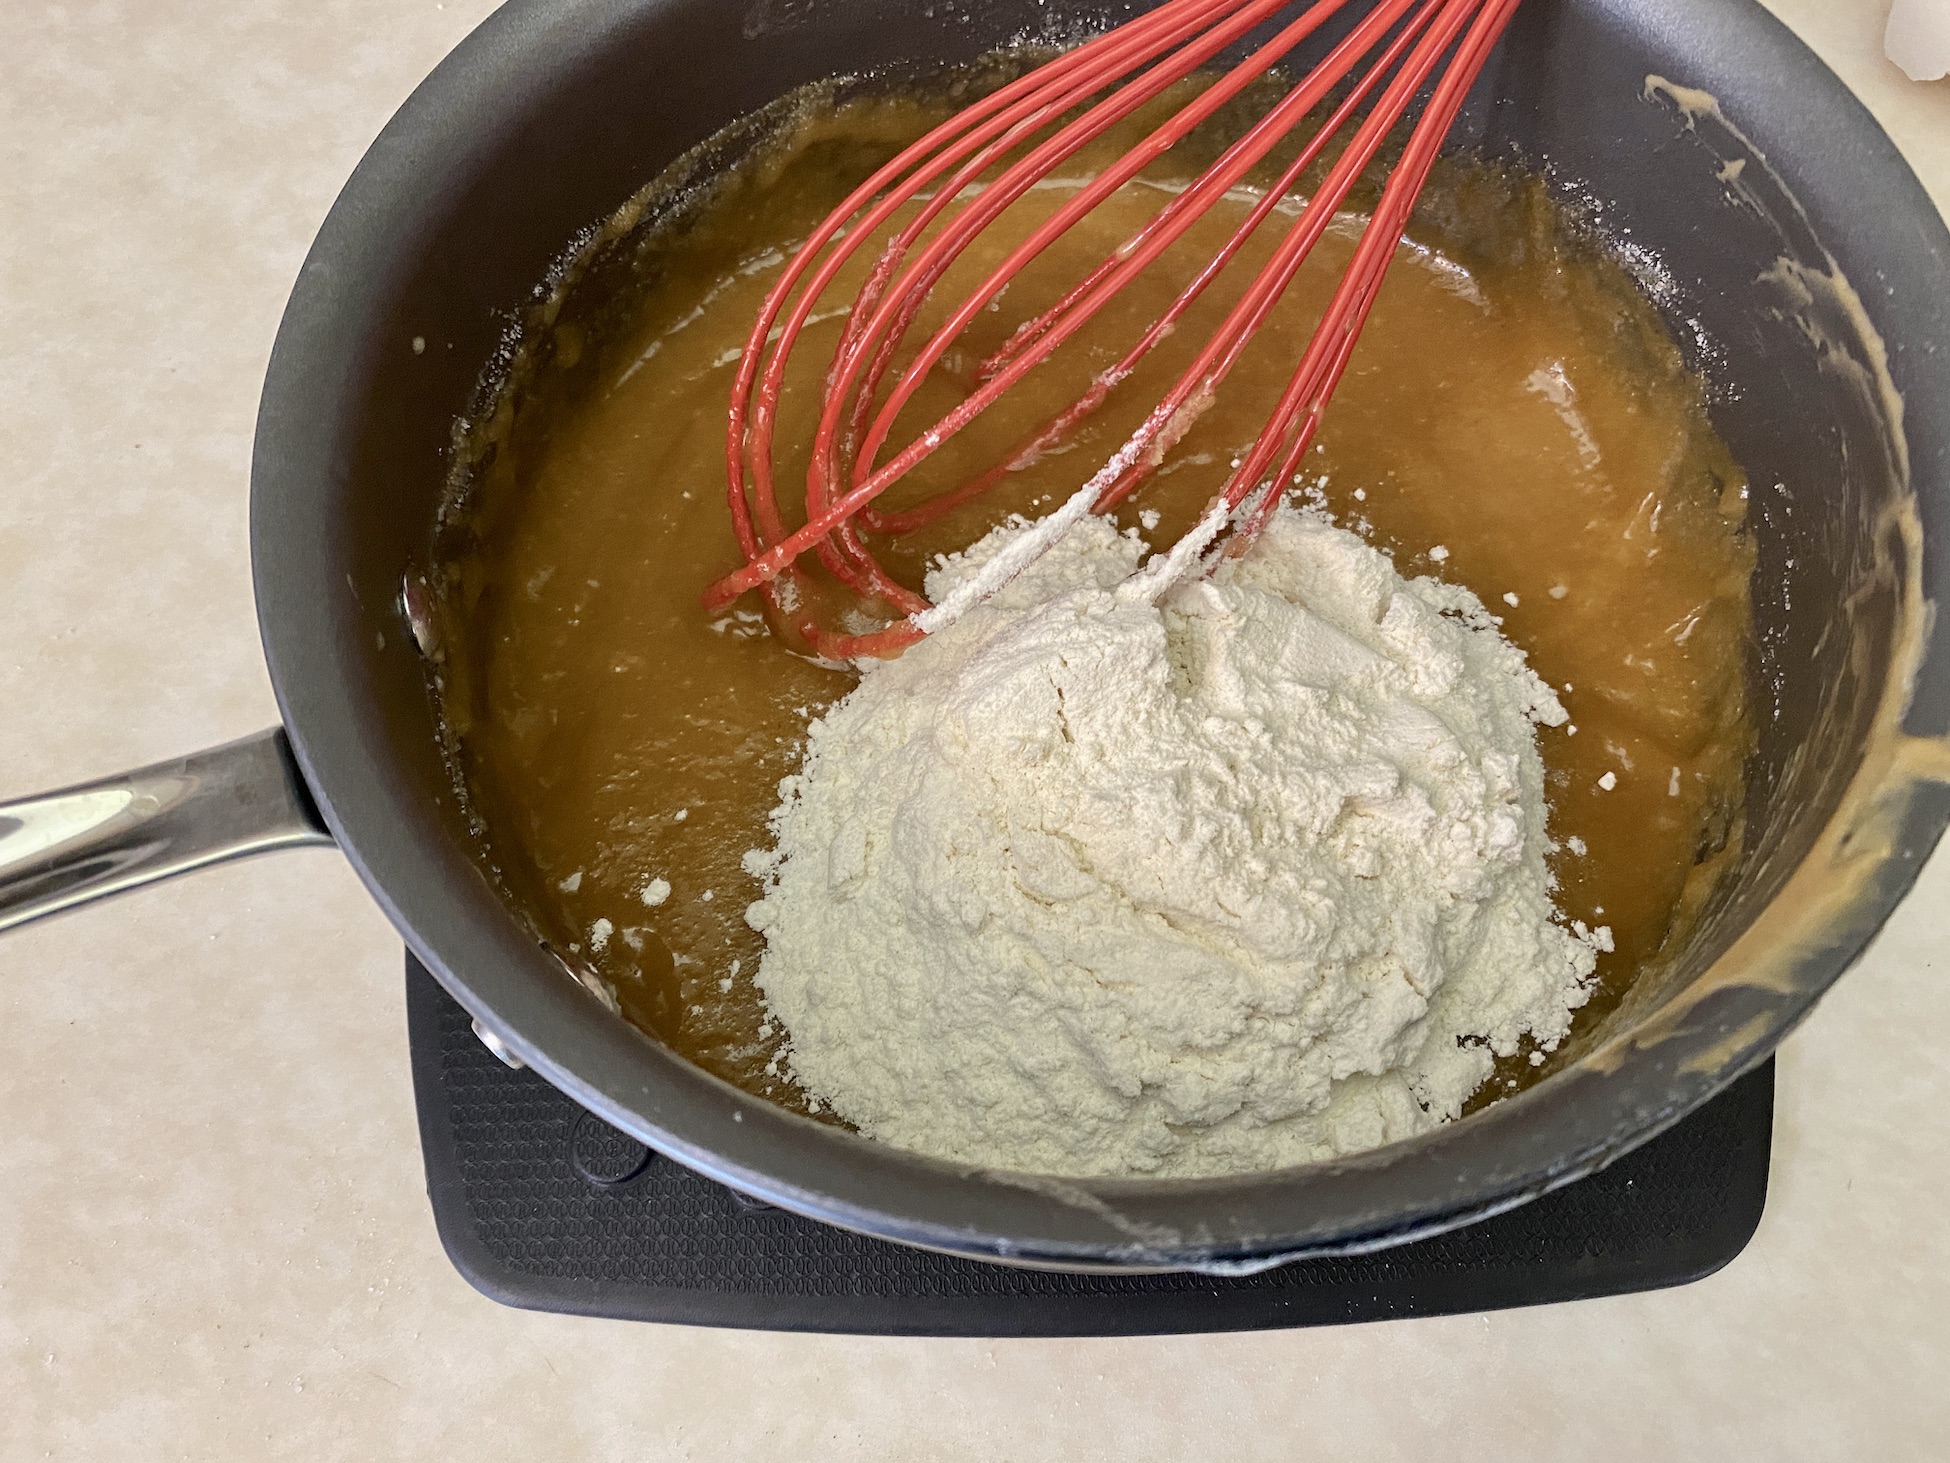
Melt the remaining ½ stick of butter in a saucepan over medium-low heat. Remove from the heat and add the peanut butter. Whisk to combine and let cool slightly.


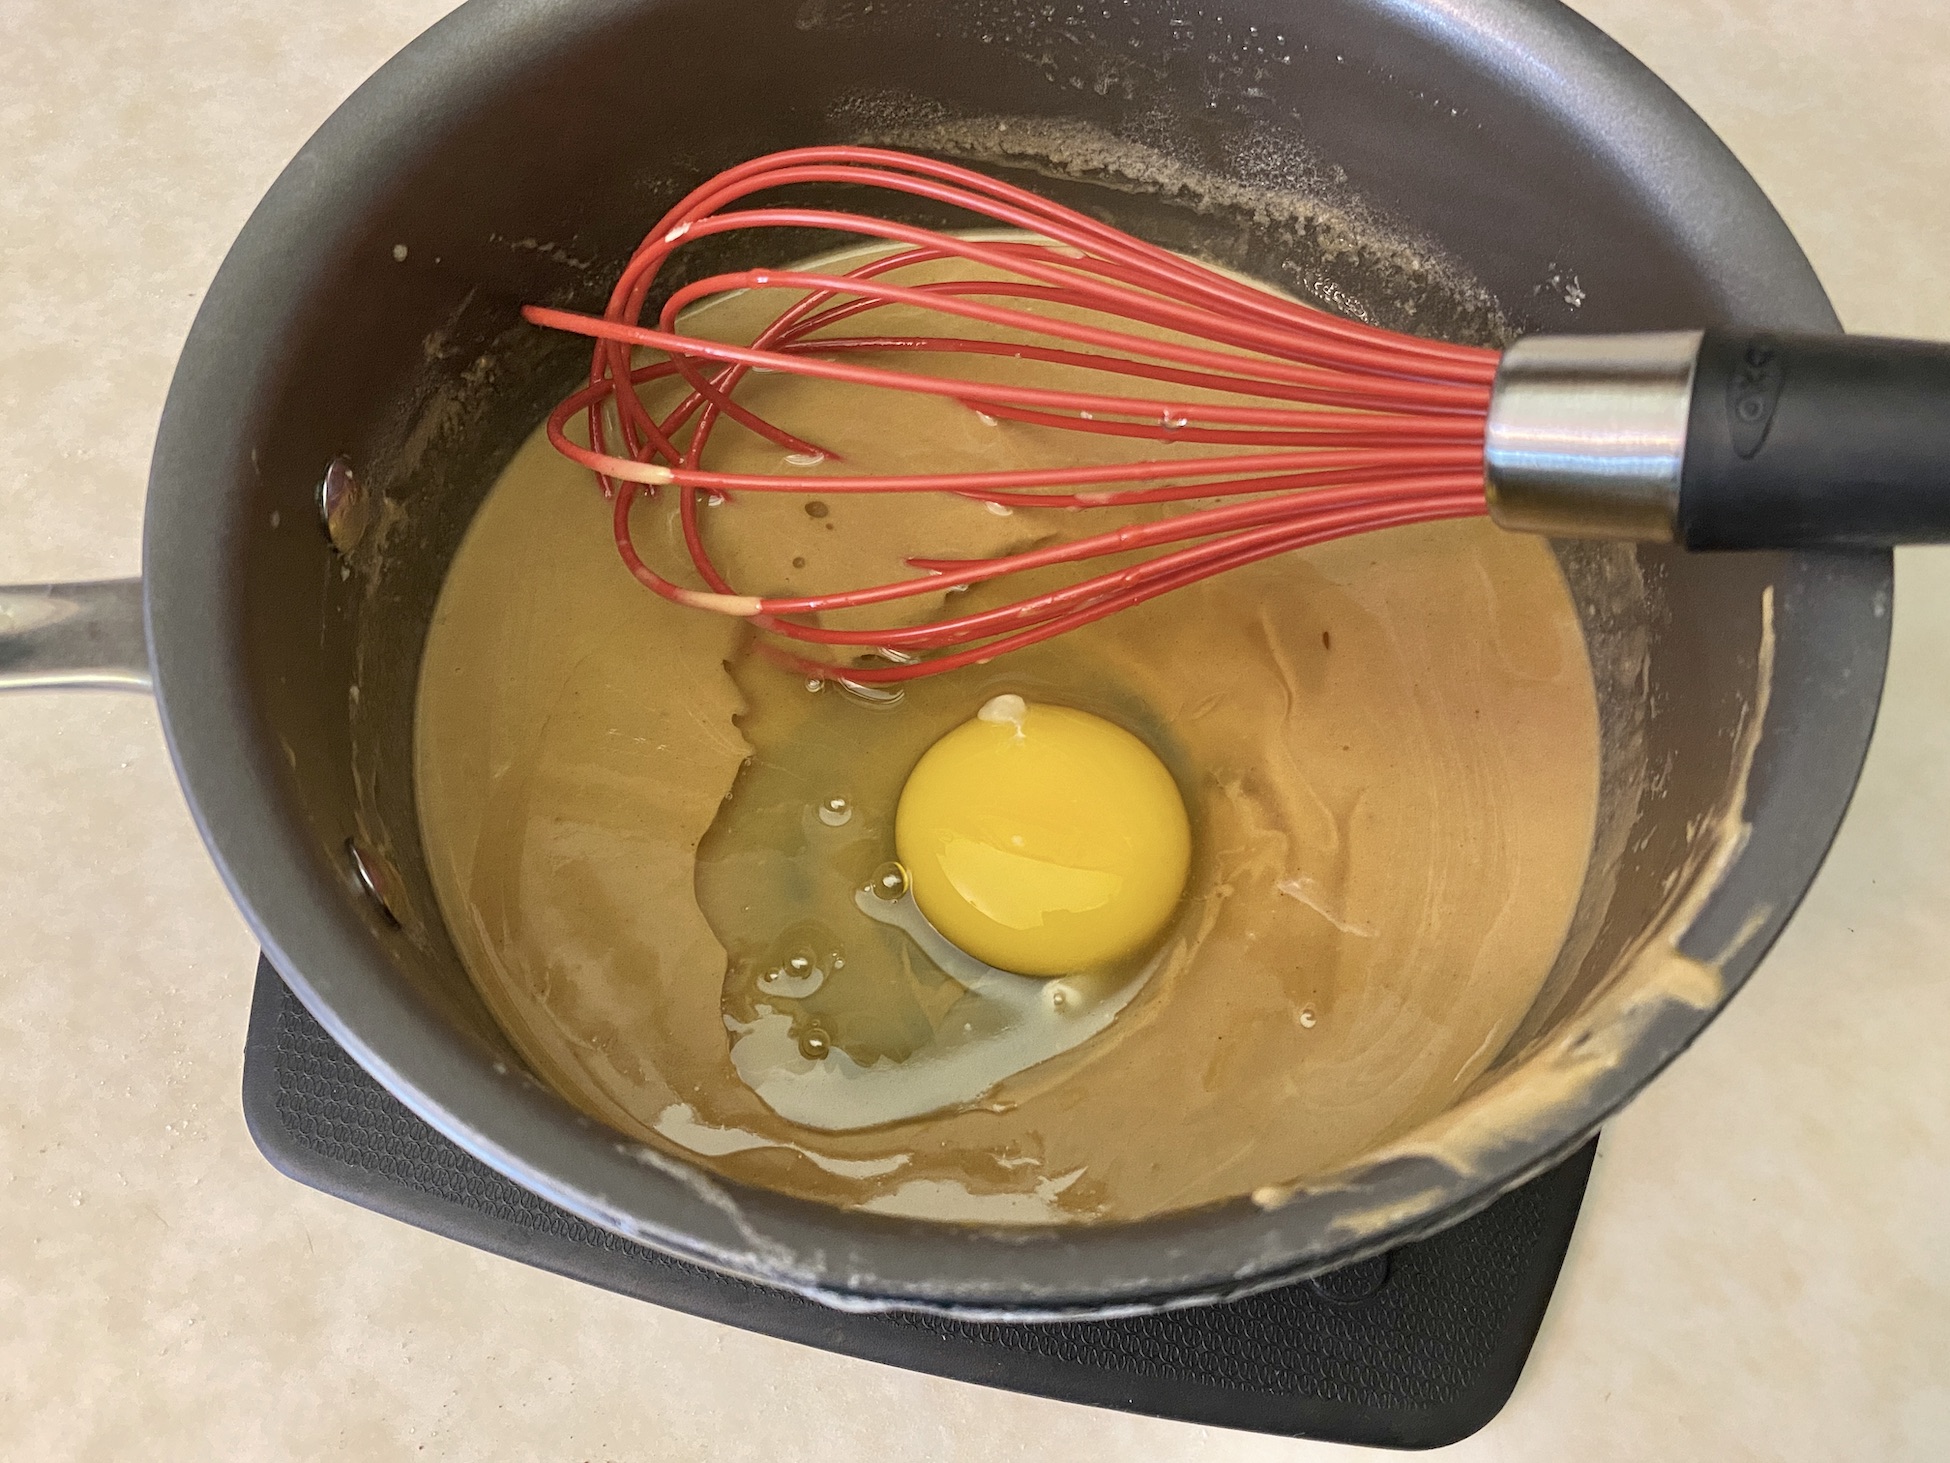
Add the remaining egg and whisk to combine. Add ½ cup sugar and ½ cup flour and whisk until smooth. You don’t want any dry streaks from the flour to remain in the mixture. Set aside.

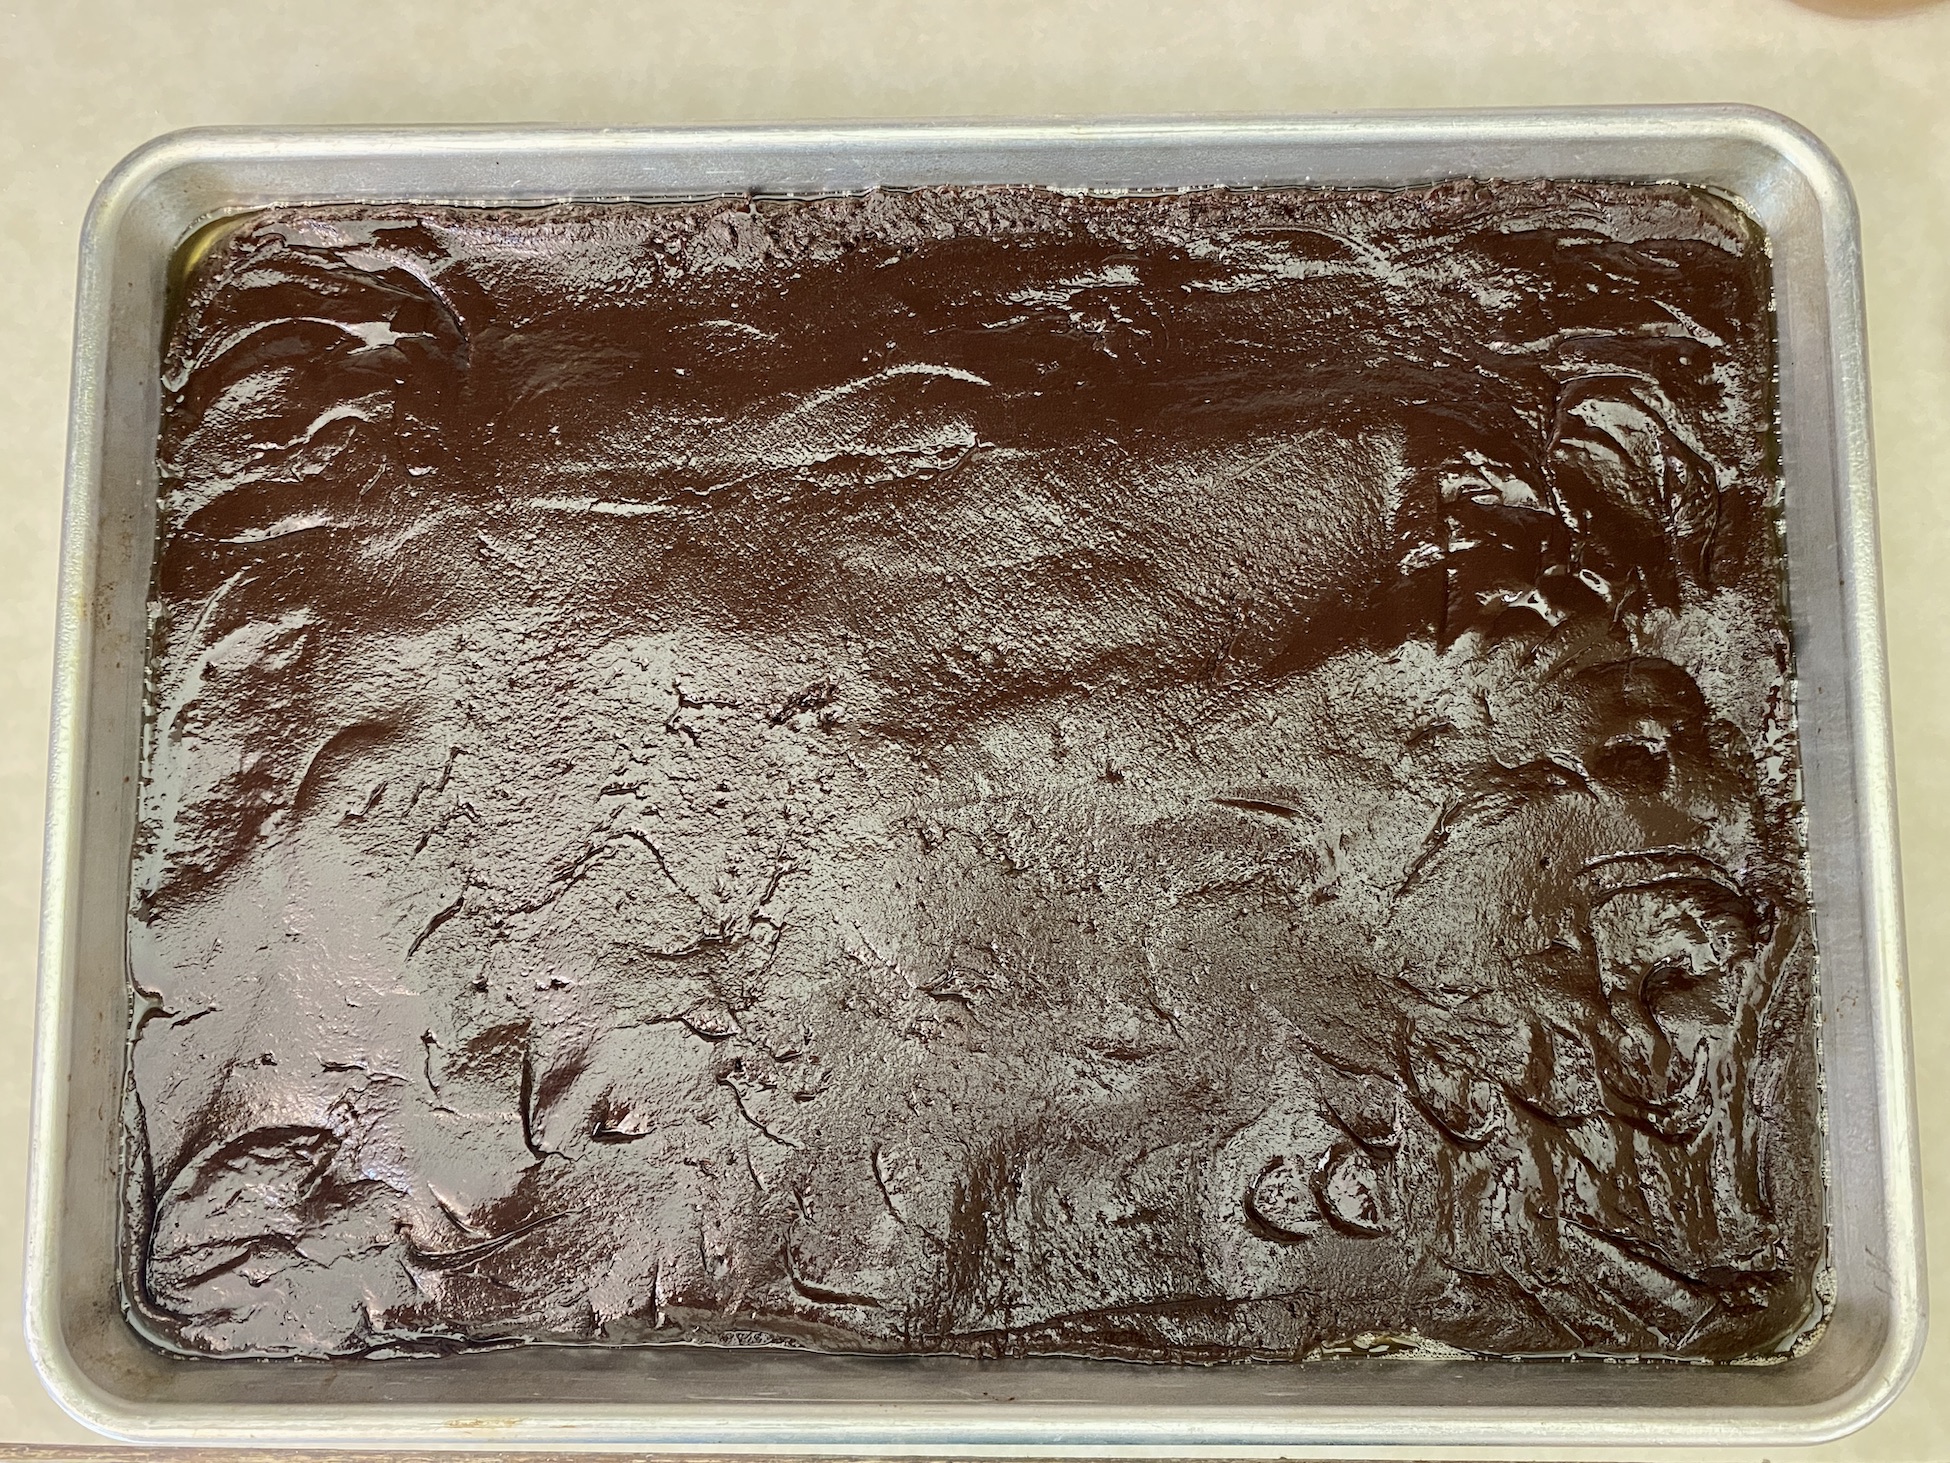
 Pour the chocolate mixture into the prepared baking sheet. Use a rubber spatula to spread the batter to the edges and smooth into an even layer. You want to cover the entire baking sheet with the chocolate batter.
Dollop the peanut butter batter all over the chocolate layer. Press the peanut butter into the chocolate mixture until you have an even layer of chocolate and peanut butter.
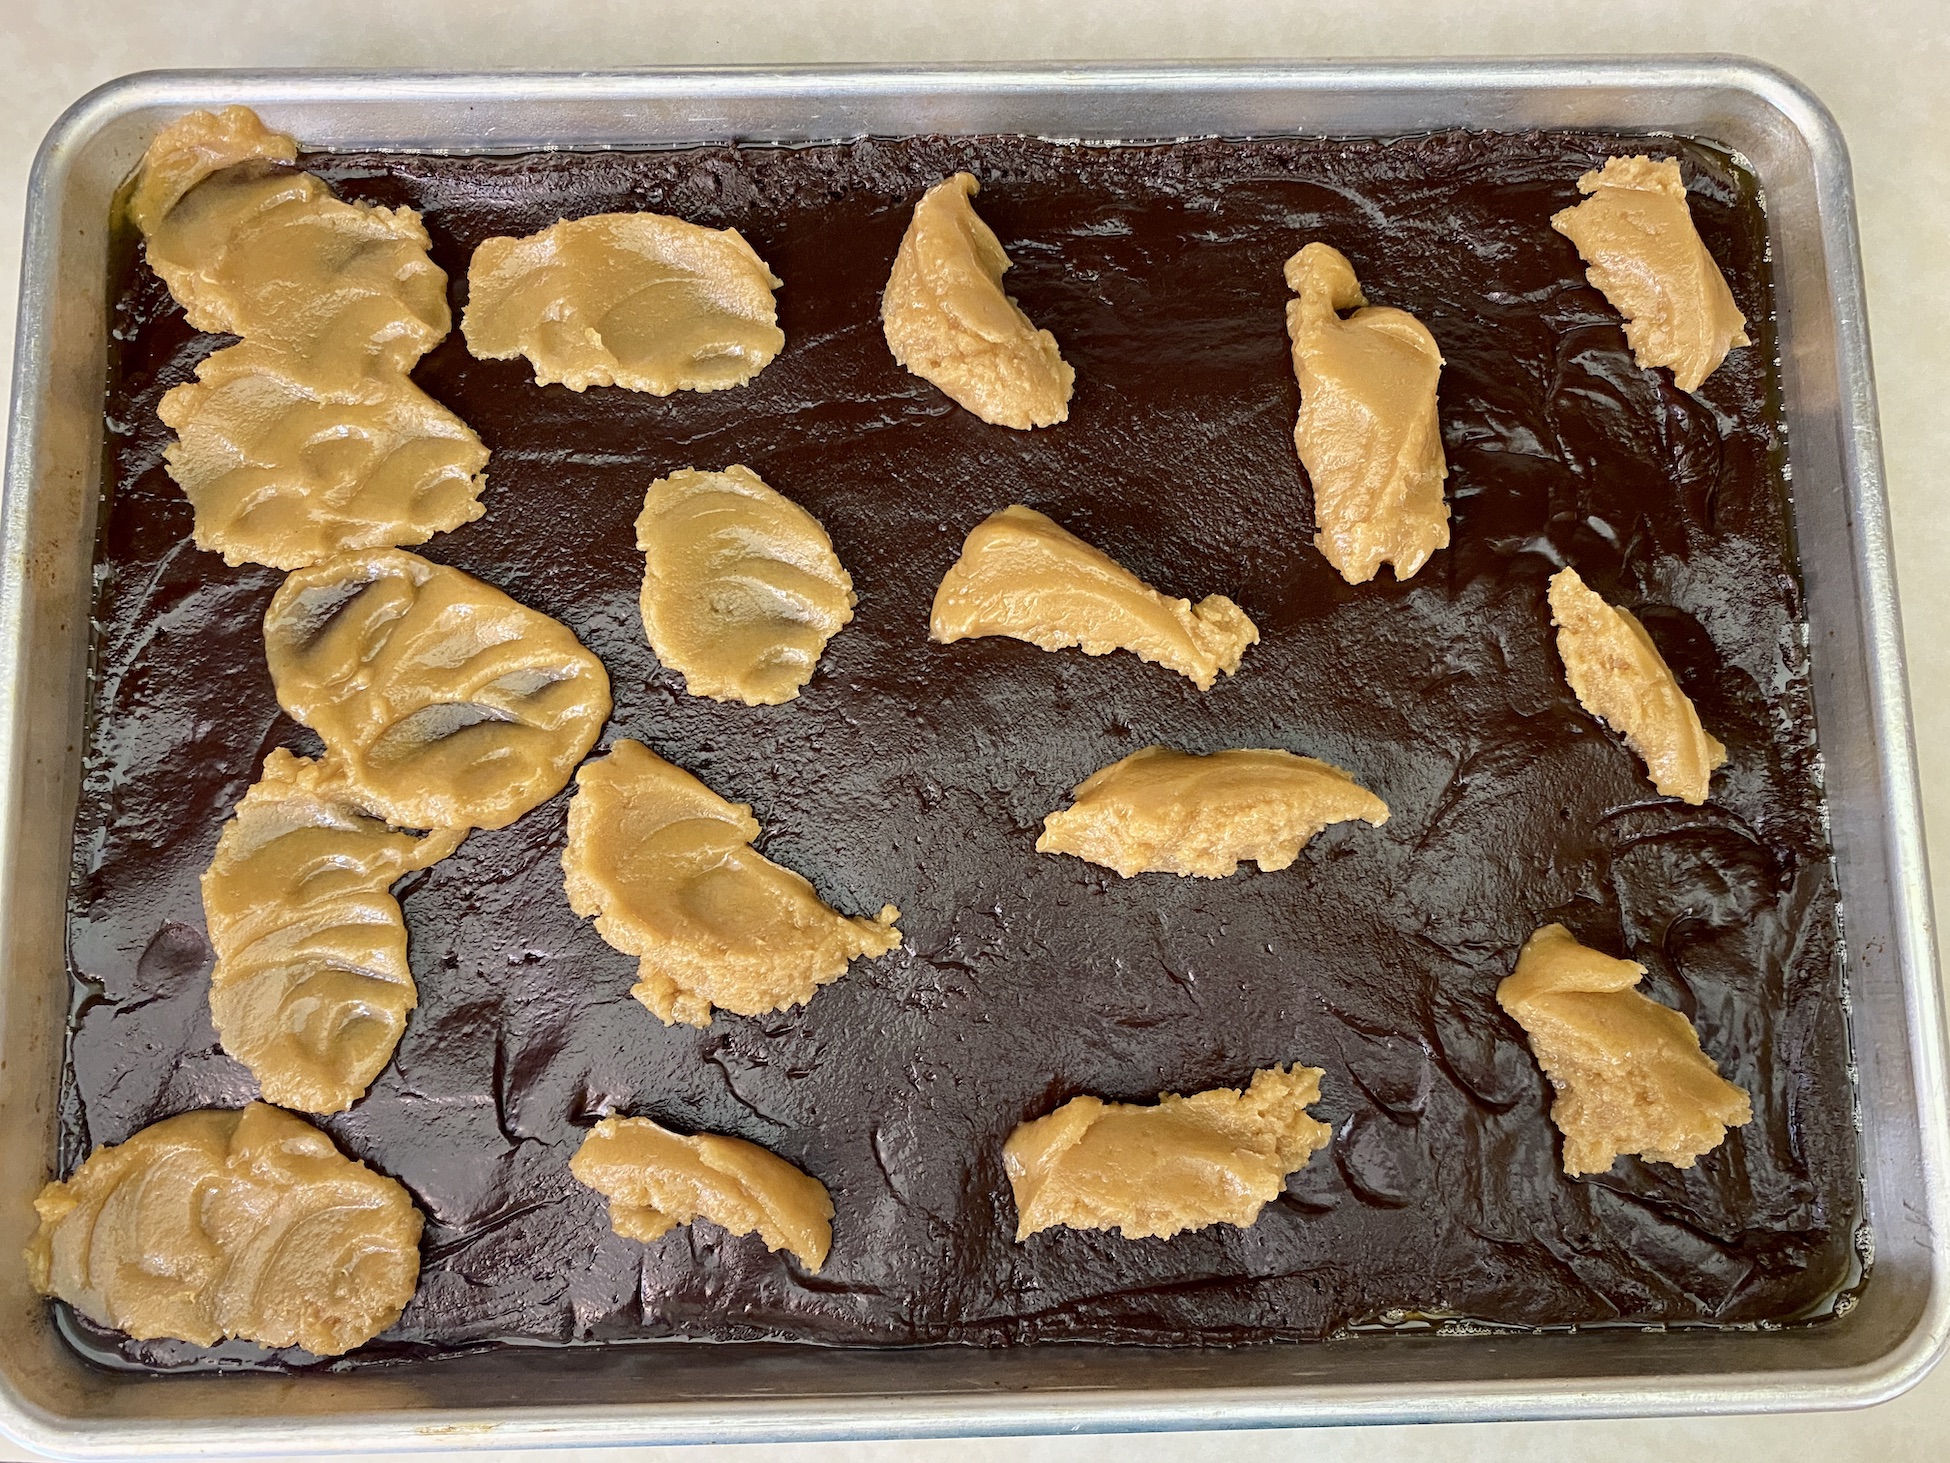

Sprinkle sea salt over the top.
Bake for 15-17 minutes. The cookies will appear soft but will firm up as they cool. Let the cookies cool completely in the baking sheet.

Slice into 32 pieces – 8 across on the long side of the baking sheet and 4 down the short side of the baking sheet. The pieces will be rectangular in shape, and you will end up with 16 ice cream bars total. These can be set aside until ready to use.

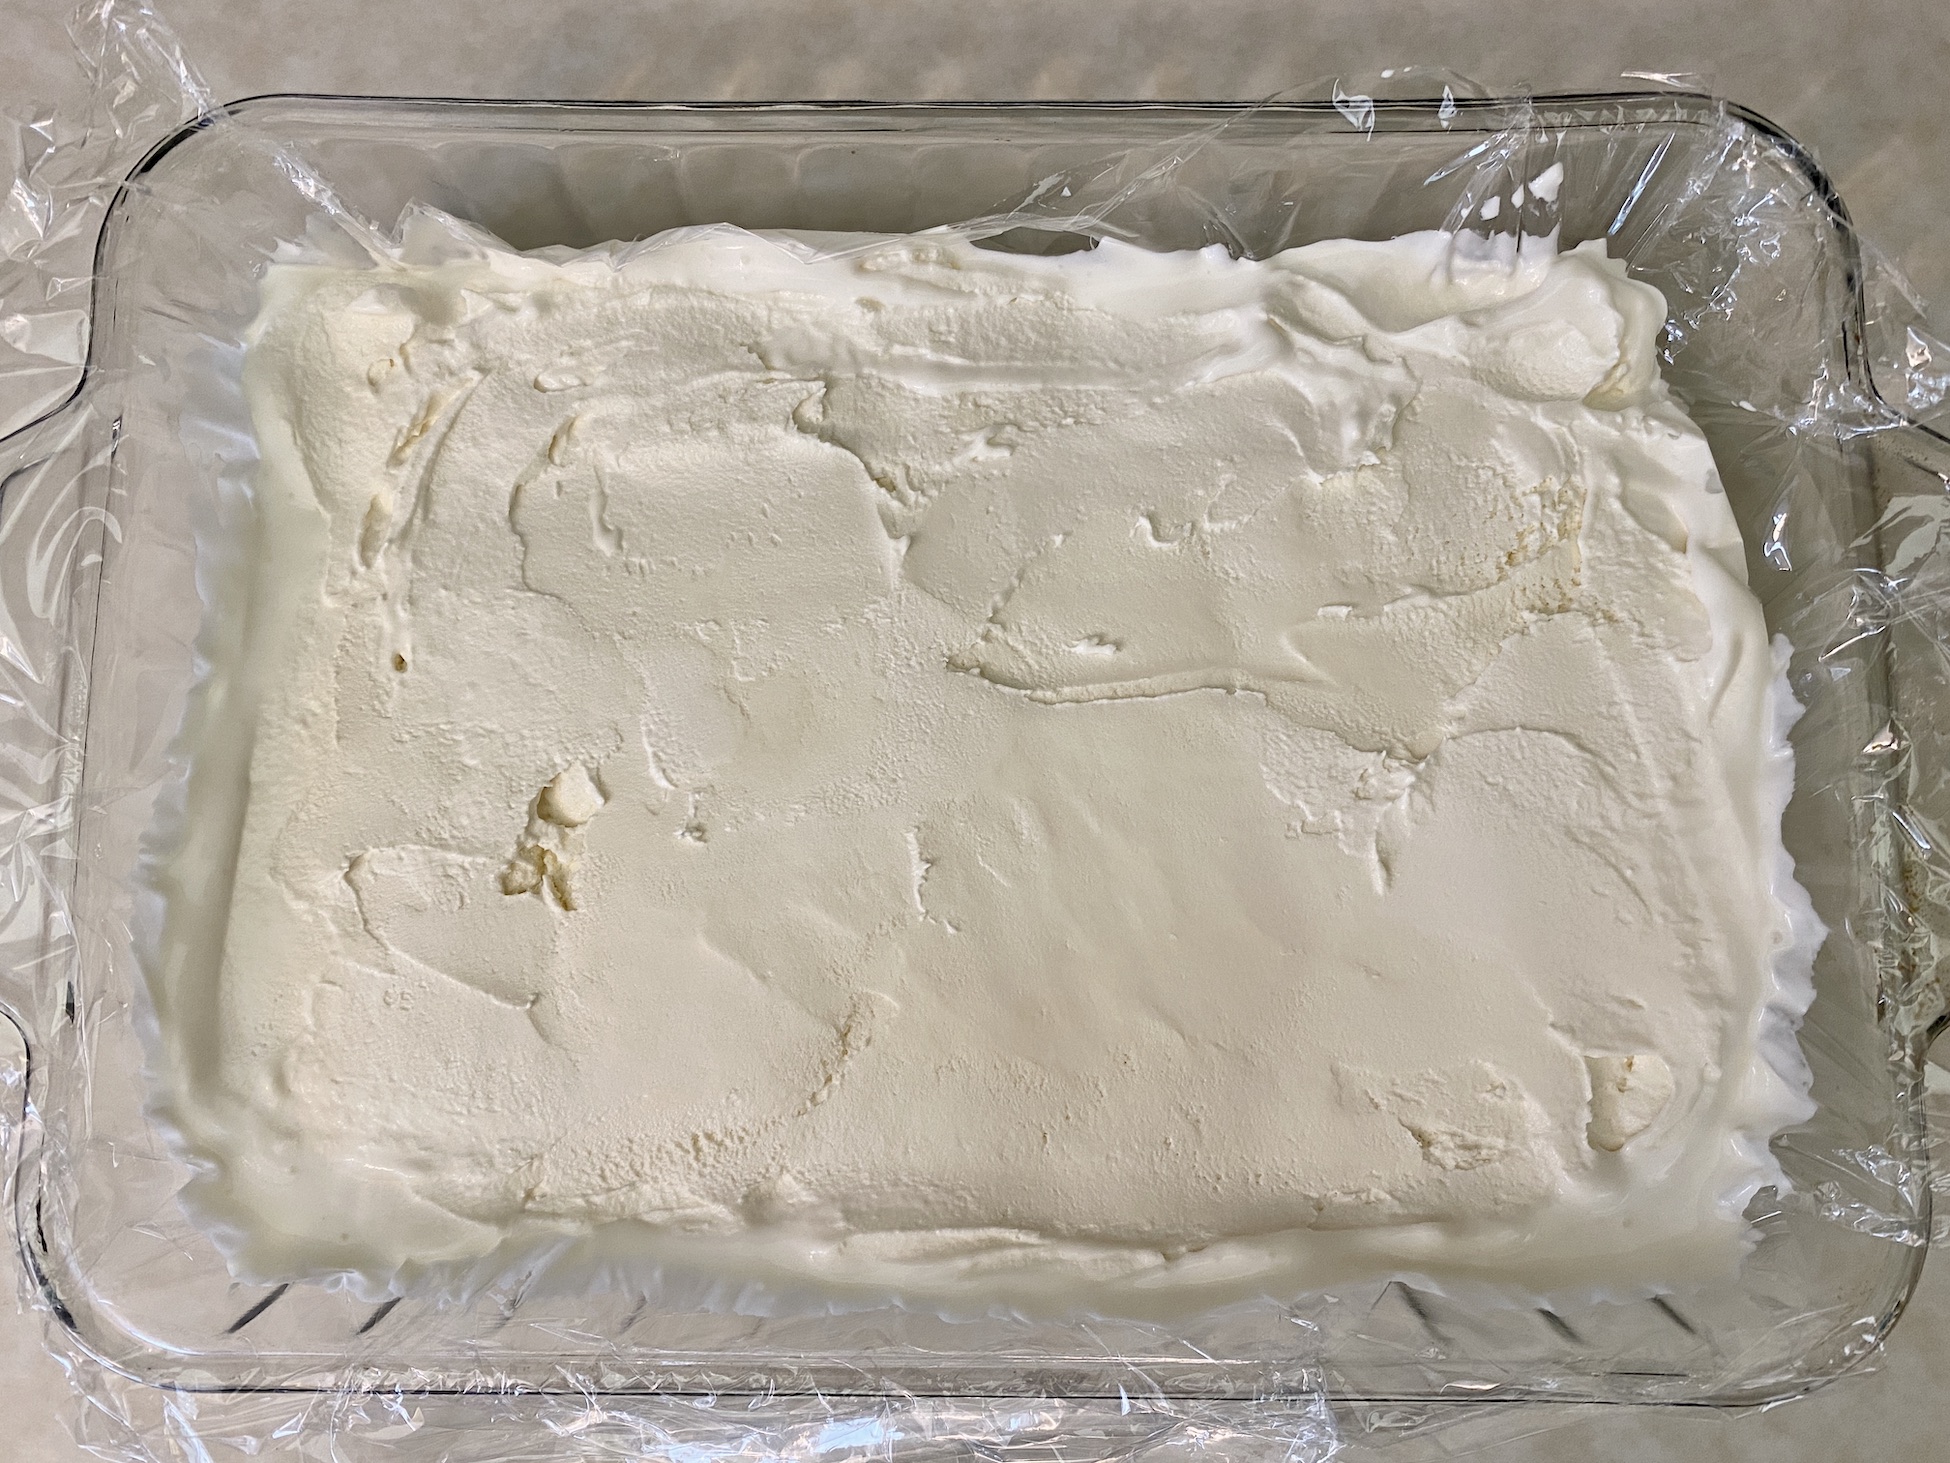
While the cookies are baking, line a 9×13 baking dish with plastic wrap. The plastic wrap should layer both lengthwise and crosswise and overlap on the sides. You want to completely cover the inside of the baking dish. Place the ice cream on the counter to soften for about 15-20 minutes. Once softened, transfer the ice cream to the baking dish and spread into an even layer. Place the baking dish in the freezer until firm, at least one hour. This is the ice cream that will be sandwiched between the cookies, so you want it frozen and hard enough to work with.
Once the ice cream has firmed up, remove from the freezer, and lift the plastic wrap to remove from the baking dish. Place on a cutting board and slice into 16 pieces (4 across and 4 down). The ice cream pieces should be approximately the same size as the cookie pieces.
Sandwich a piece of ice cream between 2 cookies and press down slightly to hold together. Place on a baking sheet and repeat until you have assembled all 16 ice cream sandwiches.

Freeze until the ice cream is completely firm, about 2 hours. Serve immediately or transfer to an airtight container until ready to serve. Enjoy!

The recipe can be found here.
Overall, this is a delicious recipe that can be tailor to your personal taste and will be a crowd pleaser. It’s easy and fun to make. The ice cream can be a bit of a mess if you don’t work fast but that’s all part of the enjoyment of baking and creating a fun recipe to share with your loved ones. Give these a try for your next holiday or gathering – you won’t be disappointed!
Happy Cooking!


Recent Comments