 order online
 weekly specials
I. Love. Sweets. Candy, cake, cupcakes, pie, cookies, you name it! I would rather skip dinner and go right to dessert, then go back and have dinner. That’s how much I like sweets.
I recently made some homemade candy bars as a treat to bring to work for Valentine’s Day. These can be treats for any time of year, no special occasion needed, it just happened to be around Valentine’s Day for me 🙂 If you like to treat your coworkers (or family or friends) from time to time, I would highly recommend trying any of these recipes!
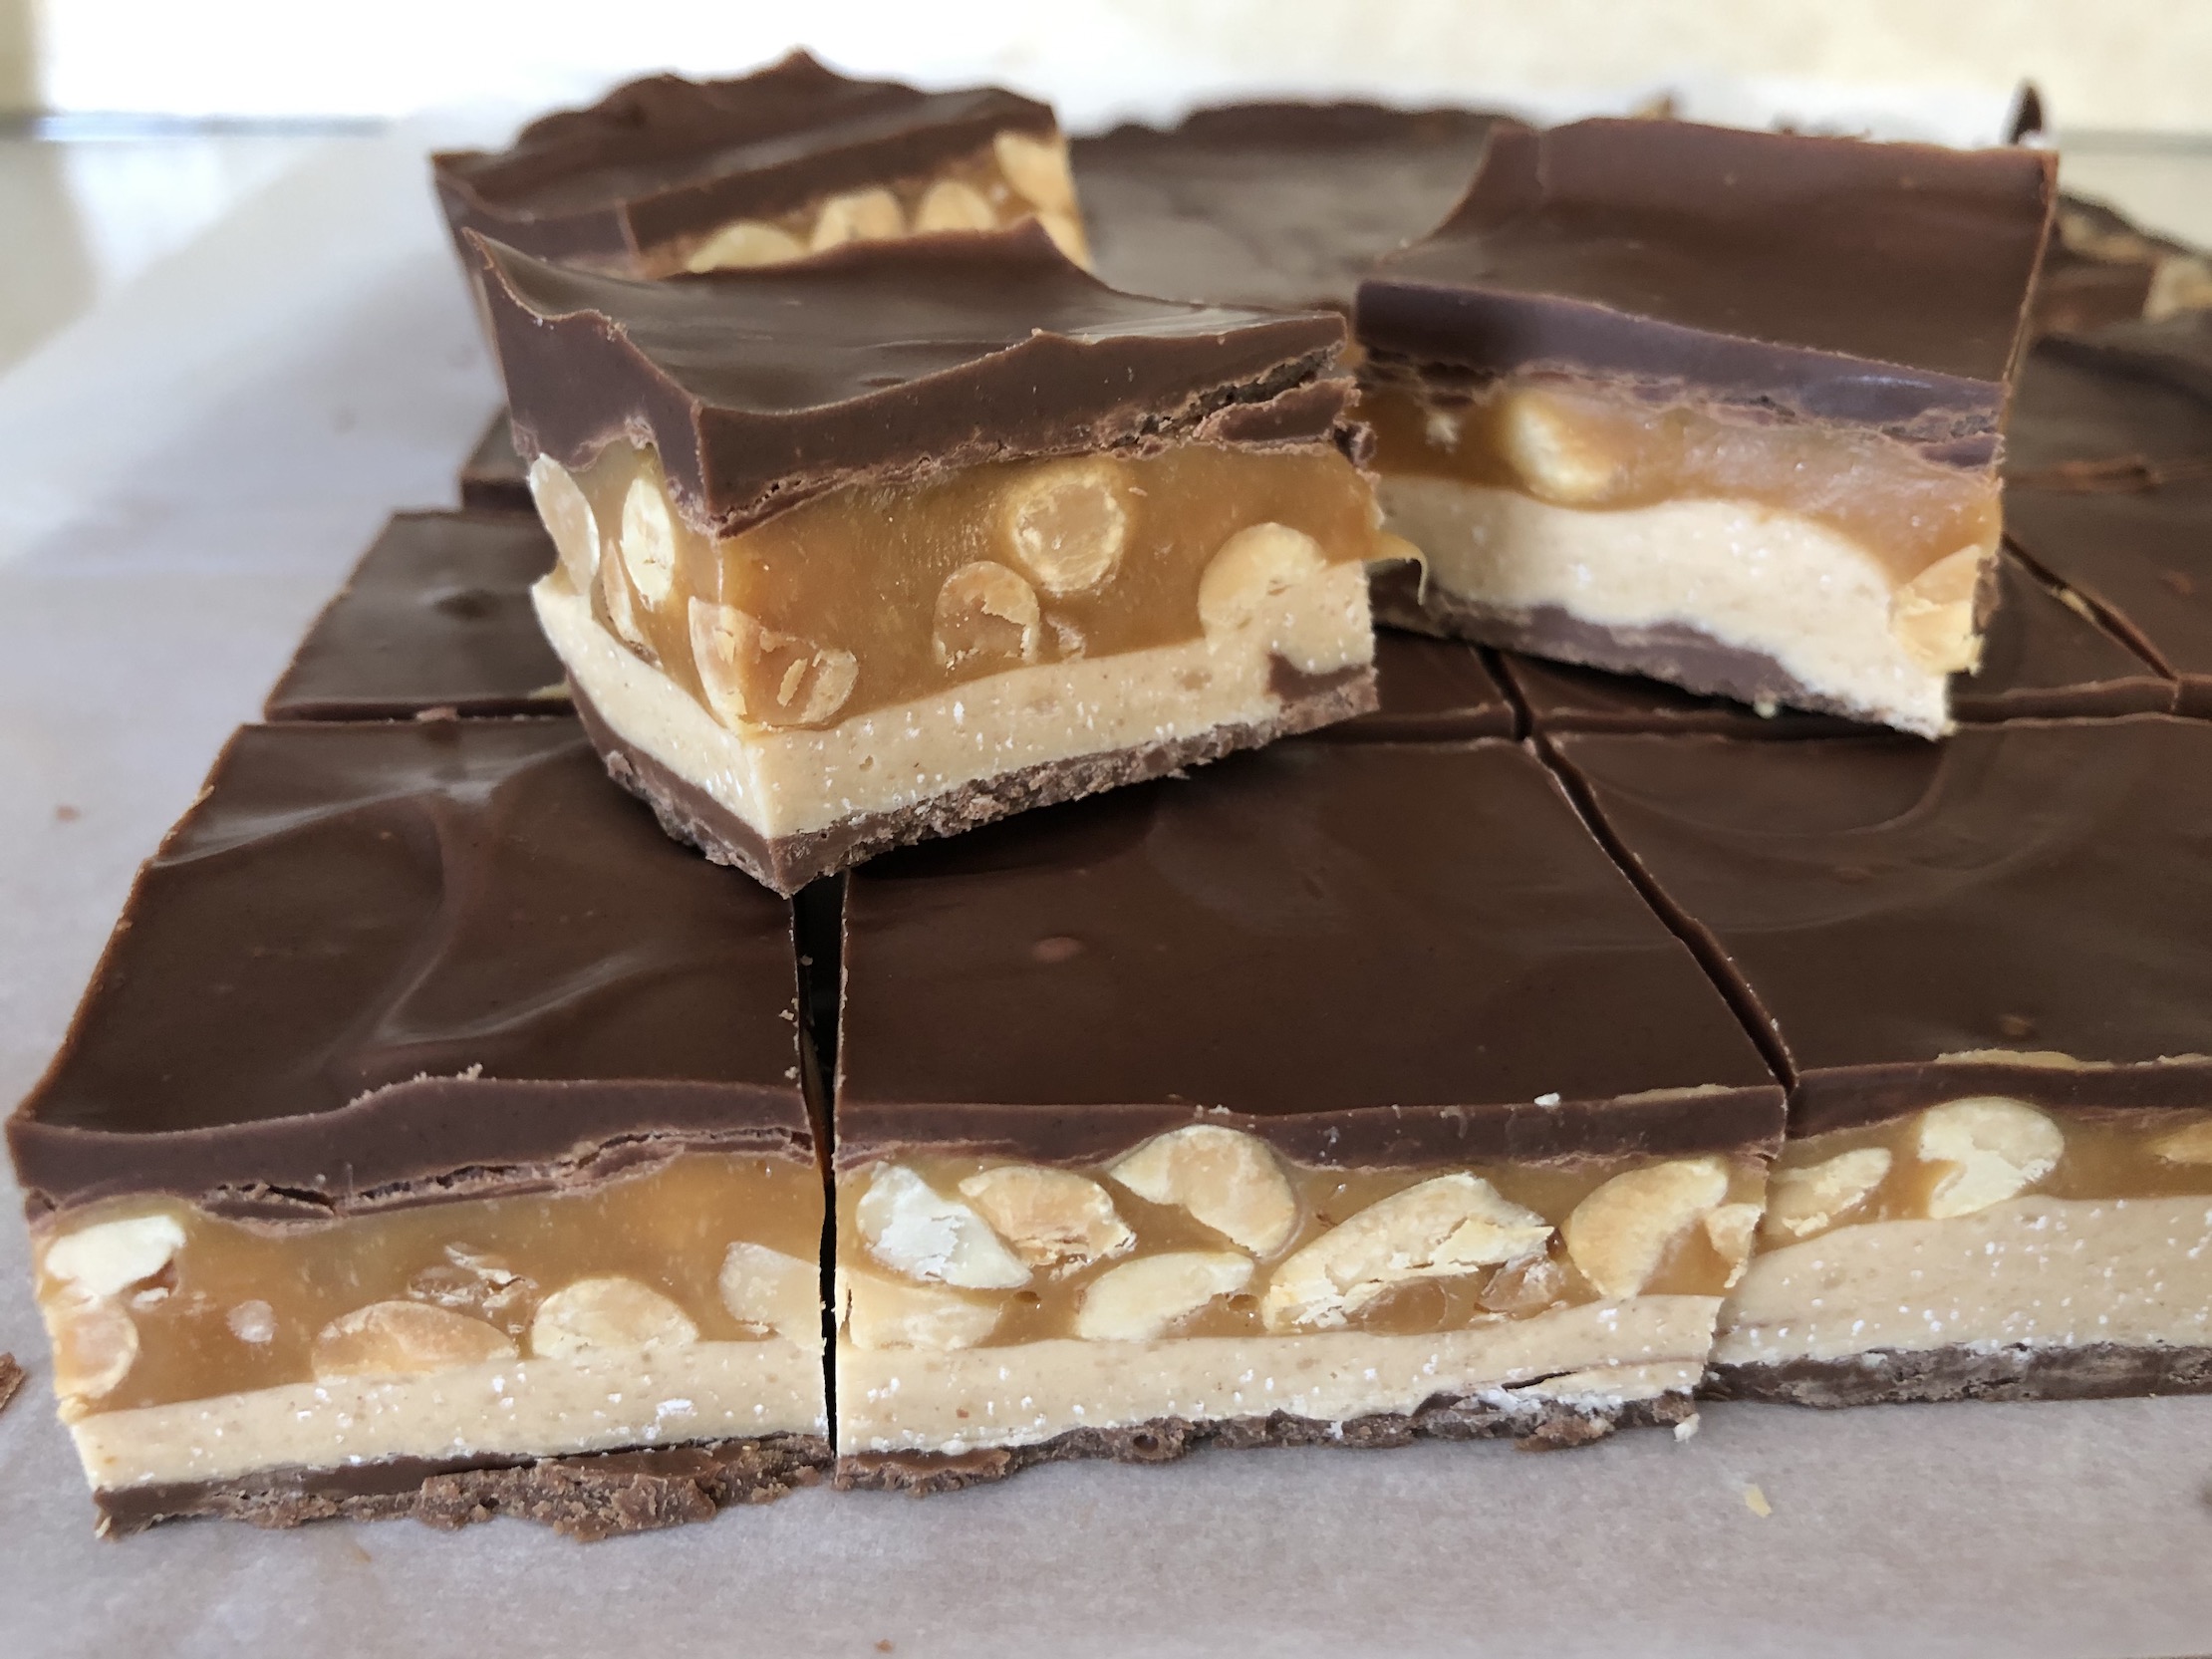
First up is Homemade Snickers Bars. These taste so similar to a Snickers bar you won’t be able to tell the different! The nougat is soft and chewy, the chocolate is rich and melts in your mouth, and the caramel so smooth.

The recipe can be found here.
Start by lining a 9×13 pan with parchment paper or aluminum foil. This will help you remove the bars from the pan when ready to cut – it will make your life so much easier! You also want to make sure you have room in your freezer to fit the pan because you’ll be putting the pan in the freezer a few times throughout the steps to speed along the process.
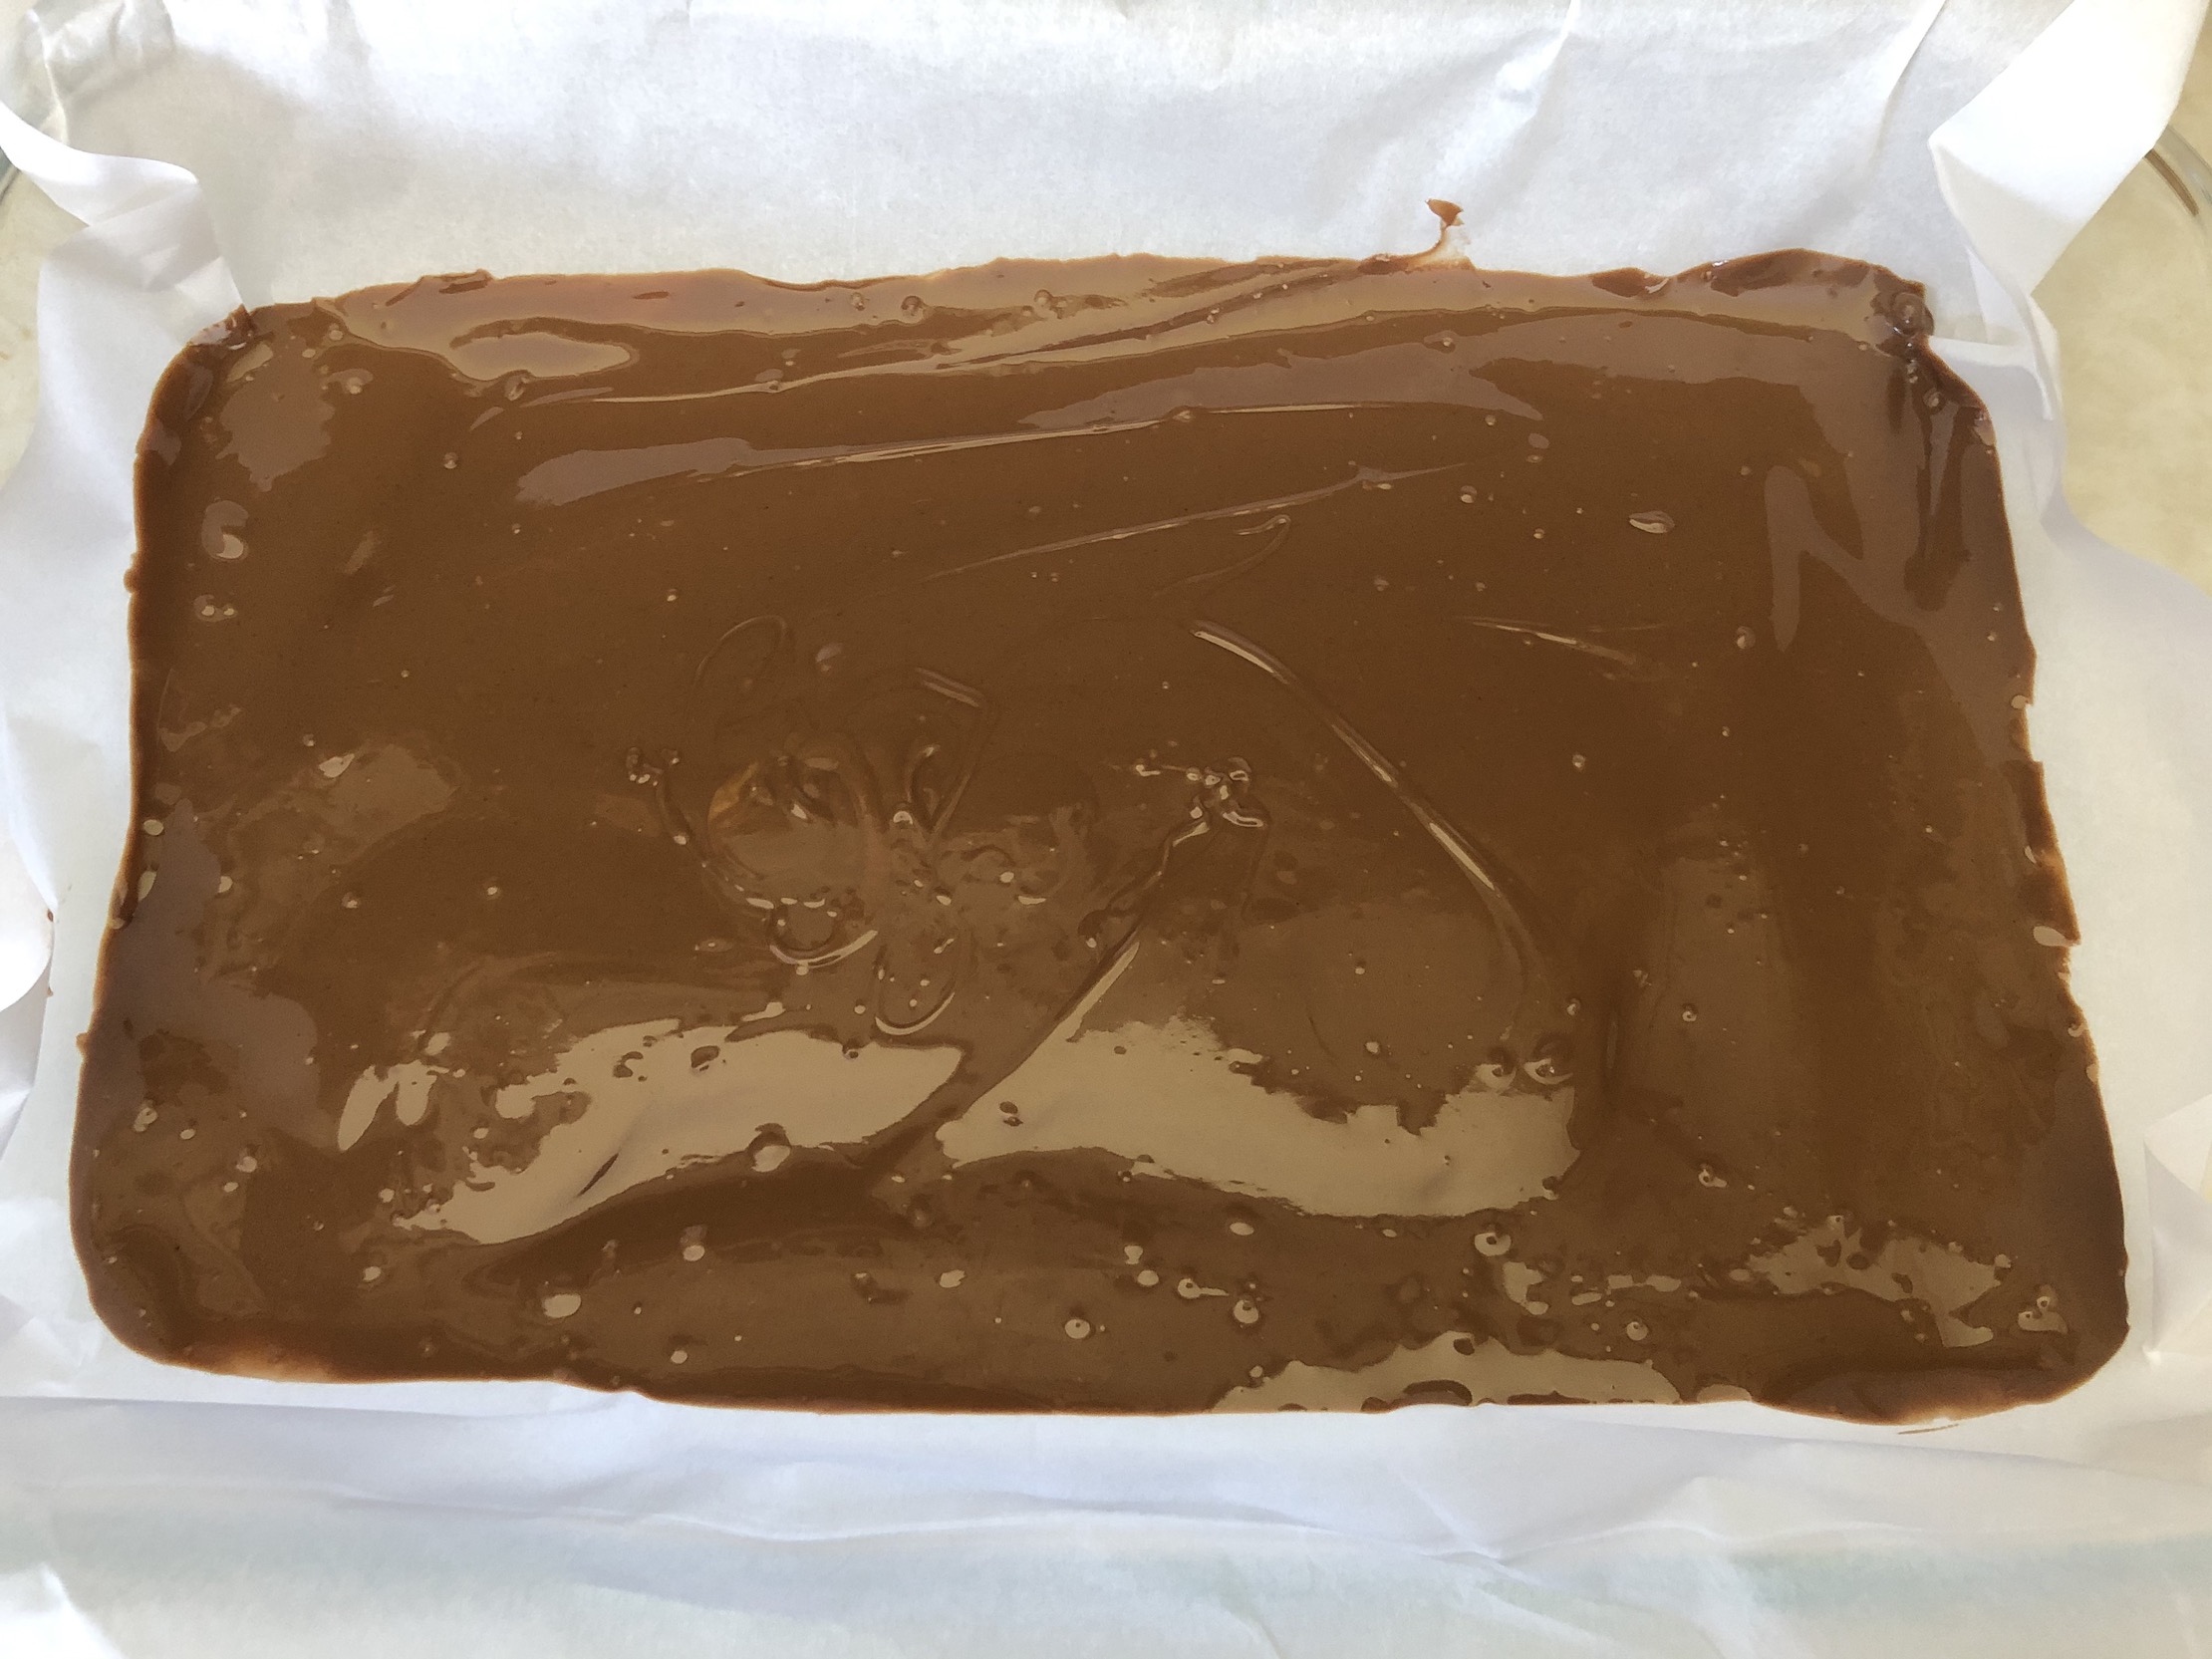
In a microwave safe bowl, melt 1 cup chocolate chips and ¼ cup peanut butter, for 90 seconds. Make sure to stir every 30 seconds to prevent burning. Str until smooth and then pour into the bottom of the pan and spread until smooth. Place the pan in the freezer to allow the chocolate to harden.


Add the butter, sugar, and heavy cream to a saucepan. Heat over medium heat until the butter has melted, and the mixture is completely combined. Bring to a boil and let boil for about 5 minutes, uninterrupted (aka do not stir!).

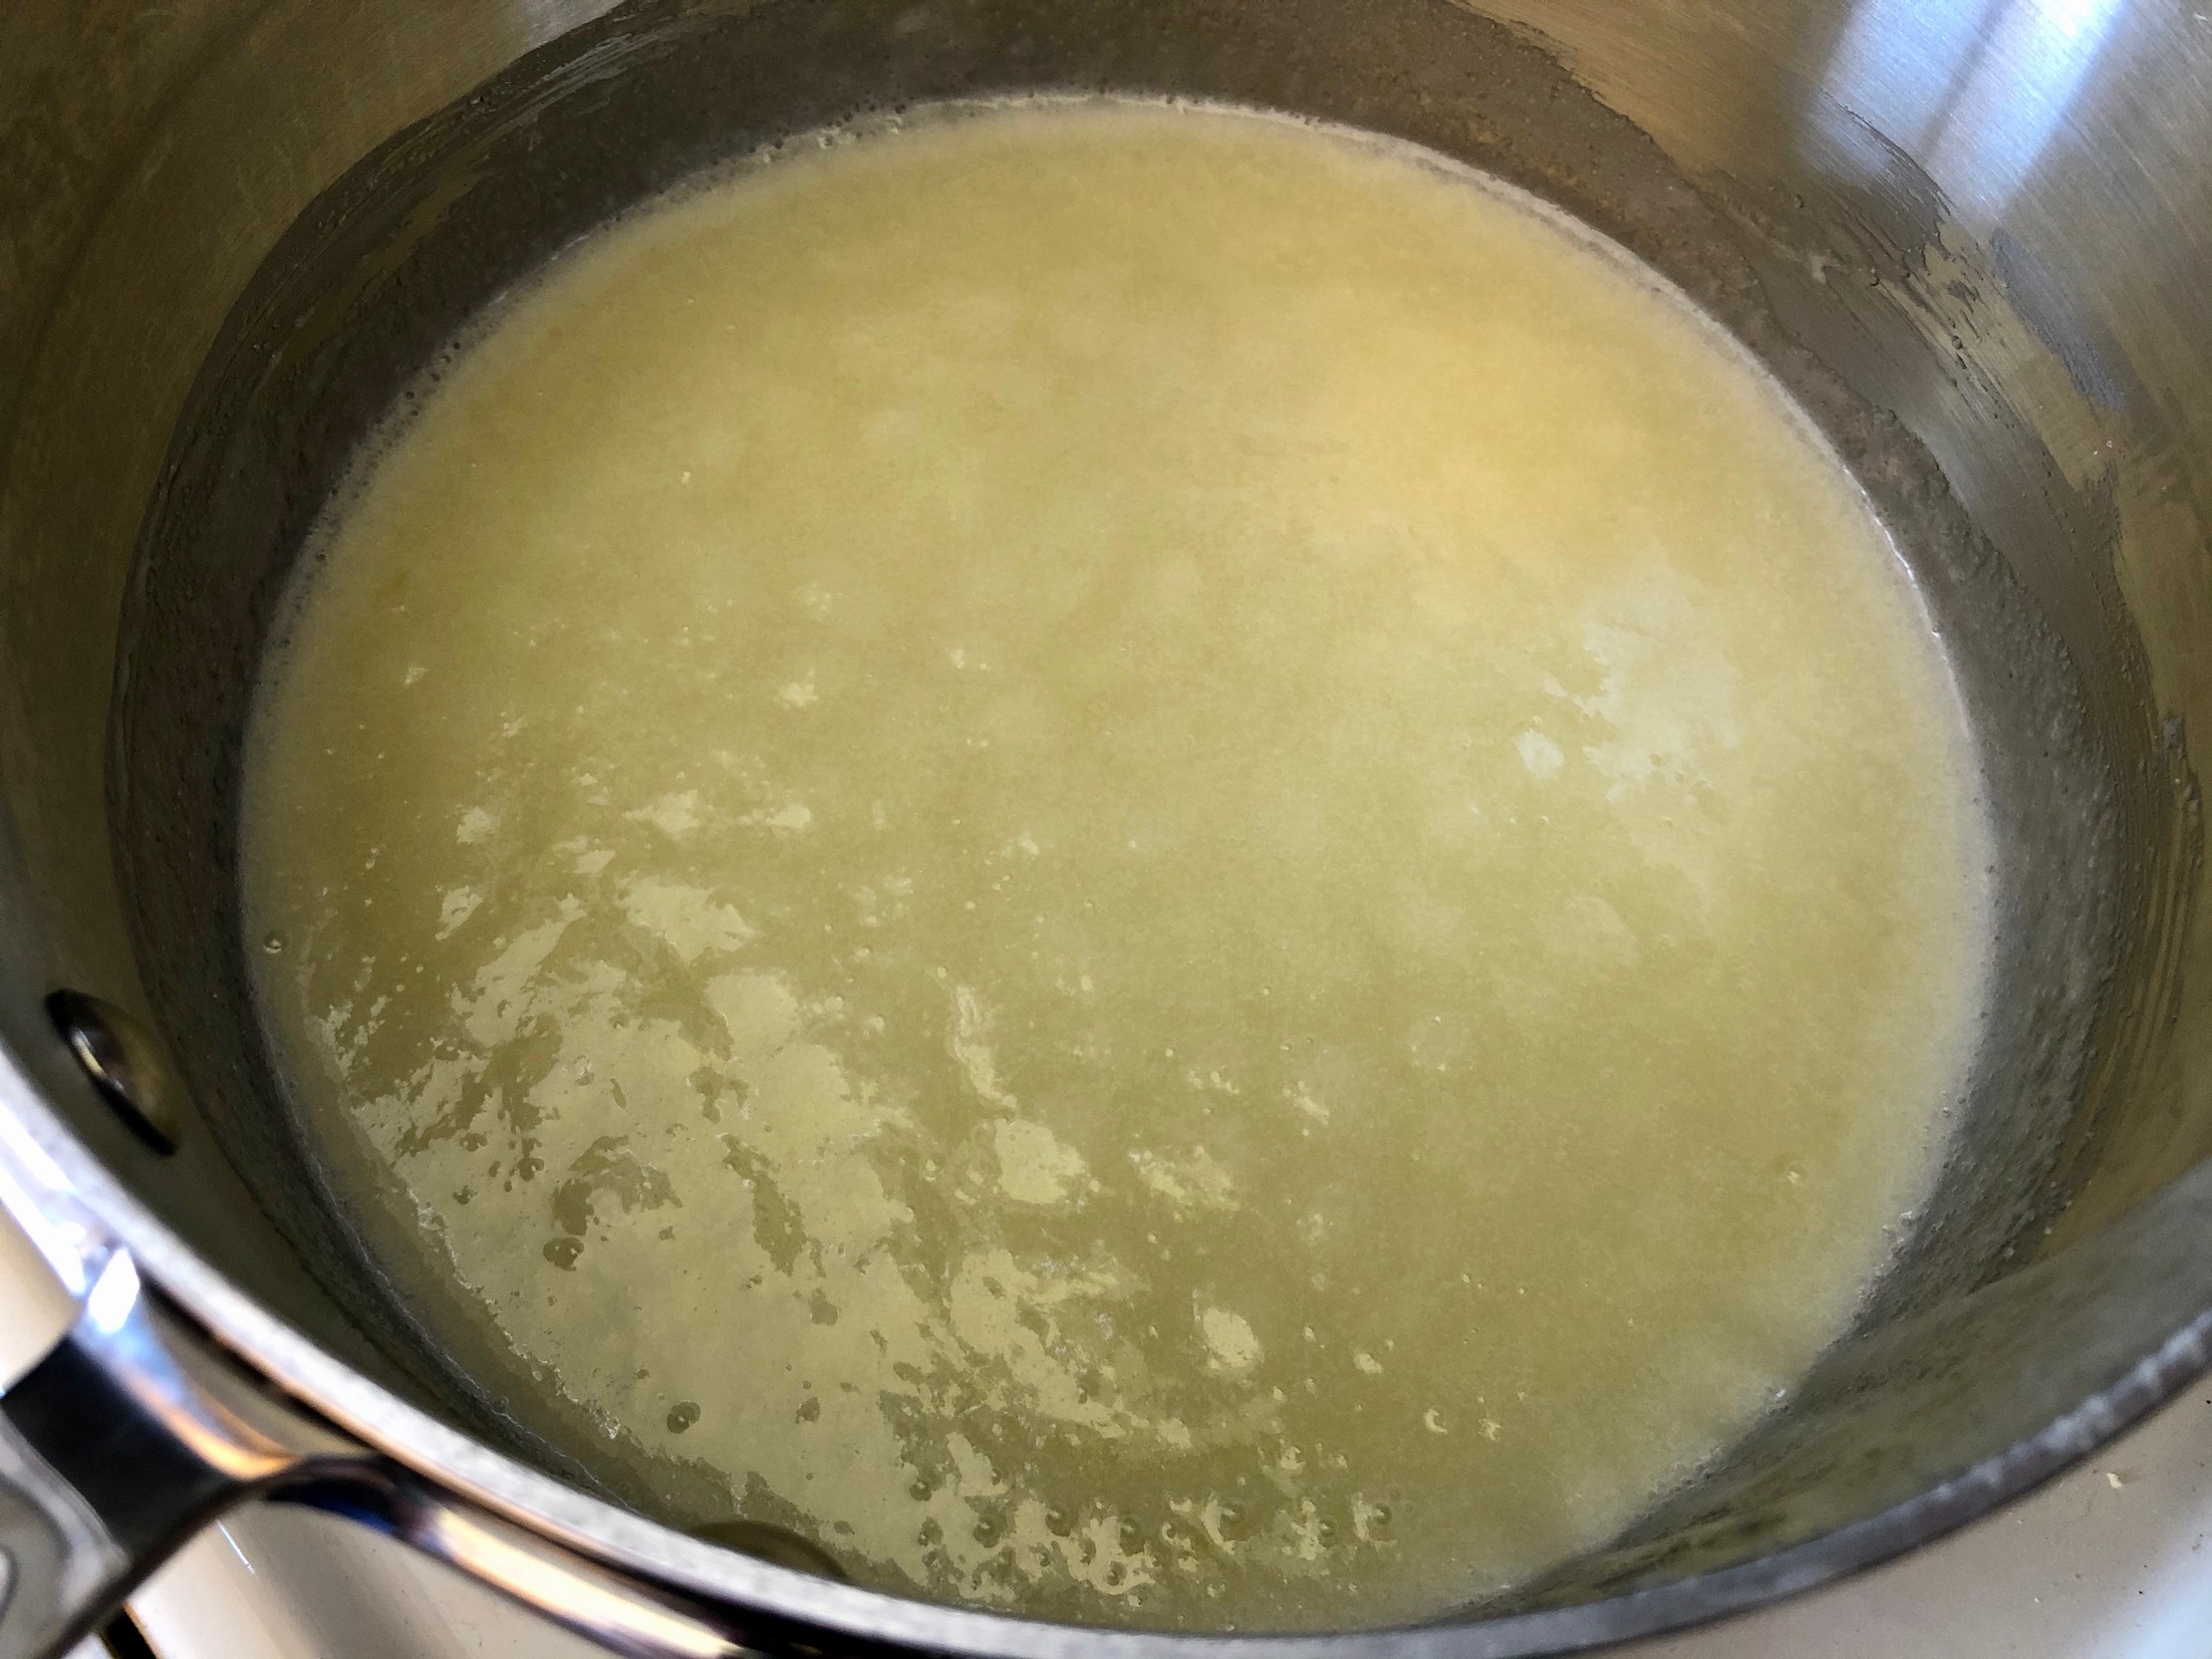

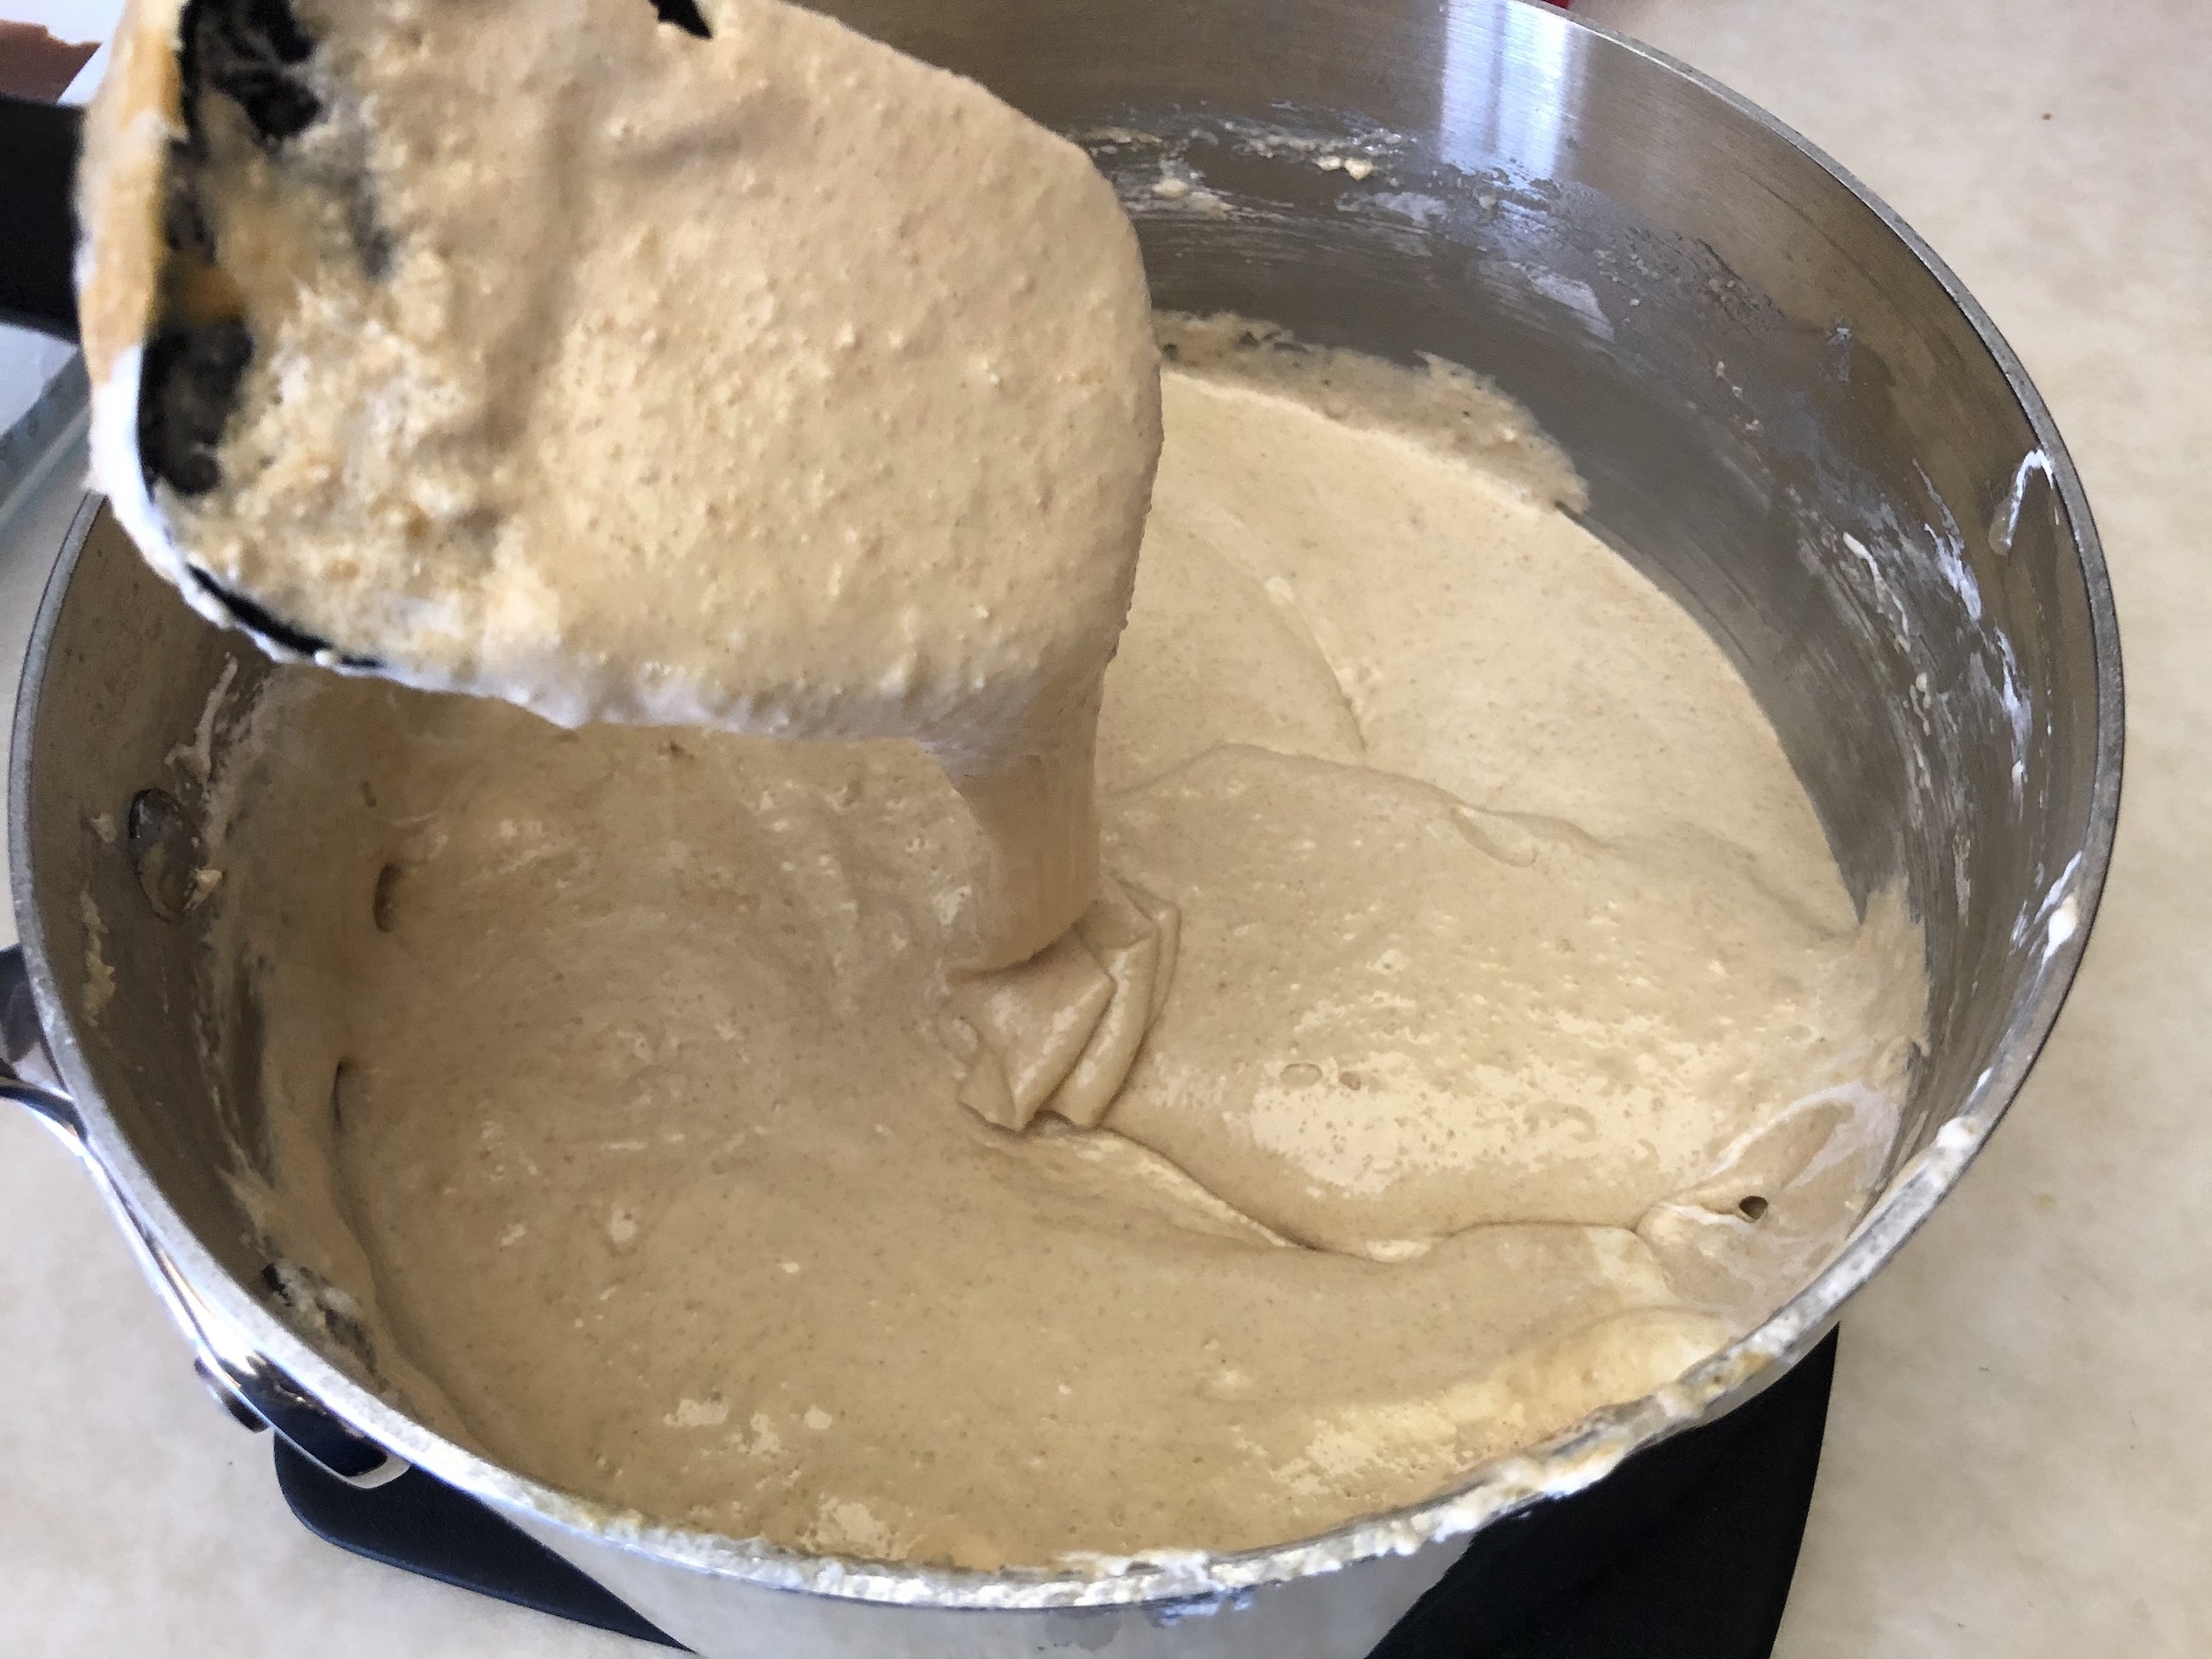
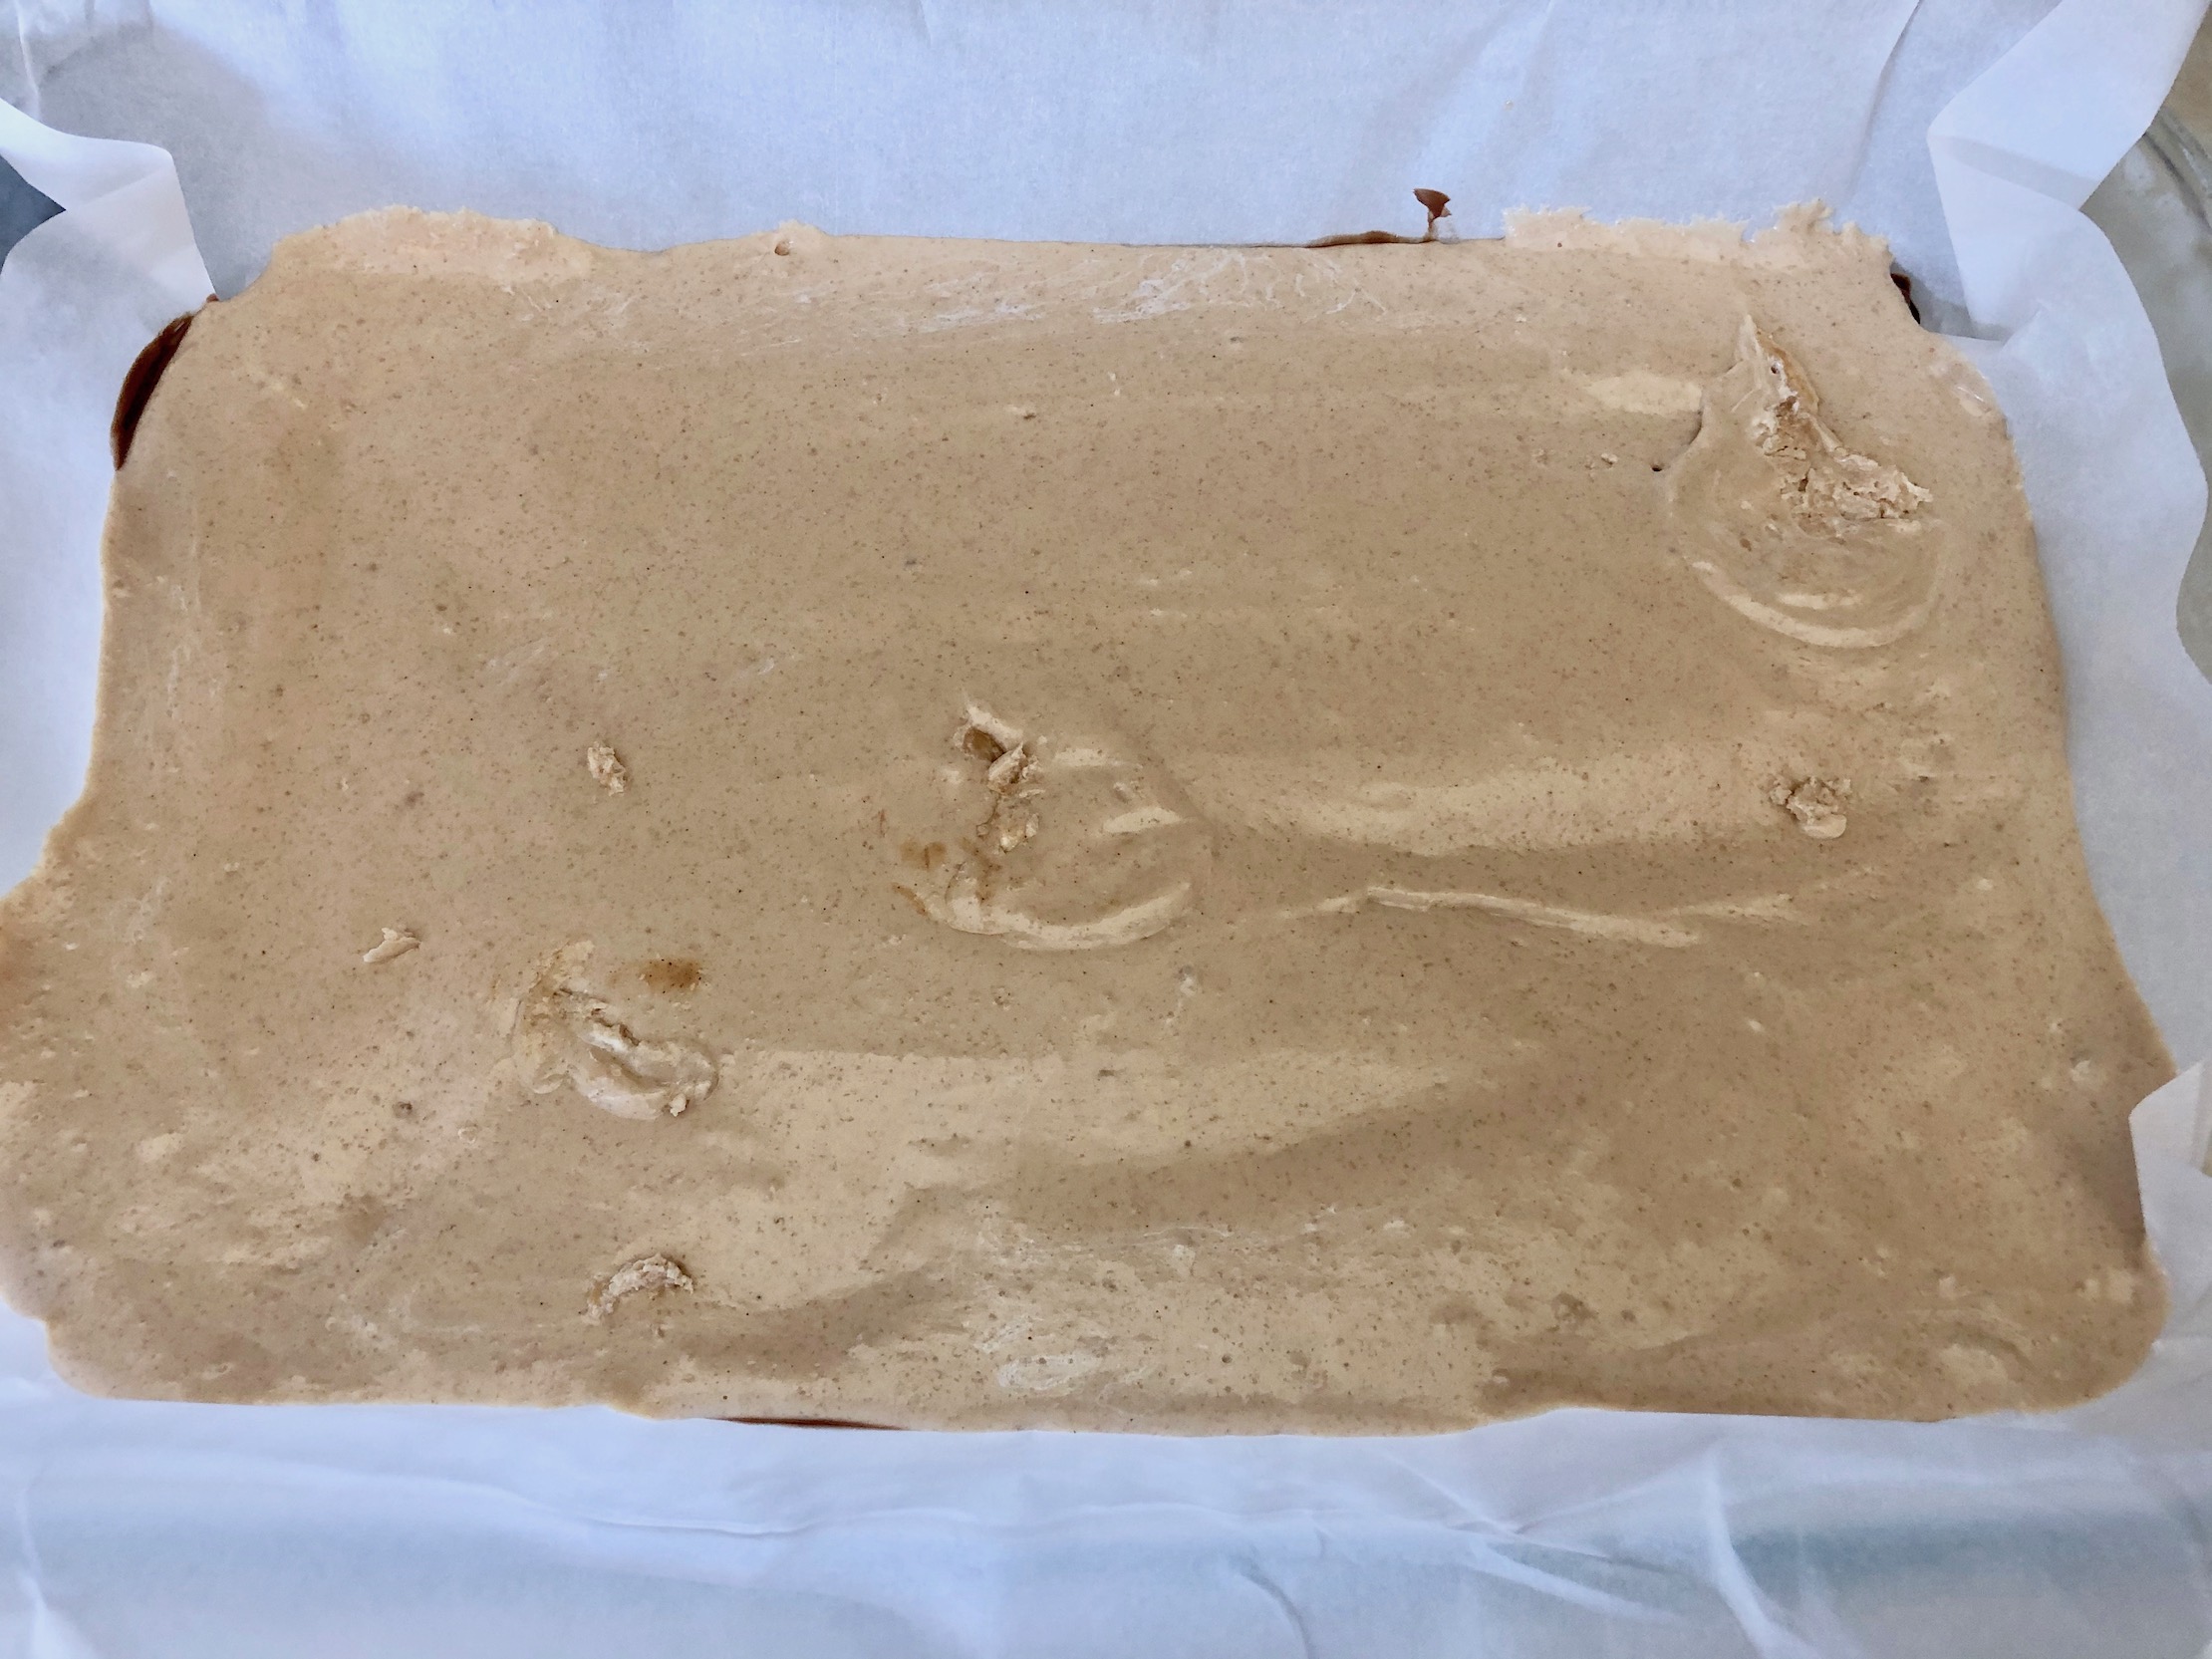
After the 5 minutes have passed, the mixture should be a golden-brown color. Remove the pan from the heat and stir in ¼ cup peanut butter, 1 tsp vanilla extract and the entire 7oz jar of marshmallow cream. Stir until the mixture is smooth. Remove the pan from the freezer and pour the nougat layer over the chocolate layer. Spread to the edges in an even layer. Then put the pan back in the freezer to allow the nougat layer to set.


In a microwave safe bowl, melt the bag of caramels with ¼ cup heavy whipping cream, for 90 seconds. Make sure to stir every 30 seconds to prevent burning. Stir until smooth.


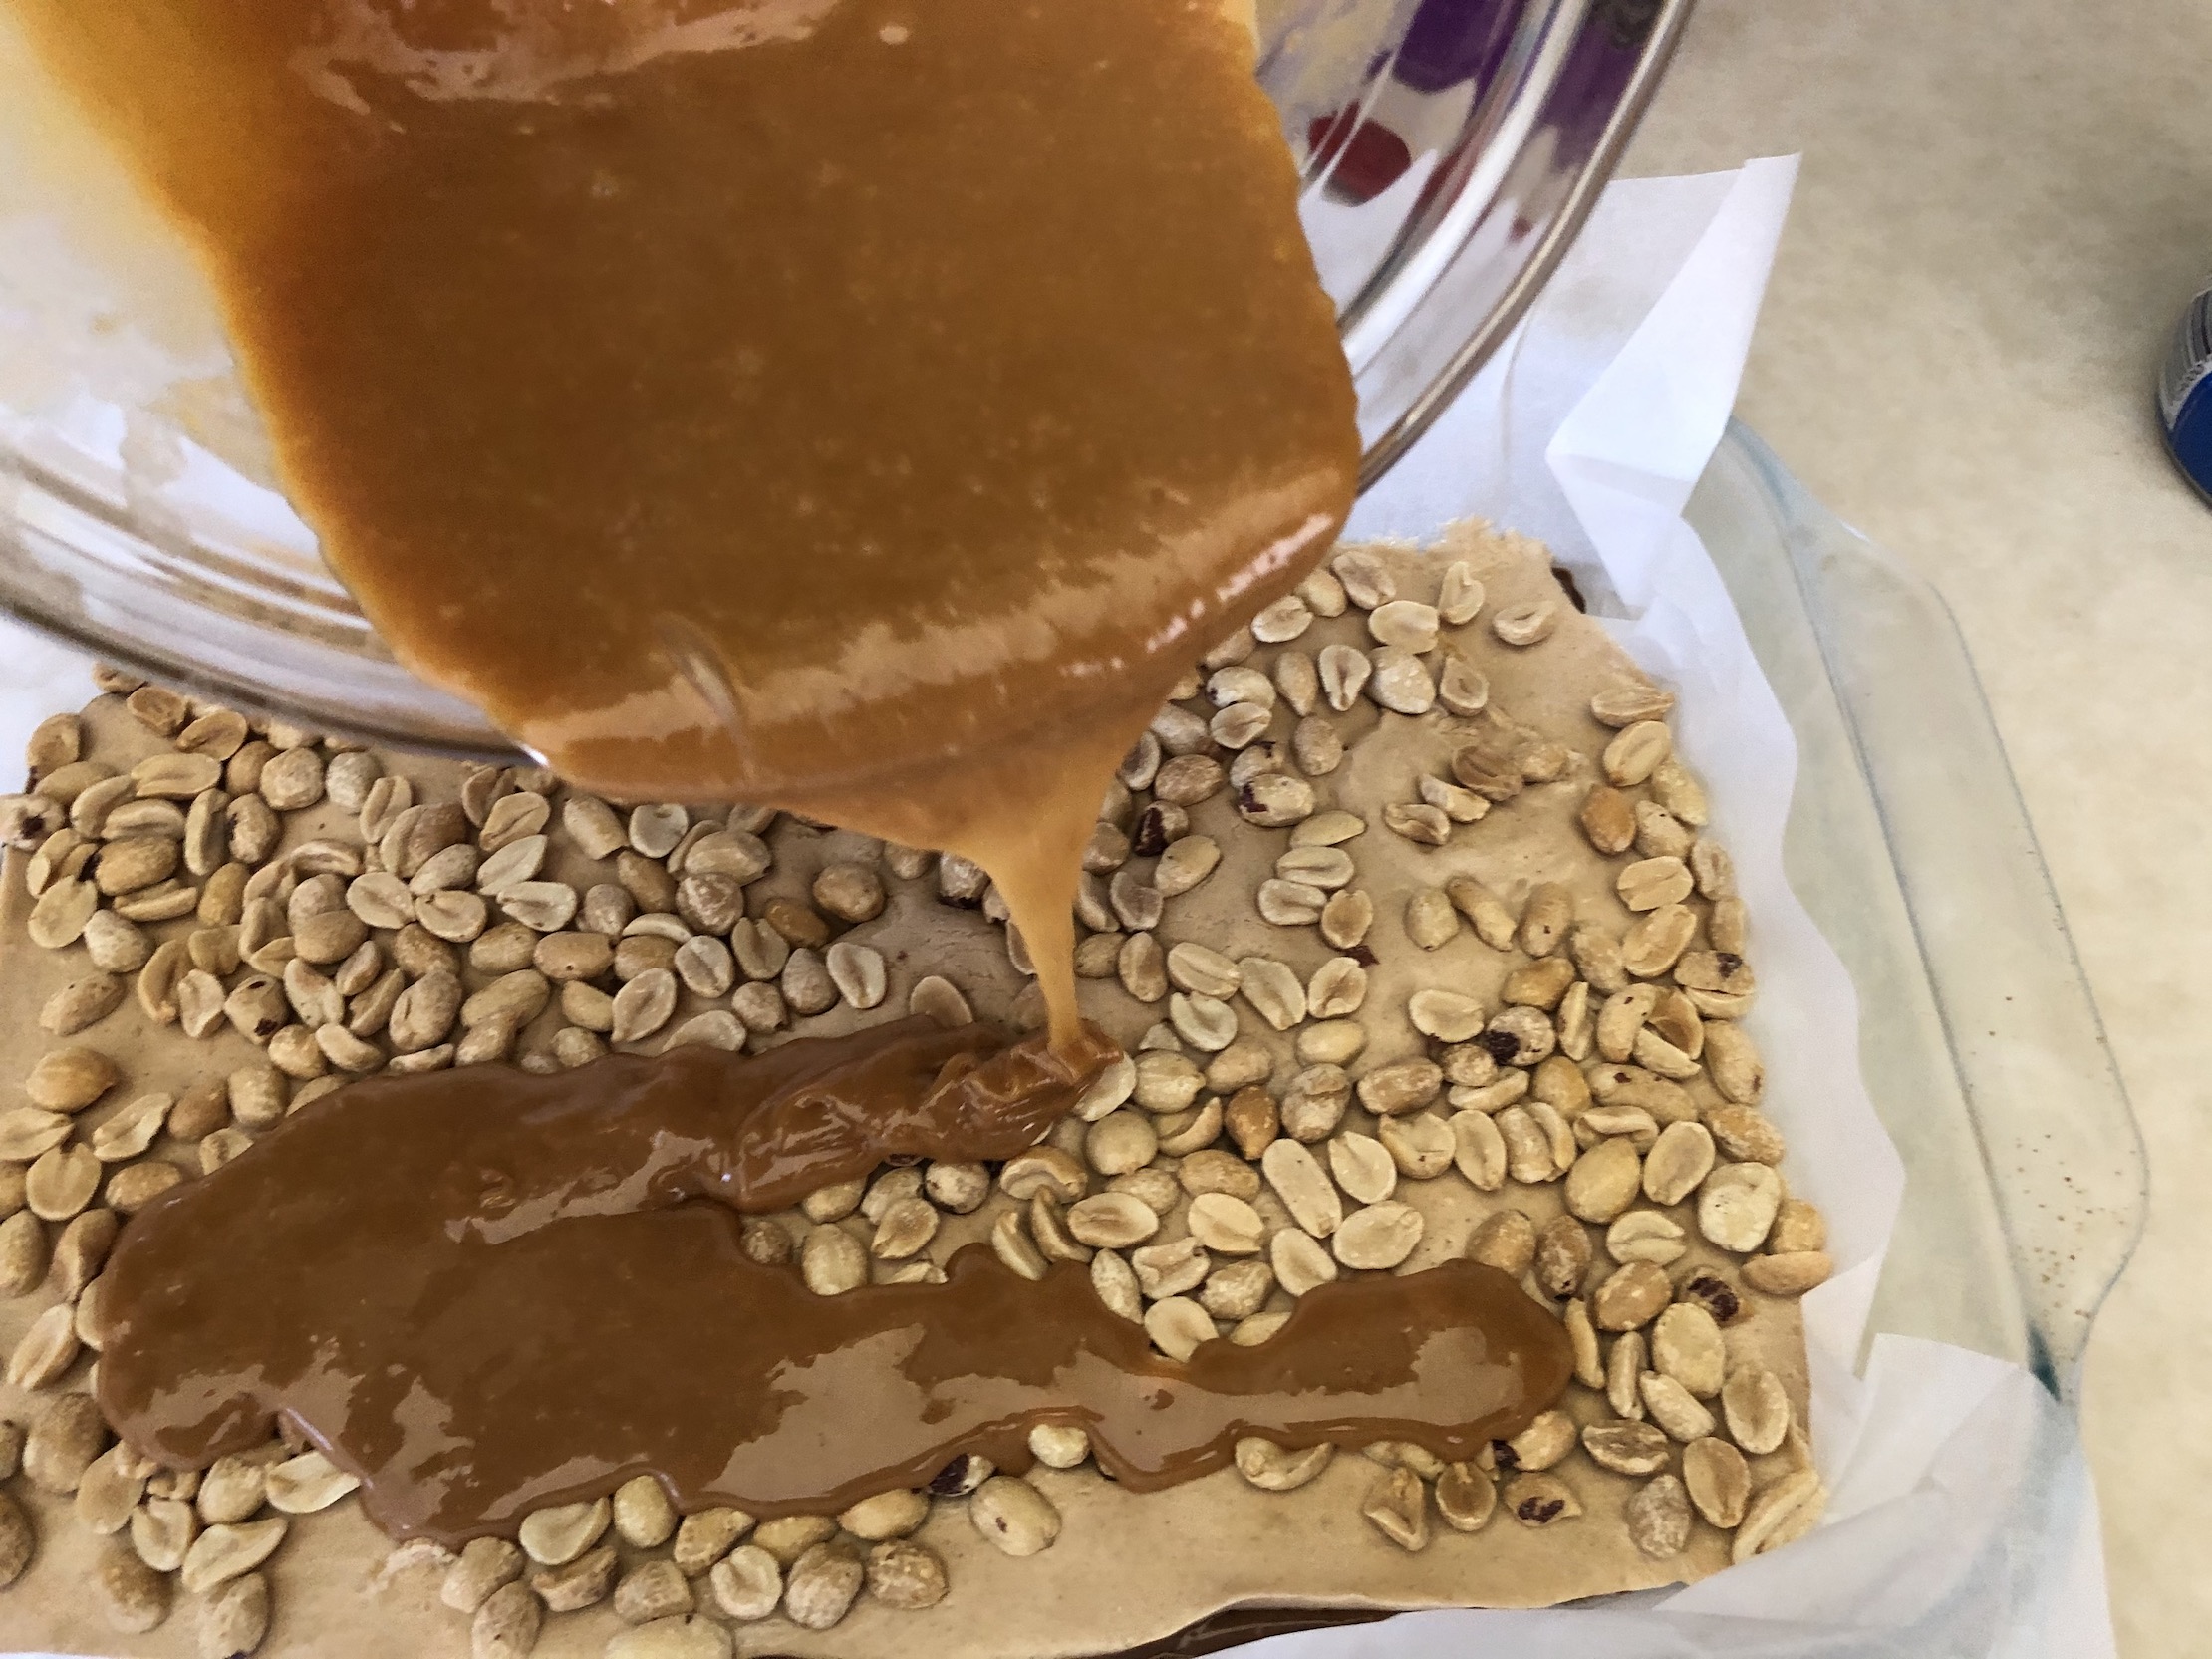
Remove the pan from the freezer and add the peanuts on top of the nougat. Add about 1-2 cups of peanuts, depending on how many you want. Gently press down so the peanuts stick to the nougat layer.

Then, pour the caramel sauce over the peanut layer and gently spread to the sides in an even layer. The peanuts might move around a bit as you spread the caramel but that’s ok! You just want the peanuts to be covered and the caramel layer to reach the sides of the pan. Return the pan to the freezer.

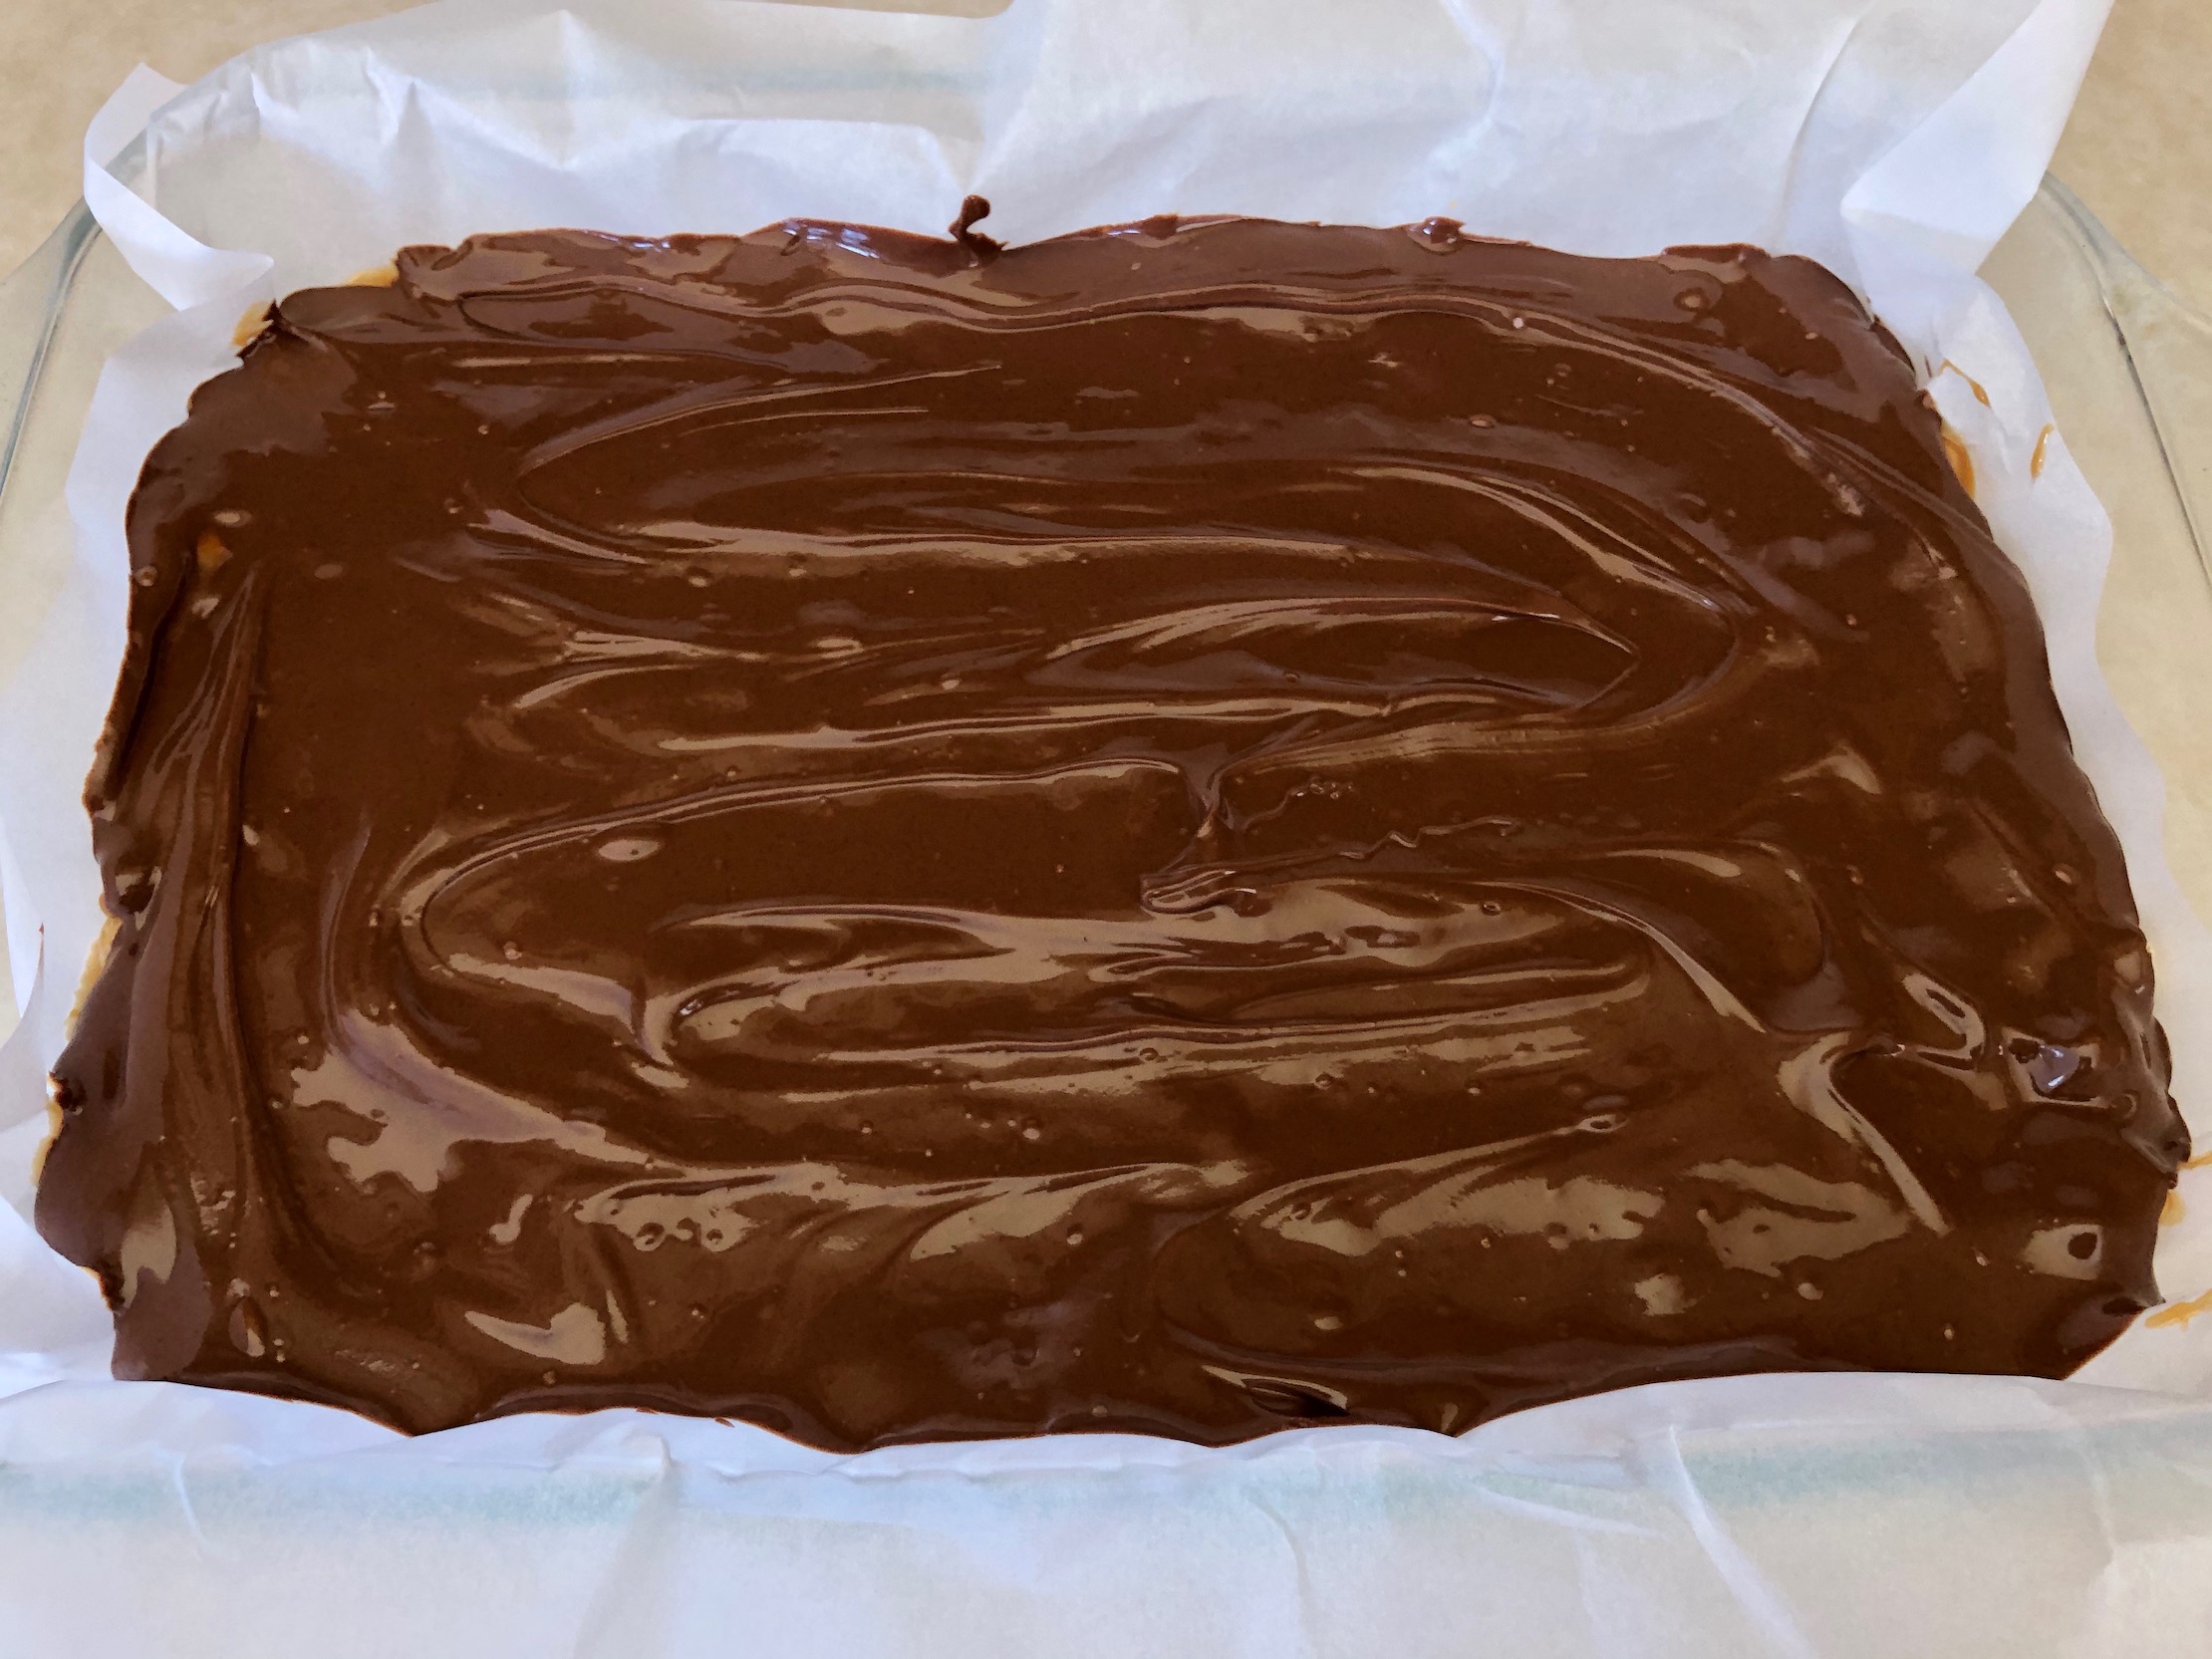
In a microwave safe bowl, melt 1 ½ cups chocolate chips and a heaping ¼ cup peanut butter, for 90 seconds. Make sure to stir every 30 seconds to prevent burning. Str until smooth and then pour over the caramel layer. Spread to the edges in an even layer. You can now return the pan to the freezer for the last time 🙂 Let the pan sit in the freezer for at least 30 minutes but preferably one hour to let all layers harden. This will make the bars much easier to cut.


Remove the pan from the freezer and lift the bars out of the pan by pulling up on the parchment paper or aluminum foil. Place the bars on a cutting board and use a sharp knife to slice into bars. Serve immediately or store in an airtight container in the fridge. If you are serving the bars within a few hours, it’s OK to leave them out, but if you are serving at a later time, store in the fridge.


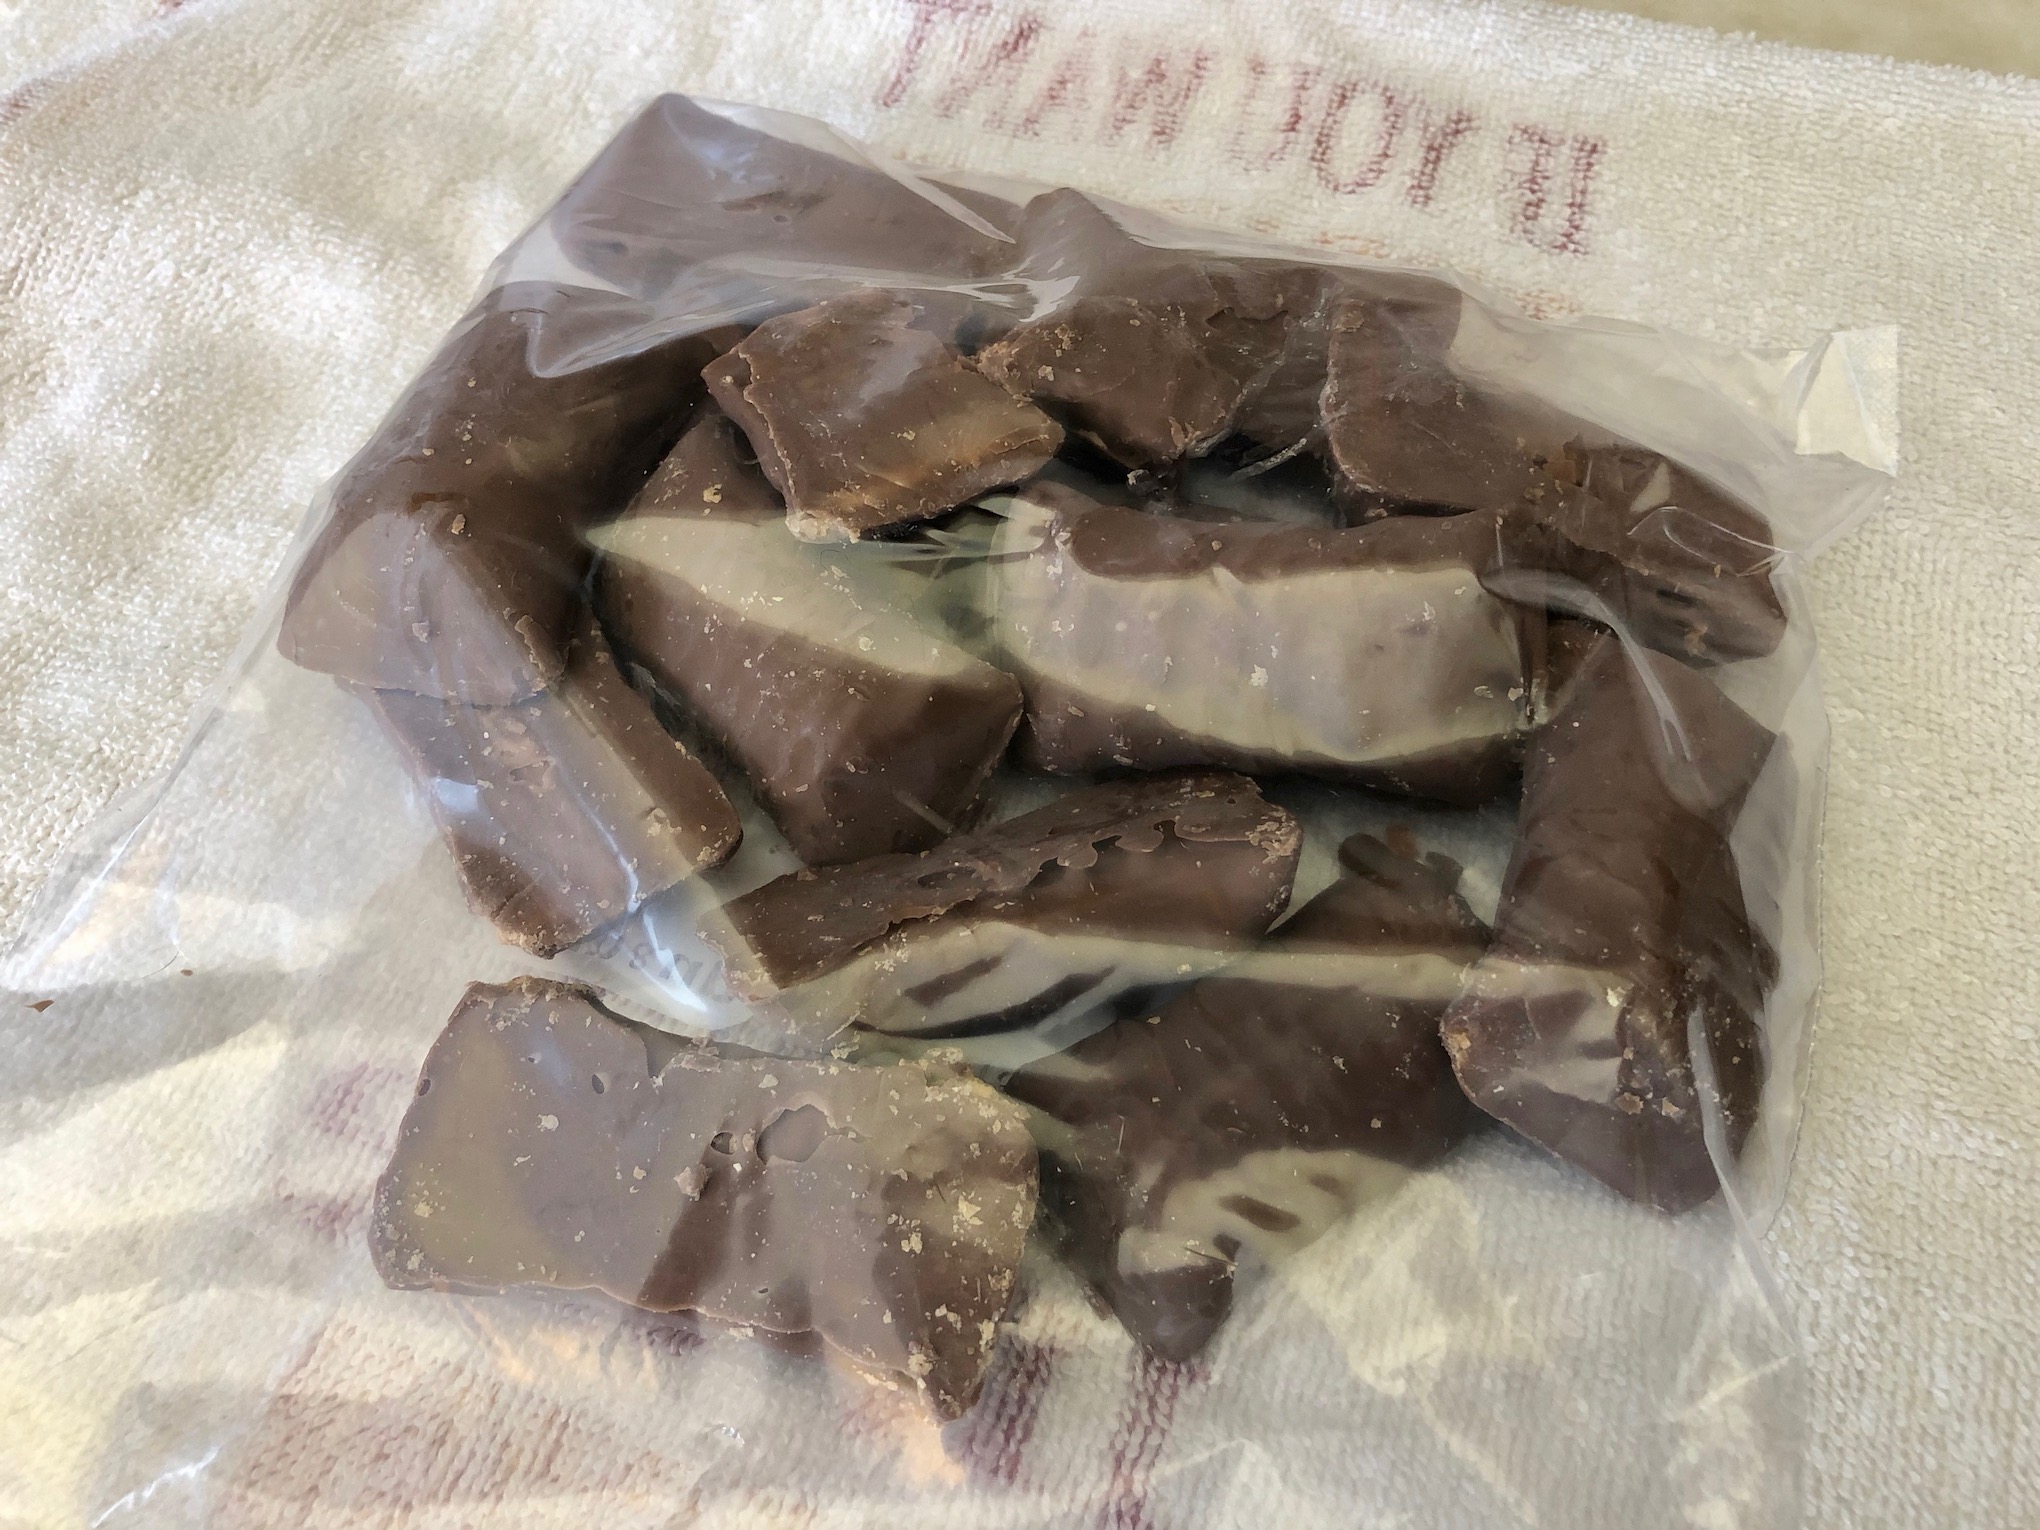
I like to place wax paper or parchment paper between the layers when I store the bars, so they don’t stick together. Enjoy!
The recipe can be found here.
Next up is Homemade Butterfinger Bars. These bars have a crunchy crust, are packed with Butterfinger bars, and a sweet chocolaty top! Super crispy, super simple, and super tasty 🙂

The recipe can be found here.
Start by preheating the oven to 350 degrees and lining an 8×8 baking dish with aluminum foil.
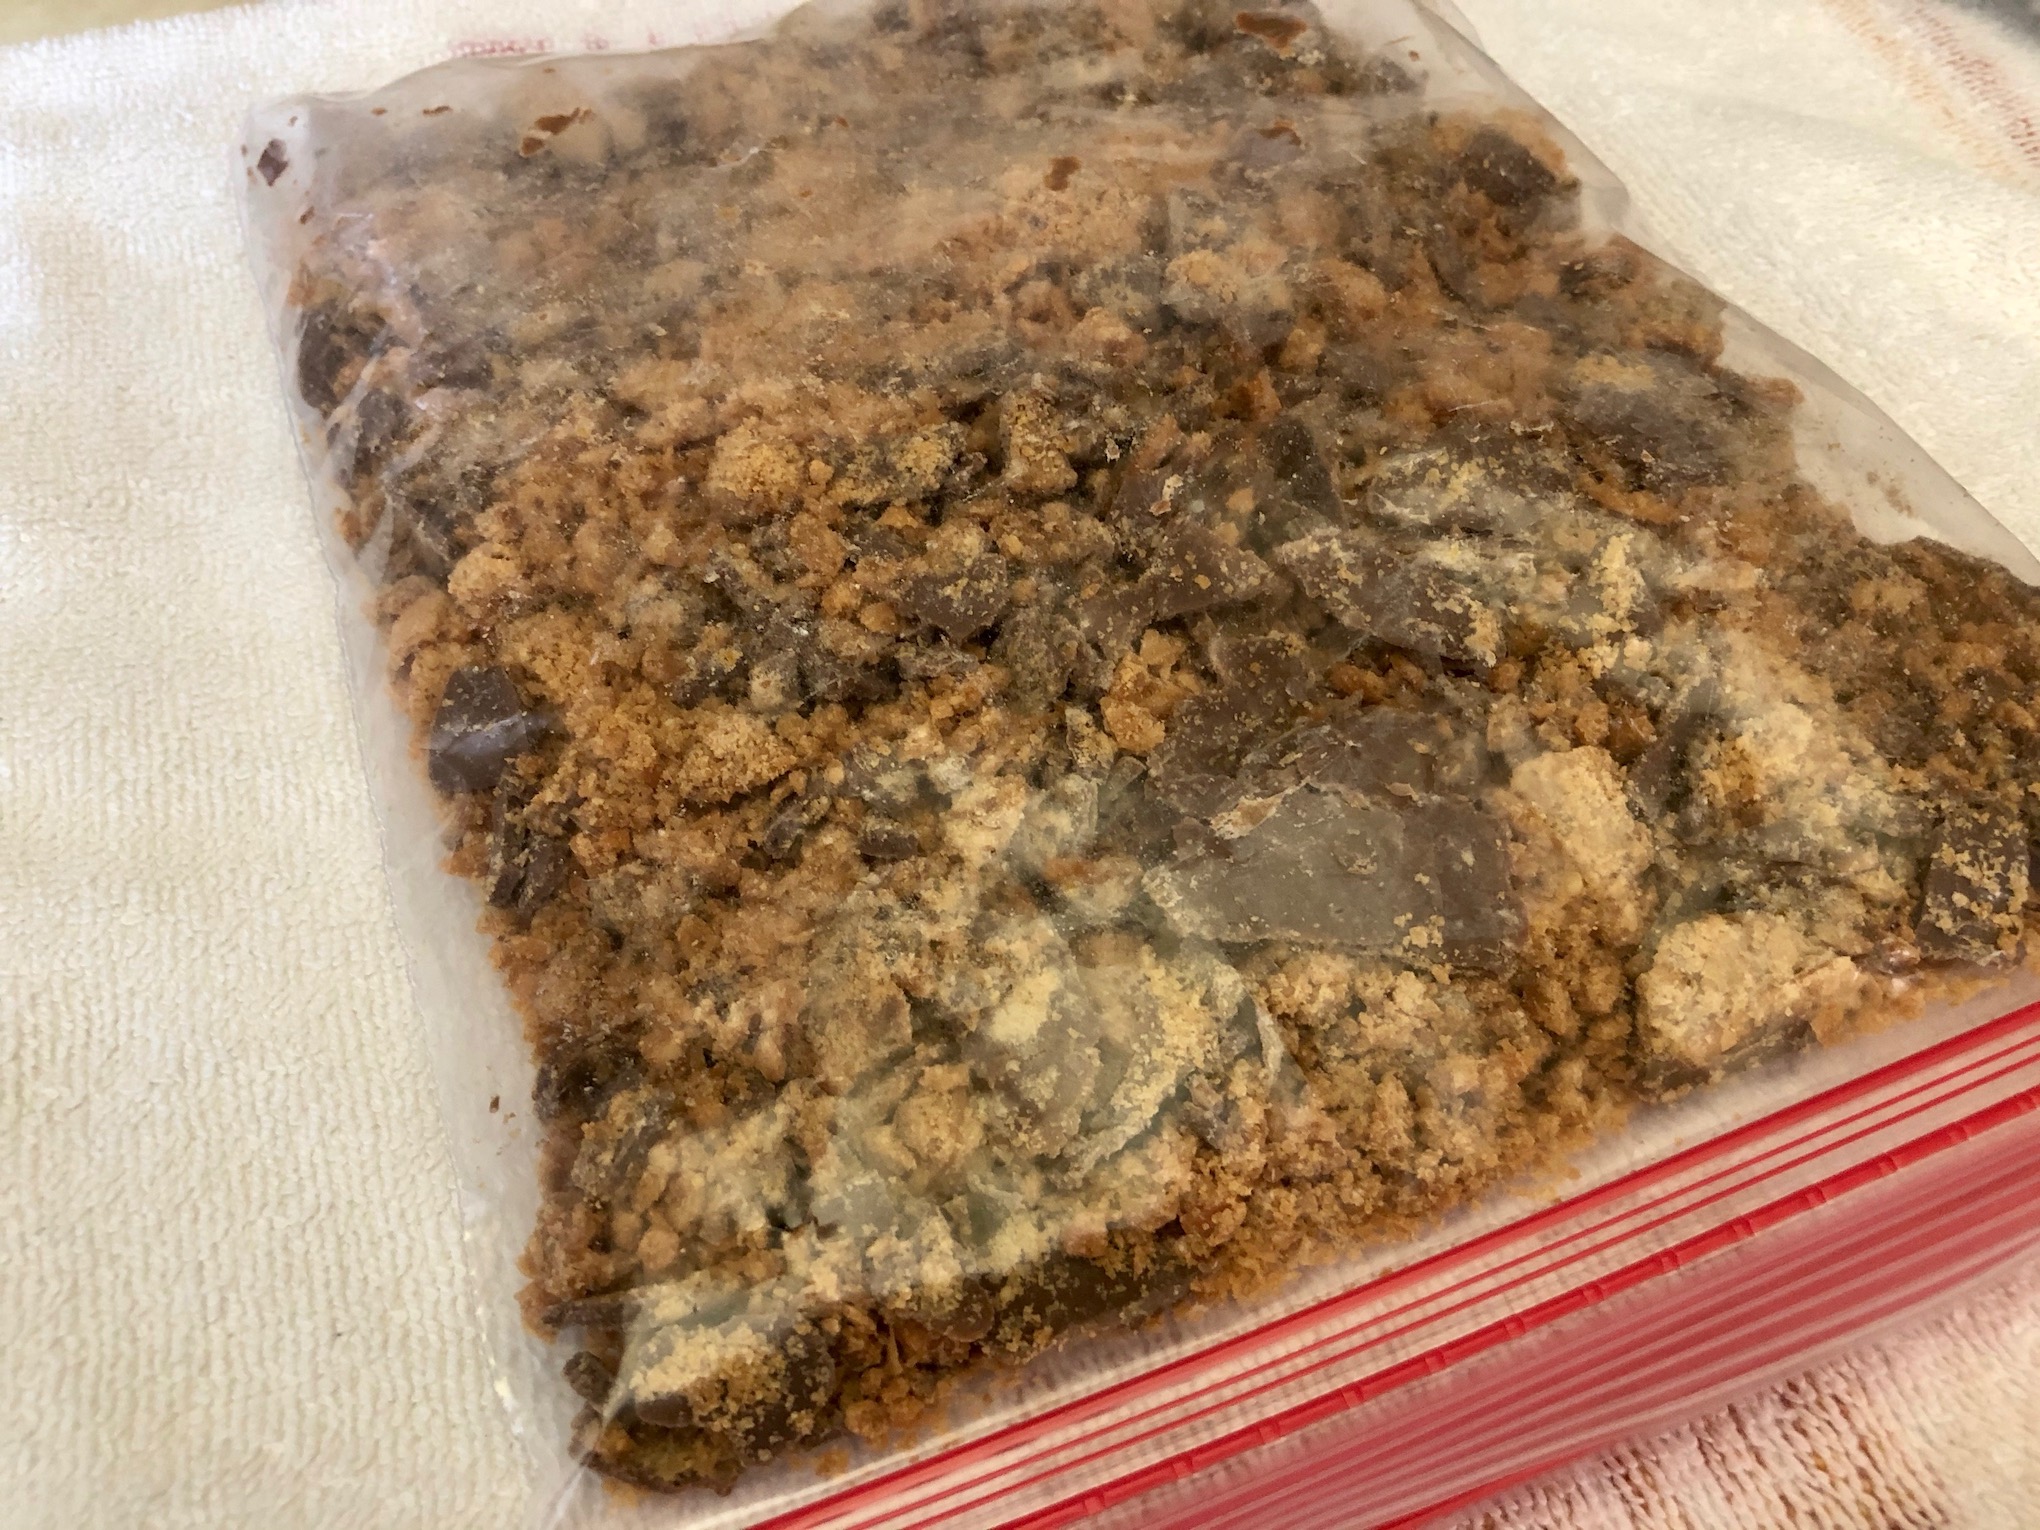
Add 3 ½ sleeves of the crackers to a Ziploc bag. (You can use all 4 sleeves, but you might need to add additional candy bars and sweetened condensed milk, so your ratios aren’t off). Make sure the Ziploc bag is sealed then place on top of a towel on the counter. Use a rolling pin or mallet to crush the crackers into little pieces. The towel helps absorb some of the pressure from hitting the crackers and prevents the bag from ripping. Pour the crackers into a bowl.


Unwrap the Butterfinger candy bars and place in a Ziploc bag. Make sure the Ziploc bag is sealed then place on top of a towel on the counter. Use a rolling pin or mallet to crush the candy bars into little pieces. Pour ¾ of the crushed candy into the bowl with the crackers and reserve the other ¼ of the crushed candy to use later.
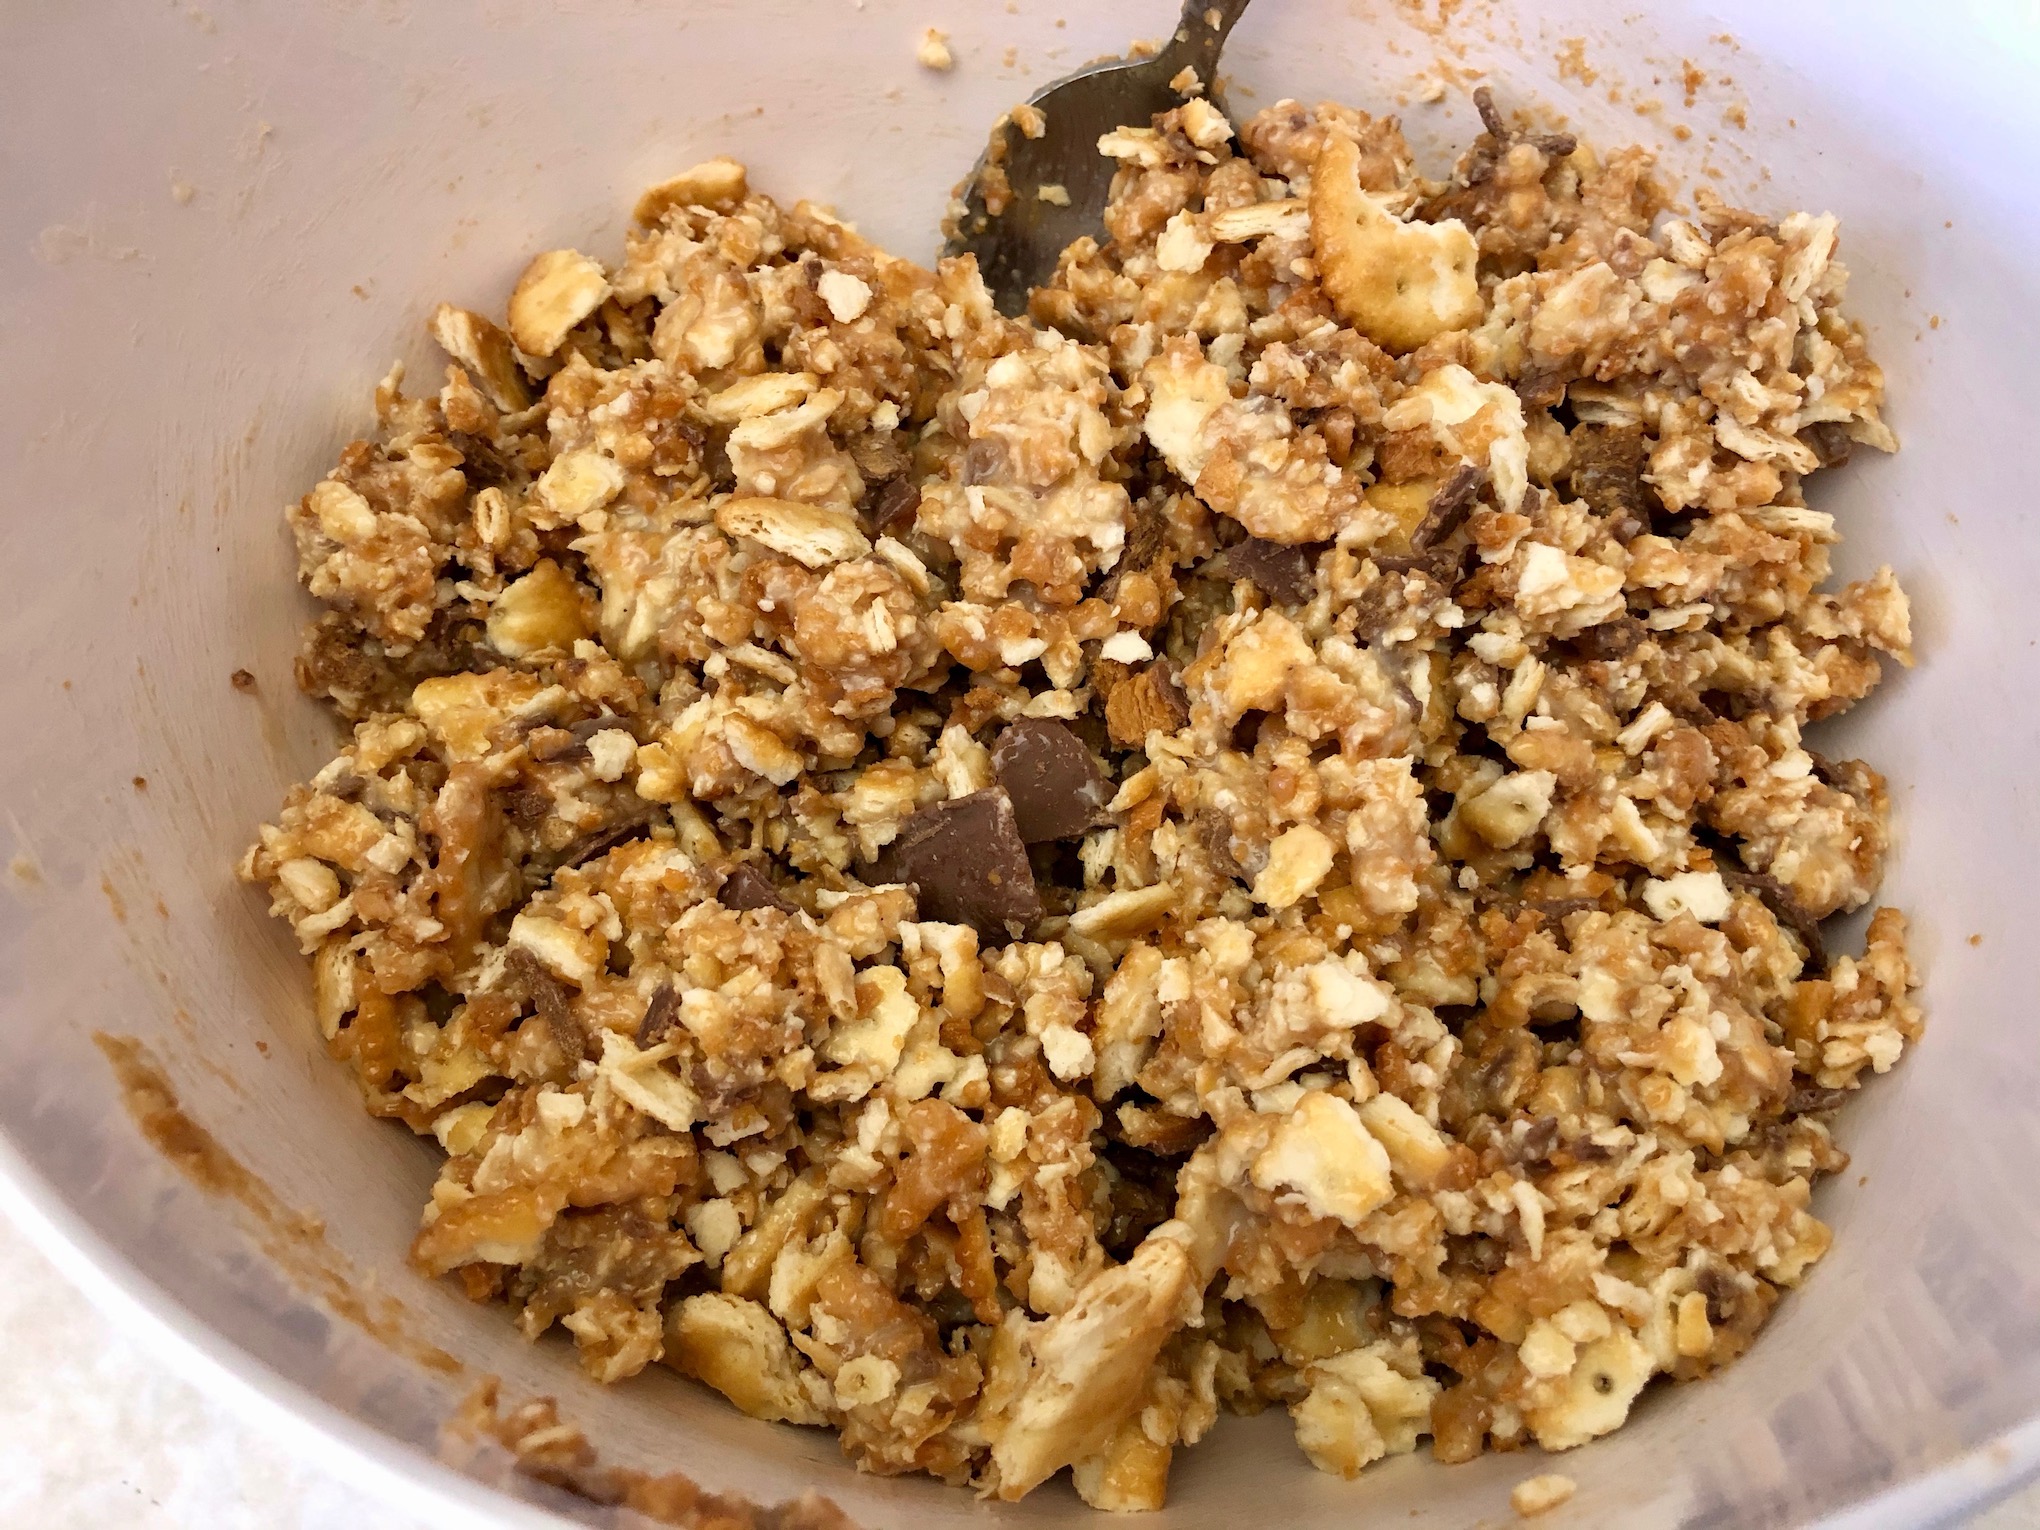
Add the can of sweetened condensed milk to the bowl with the crackers and candy and mix well to combine.

Pour the mixture into the baking pan and use your fingers to press firmly into place. Sprinkle the chocolate chips over the top and bake for 10-12 minutes. You want the chocolate chips to be soft and start to melt before you remove the pan from the oven.


Use a spatula to spread the melted chocolate evenly over the top. Then sprinkle the remaining crushed candy on top. Refrigerate for at least one hour to allow the bars to set. This will make slicing the bars much easier.


Once set, remove the bars from the pan by lifting the aluminum foil. Set the bars on a cutting board and use a sharp knife to cut into bars. Serve immediately or store in an airtight container in the fridge. If you are serving the bars within a few hours, it’s OK to leave them out, but if you are serving at a later time, store in the fridge.


I like to place wax paper or parchment paper between the layers when I store the bars, so they don’t stick together. So good!
The recipe can be found here.
Last up is Homemade Twix Bars. These bars have a buttery shortbread crust, a gooey caramel filling and sweet chocolate topping. An irresistible copycat recipe! If you like shortbread, these bars are for you!

The recipe can be found here.
Preheat the oven to 300 degrees and line a 9×13 pan with parchment paper or aluminum foil.
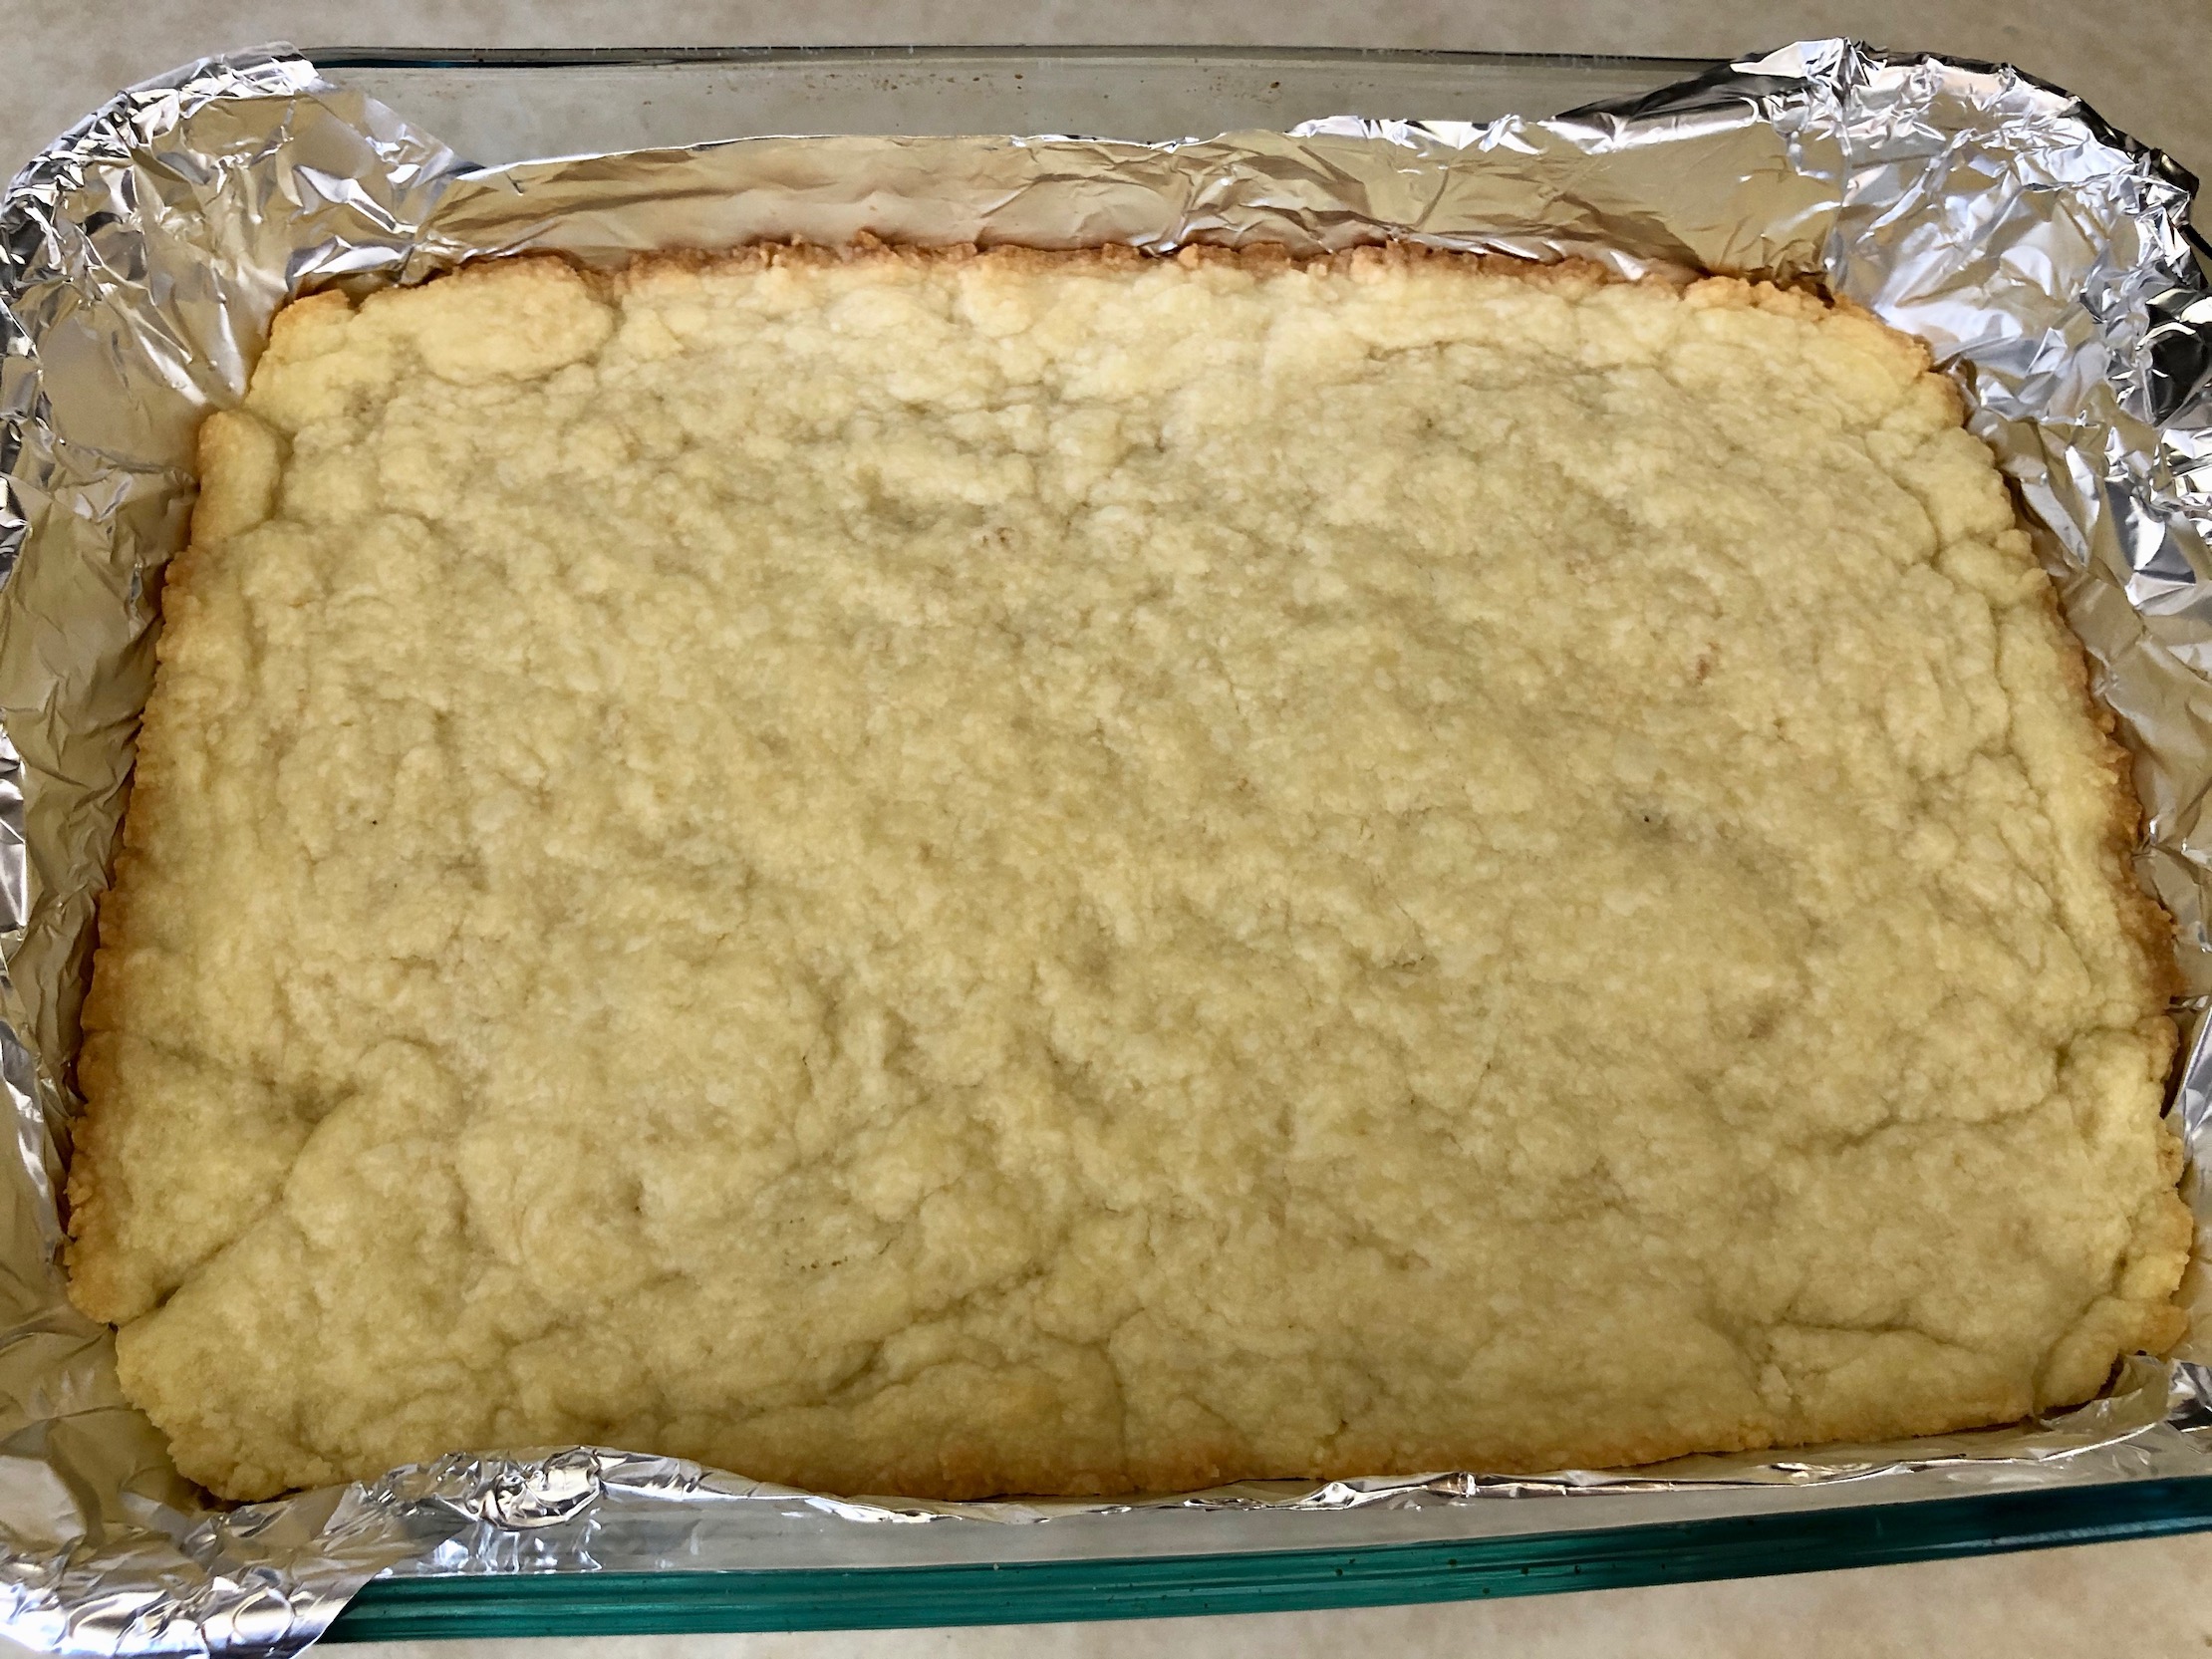
Make the shortbread crust by adding 2 sticks of cubed butter, powdered sugar, flour, and vanilla to a mixing bowl. Use a pastry cutter to blend together. Add 1 Tbsp water if the mixture is too dry and not combing into dough. Add additional water as needed but only add a small amount at a time – you don’t need a lot!


Press the mixture into the bottom of the pan and bake for 20-35 minutes or until the crust starts to turn golden brown. Remove the pan from the oven and cool completely.

Make the caramel sauce by adding 2 sticks of butter, brown sugar, light corn syrup and sweetened condensed milk to a saucepan. Heat over medium heat and stir to melt the butter and combine all ingredients until smooth.


Bring to a rolling boil and continue to cook for about 15-20 minutes, stirring constantly. The caramel sauce will turn a light brown color and start to thicken.


Remove from the heat and pour over the shortbread crust. Spread to the edges of the pan in an even layer and place in the fridge for 2 hours to allow the caramel to set.


Make the chocolate layer by adding the butter and chocolate chip to a microwave safe bowl. Microwave for 90 seconds, stirring every 30 seconds to prevent burning. Stir until smooth.

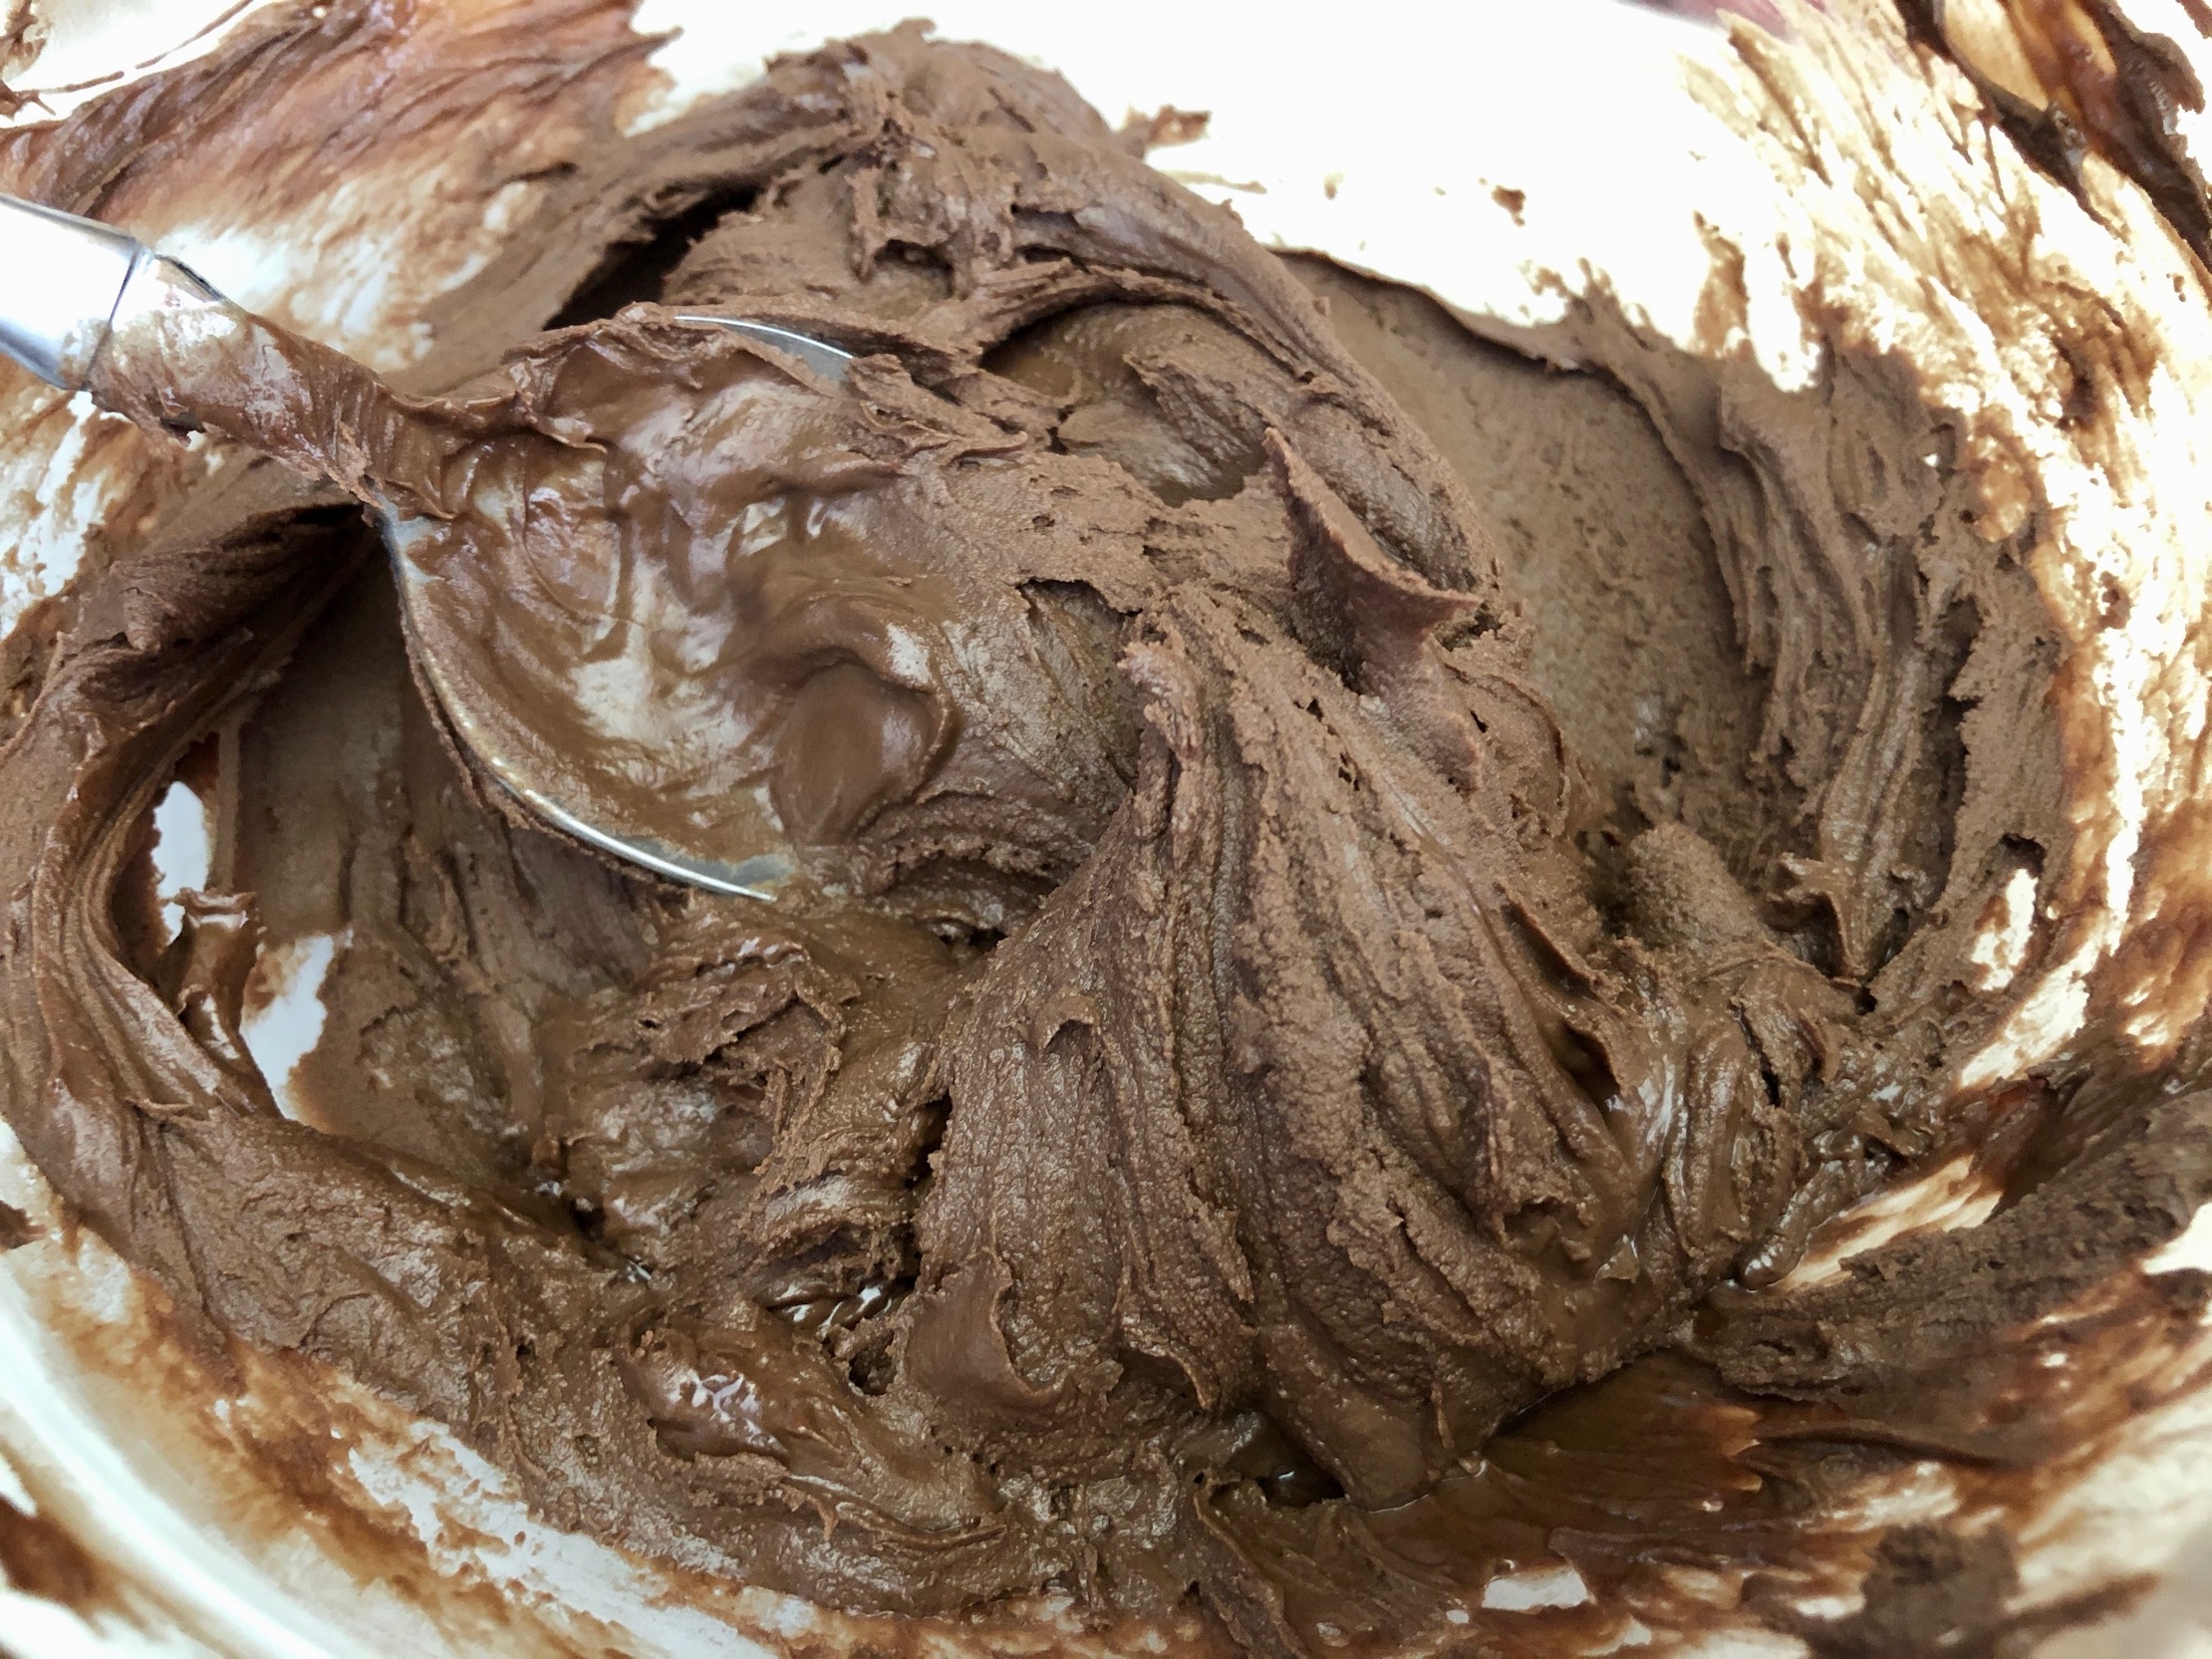
Pour the melted chocolate over the caramel layer and spread to the edges in an even later. Place in the fridge for at least 1 hour to allow the chocolate to set.

Once set, remove the bars from the pan by lifting the aluminum foil or parchment paper. Set the bars on a cutting board and use a sharp knife to cut into bars. Serve immediately or store in an airtight container in the fridge. If you are serving the bars within a few hours, it’s OK to leave them out, but if you are serving at a later time, store in the fridge.


I like to place wax paper or parchment paper between the layers when I store the bars, so they don’t stick together. Yum!
The recipe can be found here.
Which do you think will be your favorite? Happy Cooking!


Recent Comments