 order online
 weekly specials
It doesn’t matter what time of year it is…ice cream is always an acceptable dessert. Granted, I do tend to enjoy it more frequently during the summer months but every now and then a bowl of ice cream (better yet, homemade ice cream) satisfies my craving during the colder months of the year. I like to make homemade ice cream. Sure, store-bought ice cream is wonderful and super convenient but homemade ice cream tastes a bit like soft serve and is creamer in my opinion. I have 3 recipes to share with you today for homemade ice cream:
The Birthday Cake Ice Cream is BY FAR my favorite ice cream I have ever made. It tastes like cake batter…the pre-cooked batter you scrape out of the bowl and lick any excess off the spoon…that cake batter. It’s sweet, creamy and is packed full of sprinkles. It’s amazing.

The recipe can be found here.
The Blueberry Ice Cream is perfect when you are craving something a little tart and fruity. It has a wonderfully fresh flavor to it because it requires 2 pints of fresh blueberries to make. Even if you aren’t a blueberry fan you will like this recipe. The creamy aspect of the recipe helps tame the sourness of the blueberries so even though it is a little tart, it’s also a little sweet.

The recipe can be found here.
The Butterfinger Ice Cream is perfect for anyone who loves chocolate and Butterfinger candy bars. The base of this ice cream is vanilla, and you add crumbled Butterfingers to the mixture. The crumbles blend with the vanilla ice cream making each bite packed full of Butterfinger flavor. Even better when you get a large chunk of candy in your scoop!

The recipe can be found here.
Now that I’ve explained each flavor profile, I want to share how to make each batch! Please keep reading to learn how to prepare, churn and enjoy the homemade ice cream recipes I’m sharing with you today.
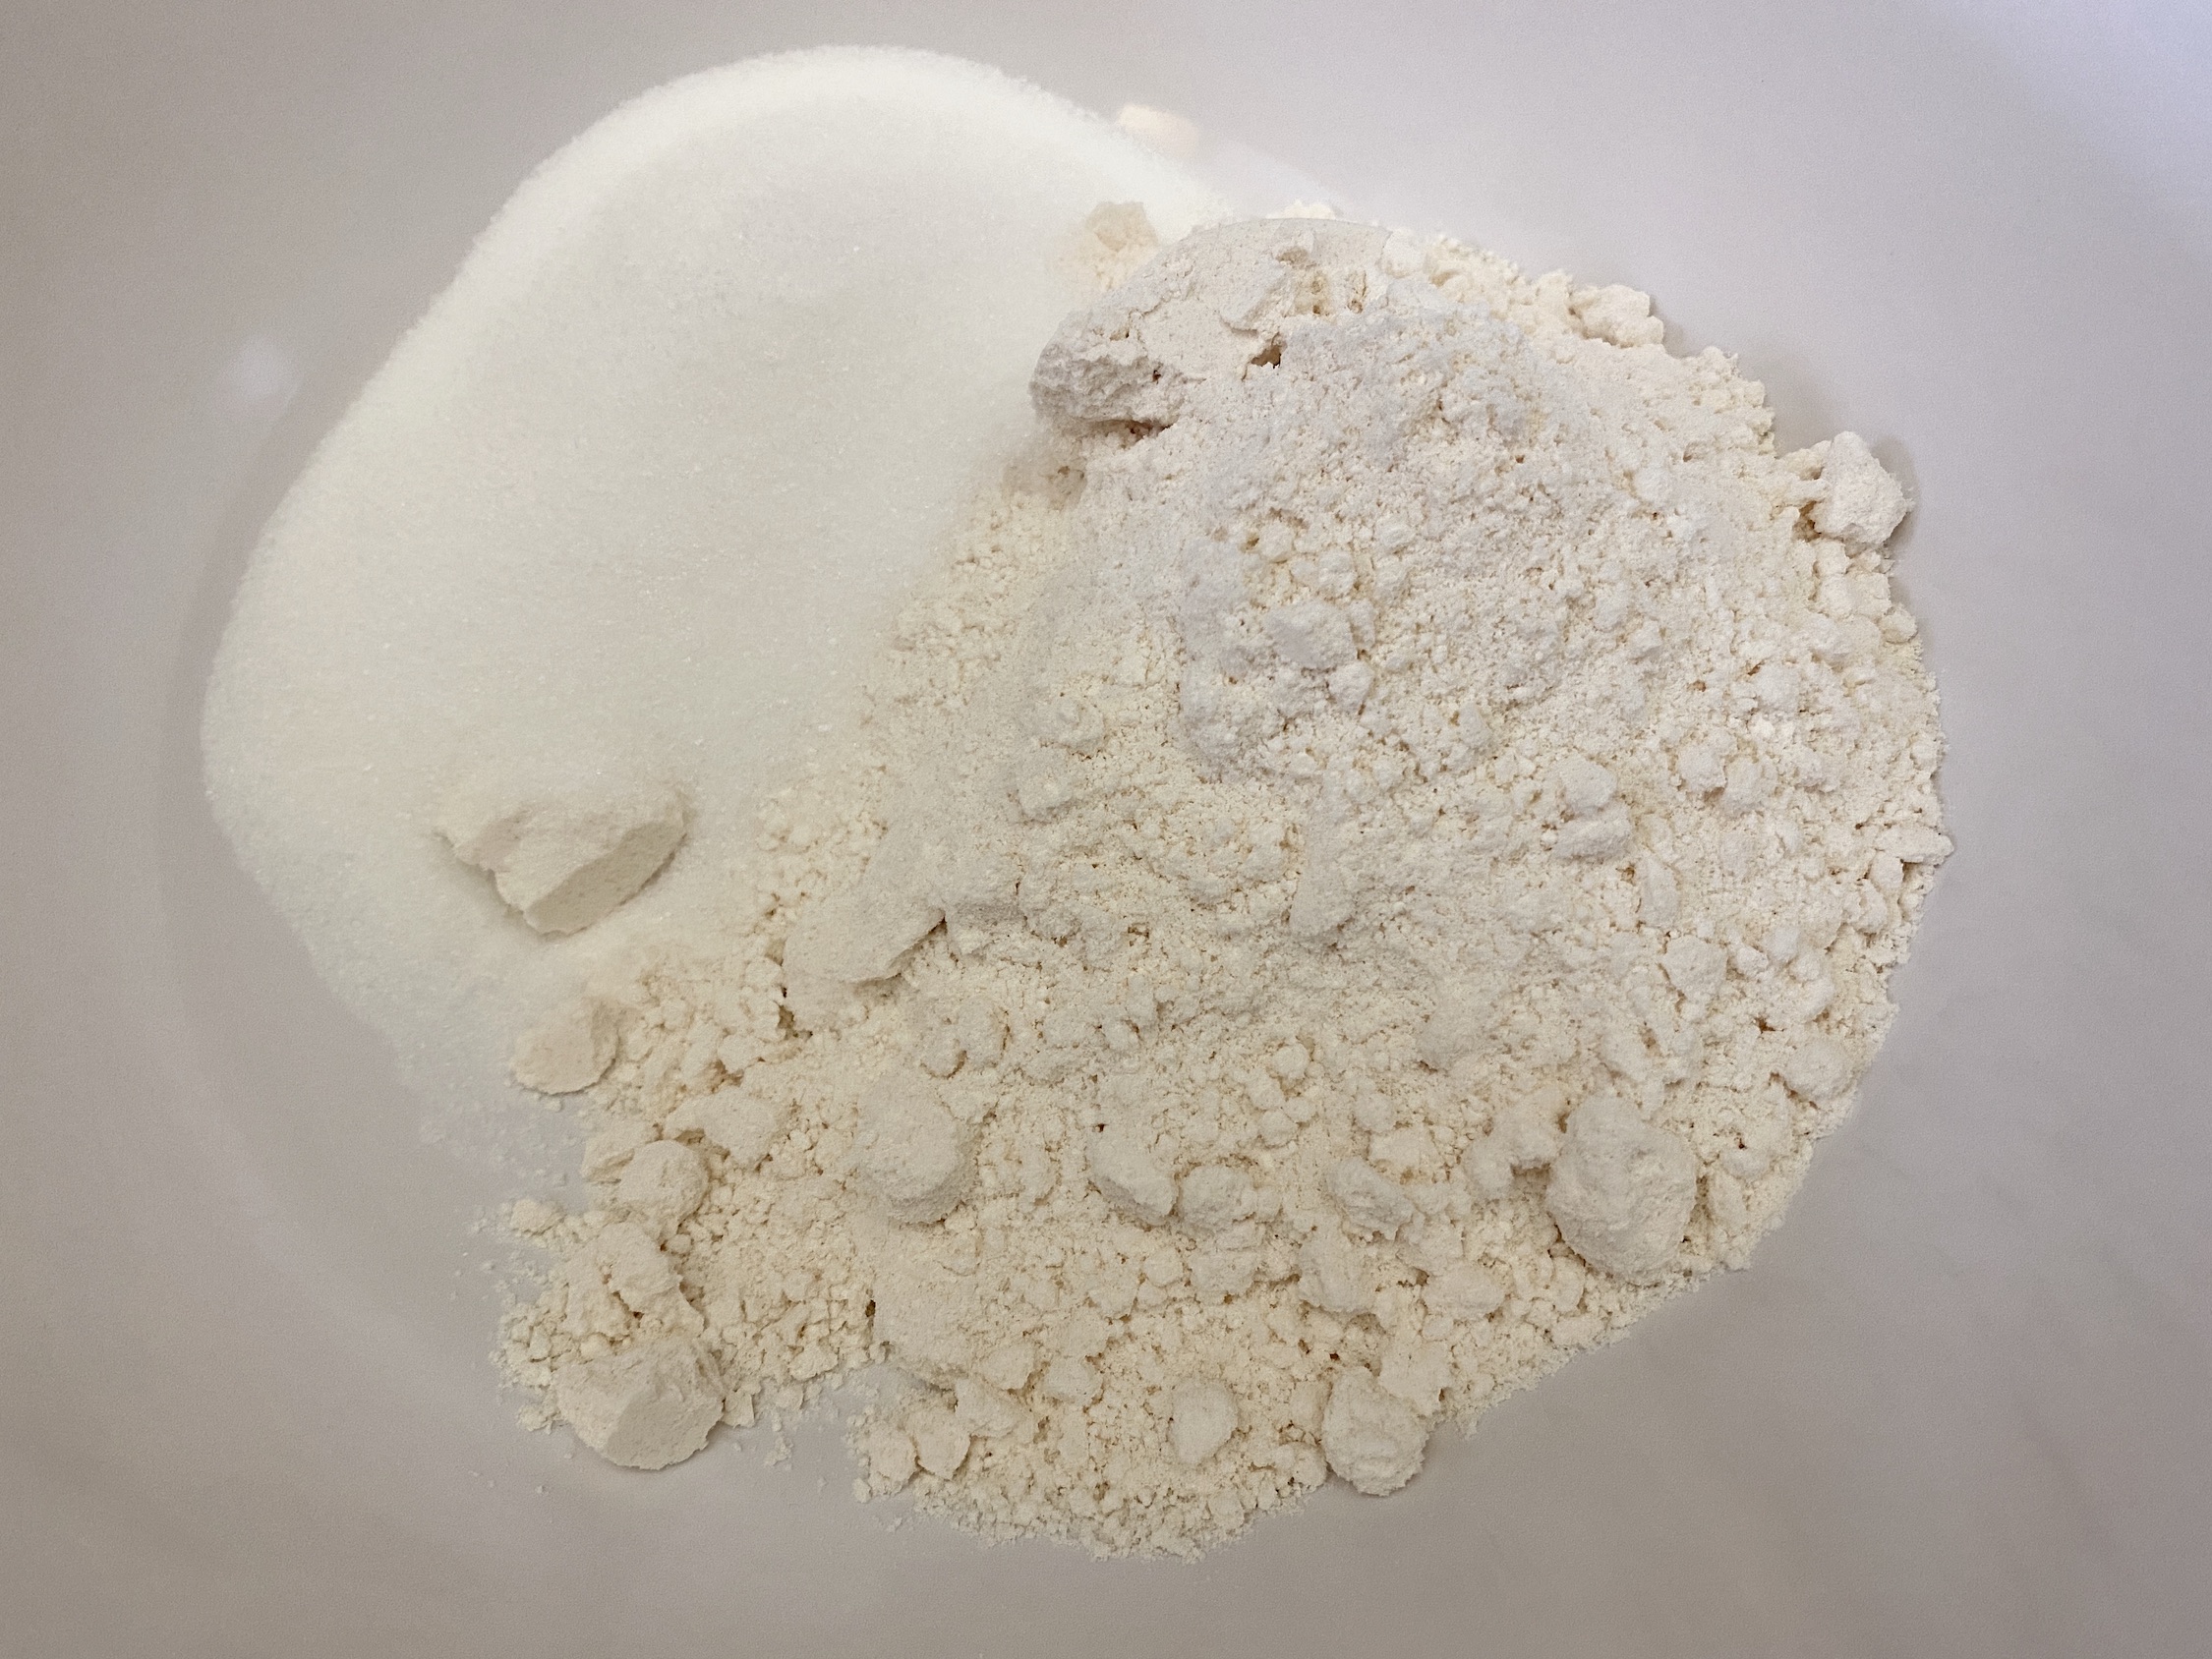
You will need 1 box of classic yellow moist supreme cake mix (you want the cake mix, so don’t prepare the cake), sugar, heavy cream, whole milk, vanilla extract, and rainbow jimmies sprinkles (not nonpareils).

In a large mixing bowl (with a pour spout – this will come in handy later), whisk together the cake mix and sugar. Make sure to remove any lumps from the batter. You don’t want to be surprised by powdery cake mix when you are enjoying ice cream later.

Add the whole milk and whisk to combine.


Add the heavy cream and vanilla extract and whisk to combine.

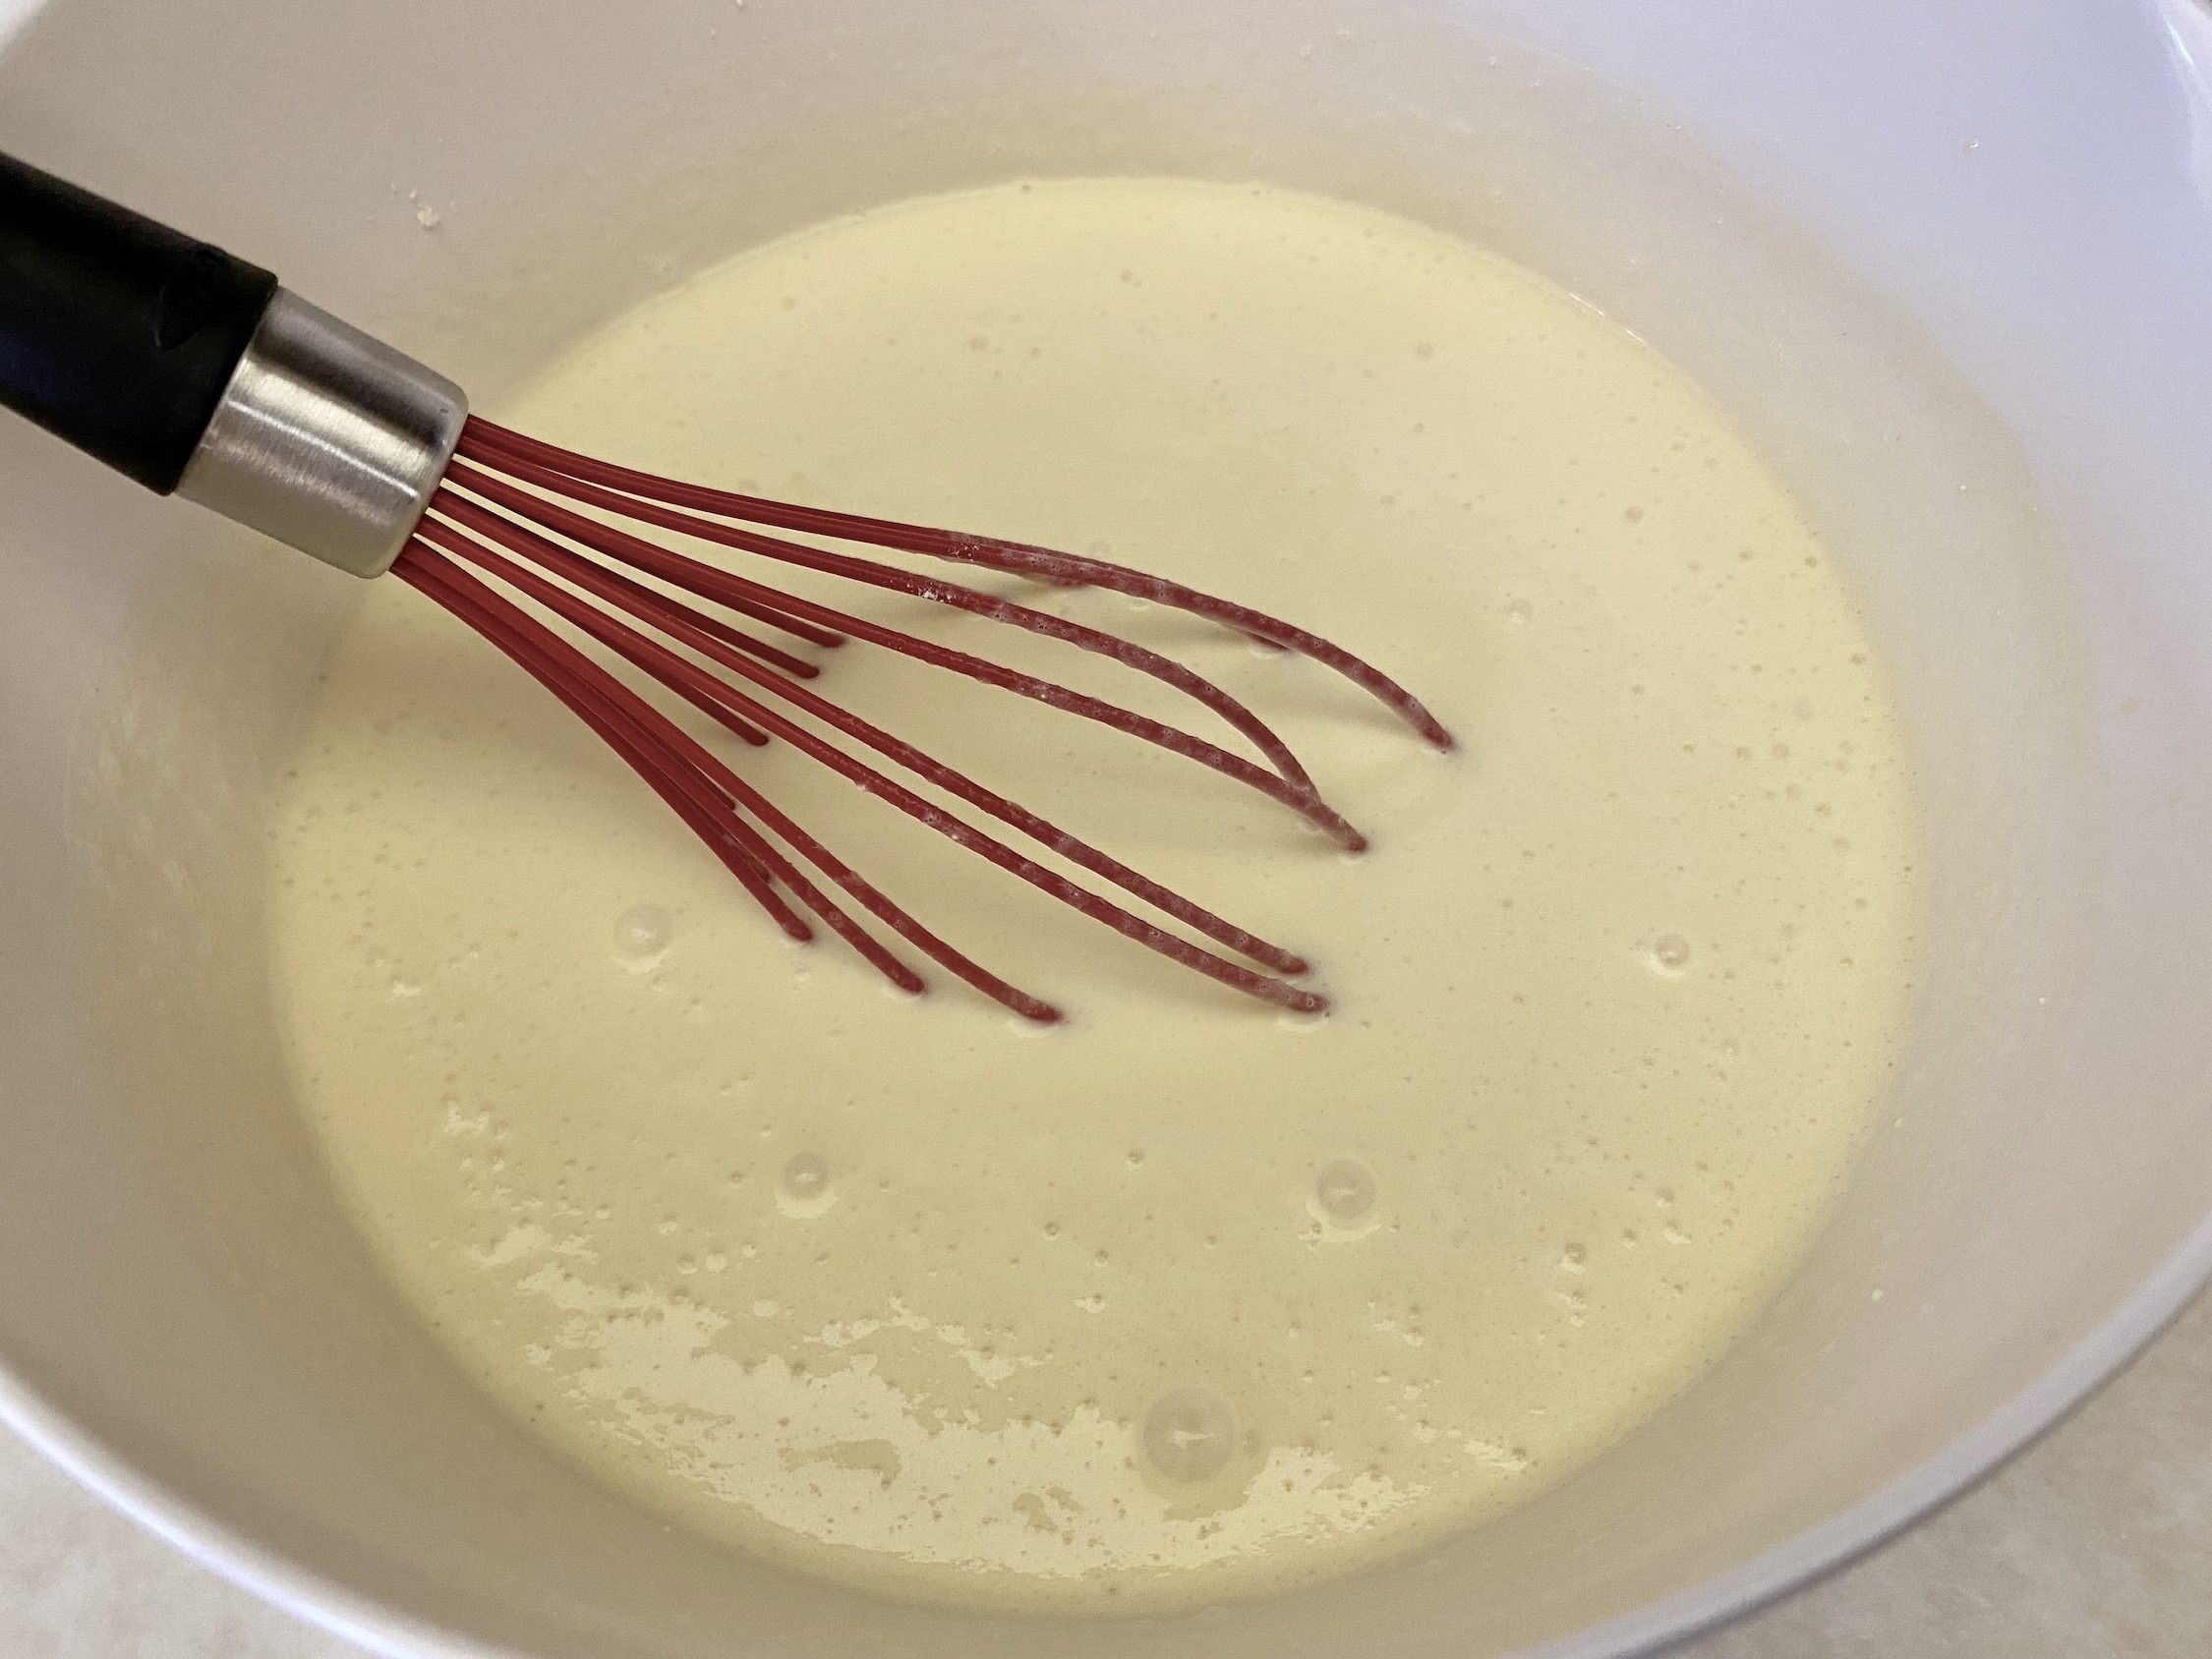
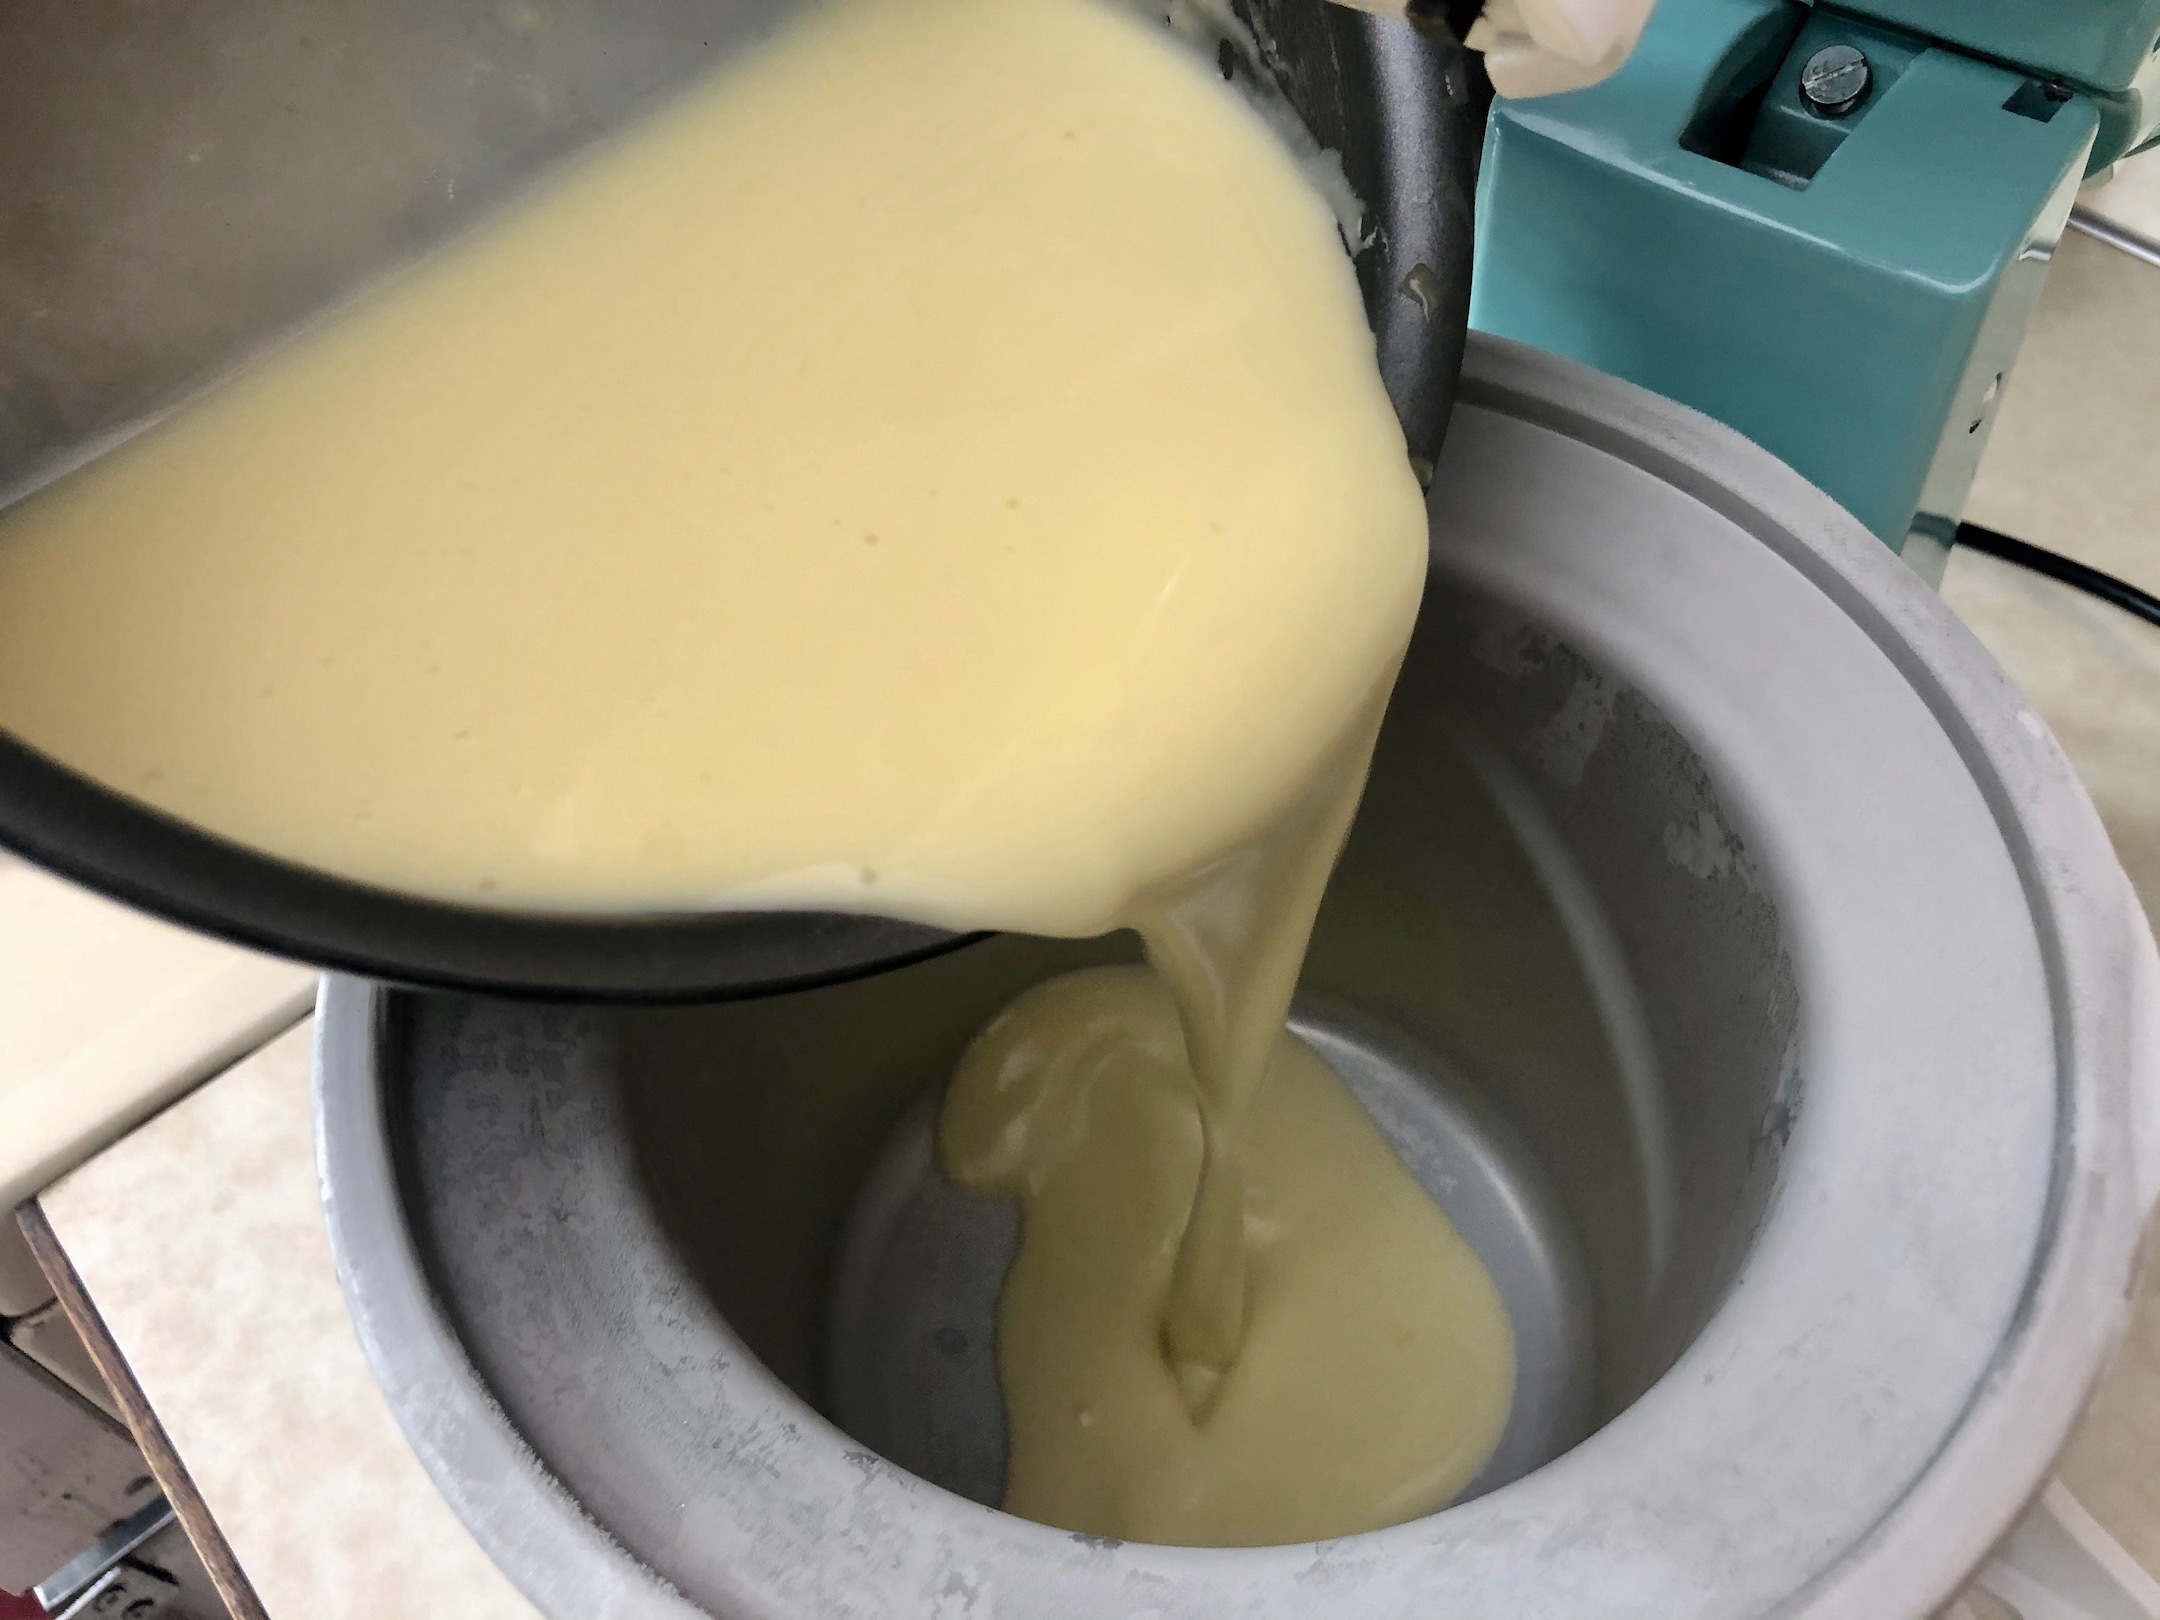
Pour the batter into your ice cream maker (see where the pour spout is coming in handy?). Process according to manufacturer instructions. I like to use the Kitchenaid Ice Cream Attachment with my stand mixer.


Once ready (according to manufacturer instructions), remove the ice cream from the maker/bowl and place in a freezer safe container.


Add the entire container of sprinkles and stir to combine. Make sure you are using jimmies! The sprinkles that are longer and narrow, almost rectangular shaped. Do not use the round nonpareils. These will bleed and turn your ice cream a funky color. The jimmies will not bleed so your ice cream will resemble confetti cake.

Cover and place in the freezer for at least 4 hours or until the desired consistency has been reached.
Once fully chilled, scoop into bowls and enjoy!
The recipe can be found here.
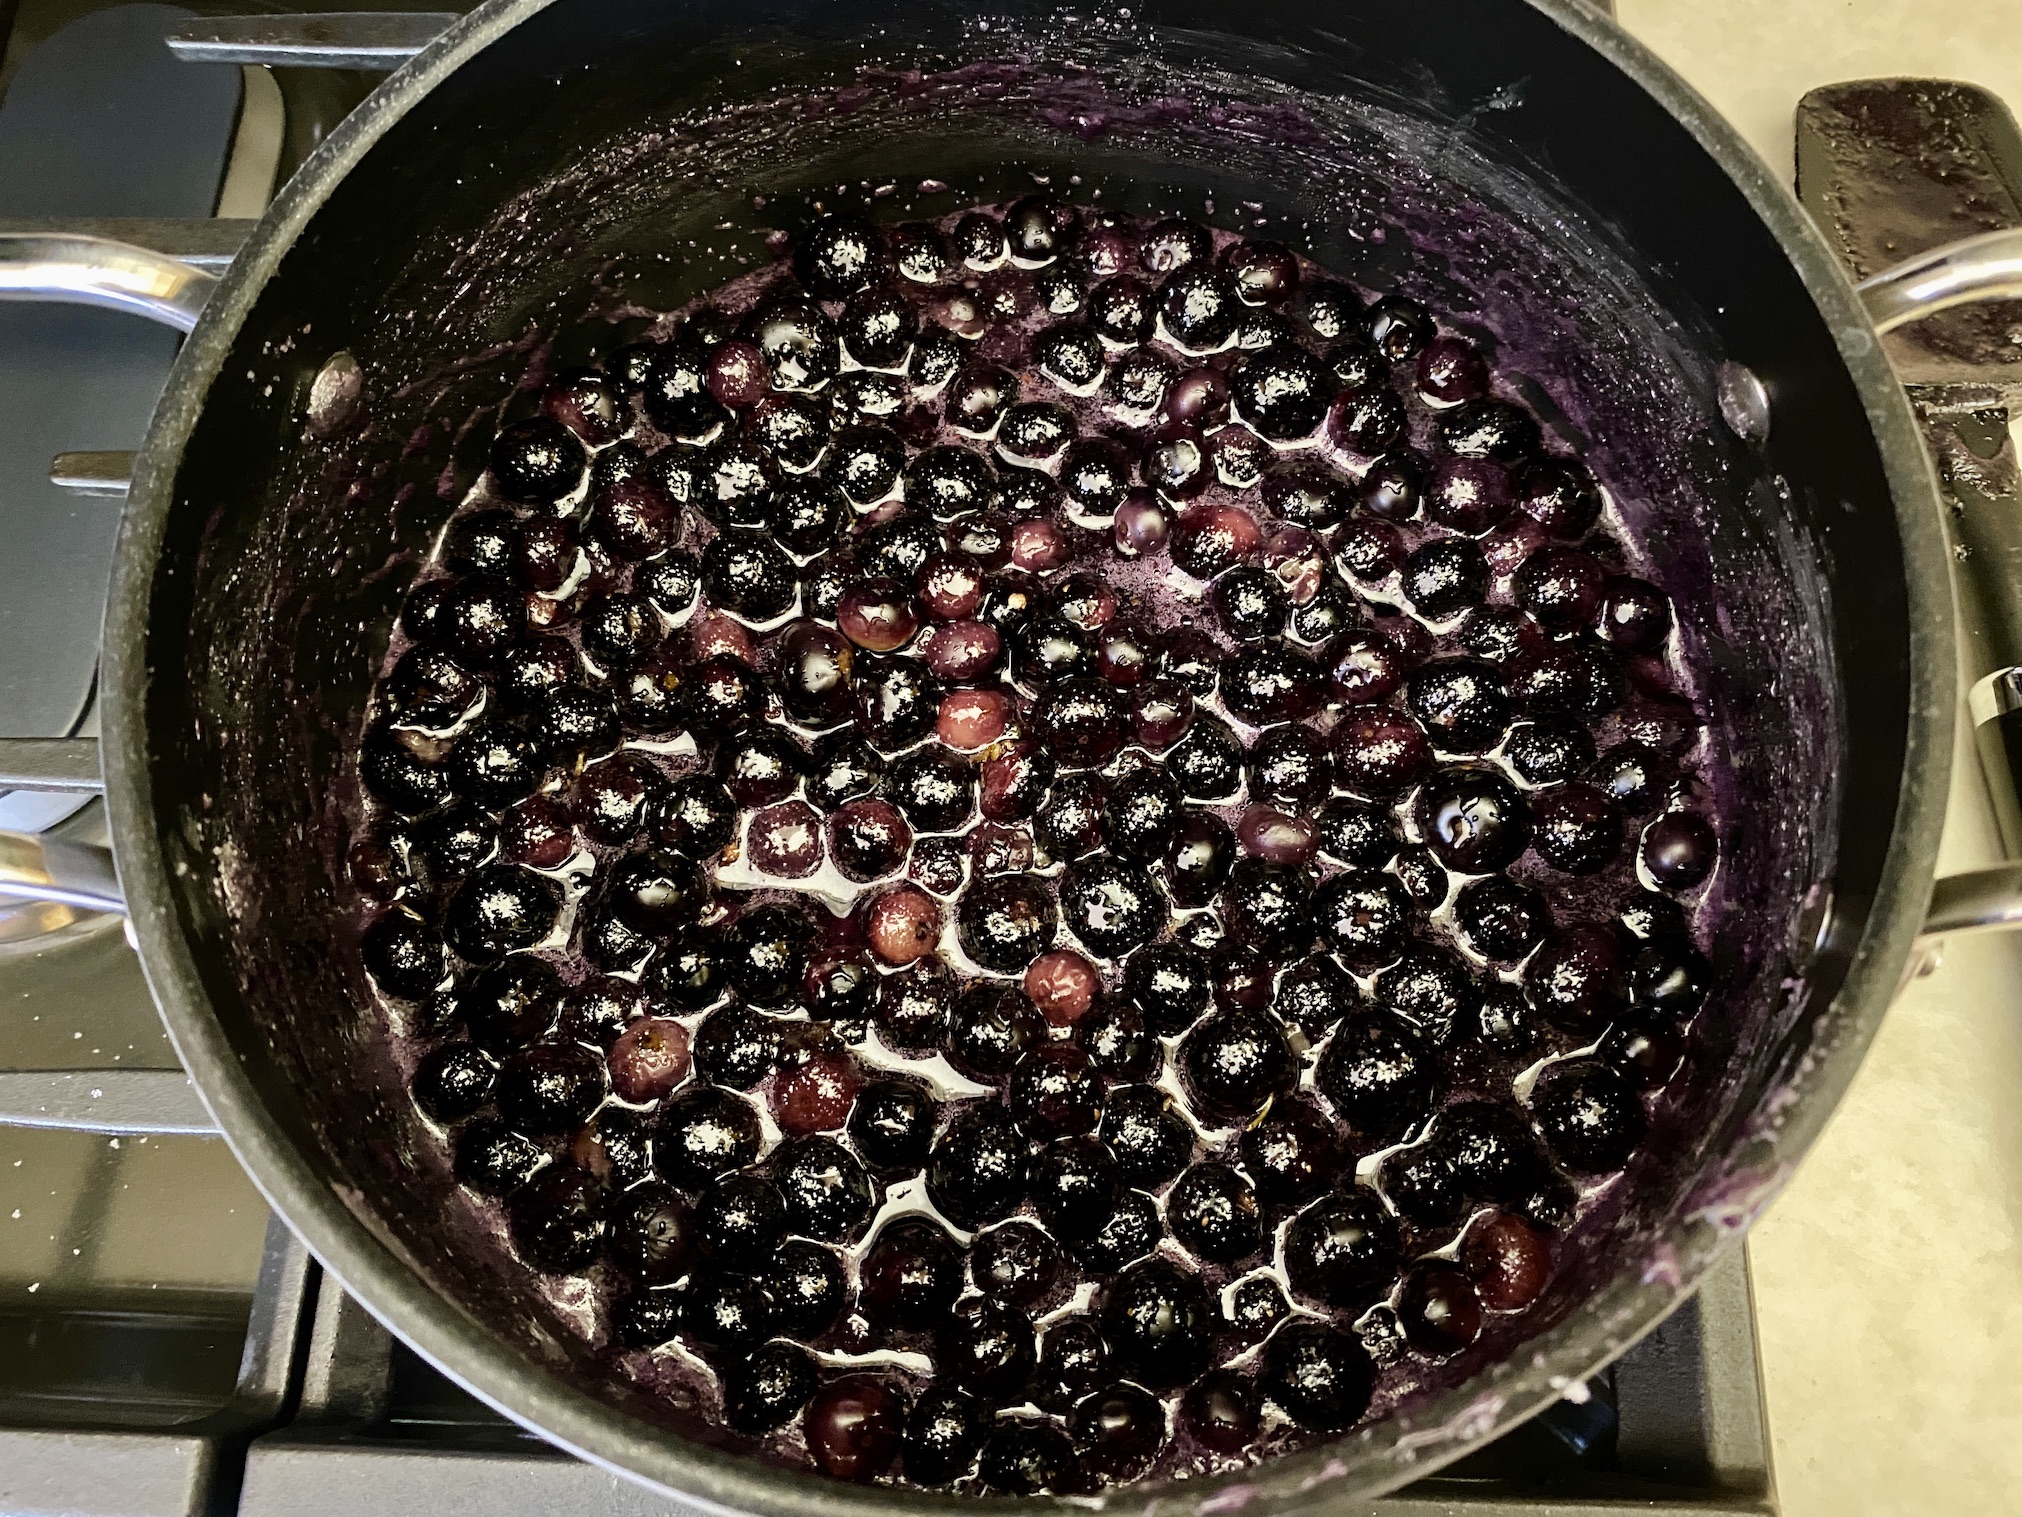
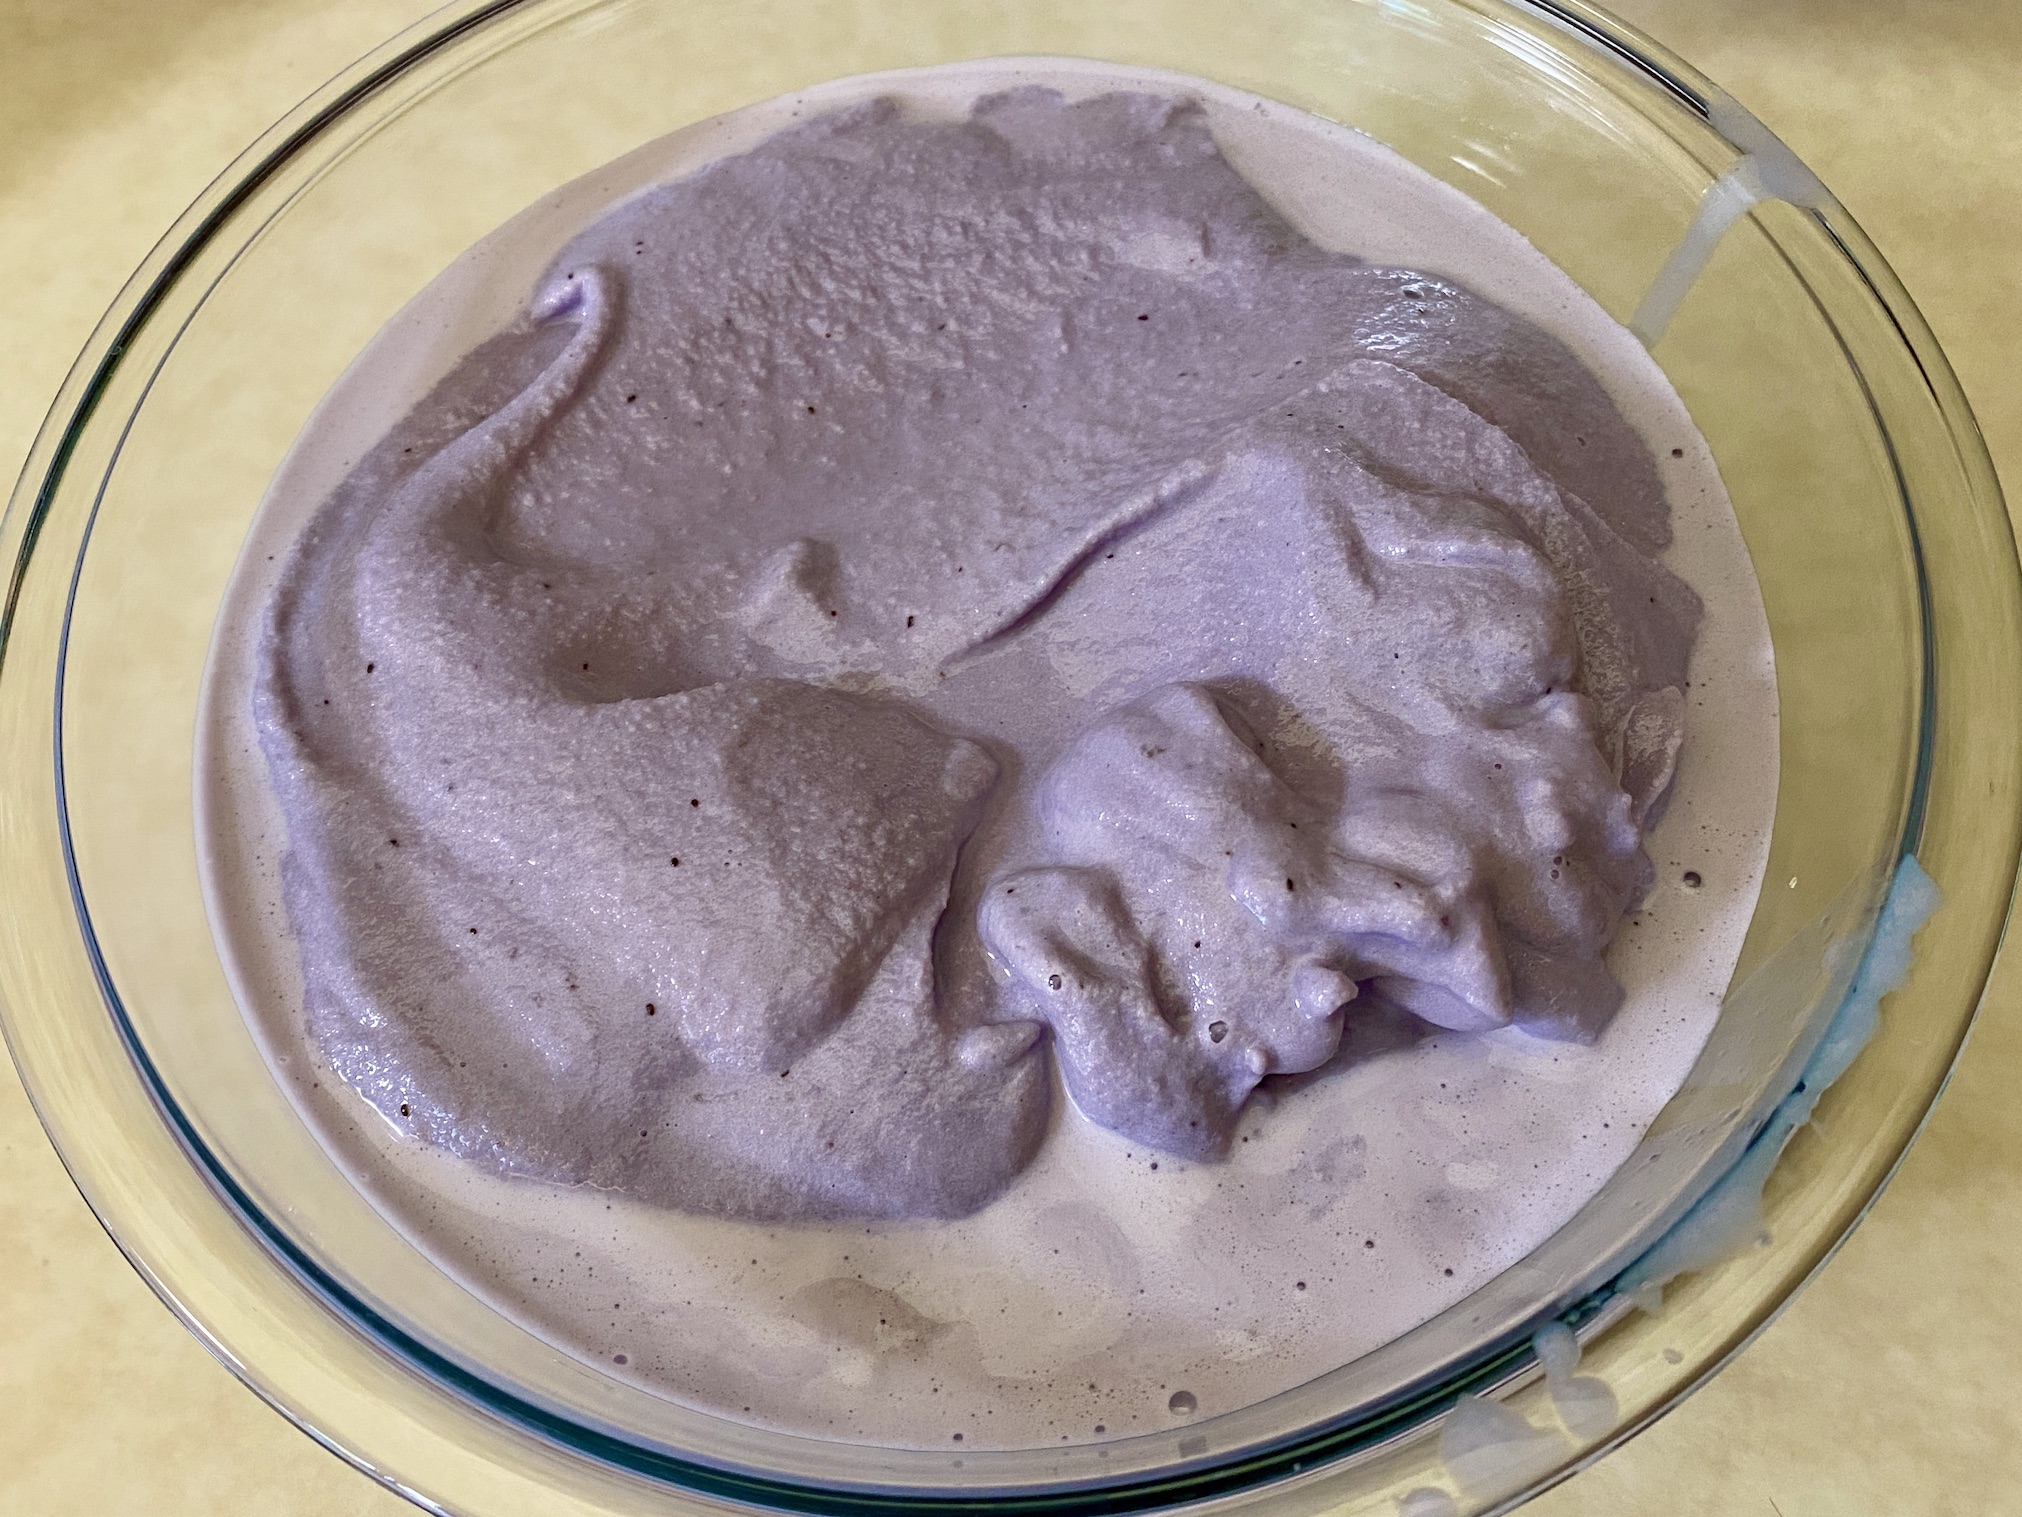
You will need 2 pints of blueberries, sugar, water, and half & half.

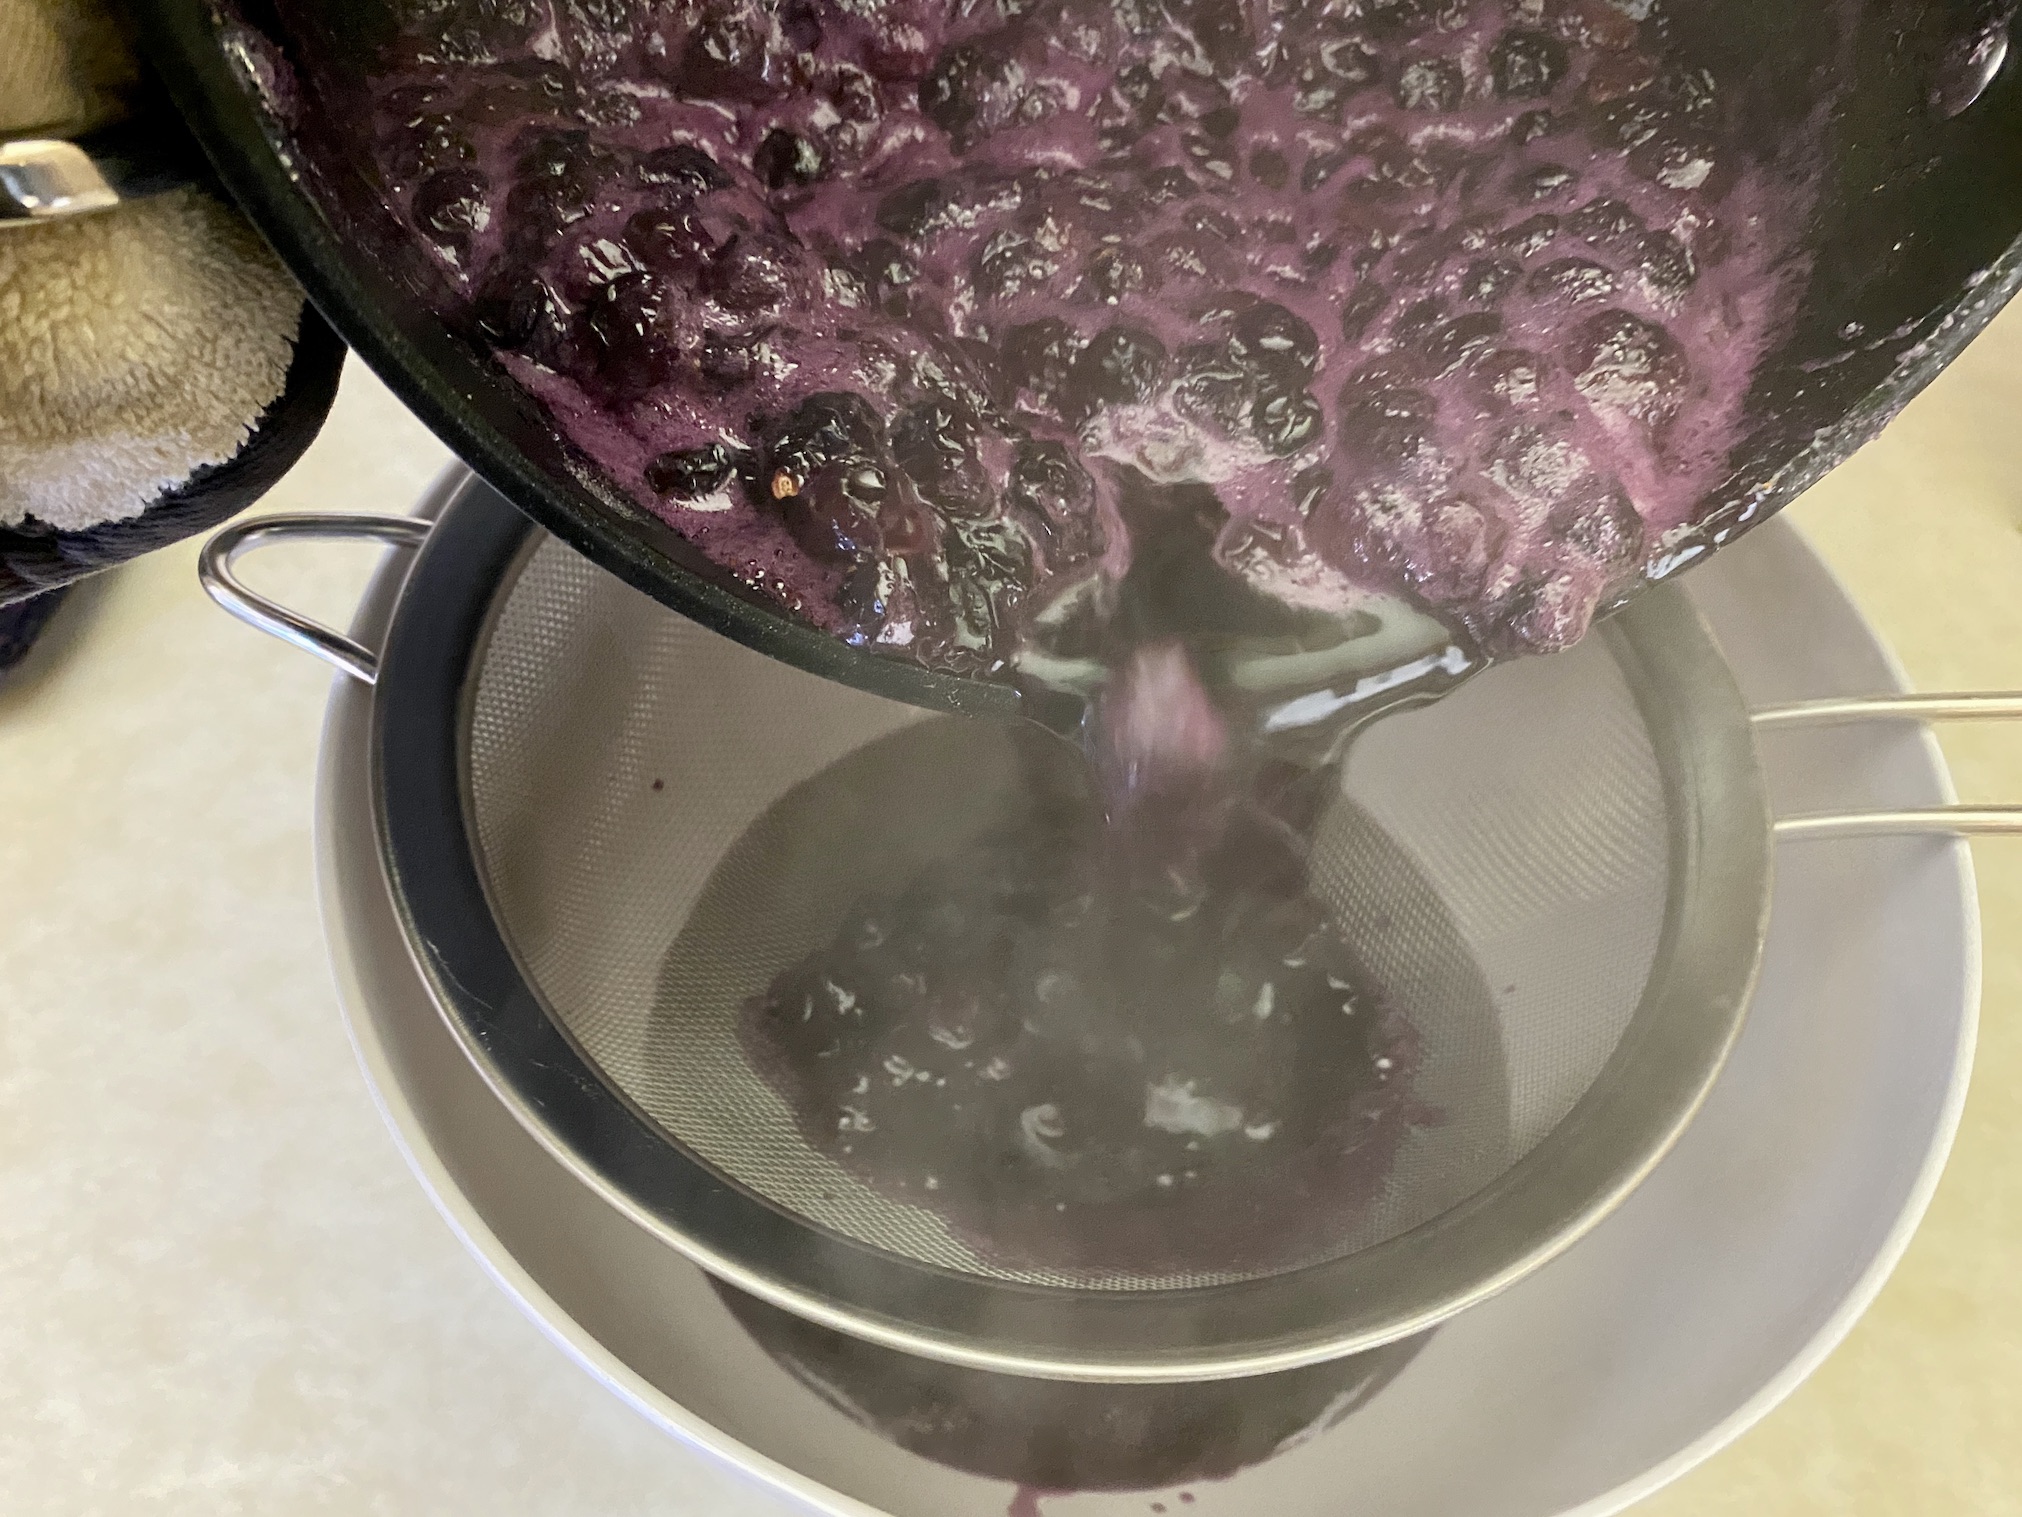
In a large skillet, add the blueberries and sugar. Stir to combine. Add the water and heat over medium heat. Simmer the blueberries for about 5-10 minutes or until they soften and burst open.


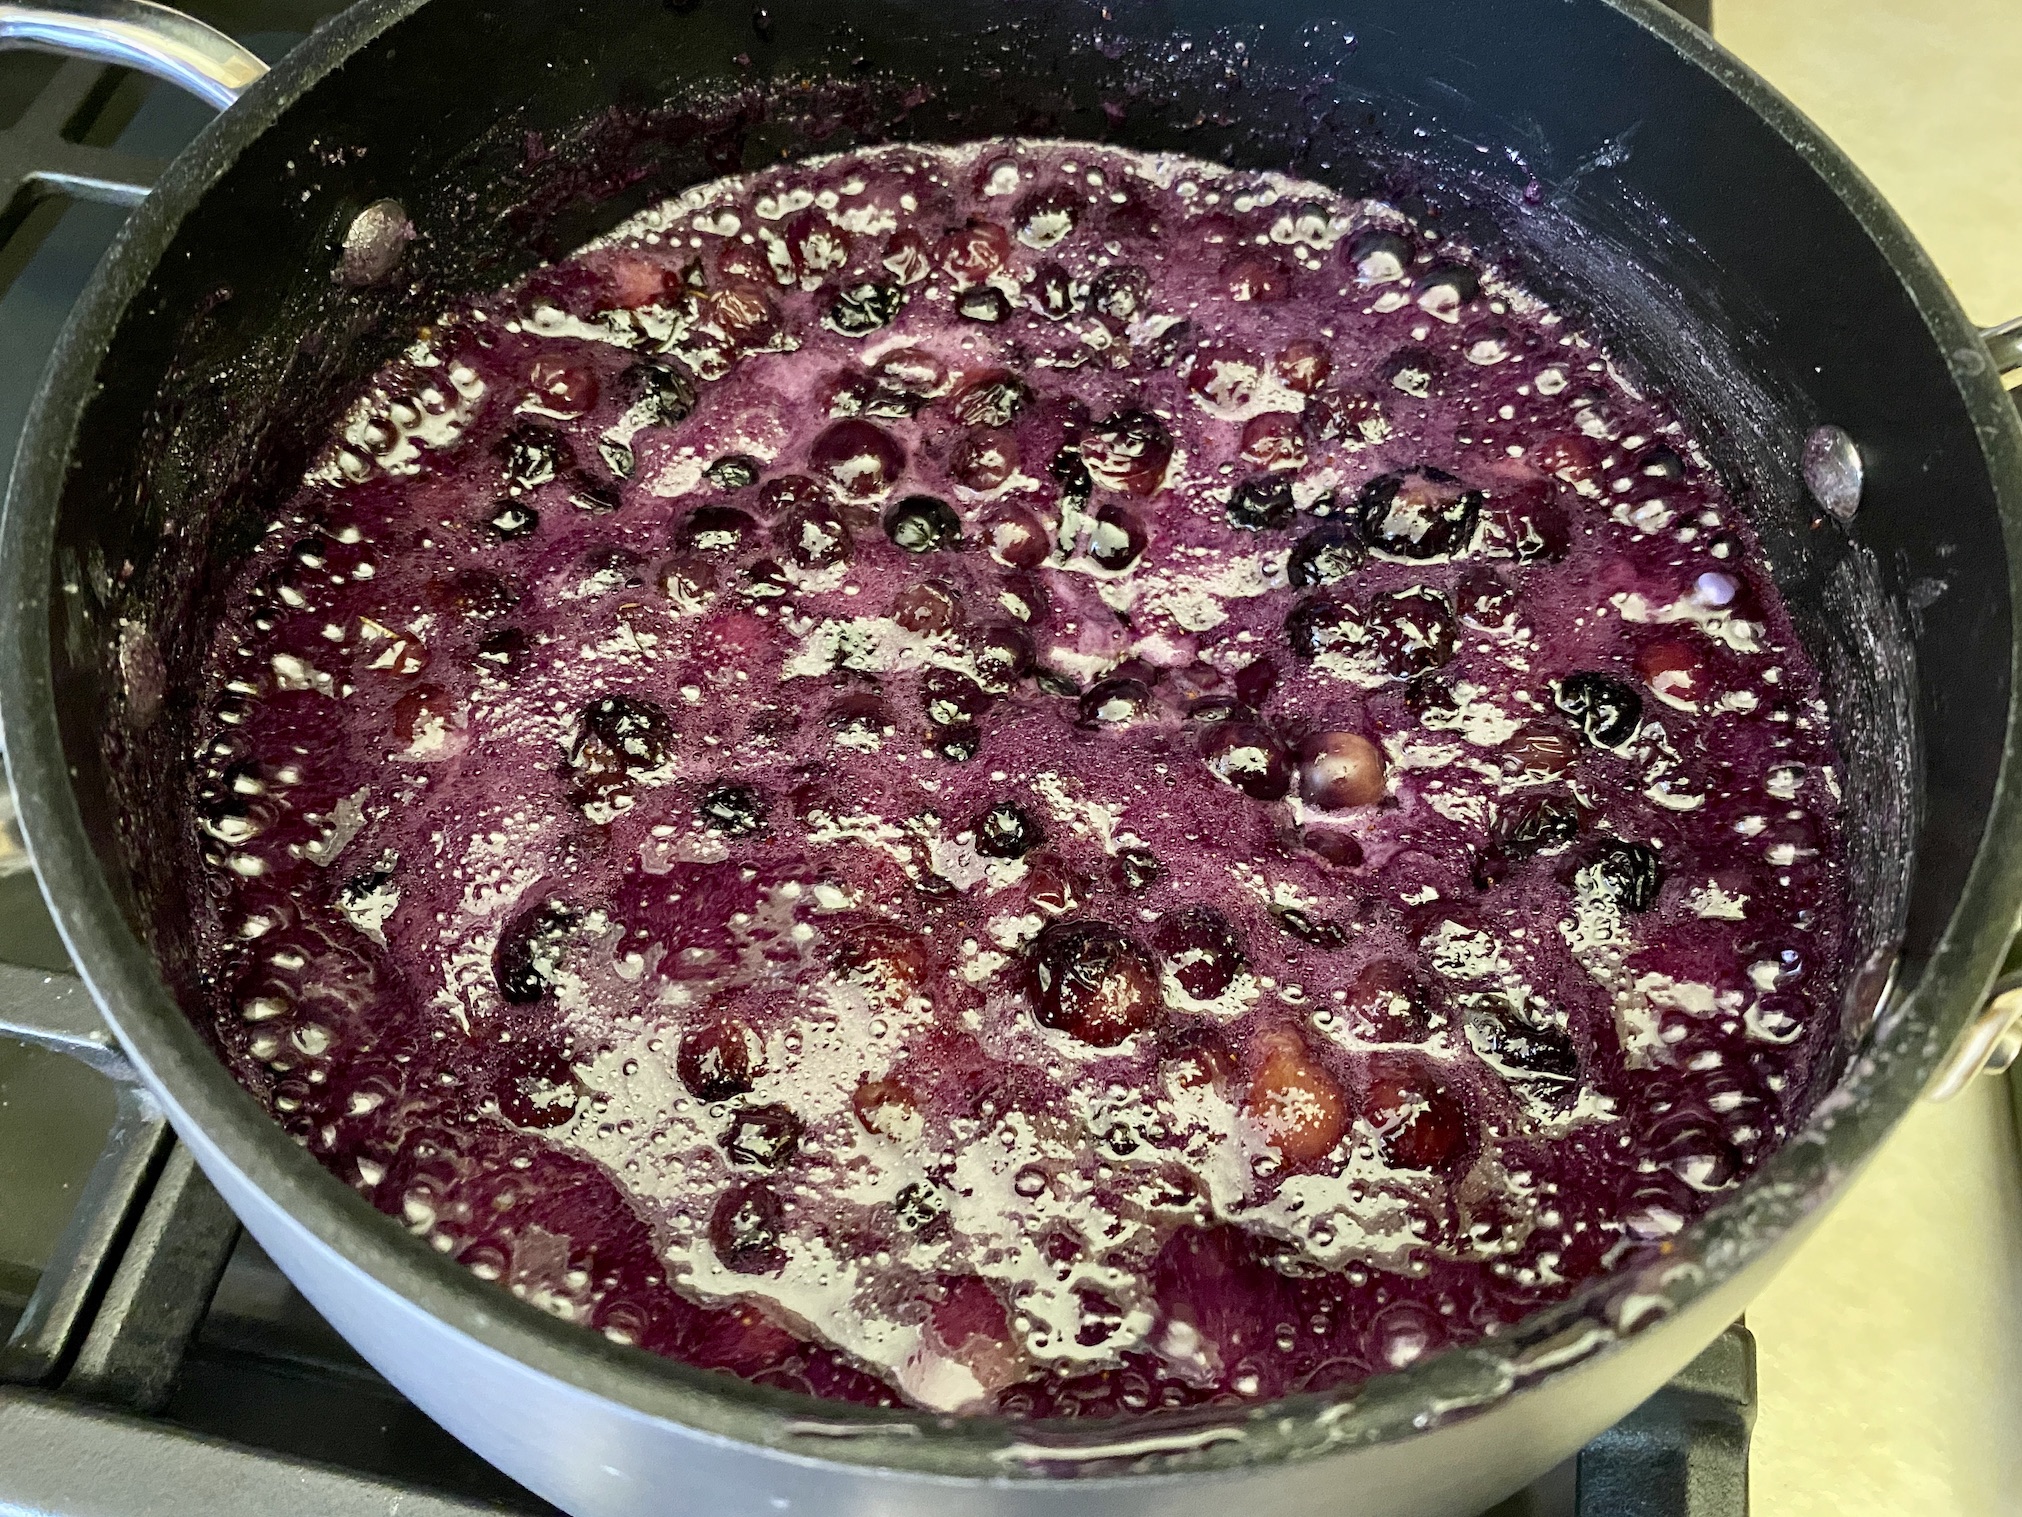
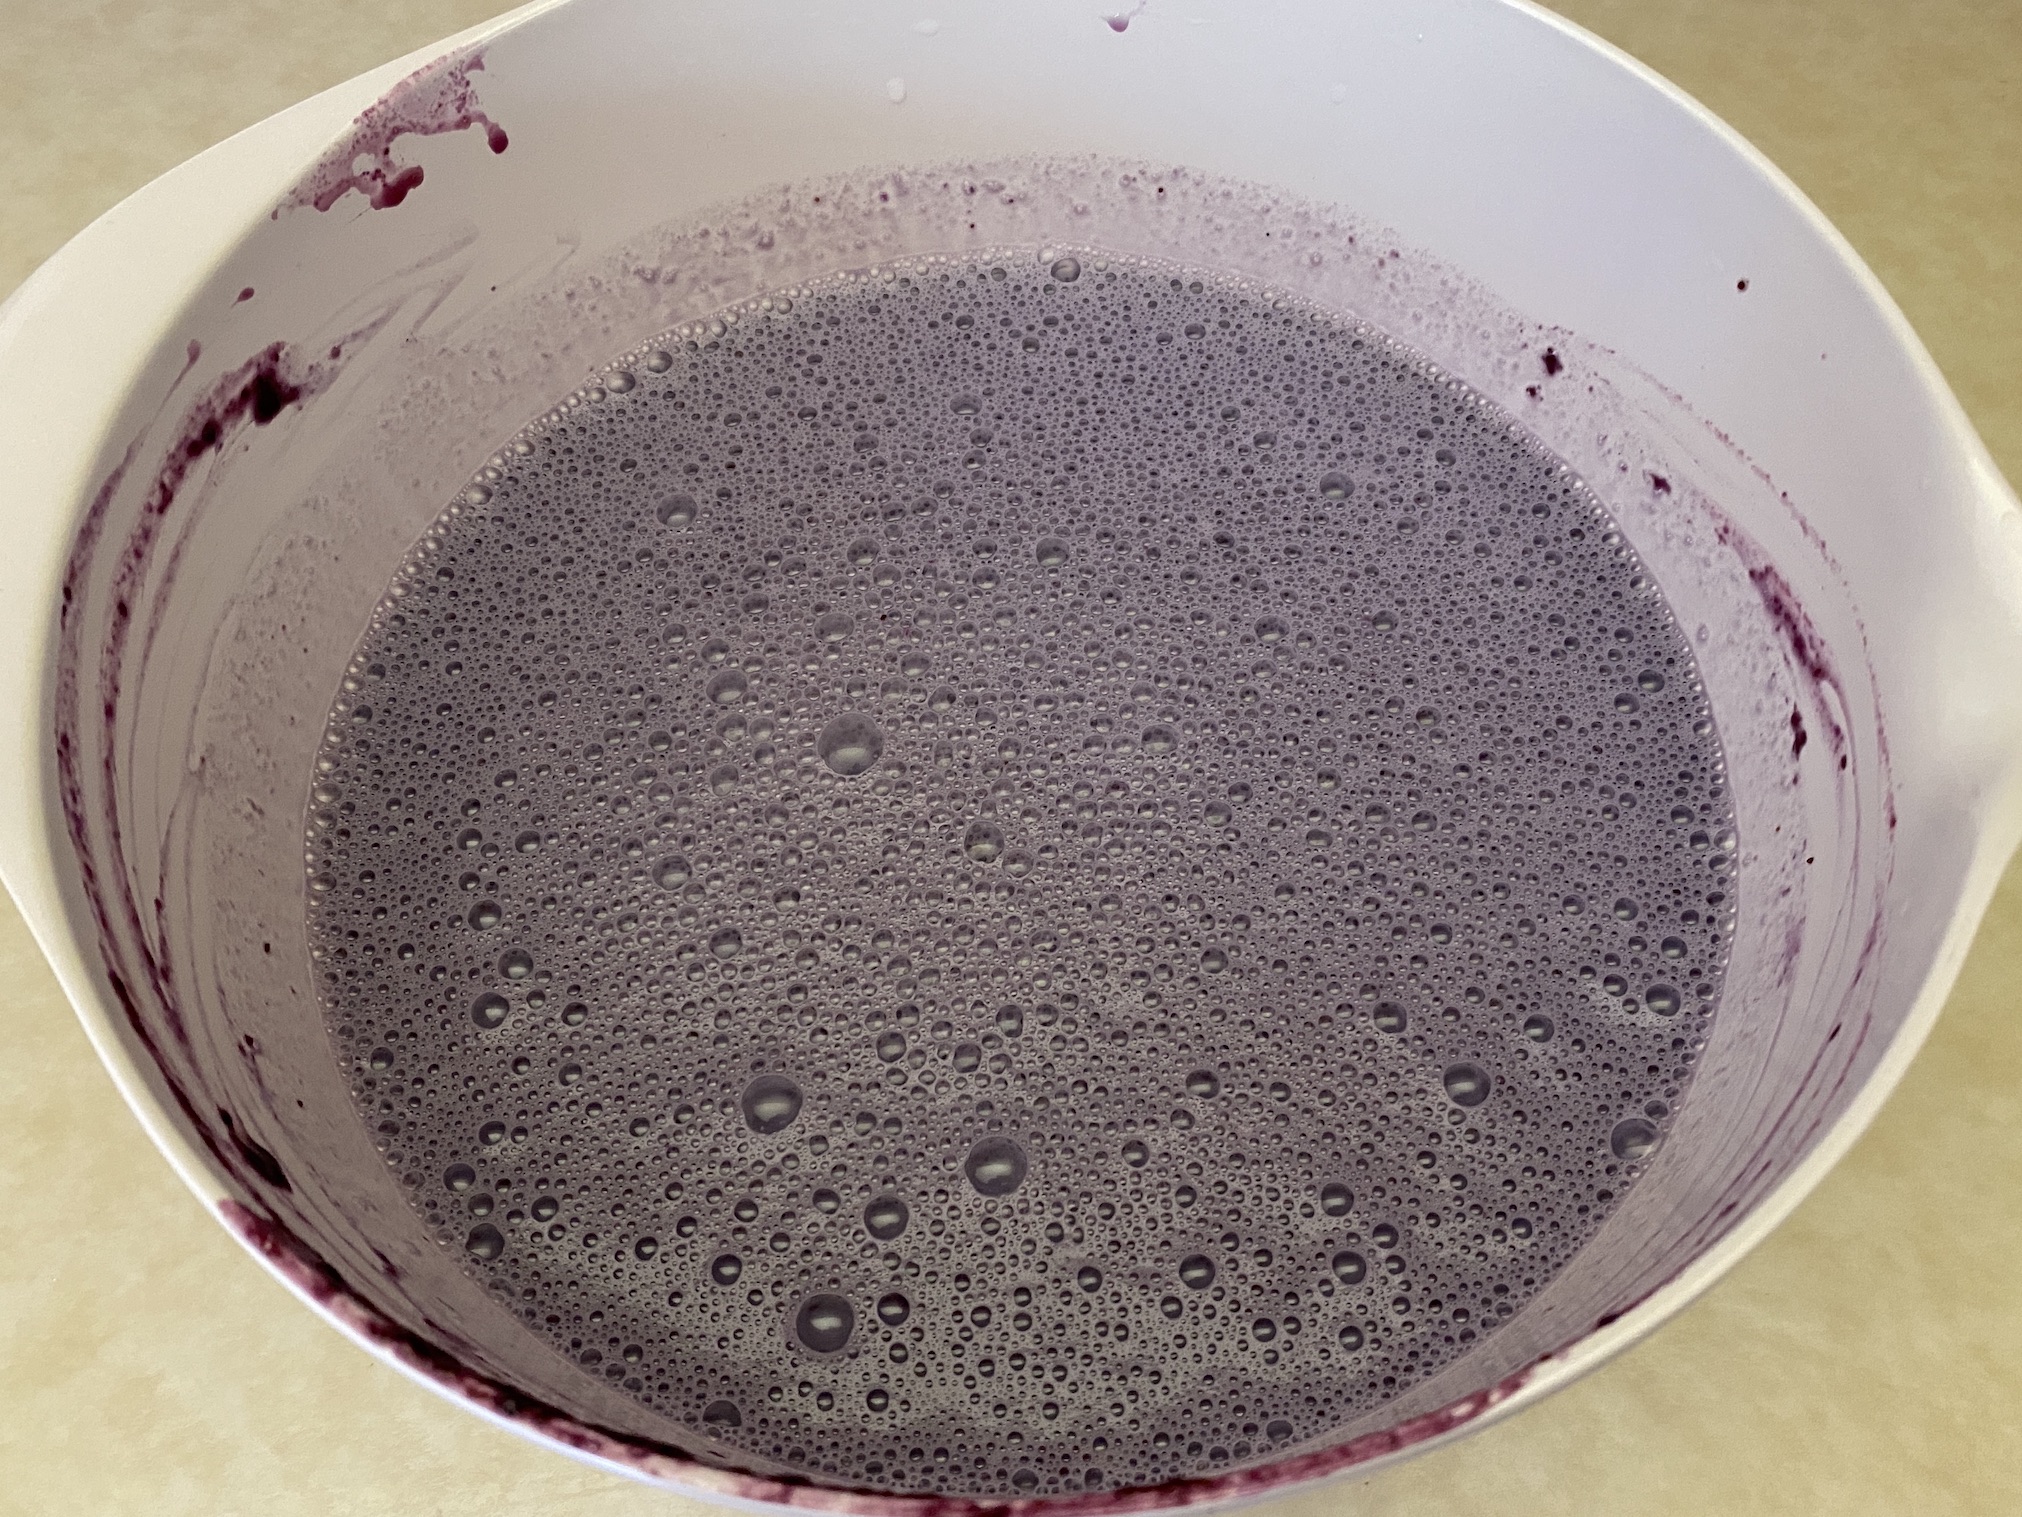
Pour the mixture into a fine mesh strainer that is sitting on top of a bowl. Use the back of a spoon to press the mixture through the strainer. You want as much liquid as possible, but don’t want the pulp and larger blueberry chunks. You can discard the pulp. Let the mixture cool for about 10 minutes.

Add the half & half and stir to combine. Cover with plastic wrap and place in the fridge overnight. You want the liquid to be as cold as can be!

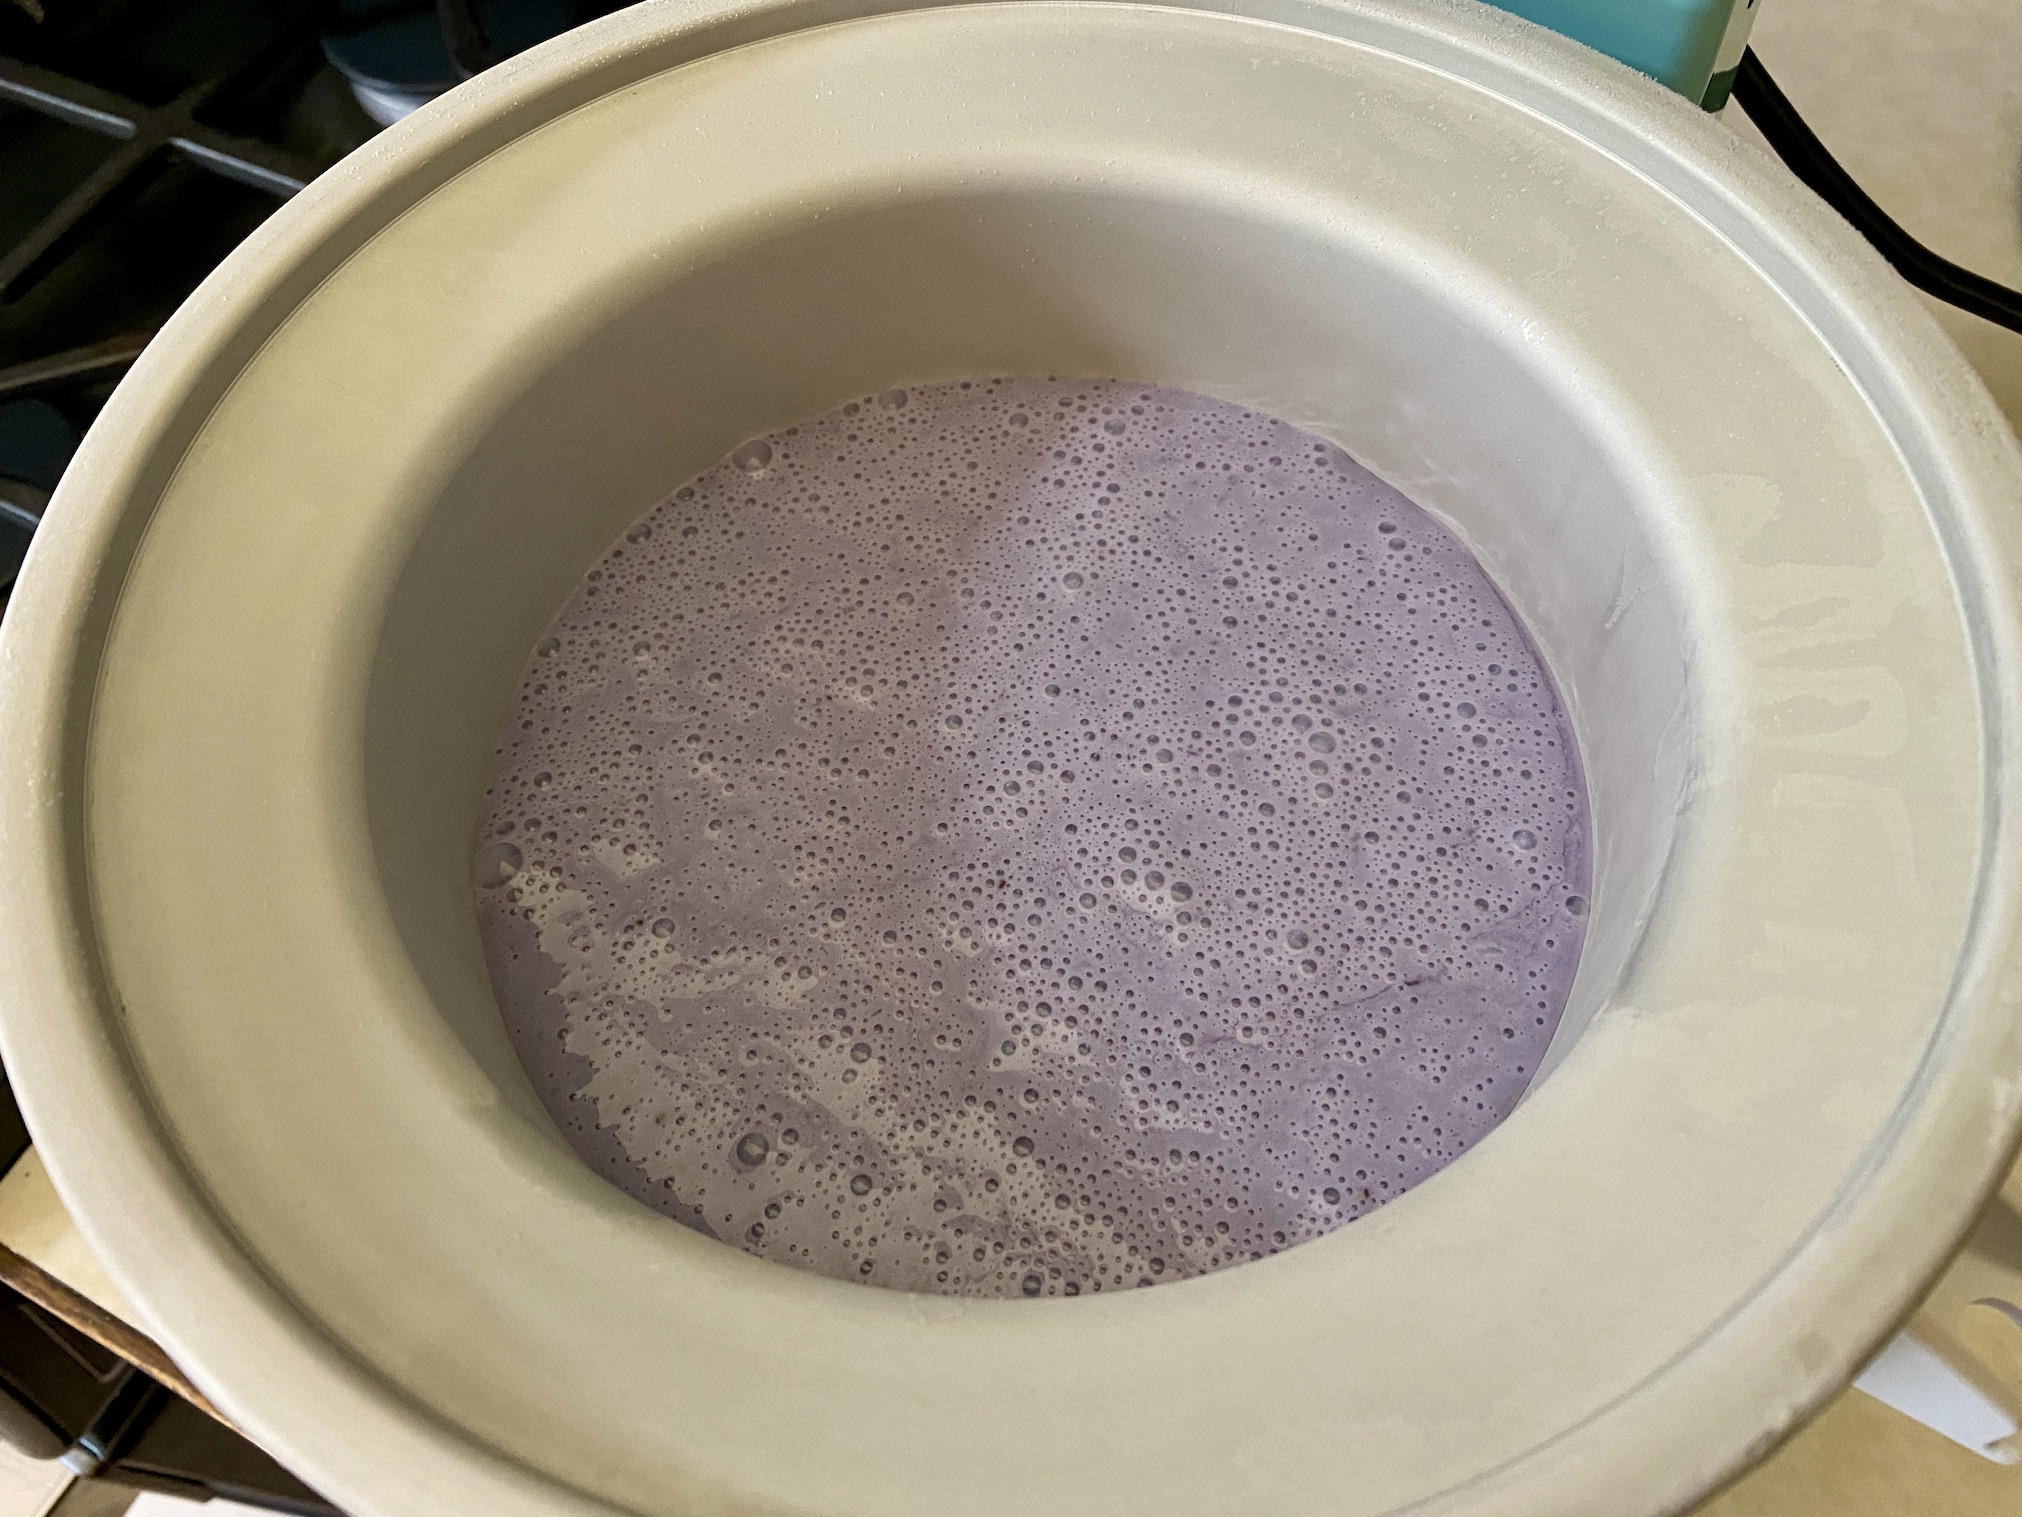
The next day, pour the mixture into your ice cream maker. Process according to manufacturer instructions. I like to use the Kitchenaid Ice Cream Attachment with my stand mixer.
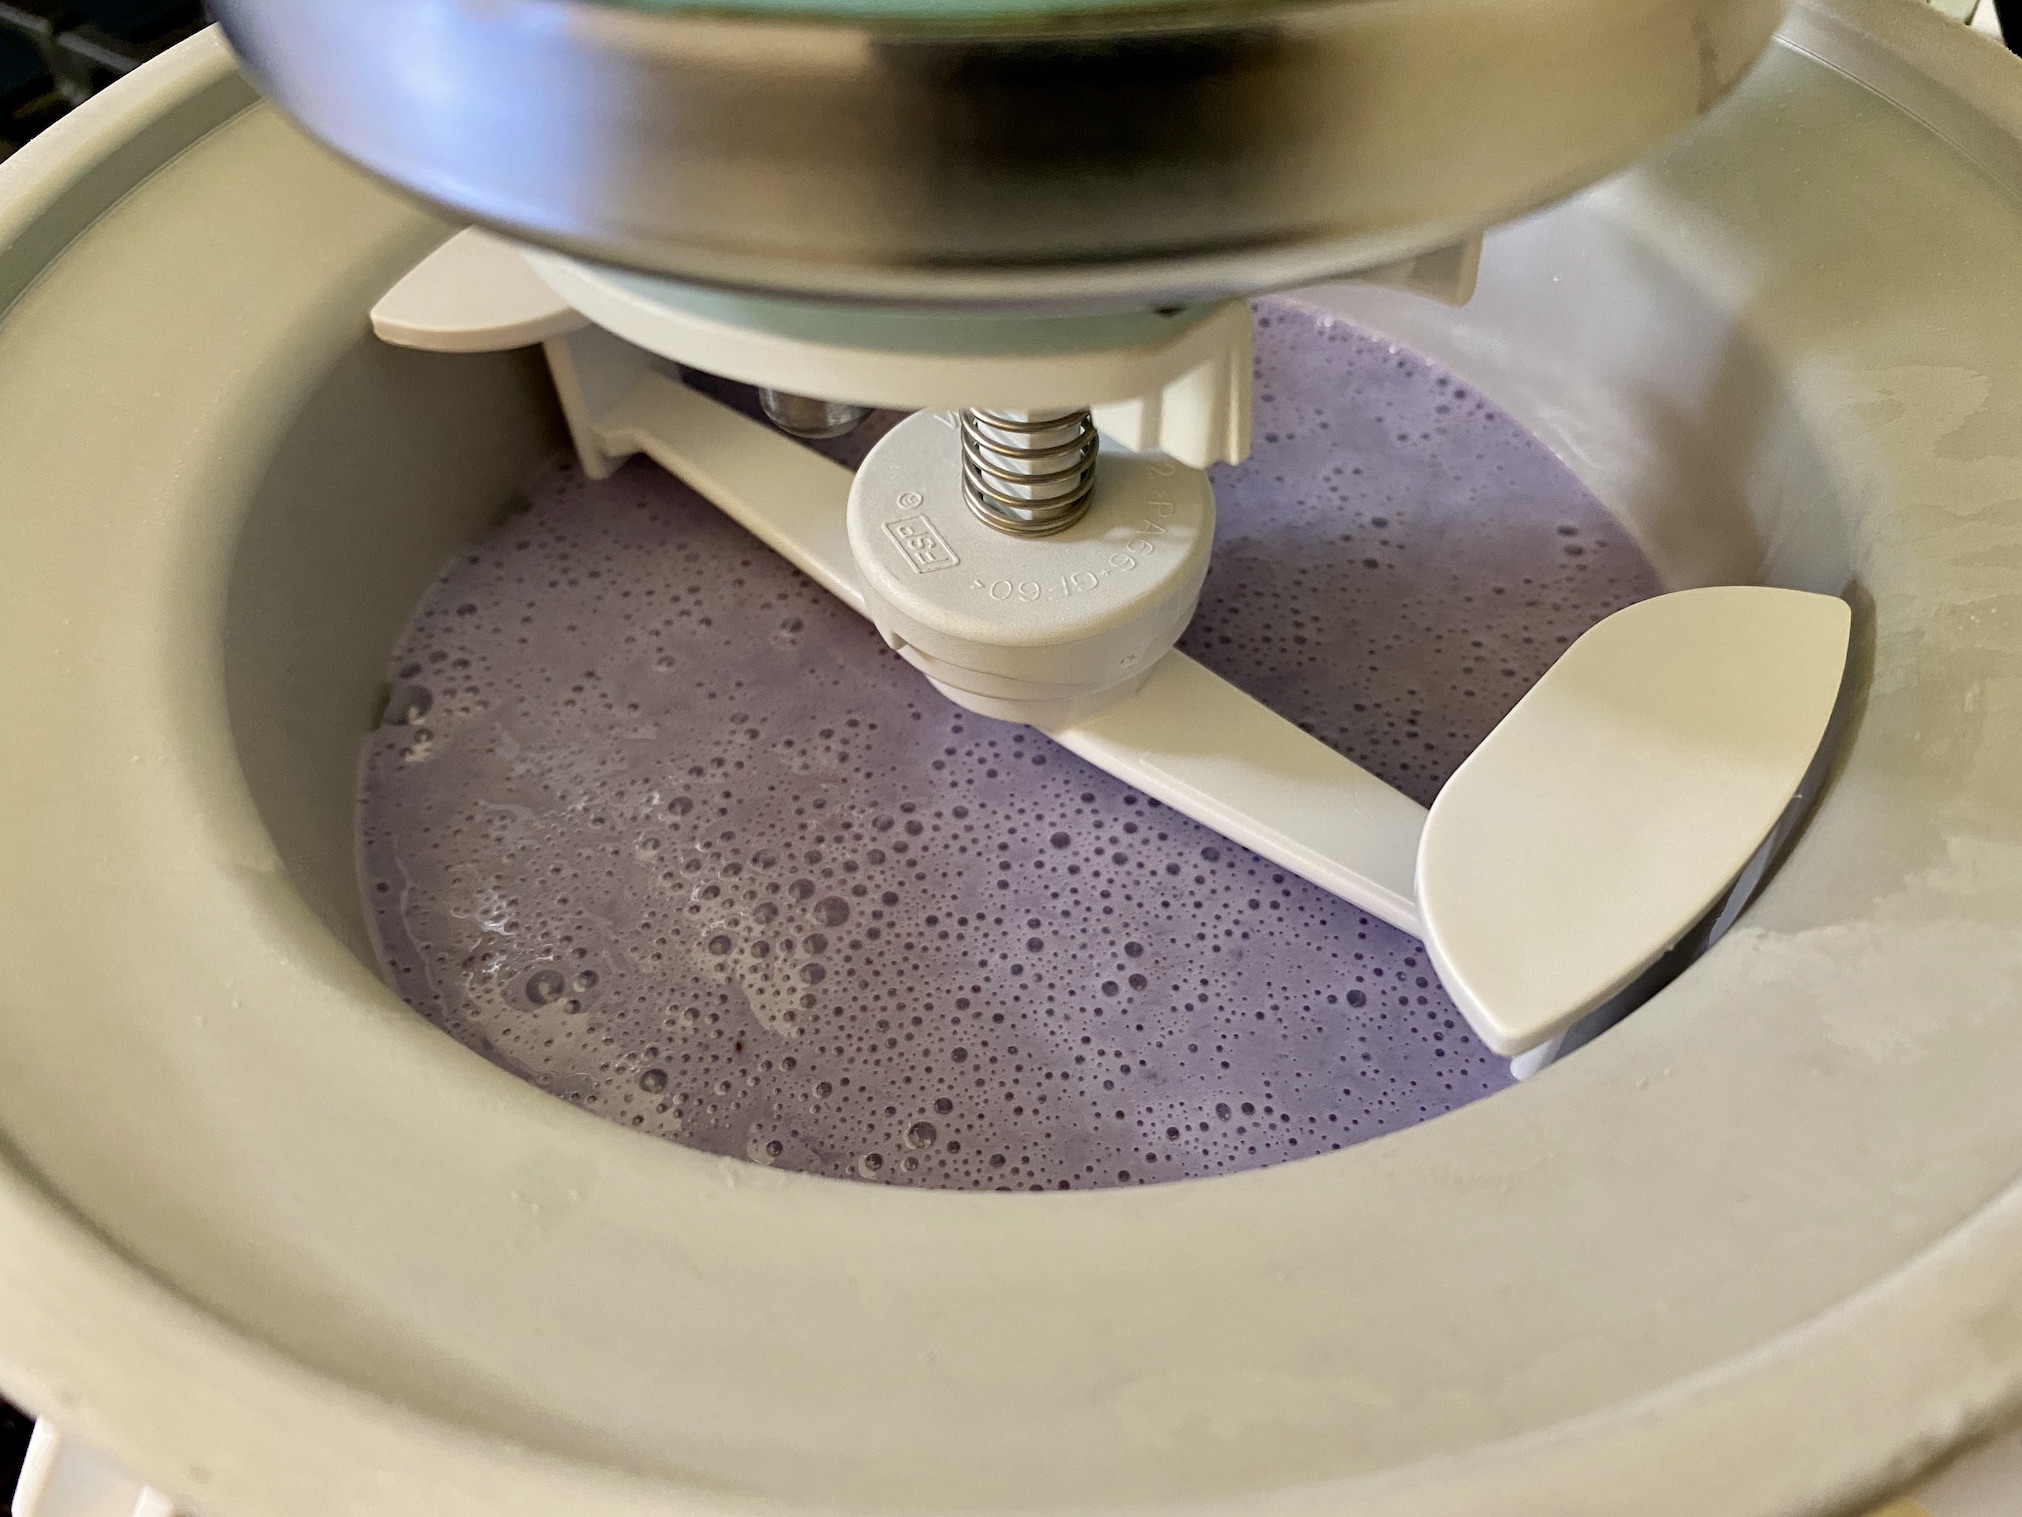
Once ready (according to manufacturer instructions), remove the ice cream from the maker/bowl and place in a freezer safe container.

Cover and place in the freezer for at least 4 hours or until the desired consistency has been reached.
Once fully chilled, scoop into bowls and enjoy!
The recipe can be found here.
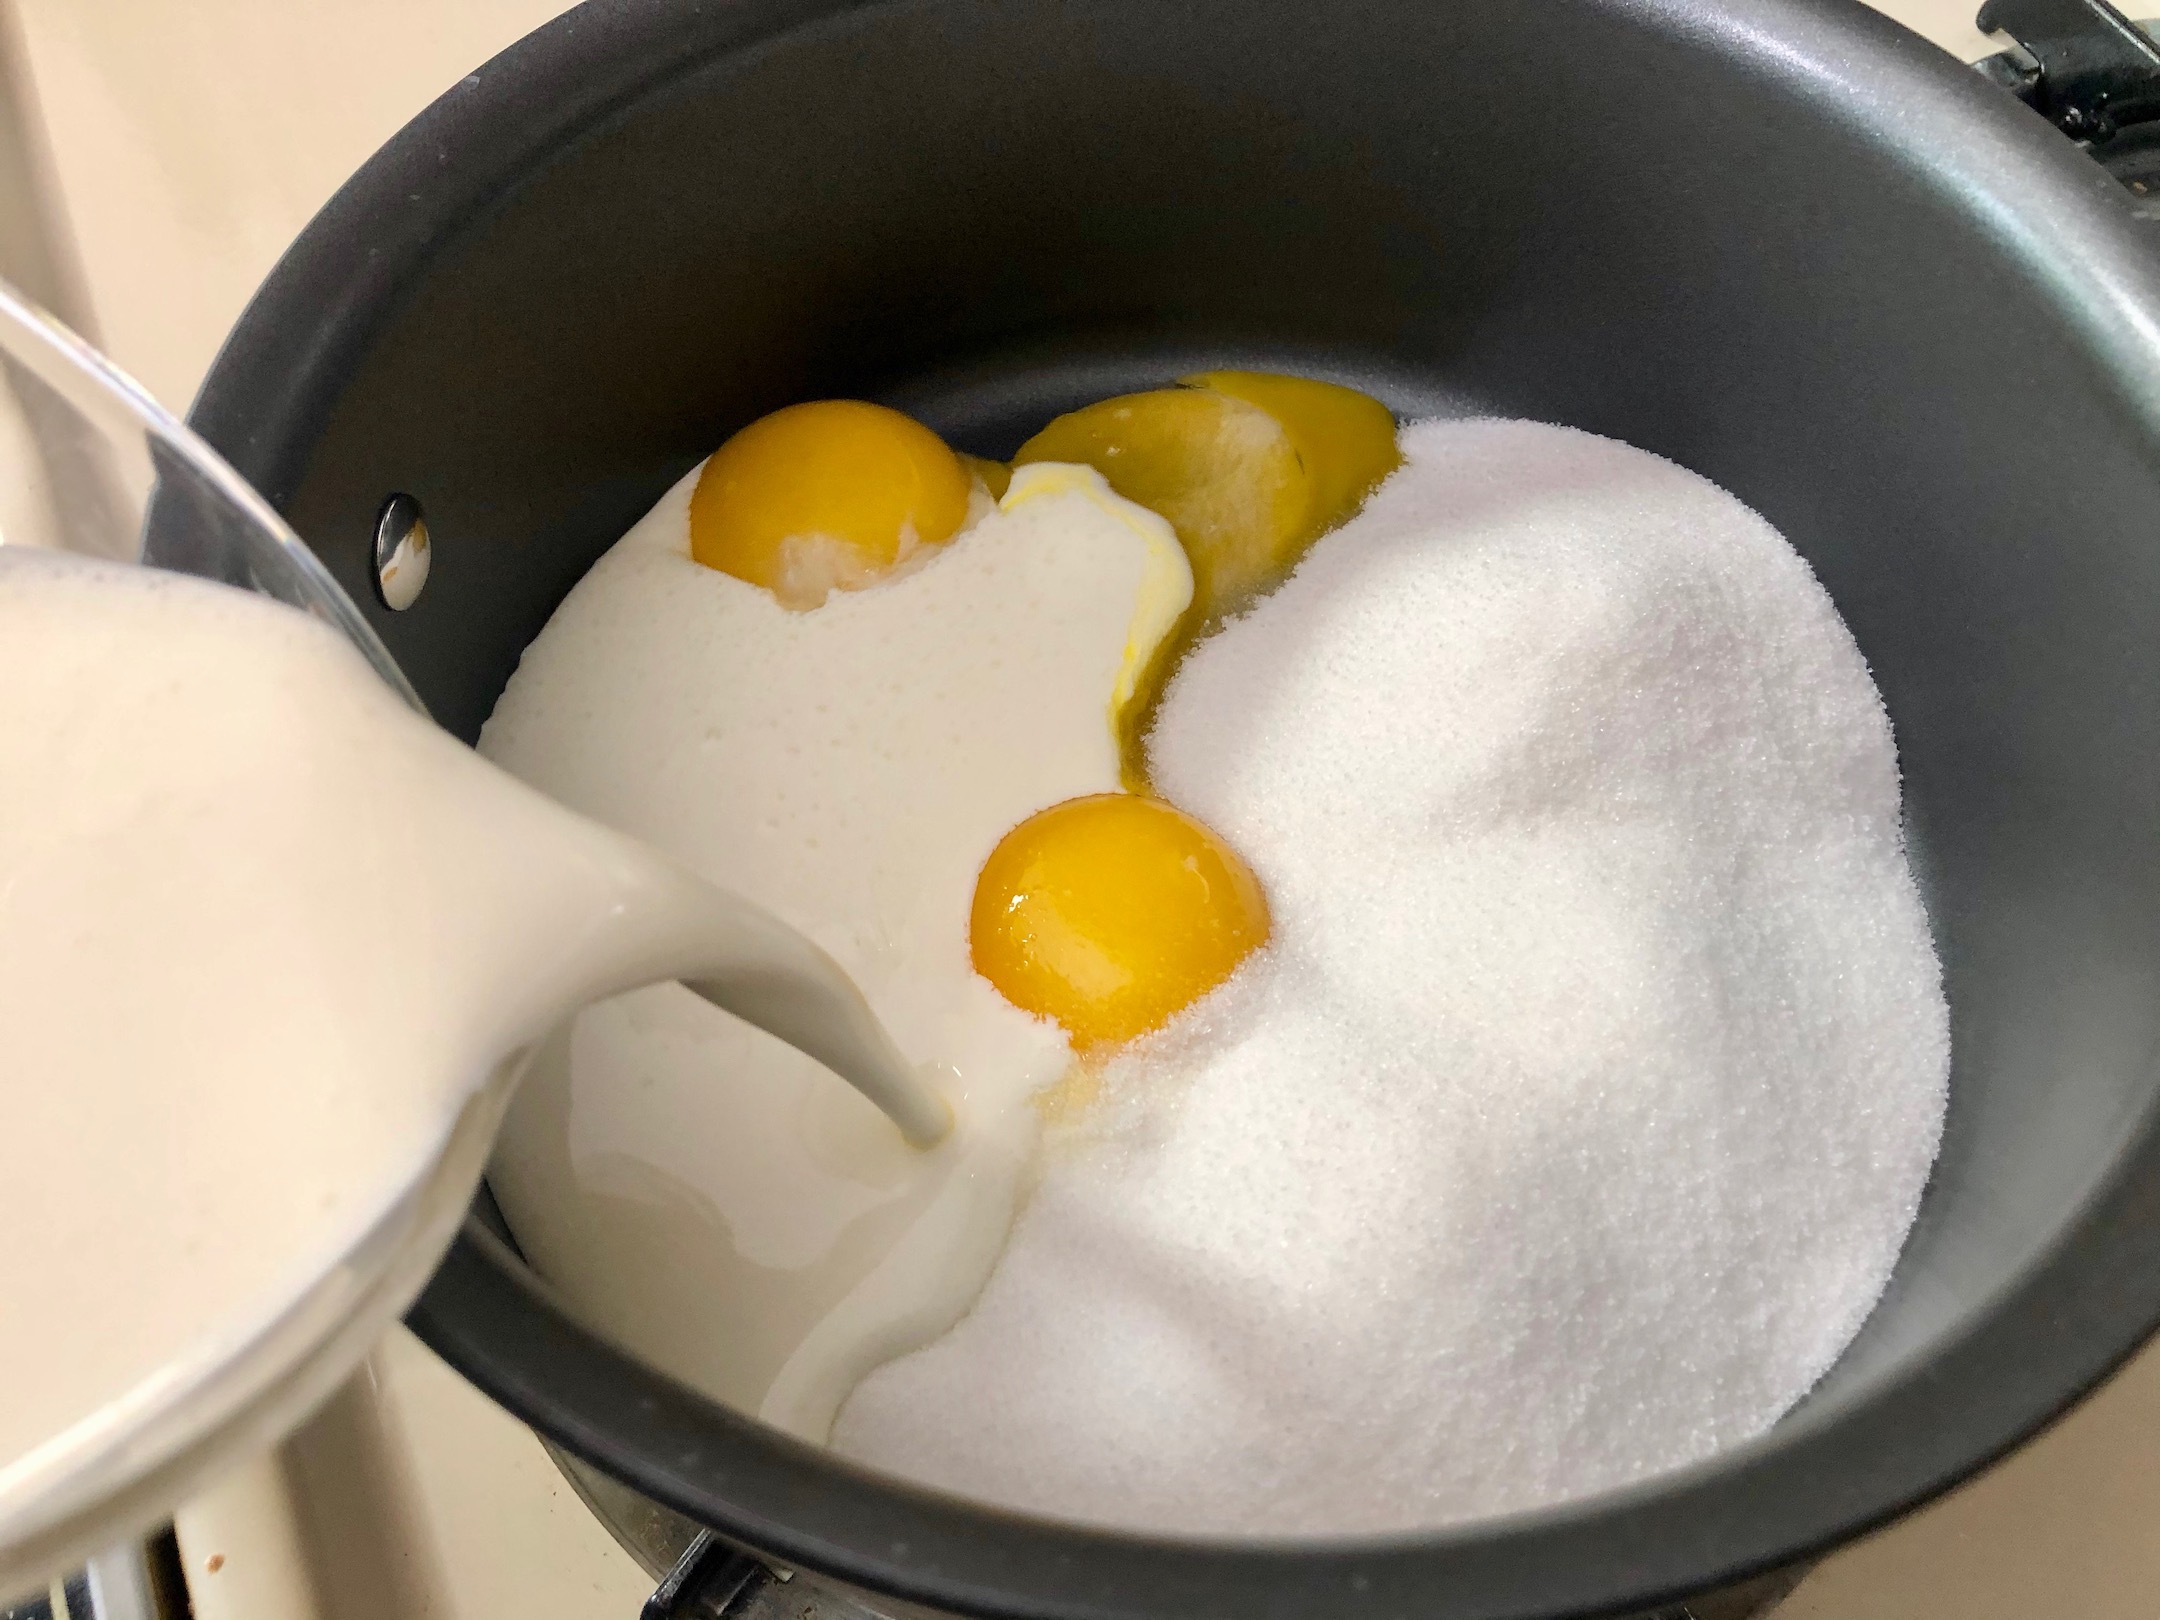
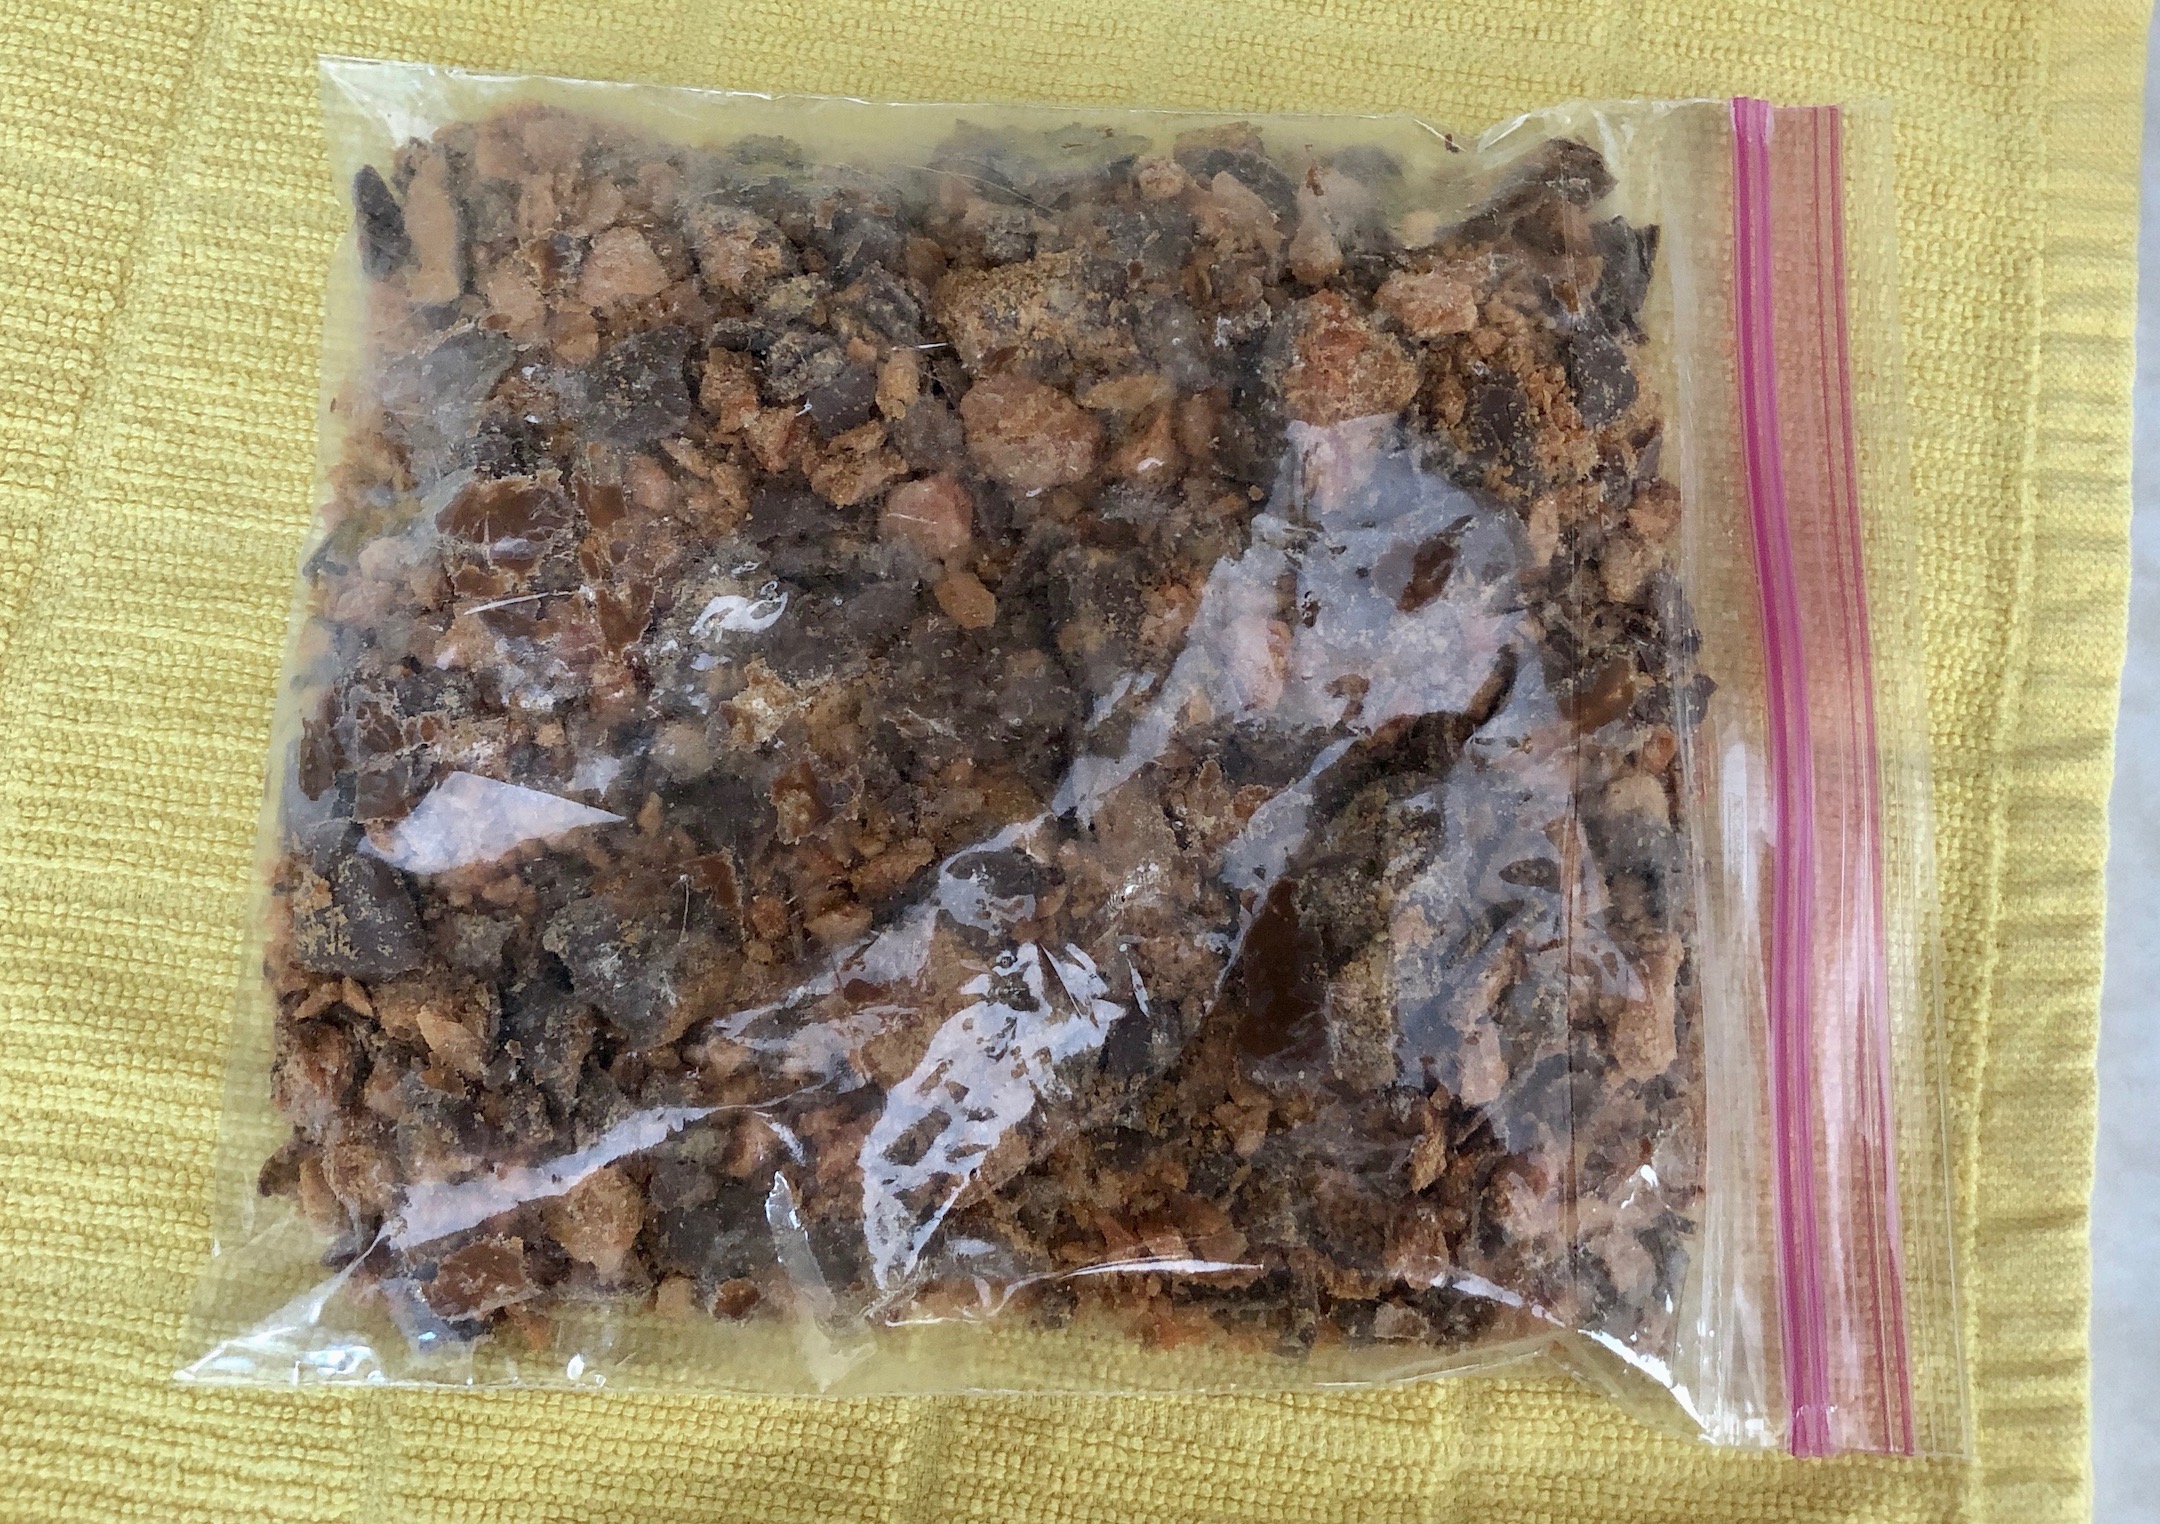
You will need heavy cream, sugar, egg yolks, whole milk, vanilla extract, salt, and Butterfinger candy bars.

Add the heavy cream, sugar, and egg yolks to a saucepan and heat over medium heat. Whisk together and continue to stir until the mixture thickens. You want to continue to stir so you don’t cook the eggs and create a scramble! The mixture should coat the back of a spoon and will take about 6-7 minutes to thicken. Remove from the heat.


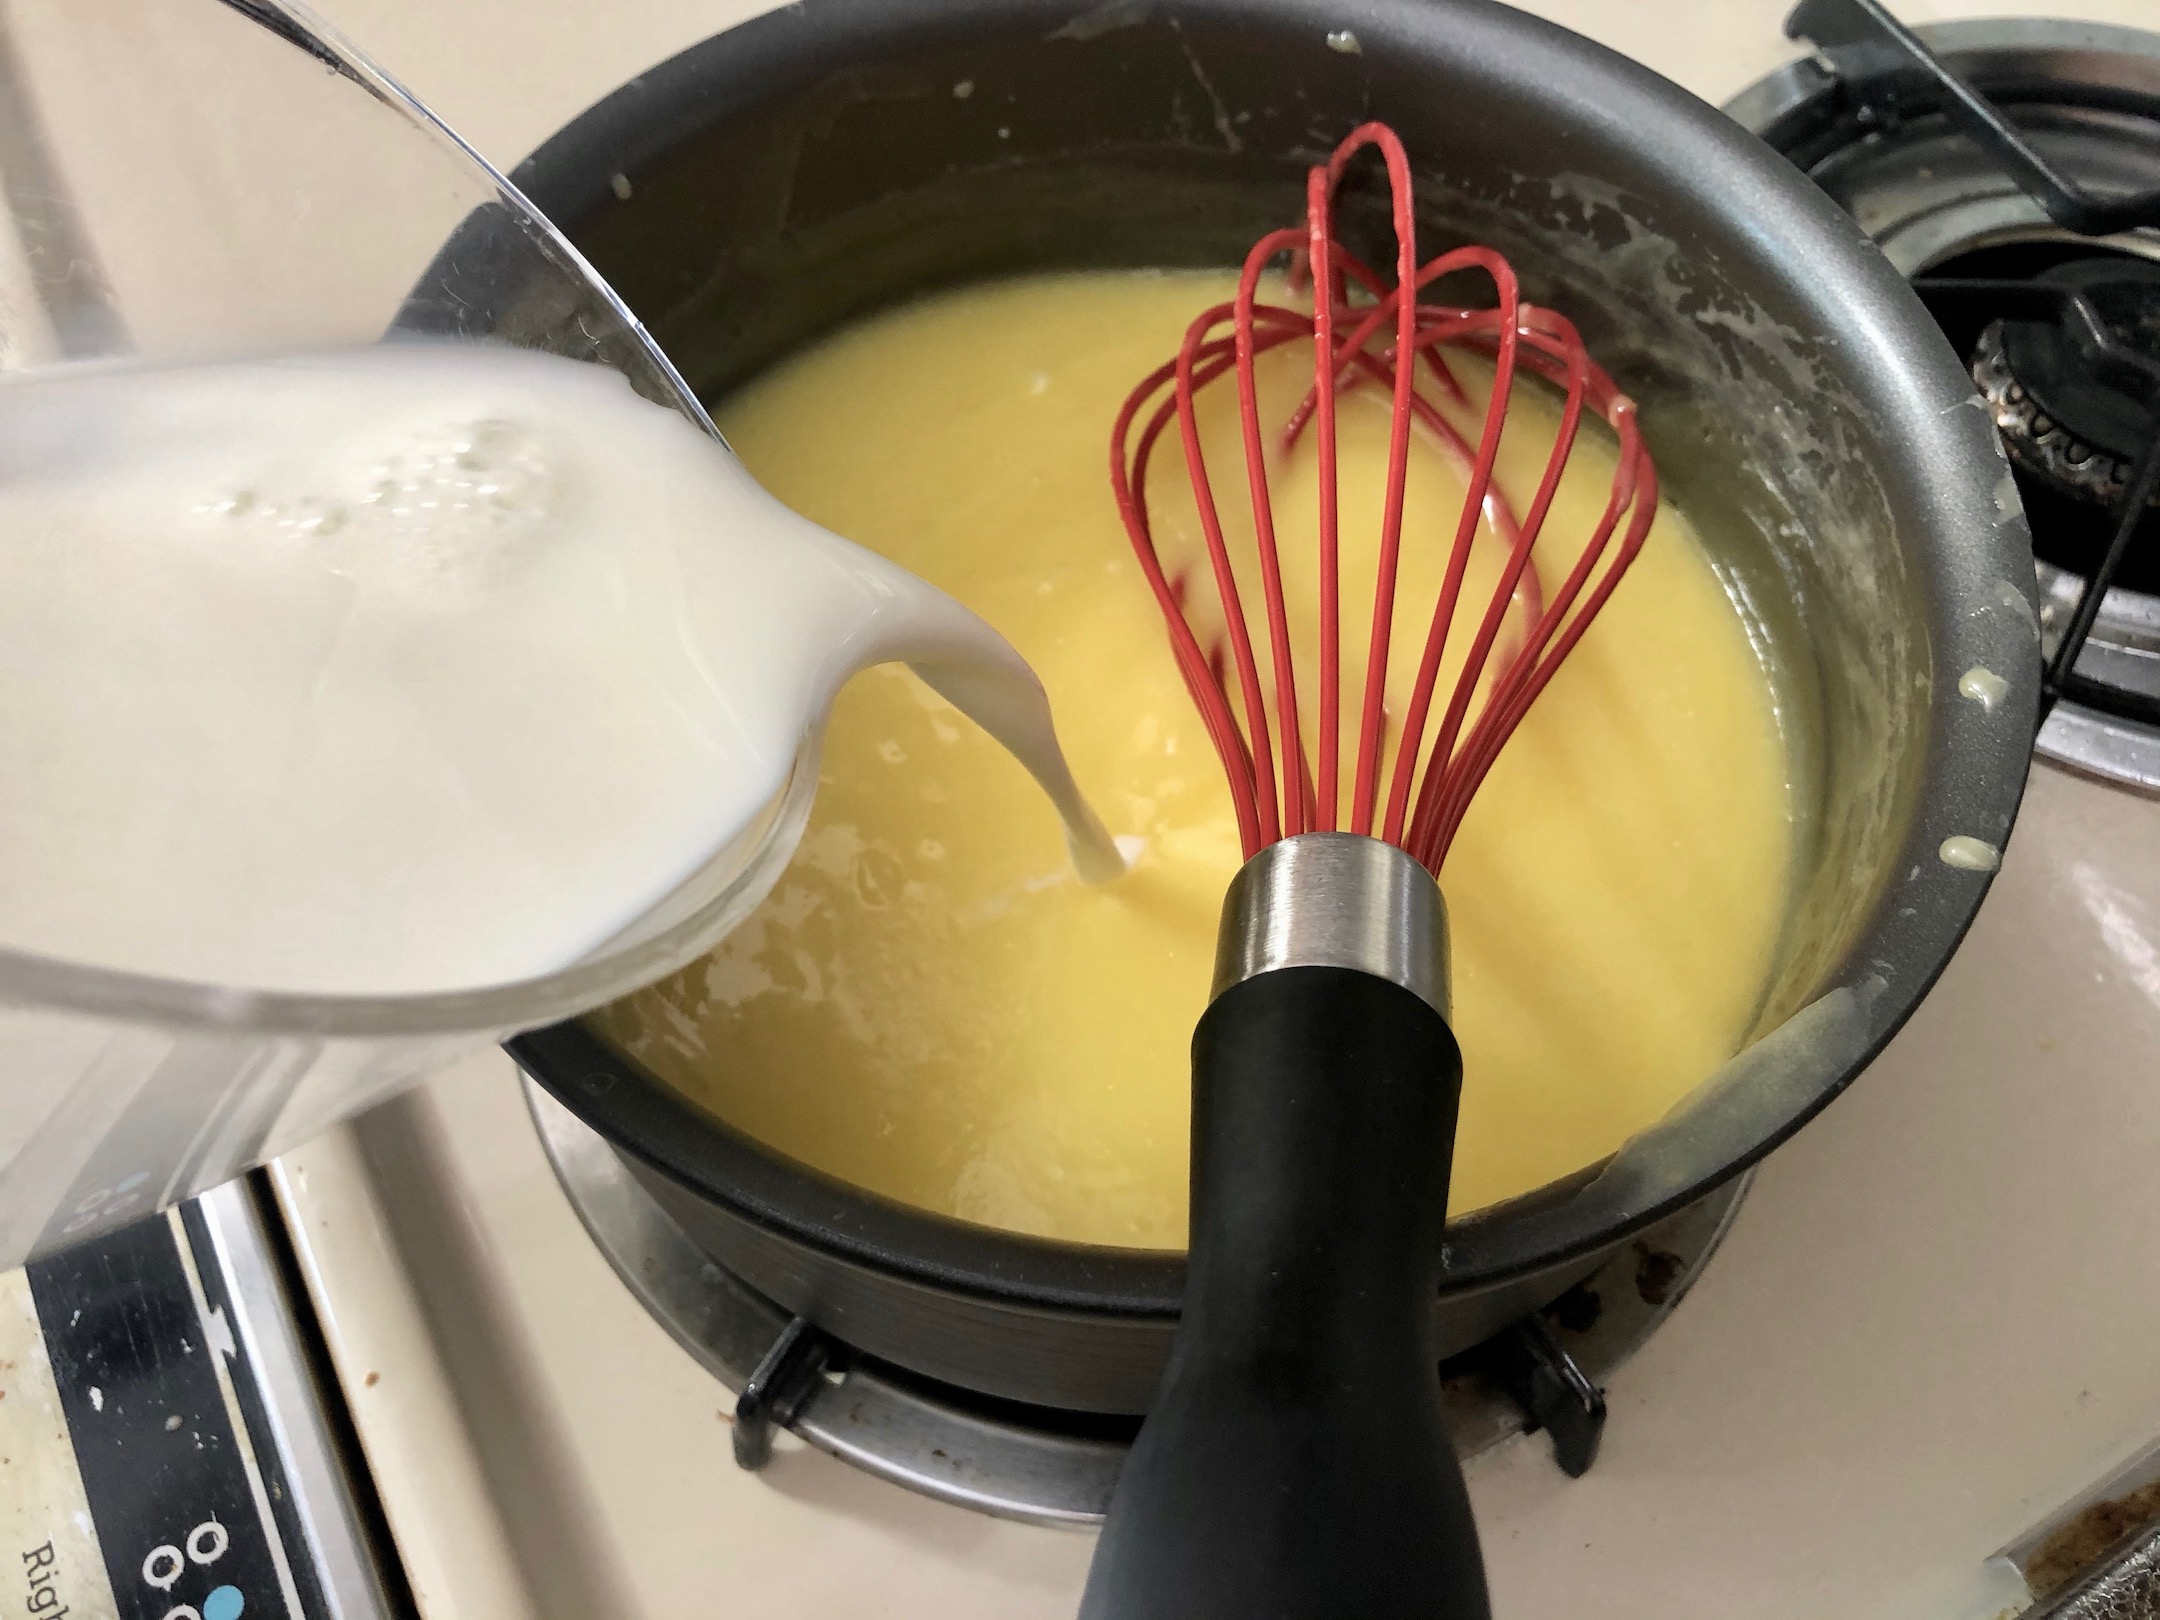
Whisk in the milk, vanilla, and salt. Cover with plastic wrap and place in the fridge for at least an hour or until completely cooled and chilled.

Once chilled, pour the mixture into your ice cream maker. Process according to manufacturer instructions. I like to use the Kitchenaid Ice Cream Attachment with my stand mixer.

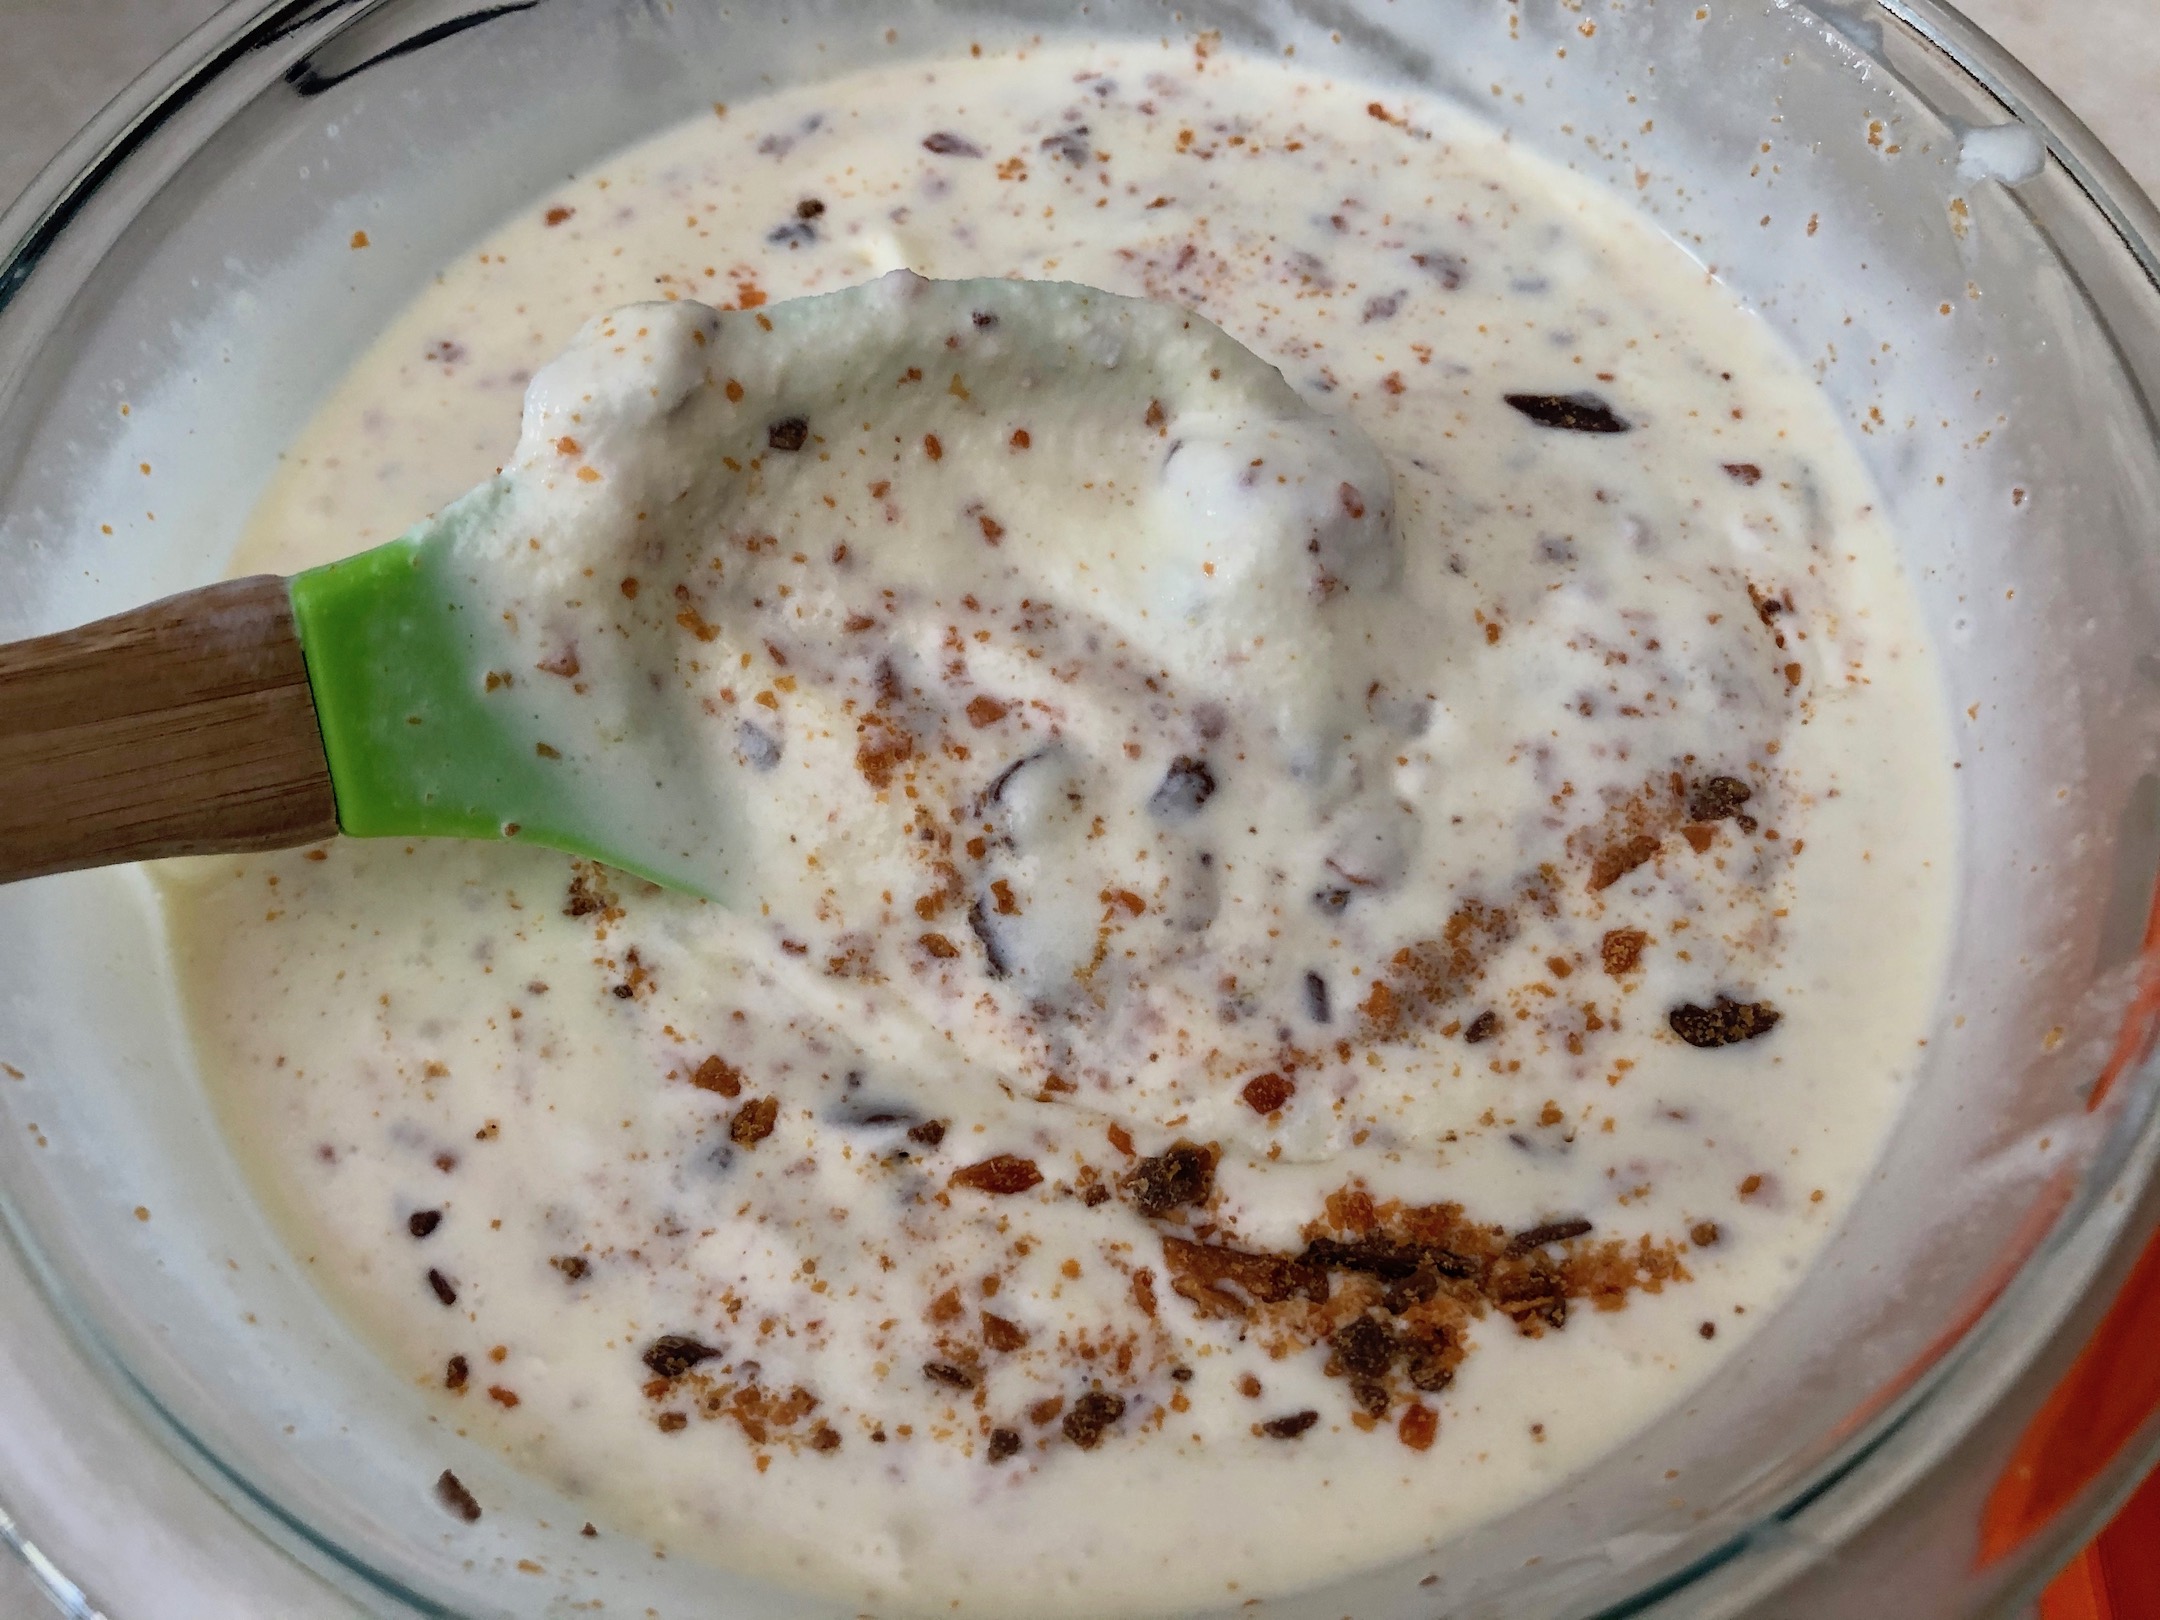
Once ready (according to manufacturer instructions), remove the ice cream from the maker/bowl and place in a freezer safe container. Stir in about 90% of the crushed Butterfingers.


Cover and place in the freezer for at least 4 hours or until the desired consistency has been reached.
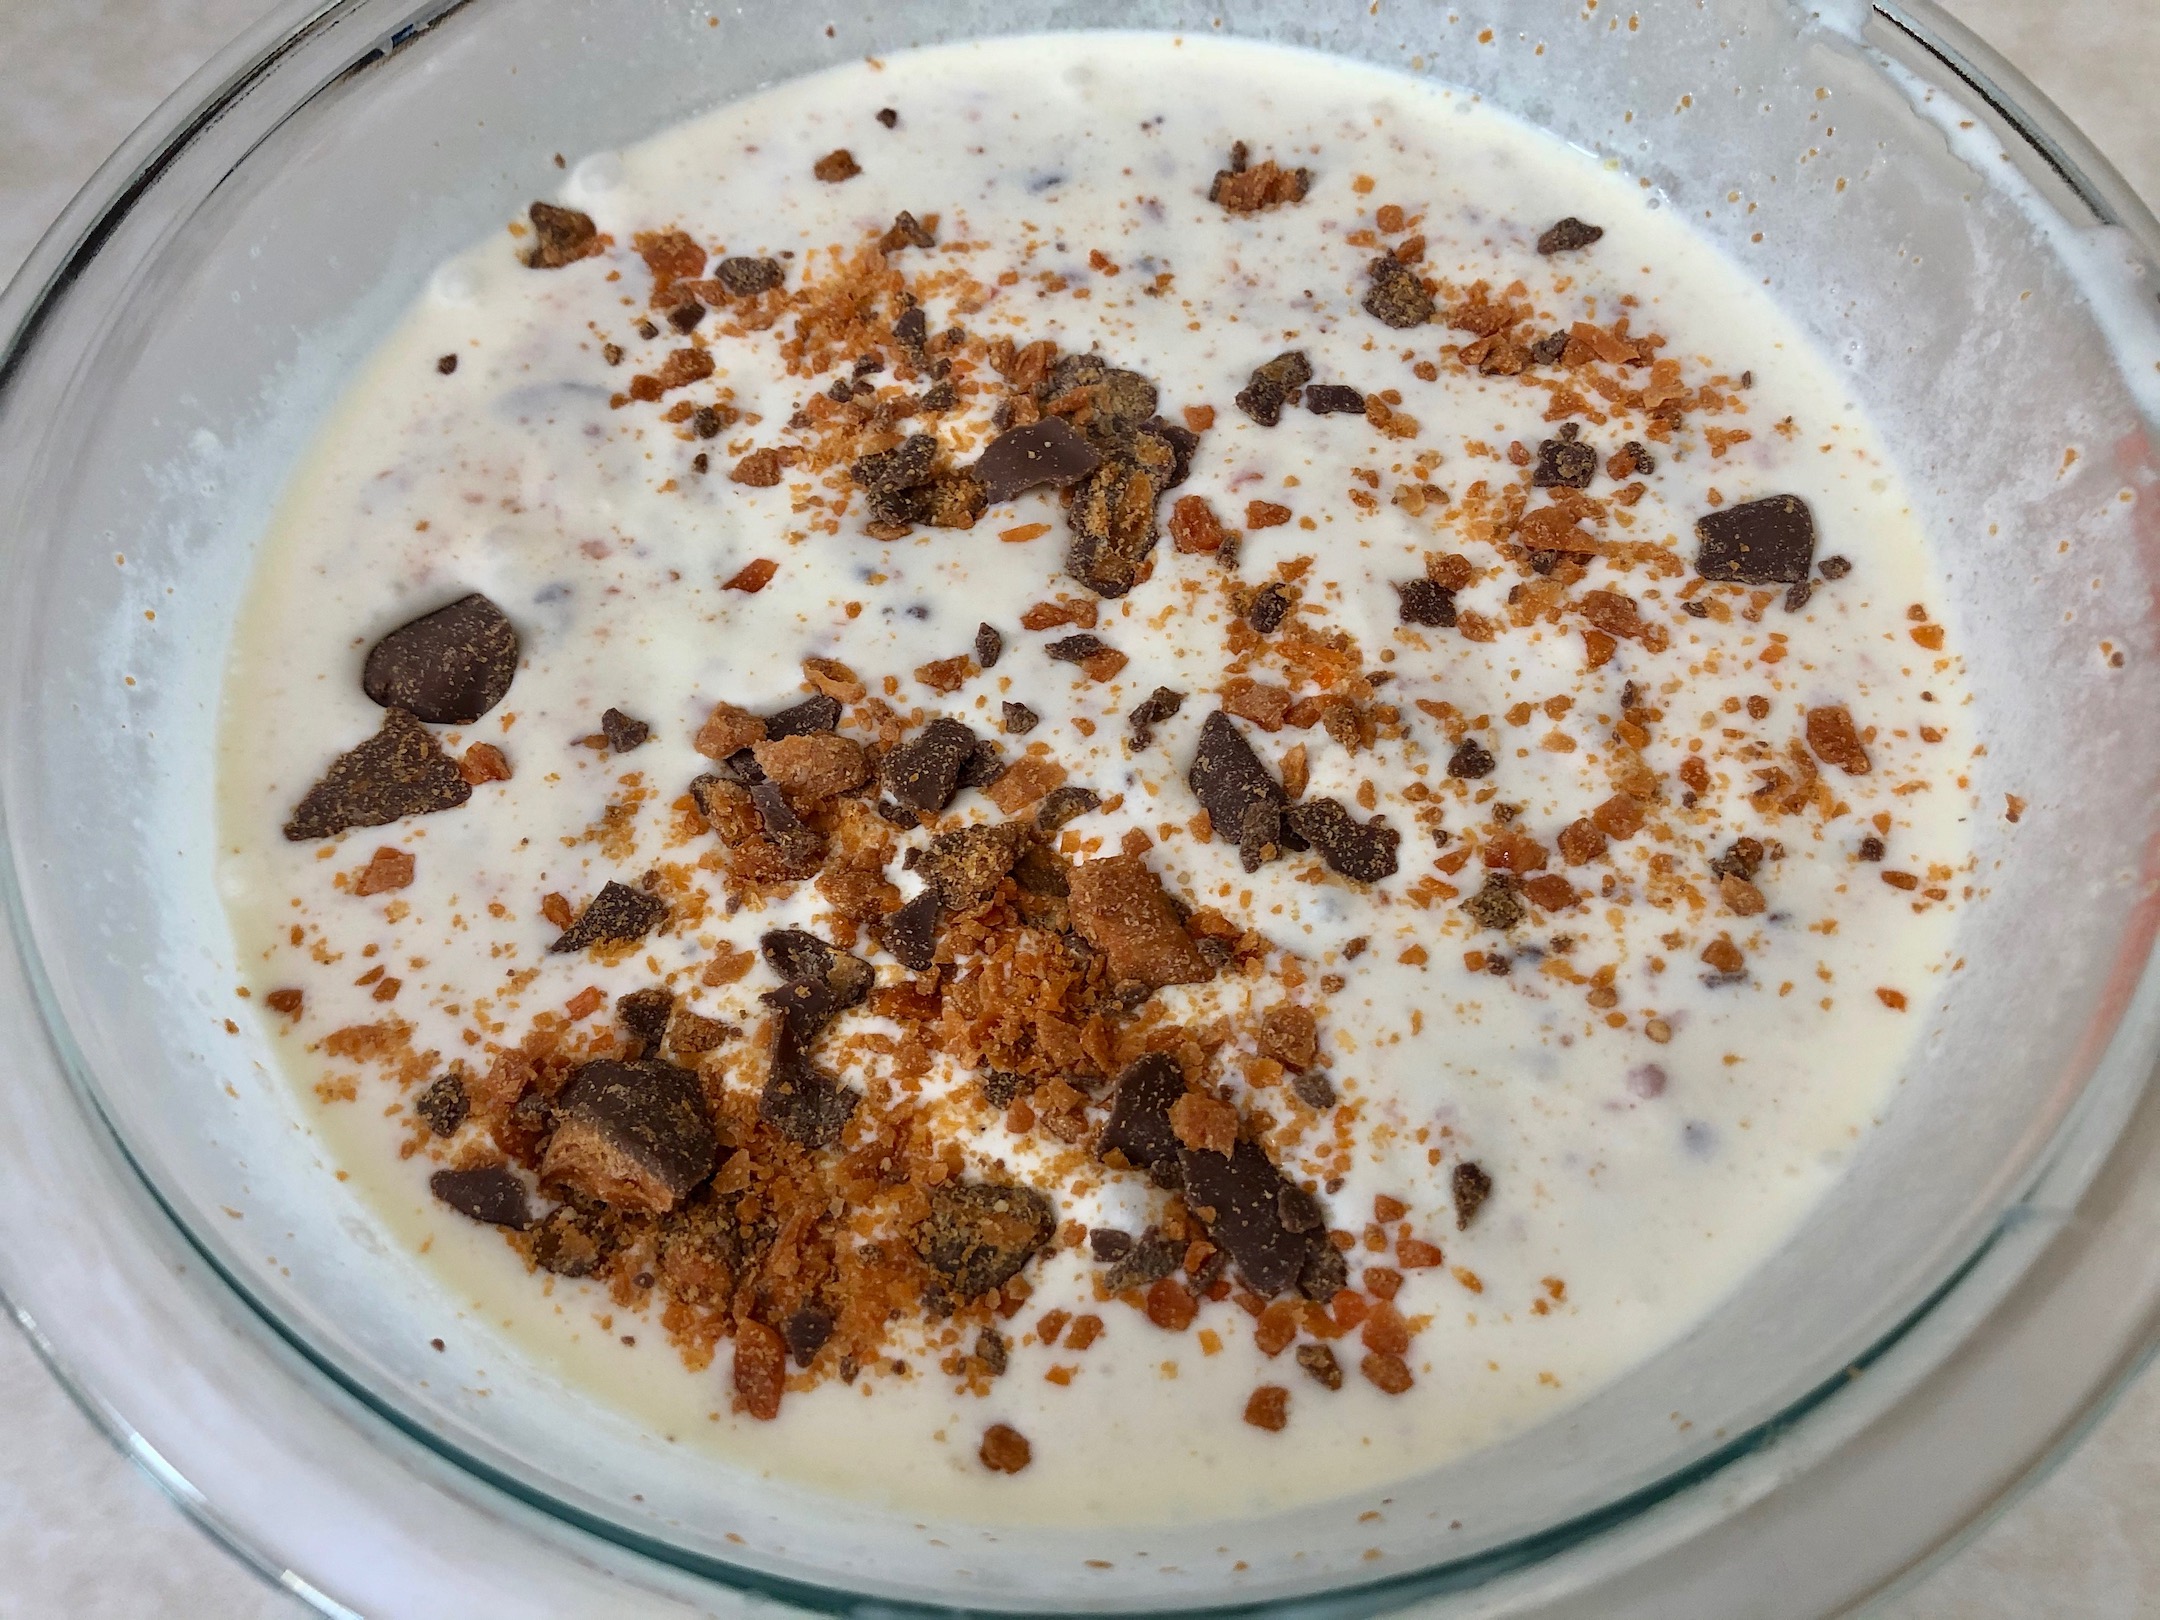
Once fully chilled, scoop into bowls and top with additional crushed Butterfingers. Enjoy!
The recipe can be found here.
Simple as that – you can make your very own homemade ice cream! Like I said before, ice cream can be enjoyed year-round so break out your mixer and start creating!
Happy Cooking!


Recent Comments