 order online
 weekly specials
Cinco de Mayo is coming soon – it’s Friday, May 5th. Cinco de Mayo quite literally means the 5th of May in Spanish so it’s easy to keep track of the date 😊 If you aren’t familiar, here are 3 fun facts about Cinco de Mayo, 1) it’s not Mexico’s Independence Day, 2) it’s not a national holiday in Mexico, 3) it celebrates Mexico’s victory against Imperial France. As you can see, it’s a relatively minor holiday that is celebrated regionally in Mexico….and pretty much everywhere in the United States. In Puebla, Mexico it is celebrated with parades, parties, music, folk dancing, and traditional foods. In the United States, it’s celebrated with Mexican food. Are you sensing a theme to my blog post? I’m going to share fun Mexican fares to enjoy for Cinco de Mayo or anytime you are craving Mexican food.

Here’s my lineup:
- Homemade Flour Tortillas
- Slow Cooker Shredded Salsa Chicken
- Spicy Grilled Queso
- Chunky Guacamole
- Mexican Fried Ice Cream Cake
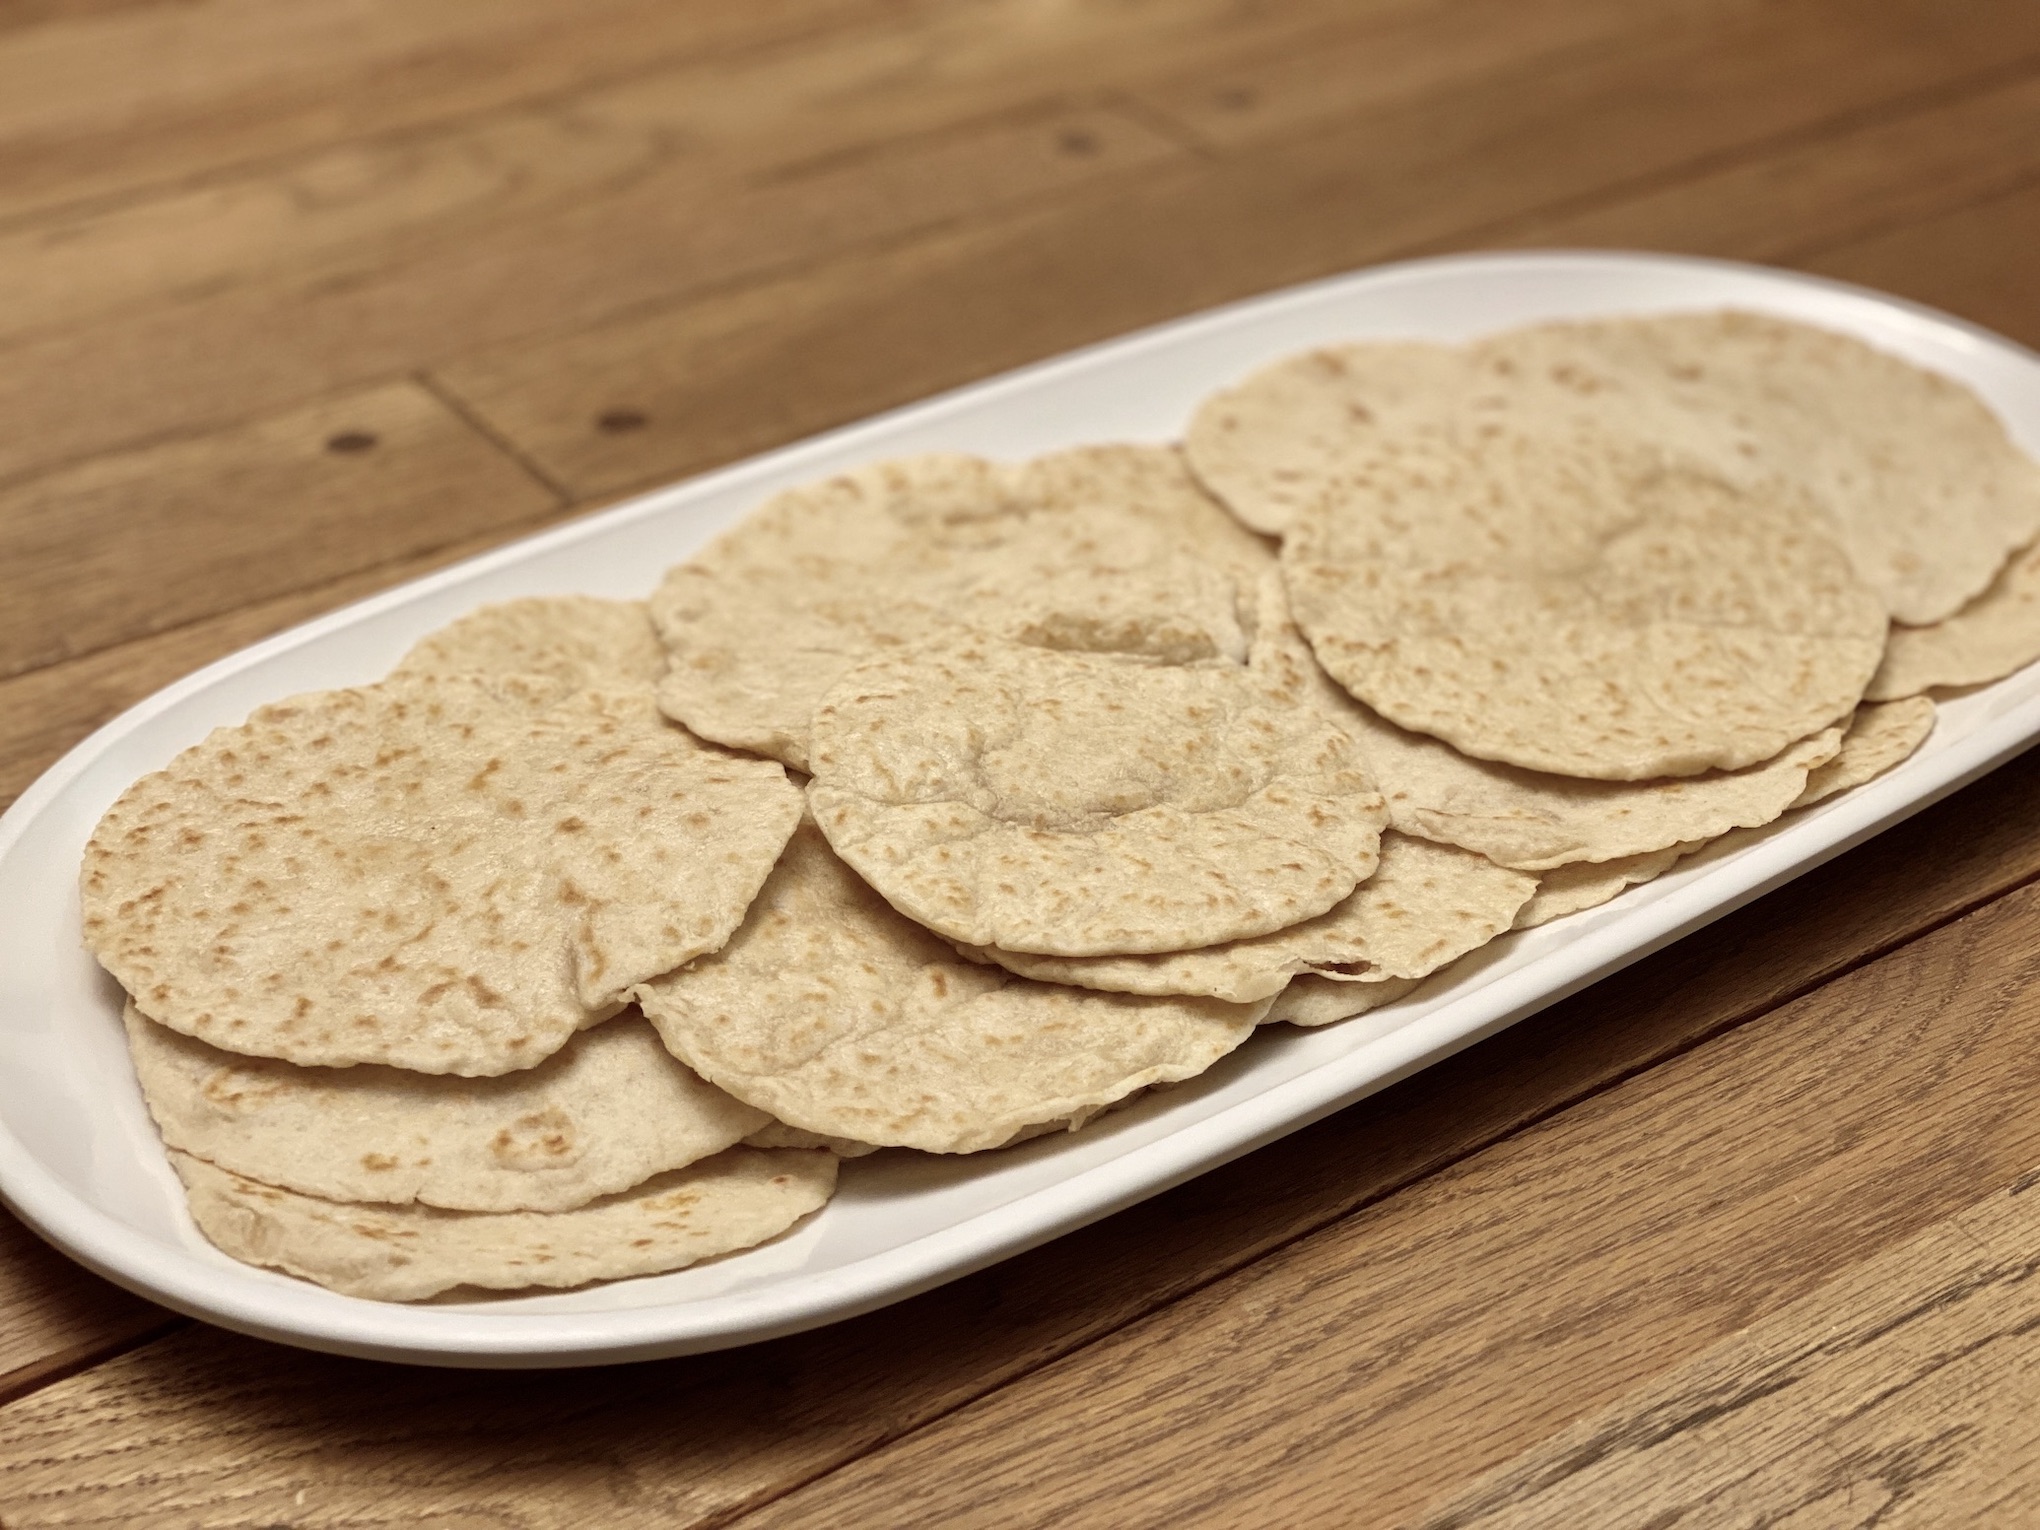
I was gifted a tortilla press around the holidays and thought it would be fun to try my hand at Homemade Flour Tortillas. They were quite delicious! And, simple to make. If you don’t have a tortilla press, a rolling pin will work just fine, but if you are interested in a tortilla press, here is a link to the one I have. 8 Inch Cast Iron Tortilla Press.

The tortillas were soft and chewy with a mild flavor. They tasted homemade vs store-bought tortillas with a longer shelf life but were very tasty.
The recipe can be found here.
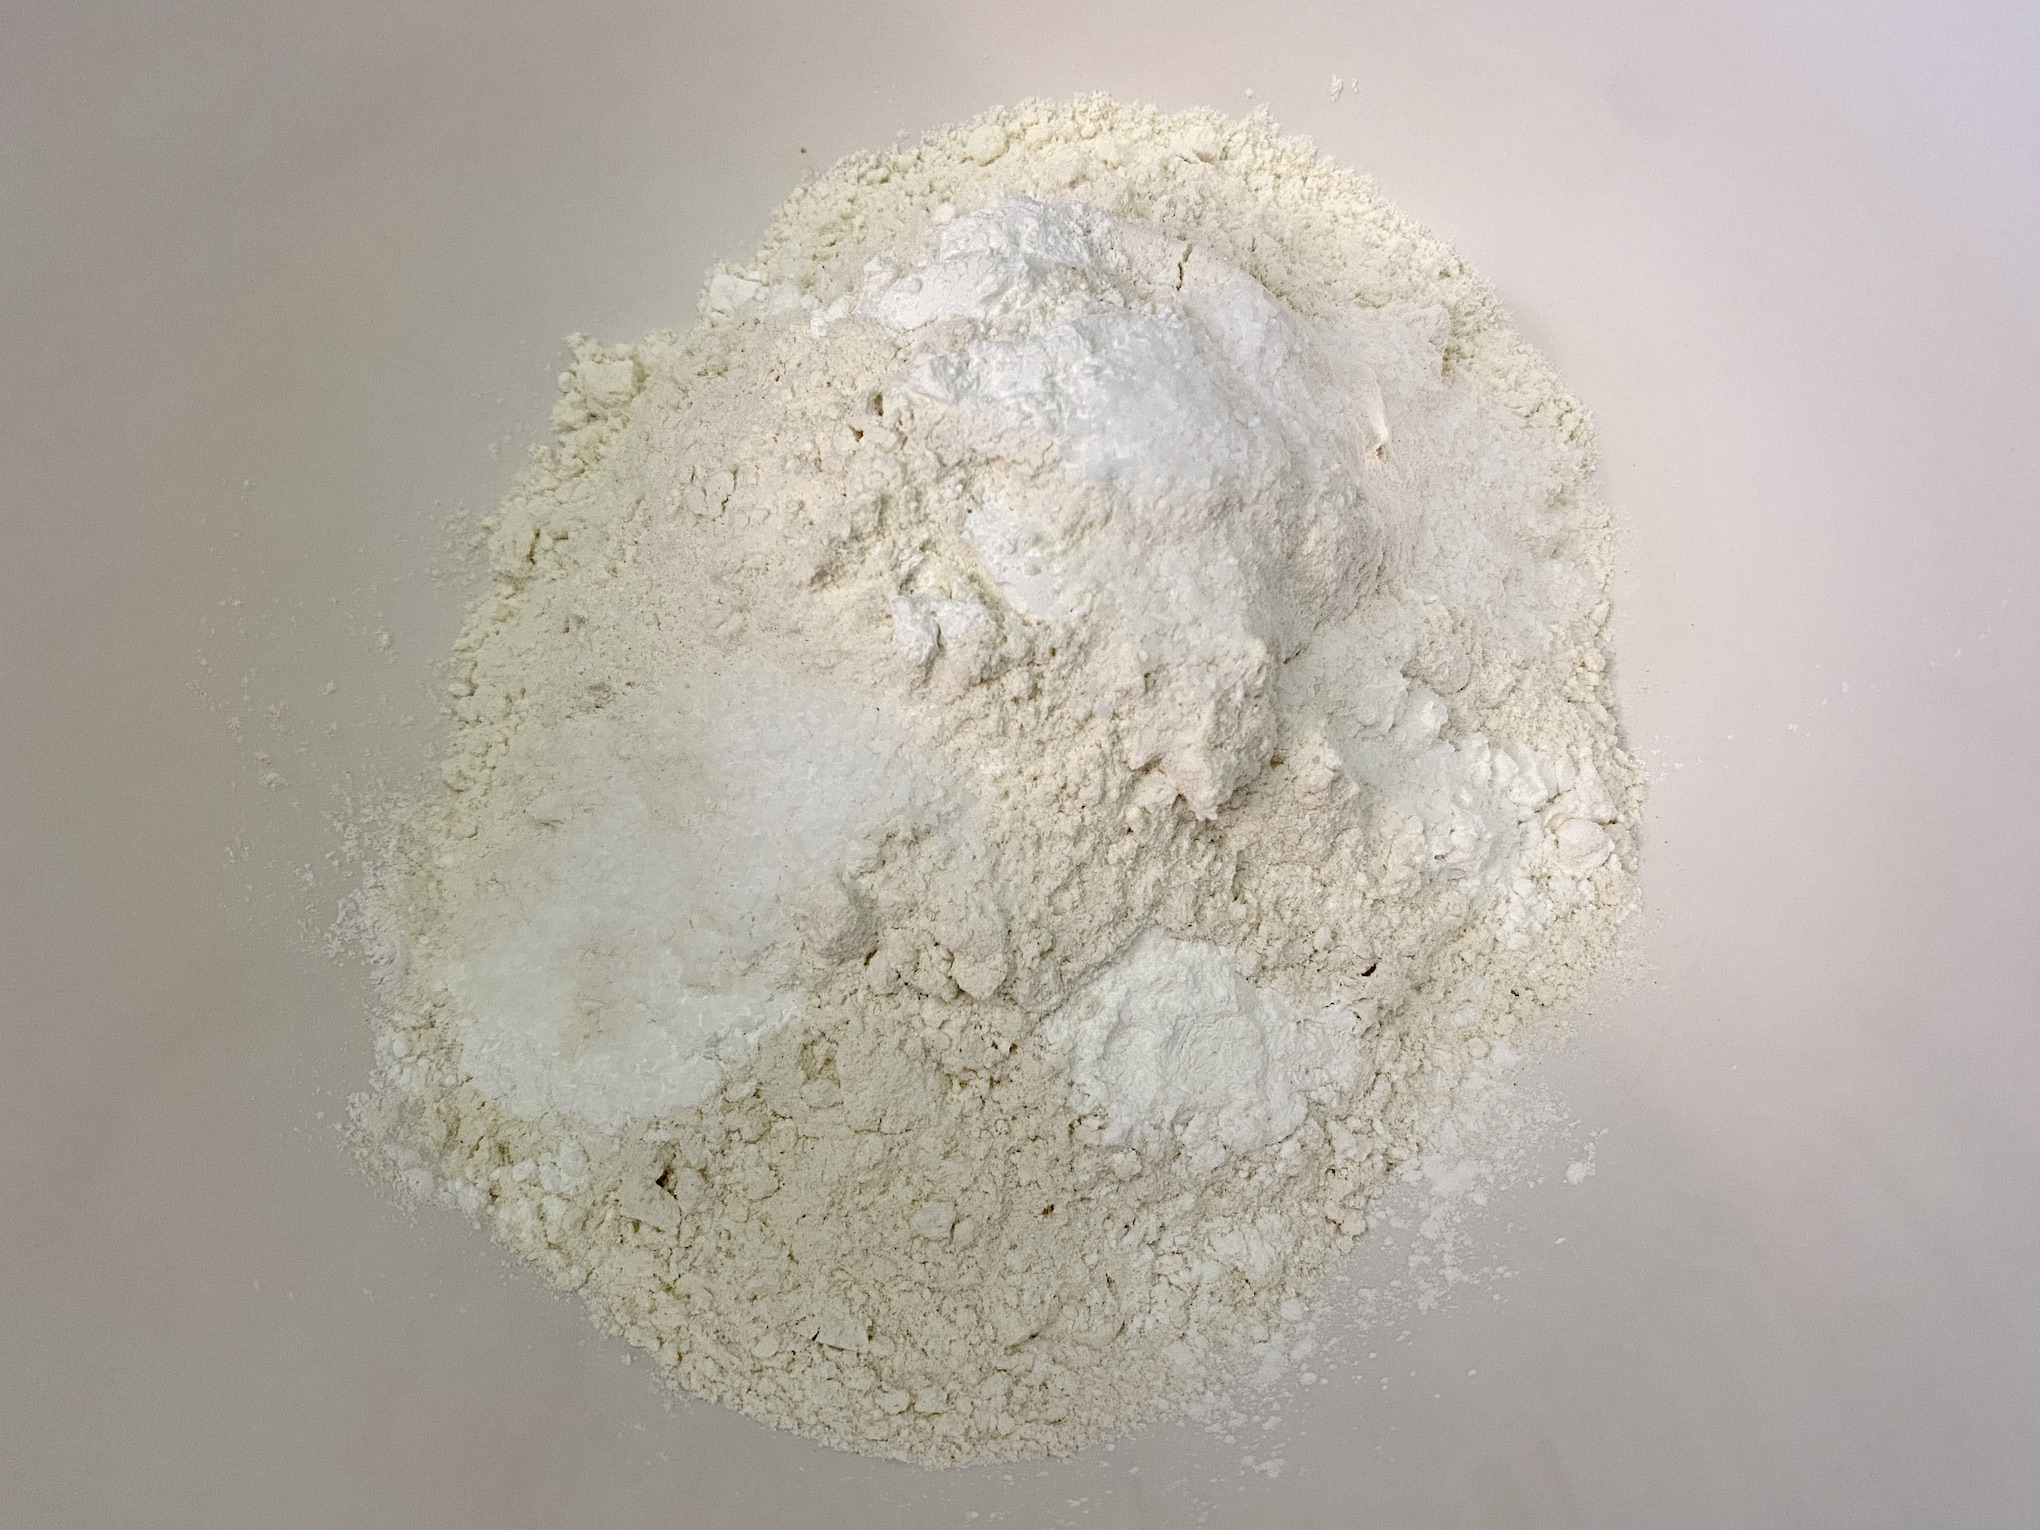
You only need a few ingredients, and they are common household items, so chances are you already have these items at home. Start by adding the flour, baking powder, and salt to a mixing bowl and whisk to combine. Add the vegetable shortening and use a pastry cutter or your hands to blend the mixture together. I find it easiest to use my hands so don’t be afraid to get in there. The mixture should resemble coarse crumbs.

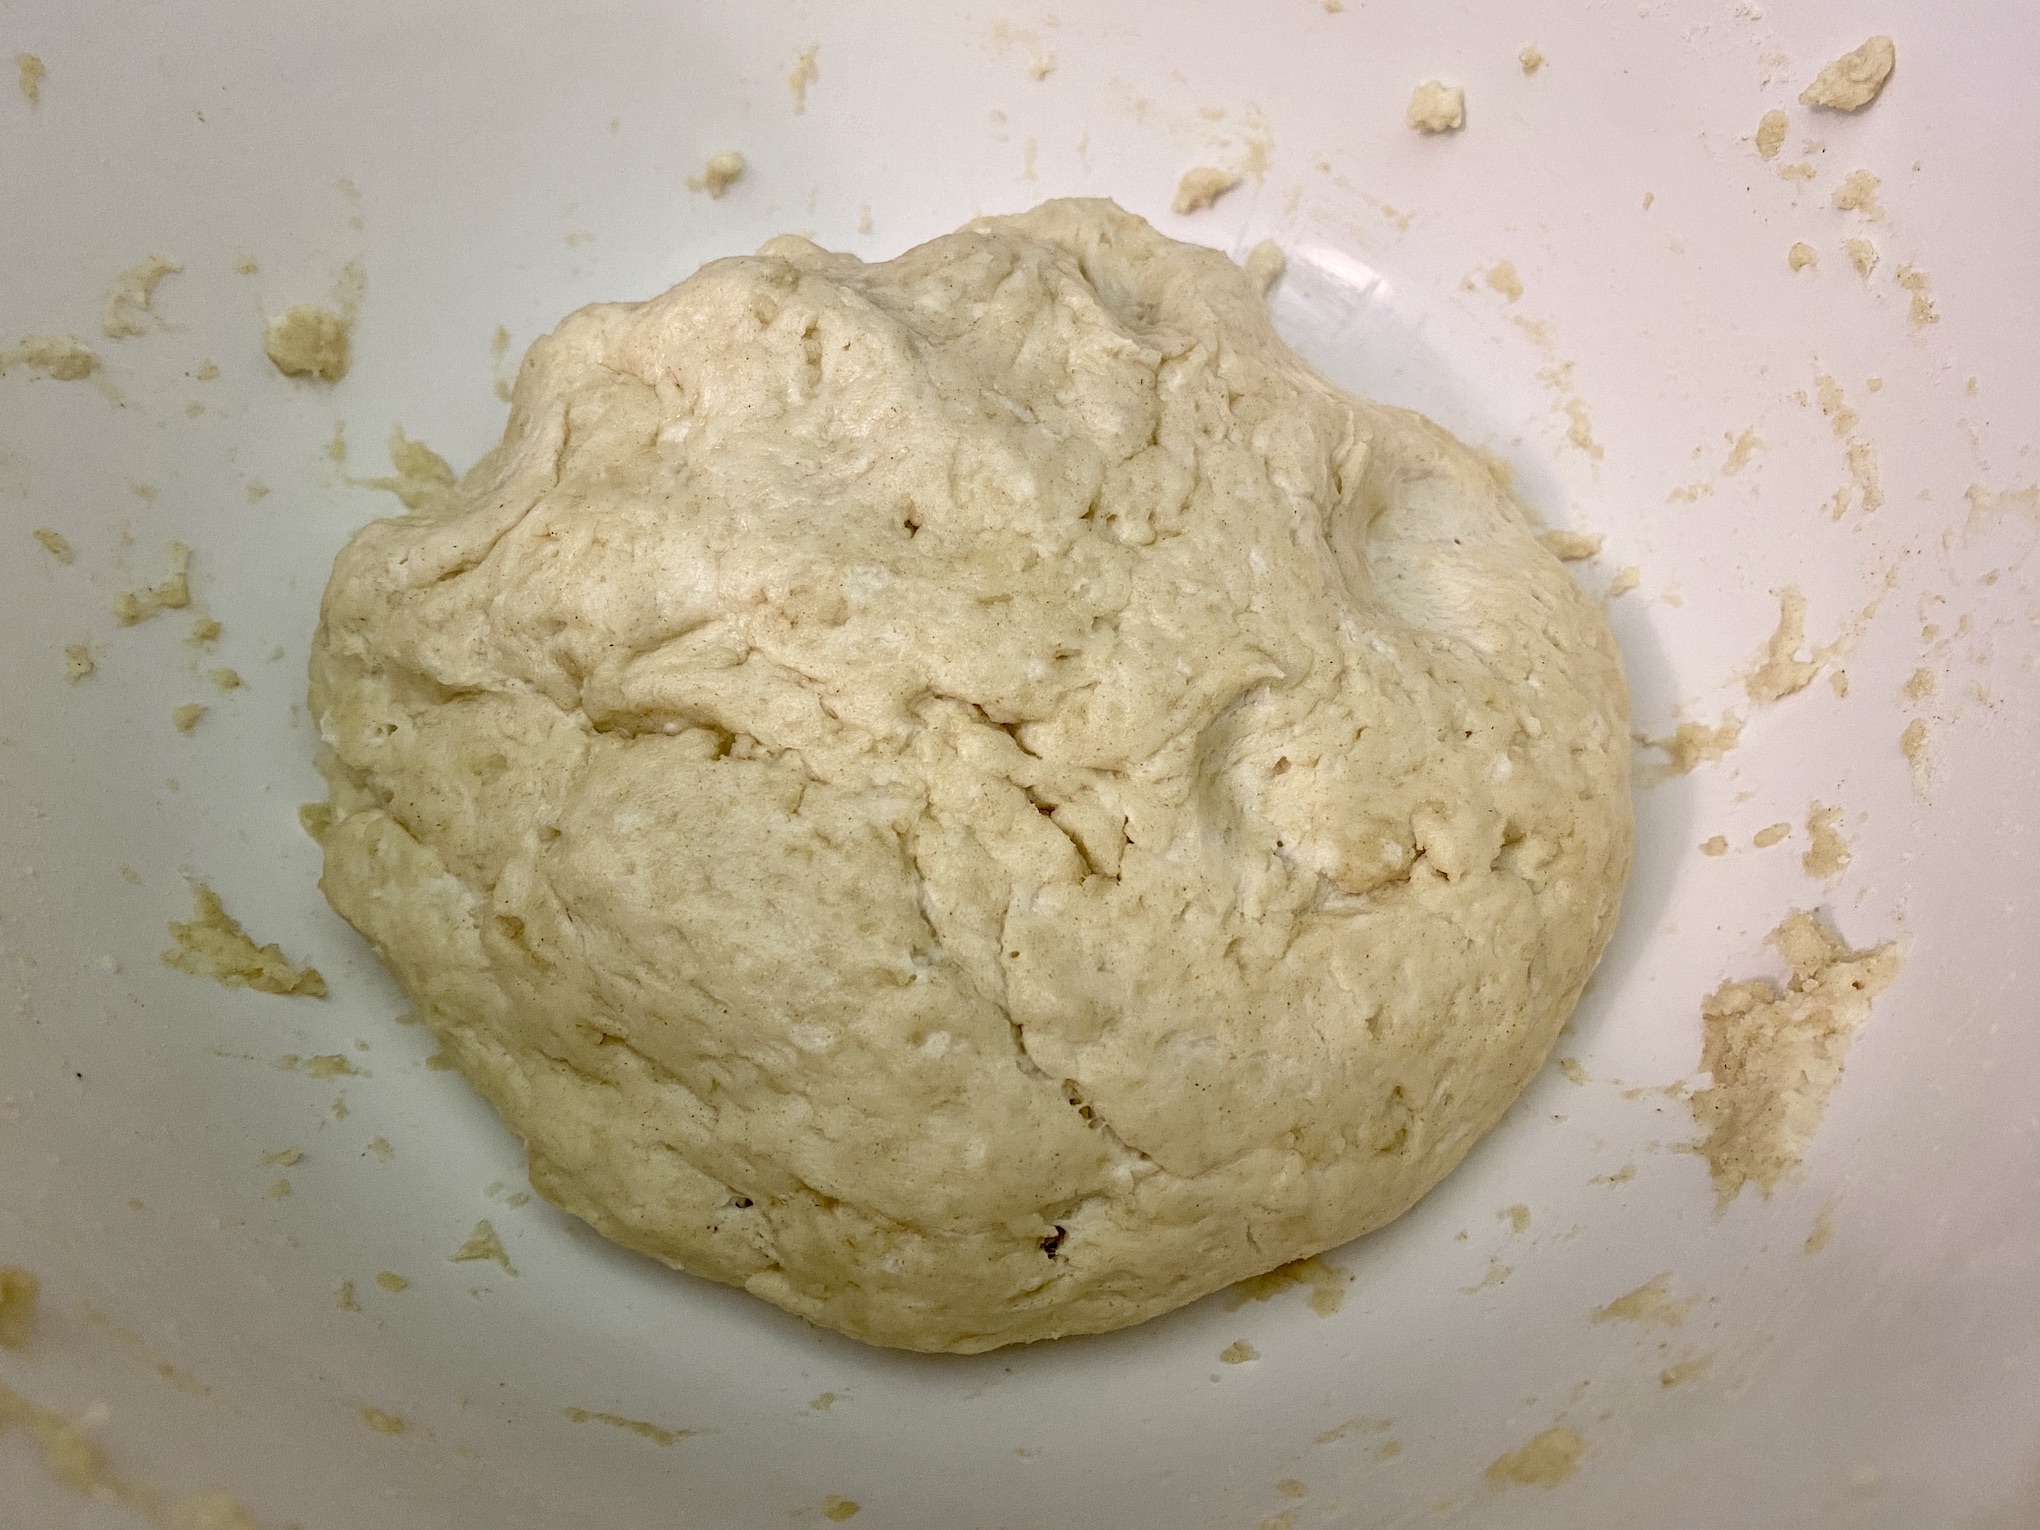
Gradually add the HOT water, stirring in between, until the mixture forms a dough. Gently knead the dough 30-40 times and shape into a ball. It will be a little sticky. Place back in the mixing bowl and loosely cover with plastic wrap or a towel. Let the dough rest for an hour.
Portion the dough into golf ball sized pieces and roll into balls. Place on a baking sheet or plate and loosely cover with plastic wrap or a towel. Let rest for another 30 minutes.

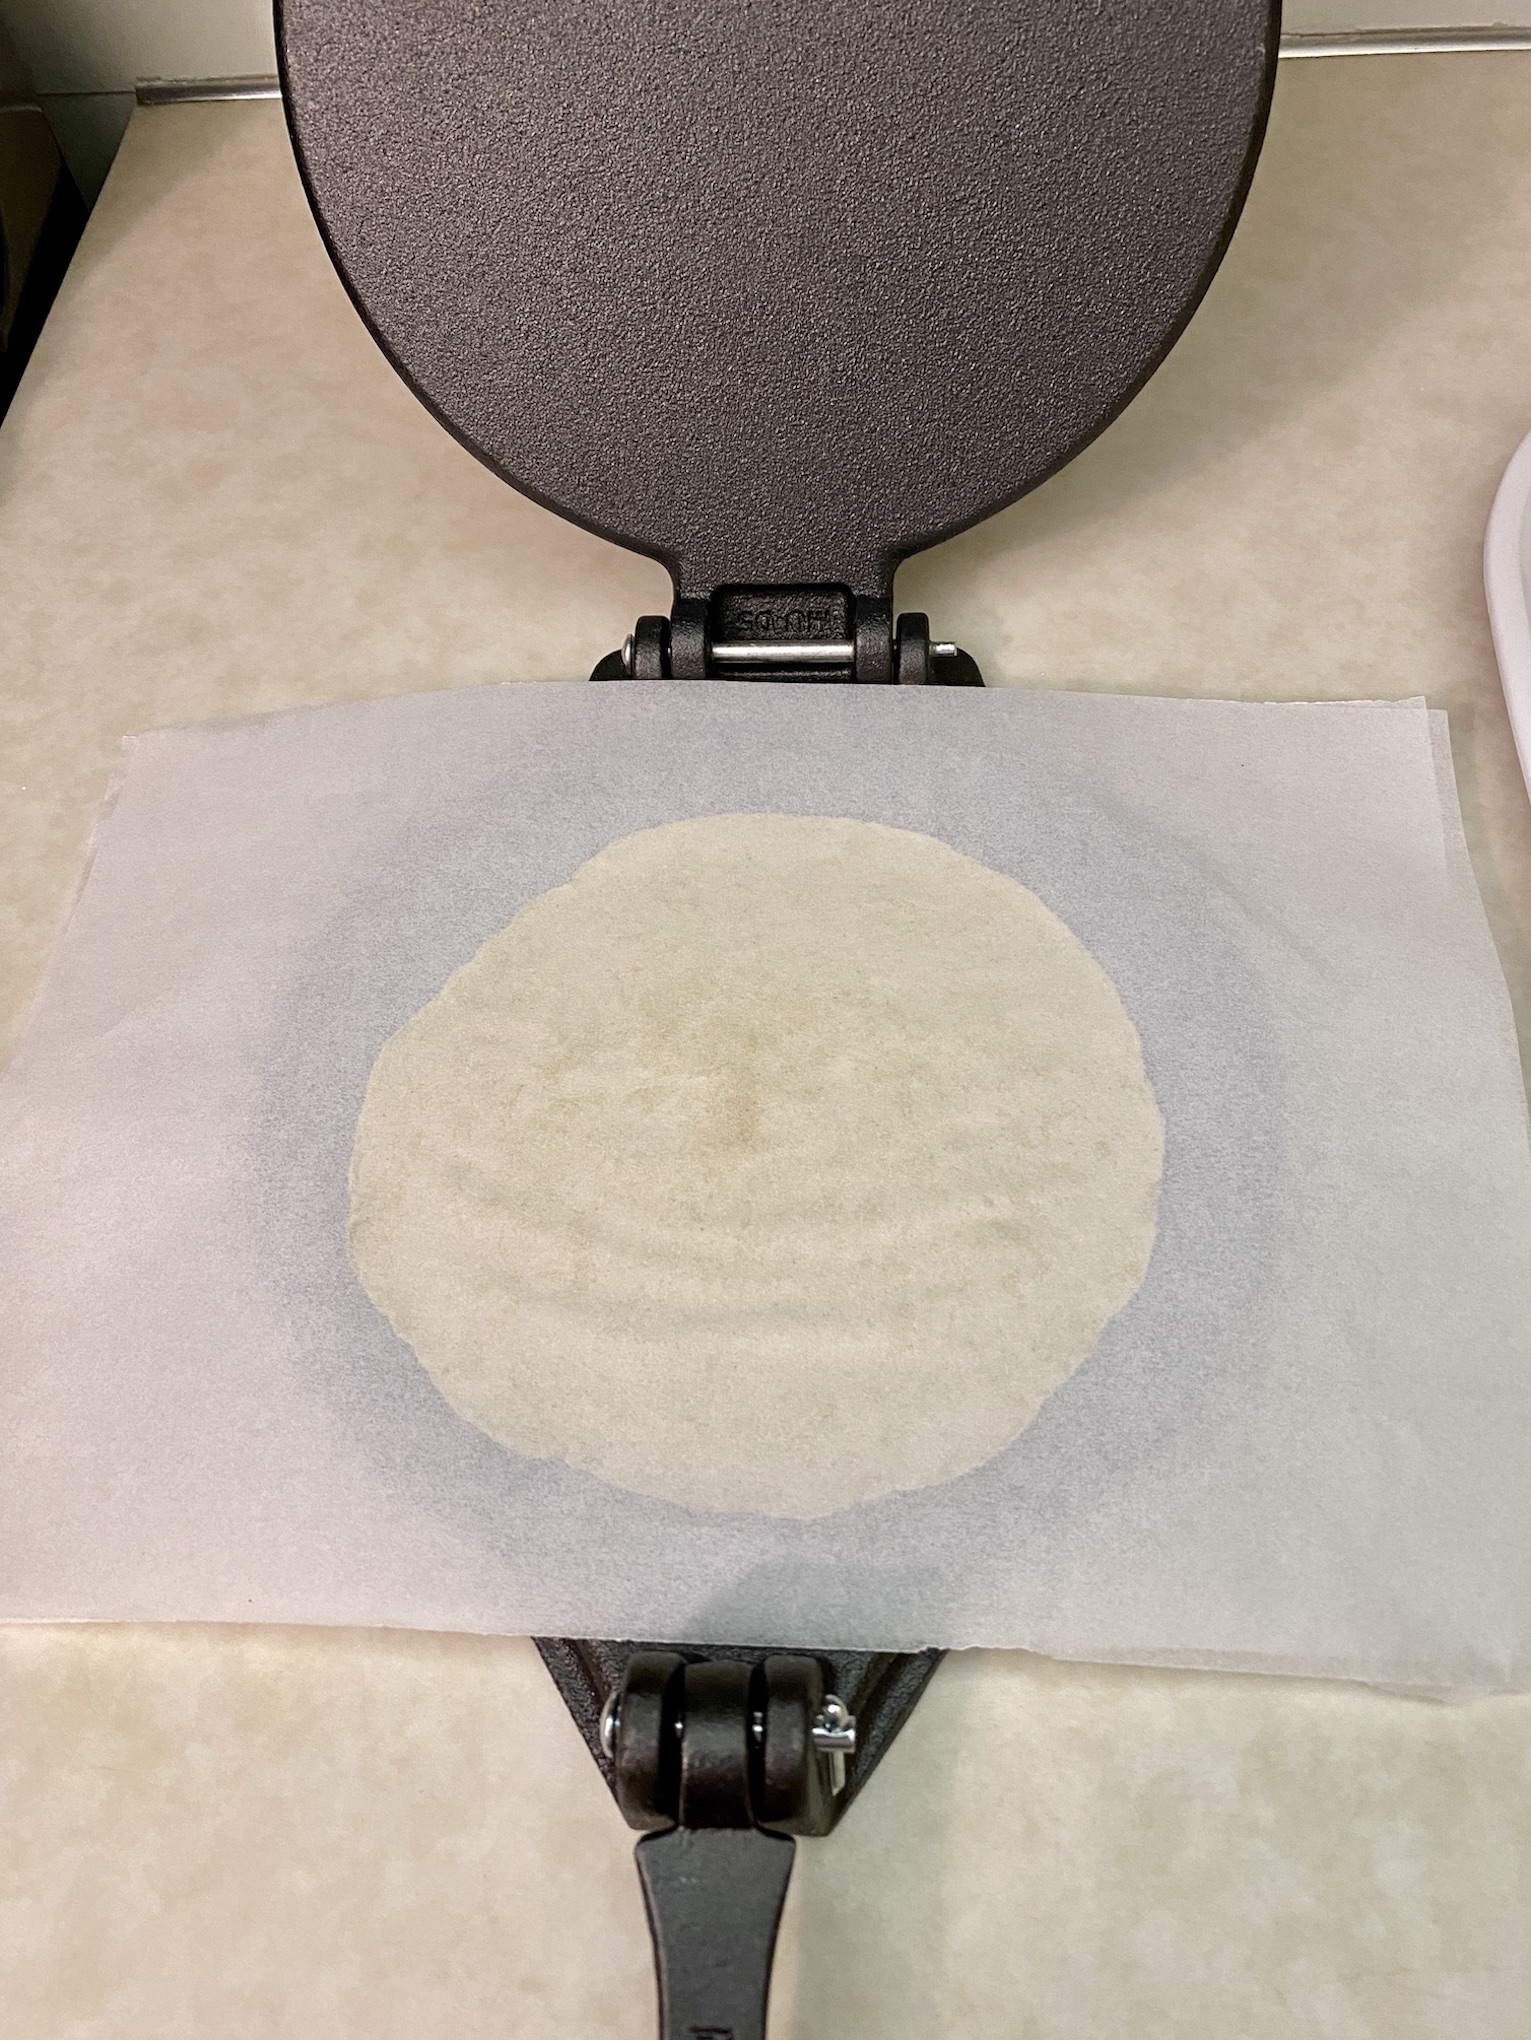
Heat a nonstick skillet over medium to medium-high heat. This is where the tortilla press will come into play. Use the tortilla press to flatten each ball of dough, working one at a time. Use parchment paper on the top and bottom of each piece of dough so it doesn’t stick to the press and gently peel the dough off the parchment paper. Add one tortilla to the hot skillet and cook on each side for about 30 seconds. You want to cook and brown the tortilla without making it crispy. You want a pliable tortilla when you remove it from the skillet. Remove to a plate and continue until all tortillas have been cooked.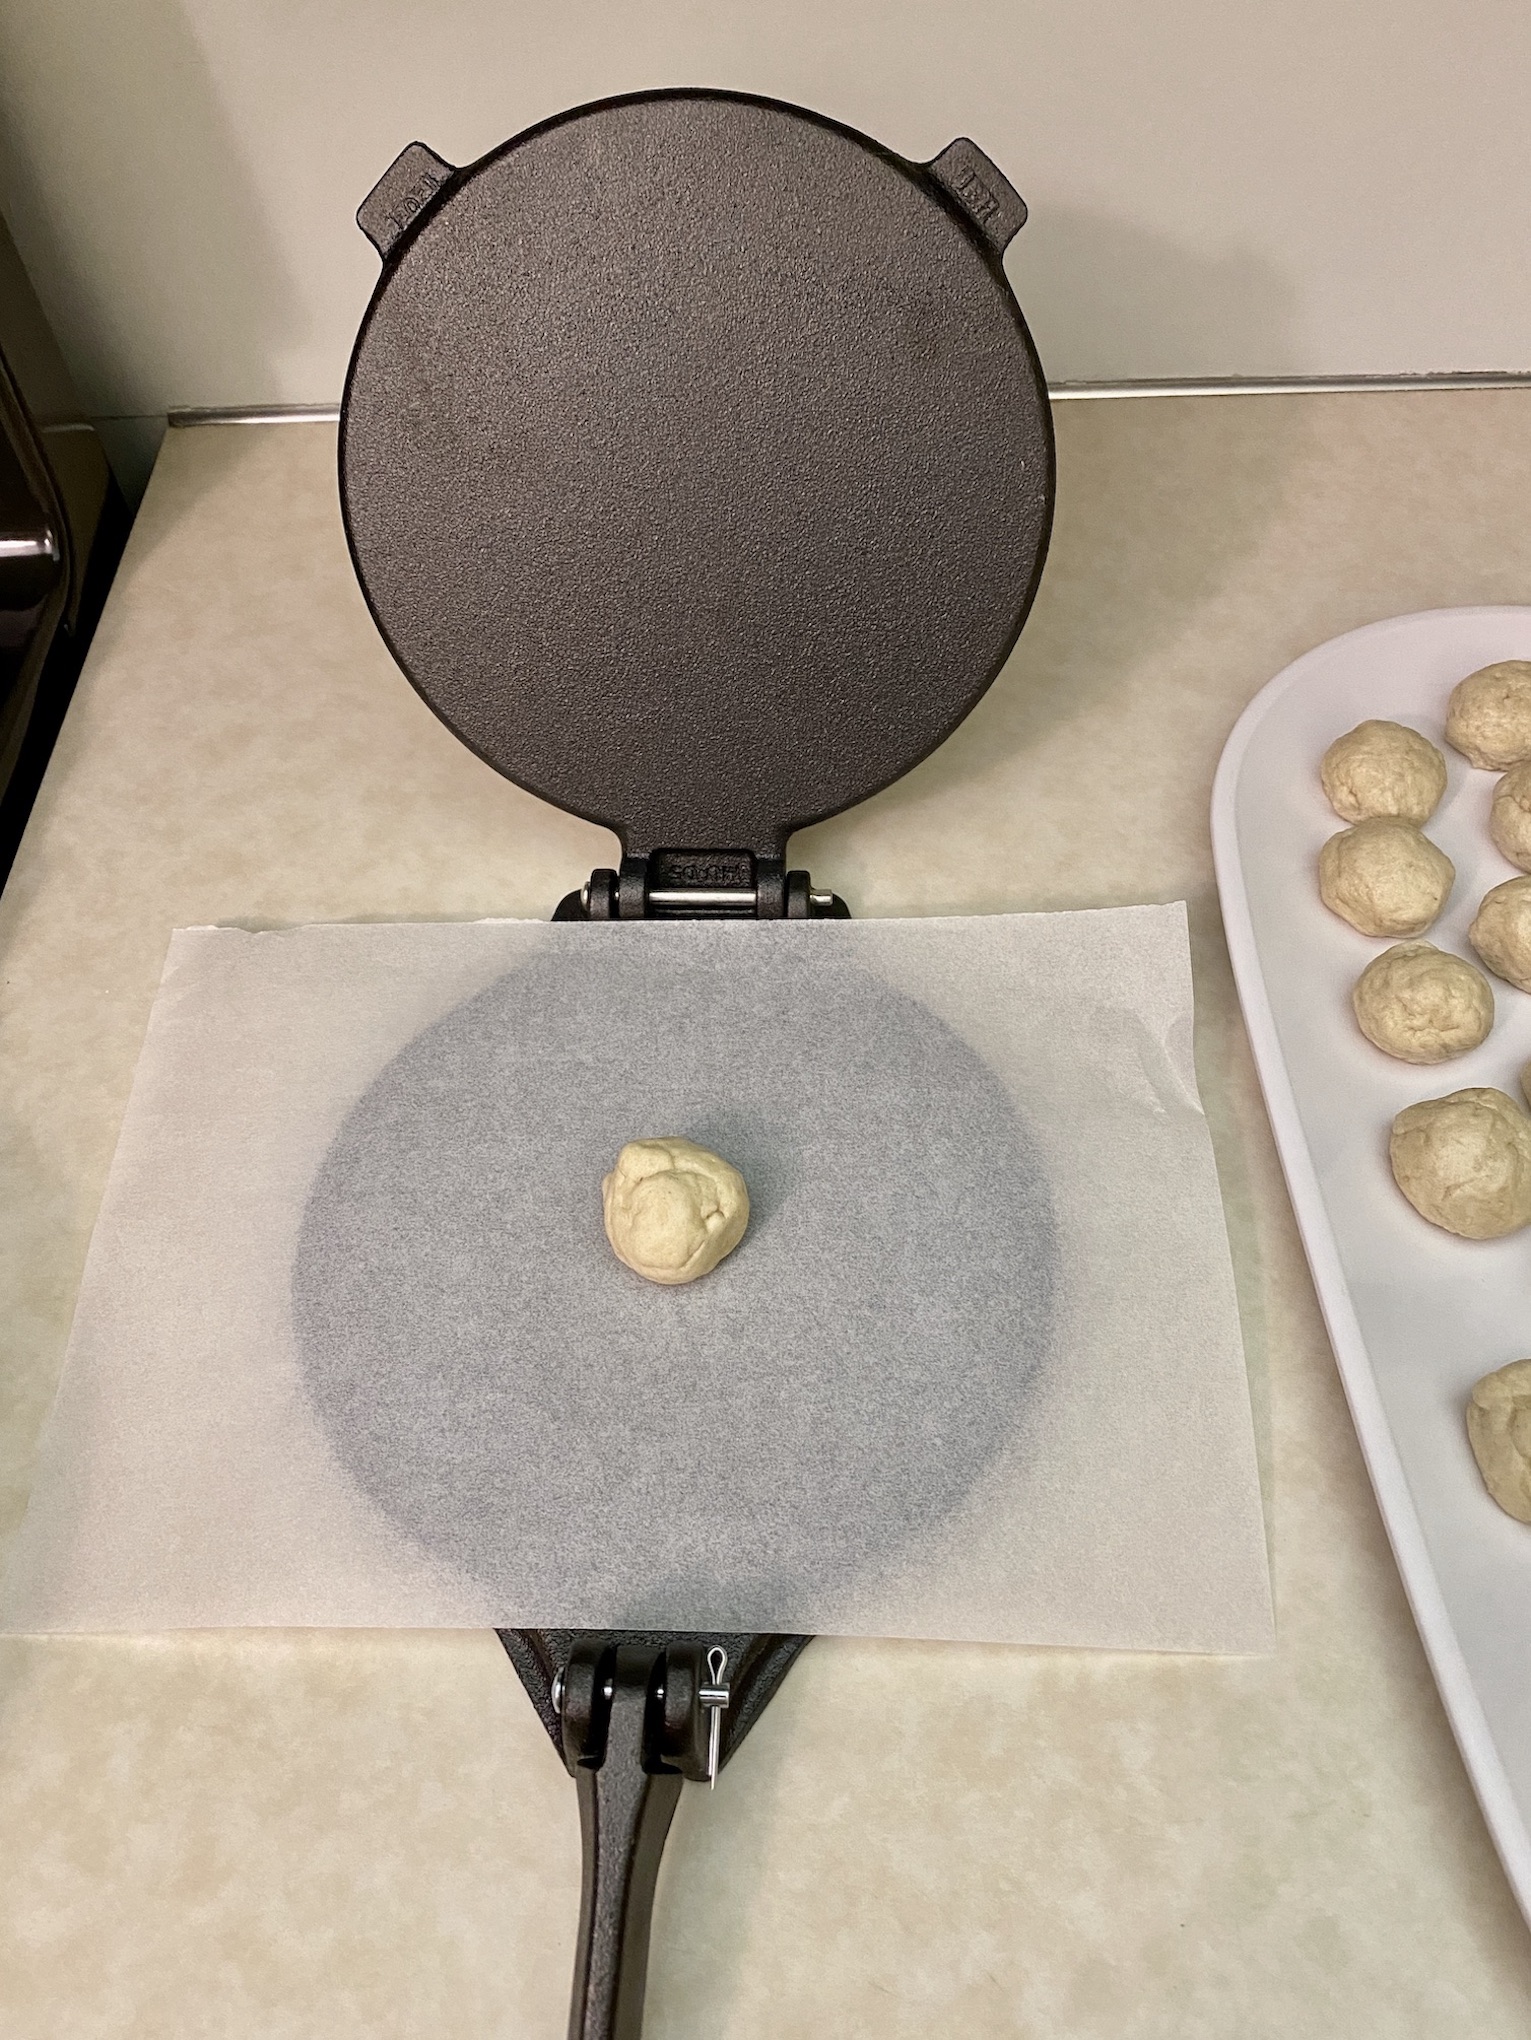


 My process is an assembly line. I press one ball of dough and while it is cooking, I press the next ball of dough, so no dough is flattened until right before going in the skillet. I think this was easier to manage and prevented the dough from getting too warm and sticking. Find what works for you!
Alternately, you can add flour to the counter and use a rolling pin to roll out each piece of dough. You want a flattened, mostly round circle that is very thin. Then follow the steps to cook each tortilla, same as mentioned above.
Once done, serve immediately while still hot. These are great for tacos, fajitas, or quesadillas. If you are not serving immediately, let cool completely and store in an airtight container on the counter. Warm in the microwave when ready to serve.
The recipe can be found here.
We turned our Homemade Flour Tortillas into tacos, which brings me to my next recipe…Slow Cooker Shredded Salsa Chicken. This recipe is made in a slow cooker and combines tender chicken with salsa and taco seasoning. The salsa and taco seasoning soak into the chicken giving it wonderful flavor. It’s so simple and versatile. Make tacos, quesadillas, nachos, salads, etc. and jazz it up with the toppings of your choice. You should have leftovers that can be frozen for later or used throughout the week.

The recipe can be found here.
Start by adding the chicken to the bottom of the slow cooker. Pour the salsa all over the top (use the entire jar). Sprinkle the taco seasoning, black pepper, and diced green chilies over the top.
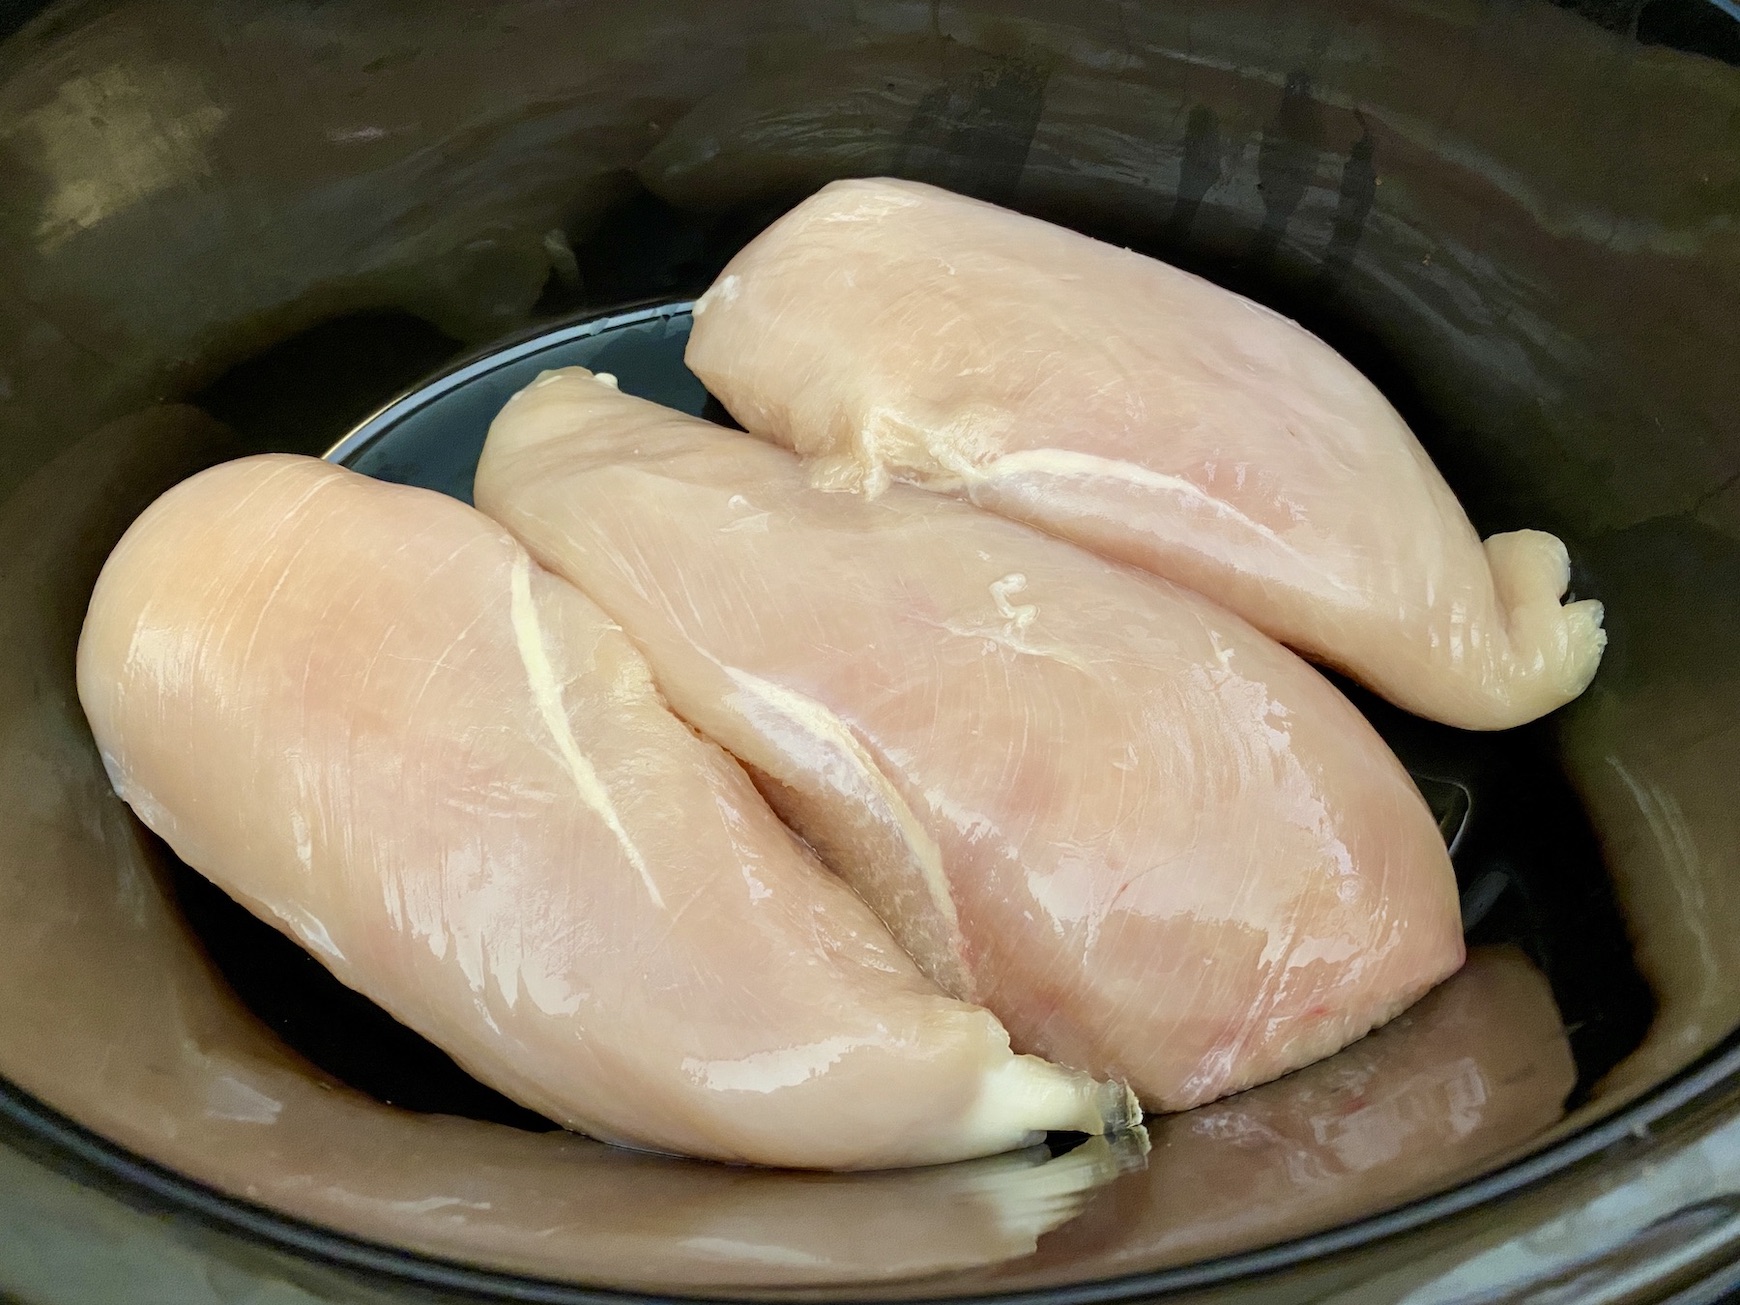


Cover and cook on LOW for 7-8 hours or HIGH for 3-4 hours. You want the chicken to have an internal temperature of 165 degrees F.
Once done, remove the chicken to a cutting board and use 2 forks to shred. Return to the slow cooker and stir to coat with the sauce.


Serve immediately or keep warm until ready to serve. Enjoy!
The recipe can be found here.
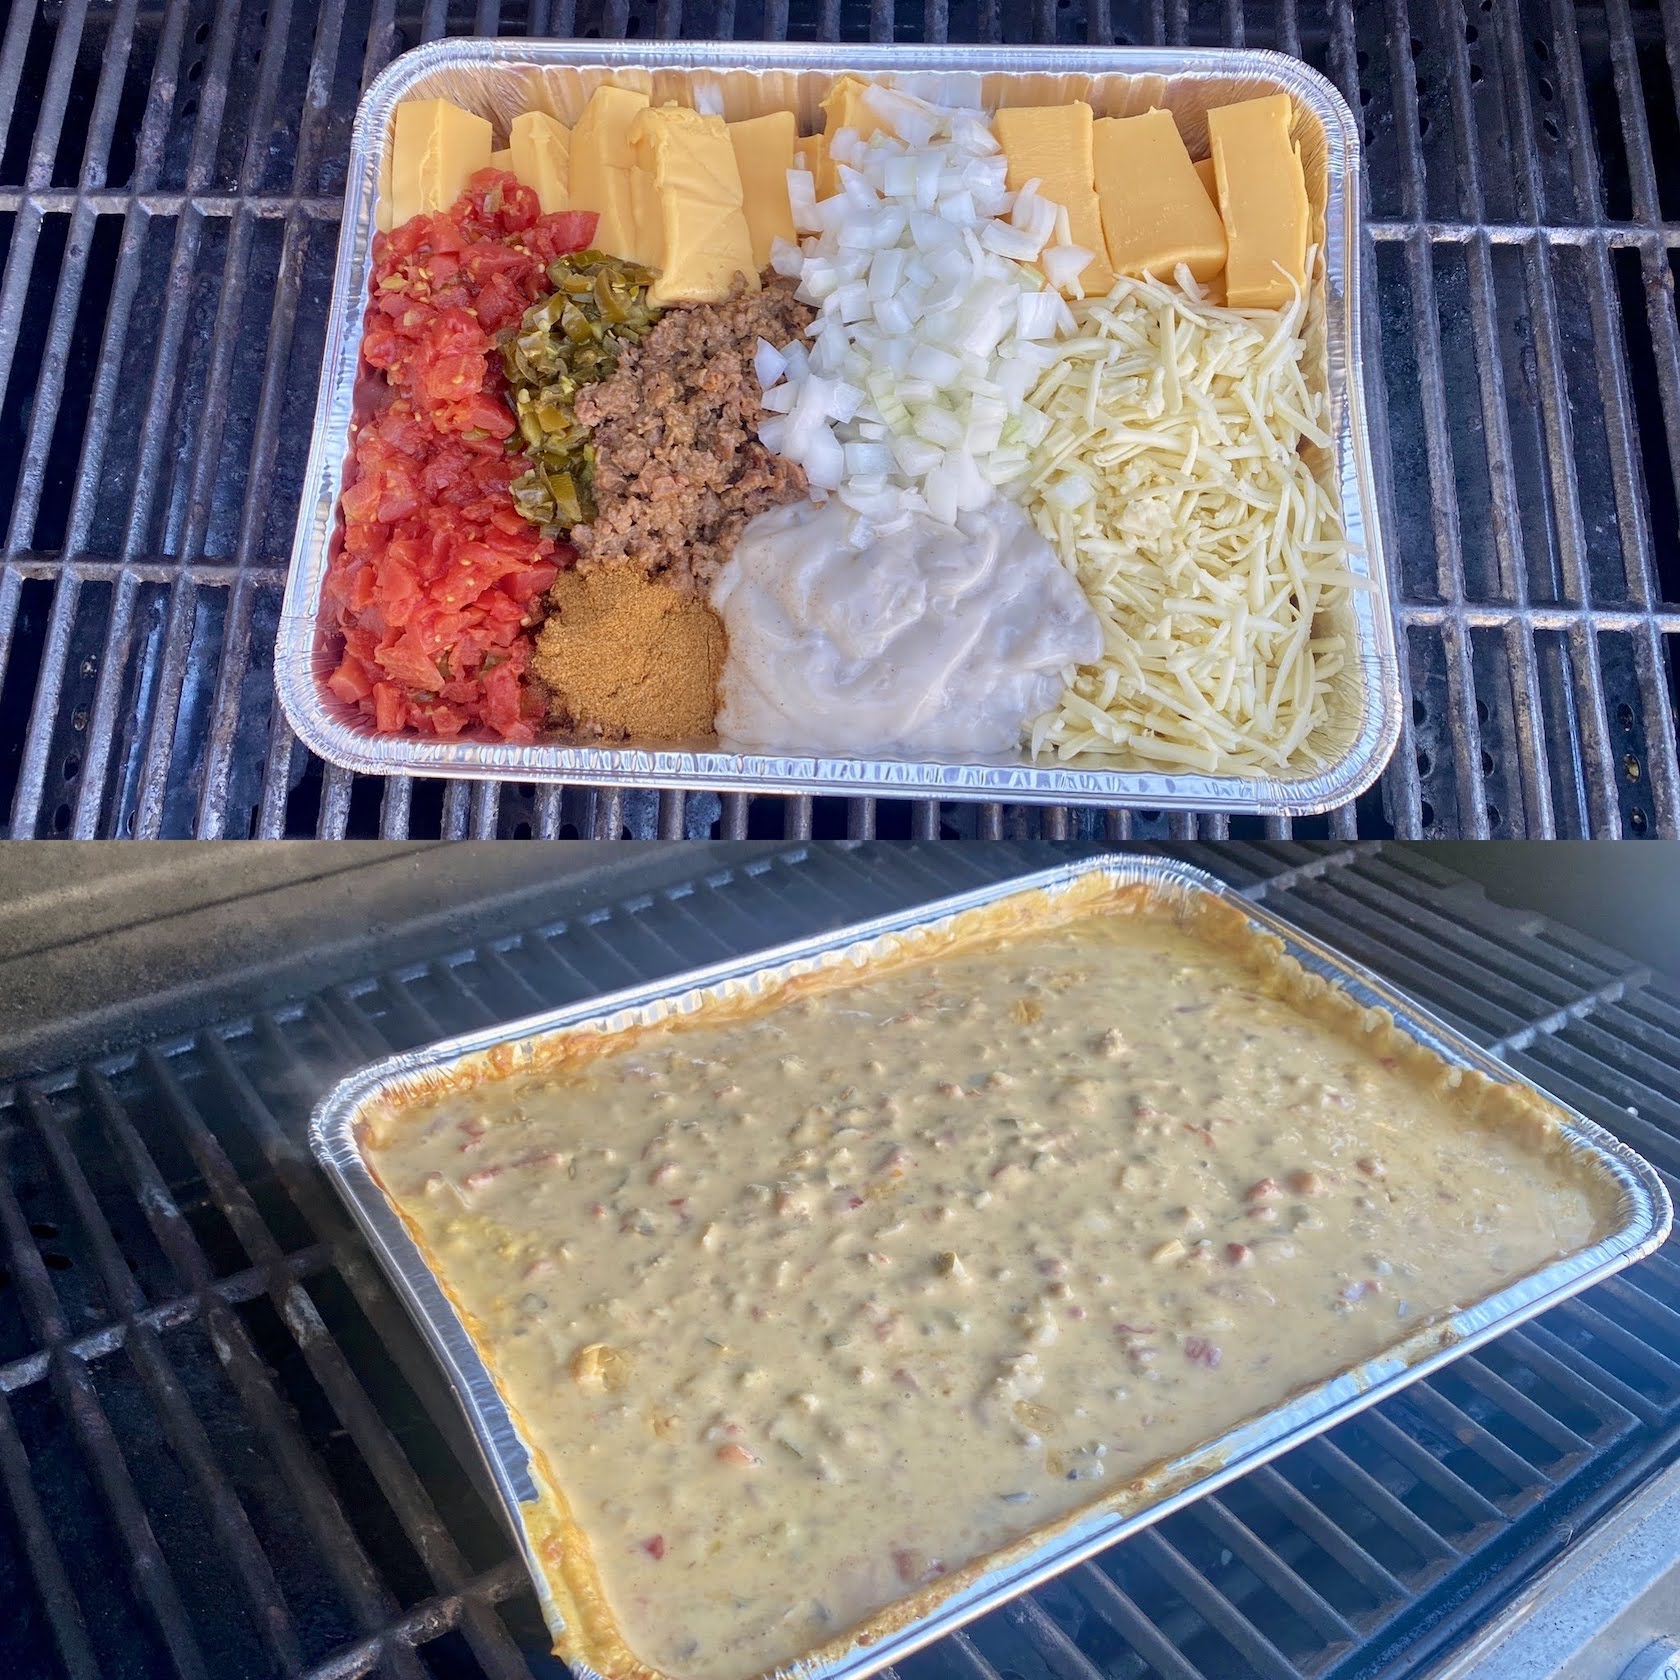
If you are looking for sides to serve, check out my recipe for Spicy Grilled Queso. Or read the blog! This is a wonderful side dish for any Mexican themed meal. It can be enjoyed with tortilla chips or drizzles on top of tacos, nachos, etc. And it makes A LOT!
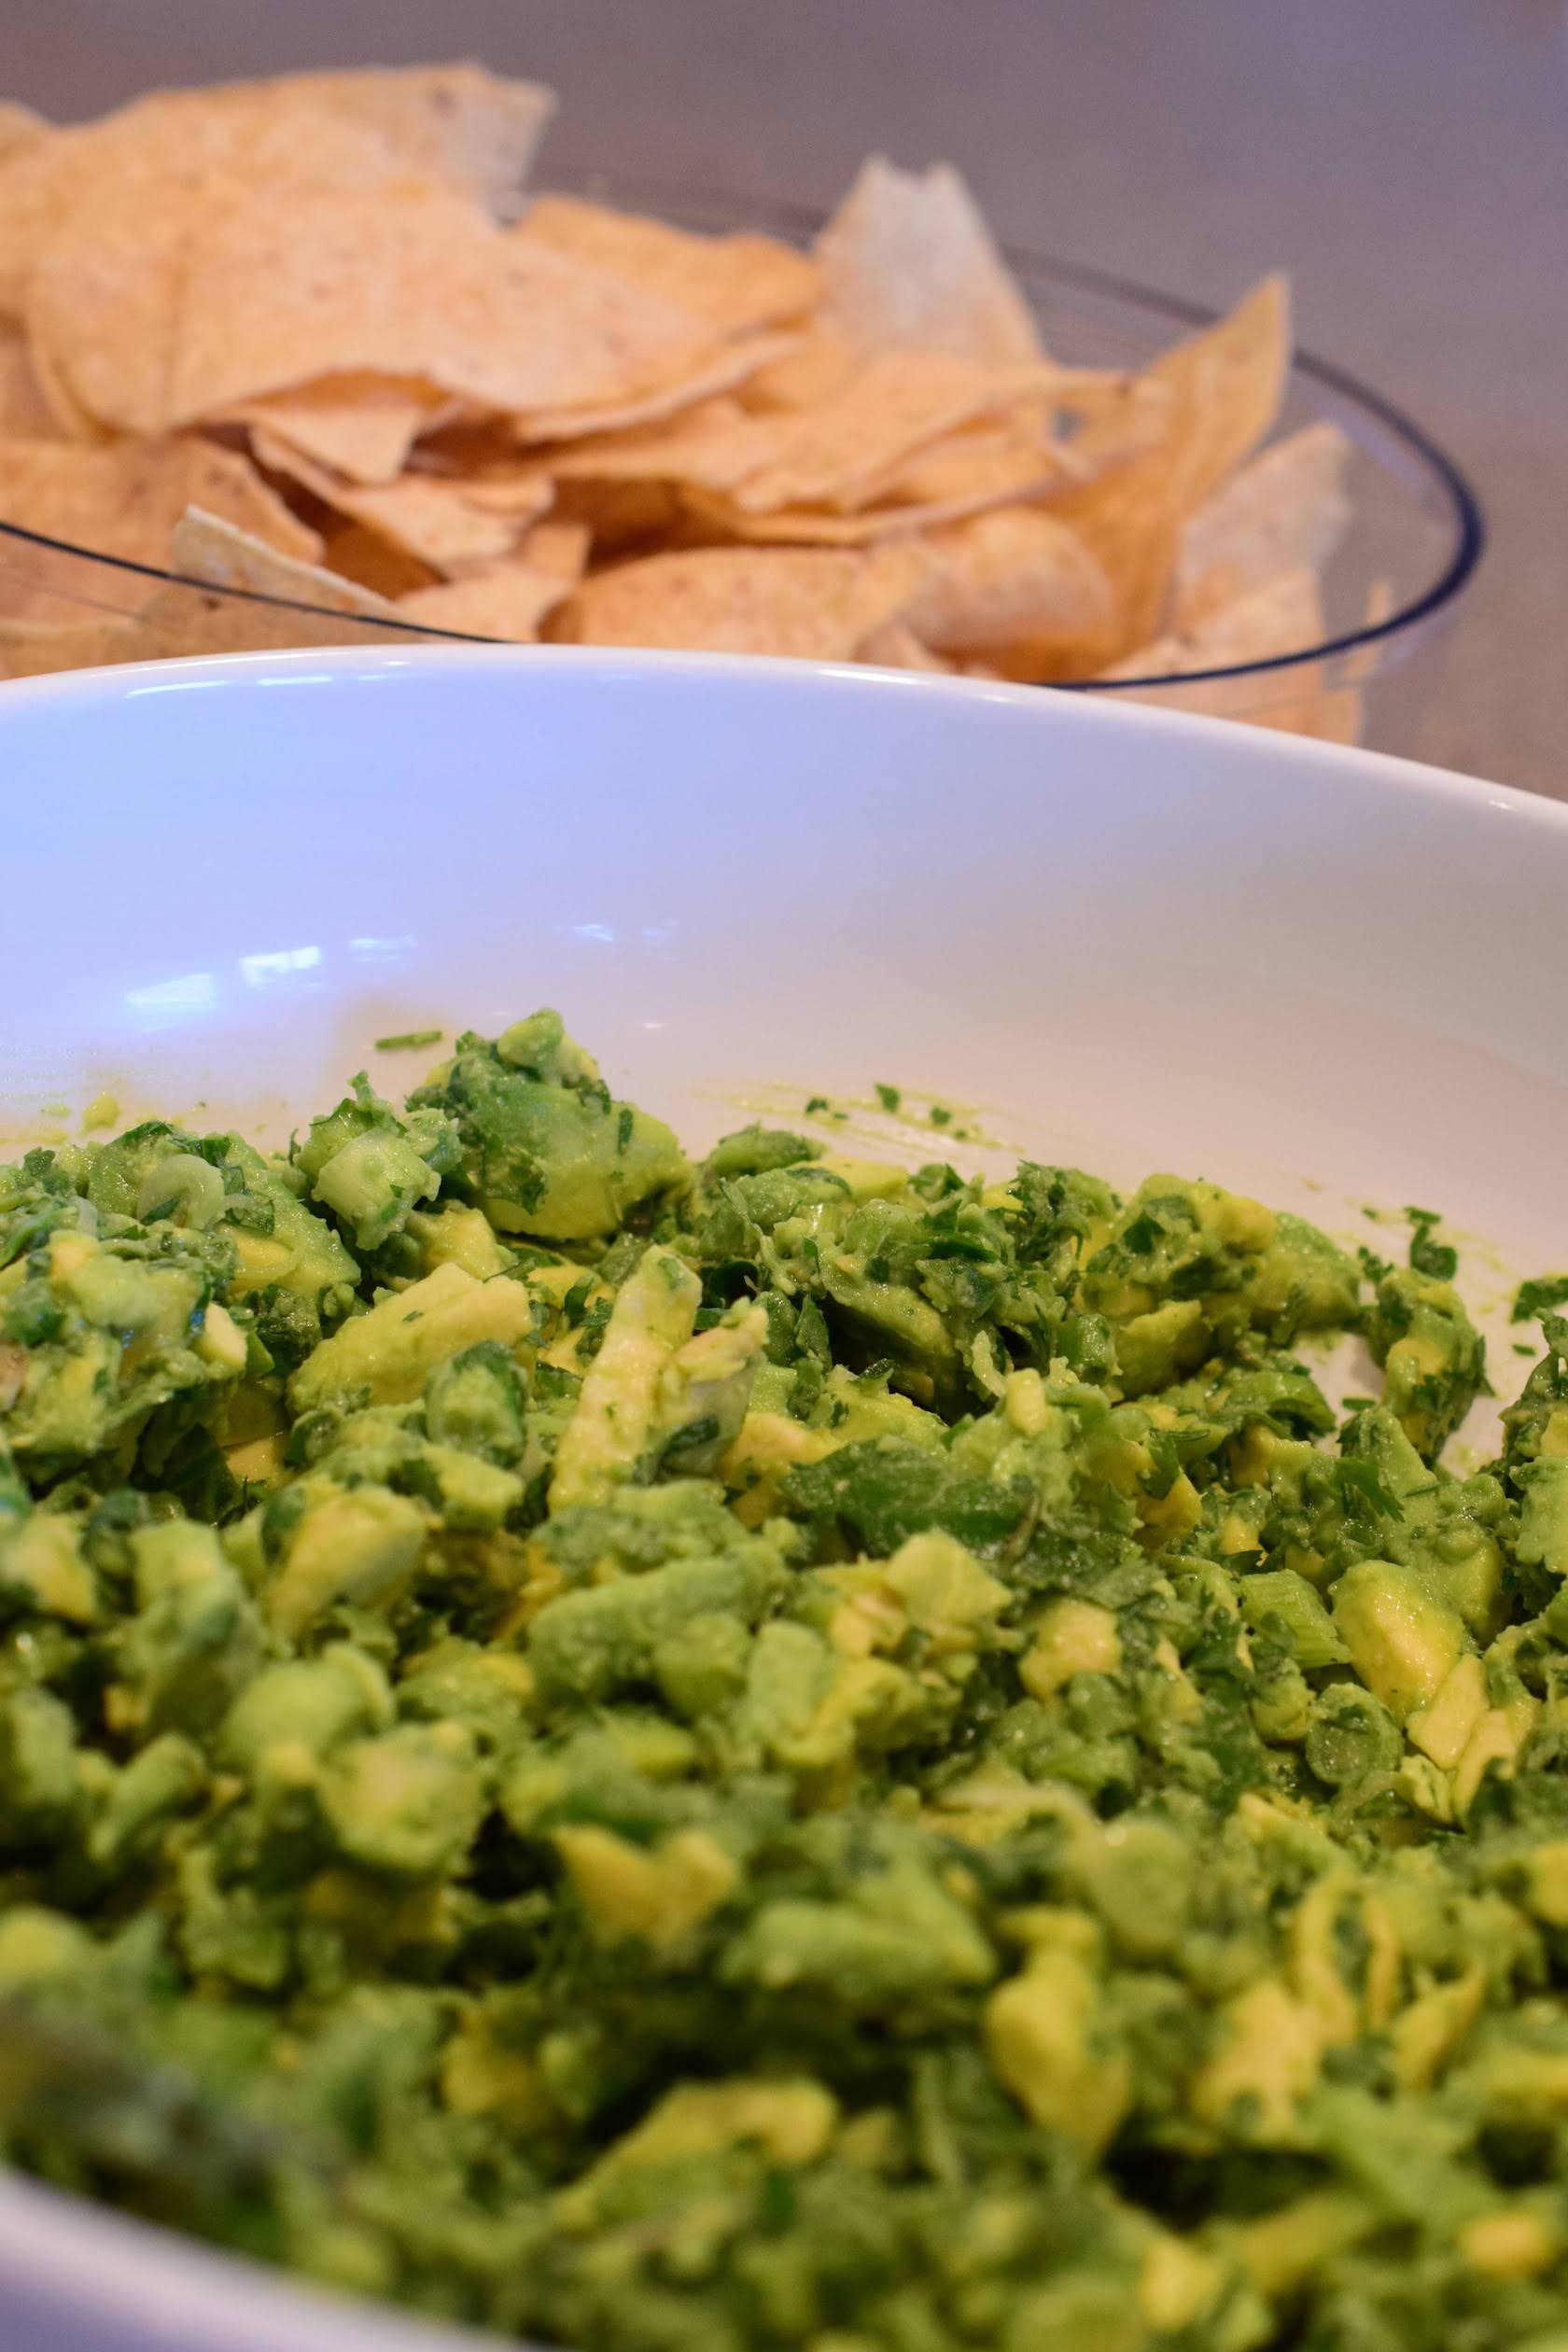
Another crowd-pleasing side is Chunky Guacamole. It’s incredibly fresh and flavorful and is the perfect topping for your meal or dip for your chips. One batch doesn’t last long at our house!
For dessert, one of our favorite Mexican inspired desserts is Fried Ice Cream Cake. This isn’t deep fried ice cream…I’m not that good in the kitchen…but you might be able to find it as an option at a local Mexican restaurant. This version is basically cinnamon ice cream with corn flakes, honey, and a whipped cream garnish. Simple, right? And still just as tasty. You can jazz up each slice by drizzling chocolate syrup, adding a dollop of whipped cream, and a cherry. I personally don’t think the chocolate sauce adds much to the taste. It makes it sweeter (and who doesn’t like chocolate?) but it’s not going to make or break the dish if you discard the chocolate sauce. But don’t forget the honey drizzle. I think that really enhances each bite!

The recipe can be found here.
Start by removing the ice cream from the freezer and let it soften on the counter for about 20 minutes. You want it to be easy to spread without being completely melted.
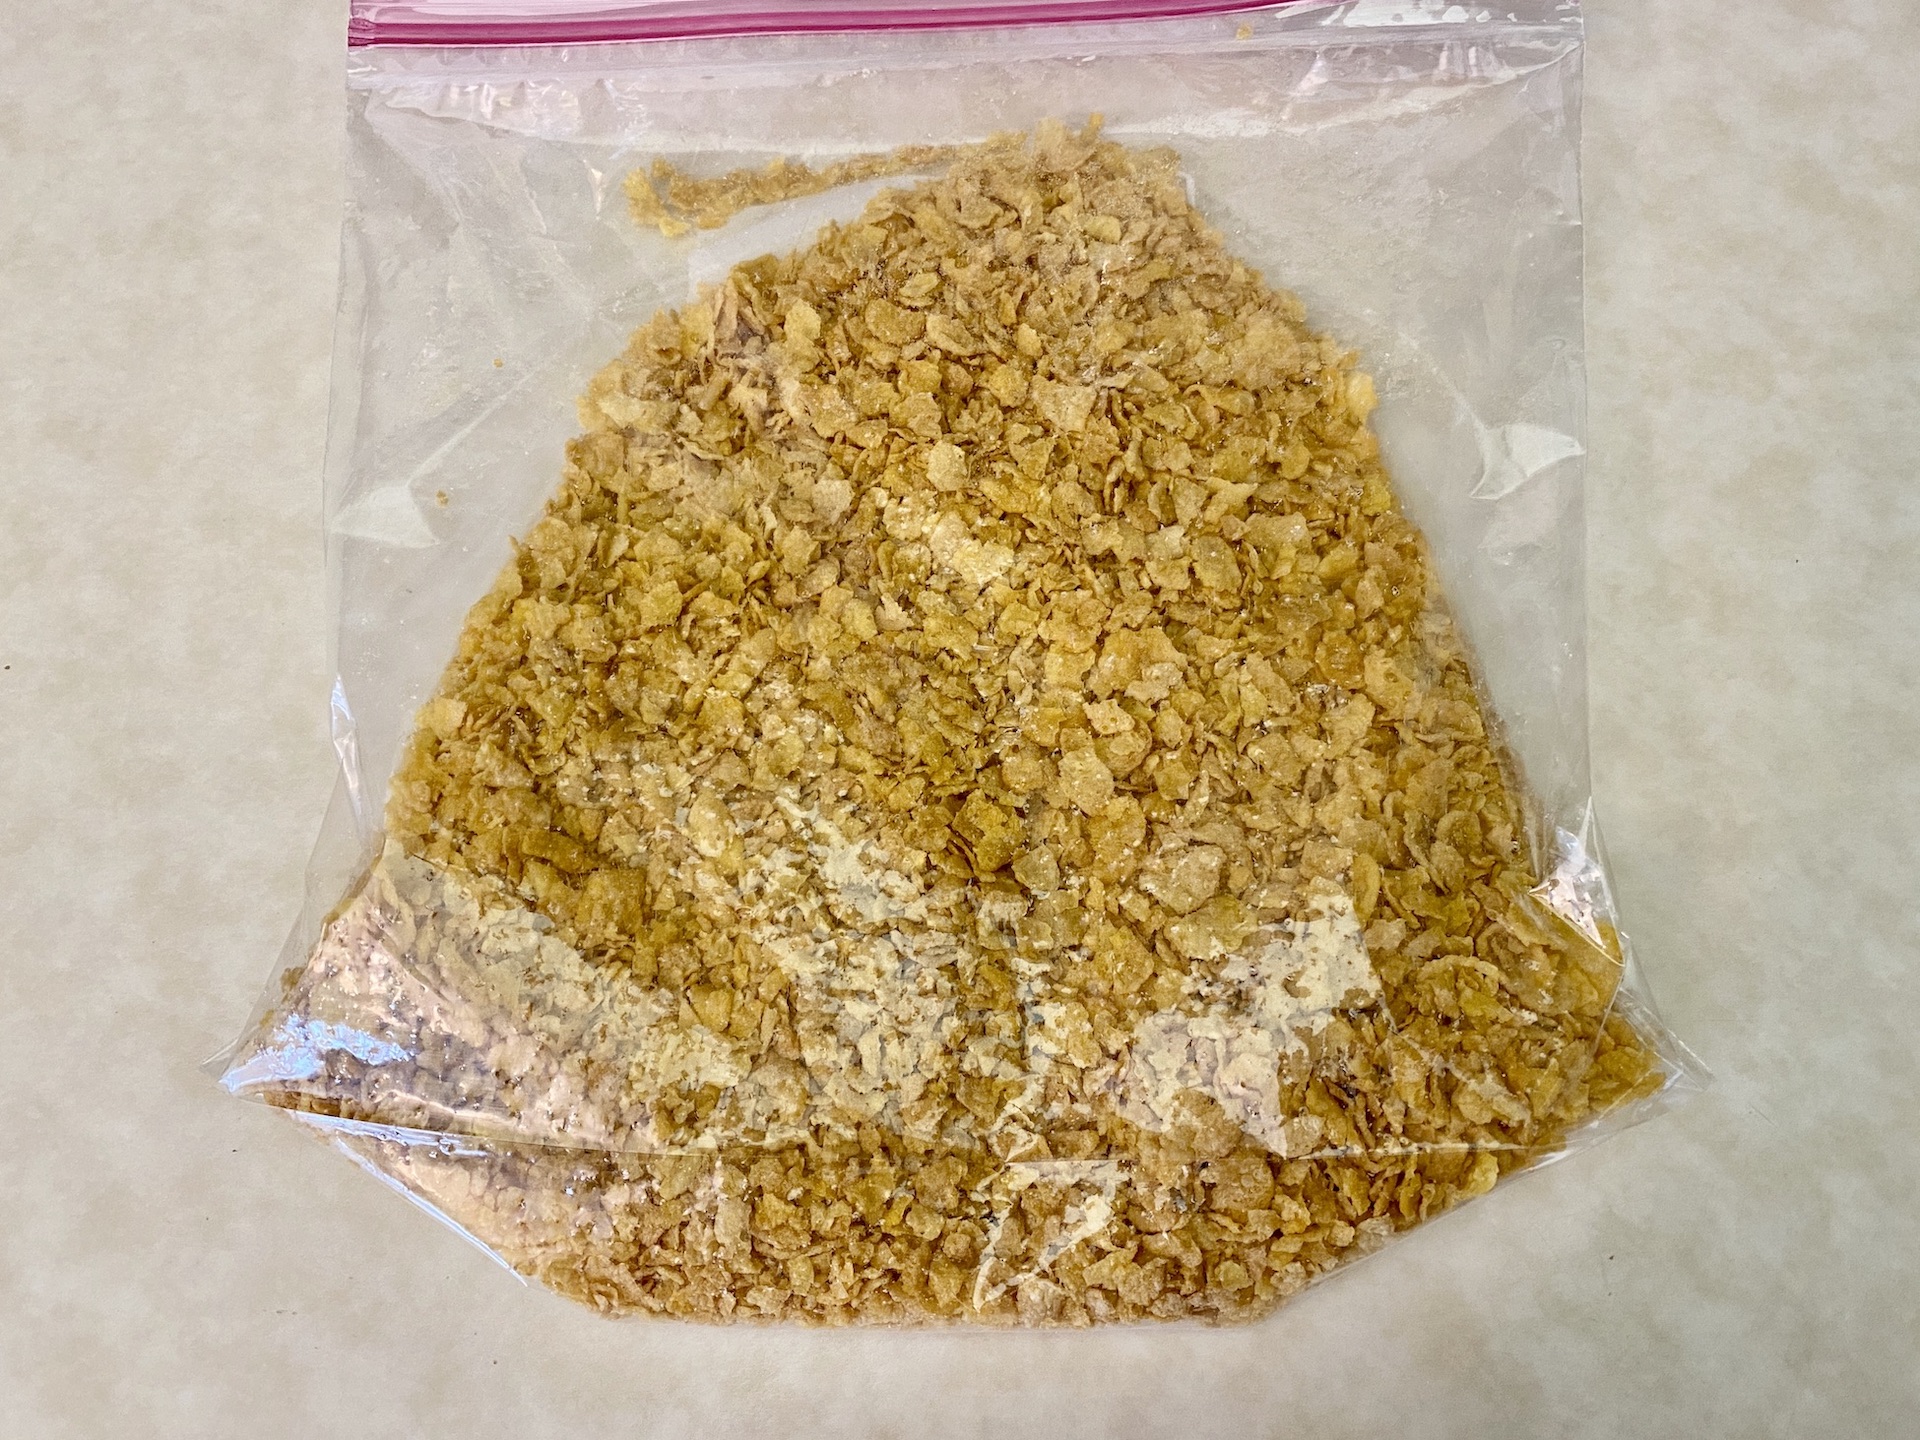
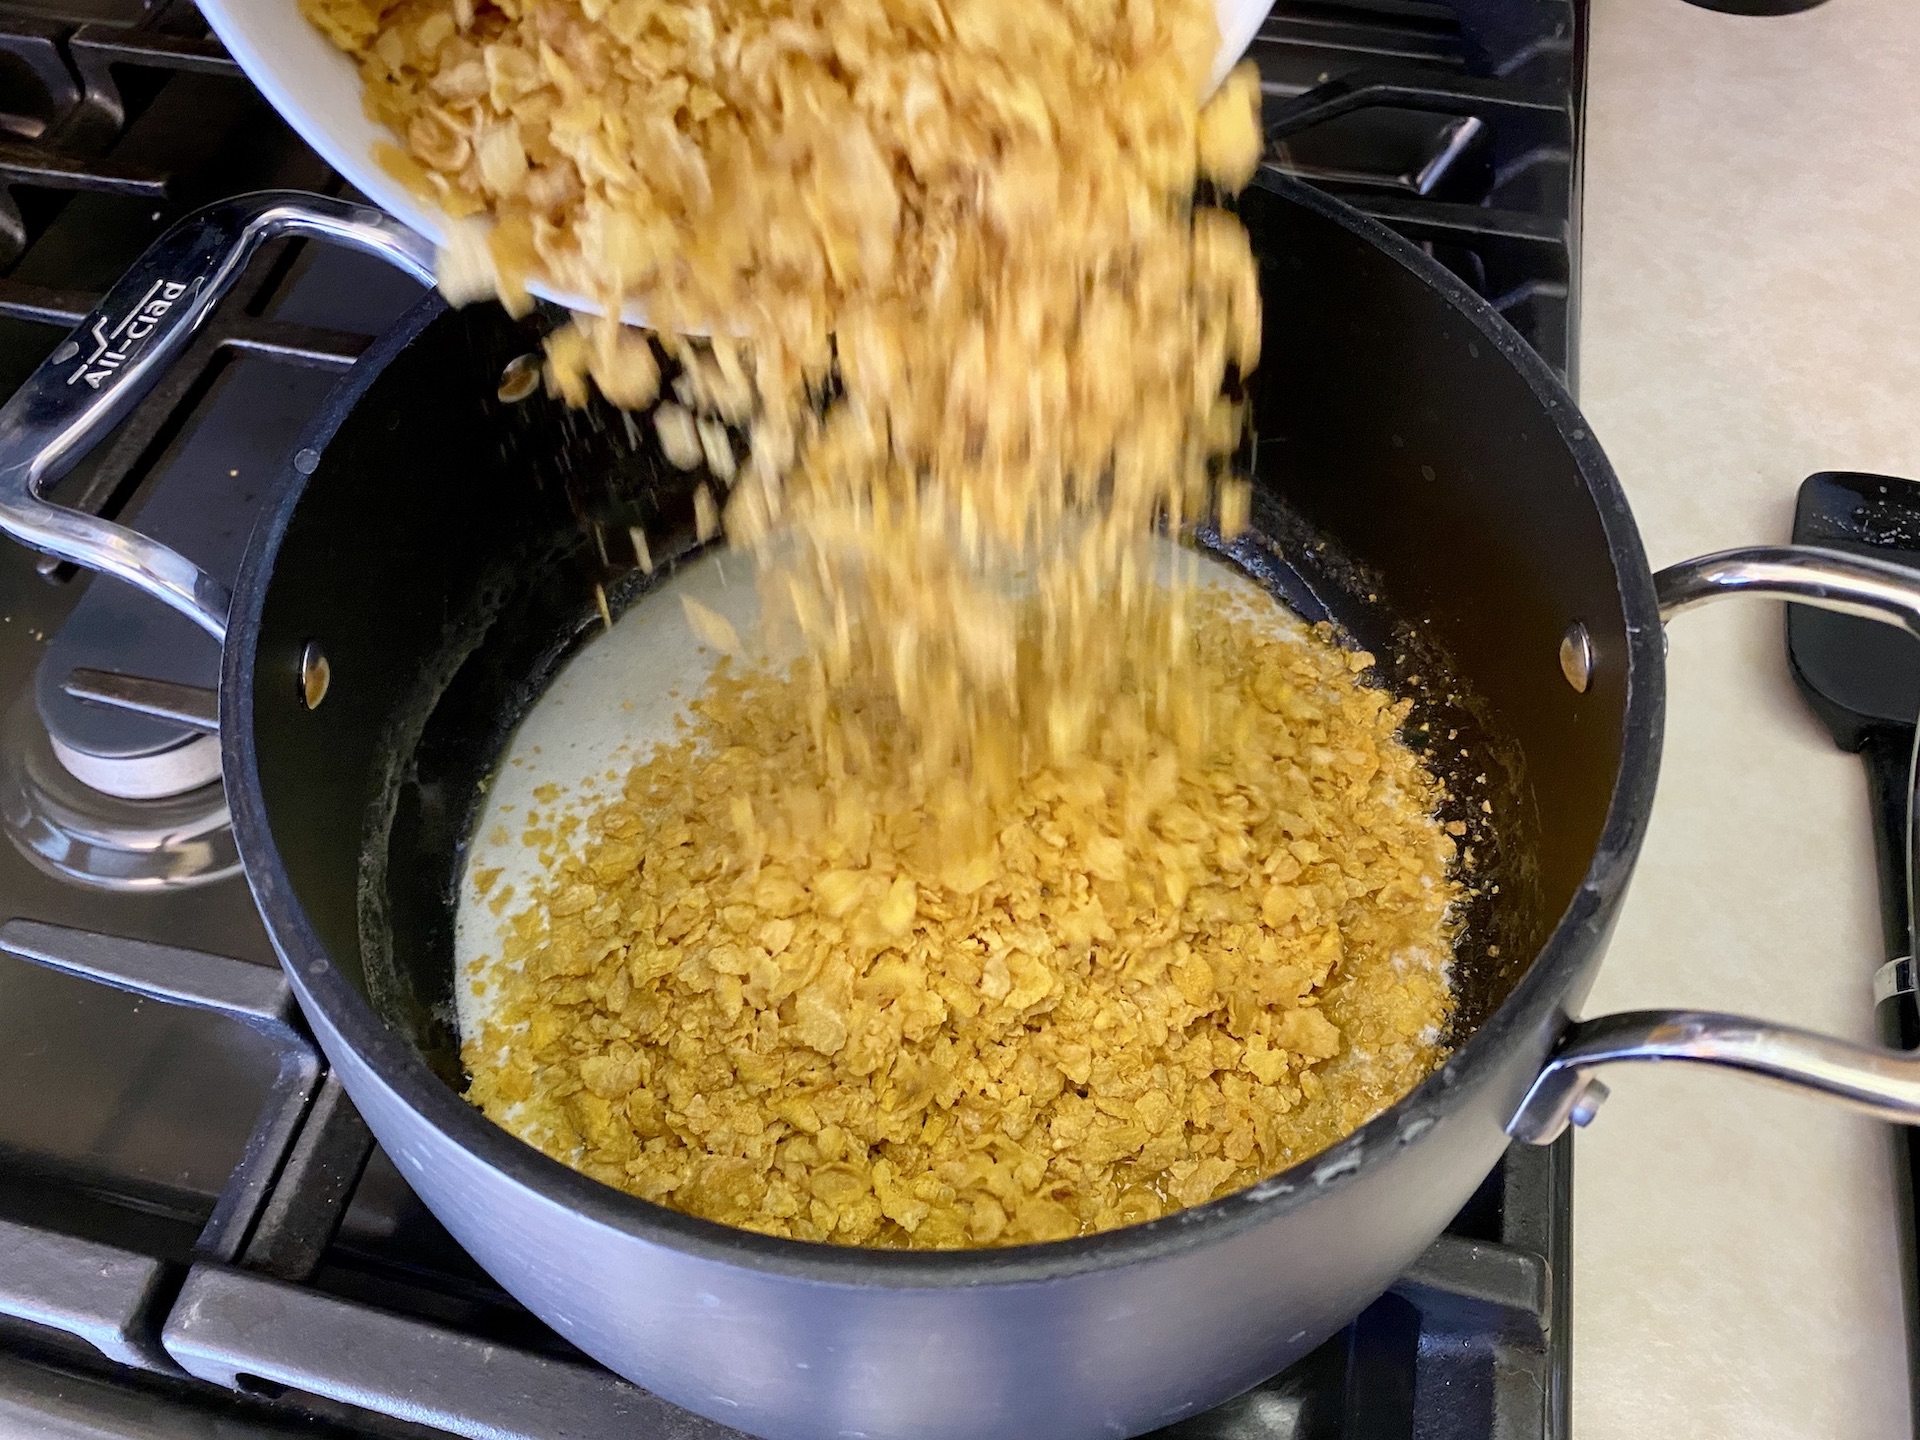
Melt the butter in a saucepan over medium heat. Add the crushed cornflakes and sugar and stir to combine. Then remove from the heat. To crush the cornflakes, either use a food processor and pulse or pour into a Ziploc bag and use a rolling pin to crush. Press half of the cornflake mixture into the bottom of a 9×13 baking dish.


Add the ice cream, cool whip, and cinnamon to the bowl of a stand mixer. Mix on low speed until well combined. Alternately, you can add the ingredients to a mixing bowl and mix by hand. I like to save my arm strength and go with the stand mixer 😊

Pour the mixture over the cornflakes and spread in an even layer to the sides. Sprinkle the remaining cornflake mixture over the top and spread into an even layer. Drizzle honey all over the top – use as much or as little as you like.


Place in the freezer for at least 5 hours to allow the ice cream to firm up. When ready to serve, slice into squares. Top with a drizzle of chocolate syrup (optional), a dollop of whipped cream, and a cherry. Or skip the toppings if it’s not your thing – all toppings are optional! Enjoy!


The recipe can be found here.
I think this dish is best enjoyed the day it is made. You can keep leftovers in the freezer and enjoy throughout the week, but the corn flakes will lose some of their crunch. Just be aware. It will still taste great, just not be as crunchy as day 1.
That’s it for our Cinco de Mayo celebration. I hope these recipes give you inspiration if you plan on celebrating or keep them in mind for future meal planning.
Happy Cooking and Happy Cinco de Mayo!


Recent Comments