 order online
 weekly specials
Cheesecake is one of my favorite desserts. It comes in a variety of flavors, can be fruity or sweet, and is usually a crowd pleaser. Mini cheesecakes are fun for a party or holiday because you can make a few different varieties, or perhaps make one plain batch but let your guests add their own toppings and have a simple yet delicious dessert.
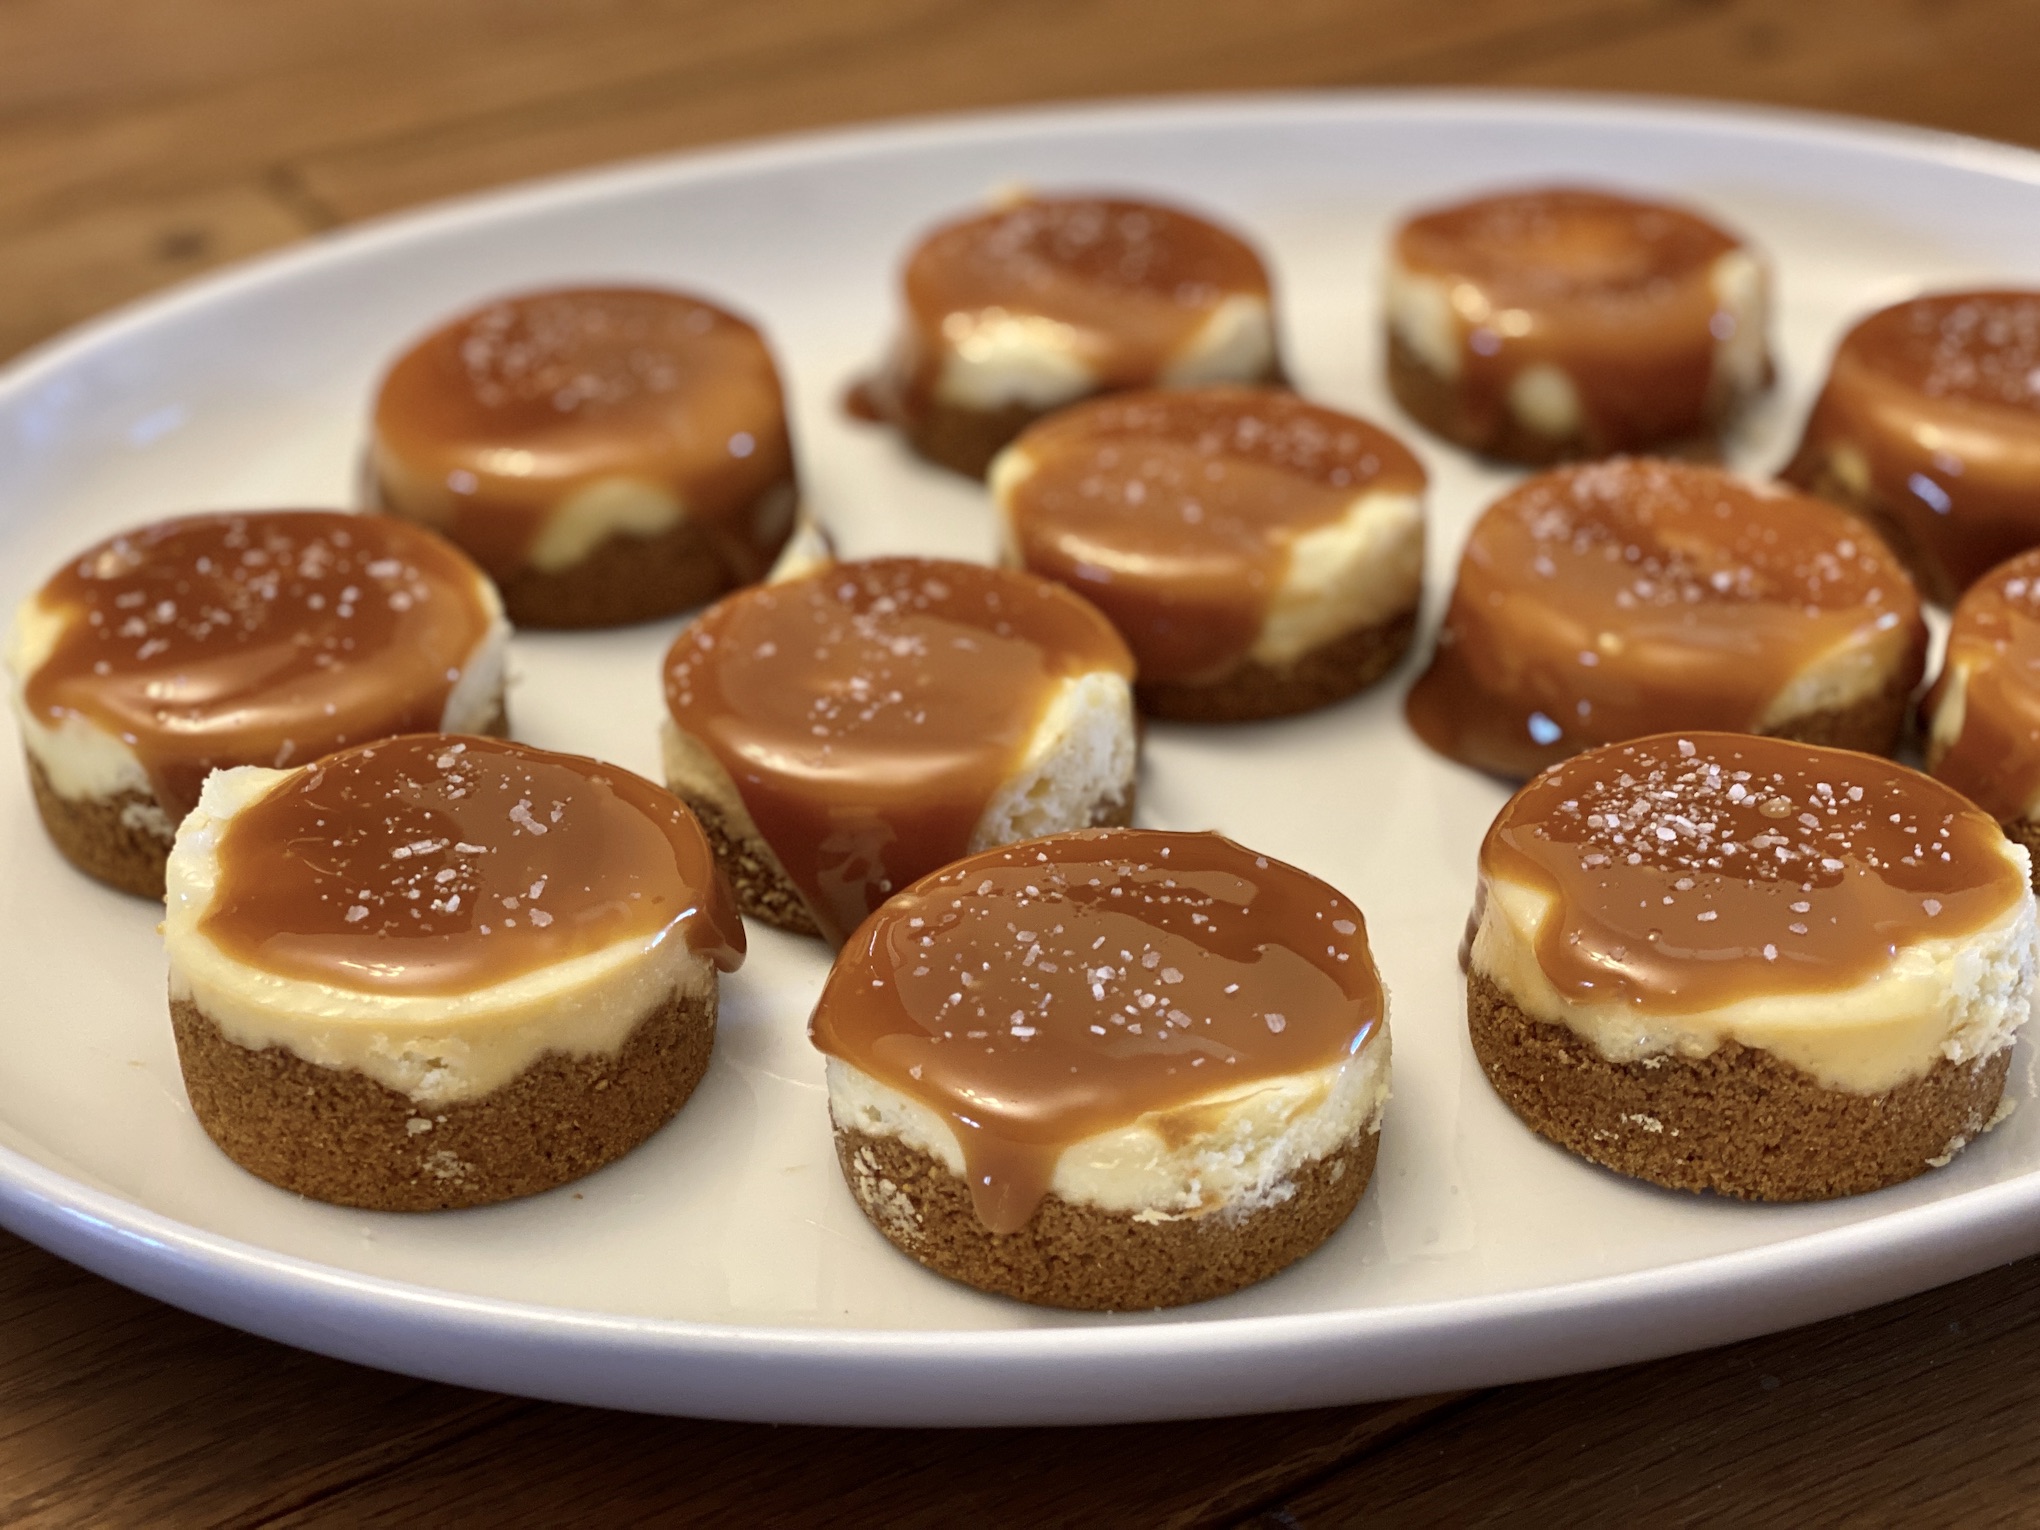
One of the recipes I want to share with you today is for Mini Salted Caramel Cheesecakes. If you like cheesecake and caramel, these are for you! The crust is a homemade graham cracker crust. The cheesecake has a creamy texture, sweet taste that might be considered a little rich to some, with a slight tanginess, which comes from the cream cheese. The mini cheesecakes are then doused in a generous amount of caramel sauce and sprinkled with salt. SO GOOD!
The recipe can be found here.
Start by preheating the oven to 350 degrees F.

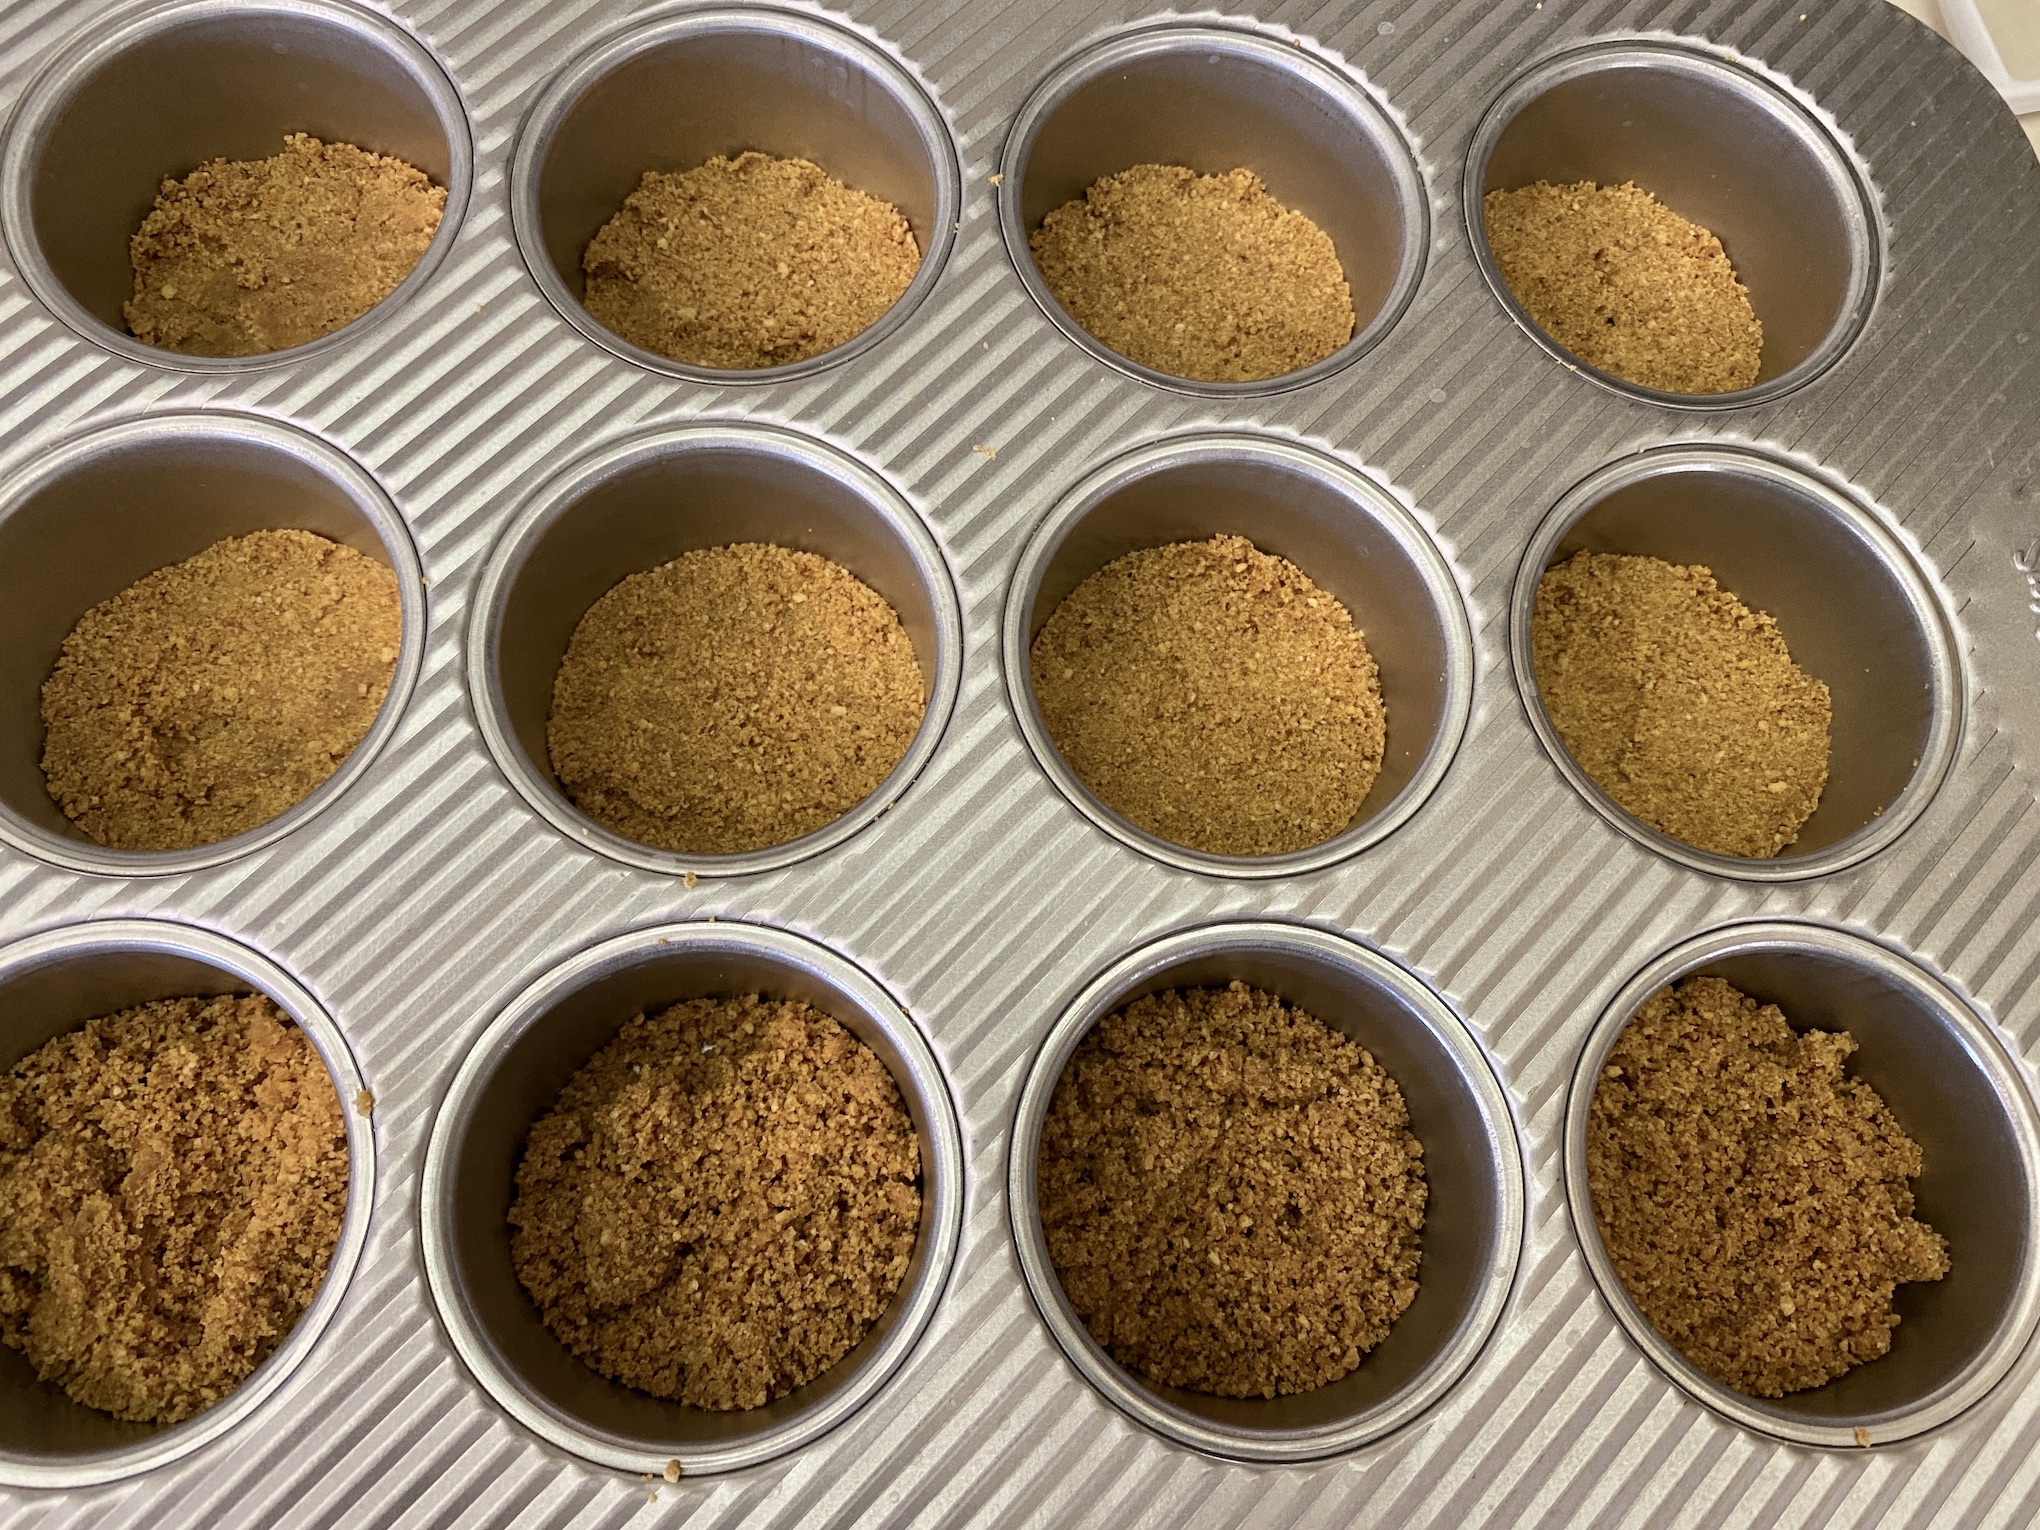
Add the graham cracker crumbs and melted butter to a mixing bowl. Mix until well combined. The crumbs will feel like wet sand, for reference. If you prefer to make your own graham cracker crumbs, either add graham cracker sheets to a food processor and pulse or add to a Ziploc bag and use a rolling pin to create crumbs.


Evenly divide the crumbs between the cheesecake wells. Use your fingers to press down to form the crust for each cheesecake.


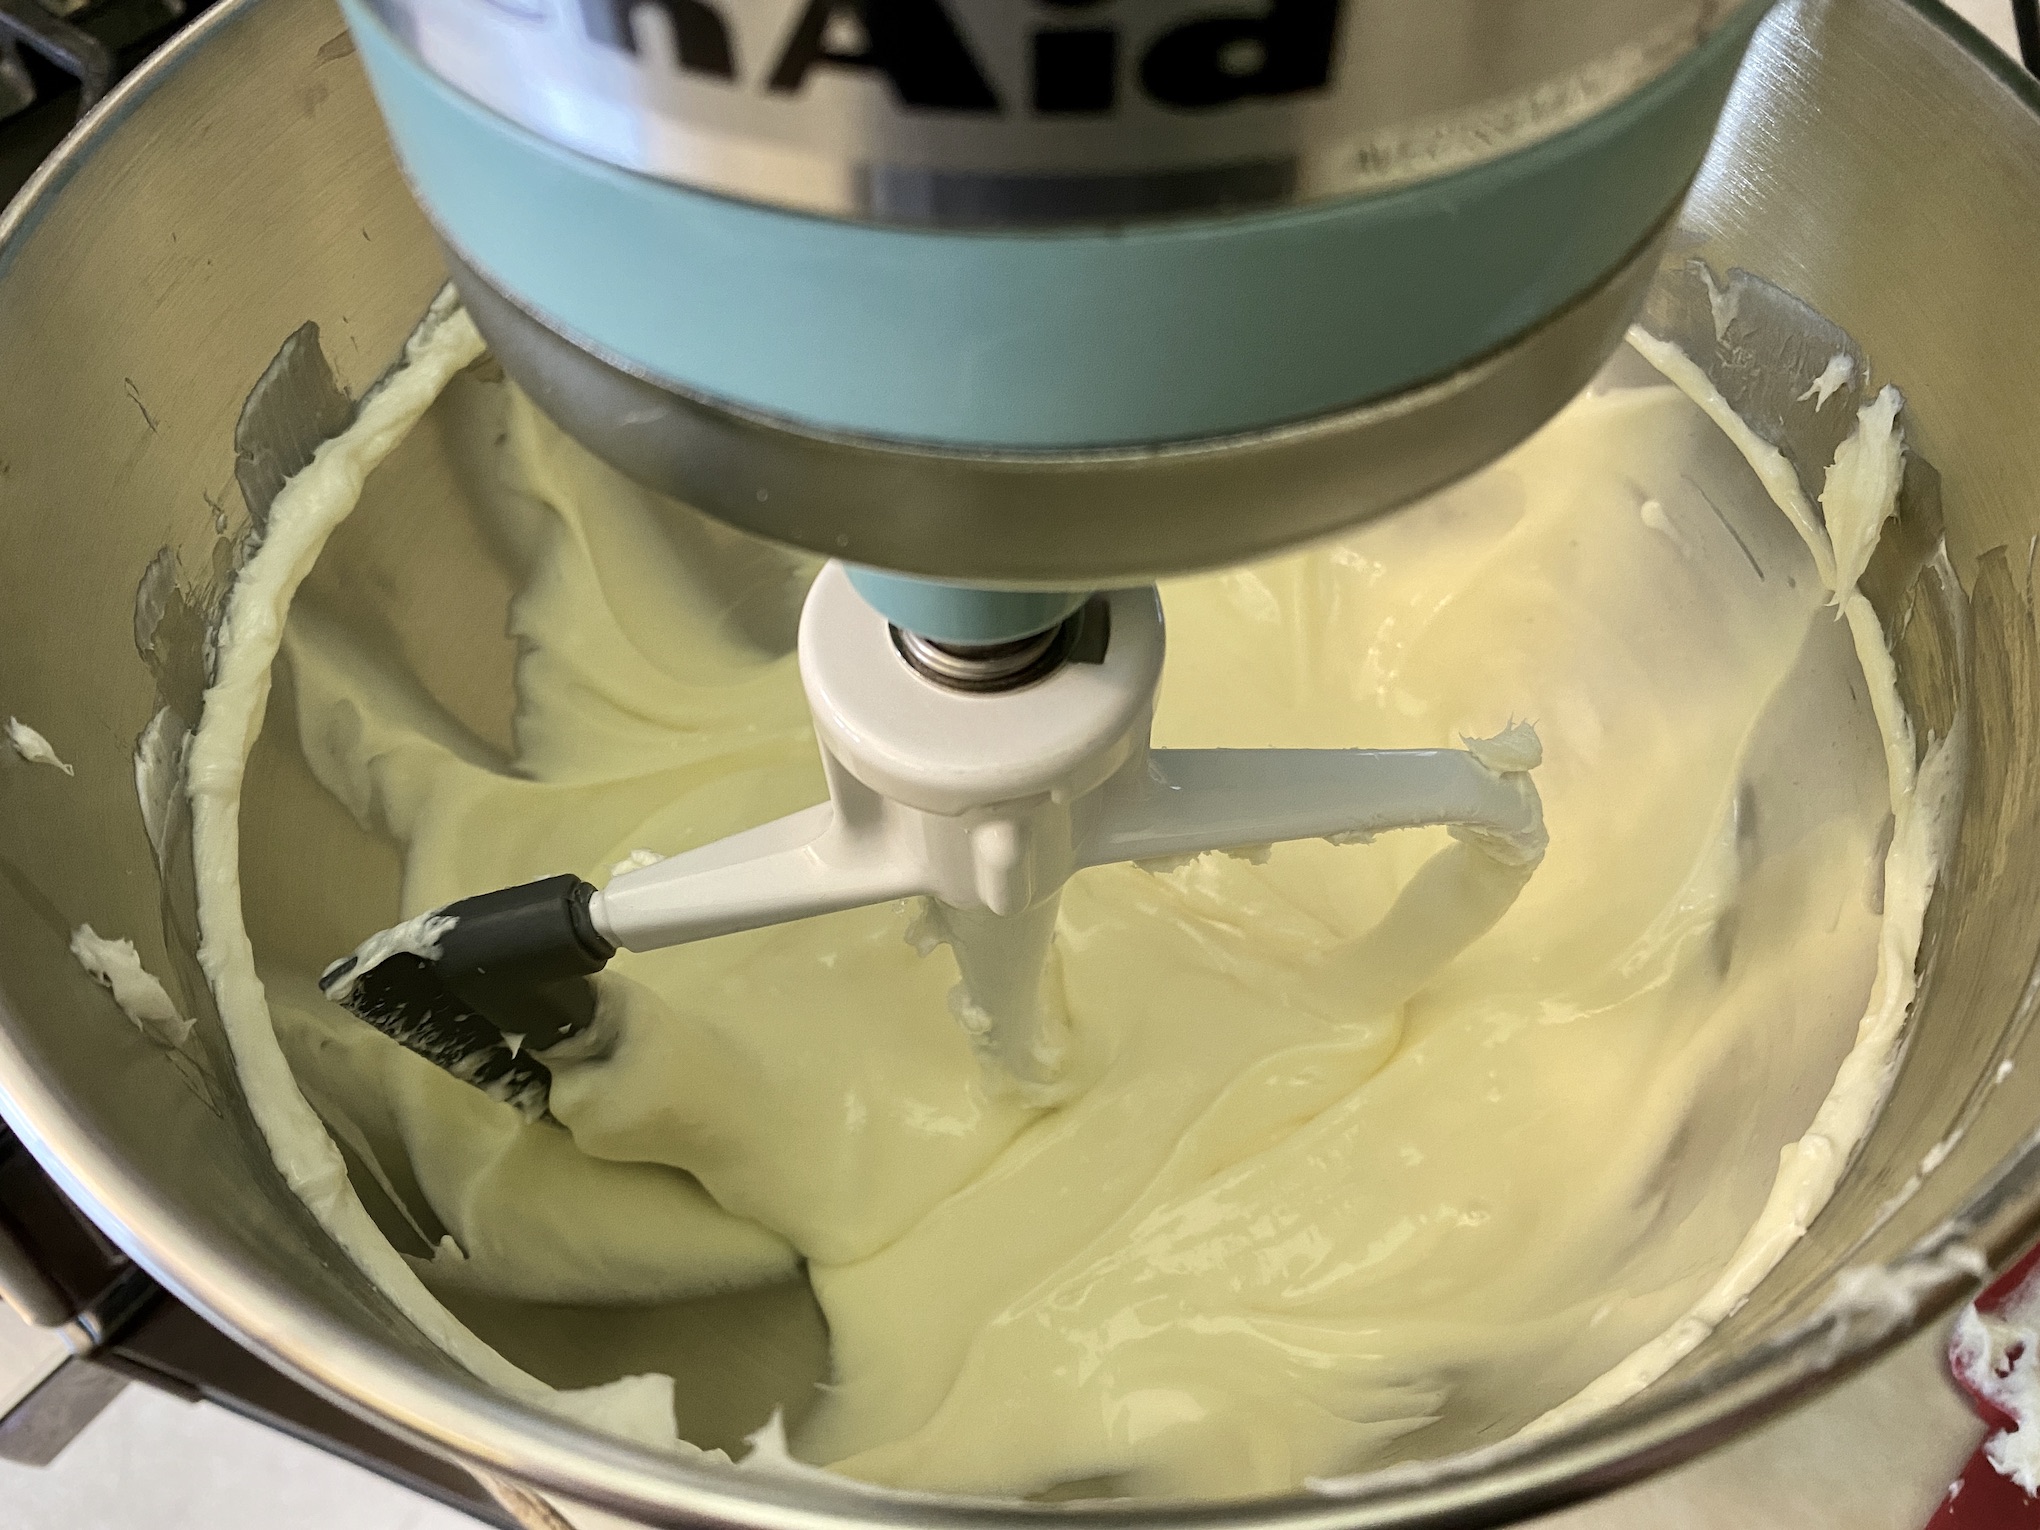
Add the cream cheese and sugar to the bowl of a stand mixer and beat until well combined.


Add the eggs and vanilla and beat until well combined.

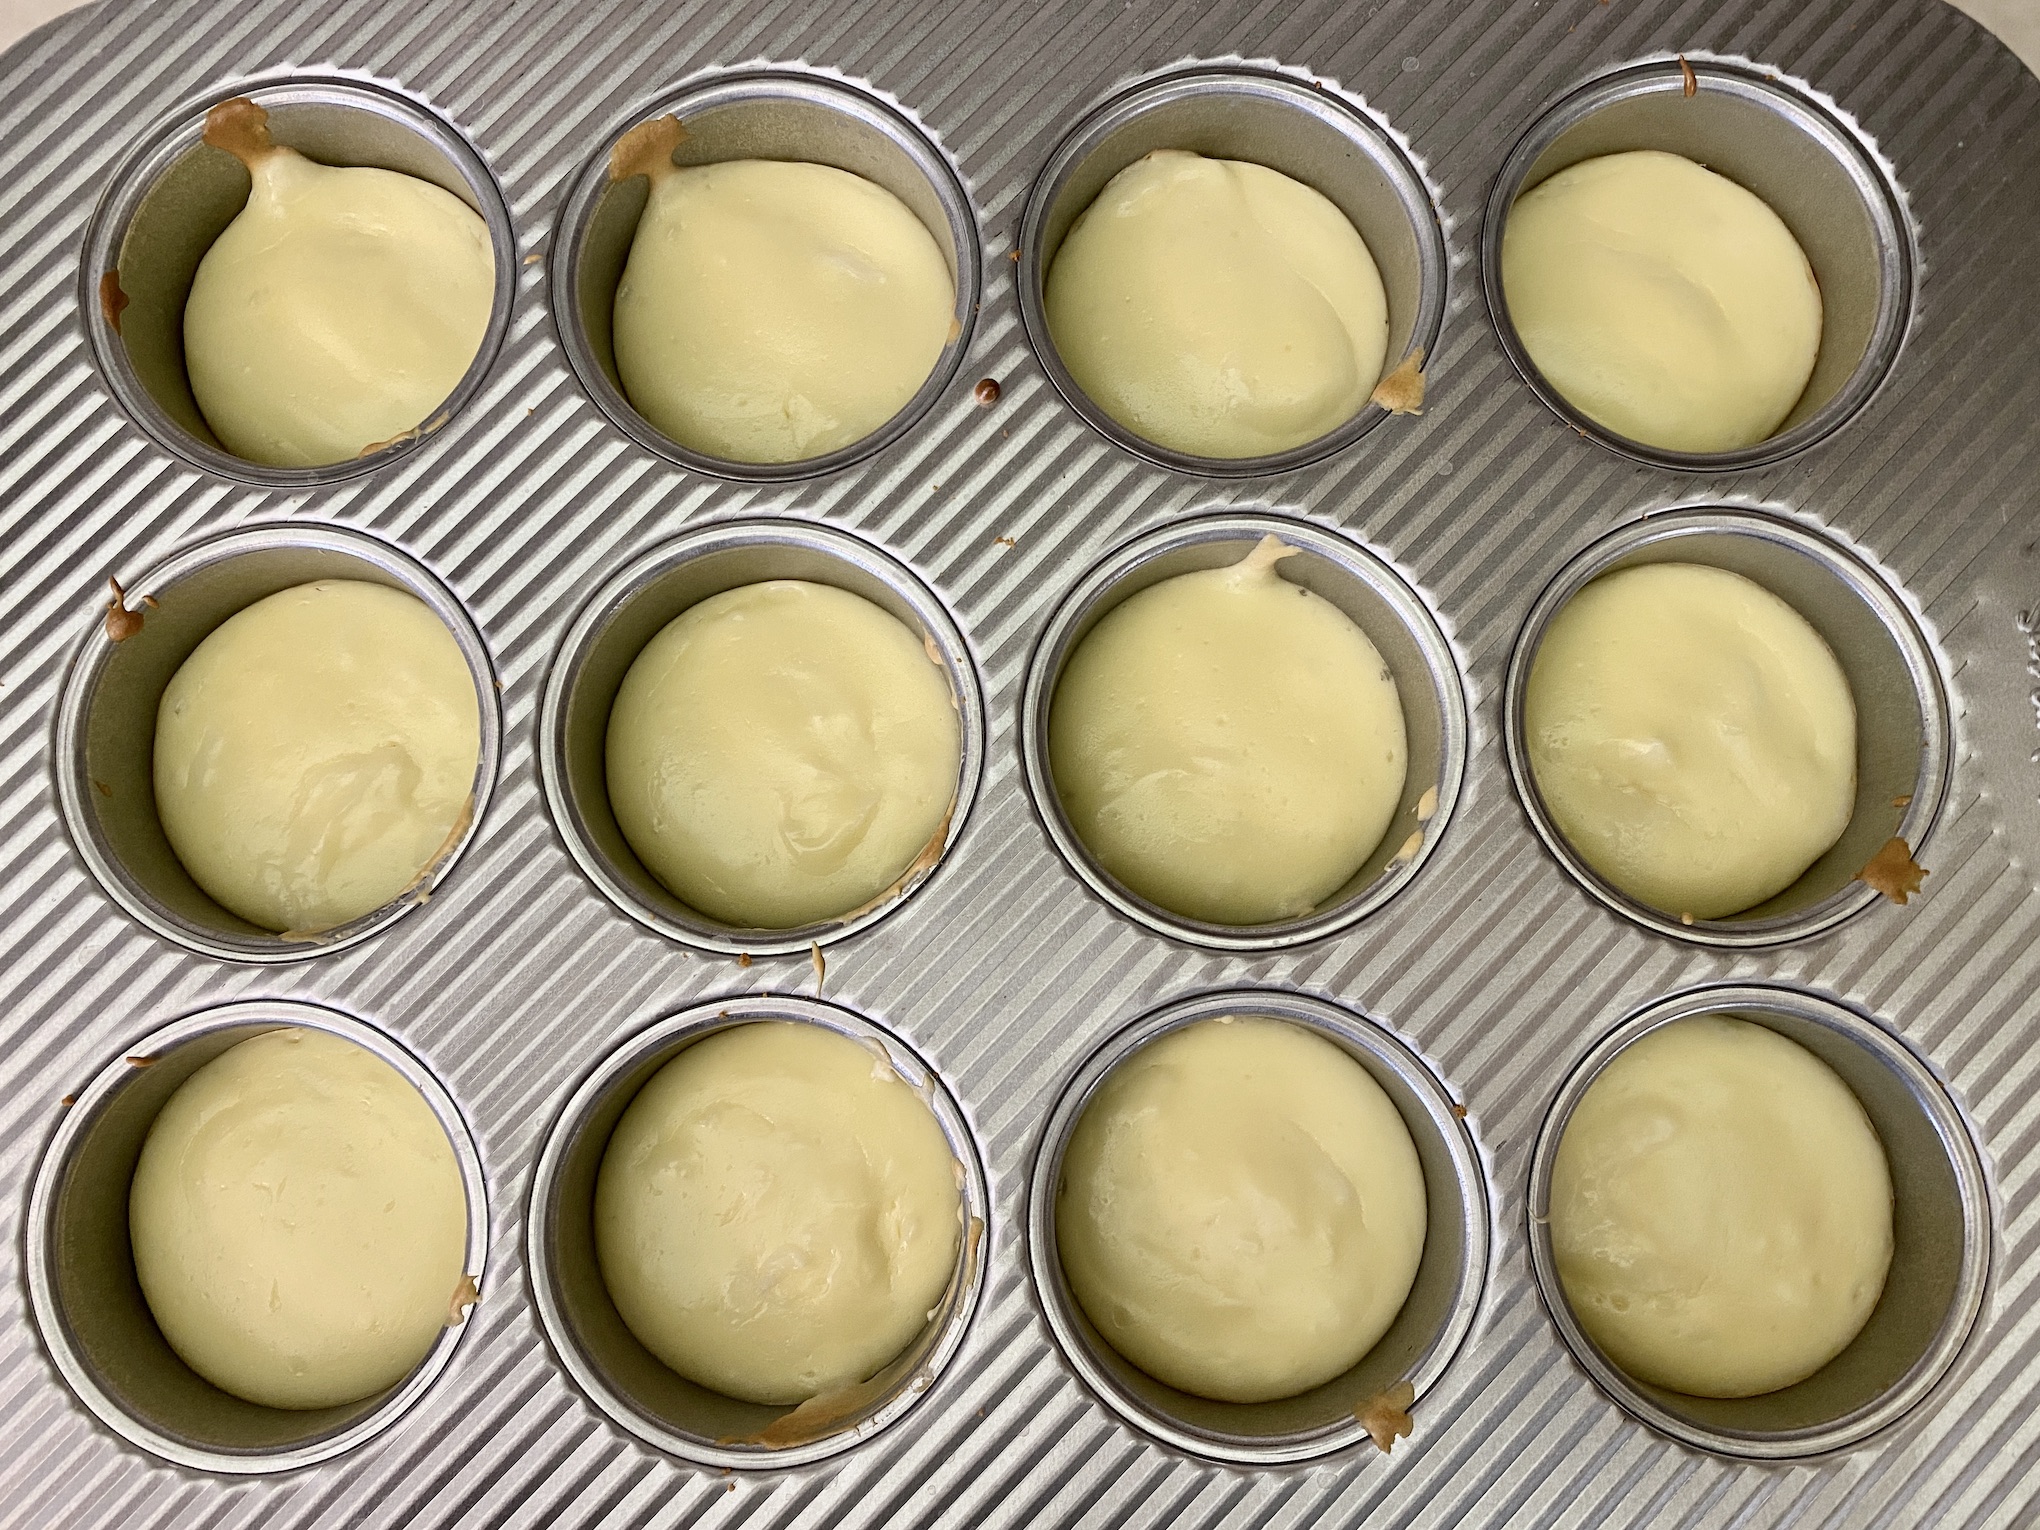
Scoop the mixture into the cheesecake wells, filling about ¾ full. Make sure each well is filled about the same amount for even baking.

Bake for 15-17 minutes then turn off the oven. Open the door slightly (placing a wooden spoon between the oven and door works well if your oven door doesn’t stay open on its own) and let the cheesecake cool for about 5-10 minutes while still in the oven.
Remove the cheesecakes from the oven and place on a wire rack to cool completely. You want to place the entire pan on the cooking rack. Do not remove the cheesecakes yet as they are not set.
Once completely cooled, gently remove the cheesecakes from the wells.

For this recipe, I use the Sur la Table Cheesecake Pan. The wells are slightly larger than a muffin tin, you don’t have to use muffin liners, and the bottoms are removable so all you must do is push up from the bottom, and the cheesecakes easily remove from the pan for you to enjoy or garnish.
Scoop a heaping spoonful of caramel sauce over the top of each cheesecake and sprinkle with salt.


Serve immediately or refrigerate until ready to serve. Enjoy!

The recipe can be found here.
You can use the same cheesecake recipe but dress up the cheesecakes with different toppings. For example, use chocolate syrup, canned cherries with syrup, fresh fruit, or enjoy as plain cheesecake.
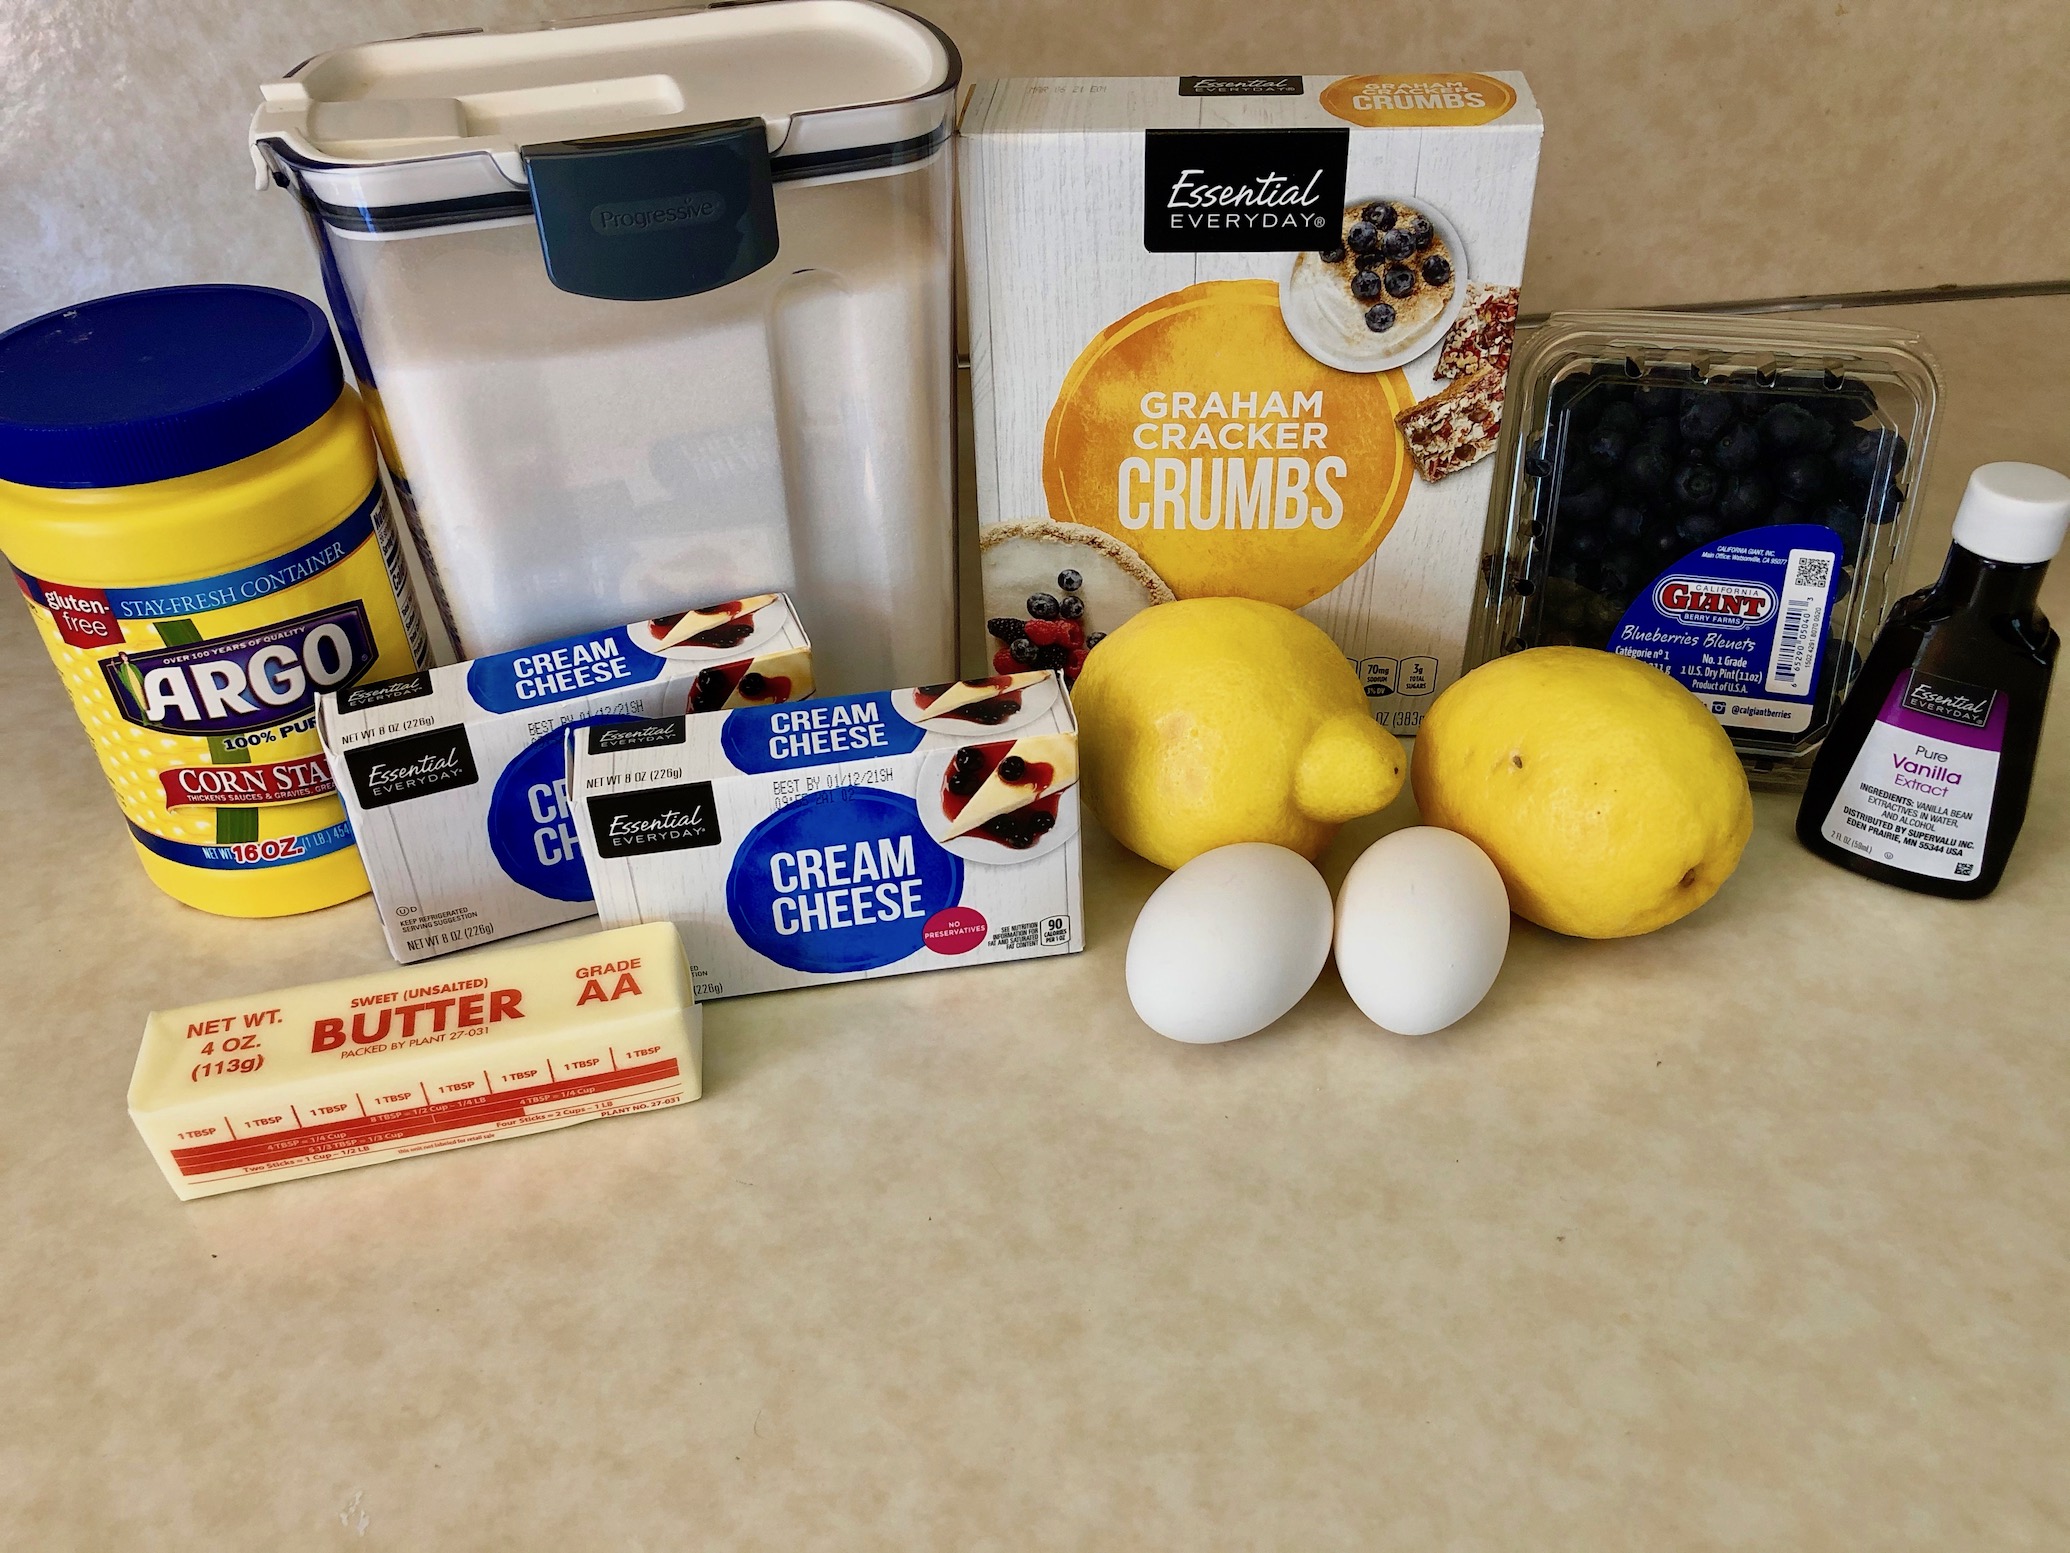
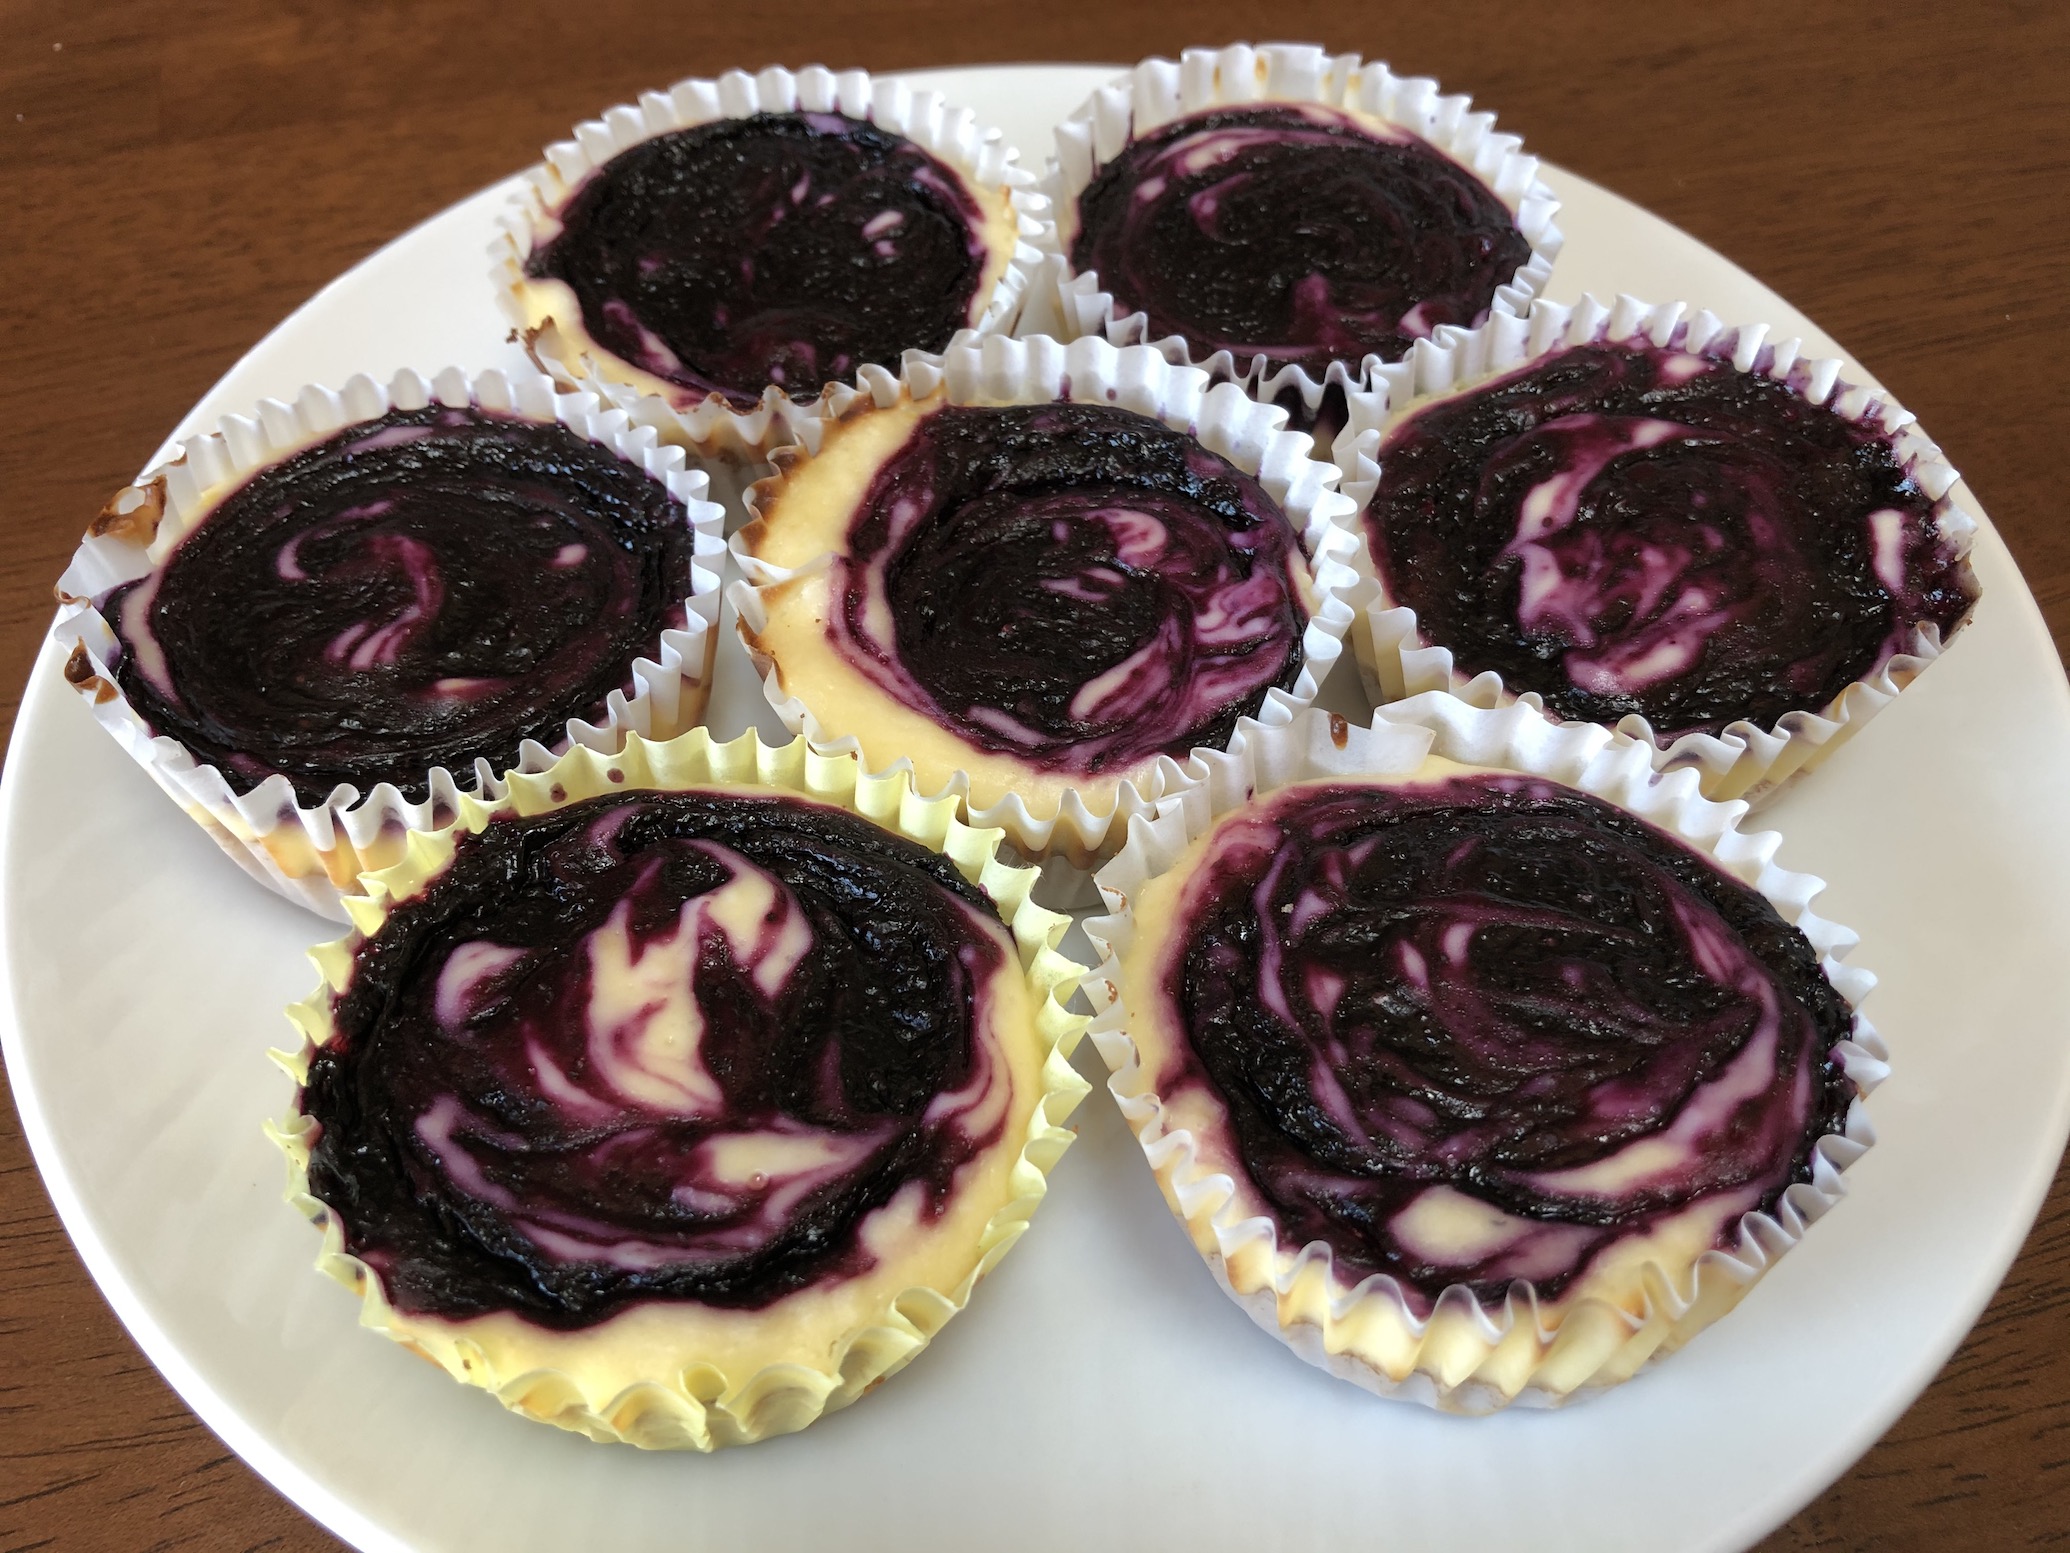
The next recipe I want to share with you is for Lemon Blueberry Mini Cheesecakes. I don’t think there is a better duo than blueberries and lemon when it comes to dessert. Blueberries are delicious but sometimes need a little enhancing and that is where the mouth-puckering juice of the lemon comes in. It complements the tart-sweet taste of the blueberries nicely. And as I mentioned previously, you can’t go wrong with cheesecake. The creamy cheesecake is infused with lemon flavoring and a blueberry swirl. These are perfectly refreshing and addicting.

The recipe can be found here.
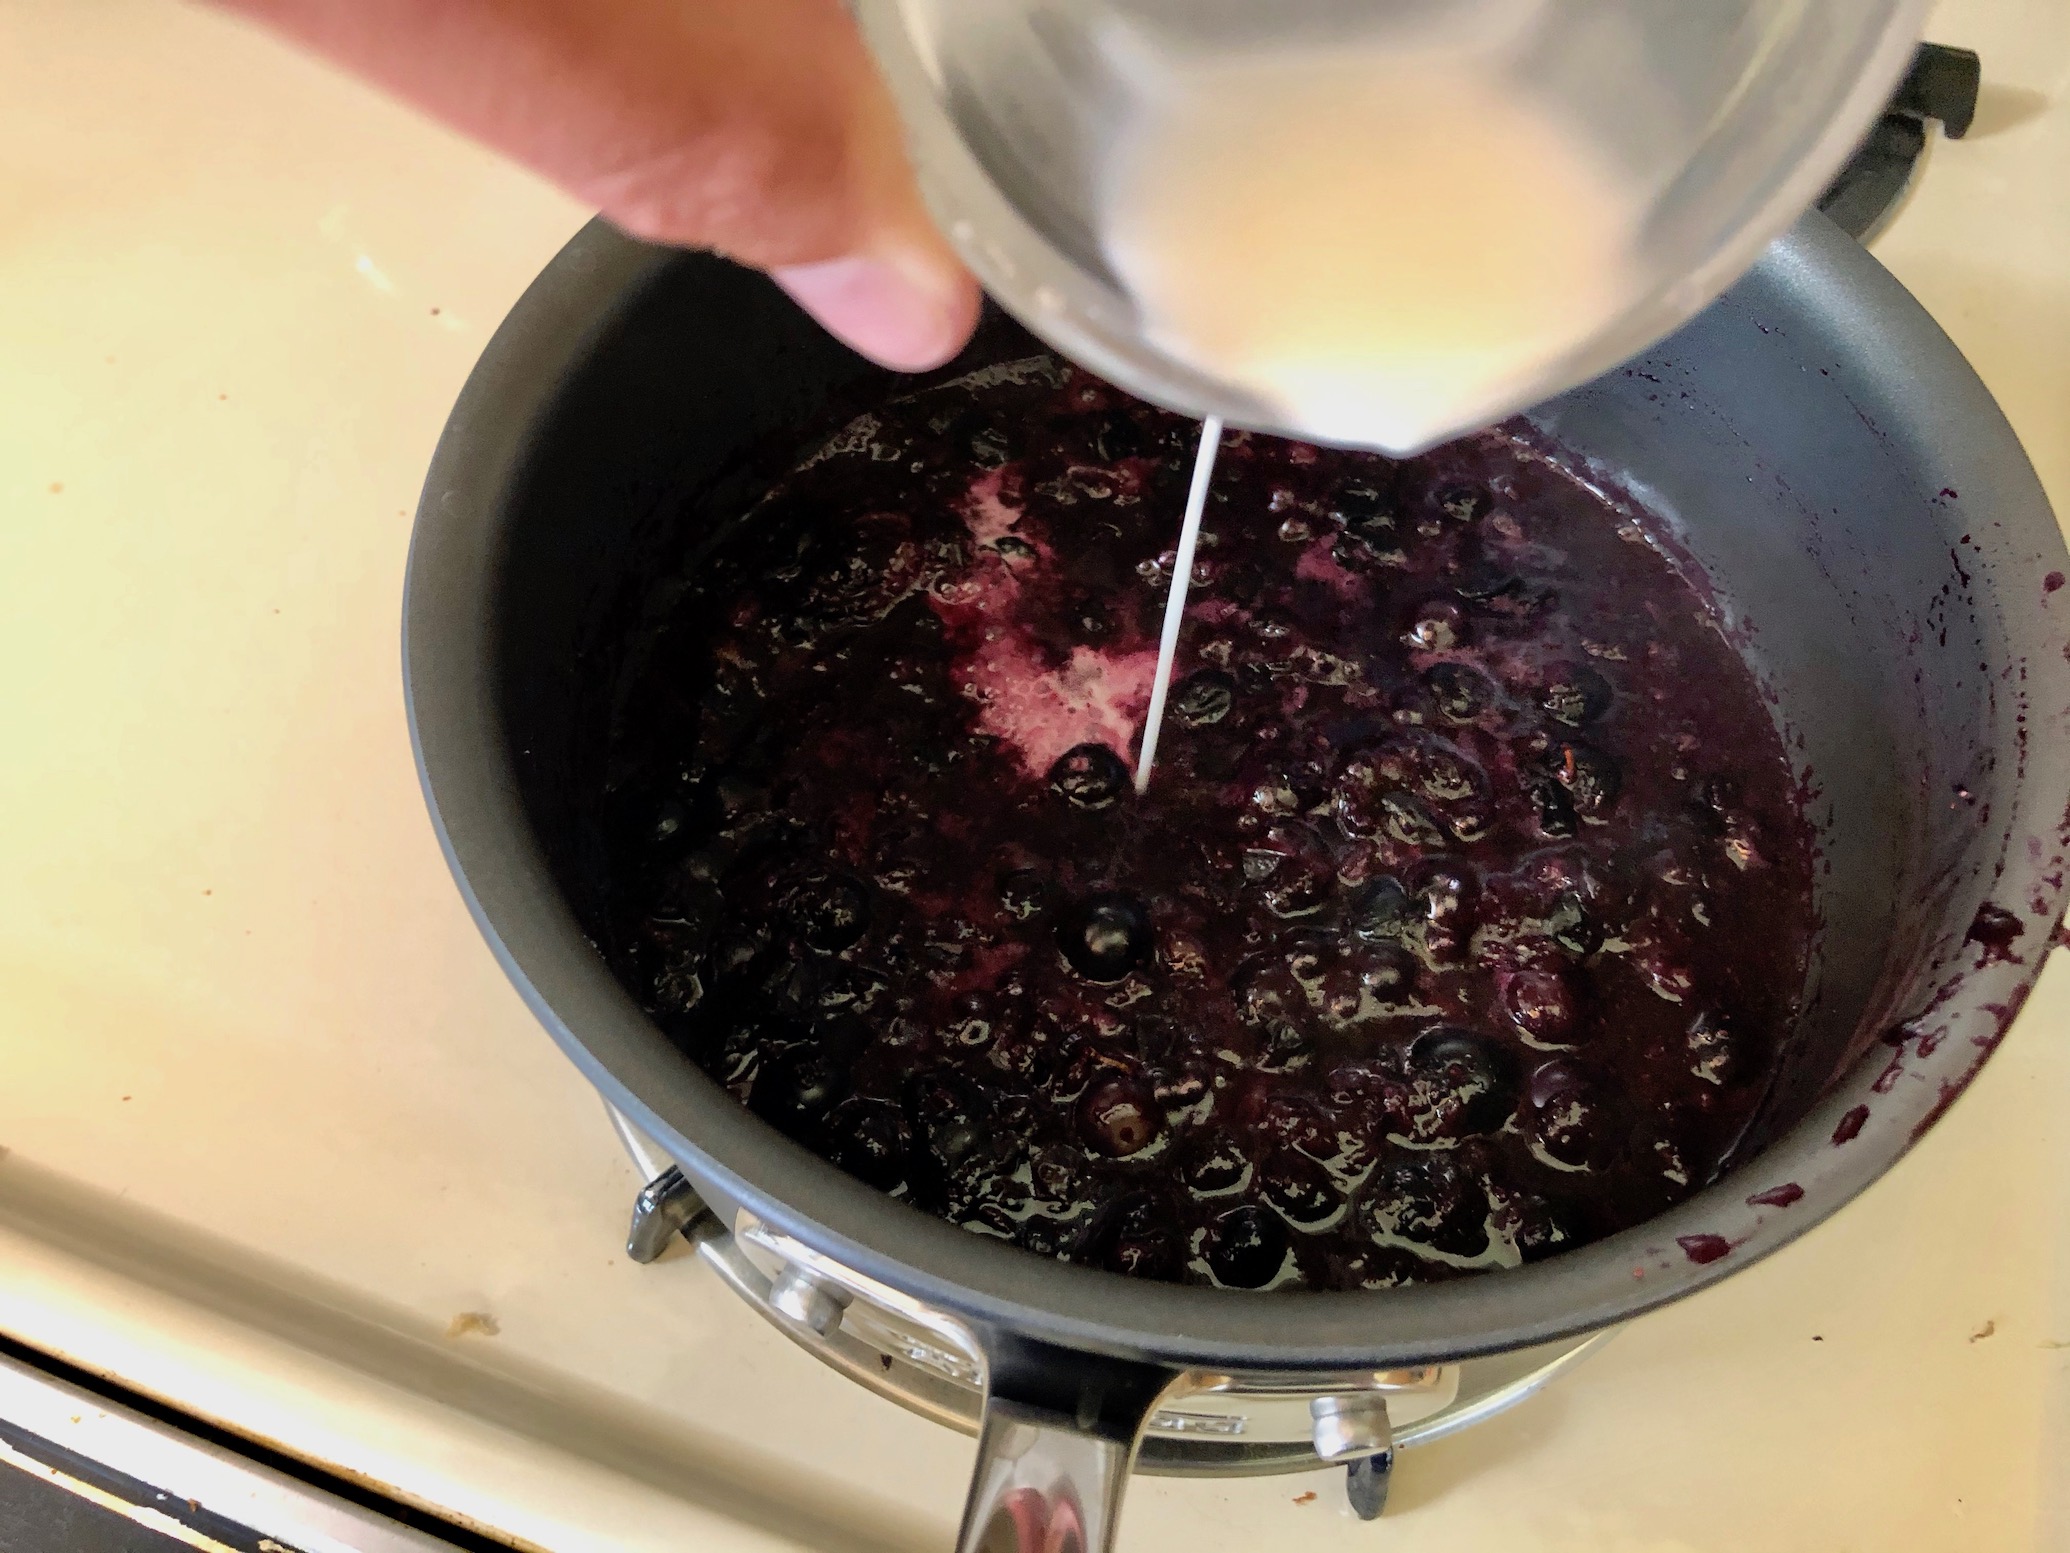
Add the blueberries, 1 Tbsp sugar, and 1 tsp lemon juice to a saucepan and stir to combine. Heat over medium heat and cook until the blueberries soften and begin to release their juices. Mash the blueberries as they cook. Once mashed and the mixture begins to bubble, whisk together the cornstarch and water. Pour into the saucepan and whisk to combine. This will help the mixture thicken. Continue to cook for about 1 minute then remove from the heat.


Place a fine mesh strainer over a bowl. Pour the blueberry mixture into the strainer and allow the juices to flow through. Use the back of a spoon to help the mixture along if needed. You can discard the larger pieces in the strainer – you only want the juice! Set aside and let the blueberry sauce cool.

Preheat the oven to 325 degrees F. Line 12 muffin cups with cupcake liners. The liners are optional but do help you easily remove the cheesecakes from the muffin wells once done baking.
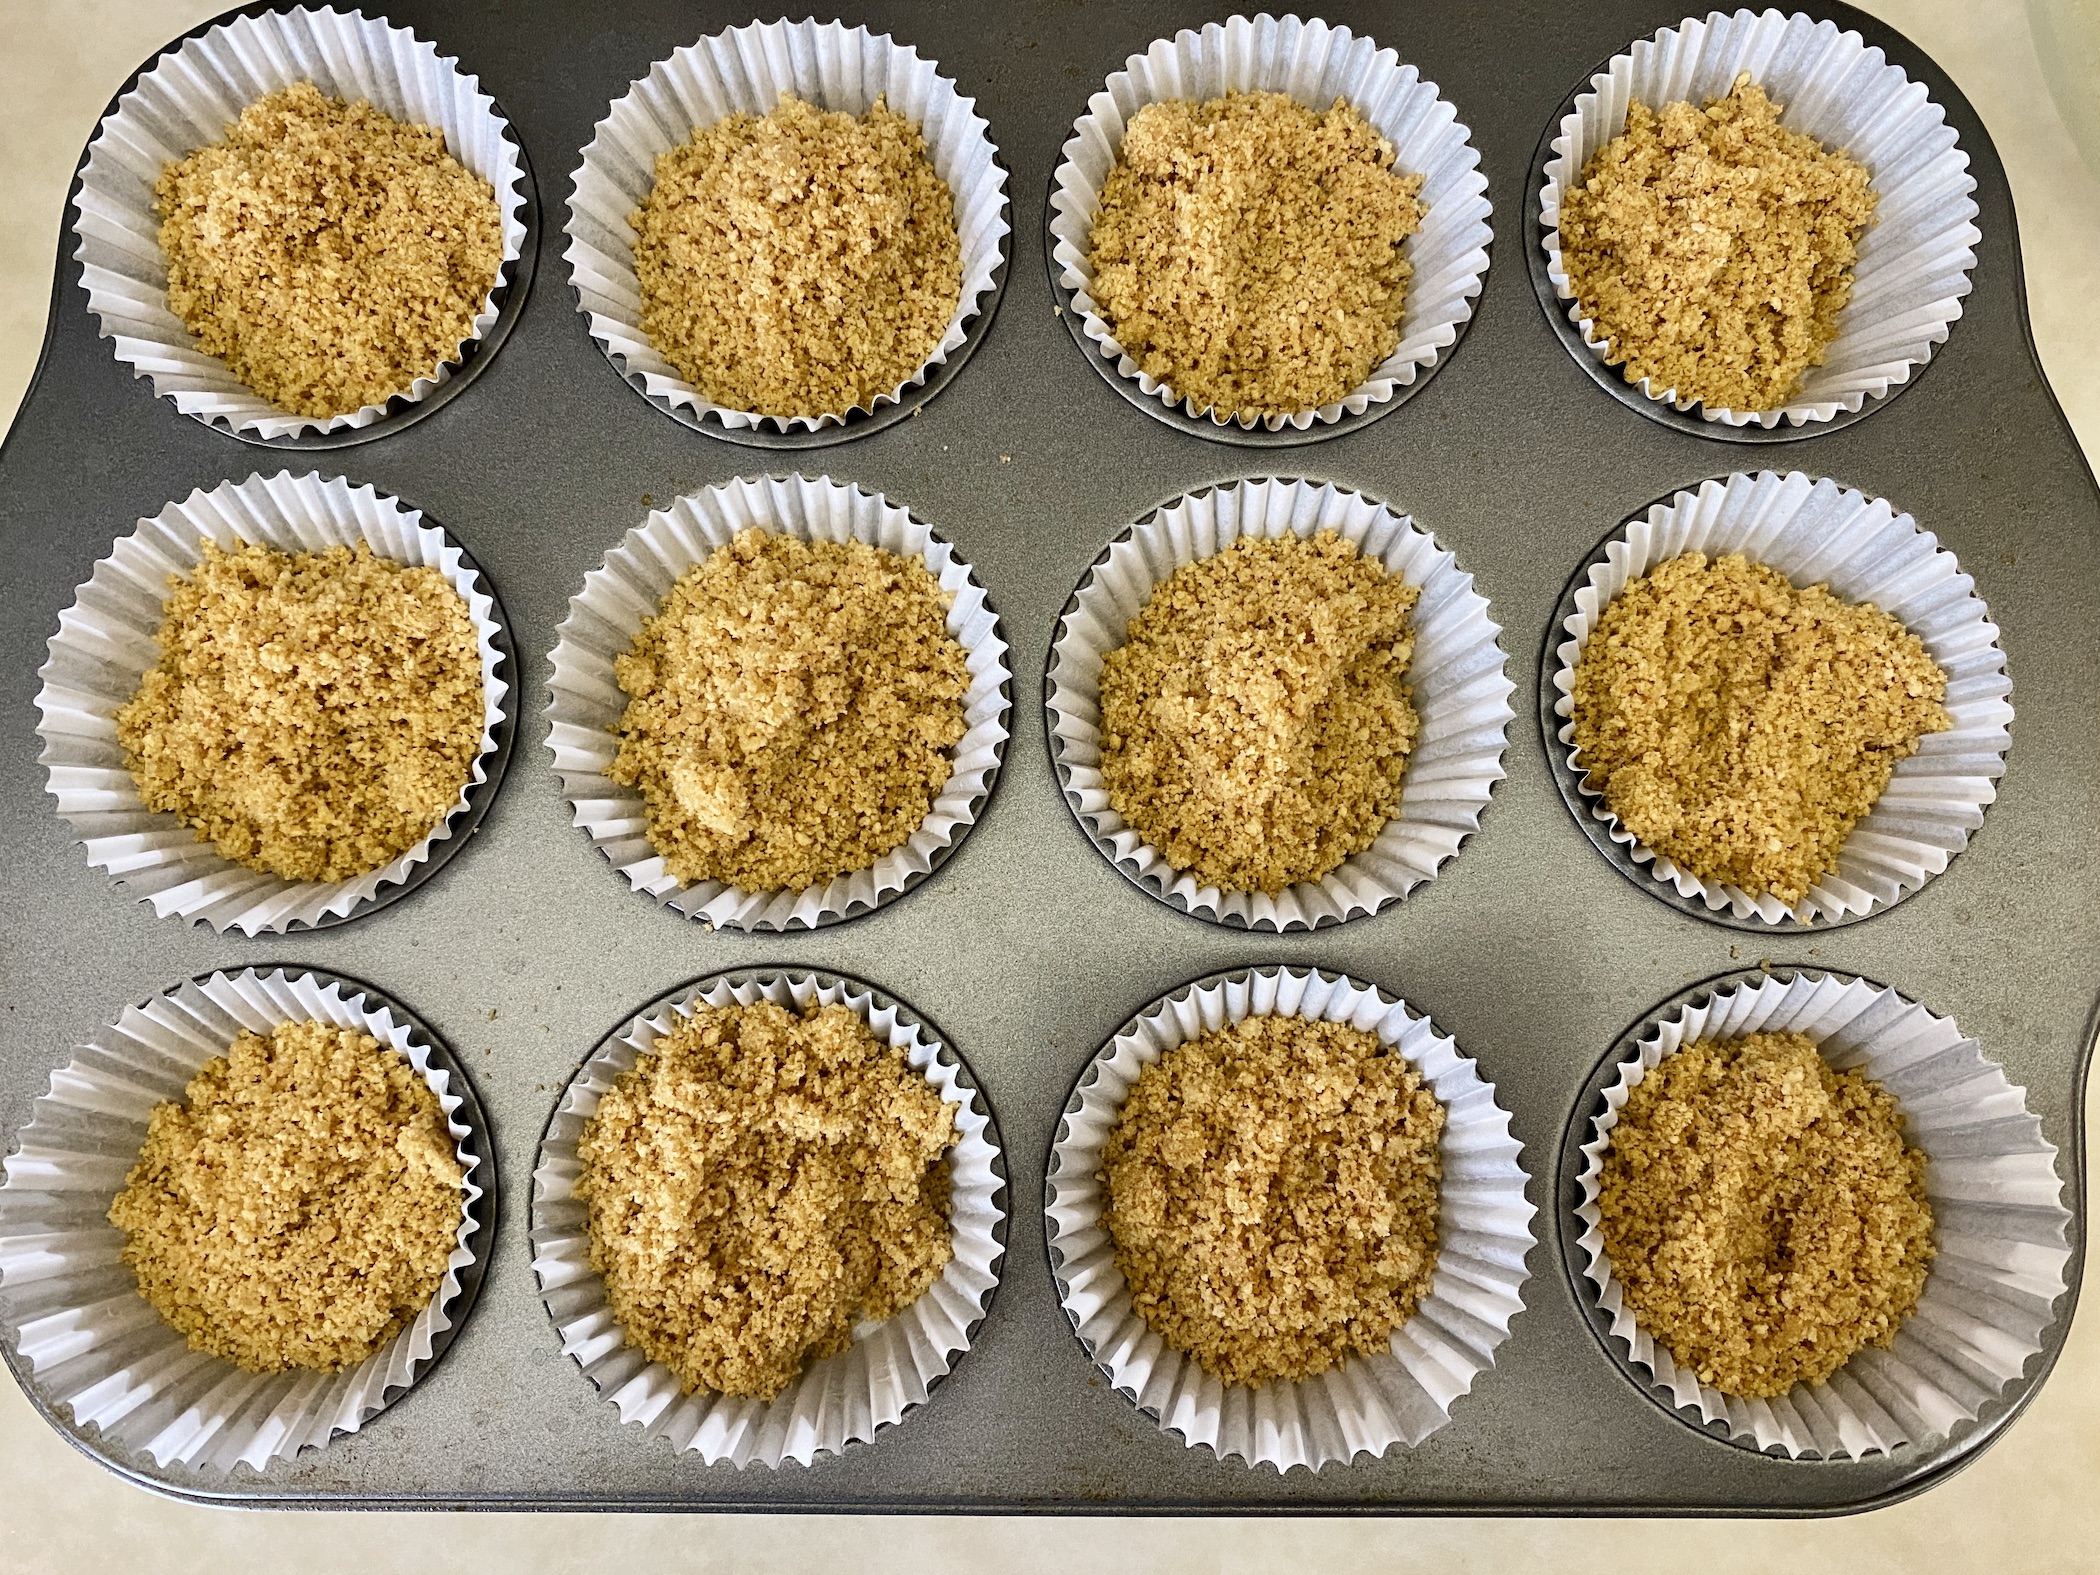
Combine the graham cracker crumbs, 3 Tbsp sugar, and the melted butter in a mixing bowl. Stir until well combined.


Evenly distribute the mixture between the 12 muffin cups. Use your fingers to gently press down in each muffin cup to create the crust.


Bake for 5 minutes then remove from the oven and set aside. Keep the oven preheated to 325 degrees F.

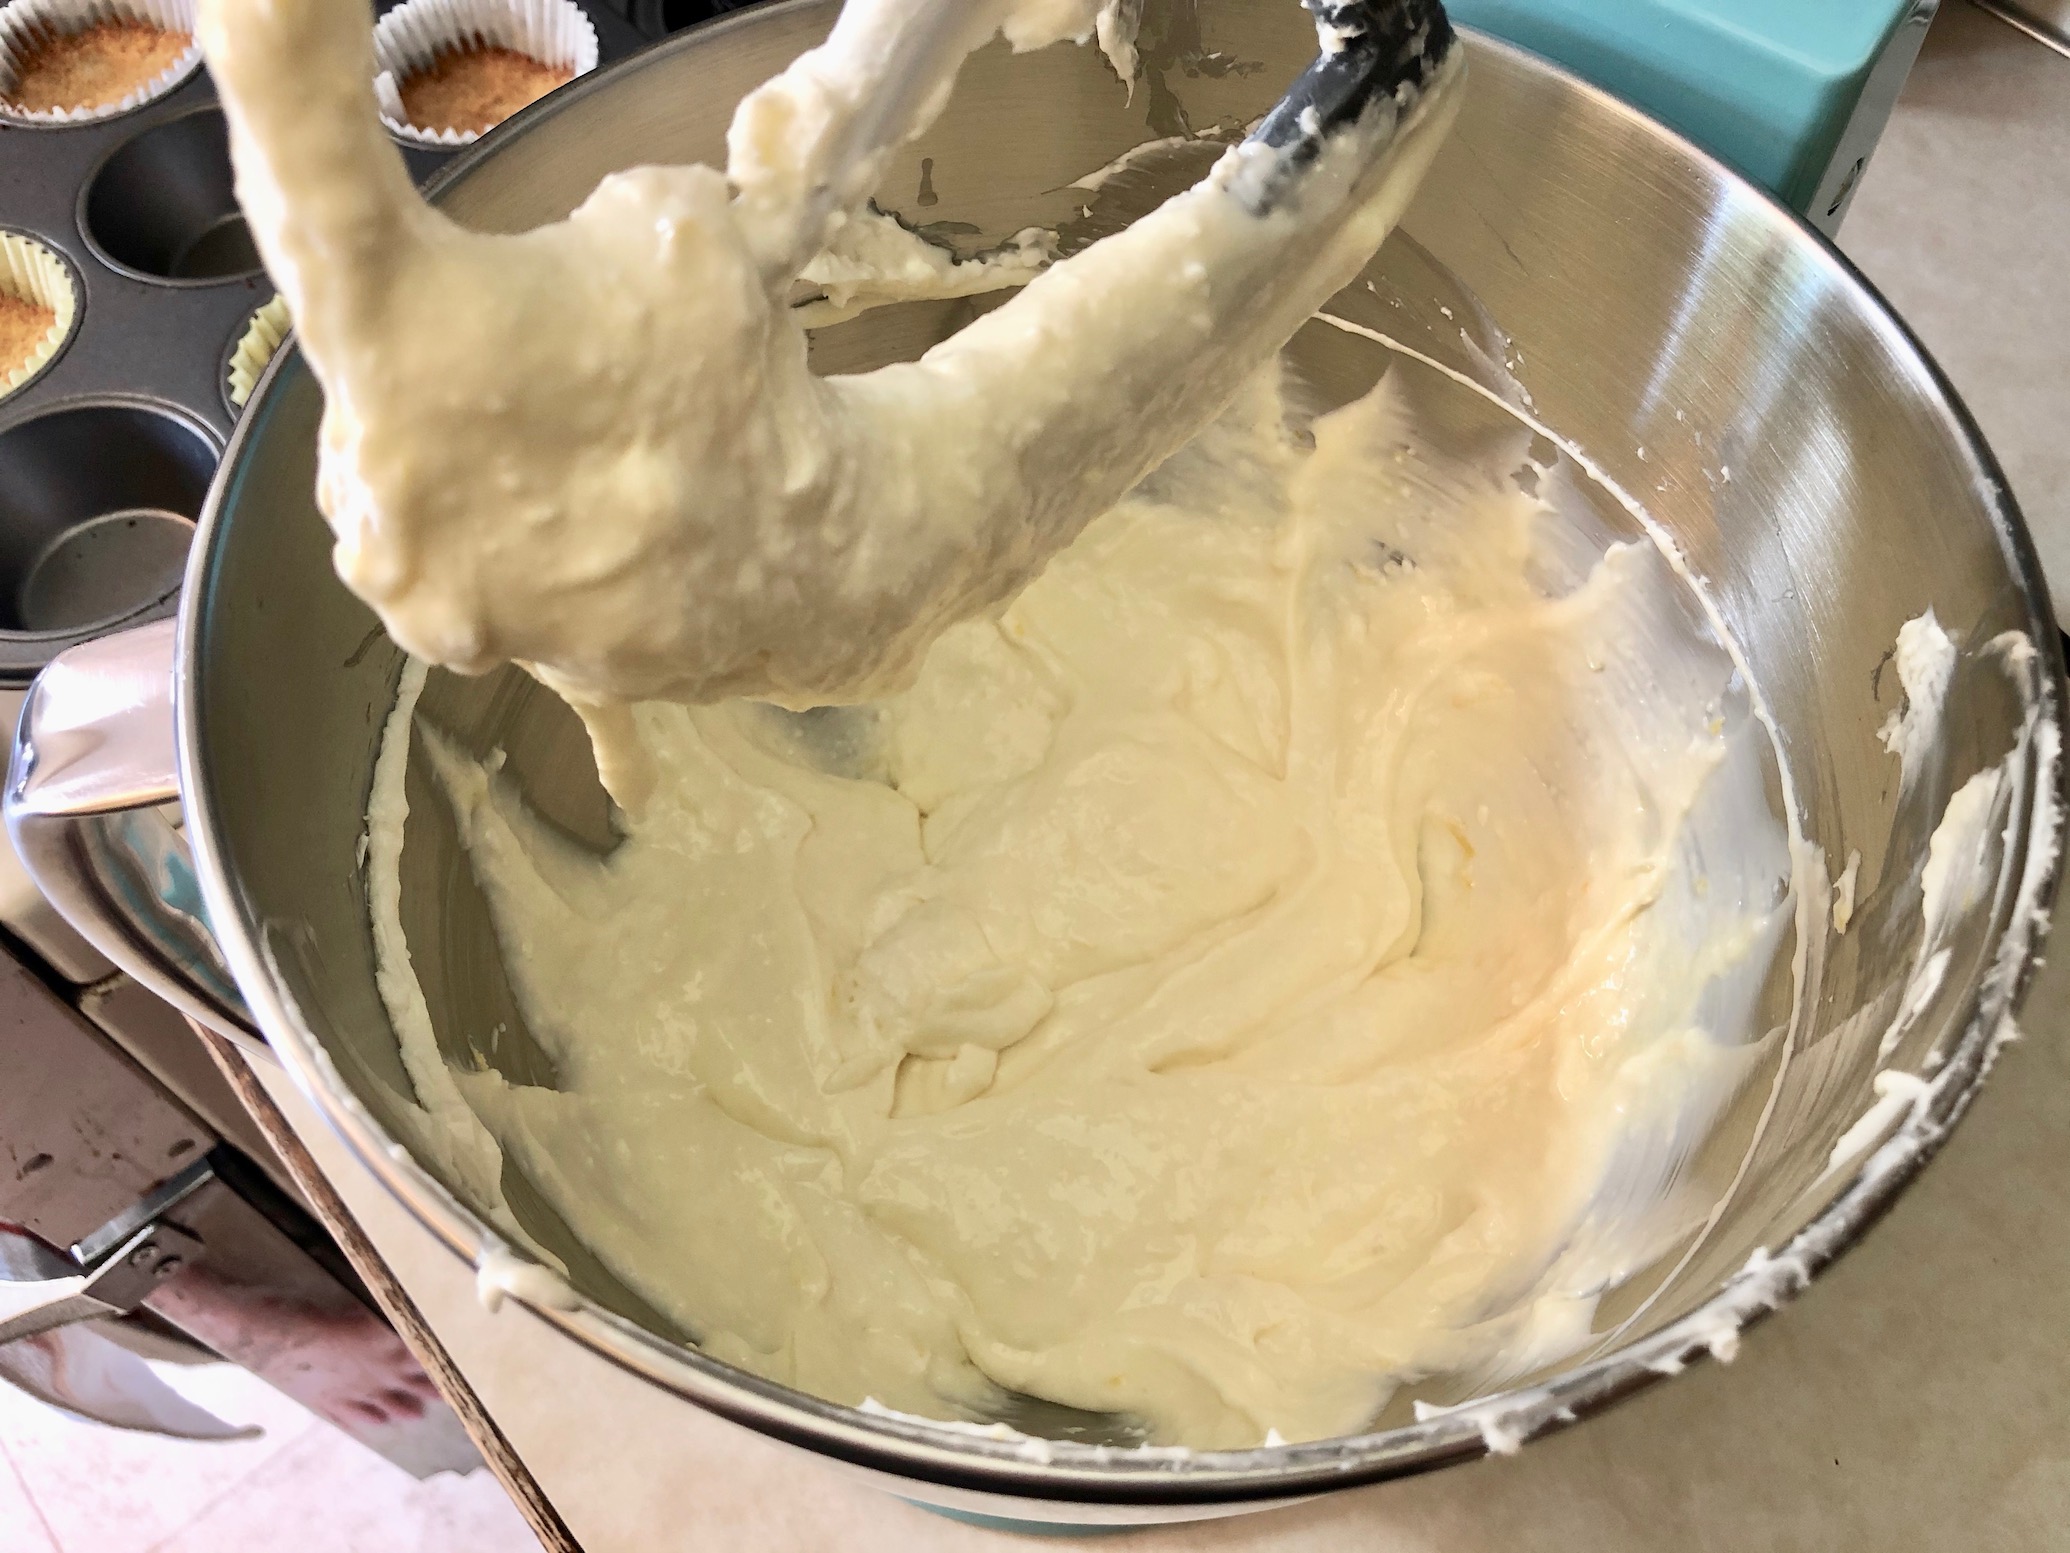
Add the cream cheese and ½ cup sugar to the bowl of a stand mixer. Beat until well combined.


Add ¼ cup lemon juice, the lemon zest, and vanilla extract. Beat until well combined.

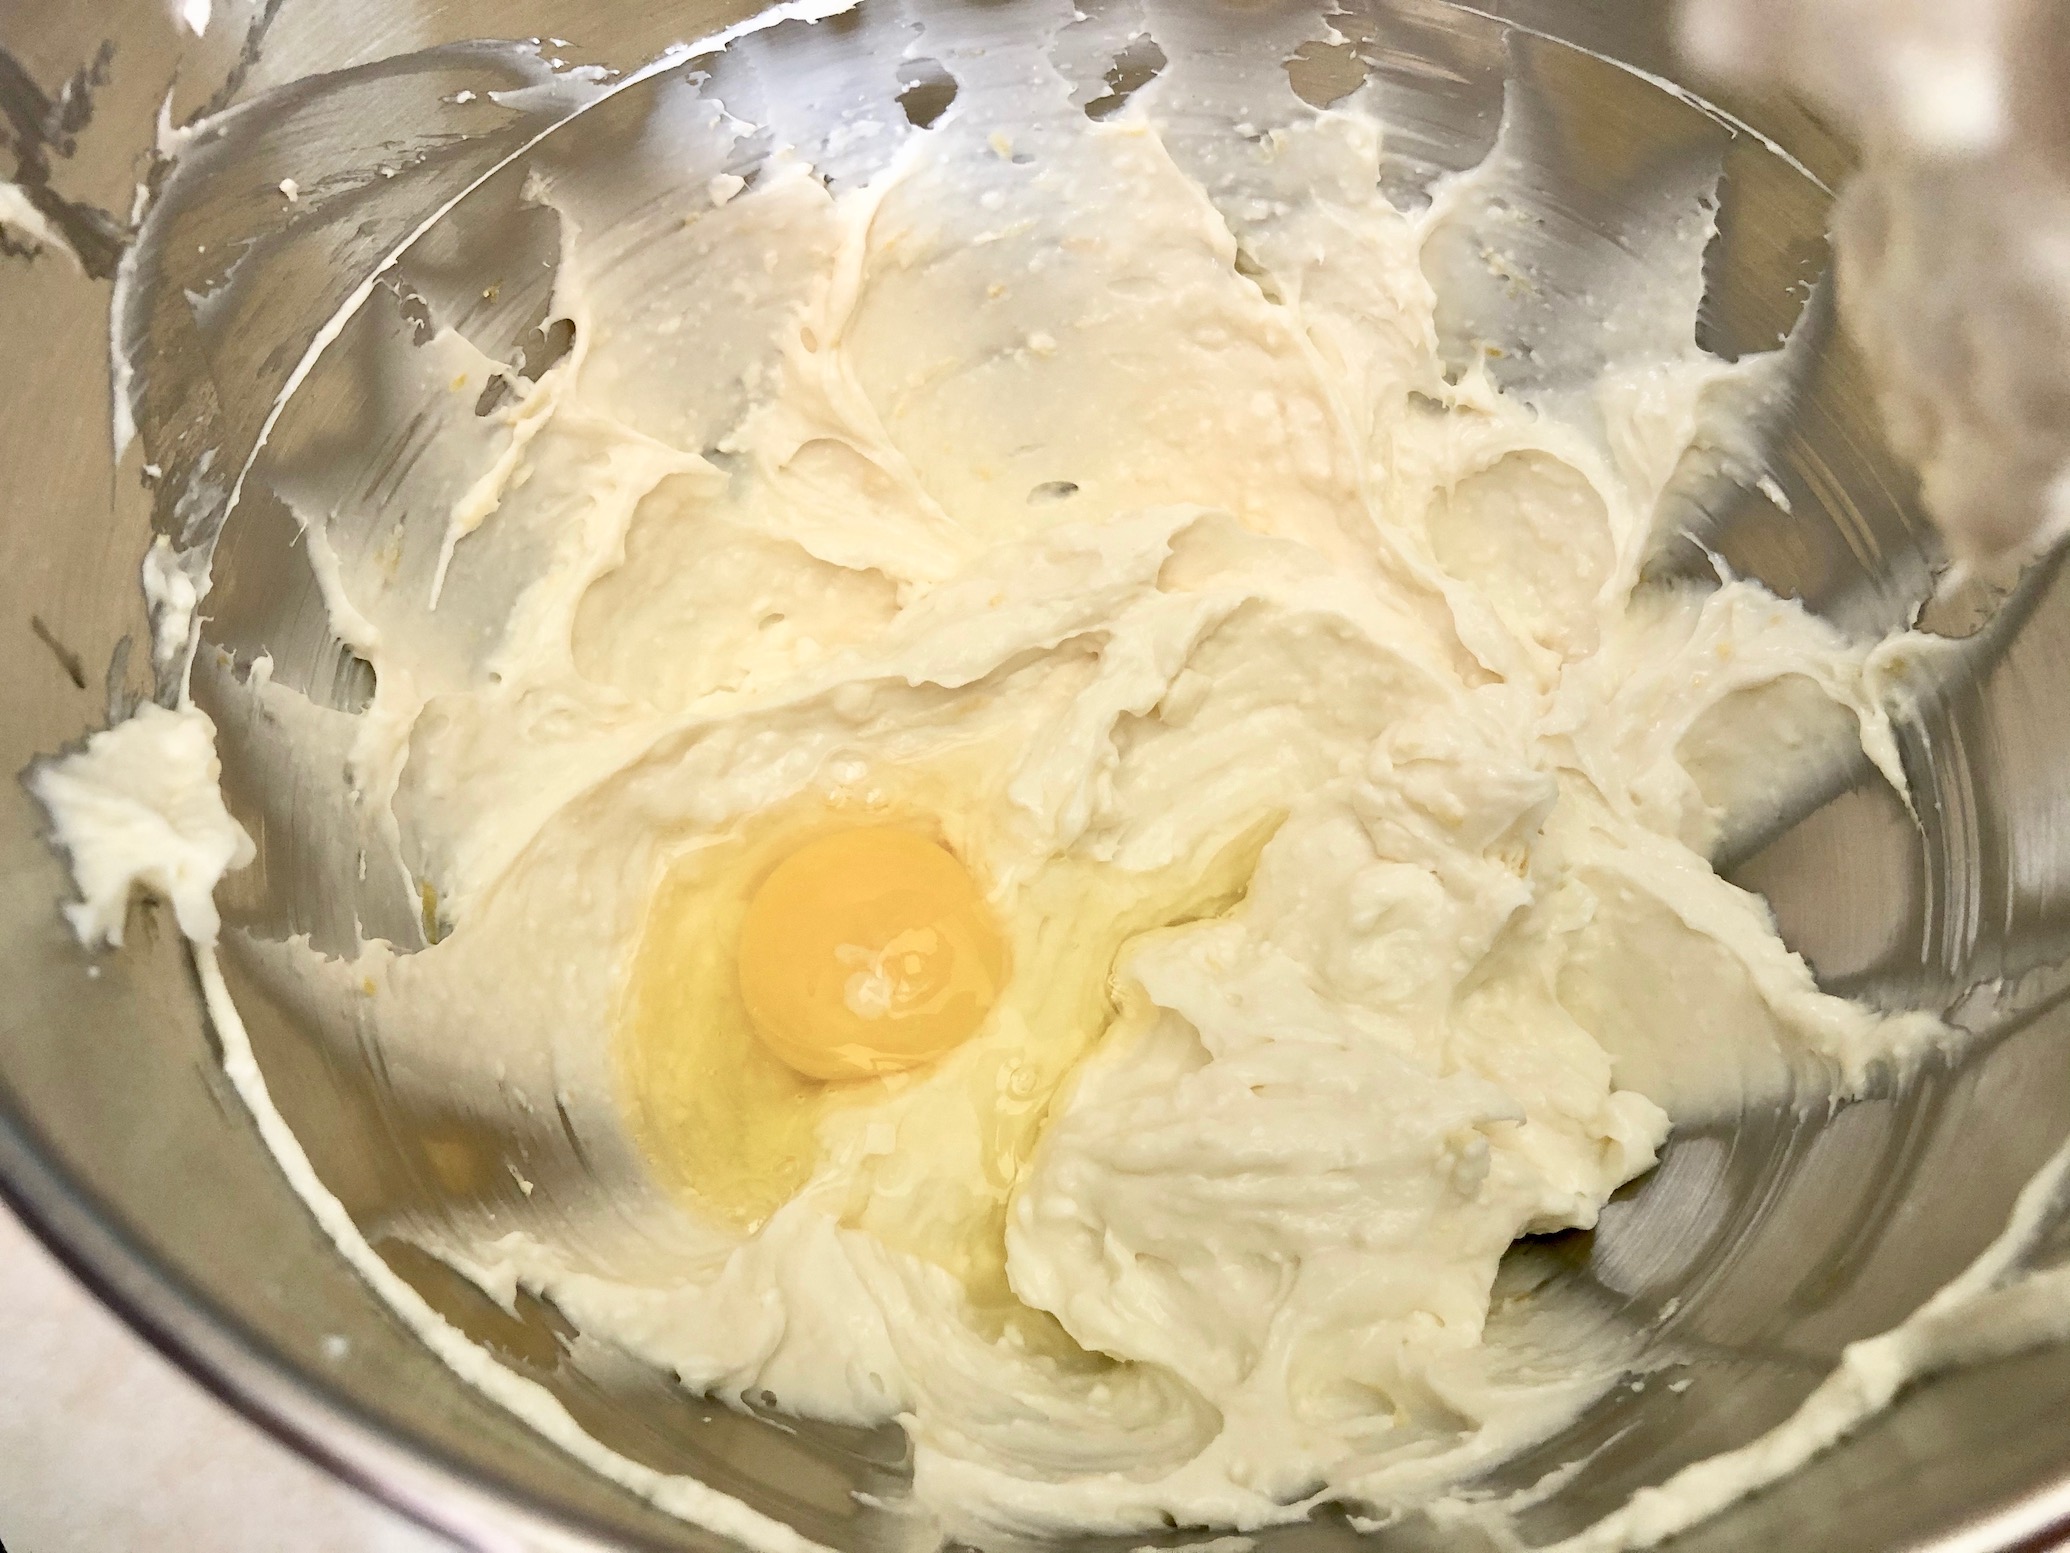
Add the eggs, one at a time, and mix on low speed until incorporated – do not overmix!
Use a cookie scoop to add the mixture to each muffin cup. Do not overfill! You might have a small amount of batter left – it’s OK if you don’t use it all.

Add a spoonful (about 1 tsp) of the blueberry mixture on top of the cheesecake batter.

Use a toothpick to swirl the mixture.

Bake for 17-20 minutes or until the cheesecake is set.

Remove from the oven and let cool on a cooling rack for about 30 minutes. Then remove the cheesecakes from the muffin pan and place in the fridge to finish cooling, about 3-4 hours.
Serve chilled and enjoy!
The recipe can be found here.
You can enjoy these as is or add some fresh blueberries on top for serving. These are a bit more bite-sized and you probably won’t stop with just one!
My final recipe for you today is Andes Mint Mini Cheesecakes. Chocolate and mint are another favorite duo of mine. The fresh mint pairs so well with sweet, creamy chocolate. I mean, what’s better than minty cheesecake with a crispy crust and mound of chocolate on top? And I shouldn’t forget, more mint on top! Nothing. Nothing is better.

The recipe can be found here.
Start by preheating the oven to 325 degrees F. Line 12 muffin cups with cupcake liners. The liners are optional but do help you easily remove the cheesecakes from the muffin wells once done baking.

Combine the graham cracker crumbs, 2 Tbsp sugar, and the melted butter in a mixing bowl. Stir until well combined.


Evenly distribute the mixture between the 12 muffin cups. Use your fingers to gently press down in each muffin cup to create the crust.

To the bowl of a stand mixer, add the cream cheese and ¼ cup + 2 Tbsp sugar. Beat until smooth and creamy.


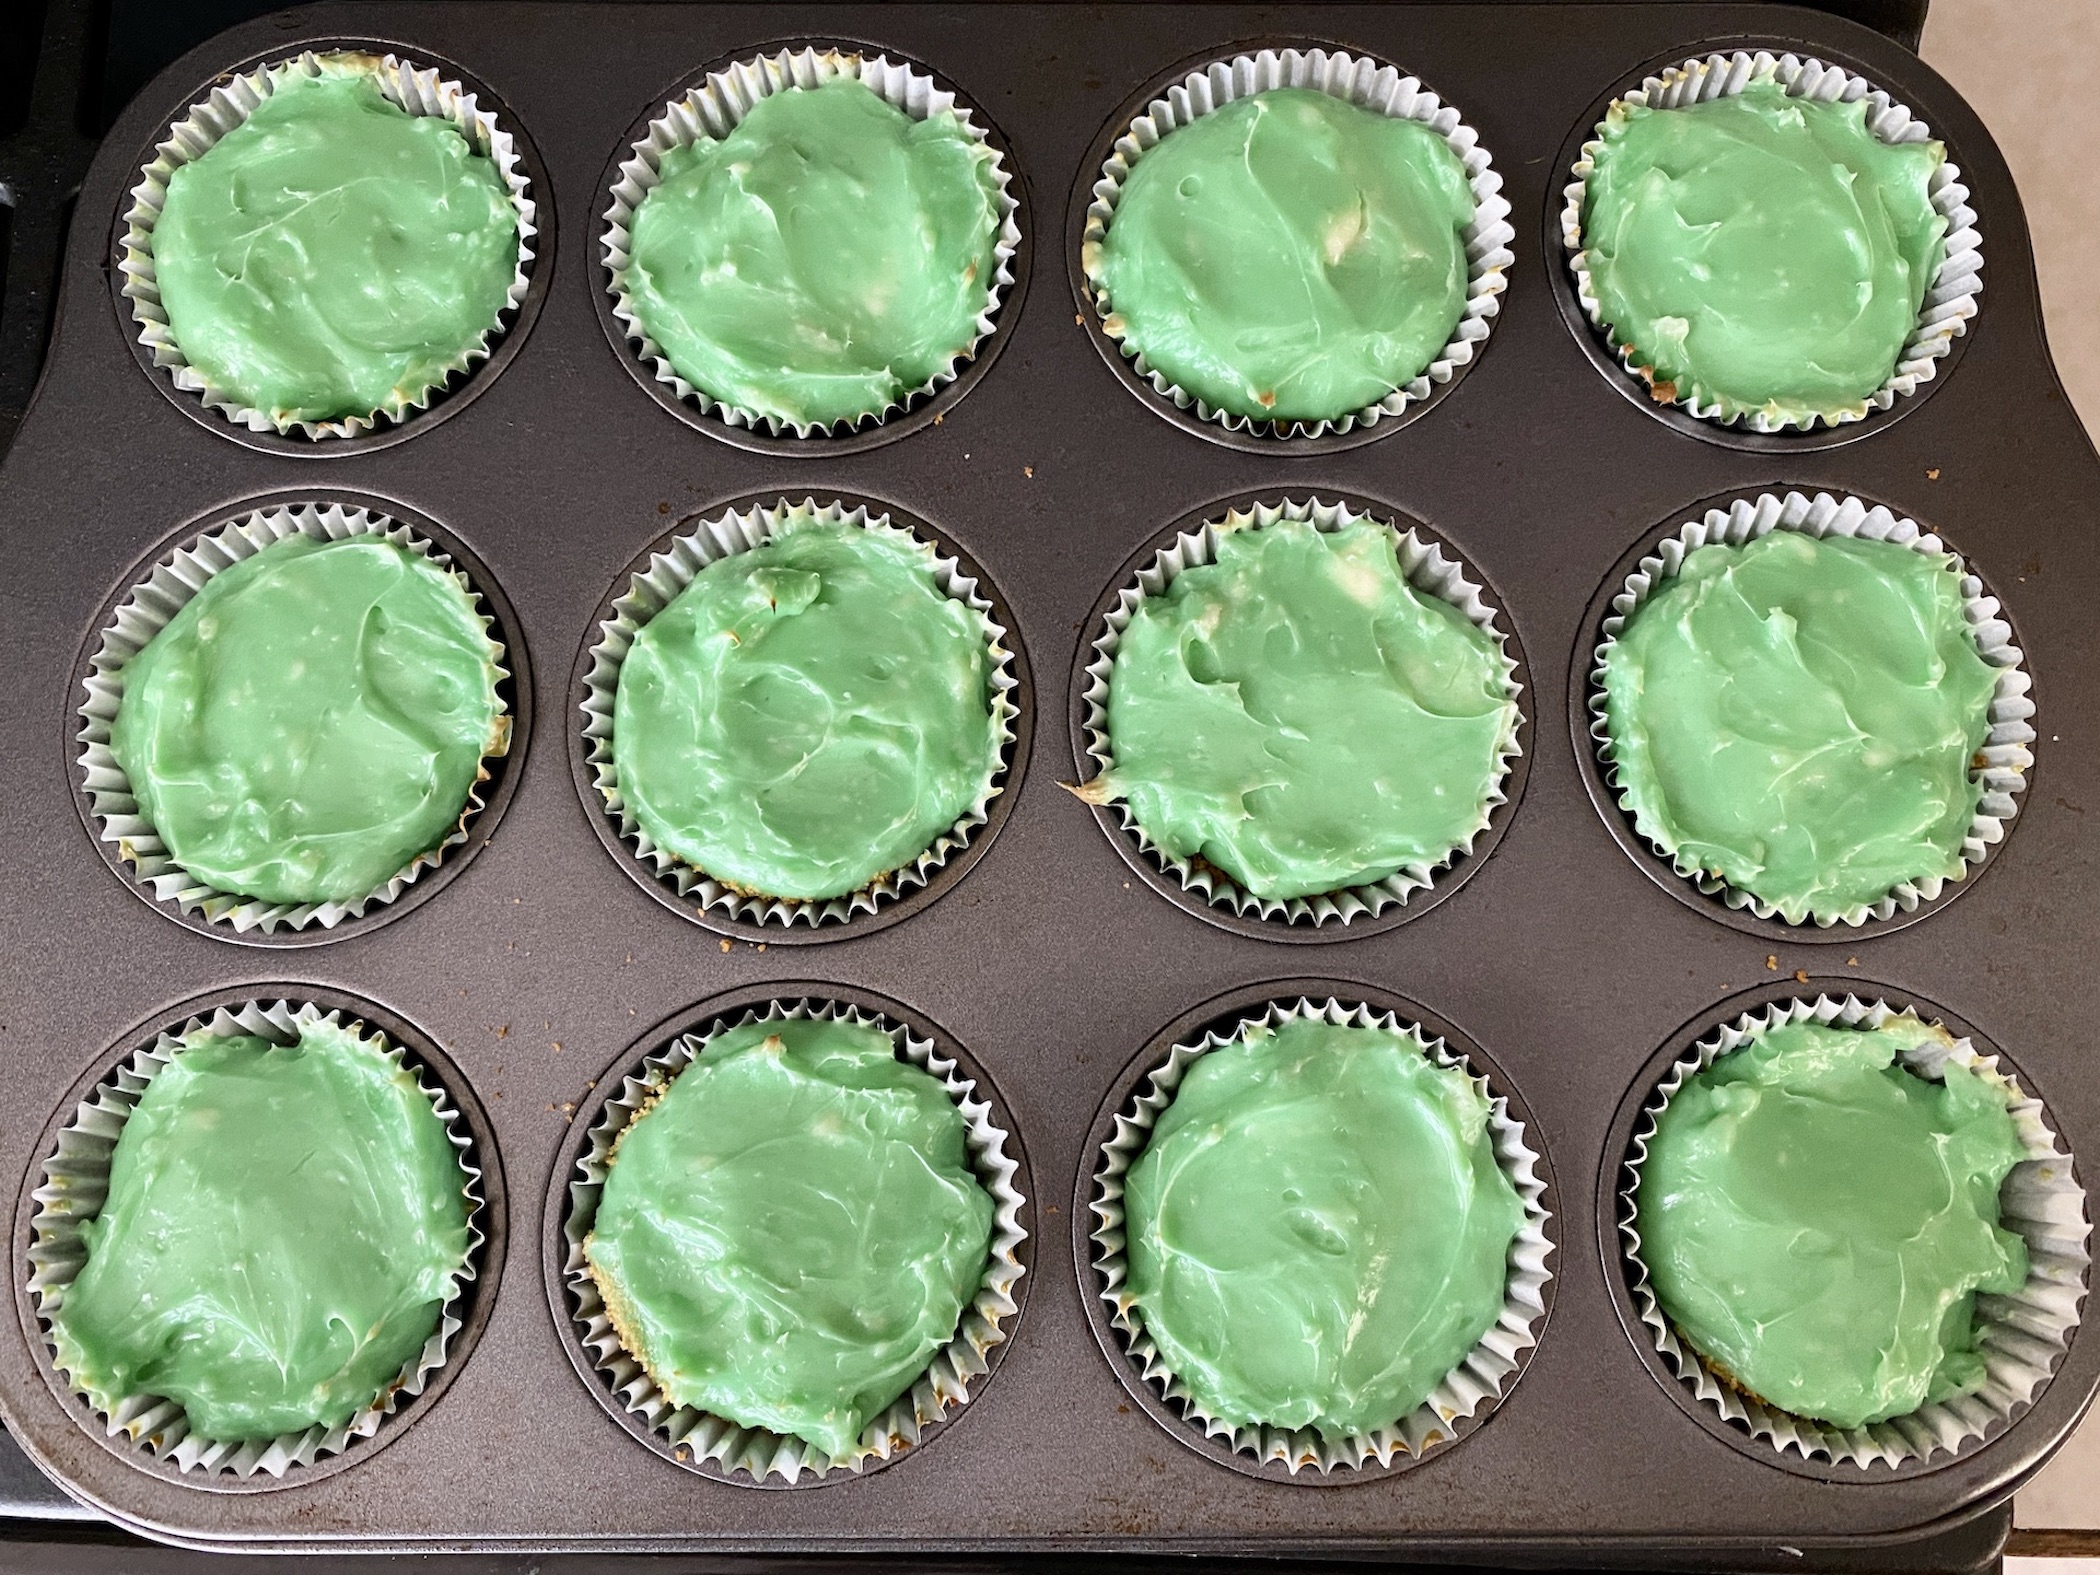
Add the egg, mint extract, and food coloring. Mix until just combined. A quick note on the food coloring…I added 6 drops and got this bright, vibrant green color. If you want a darker/lighter shade of green, use more/less drops of food coloring.


Use a cookie scoop to add the mixture to each muffin cup. You want each to be filled about the same amount for even baking.

Bake for 20 minutes then turn off the oven. Open the door slightly (placing a wooden spoon between the oven and door works well if your oven door doesn’t stay open on its own) and let the cheesecake cool for about 5-10 minutes while still in the oven.
Remove from the oven and place in the fridge to finish cooling for at least 4 hours but up to overnight.
Once the cheesecakes are completely cooled / chilled, make the chocolate ganache. Add the chocolate chips to a microwave safe bowl and heat in 30 second intervals, stirring in between, until melted.
Remove the cheesecakes from the pan. You can also remove the baking cups at this time if you prefer. Place on a serving platter and top each cheesecake with the melted chocolate.


Add chopped Andes mints on top of the chocolate.


Serve immediately or store in the fridge until ready to serve. Enjoy!
The recipe can be found here.
Just like with the Lemon Blueberry Mini Cheesecakes, these are a bit more bite-sized and you probably won’t stop with just one! I prefer to enjoy them right away, while the chocolate is still melty and warm, but they do taste great if you must refrigerate and wait. Although, there is nothing wrong with sampling and doing a taste test….for quality control purposes 😊
Happy Baking!


Recent Comments