 order online
 weekly specials
Halloween might look a little different this year but that doesn’t mean you can’t enjoy some spooky treats! I for one, love Halloween and all the fun food, scary movies, and candy. I’m sure a lot of families are deciding what is right for them…do you send your kids out to trick-or-treat or keep them home? Do you plan a small get-together with your closest friends or family to celebrate? Dress up and parade around the neighborhood? Whatever people decide to do, I hope they stay safe and healthy.
If you are staying in, I highly recommend making some themed treats to enjoy. This year, I’m going to have a dessert buffet for us to enjoy. When I say “us”, I mean Andrew and me. It will be the 2 of us…enjoying plenty of sweets…while we binge watch Halloween movies 😊

Here’s what I’m going to make:
- Spooky Chocolate Dipped Strawberries
- Candy Corn Marshmallow Treats
- Spider Web Pretzels
- Frankenstein Peanut Butter Blossoms
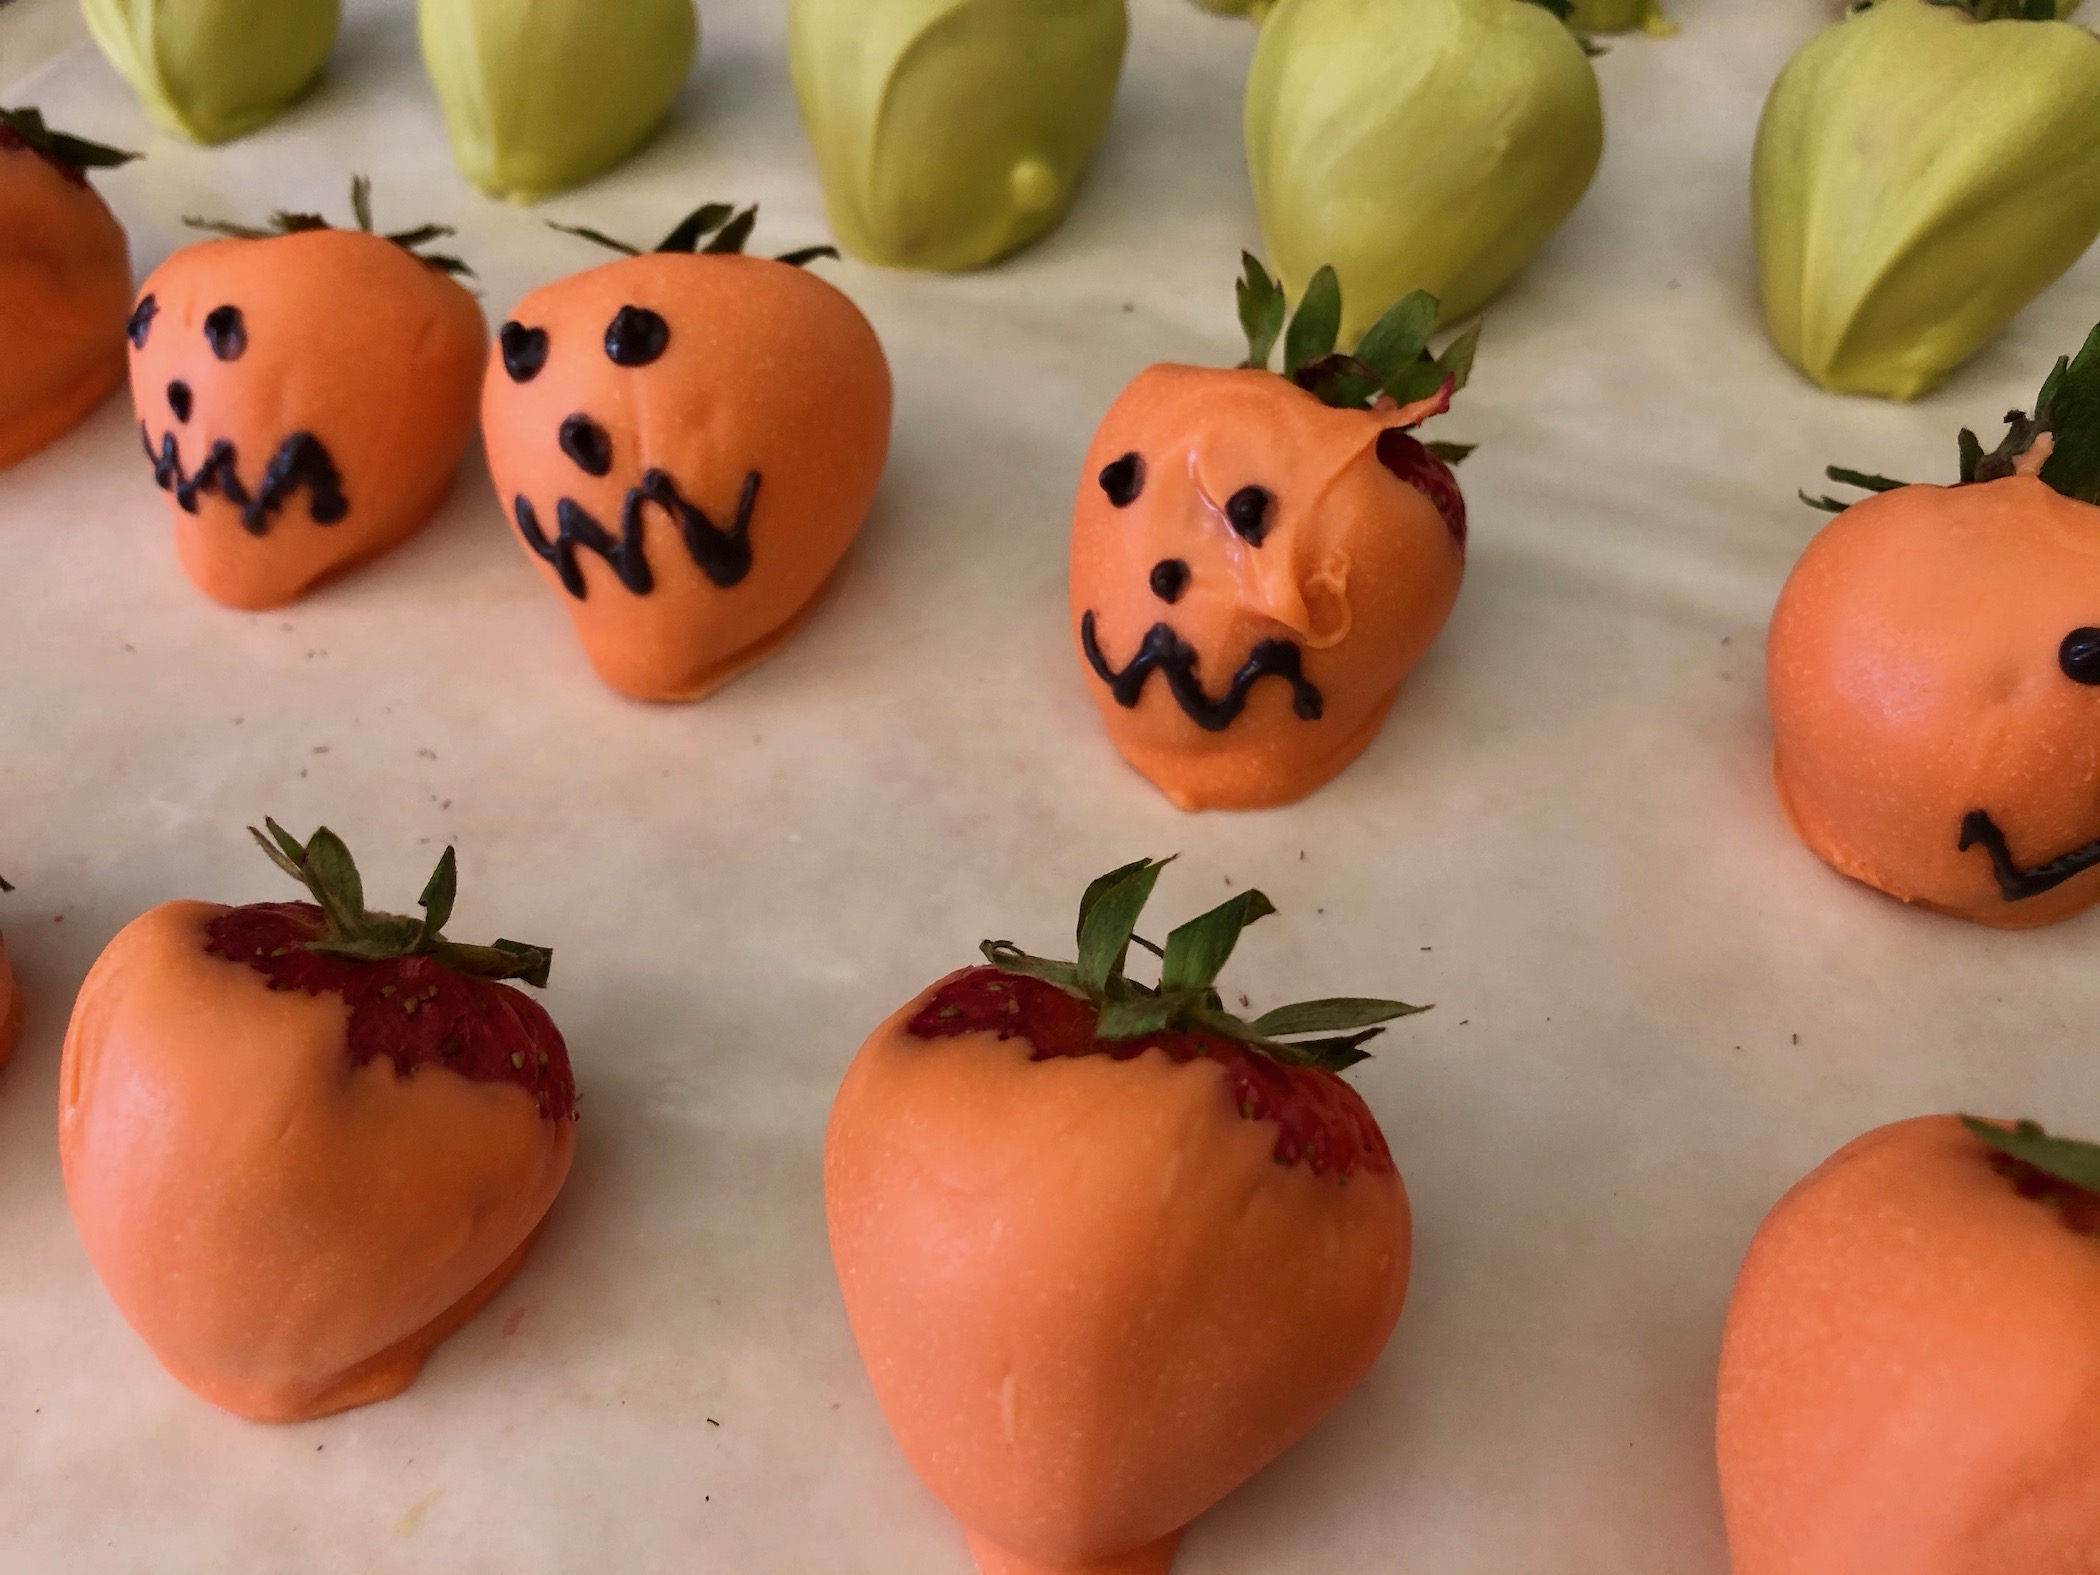
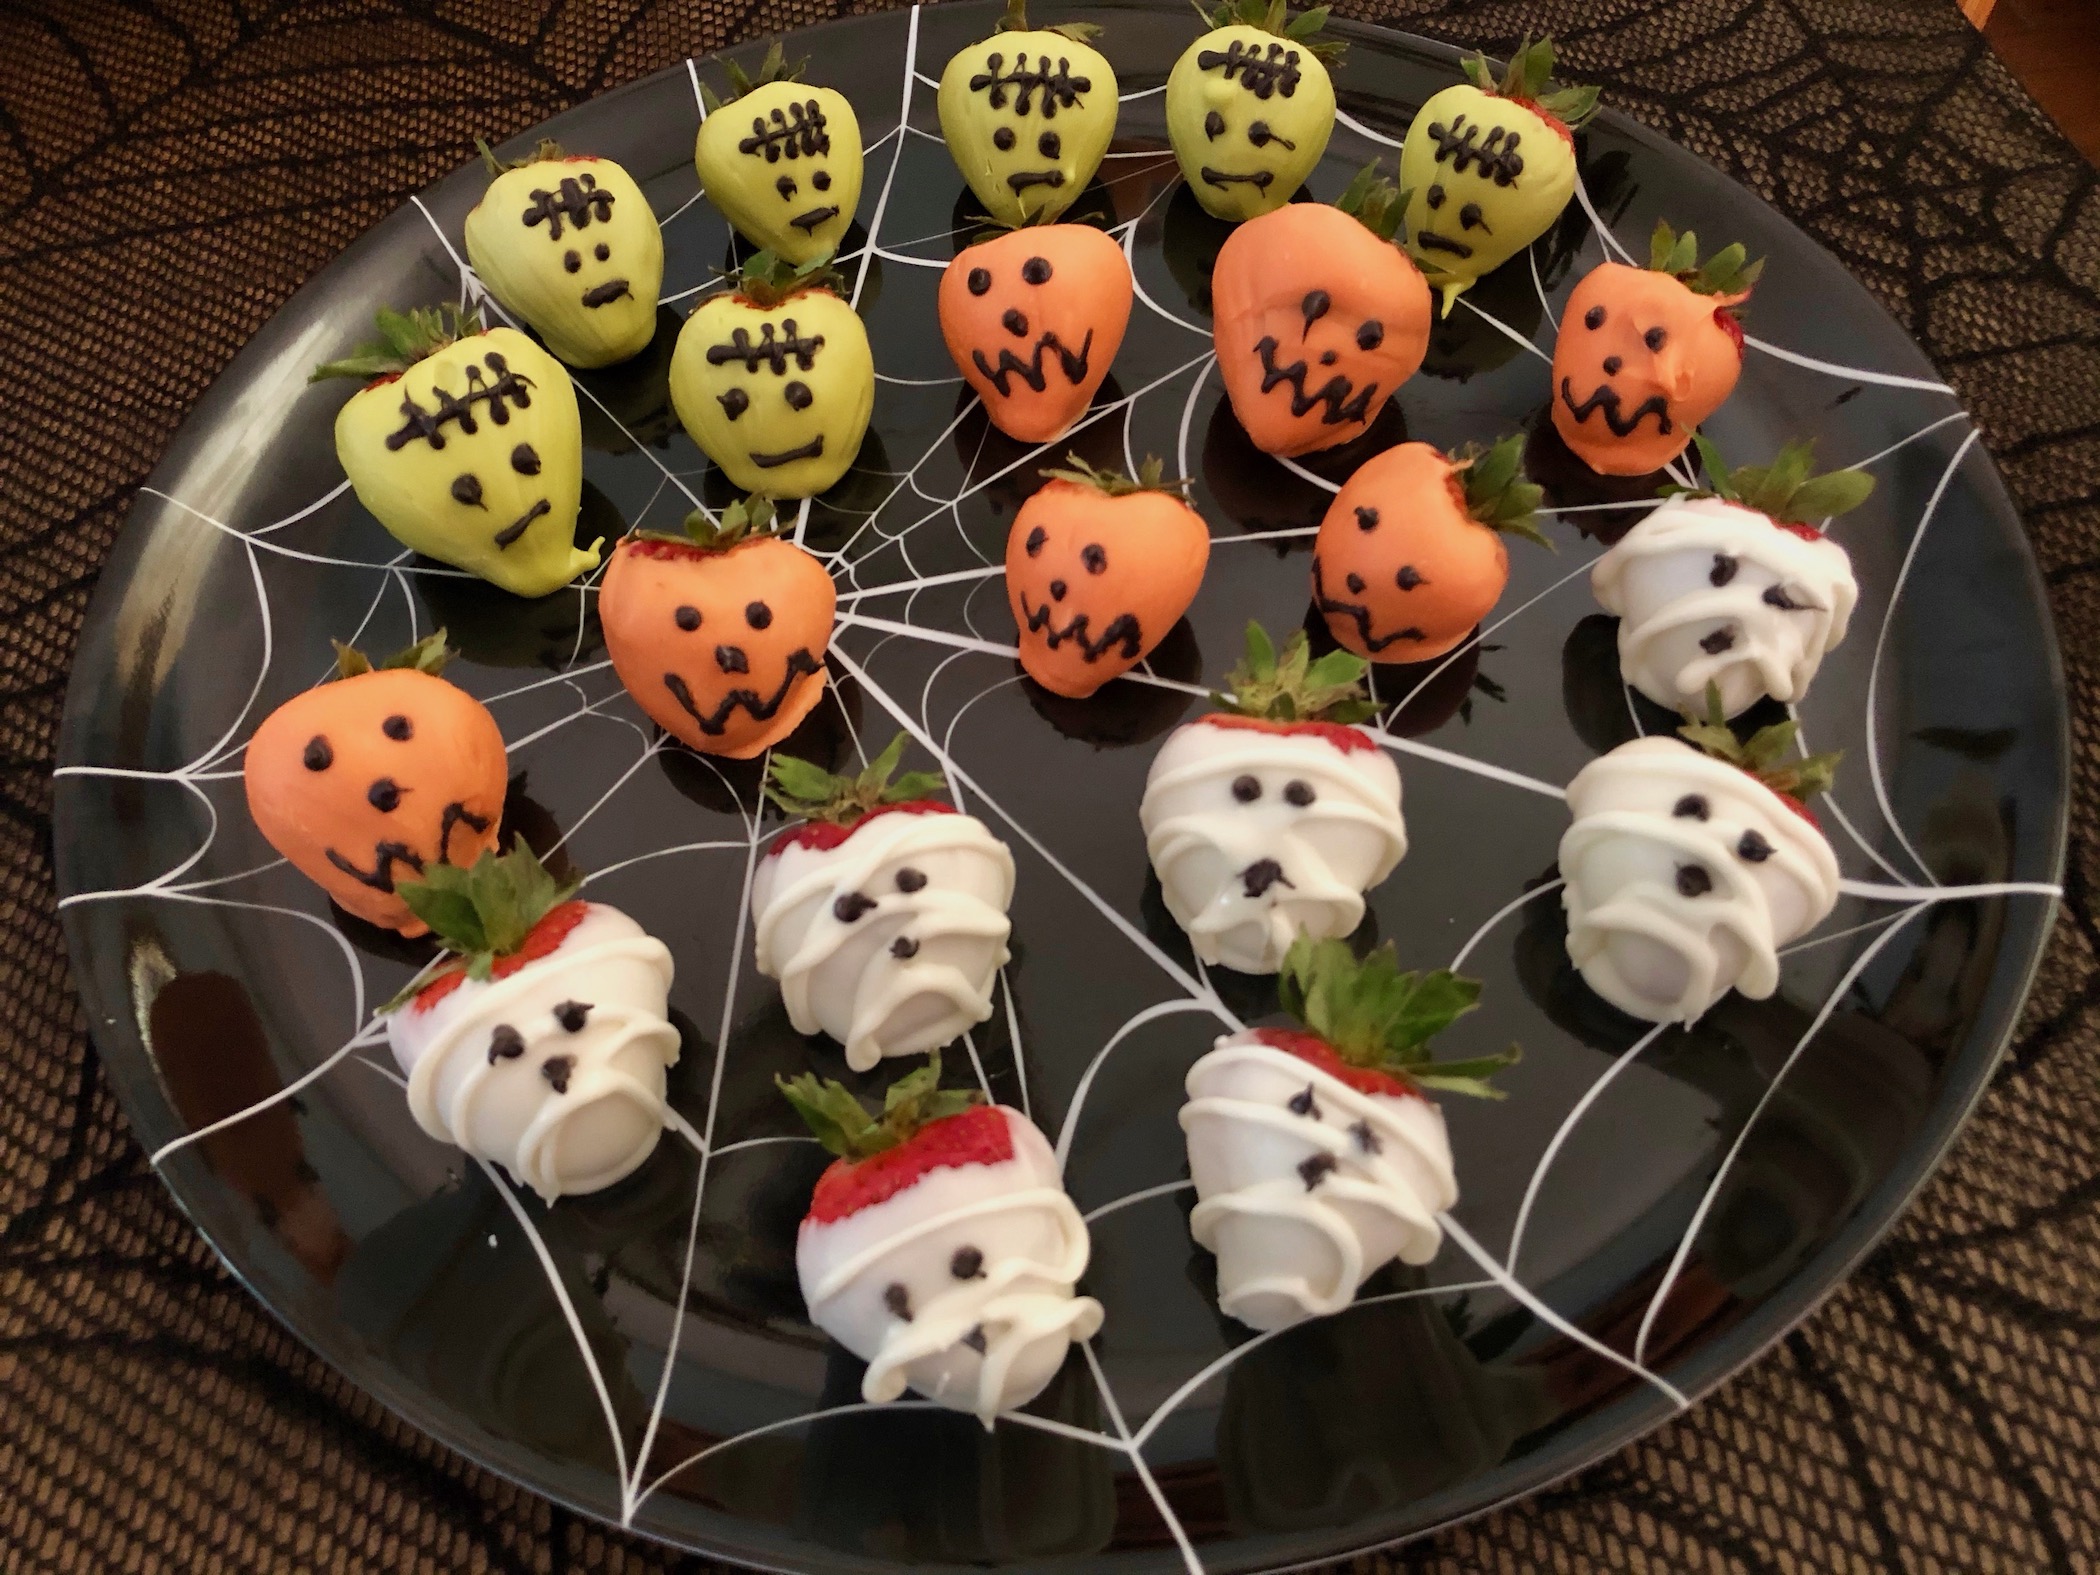
Spooky Chocolate Dipped Strawberries are incredibly easy to make and can be decorated to resemble any spooky character. I chose to make Frankenstein, pumpkins, and ghosts. These are customizable for any holiday too! Swap out the orange pumpkins for red and white to make Santa hats, or use pastel colors for Easter, etc. The recipe is the same but how you decorate will be different. The strawberries are ripe and juicy, and the chocolate adds a perfectly sweet taste.

The recipe can be found here.
Start by lining the counter with parchment paper or wax paper. Then, divide the strawberries into 3 equal amounts (if you are making more than one design). I want to have an even amount of each design, but you can make as many of each design as you like.
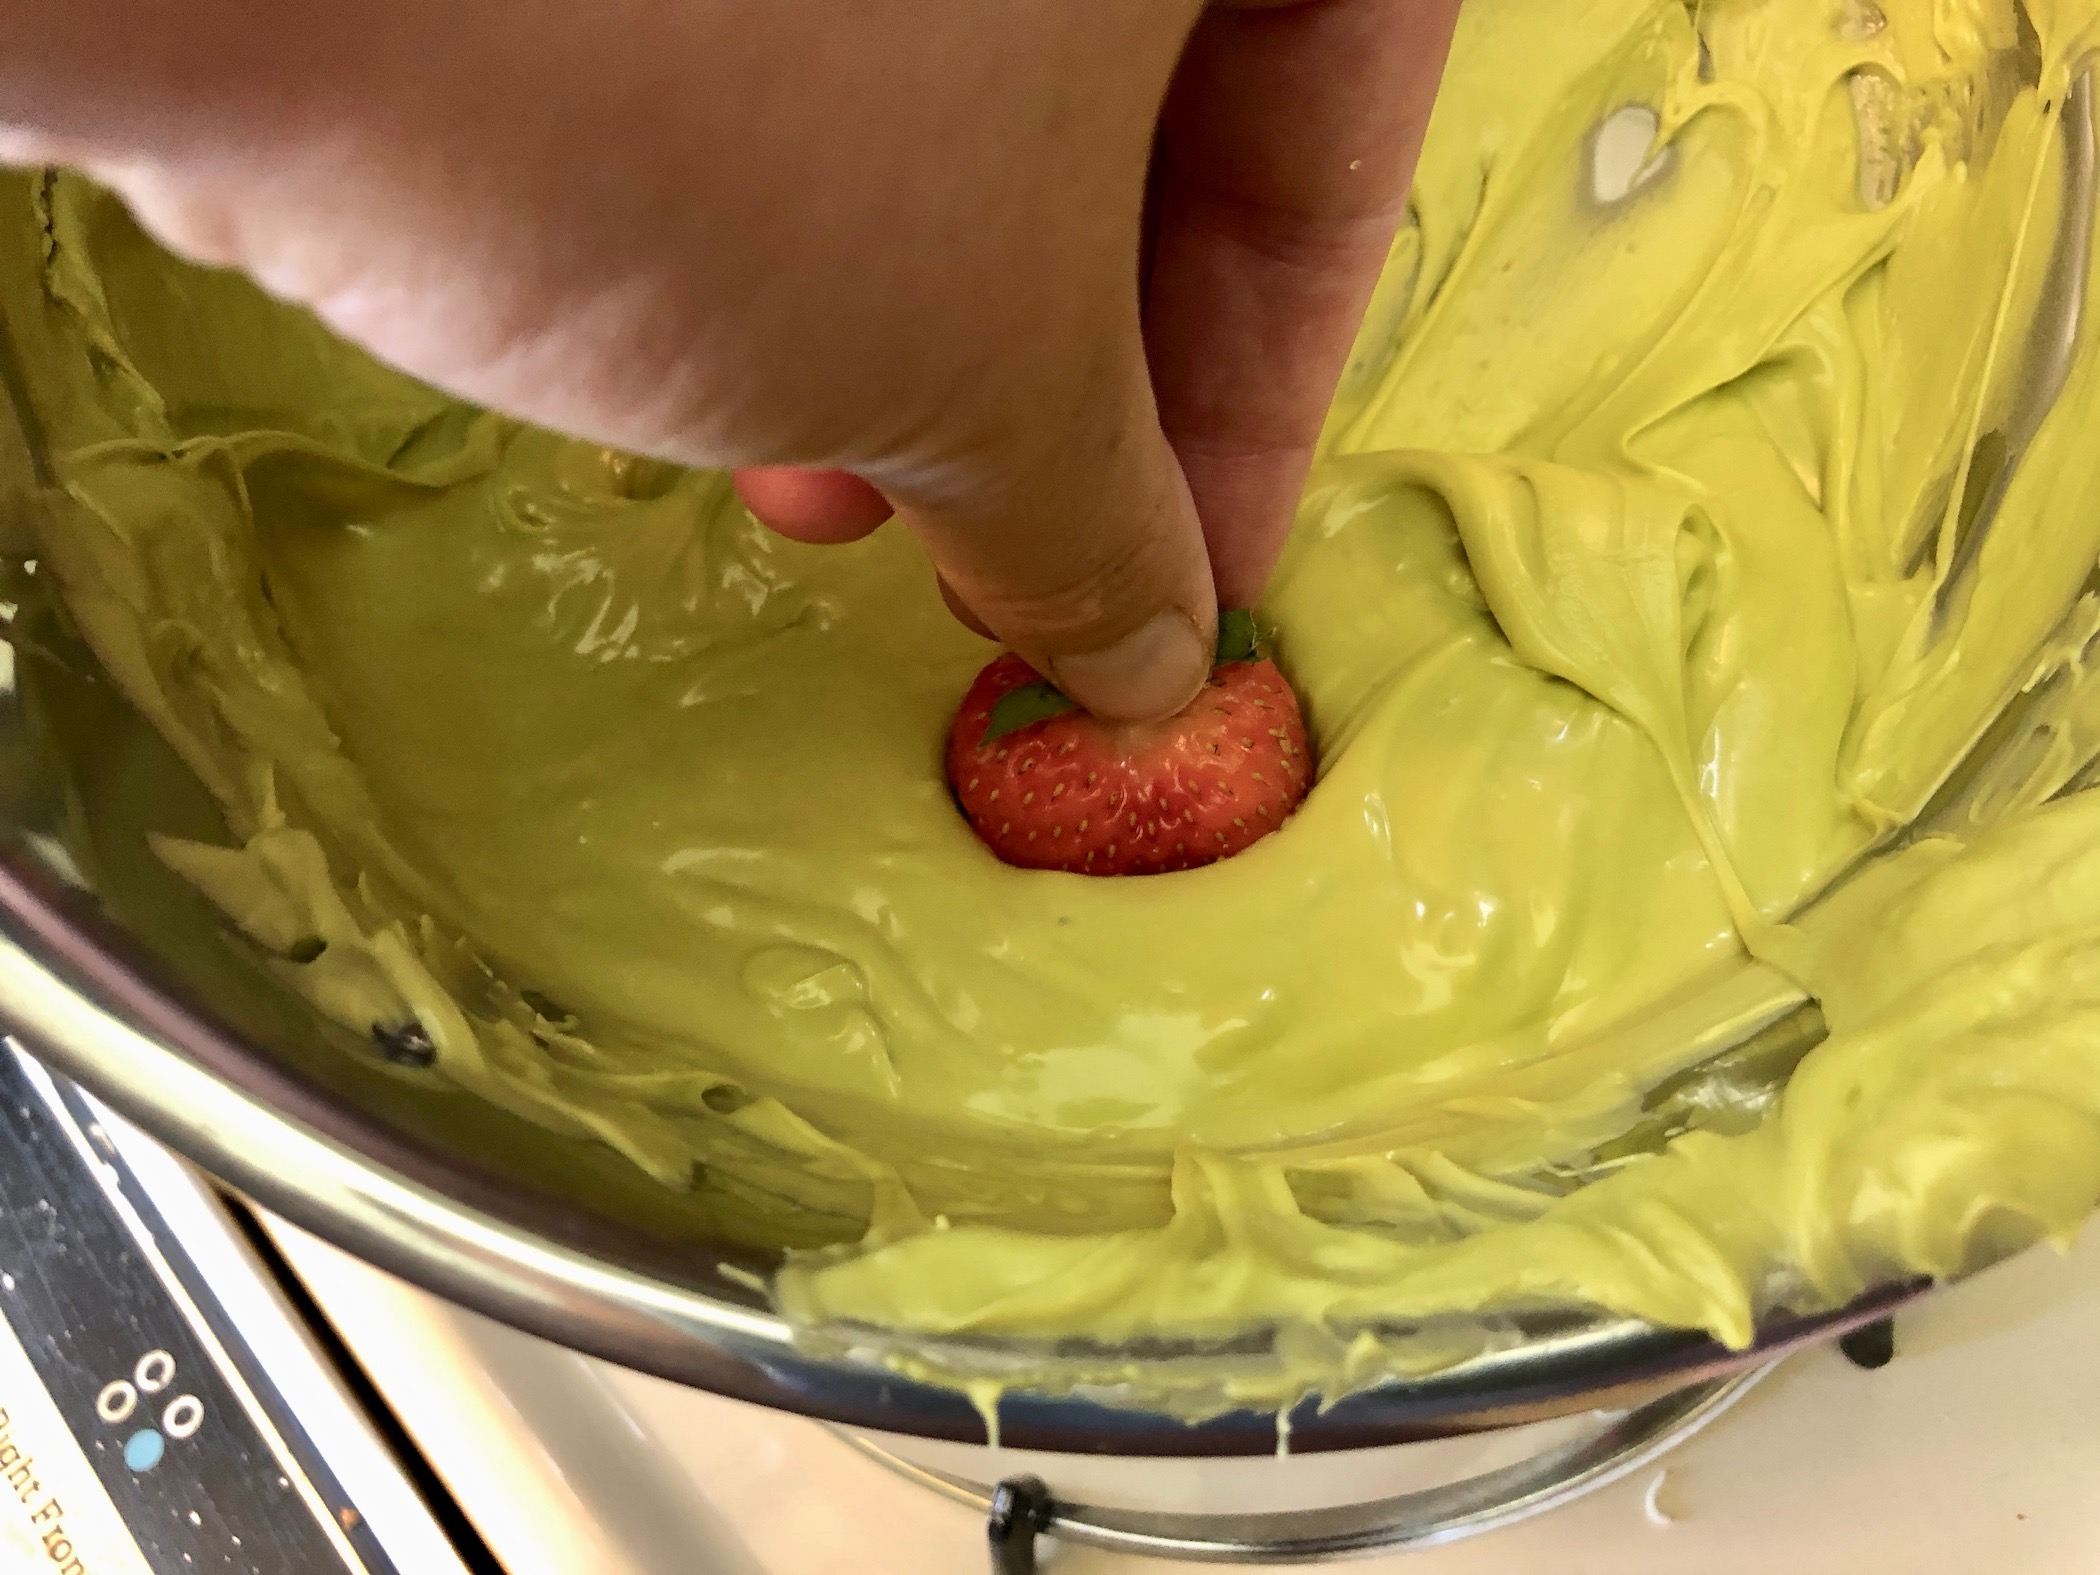
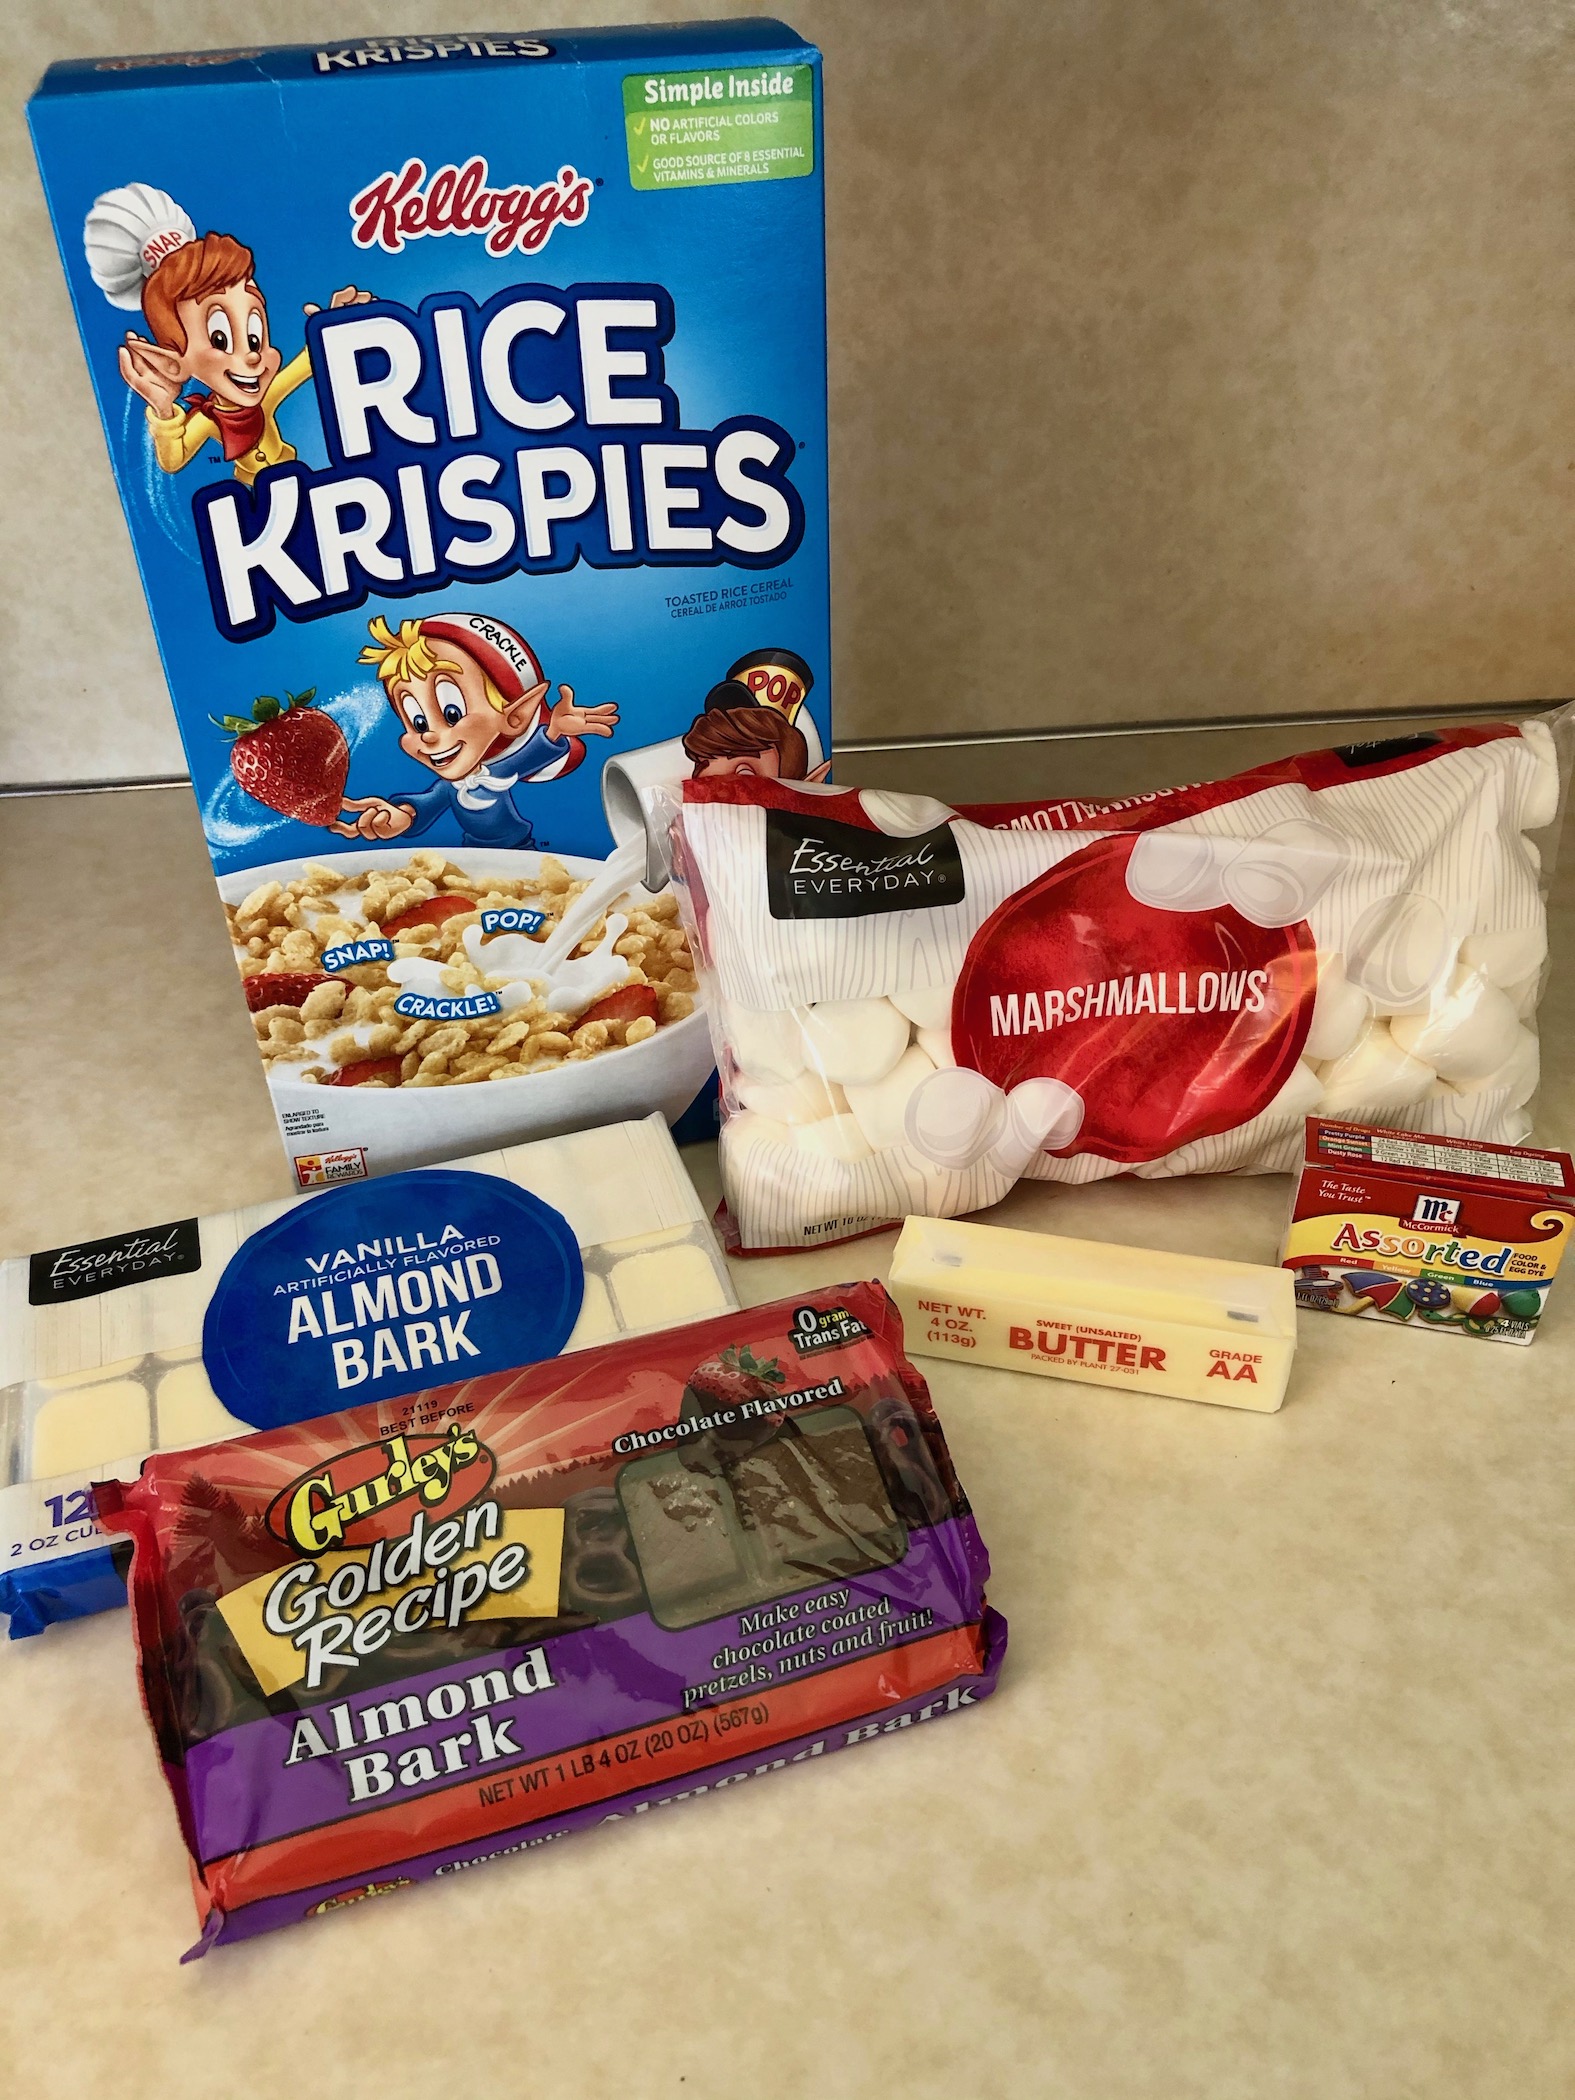
Melt one package of green candy melts according to package instructions. I prefer to use a double boiler because it helps the chocolate stay melted as you work but if you don’t have a double boiler or don’t want to put in the effort, that’s ok too! You can use a microwave safe bowl in the microwave and yield the same results.
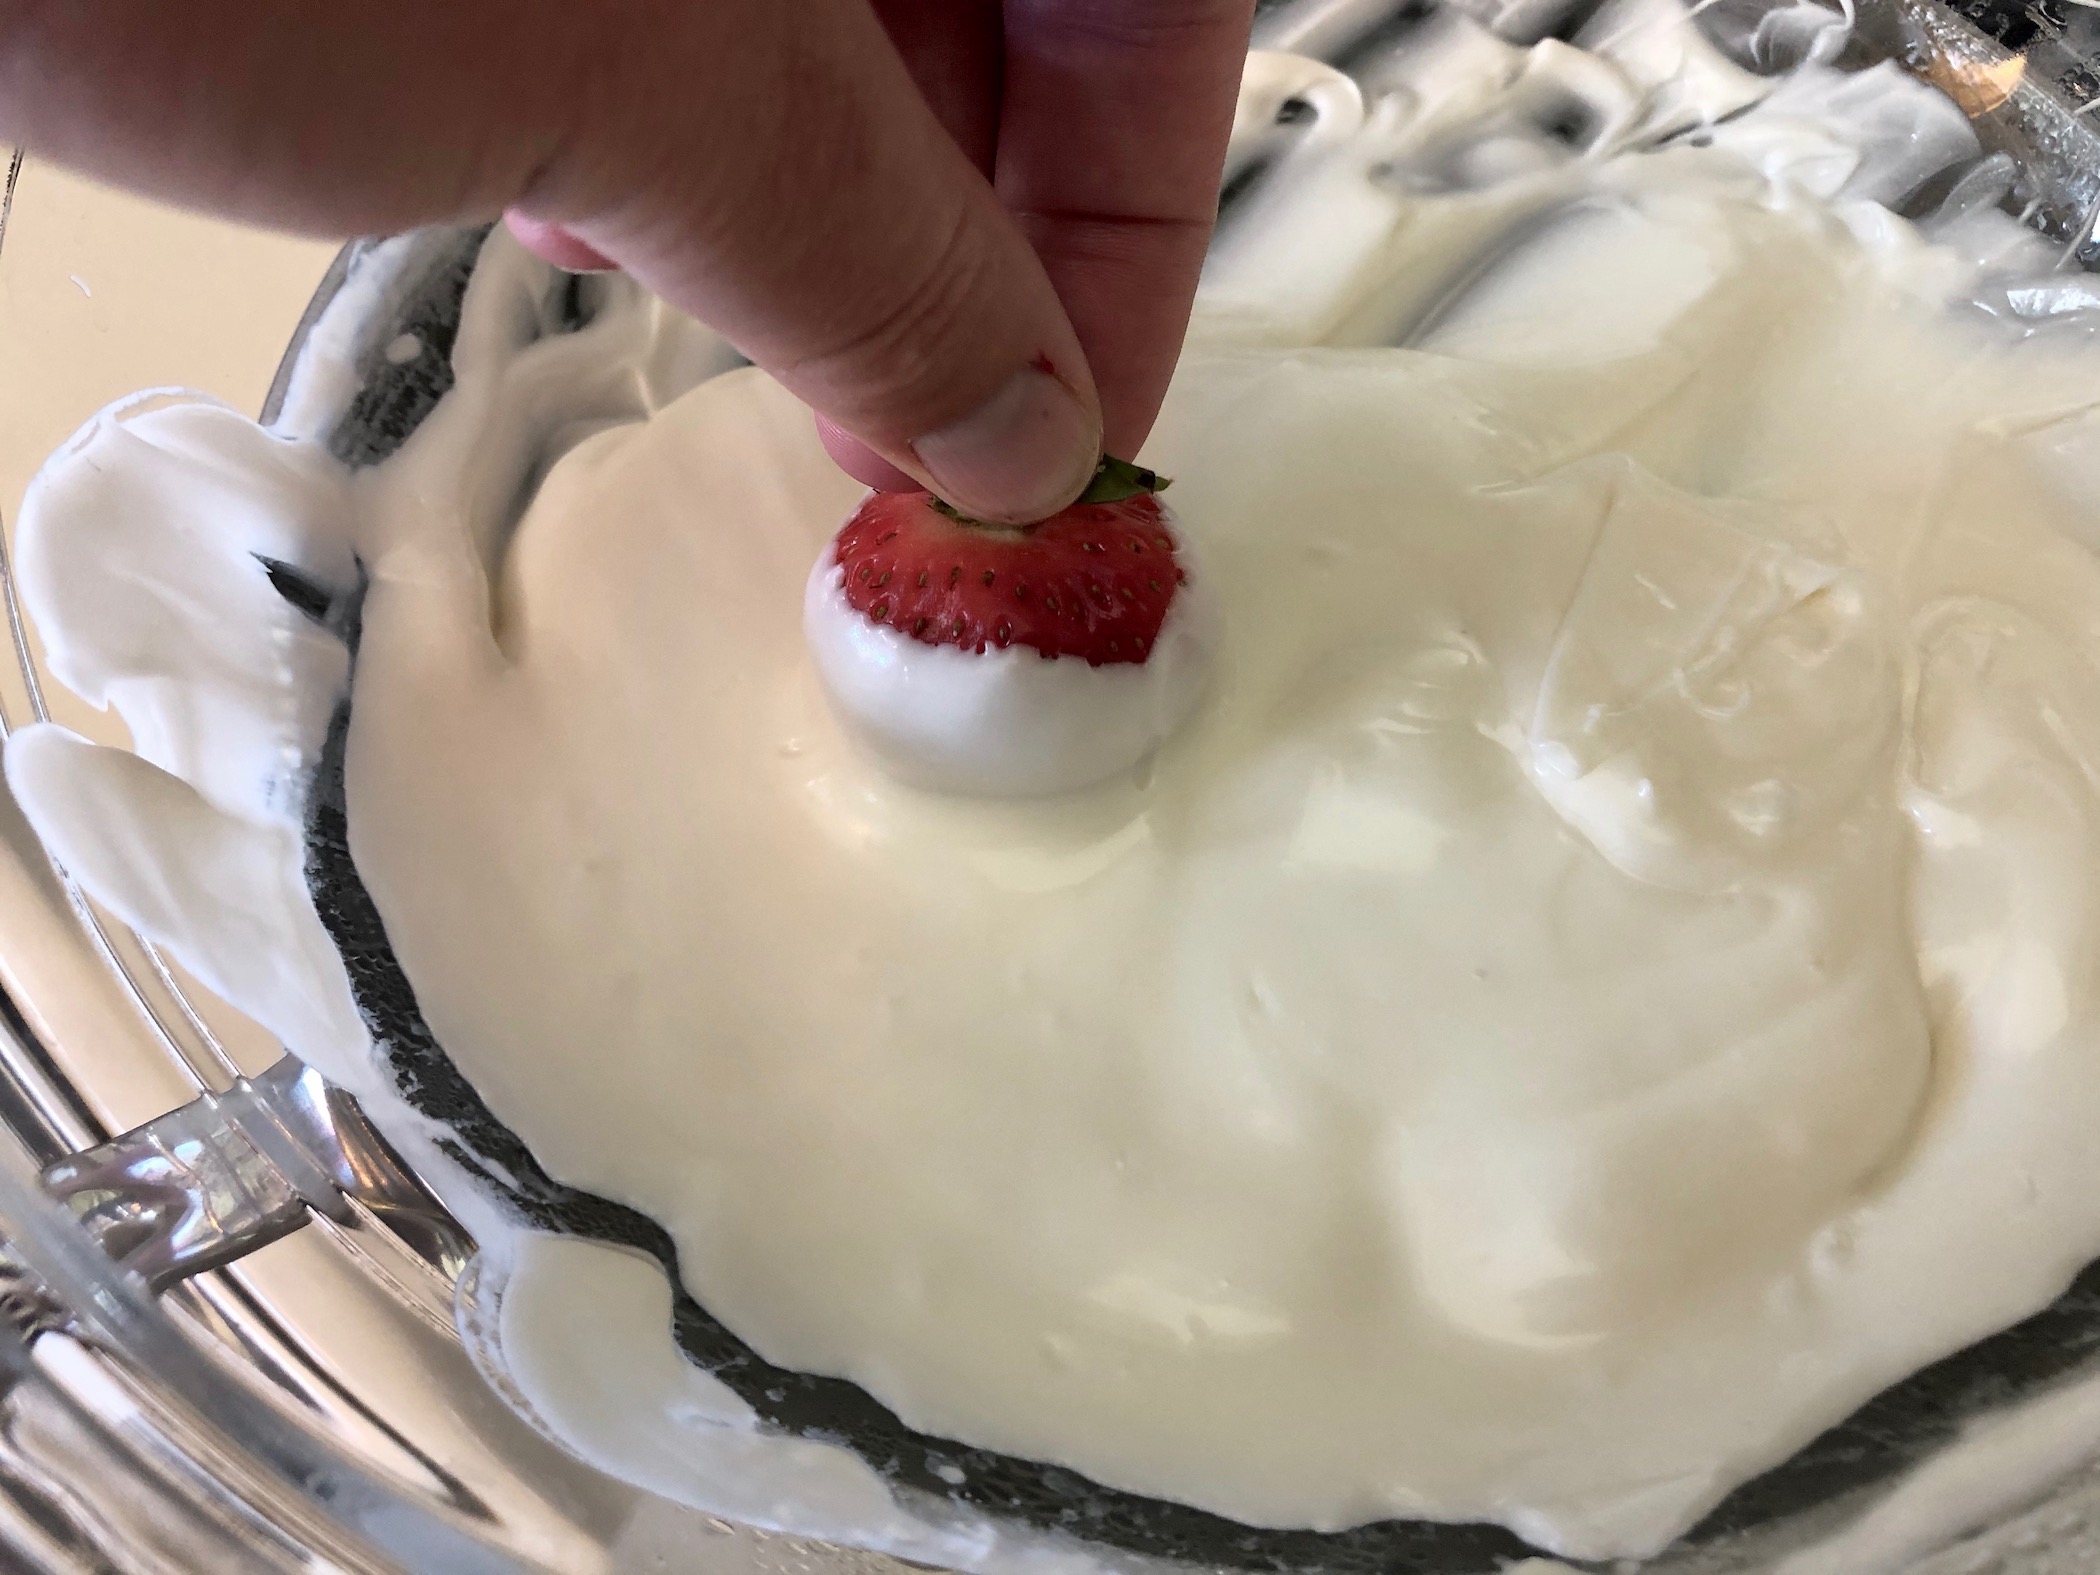
Next, dip the first batch of strawberries into the chocolate and place on the parchment or wax paper. You want to dip as much of the strawberry as possible, getting as close to the stem as possible. Make sure to leave the stems/leaves attached as they are something to hold onto to dip the strawberries.


Repeat this with the orange and white candy melts (or vanilla almond bark). You will now have the base for the Frankenstein, pumpkin, and ghosts completed.


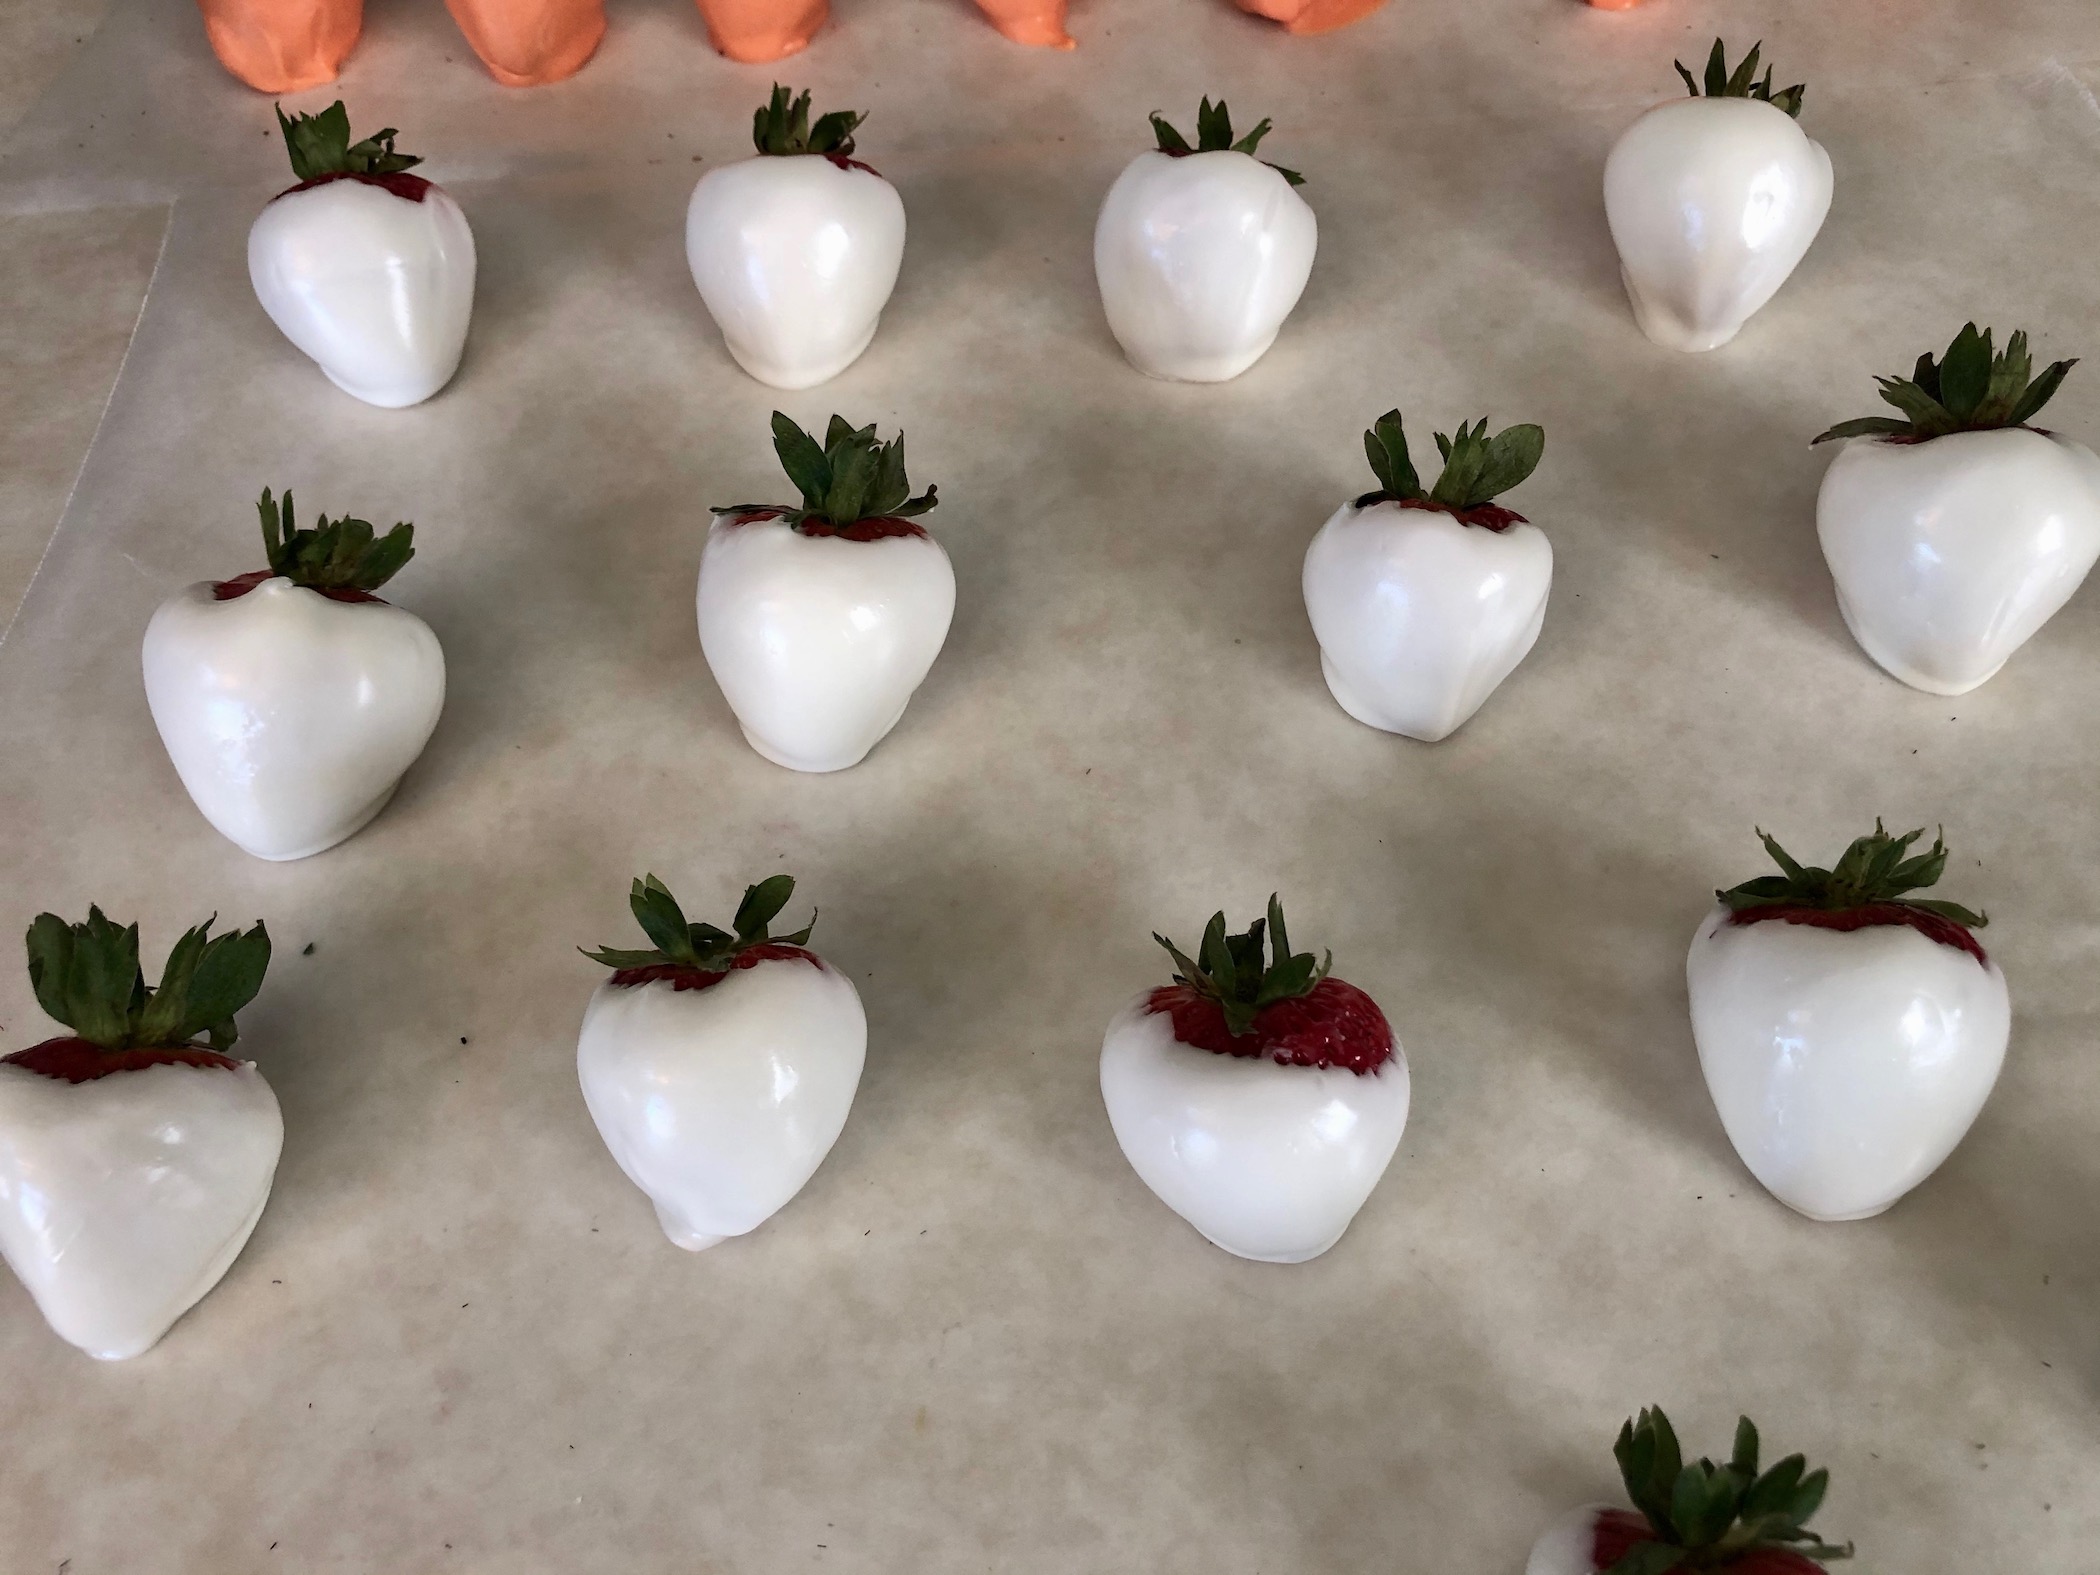
Add any leftover melted white chocolate to a piping bag or Ziploc bag. Snip a very small piece of the tip off the bag and pipe the chocolate across the white strawberries to resemble a mummy pattern. You want the lines to be thin so make sure to cut just the smallest part of the tip of the bag off!

Melt a small amount of brown or black candy melts (or chocolate almond bark). You need a very small amount and not the whole bag/block of chocolate because these will be used to create faces. If you run out, you can always melt more chocolate but this way you can save the majority of the chocolate for another recipe instead of throwing it away!
Add the melted chocolate to a piping bag or Ziploc bag. Snip a very small piece of the tip off the bag and pipe the chocolate onto each strawberry. You want to make jack-o-lantern faces on the pumpkins, add eyes to the ghosts, and add create faces with mouths and scars for Frankenstein. Be as detailed or basic as you want!


Then, let the chocolate set for about 10-15 minutes on the counter. You can eat the strawberries right away or place them in the fridge to chill a bit if you want to enjoy them later. Any leftovers should be stored in the fridge (but I don’t think there will be any leftovers). Enjoy!
The recipe can be found here.
Candy Corn Marshmallow Treats are your basic marshmallow bars decorated to resemble candy corn. They are very gooey and soft and make a delicious treat! You could even make these for Thanksgiving or other events in the fall because Candy Corn really is a season long delicacy.
The recipe can be found here.
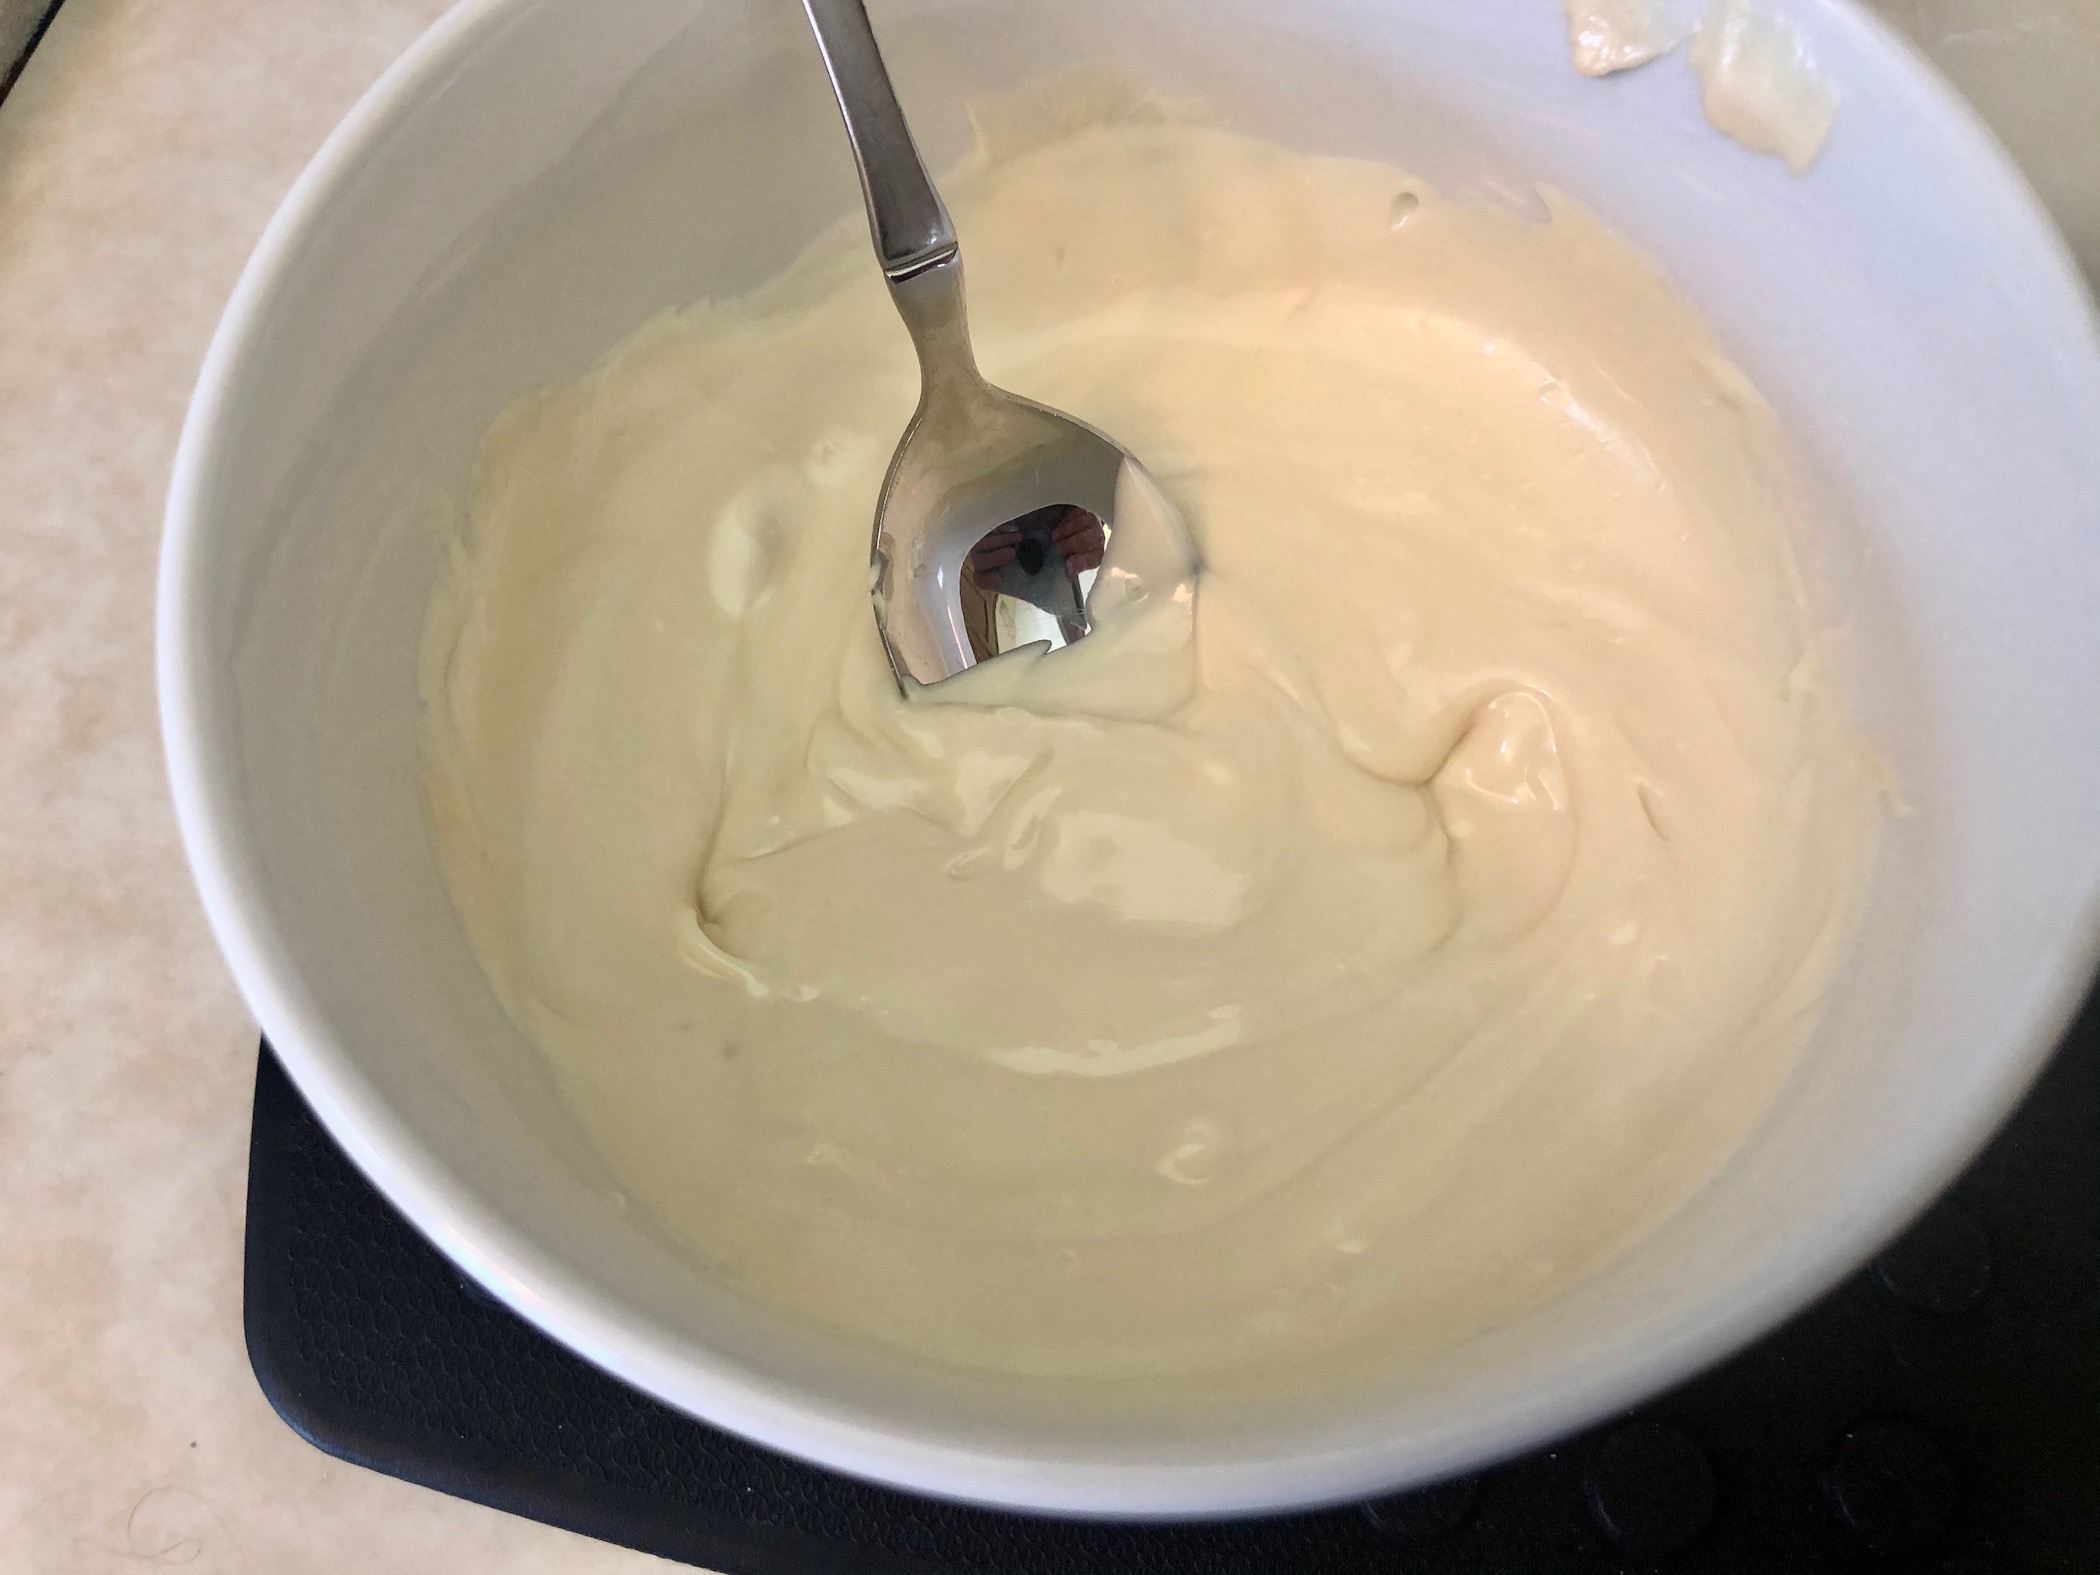
Start by making the marshmallow treats according to package instructions (usually found on the back of the box) …with a few modifications 😊 Melt the butter in a large pot over medium heat. Then add the entire bag of marshmallows and stir until melted and smooth. I like to add 1-2 Tbsp of butter in addition to what is listed on the box. I also use the entire bag of marshmallows, not the ounces listed on the box. This helps to make bars that are softer and more marshmallow-y (I think this is an actual word…).


Add a few drops of orange food coloring and stir to combine. You can add additional drops to reach the desired shade of orange you are looking for. I didn’t have orange food coloring on hand, so I used equal amount of red and yellow food coloring to create orange. I also used liquid food coloring, but you should be able to use gel and have the same results.


Next, add the cereal to the marshmallow mixture and stir to combine. It will be tough to stir but stick with it until the cereal is fully coated.


Grease a 9×13 baking dish and pour the mixture in. You’ll want to press the mixture down in an even layer to set. I made the mistake of using my hands without thinking….it was a sticky mess! To prevent this from happening, either spray your fingers with cooking spray or rub a little butter on them and gently press down. The mixture should not stick to your hands then. Let the bars set for about an hour and then slice into triangles.


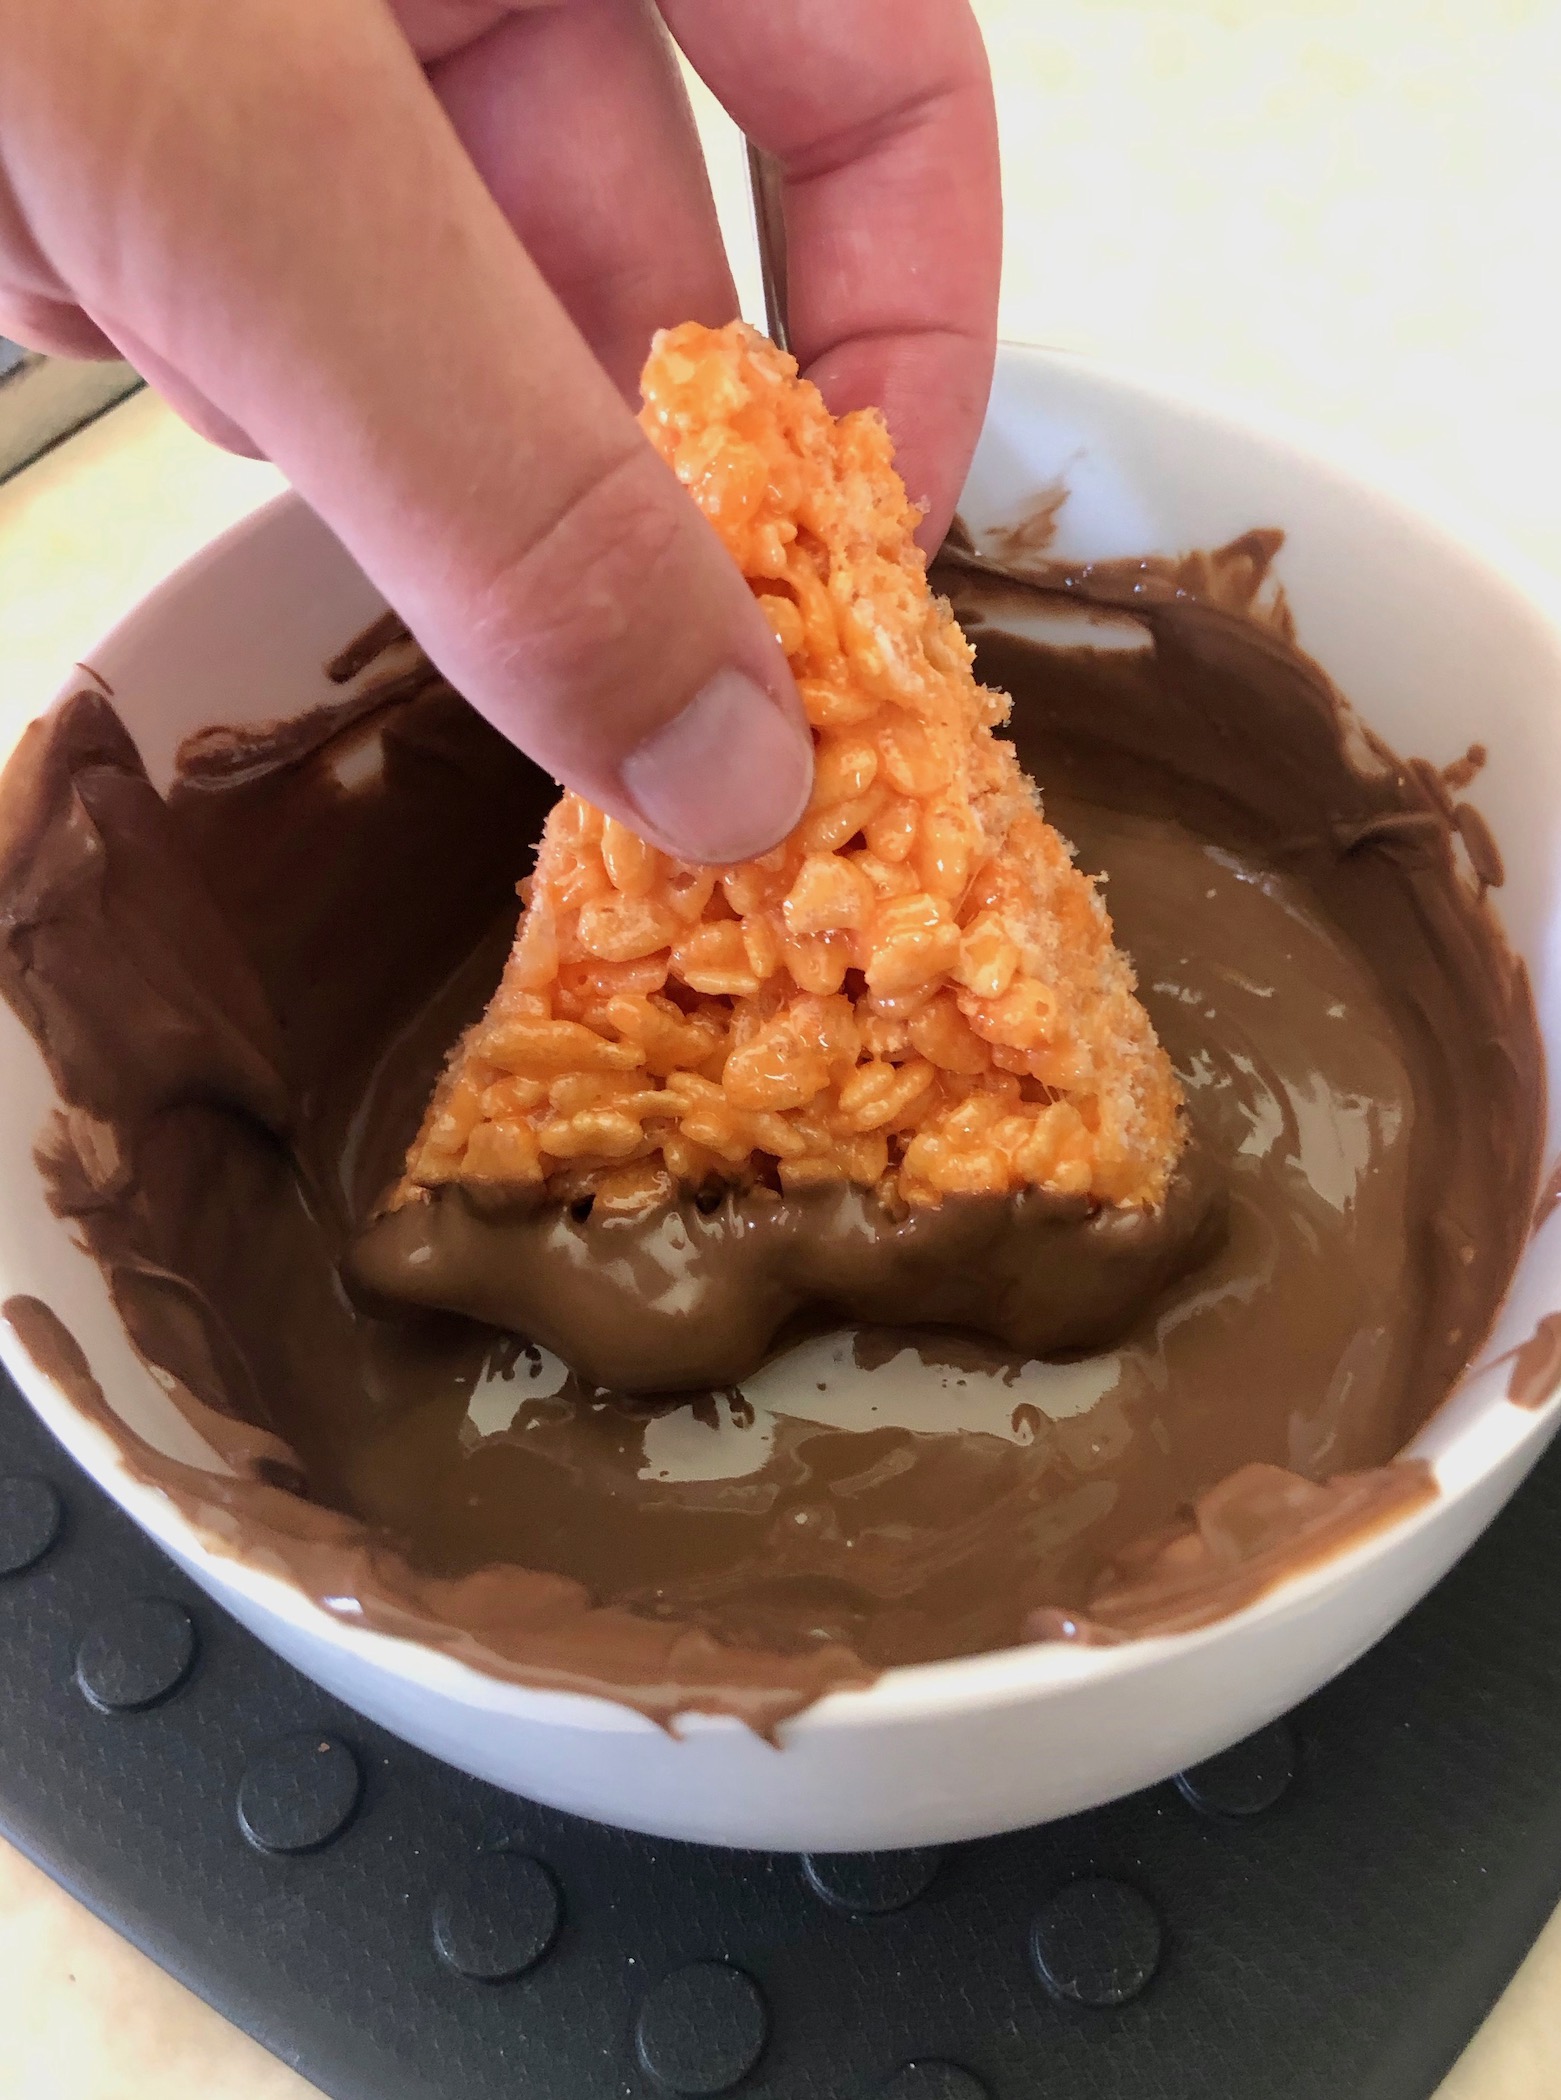
Once the bars are set, line the counter with wax paper or parchment paper. Melt the white chocolate according to package instructions. Dip the tip of each triangle into the white chocolate and set on the paper to harden. You only want to dip about ½ inch to 1 inch into the chocolate. The chocolate should harden in about 5-10 minutes.


Next, melt the chocolate according to package instructions. Dip the bottom of each triangle into the chocolate and set on the paper to harden. You want to dip about ½ inch to 1 inch of the bottom in the chocolate. The chocolate should harden in about 5-10 minutes.


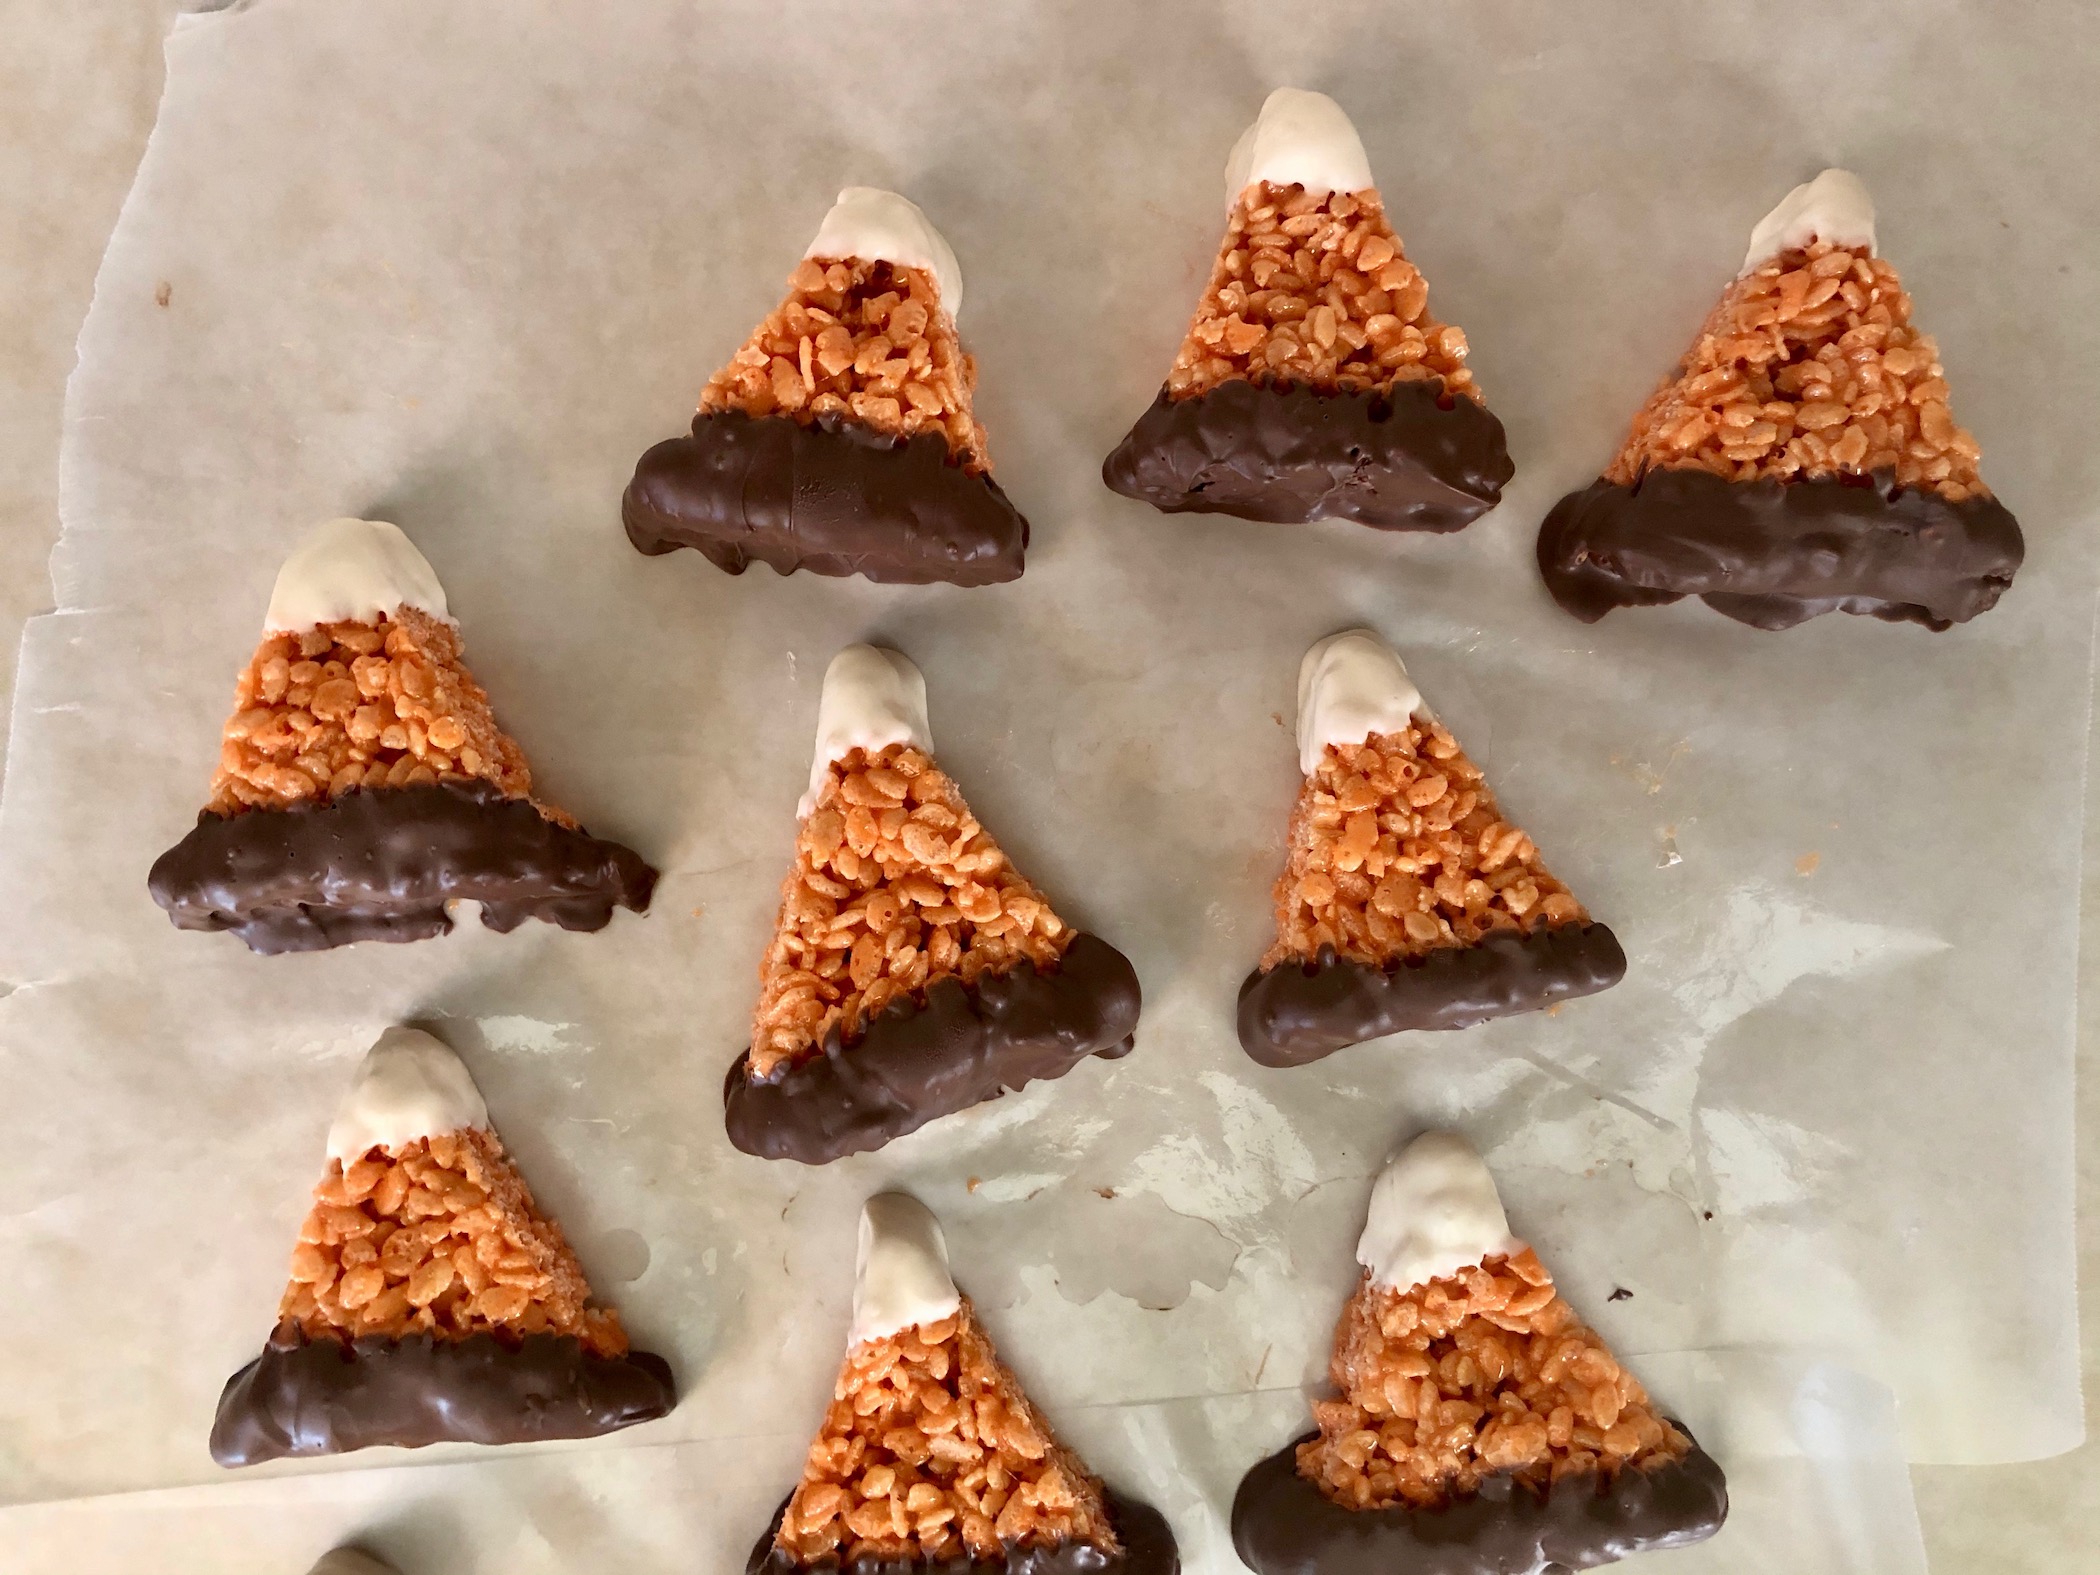
There you have it! Enjoy right away or store in an airtight container on the counter.

The recipe can be found here.
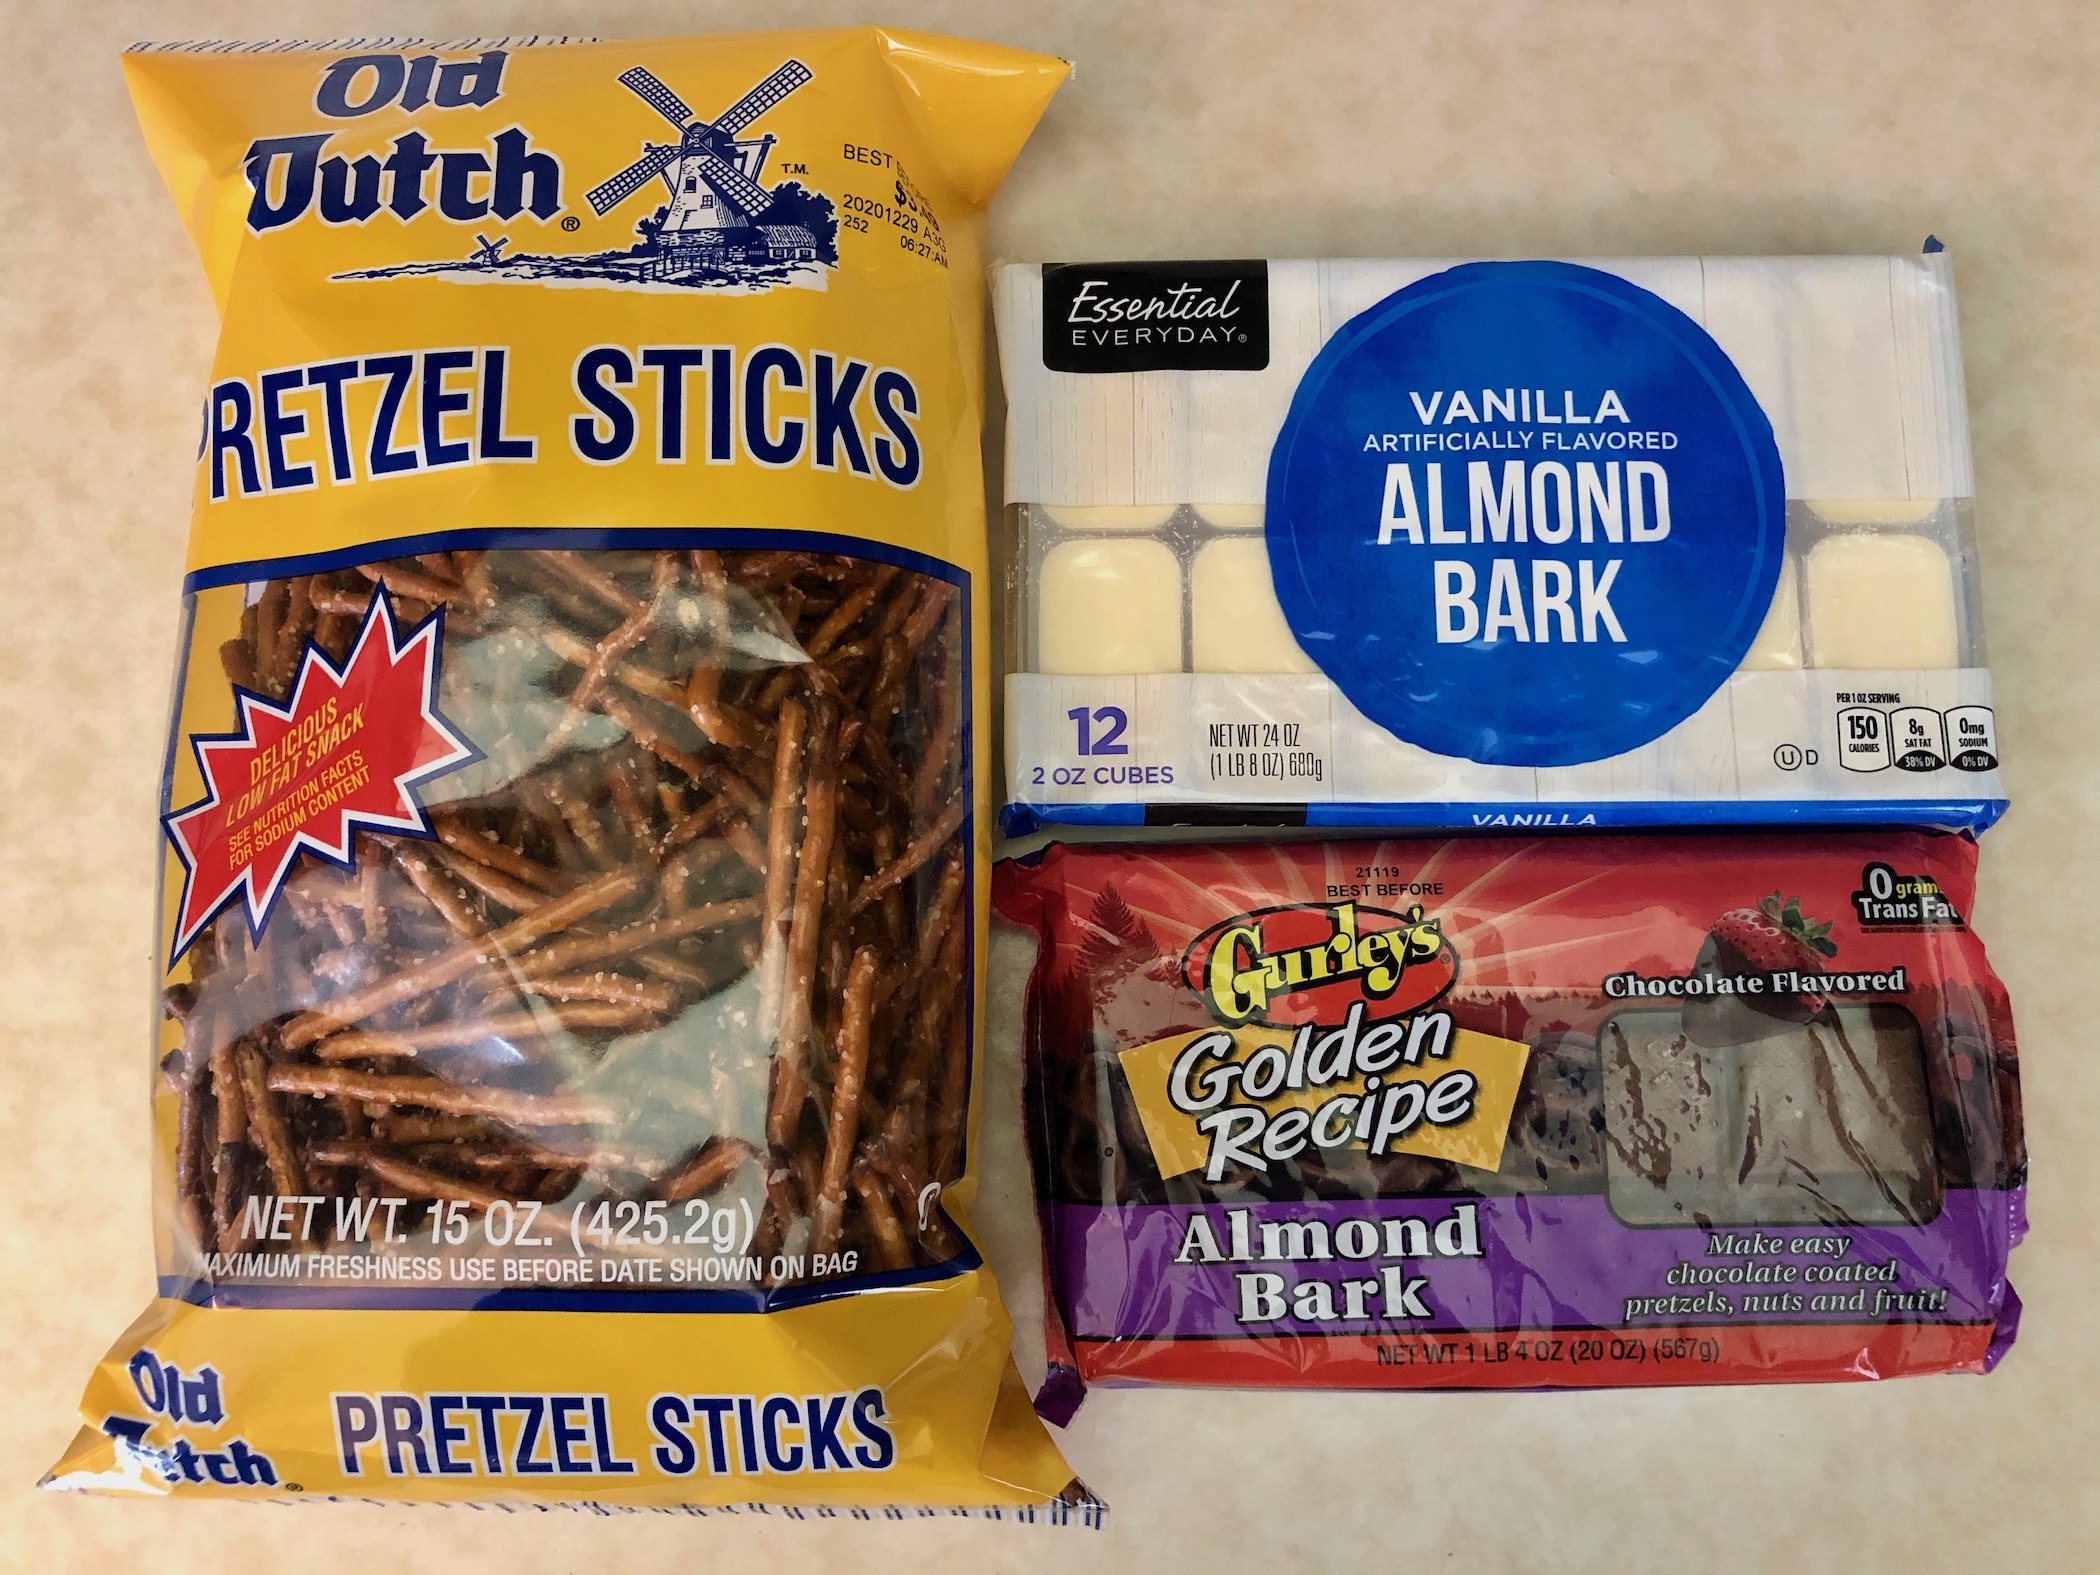
Spider Web Pretzels are a slight modification to the ever-popular chocolate covered pretzels. These are a bit more delicate but create a really lifelike centerpiece for your table and are fun to eat. You can also make these in various sizes – use standard sized pretzel sticks or break them in half for a smaller size. I wasn’t ambitious enough to try this with pretzel rods, but bet those would make some huge spider webs, so please let me know how it goes for you if you try 😊
The recipe can be found here.
Line the counter with parchment paper or wax paper. Take 8 pretzel sticks and arrange them in a circle with one end meeting in the middle and the other ends fanning out. Repeat this until you have the desired number of webs. This can take up a lot of counter space as you will see! You can also work in batches if using more than one color of chocolate for the web. I chose to use white chocolate and milk chocolate, but it would be fun to add some color and use orange, green, or purple for Halloween.

As mentioned previously, you can also break the pretzel sticks in half to make smaller webs or do a combination of both.
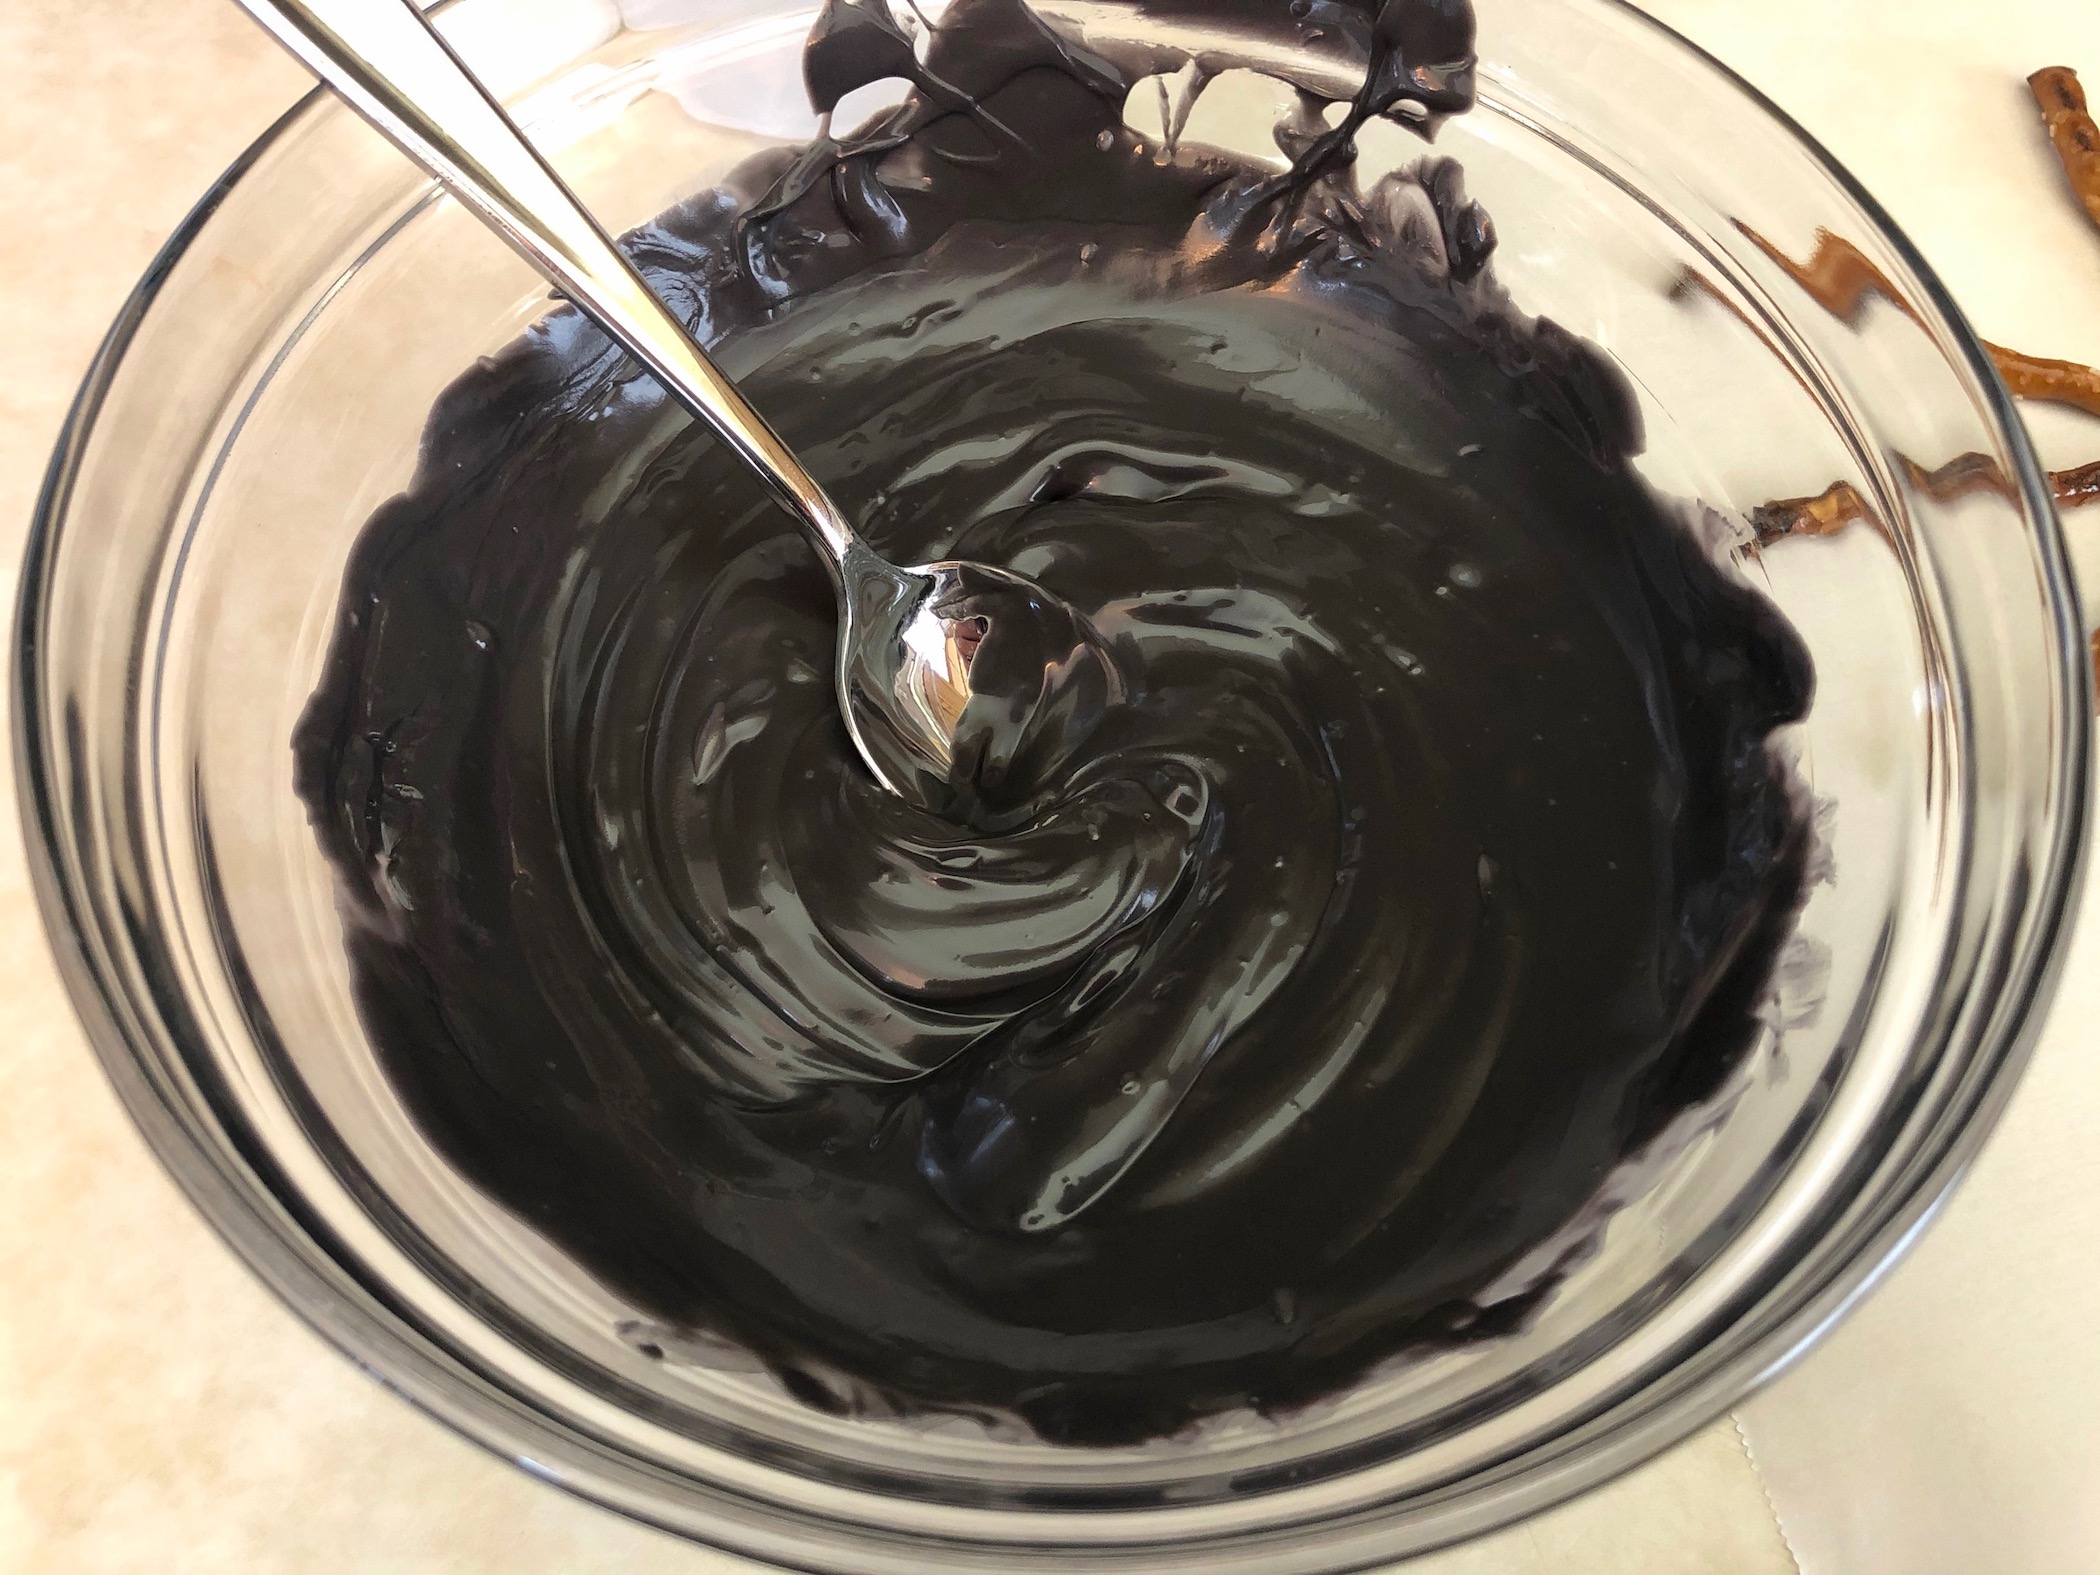
Melt the white chocolate according to package instructions. Pour the chocolate into a piping bag or squeeze bottle and either snip the corner or make sure the tip of the bottle is cut off. Squeeze the chocolate in a circular pattern, starting in the middle and working your way out, to form a web. Add a little extra chocolate to the center to hold all the pretzels together. Repeat this until you run out of white chocolate or you finish make the white chocolate spider webs.


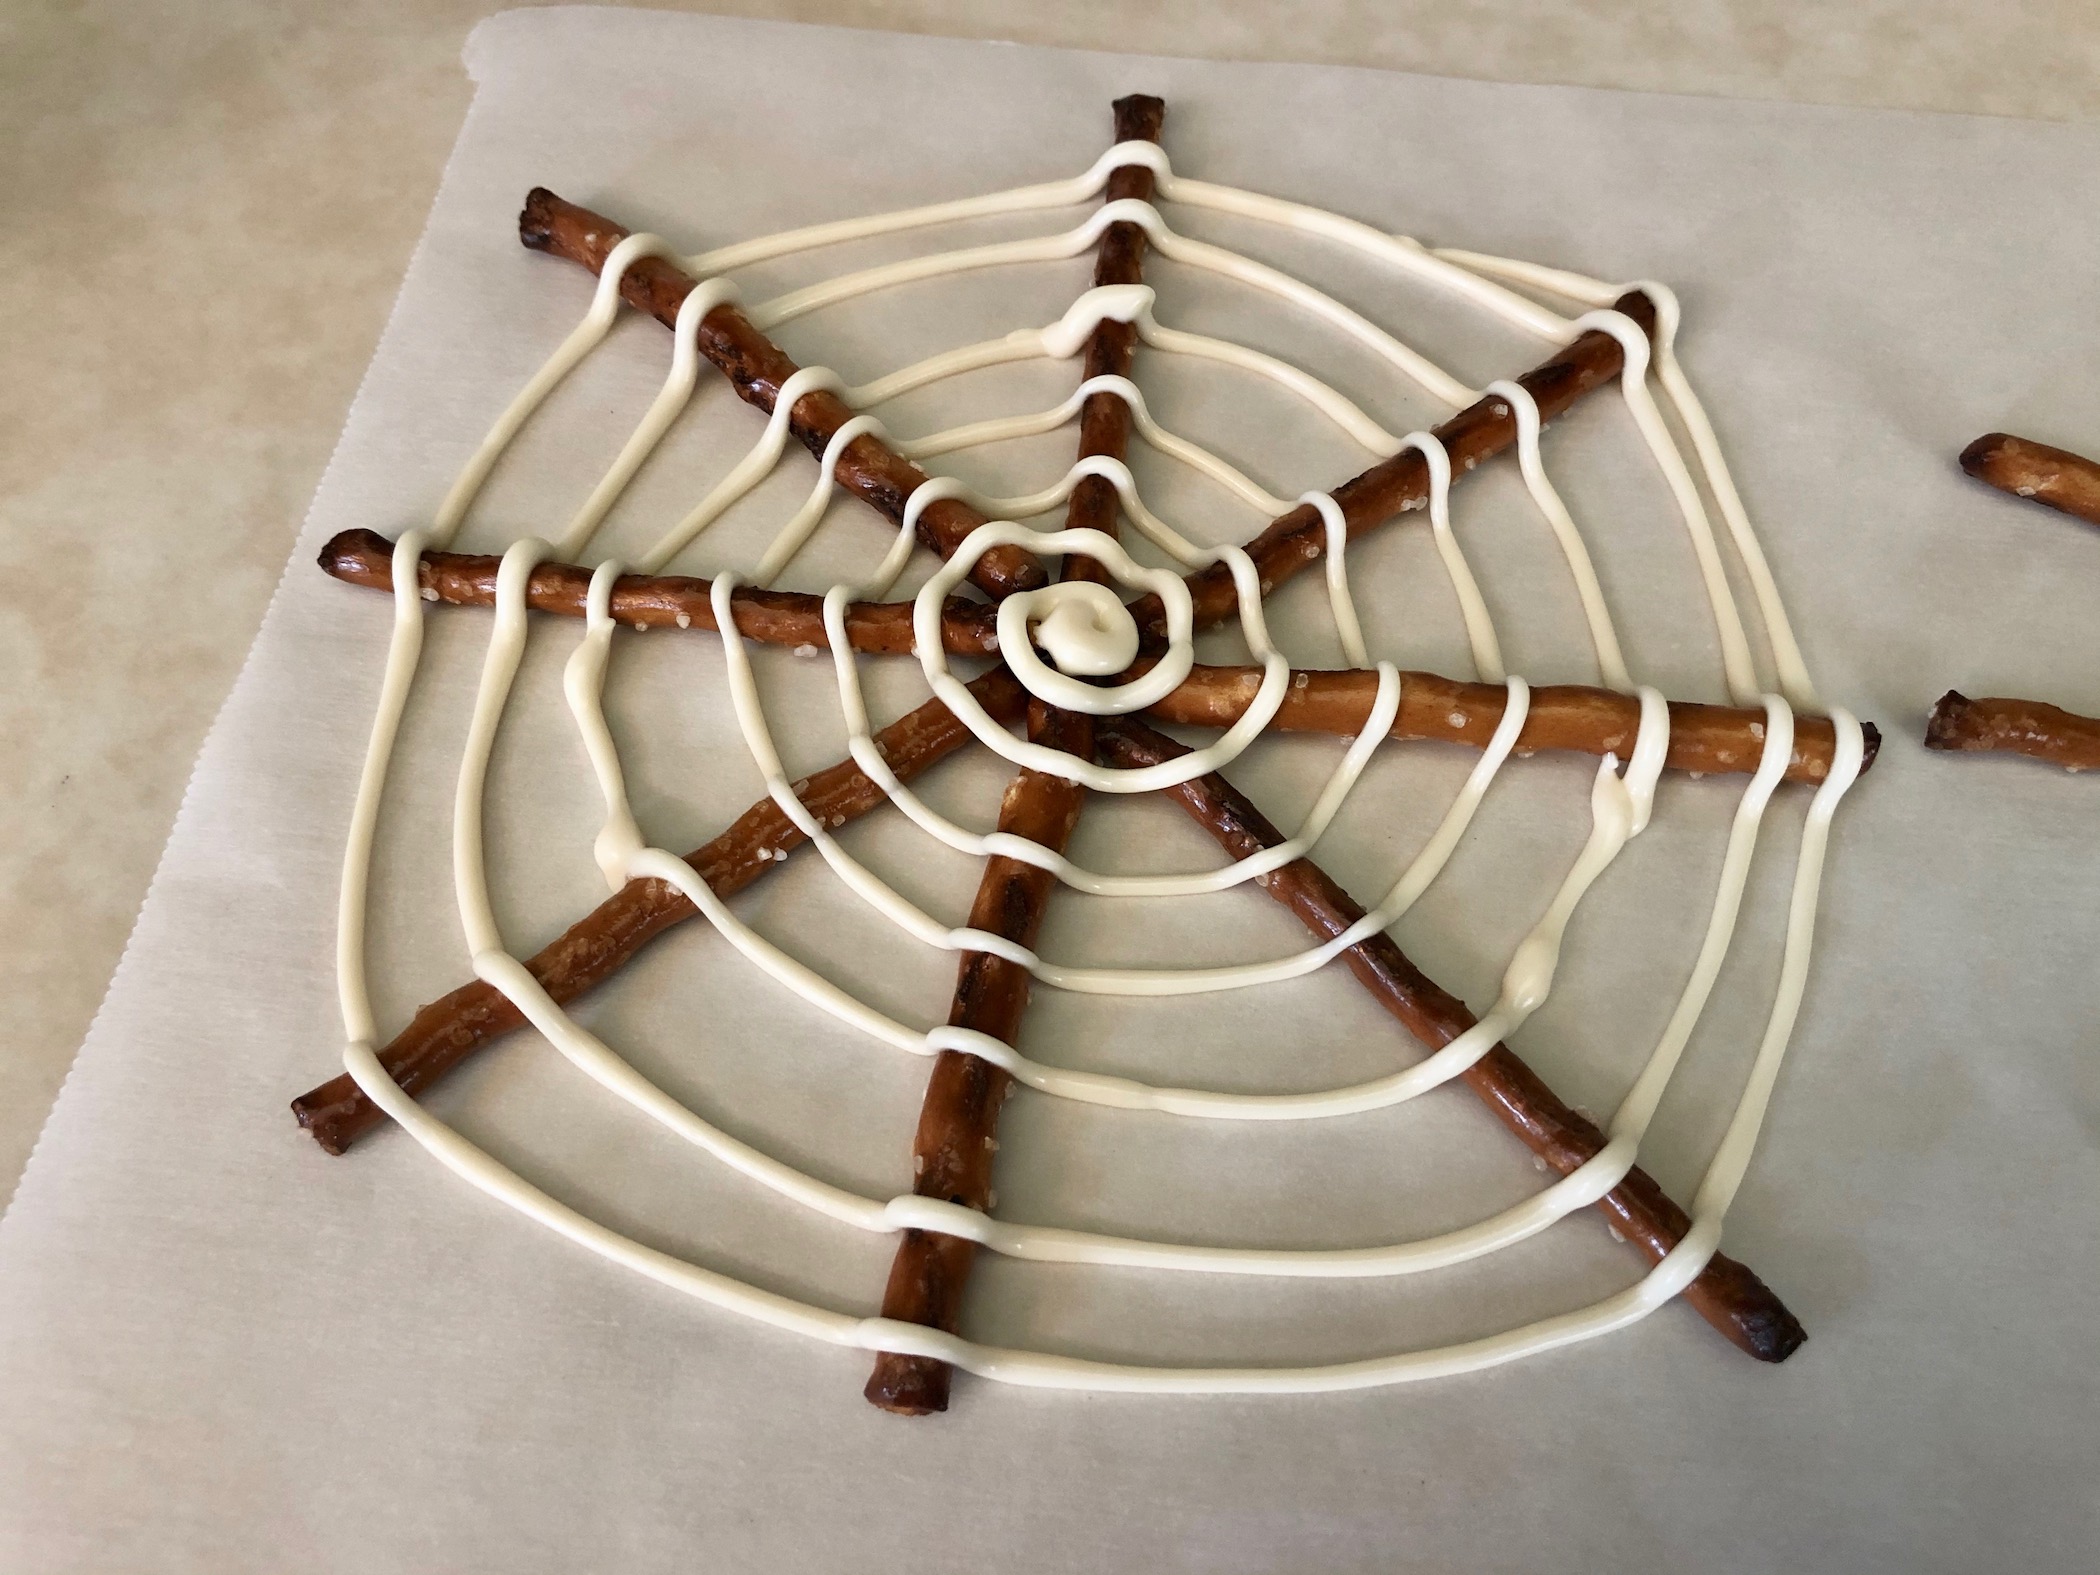

Repeat the same step with the milk chocolate and make as many spider webs as you desire.


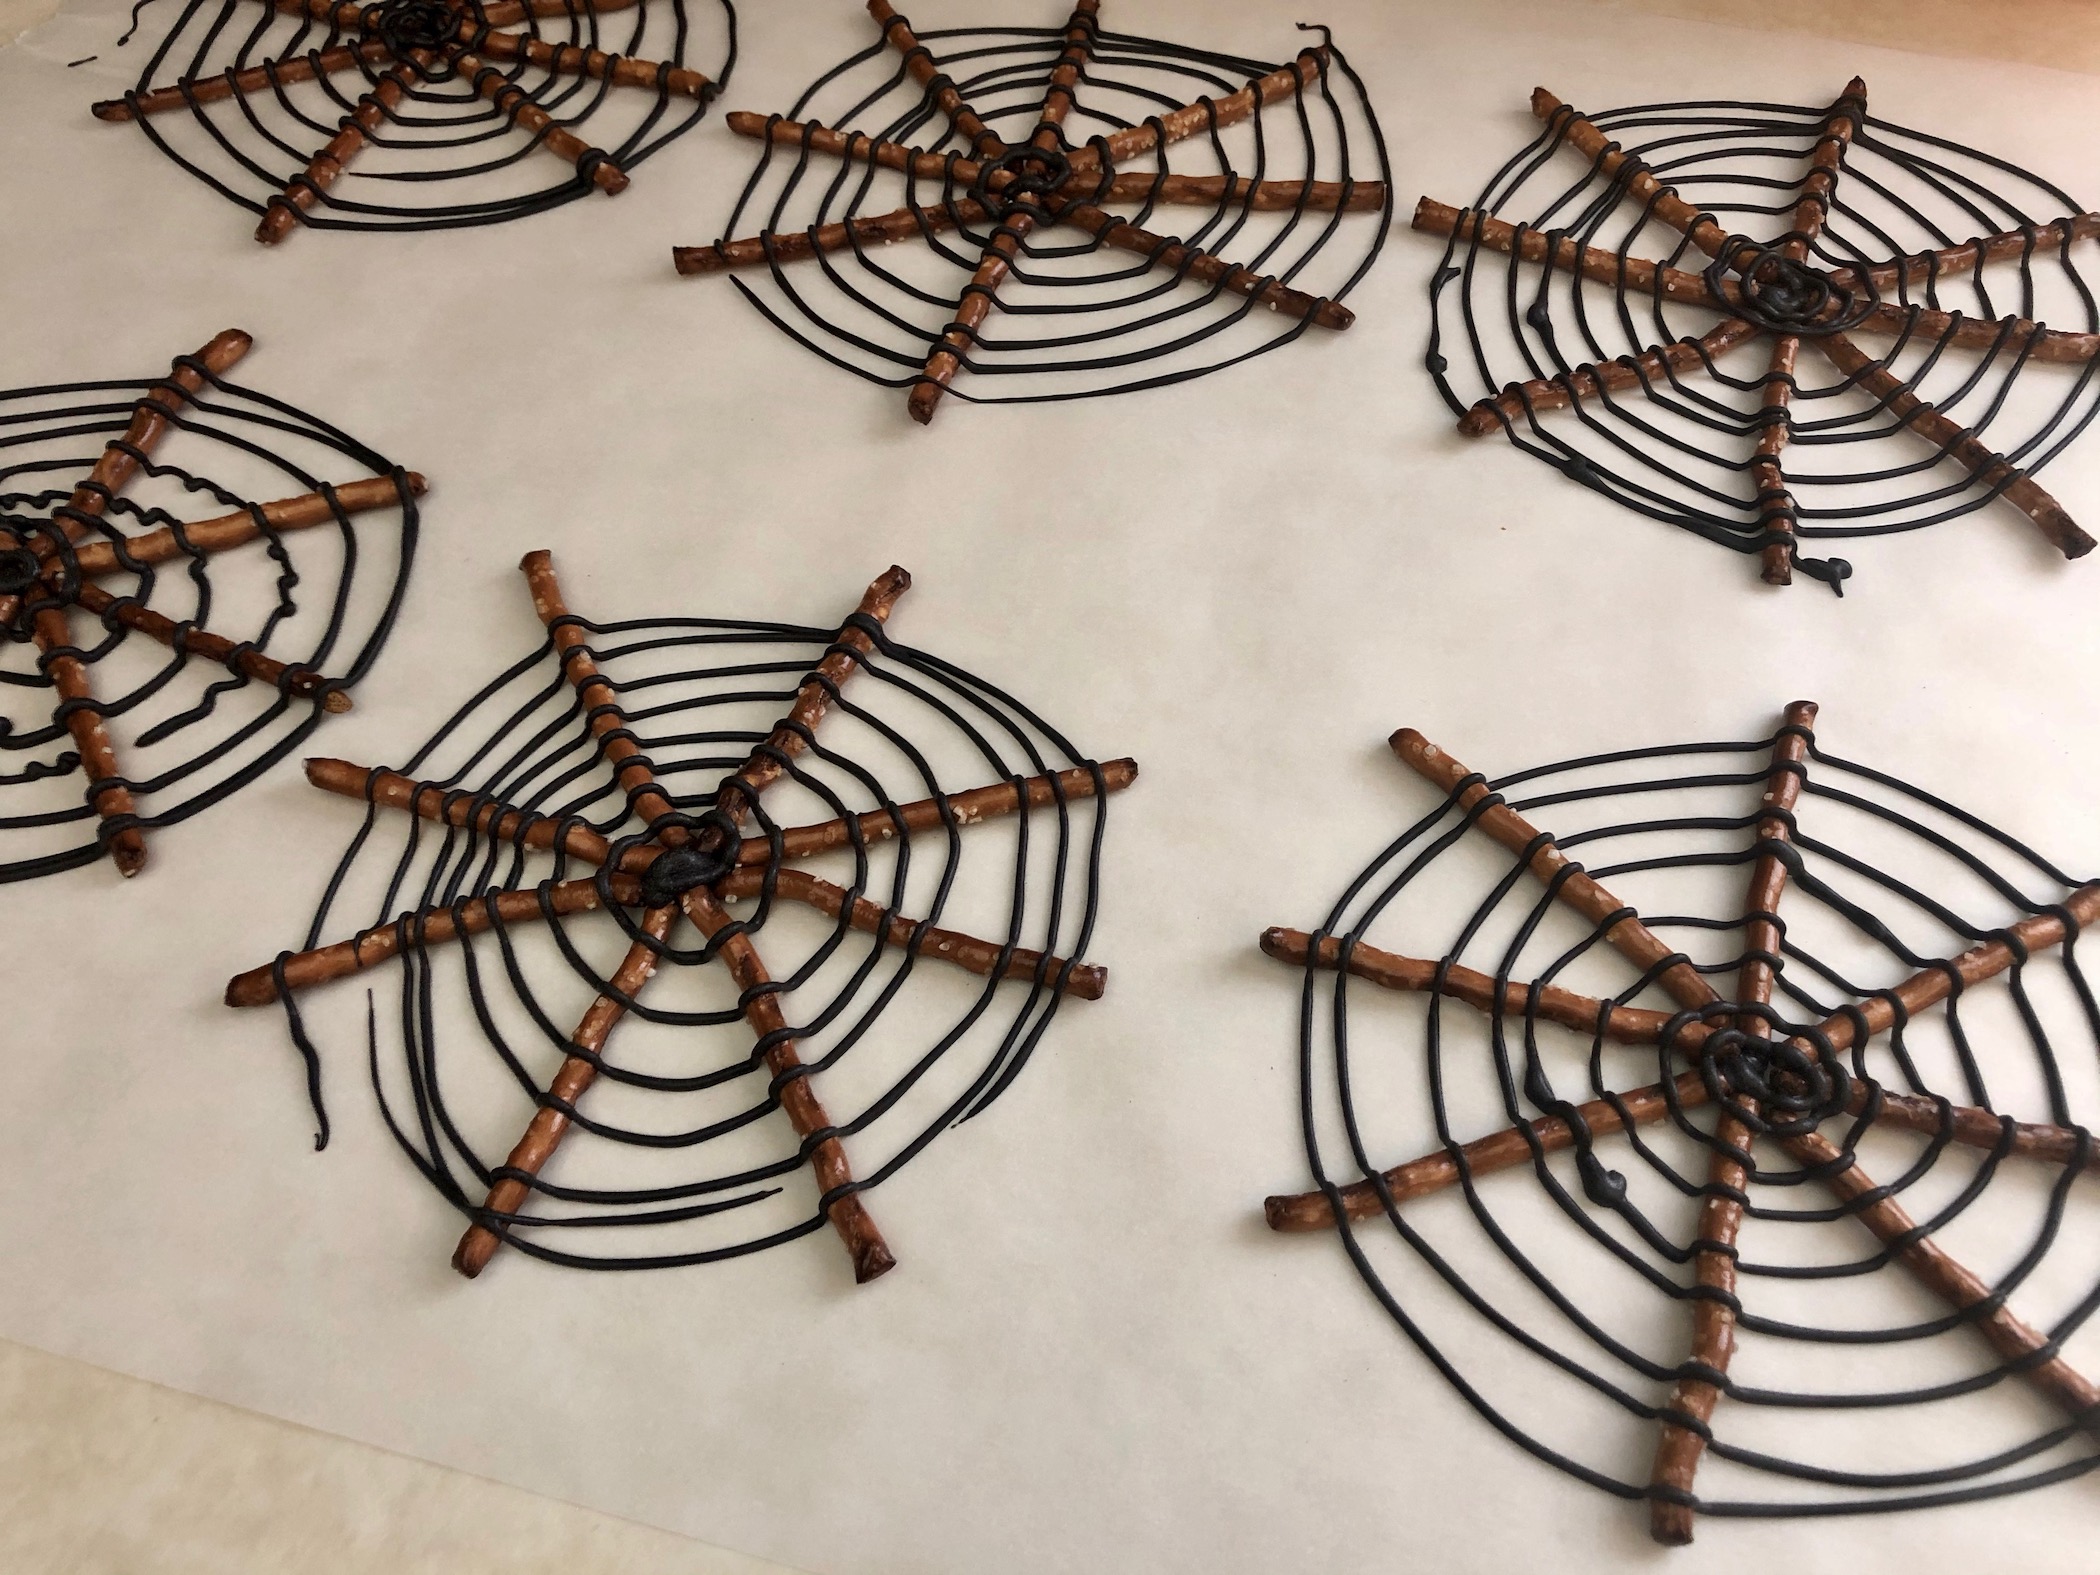
Let the chocolate set for about an hour on the counter. These are VERY fragile so be careful when it is time to move them. They are delicate and break easily so proceed with caution! You can enjoy immediately or store in an airtight container on the counter.

The recipe can be found here.
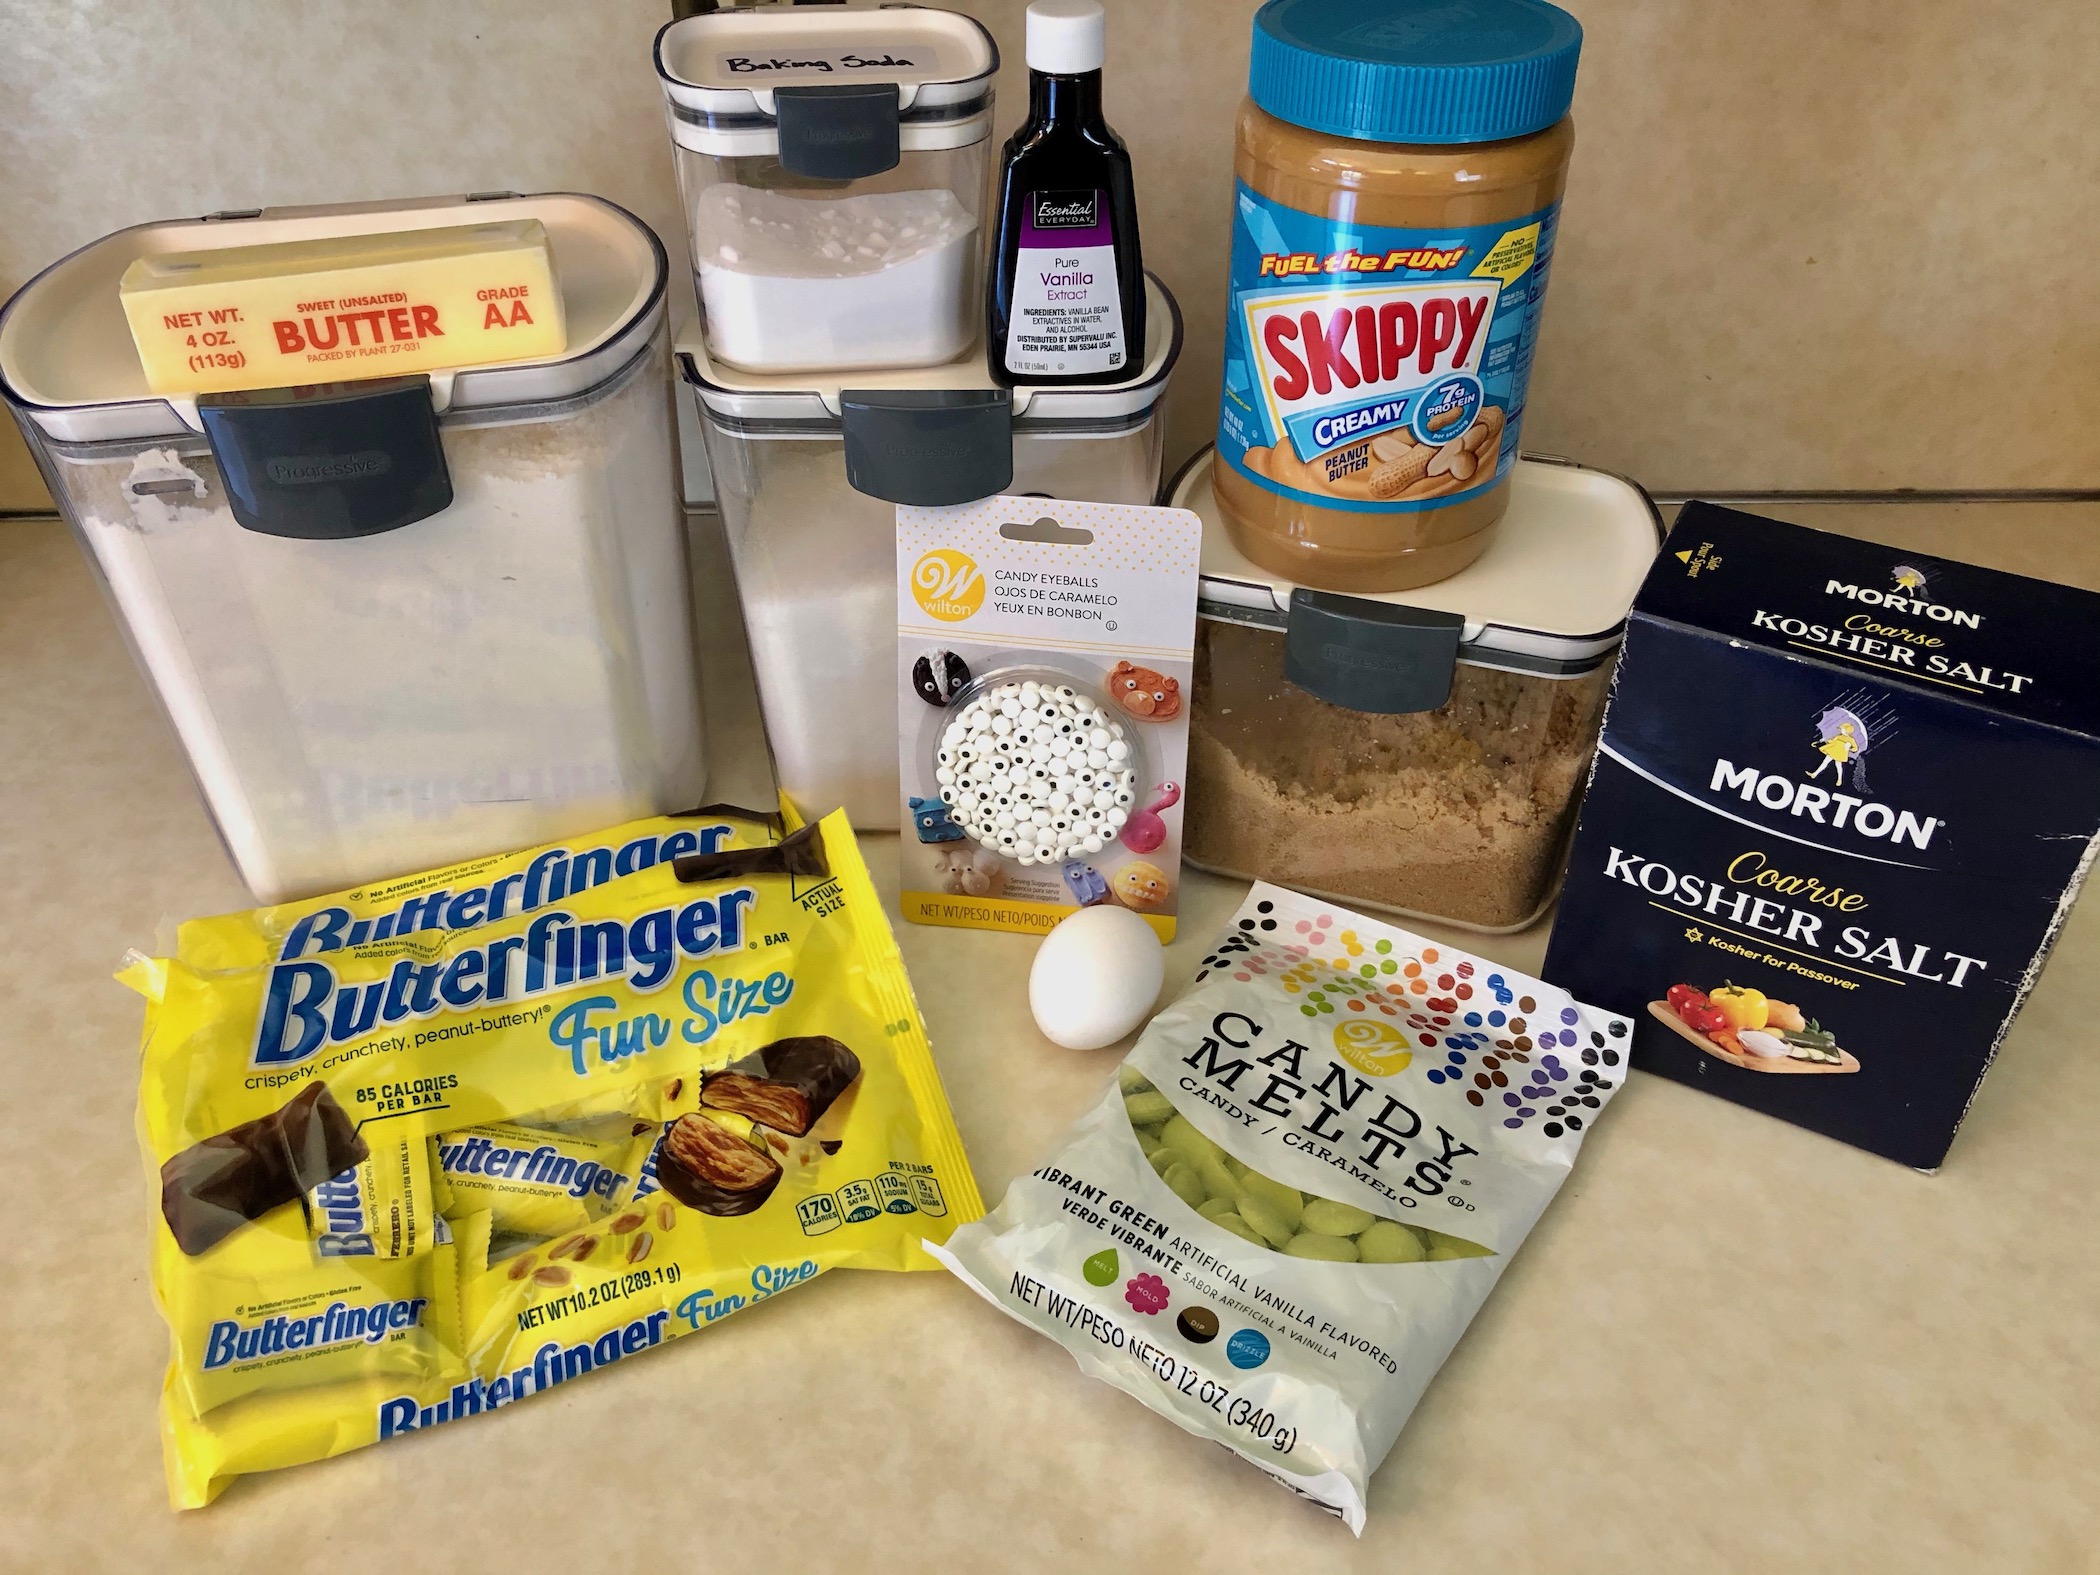
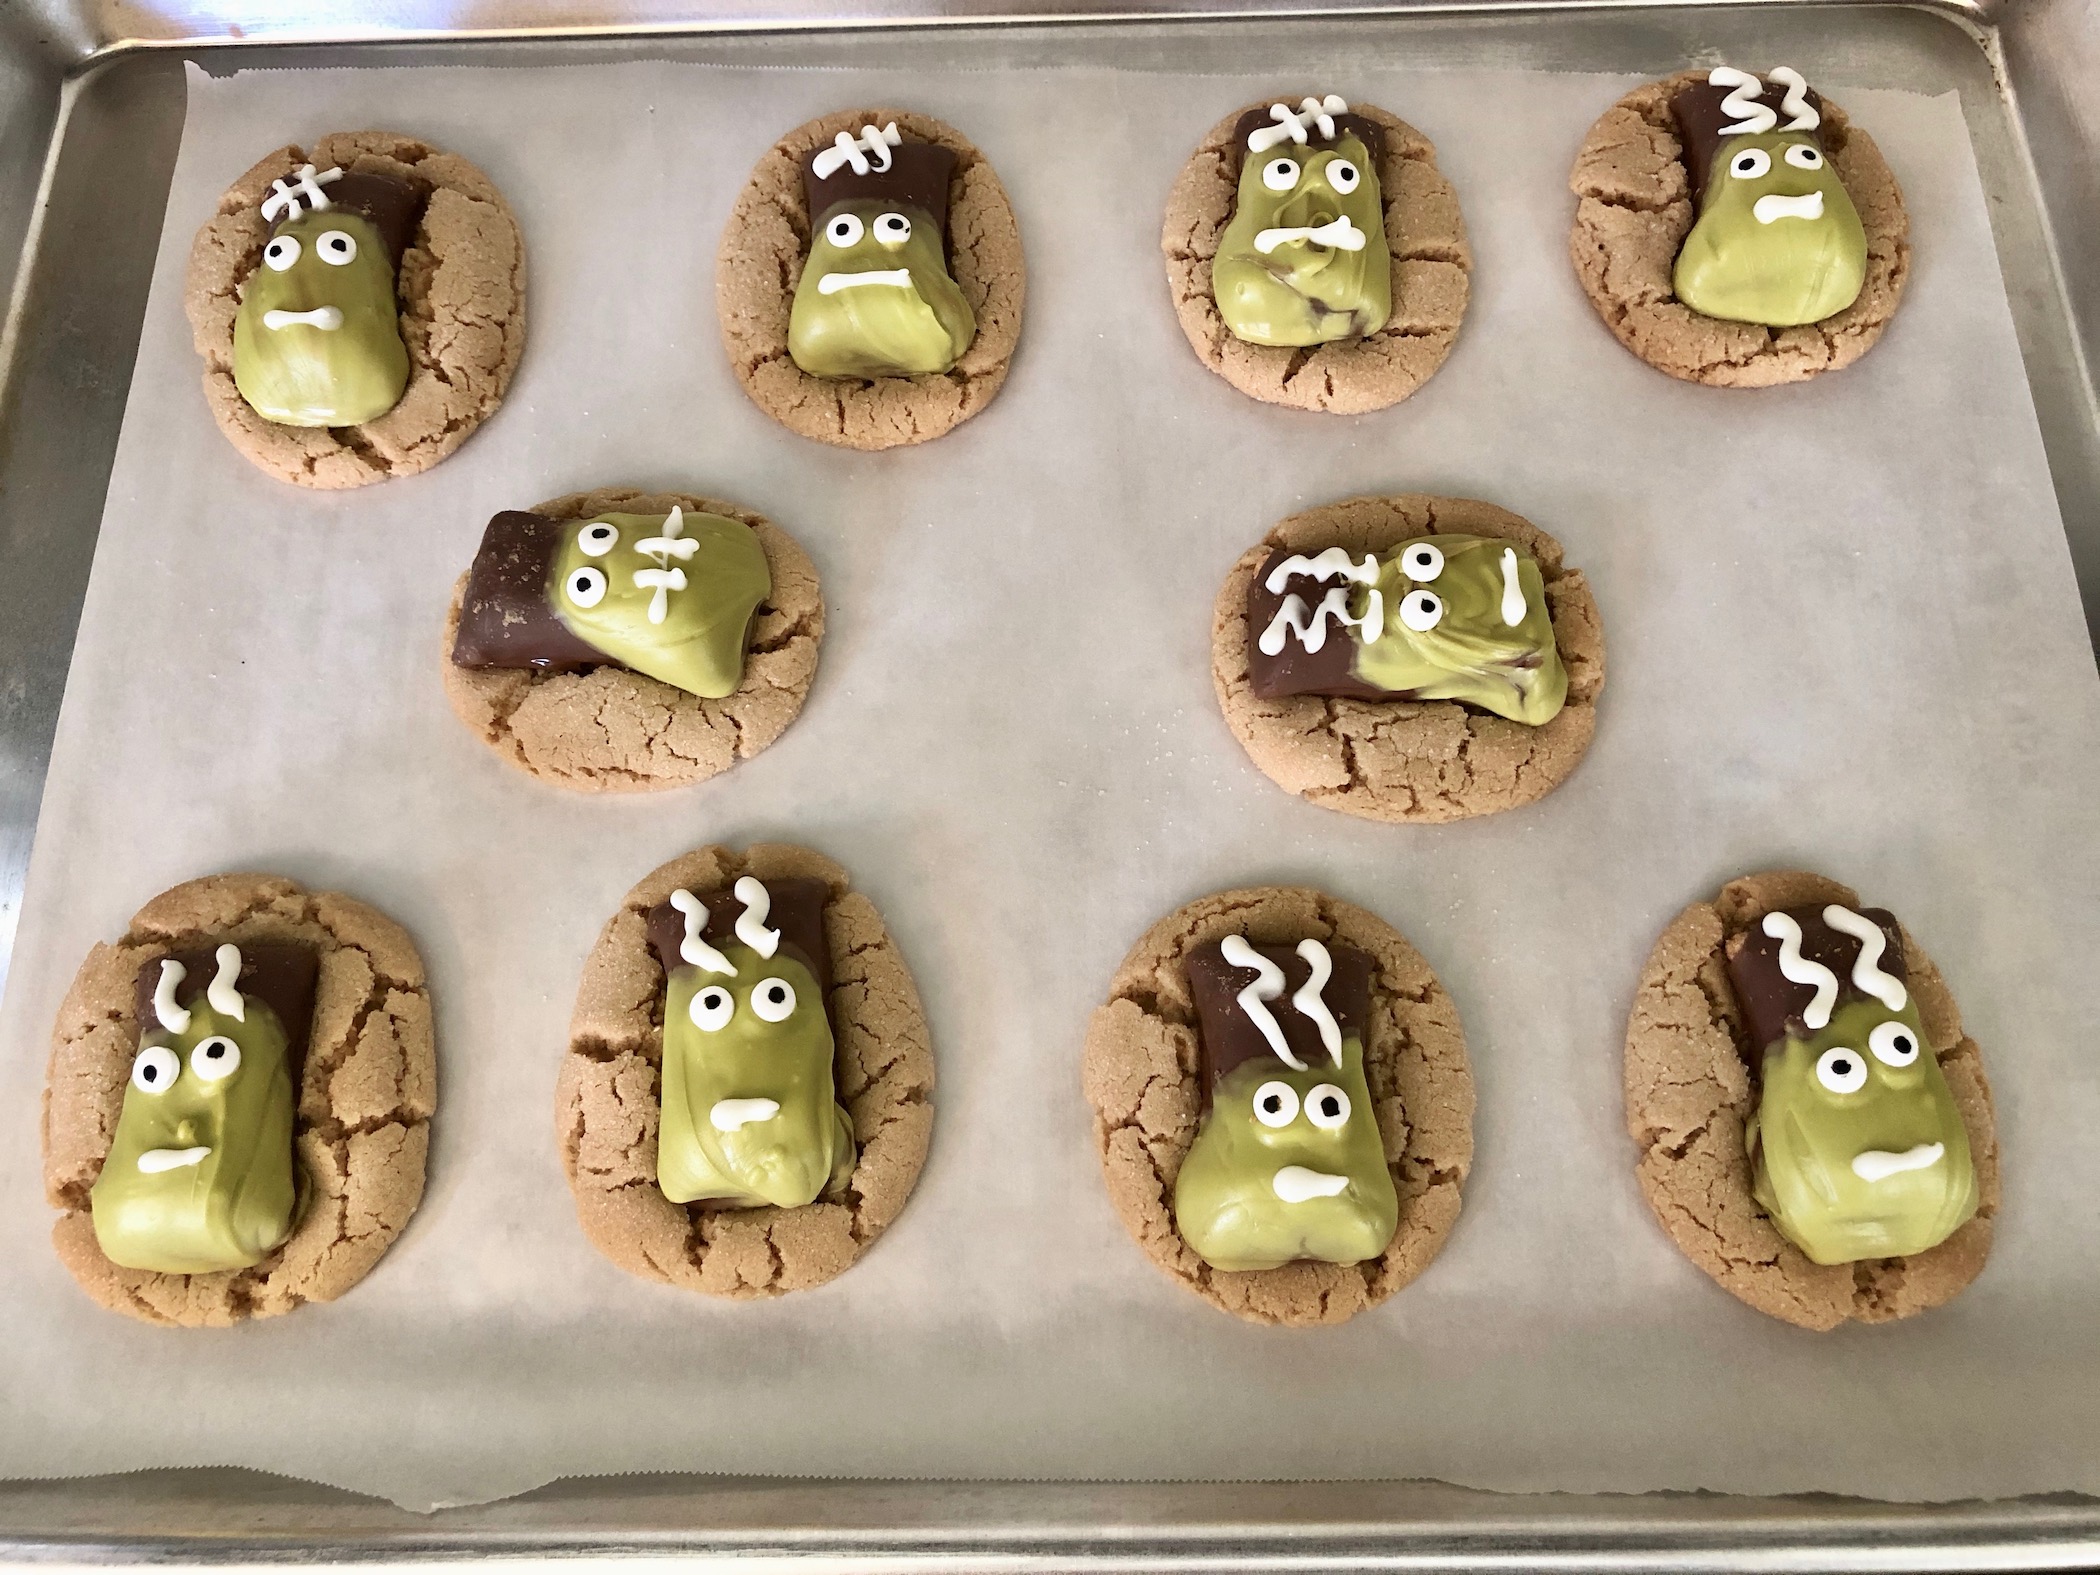
Frankenstein Peanut Butter Blossoms are a bit monstrous (see what I did there?) 😊 Instead of using a traditional Hershey’s kiss for these cookies you create Frankenstein faces out of Butterfinger bars, making these both seasonal and delicious. The Frankenstein bars do take a bit of time to create but they are so worth it! You can use other candy bars if you prefer but I like to stick with the peanut butter flavor. You can also create other faces if you prefer…. mummy, pumpkin, skeleton, etc. Frankenstein doesn’t need to be the life of the party (wink wink) but he sure is with these cookies.
The recipe can be found here.
Start by making the Butterfinger candy bars. Line the counter with wax paper or parchment paper. Unwrap all the Butterfinger candy bars and set aside. I used 2 full bags of the fun sized candy bars for reference.

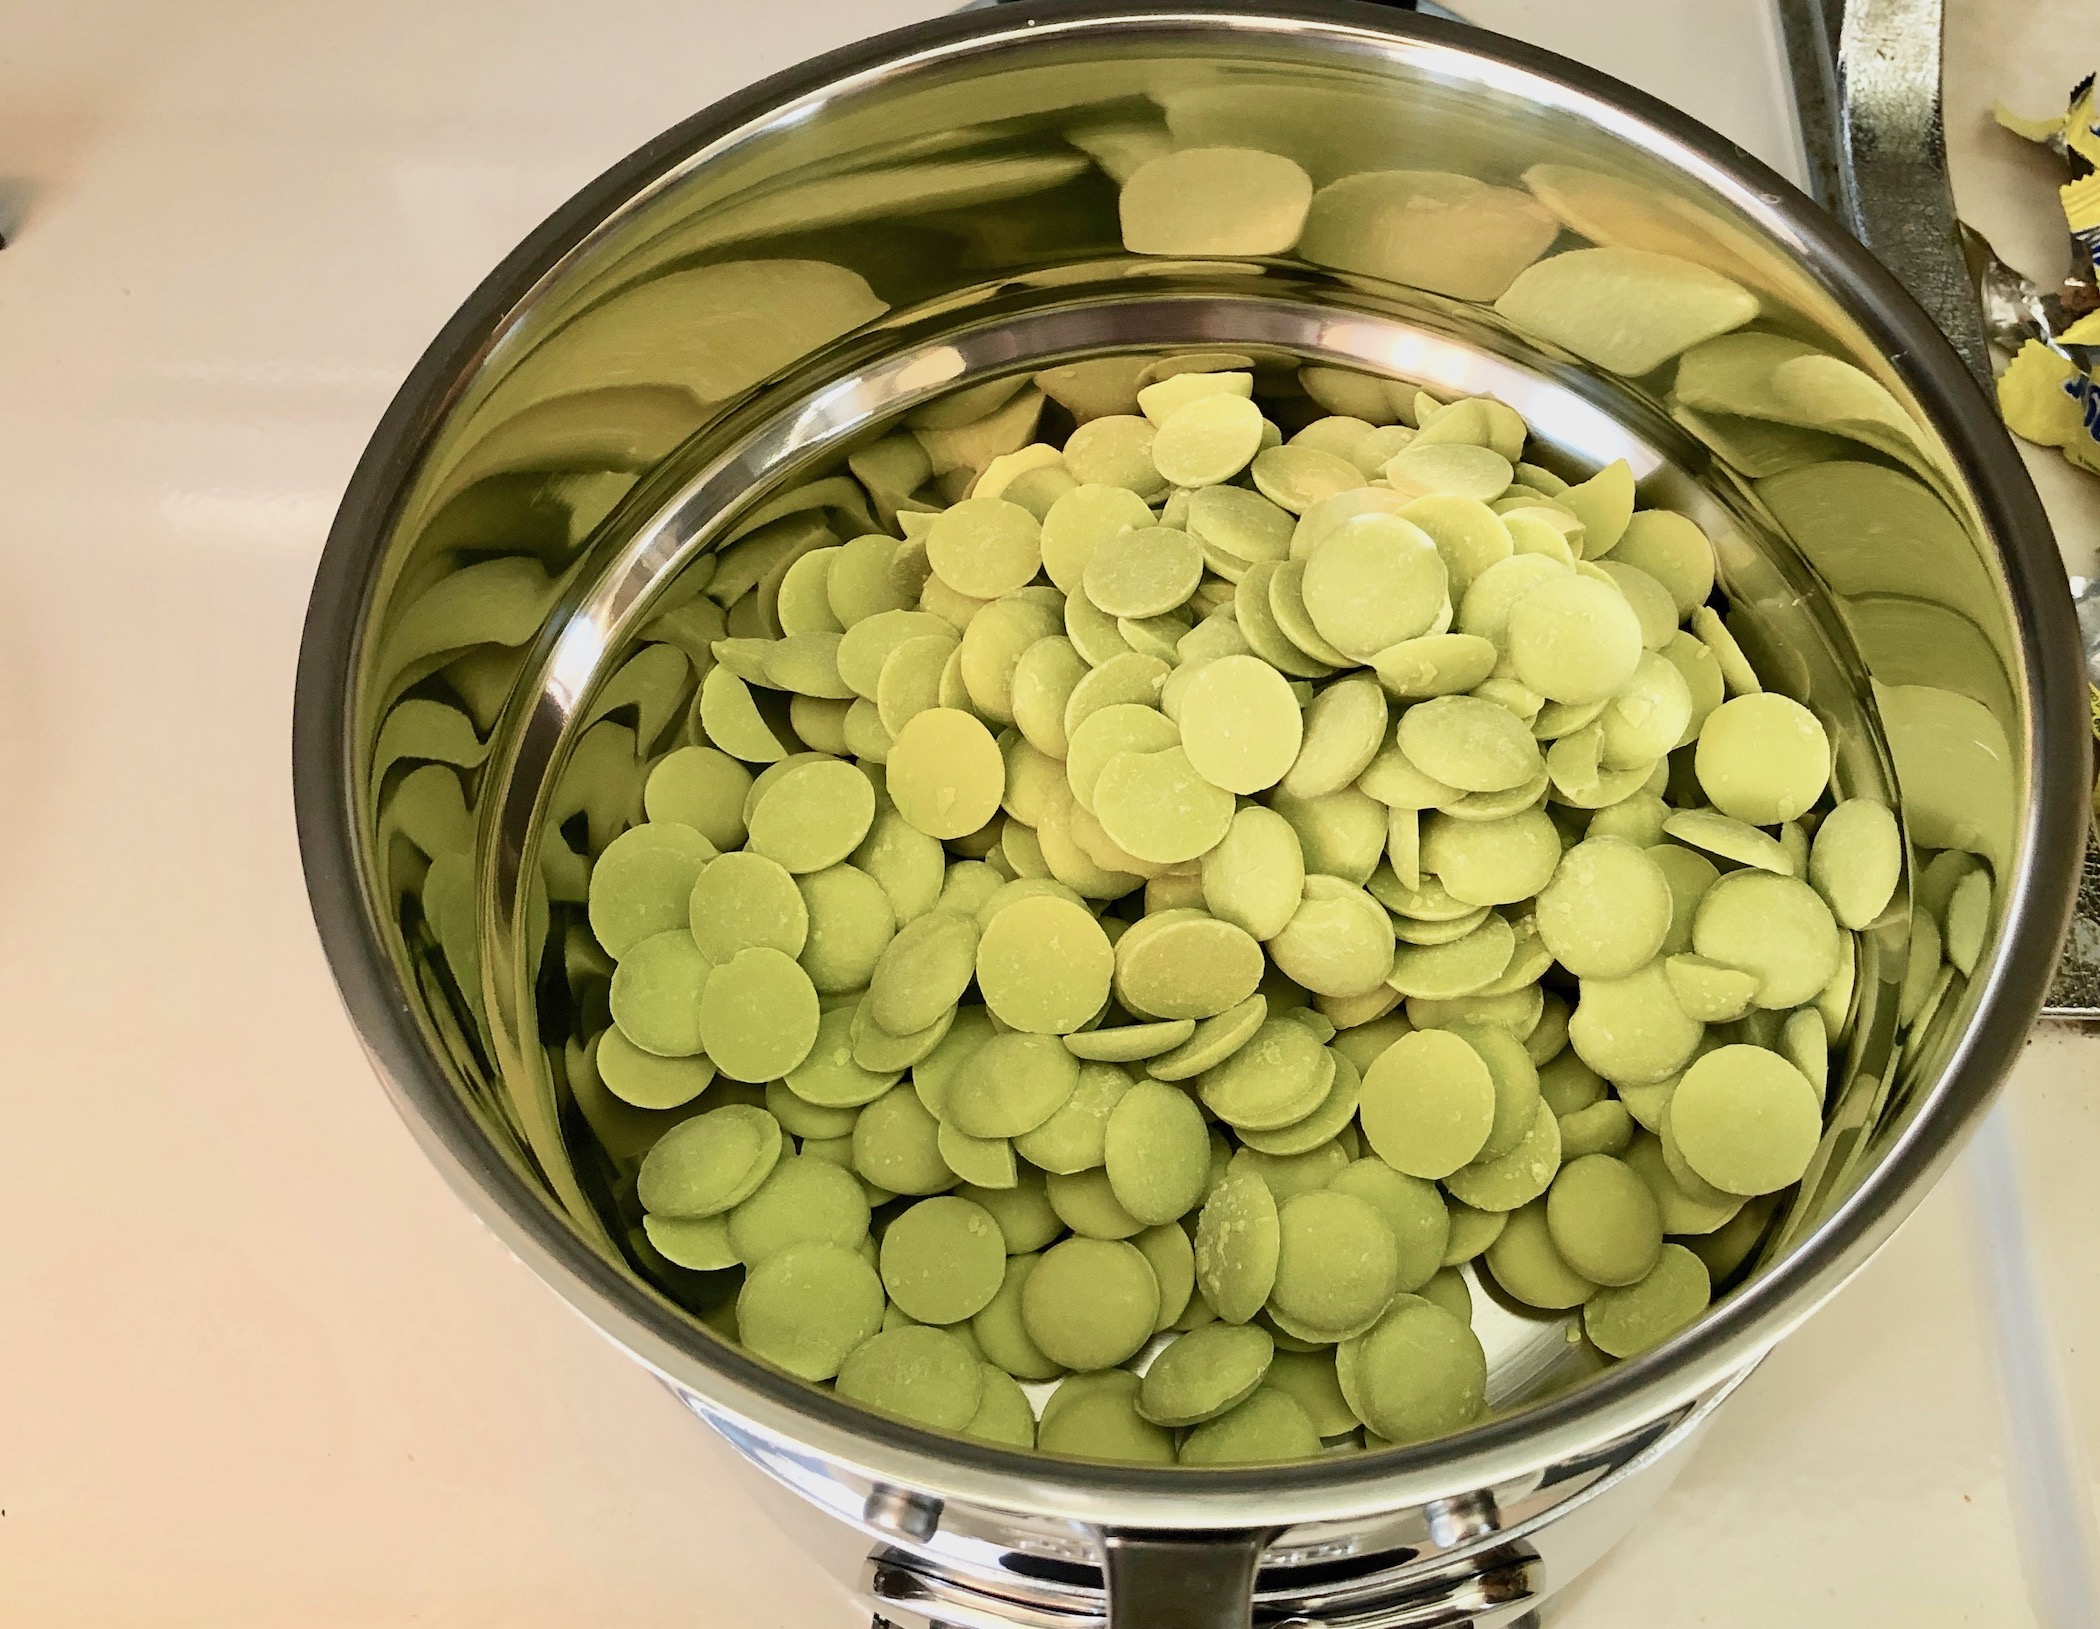
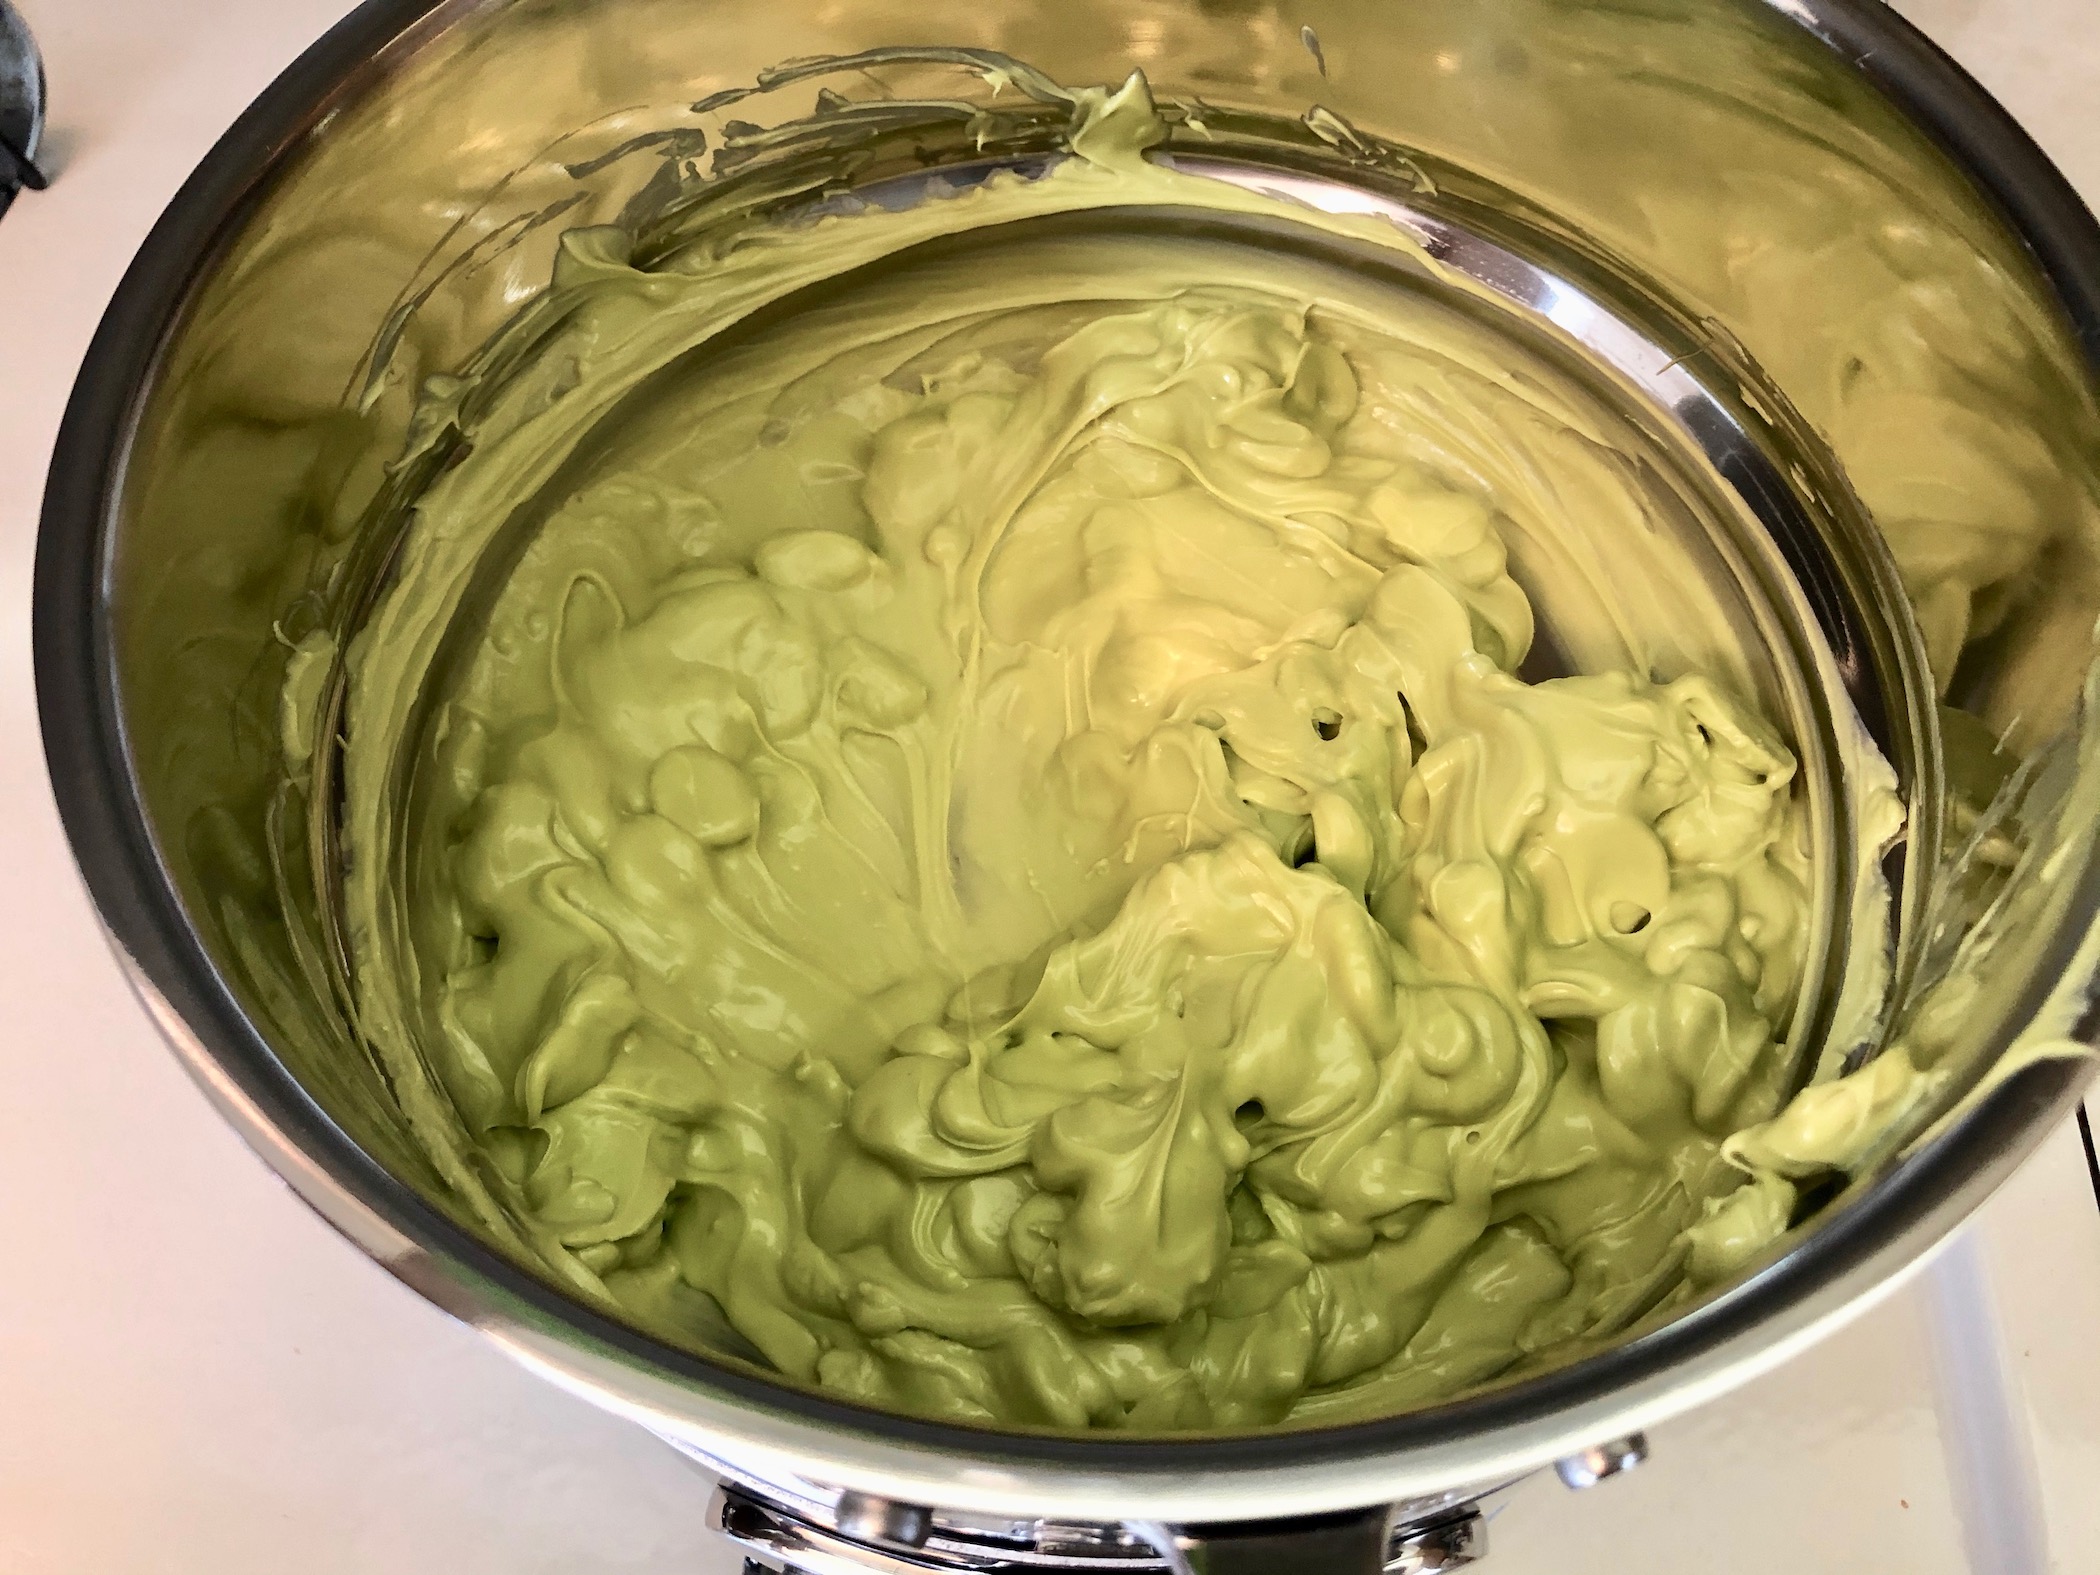
Melt one the green candy melts according to package instructions. I used a double boiler, but you can use a microwave safe bowl in the microwave and yield the same results. Dip each candy bar about ¾ of the way into the chocolate and set on the paper to harden. You need to work quickly! The warm chocolate will melt the chocolate coating already on the candy bar so don’t hold the Butterfingers in the melted chocolate for more than a few seconds. If you do notice the chocolate starting to turn the green chocolate brown, just give it a quick stir and you should be good as new. A few brown streaks won’t affect anything.

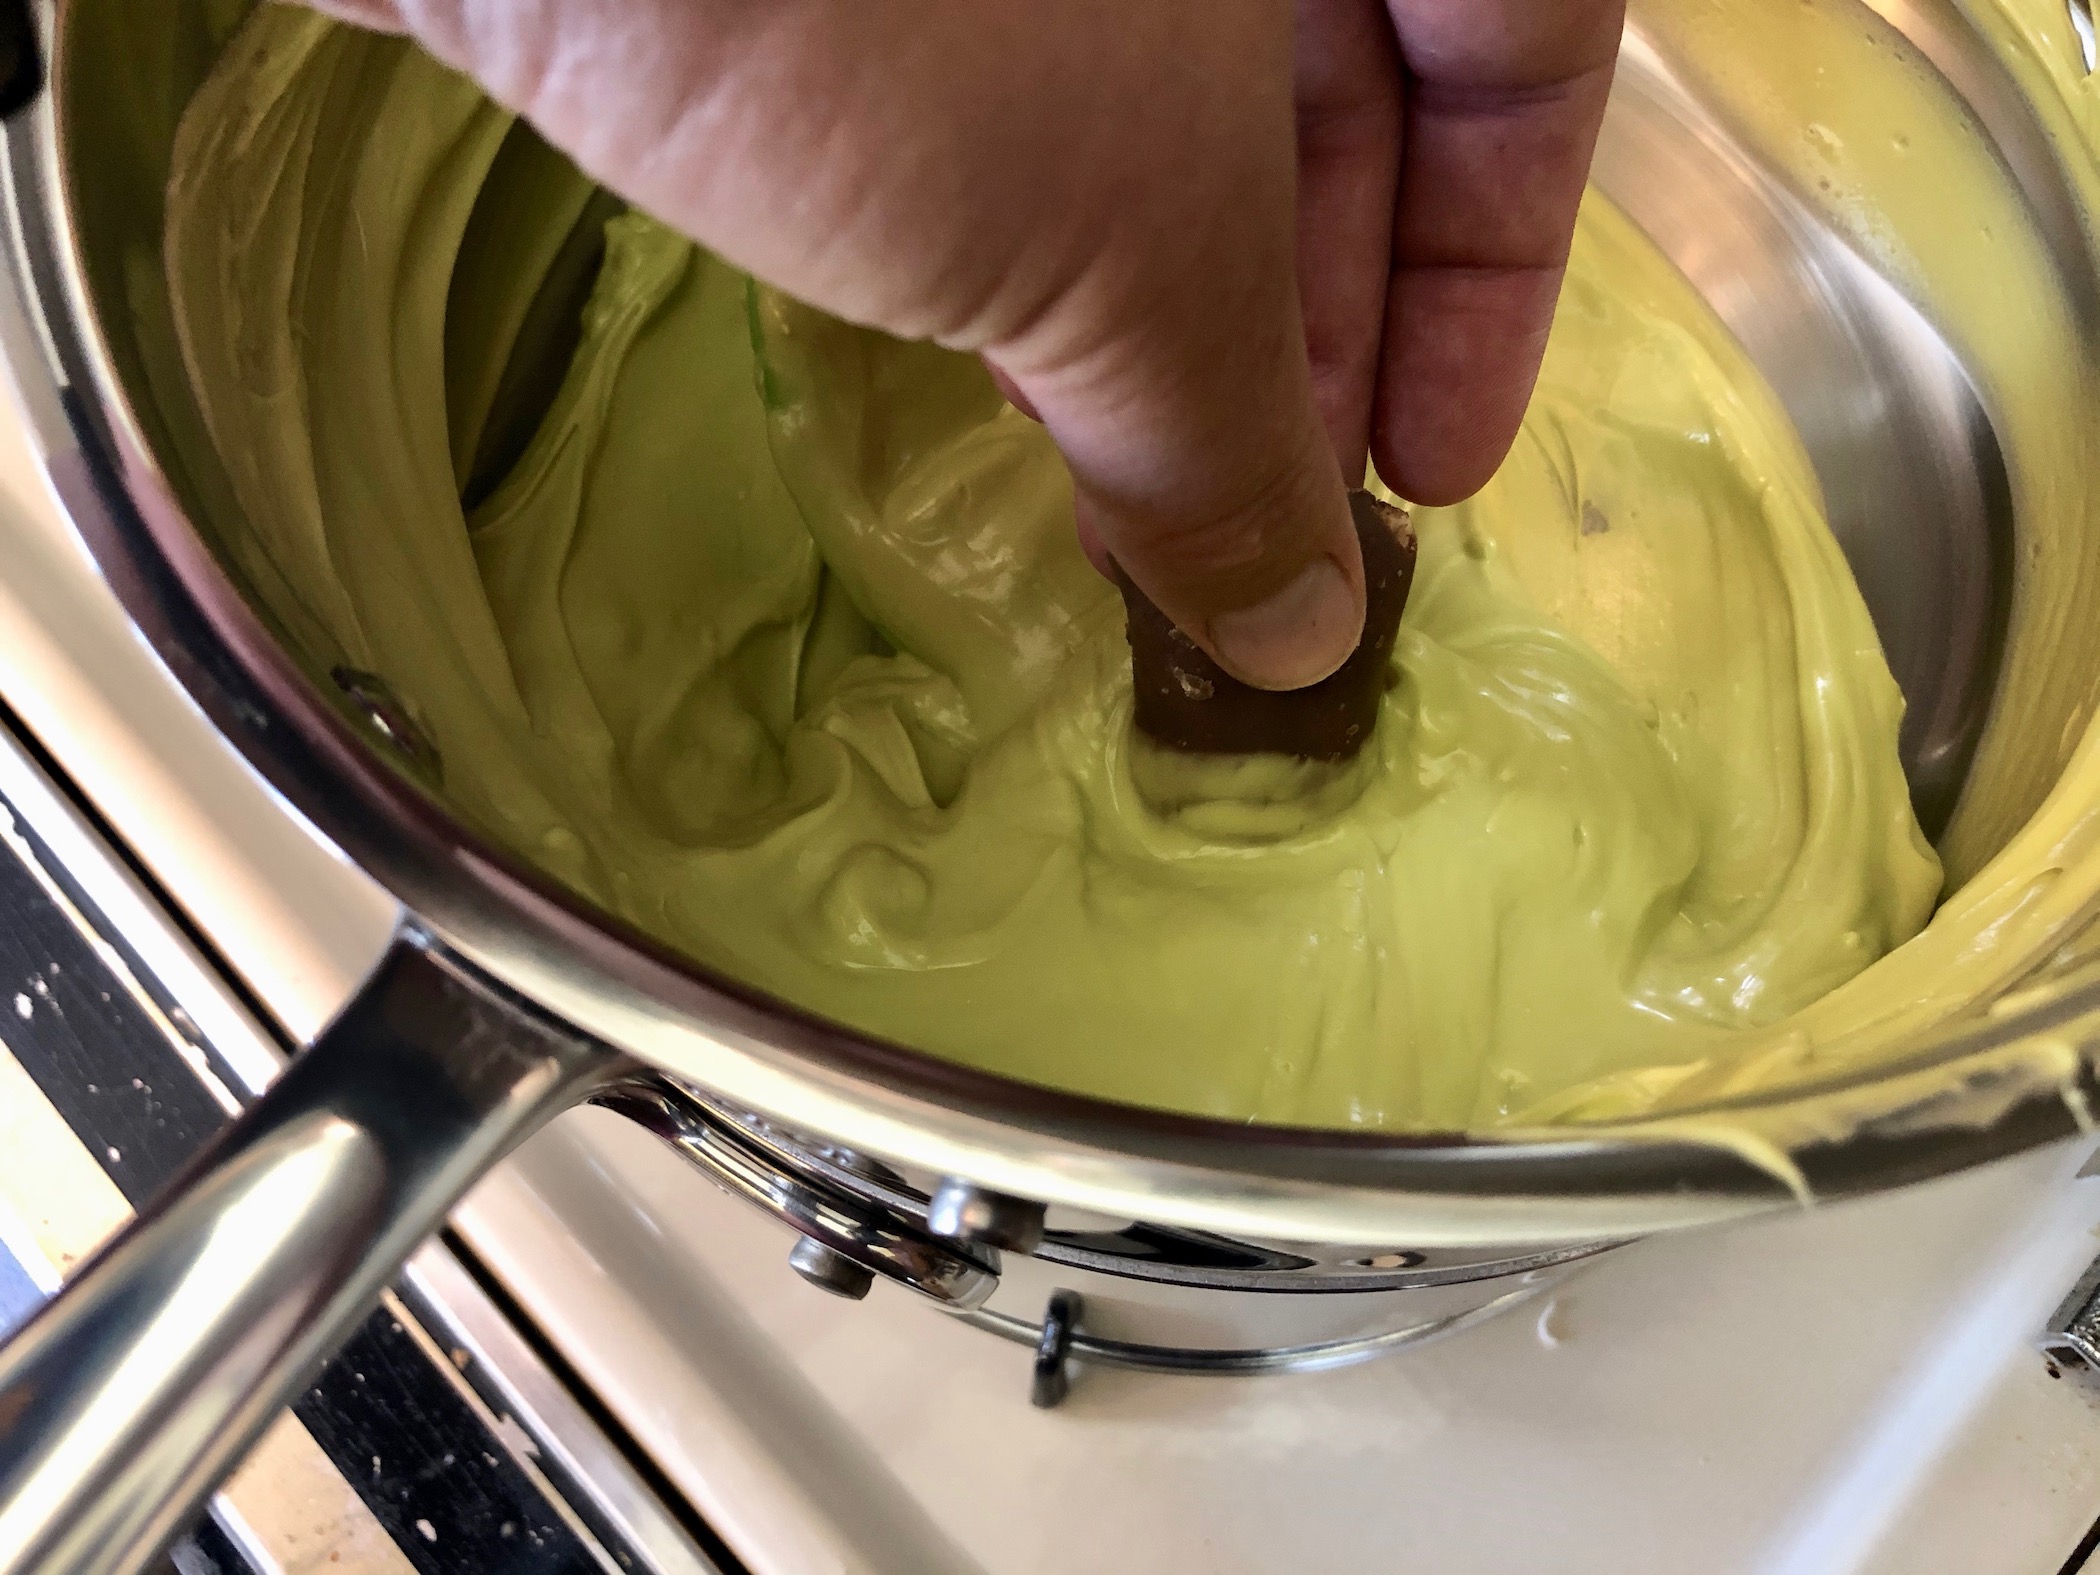

After each Butterfinger is dipped in chocolate, add 2 eyeballs on top of the melted green chocolate. This will help hold them as the chocolate sets. If the chocolate has already set, use a toothpick to add a drop to the back of each eyeball before placing on the candy bar.

Melt a small amount of white candy melts (or vanilla almond bark). You need a very small amount and not the whole bag/block of chocolate because these will be used to create faces. If you run out, you can always melt more chocolate but this way you can save the majority of the chocolate for another recipe instead of throwing it away!
Add the melted chocolate to a piping bag or Ziploc bag. Snip a very small piece of the tip off the bag and pipe the chocolate onto each candy bar. You want to make mouths and scars for Frankenstein. Be as detailed or basic as you want! Let the chocolate cool completely while you bake the cookies.

Preheat the oven to 350 degrees F. Line 2-3 baking sheets with parchment paper.
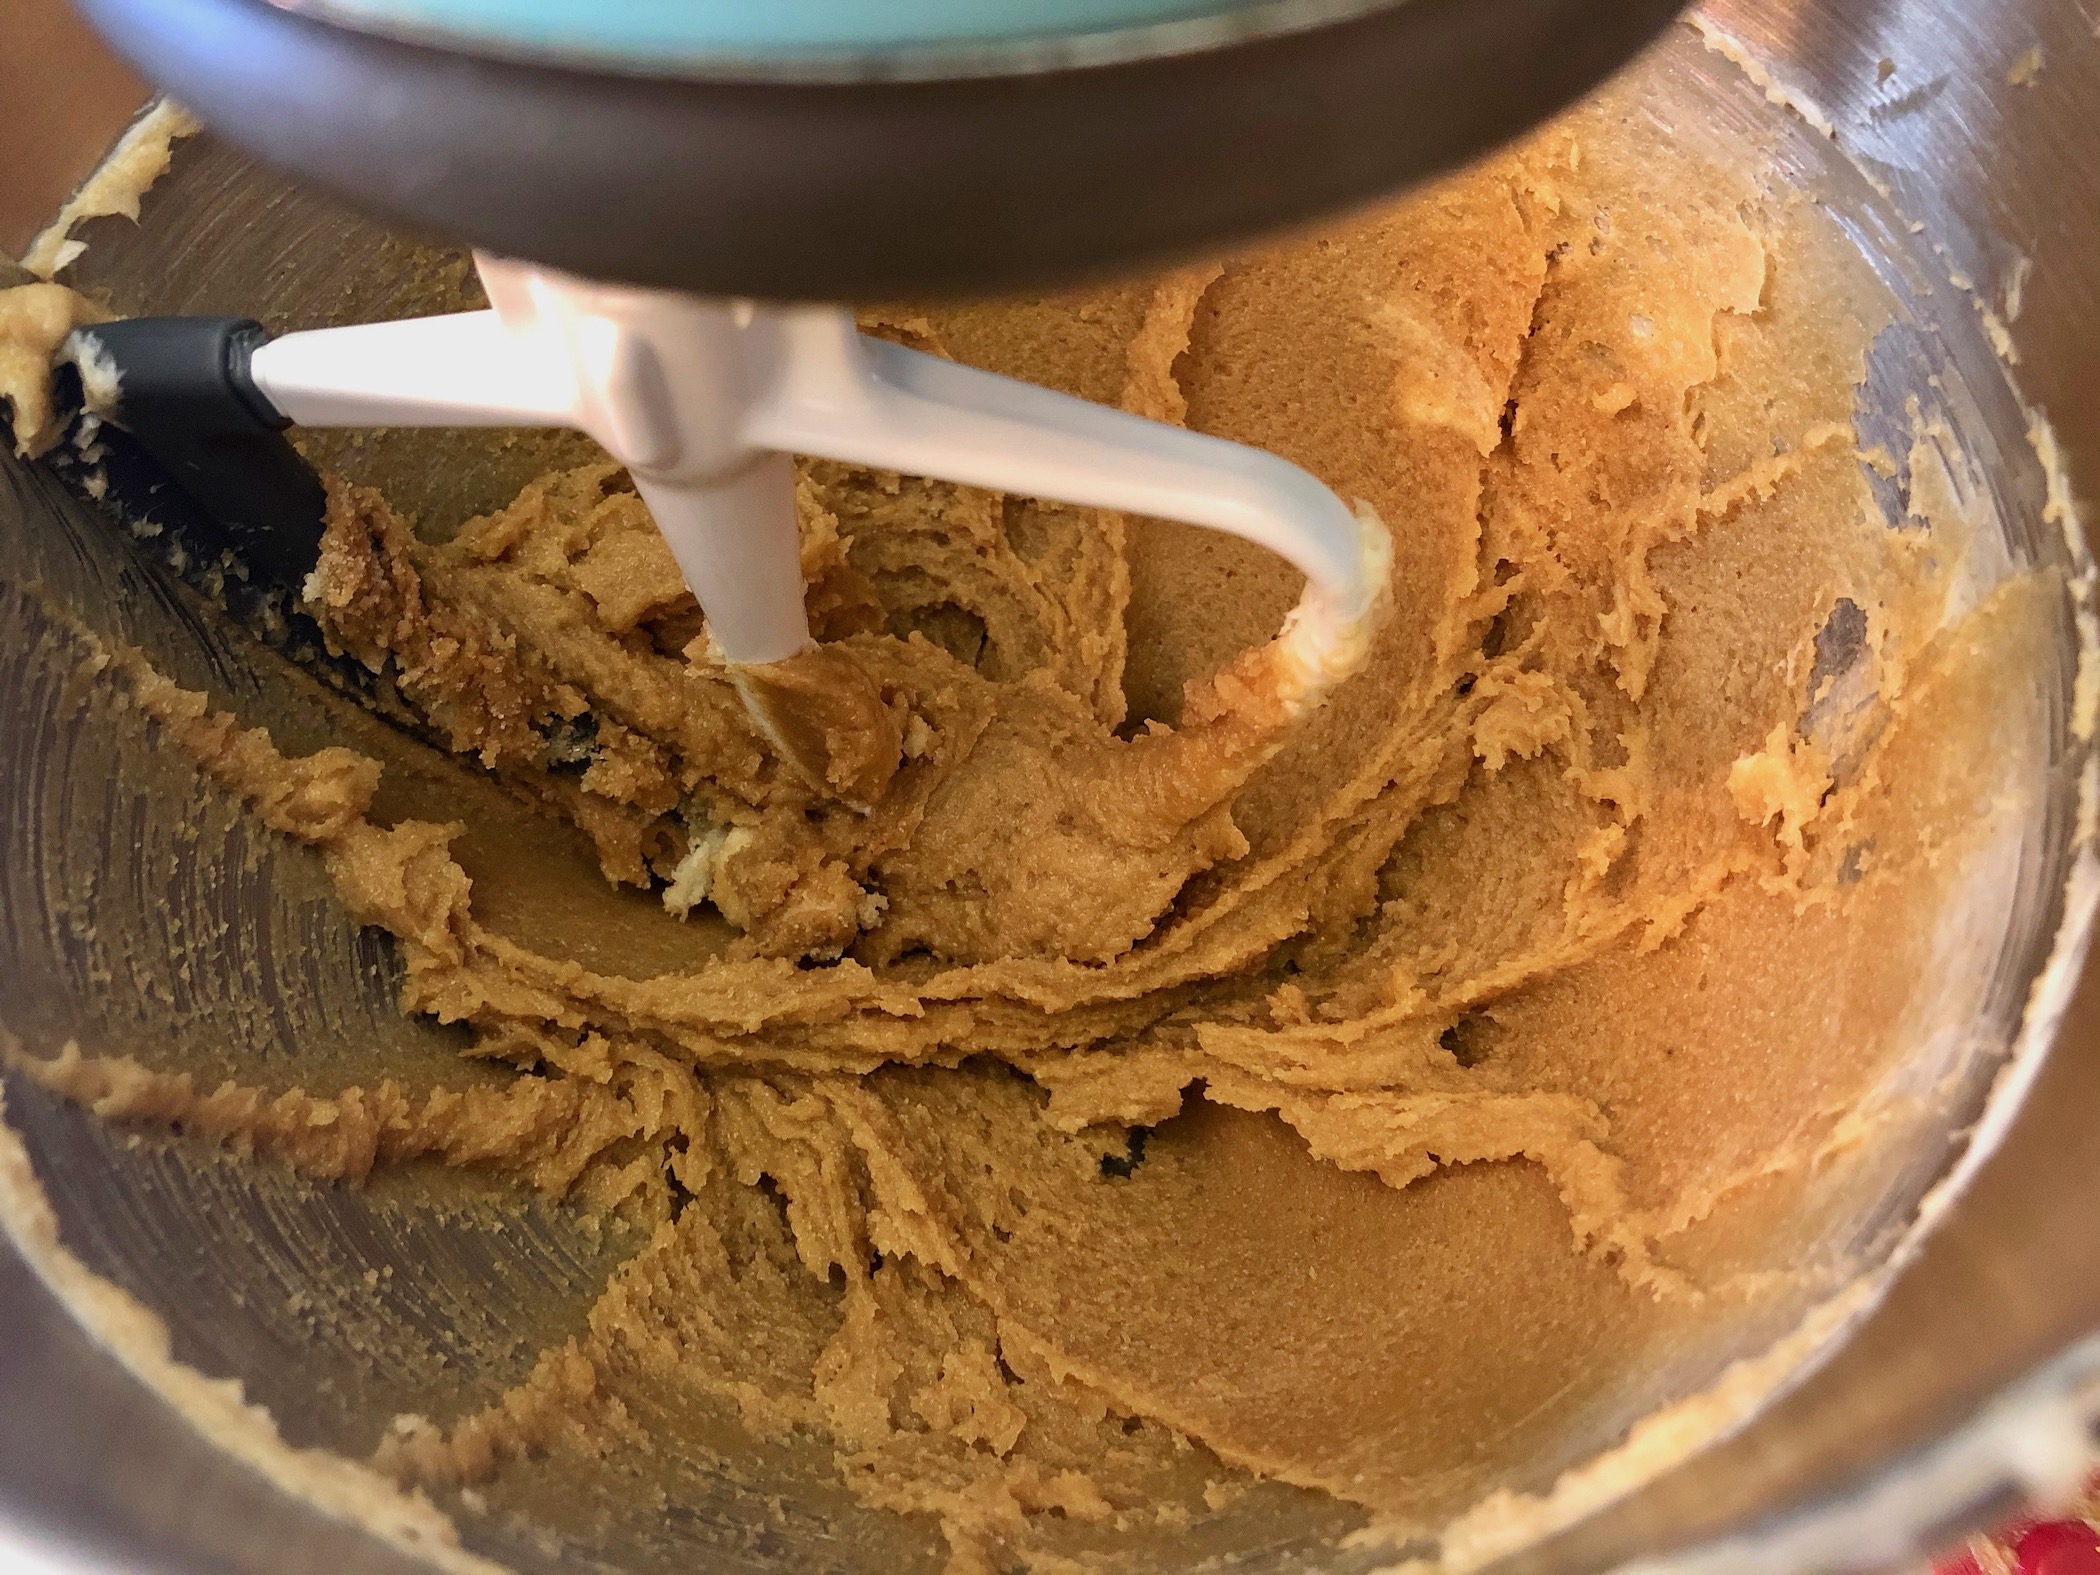
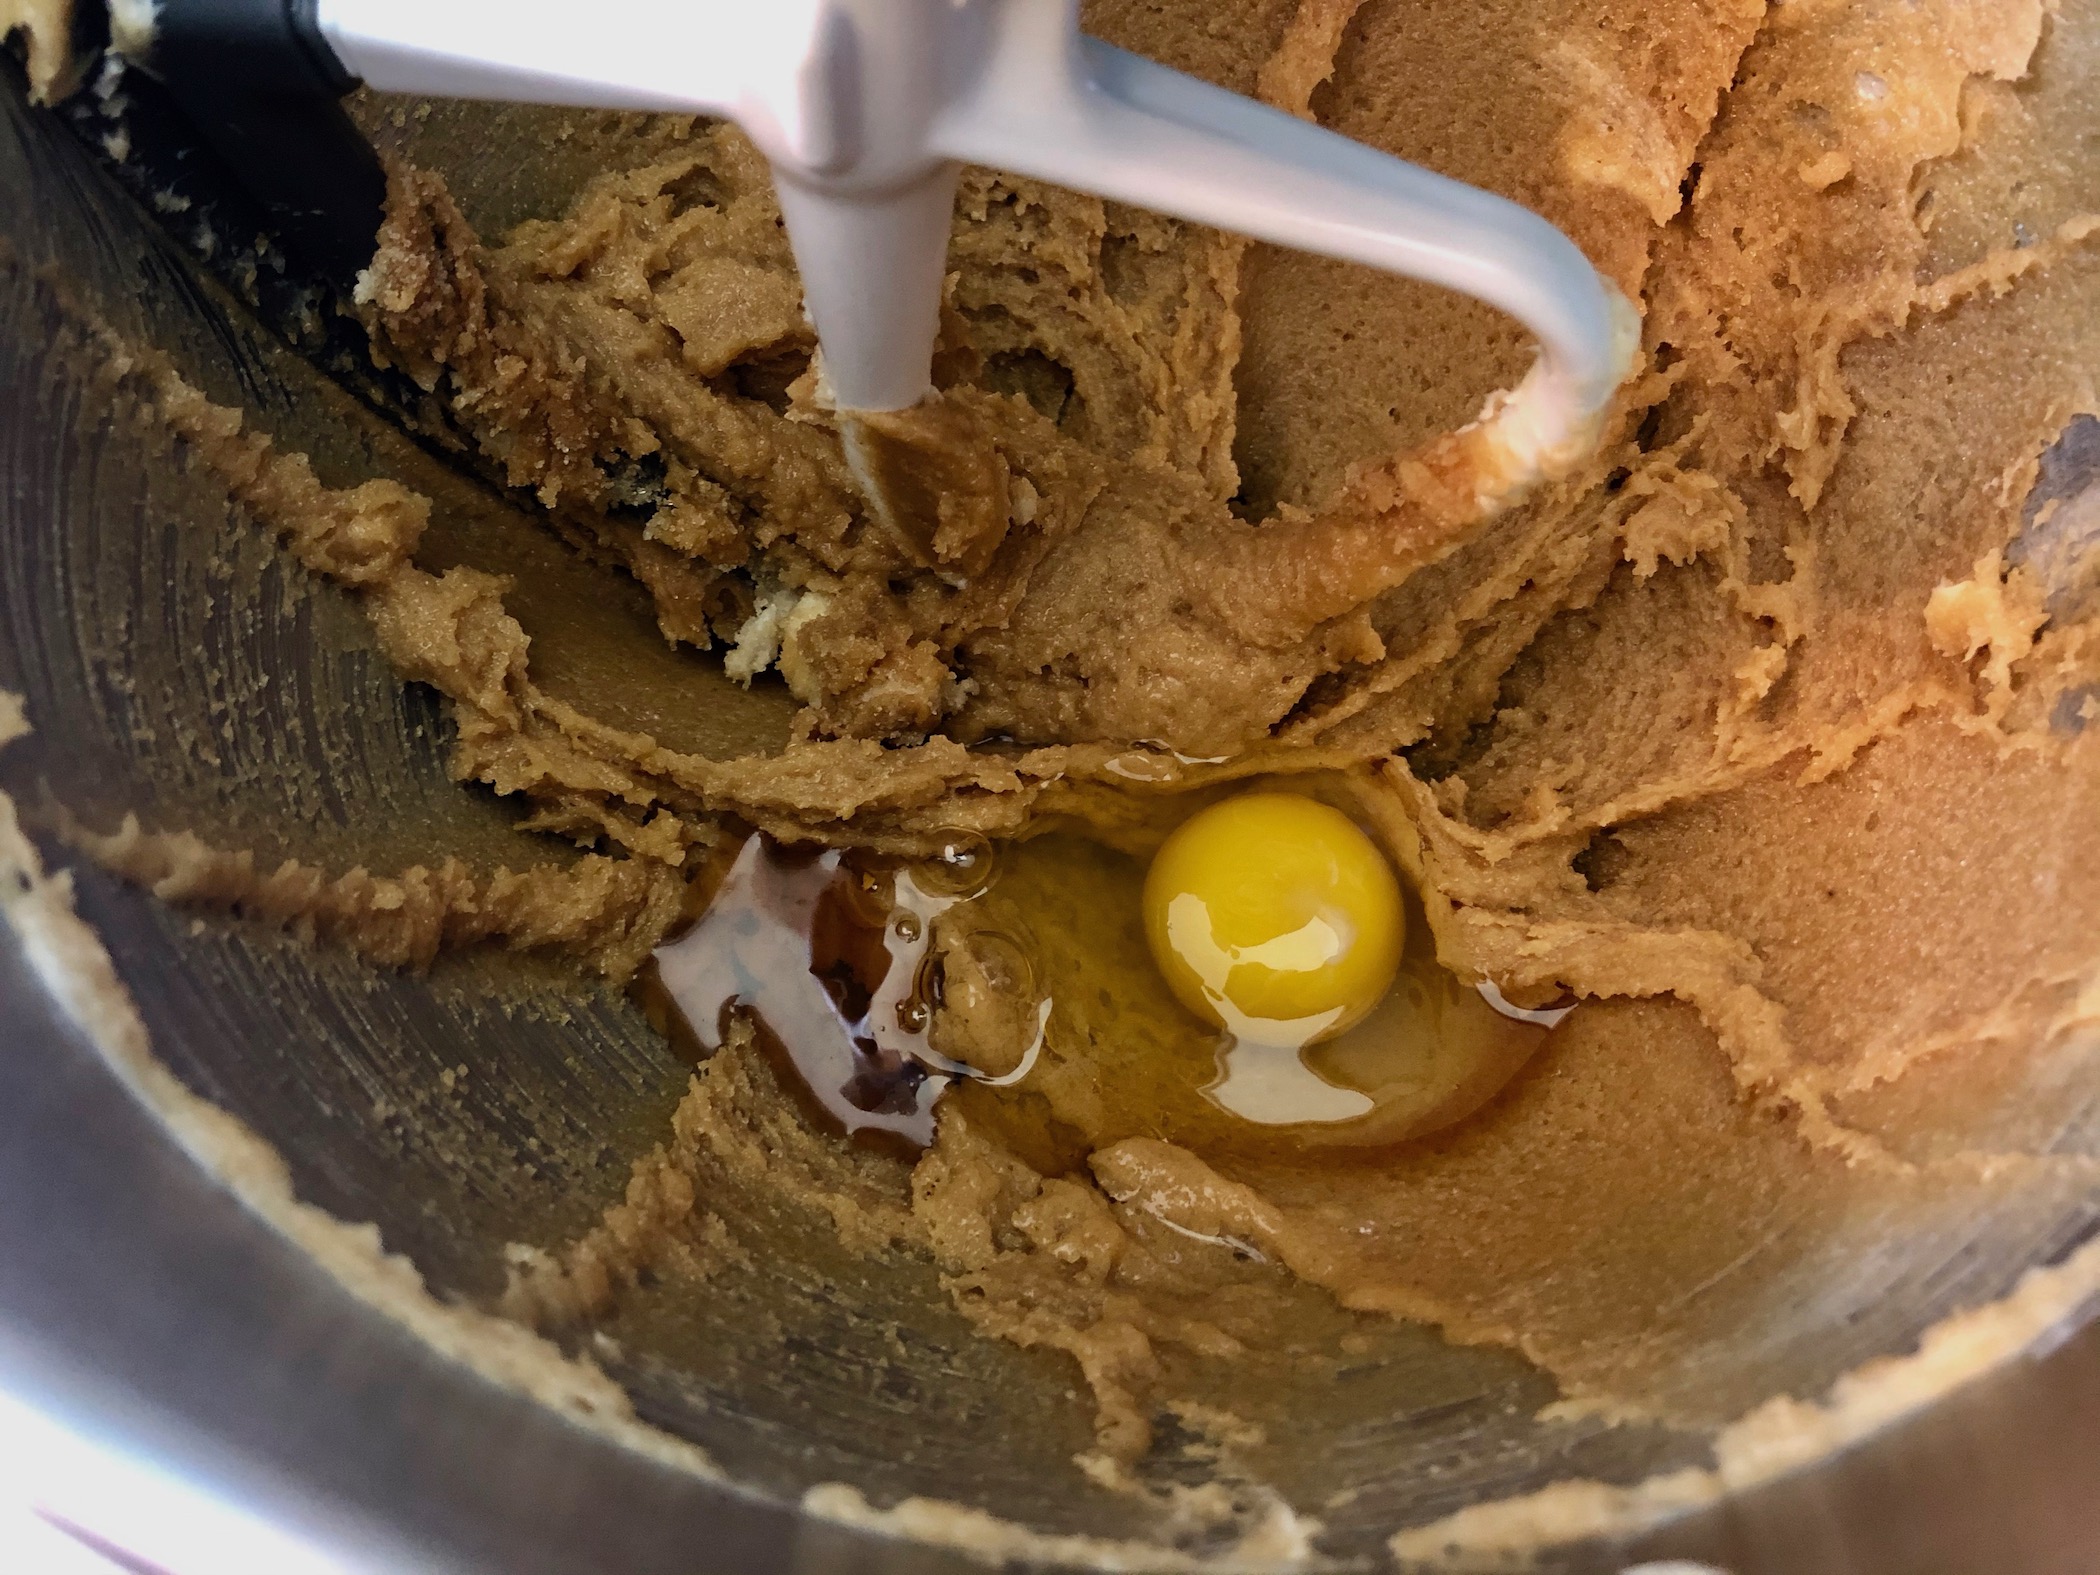
In the bowl of a stand mixer, mix the peanut butter, butter, sugar, and brown sugar until well combined. Add the egg and vanilla and mix until well combined.


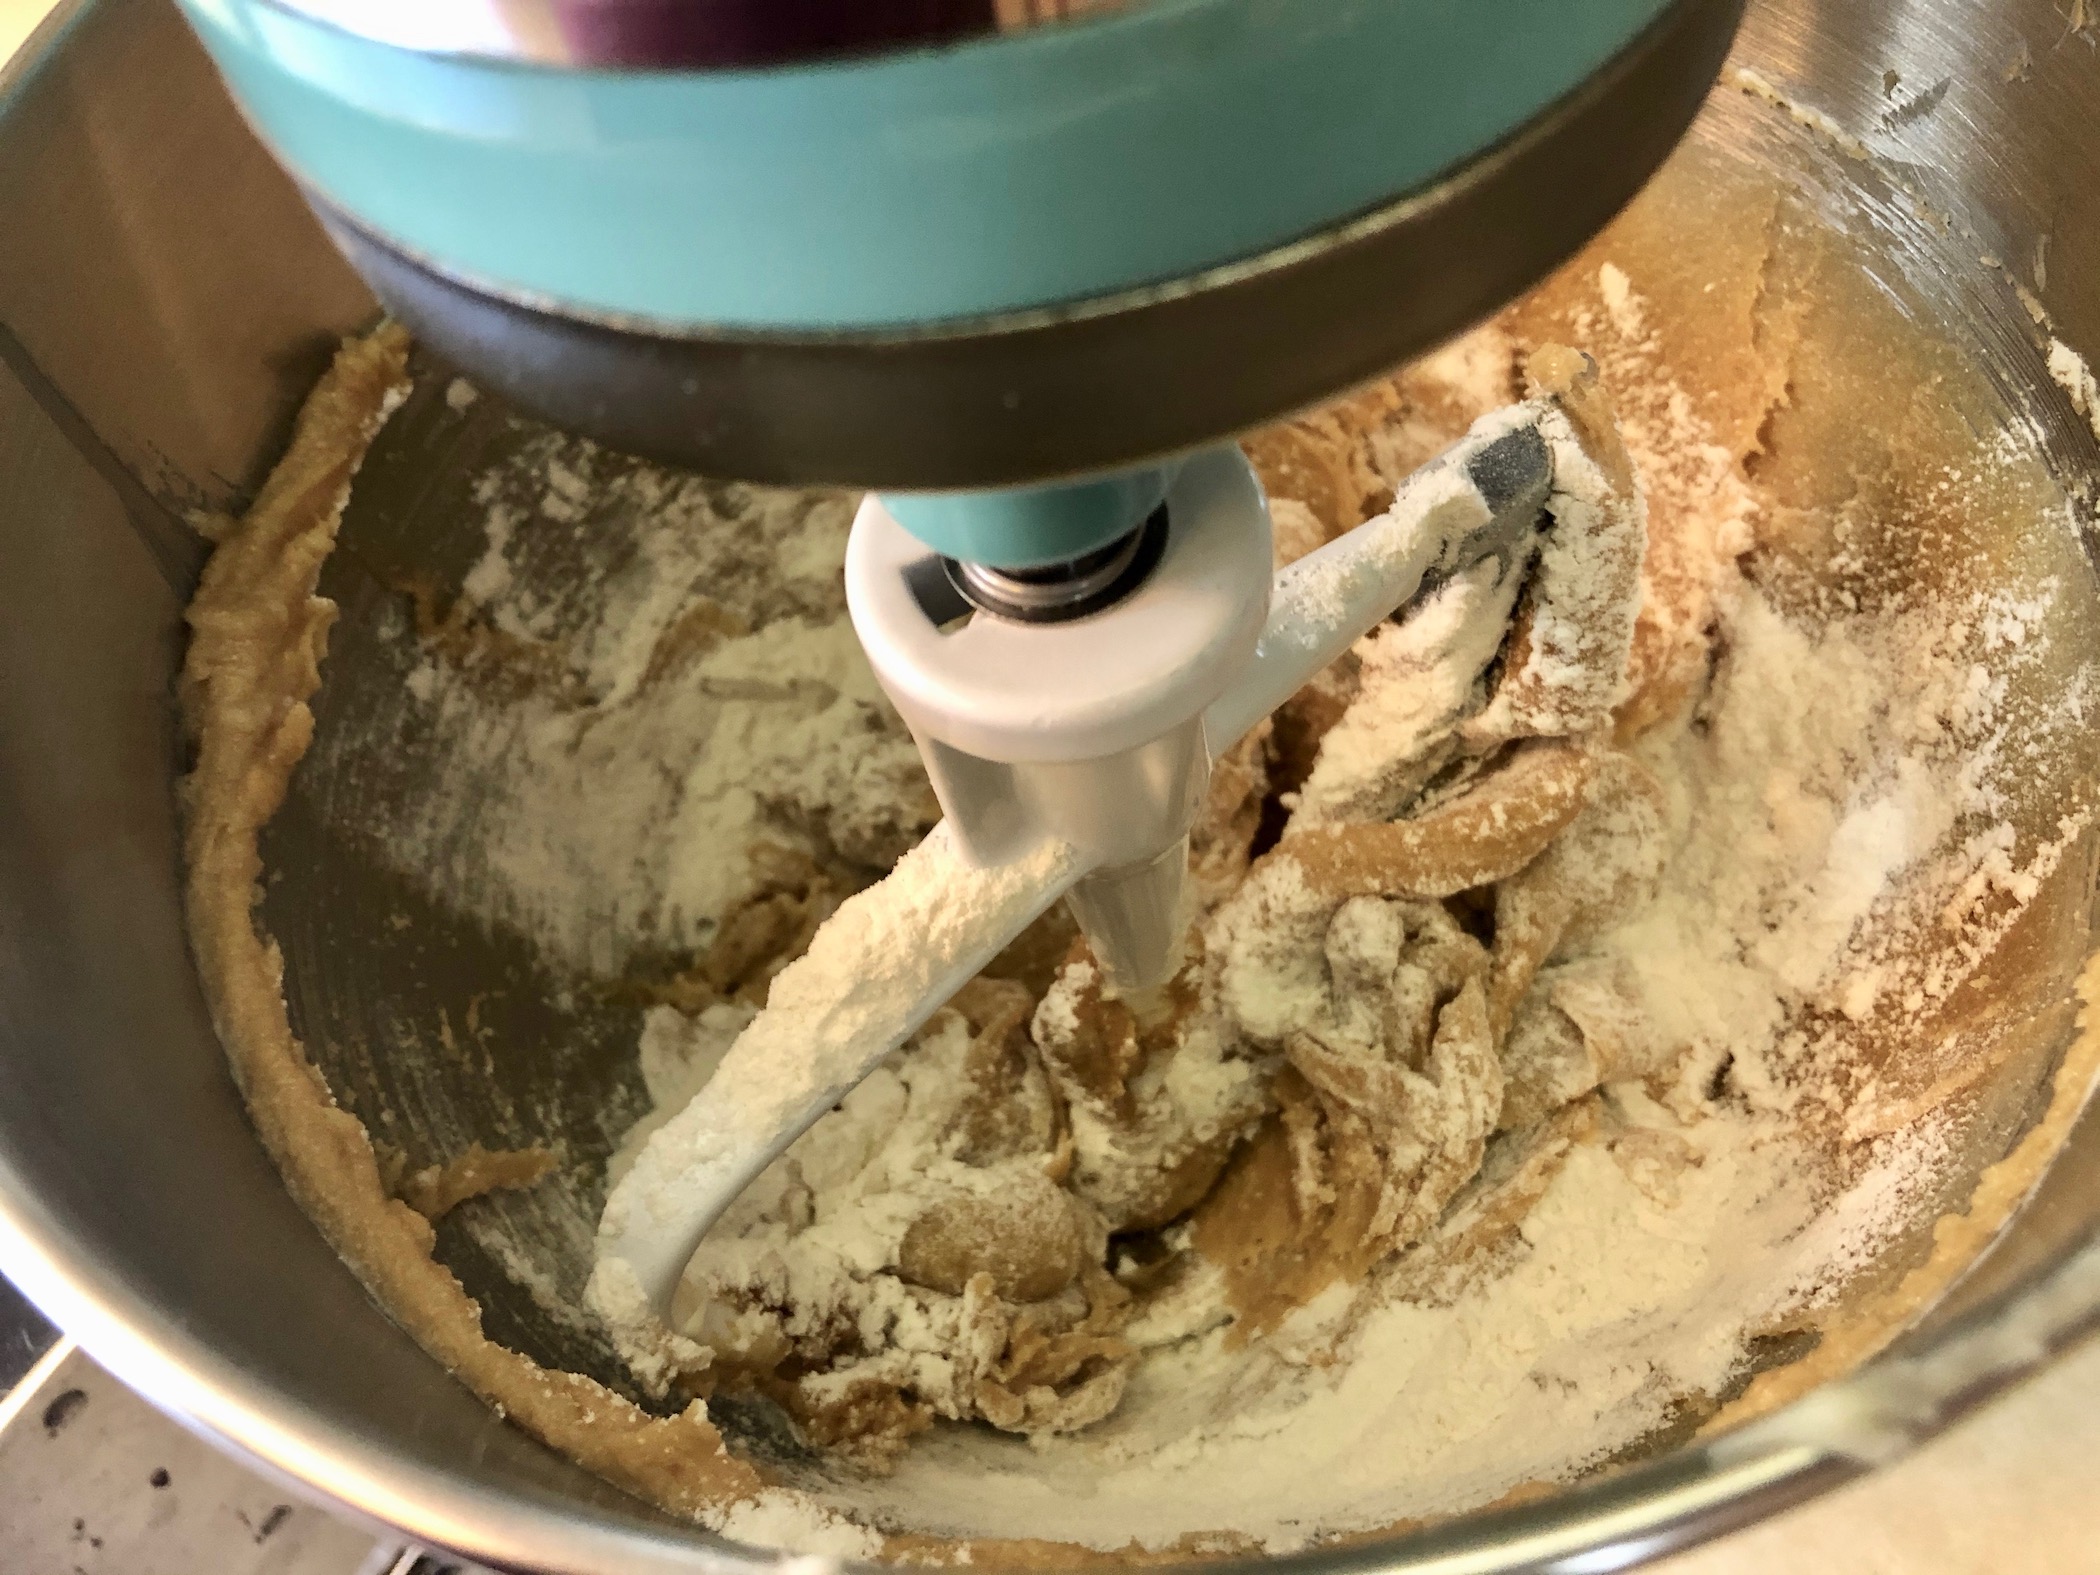
Whisk together the flour, baking soda, and salt in a separate bowl. Slowly add the dry ingredients to the wet ingredients with the stand mixer on low speed. Continue to mix until combined.


For the dough into rectangular shapes, about 1-inch long and ½-inch wide. I find it easiest to roll the dough into separate little balls that are approximately the same size and from there, form the dough into rectangles.
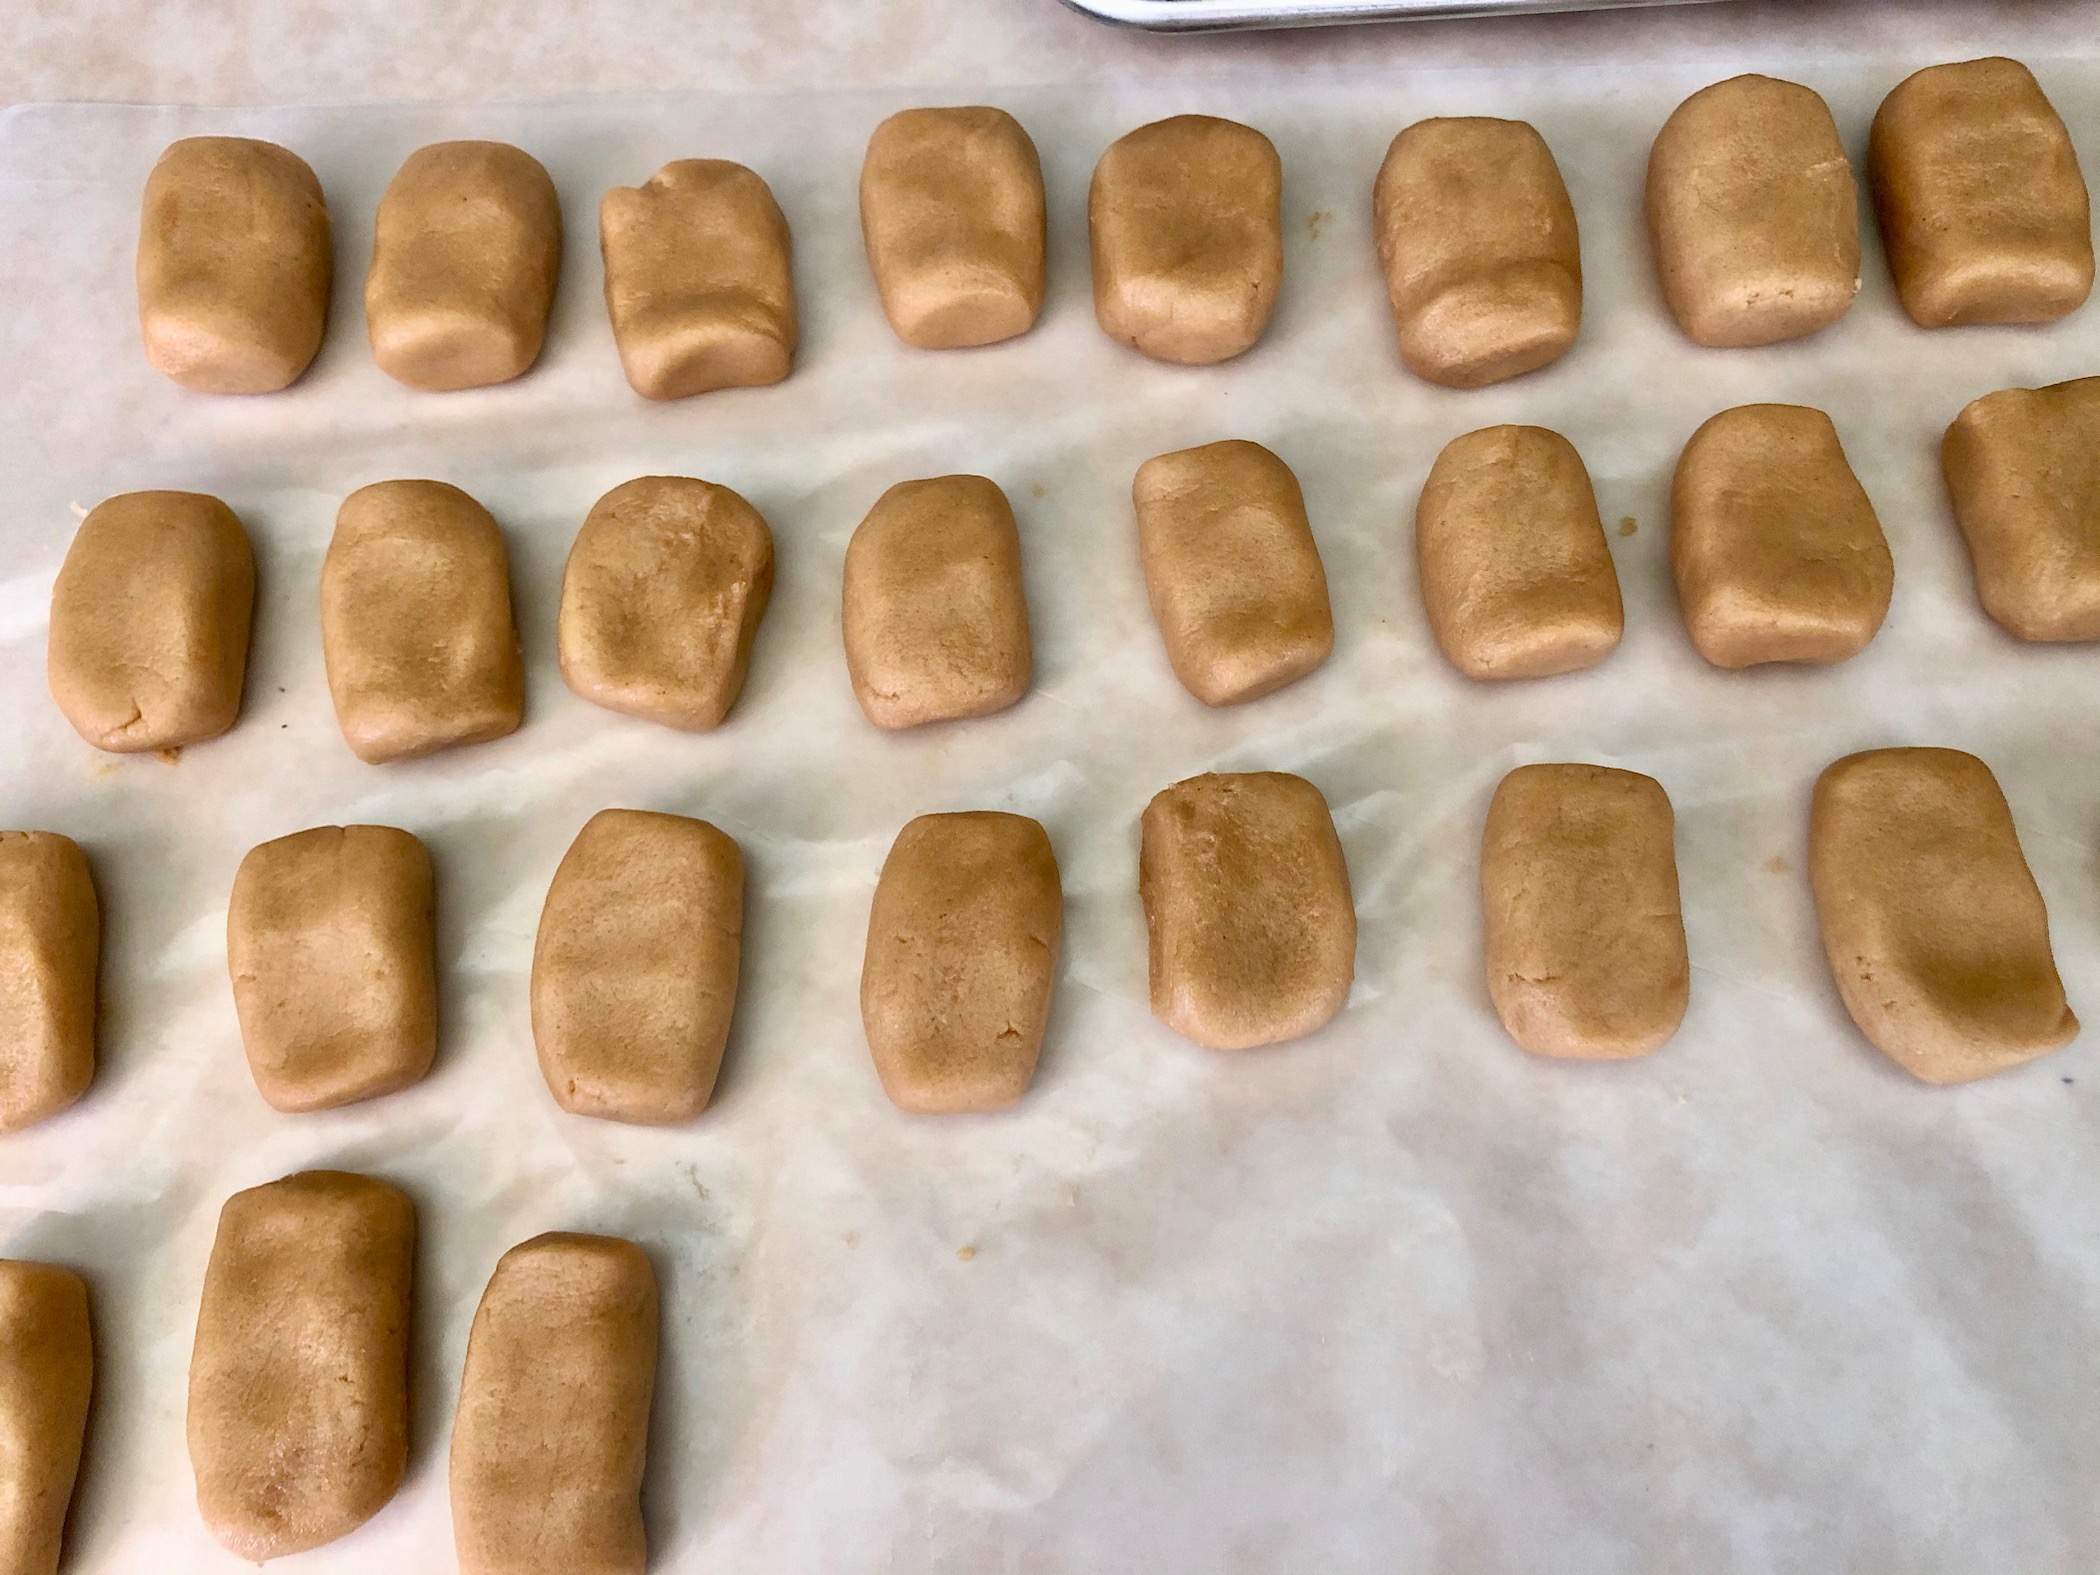
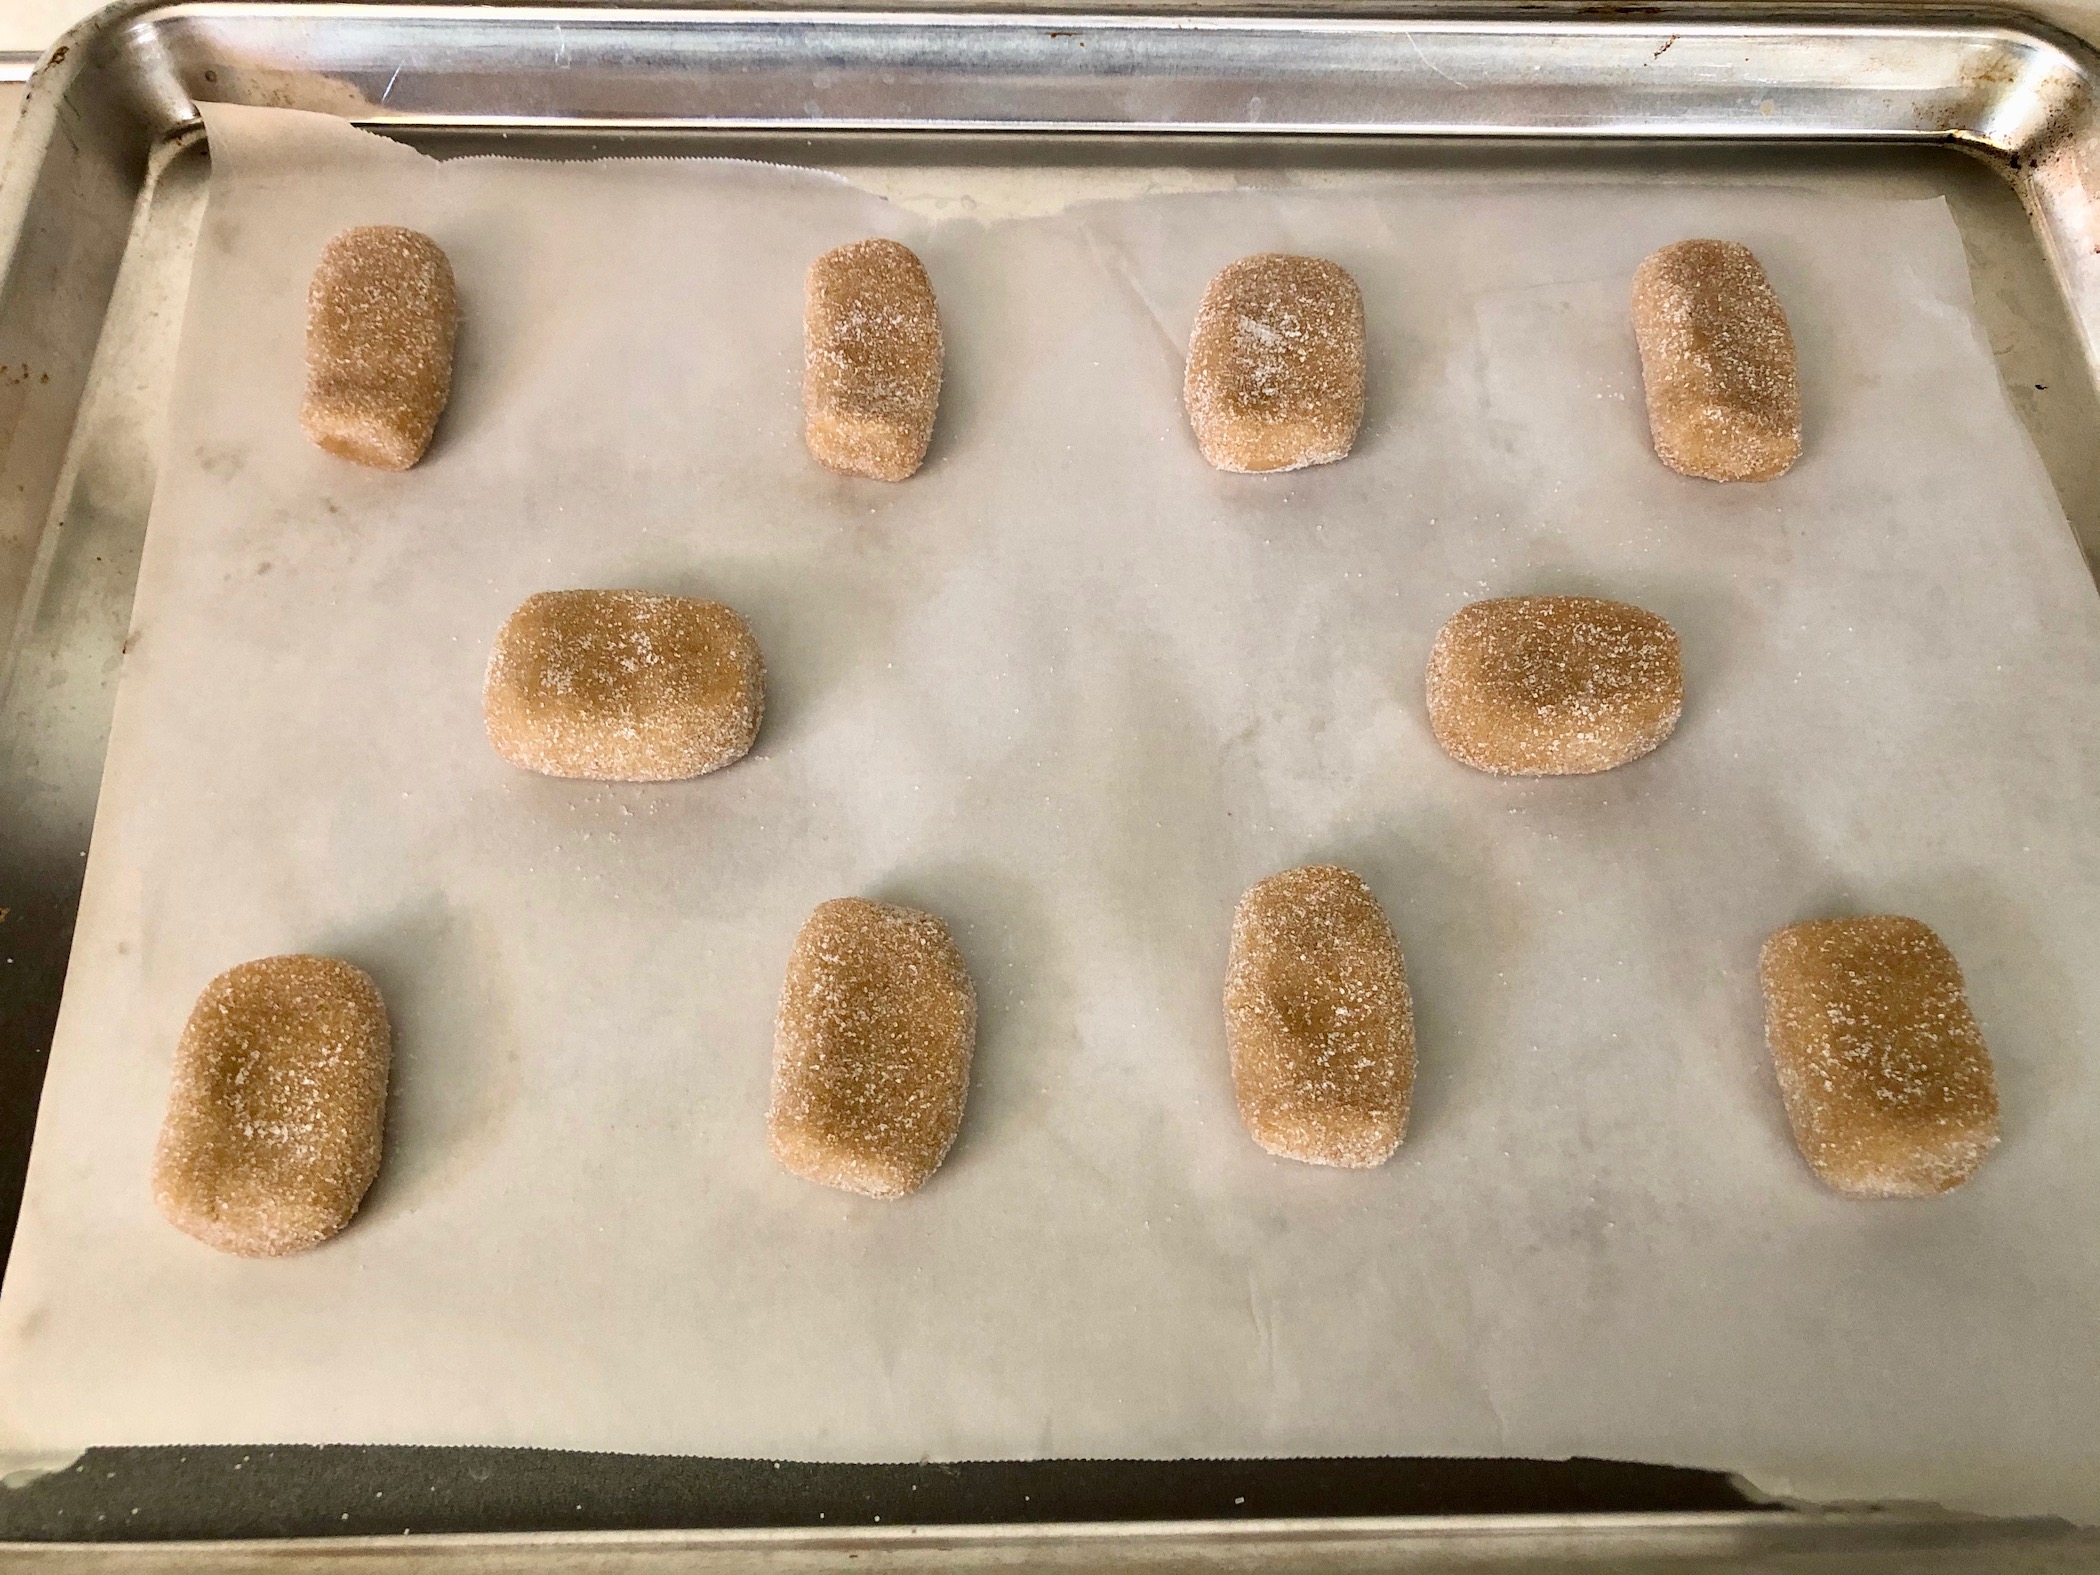
Add sugar to a shallow dish and roll each rectangular piece of dough in the sugar. Place the dough on the baking sheets about 2-inches apart.

Bake for 8-10 minutes. Remove from the oven and immediately place one Frankenstein candy bar on top of each cookie. Gently press down so the candy bar will stick to the cookie as it cools. Let the cookies cool for 1-2 minutes on the baking pan then transfer them to a cooling rack. The reason I say this is you want the cookies to cool long enough to remove them without breaking but you don’t want the heat of the baking sheet to melt the chocolate as the cookies cool. Let the cookies cool on the rack completely. Enjoy immediately or store in an airtight container on the counter.


The recipe can be found here.
If you are looking for recipe ideas that are more appetizer or dinner based, below are links to previous recipes I’ve made for Halloween. All are fairly easy to prepare and will make your Halloween celebration a bit more special this year given the circumstances.
- Eyeball Asparagus and Gruyere Tart
- Jalapeno Popper Mummies
- Cheesy Breadstick Bones
- Mini Spider Pizzas
- Spider Web Loaded Potatoes
- Festival Feetloaf
- Green Slime Mac & Cheese
- Black Eyeball Spaghetti
- Southwest Chicken Stuffed Jack-O-Lantern Bell Peppers
Whatever your Halloween celebration looks like this year, I hope you enjoy it. Wear a costume anyway, eat another piece of candy, decorate your house…do anything to add some normalcy to the holiday. And…make sure there is plenty of delicious food and treats!
Happy Halloween and Happy Cooking!


Recent Comments